This article will take you from 0 to 1 to build a private git server through Gitea in two ways: source code and docker installation
What is Gitea
Gitea is an open source community driven lightweight code hosting solution. The back end is written in Go and licensed by MIT
Official website: https://gitea.io/zh-cn/
1, Source code installation method
The experimental environment is MacOS system, and the following operations of Windows system are similar
Official documents: https://docs.gitea.io/zh-cn/install-from-source/
1. Front environment requirements
- Go environment installation (the version must be greater than 1.16. Be sure to set the $GOPATH environment variable and add its bin directory to $PATH)
- Node.JS environment installation (the version must be greater than or equal to 12.17, which is used to build js and css files. It is recommended to install the latest version)
- For database environment installation, MySQL is recommended
# My environment
zhongsiru@zhongsirudeMacBook-Air ~ % go version
go version go1.17.1 darwin/arm64
zhongsiru@zhongsirudeMacBook-Air ~ % node -v
v14.17.6
zhongsiru@zhongsirudeMacBook-Air ~ % npm -v
8.1.3
zhongsiru@zhongsirudeMacBook-Air ~ % mysql -V
mysql  Ver 8.0.27 for macos11 on x86_64 (MySQL Community Server - GPL)
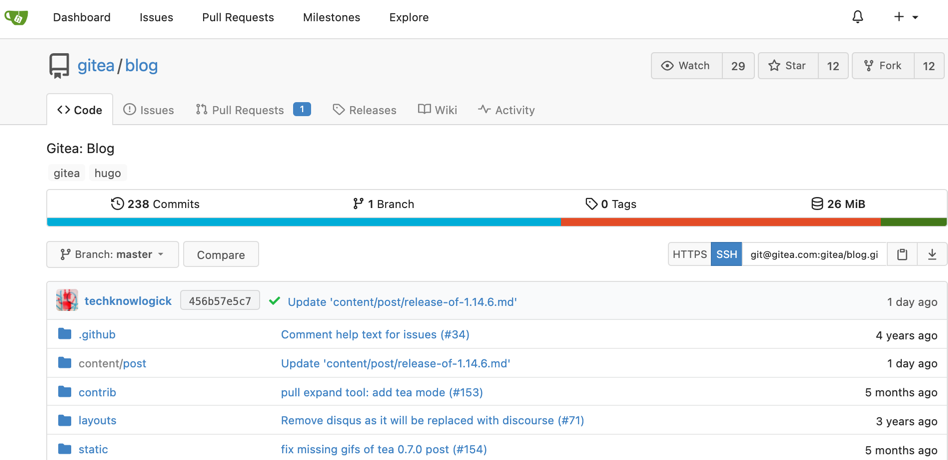
2. Download gitea
- Github: https://github.com/go-gitea/gitea
- Gitee mirror: https://gitee.com/mirrors/gitea
Download the project to the $GOPATH/src directory through git
git clone https://github.com/go-gitea/gitea
3. Build and run
After downloading, open it with Golan, install various front-end dependencies in the project root directory with the following commands, and download the nodes generated in the project root directory_ Modules directory
npm install
Then build the back-end code from the following directory
TAGS="bindata" make backend
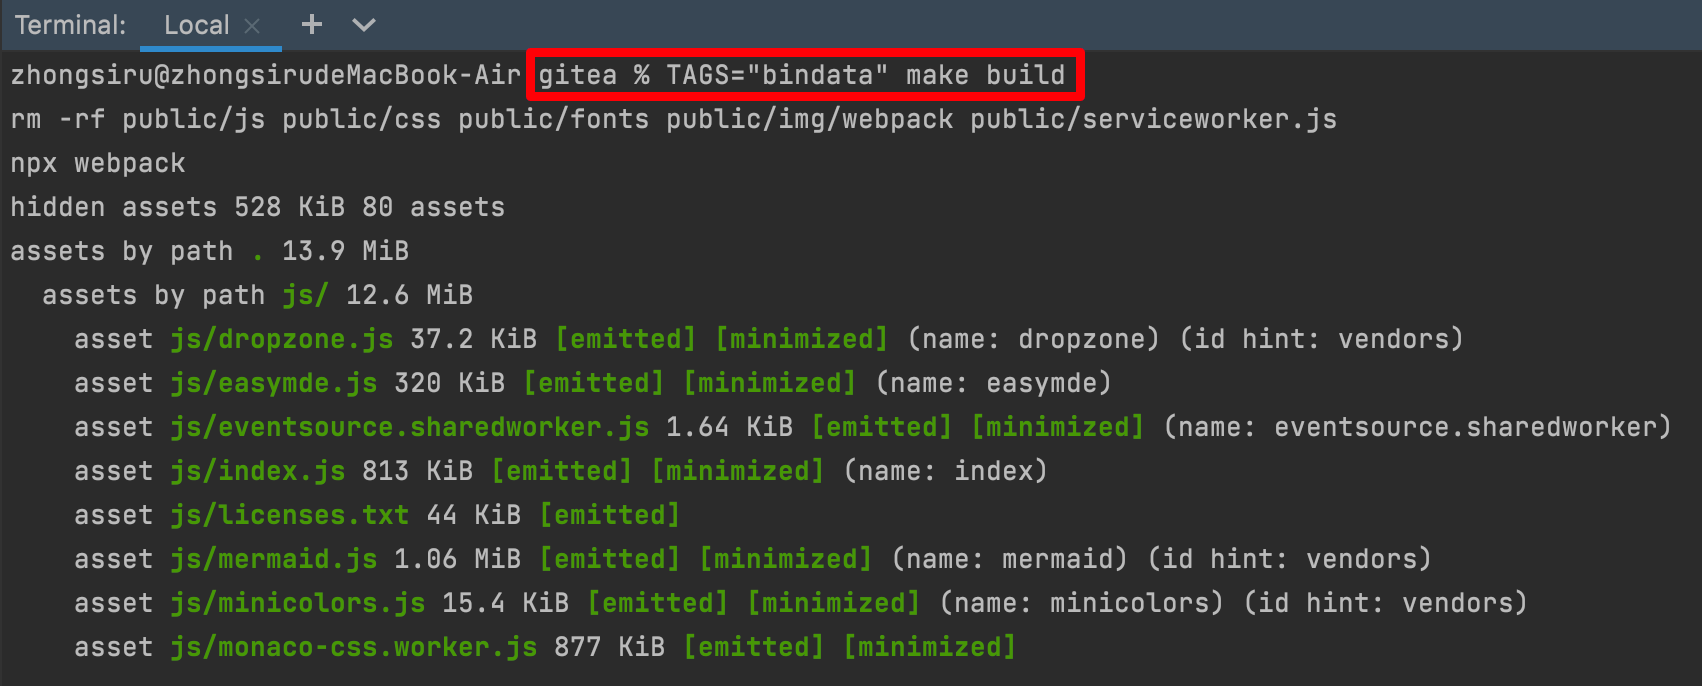
After the construction is completed, the gitea executable will be generated in the project root directory. We use the following command to start the project
./gitea web

After successful startup, we can access the 3000 port of this machine and see the following interface:
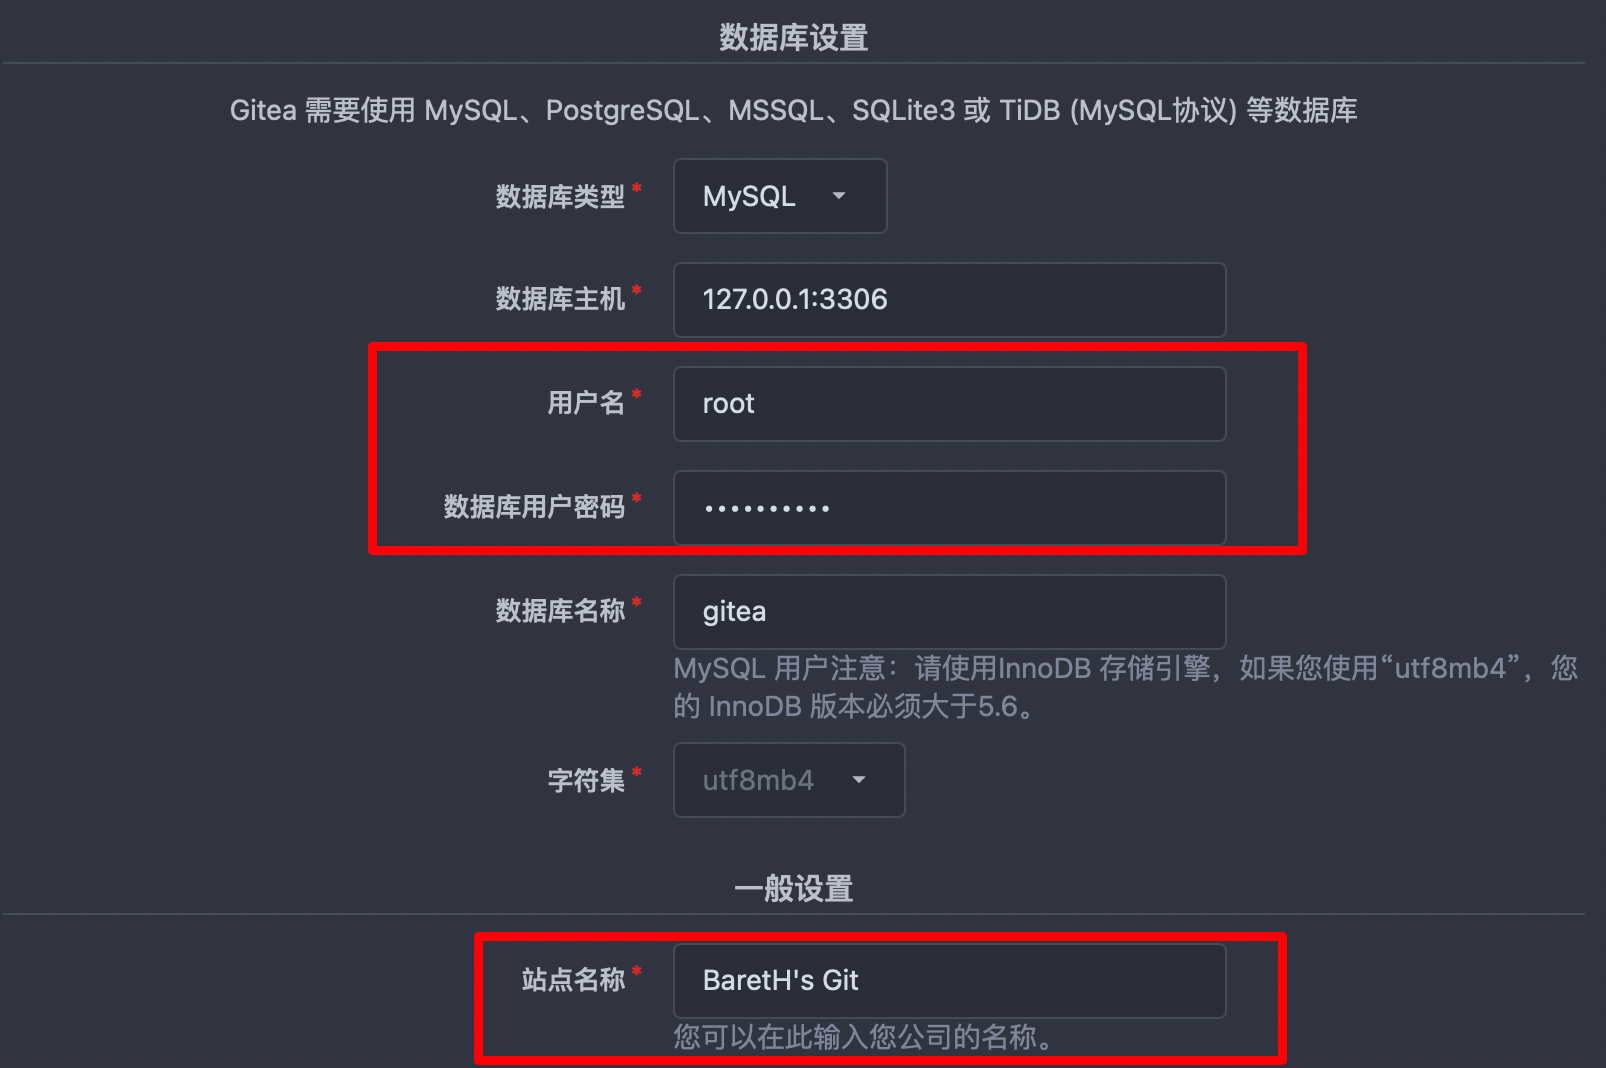
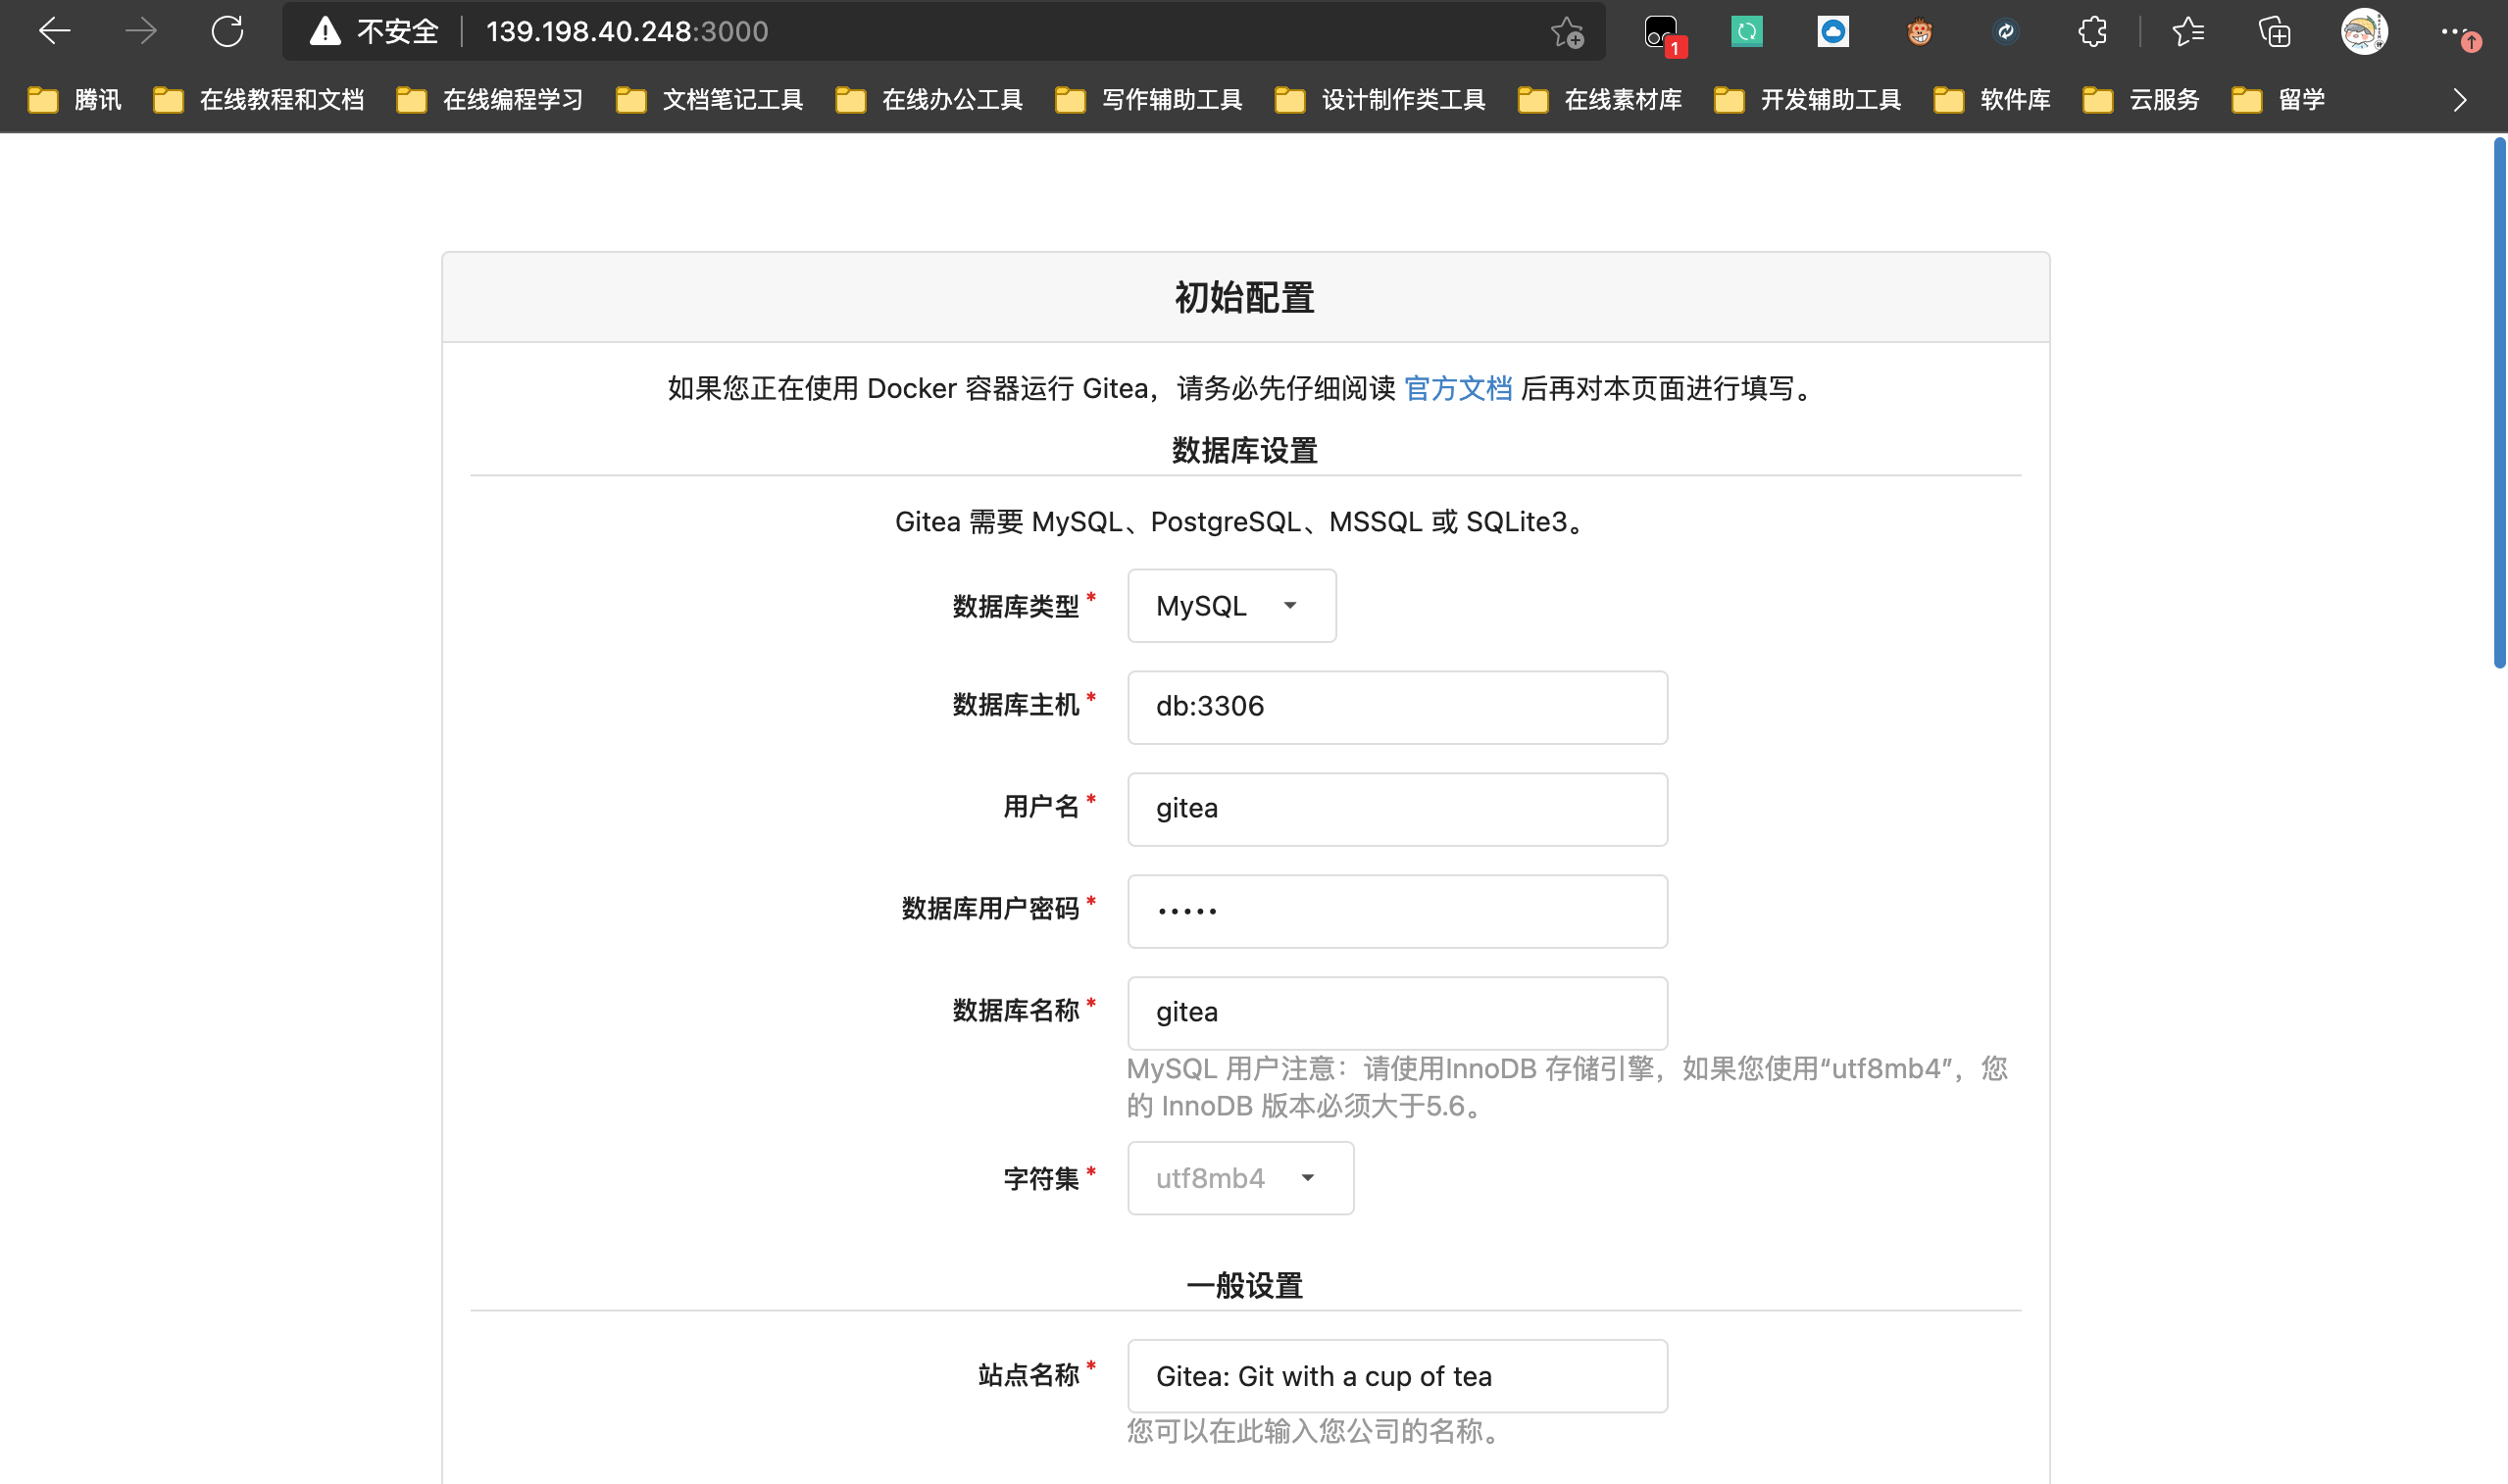
Here we can configure the mysql database and password we installed. The database name here requires us to create a database in advance. The name created here is gitea. In addition, we can change the site name to the name we want.
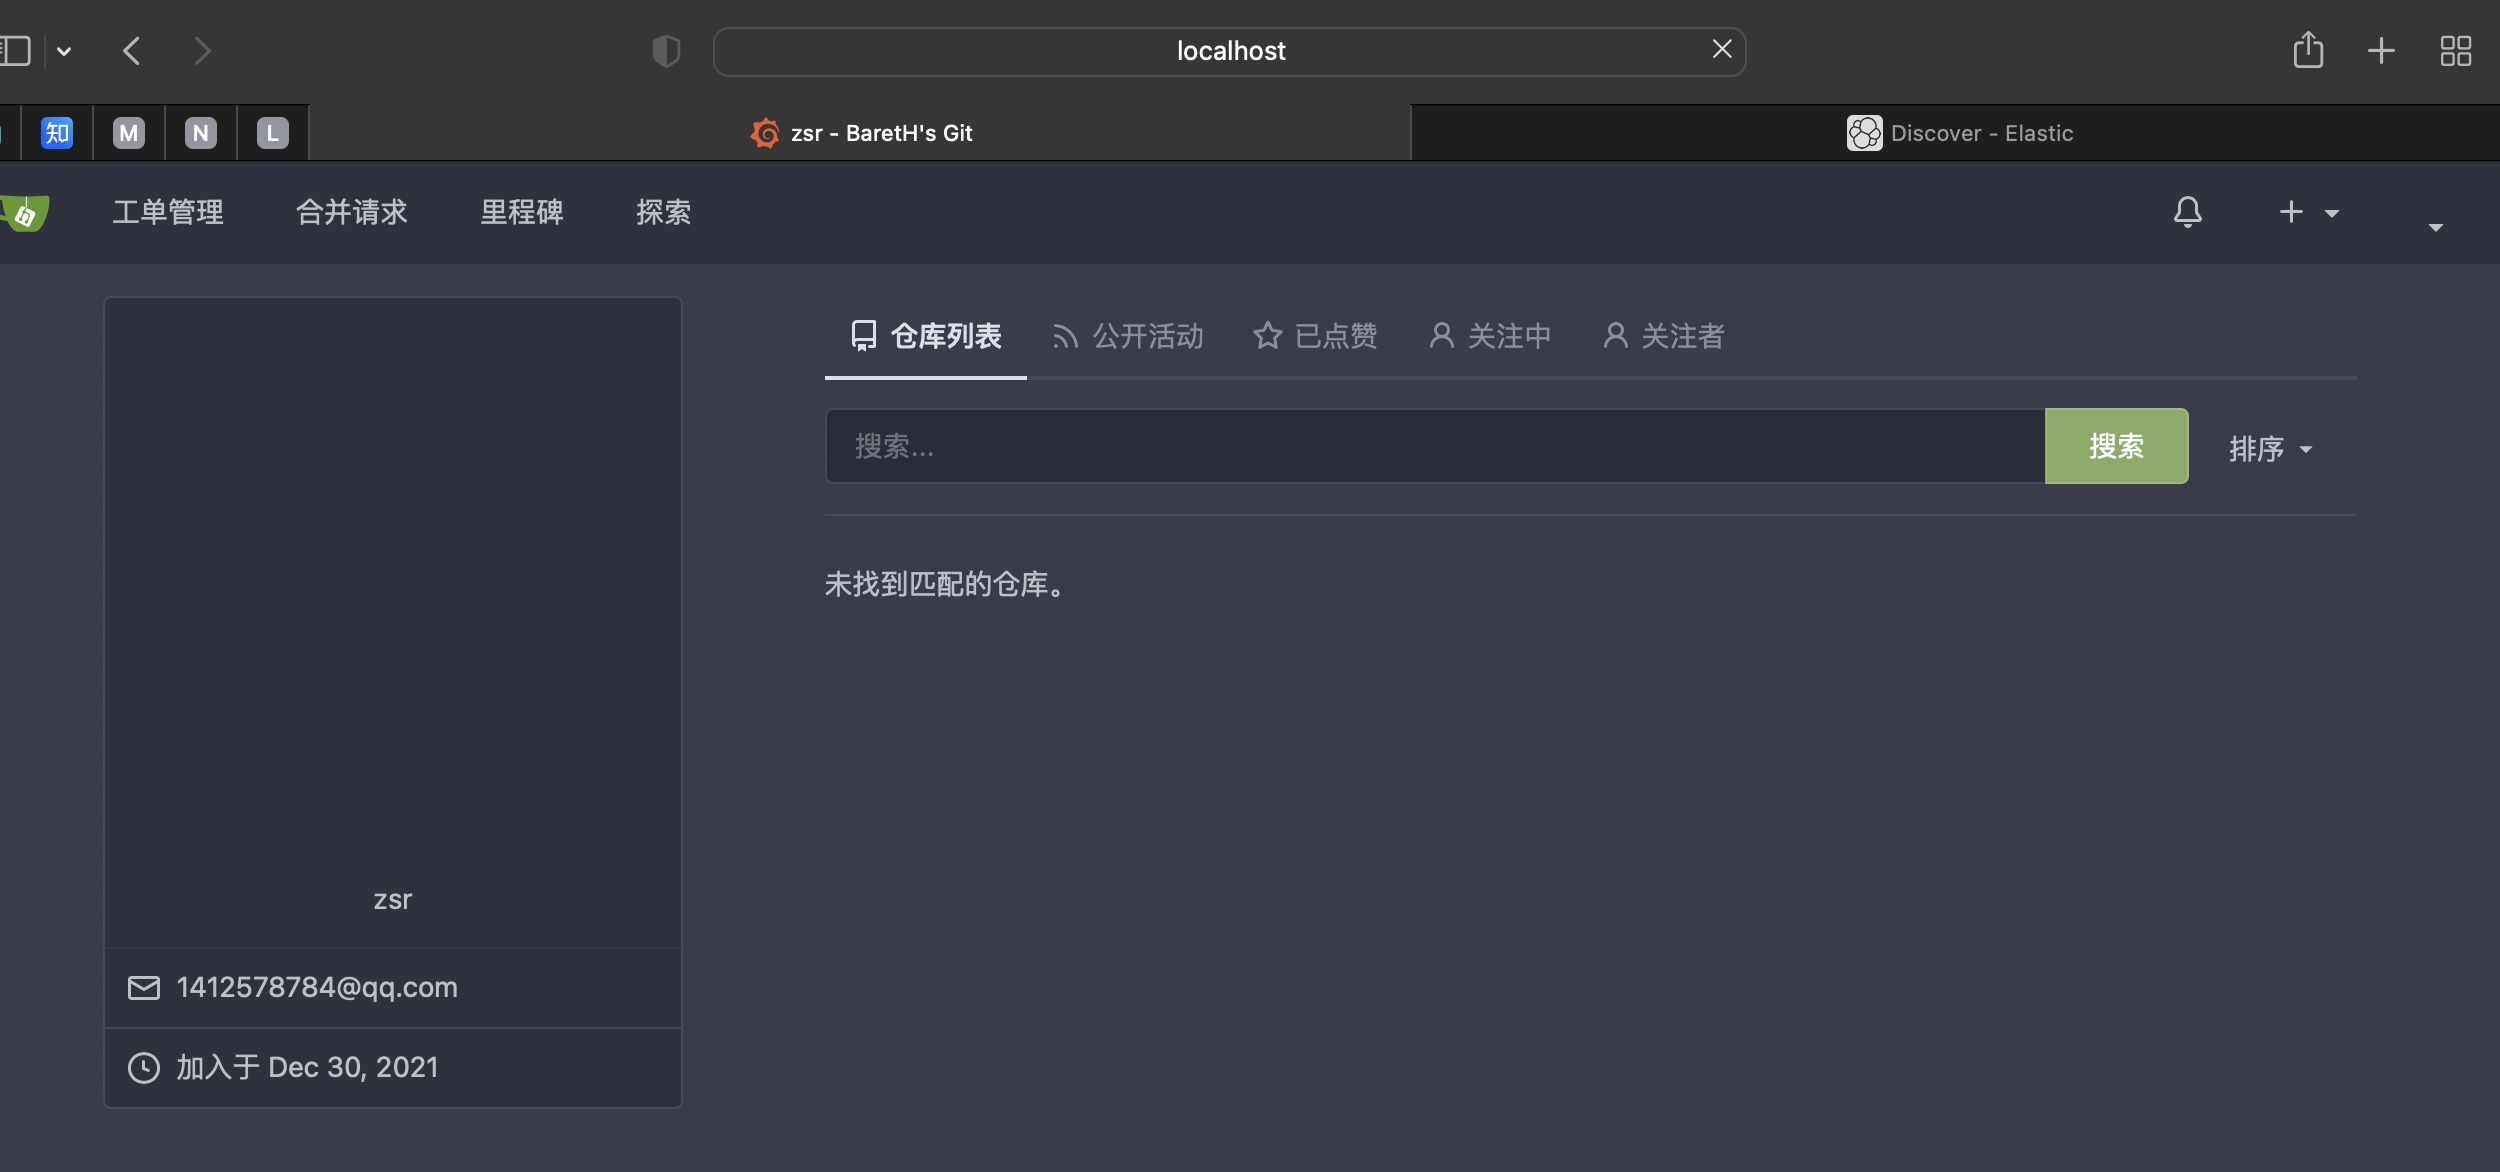
After the settings are updated, click Install, and then enter the gitea console, where the installation and configuration are successful.
2, Docker installation method
The experimental environment is centos7 6 servers. You can use any cloud vendor or CentOS virtual machine
Official documents: https://docs.gitea.io/zh-cn/install-with-docker/
1. Docker installation
Official documents: Install Docker Engine on CentOS | Docker Documentation
# 1. Remove previous docker related packages
sudo yum remove docker \
                  docker-client \
                  docker-client-latest \
                  docker-common \
                  docker-latest \
                  docker-latest-logrotate \
                  docker-logrotate \
                  docker-engine

# 2. Configure yum source
sudo yum install -y yum-utils
sudo yum-config-manager \
--add-repo \
http://mirrors.aliyun.com/docker-ce/linux/centos/docker-ce.repo

# 3. Install docker
sudo yum install -y docker-ce docker-ce-cli containerd.io

# 4. Start docker
systemctl enable docker --now

# 5. Configure Alibaba cloud acceleration
sudo mkdir -p /etc/docker
sudo tee /etc/docker/daemon.json <<-'EOF'
{
  "registry-mirrors": ["https://82m9ar63.mirror.aliyuncs.com"],
  "exec-opts": ["native.cgroupdriver=systemd"],
  "log-driver": "json-file",
  "log-opts": {
    "max-size": "100m"
  },
  "storage-driver": "overlay2"
}
EOF
sudo systemctl daemon-reload
sudo systemctl restart docker
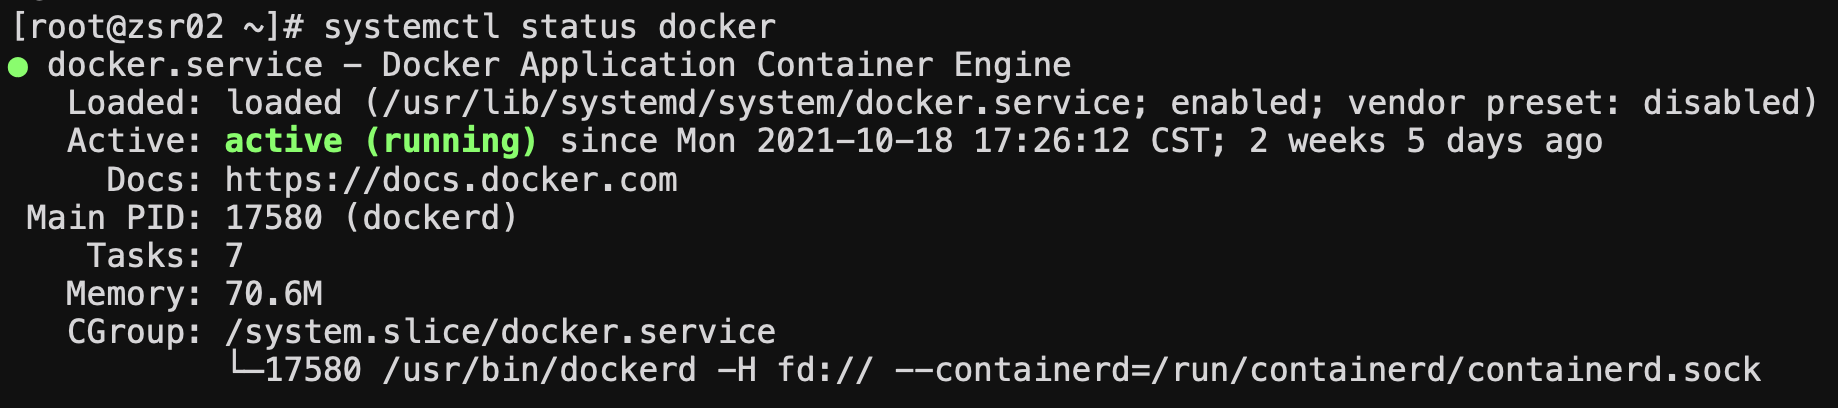
After the above operations are completed, we can use systemctl status docker to check whether the Docker service is started
2. Dokcer Compose installation
Official documents: Install Docker Compose | Docker Documentation
# 1. Install docker compose
sudo curl -L "https://github.com/docker/compose/releases/download/1.29.2/docker-compose-$(uname -s)-$(uname -m)" -o /usr/local/bin/docker-compose

# 2. Grant the downloaded docker compose execution permission
sudo chmod +x /usr/local/bin/docker-compose
be careful: Docker Compose It is not stable in GitHub and can be installed at high speed through the mirror website.
- Mirror site: http://get.daocloud.io/
curl -L https://get.daocloud.io/docker/compose/releases/download/v2.2.2/docker-compose-`uname -s`-`uname -m` > /usr/local/bin/docker-compose
chmod +x /usr/local/bin/docker-compose
After downloading, you can enter docker compose -- version to check whether the installation is successful

3. Install and start gitea
We install gitea through the yaml configuration file of docker compose, in which the database mysql is selected to store the data file of gitea.
Create docker compose YML file, as follows:
version: "3"

networks:
  gitea:
    external: false

services:
  server:
    image: gitea/gitea:1.15.9
    container_name: gitea
    environment:
      - USER_UID=1000
      - USER_GID=1000
      - DB_TYPE=mysql
      - DB_HOST=db:3306
      - DB_NAME=gitea
      - DB_USER=gitea
      - DB_PASSWD=gitea
    restart: always
    networks:
      - gitea
    volumes:
      - ./gitea:/data
      - /etc/timezone:/etc/timezone:ro
      - /etc/localtime:/etc/localtime:ro
    ports:
       - "3000:3000"
       - "222:22"
    depends_on:
       - db

  db:
     image: mysql:8
     restart: always
     environment:
       - MYSQL_ROOT_PASSWORD=gitea
       - MYSQL_USER=gitea
       - MYSQL_PASSWORD=gitea
       - MYSQL_DATABASE=gitea
     networks:
       - gitea
     volumes:
       - ./mysql:/var/lib/mysql
After writing, we start Gitea again with the following command
# Start gitea in the background
docker-compose up -d server

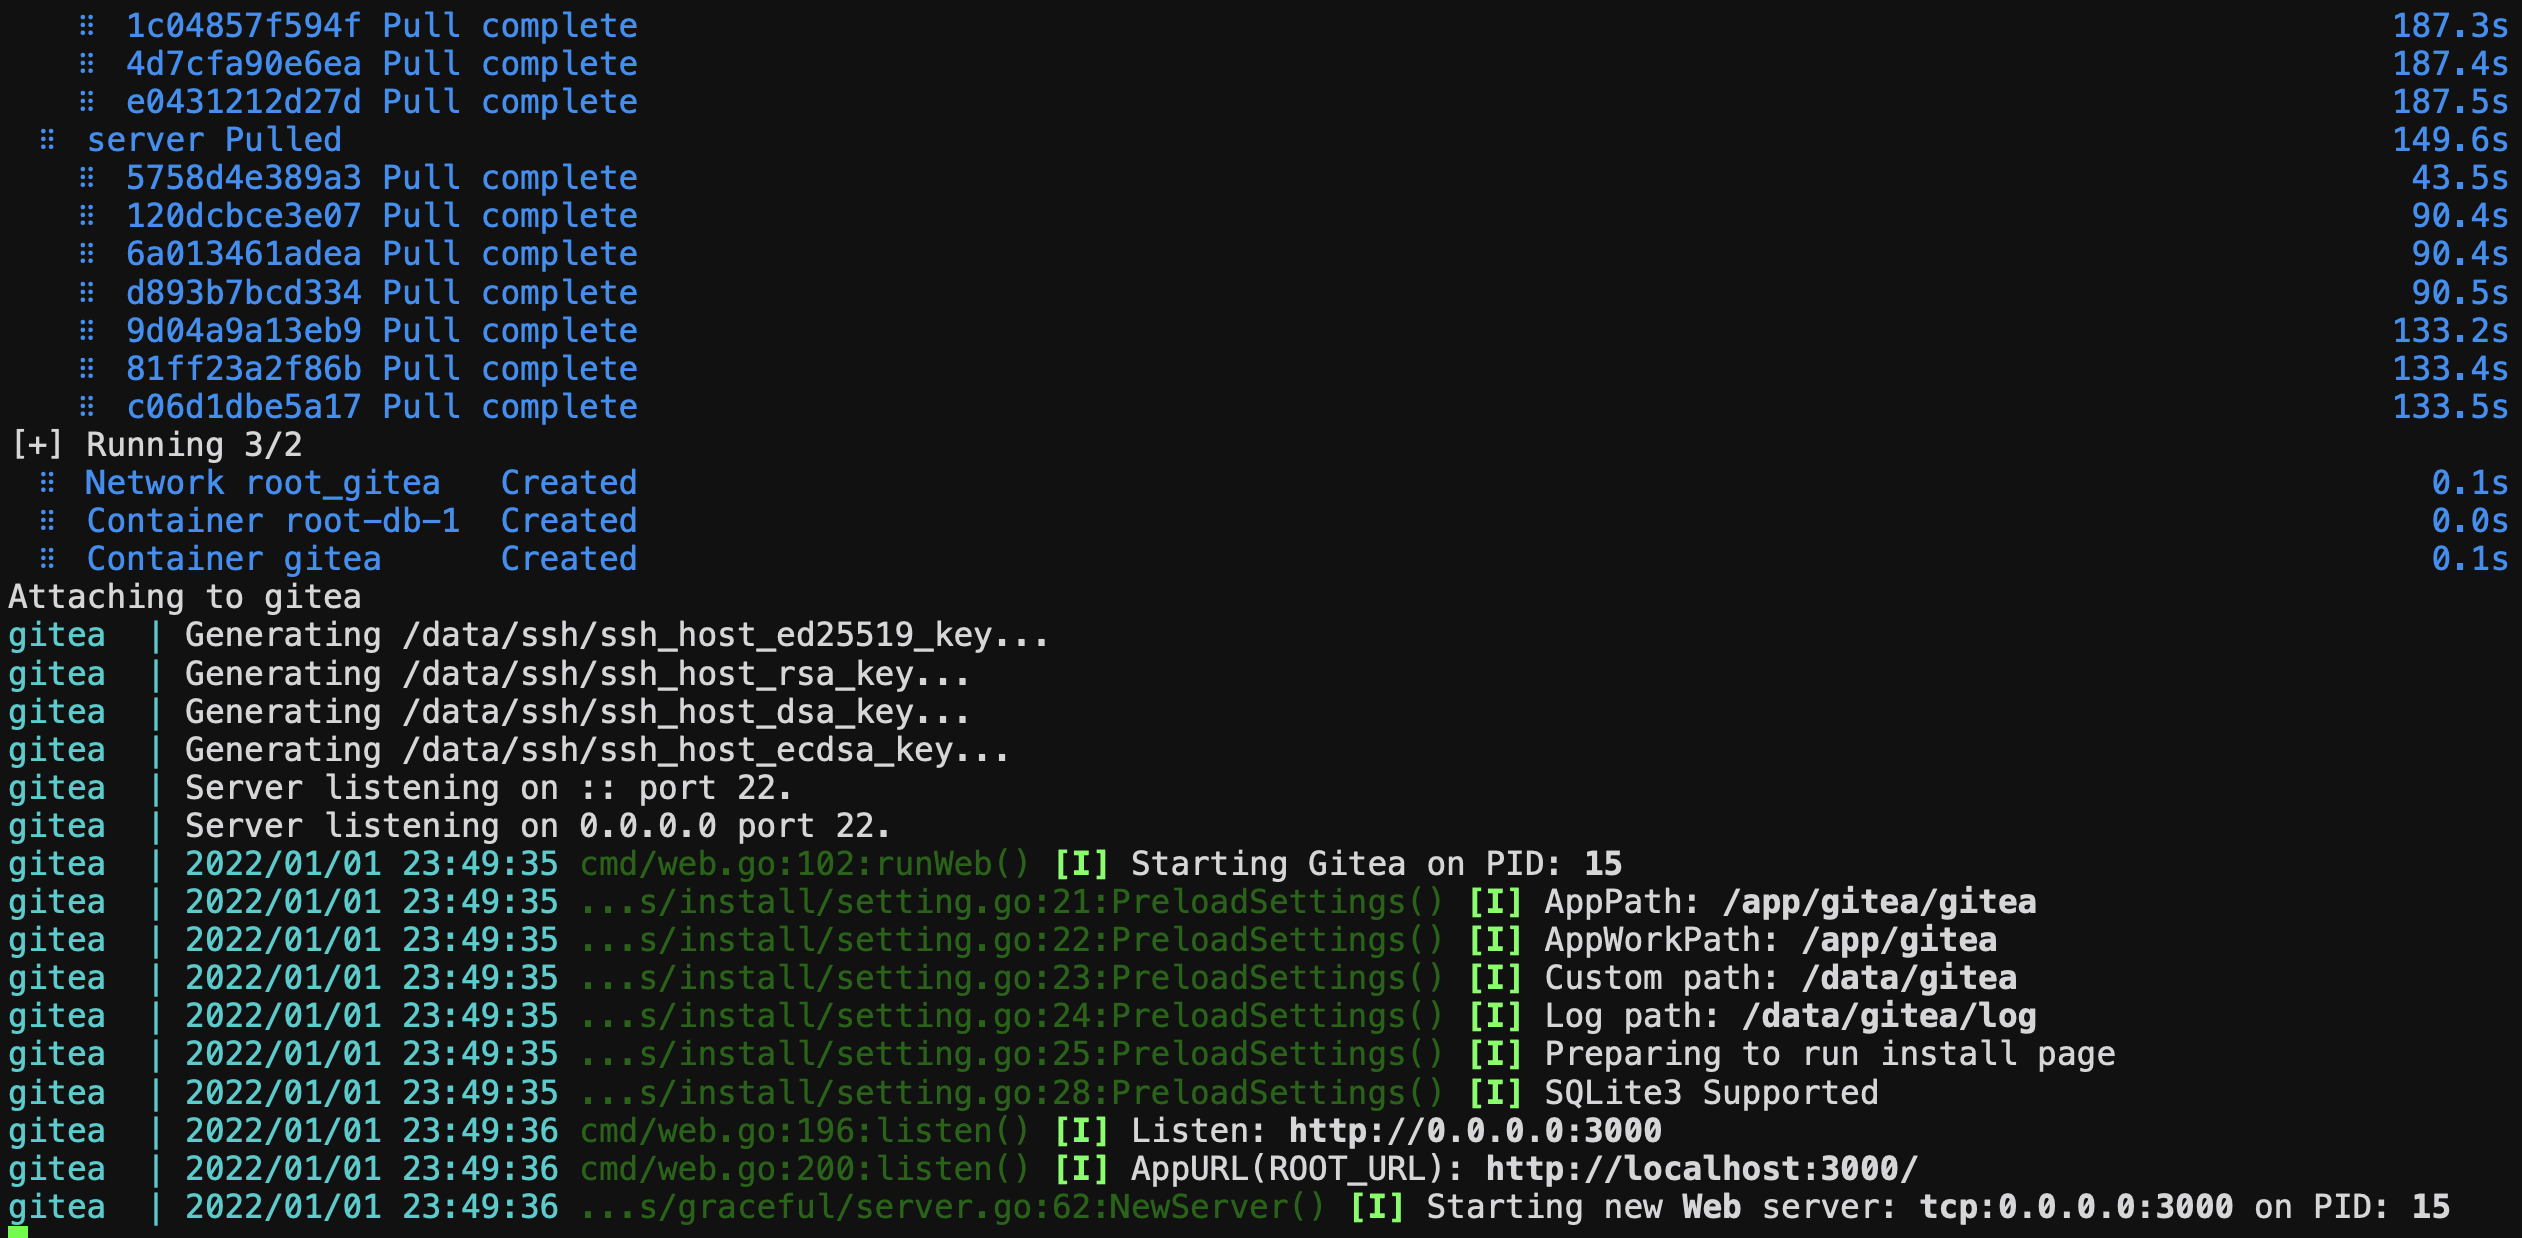
After successful startup, you can see that it is started at port 3000, and then we can access its web interface through the server public network IP:3000. Note that the server security group rules should release port 3000
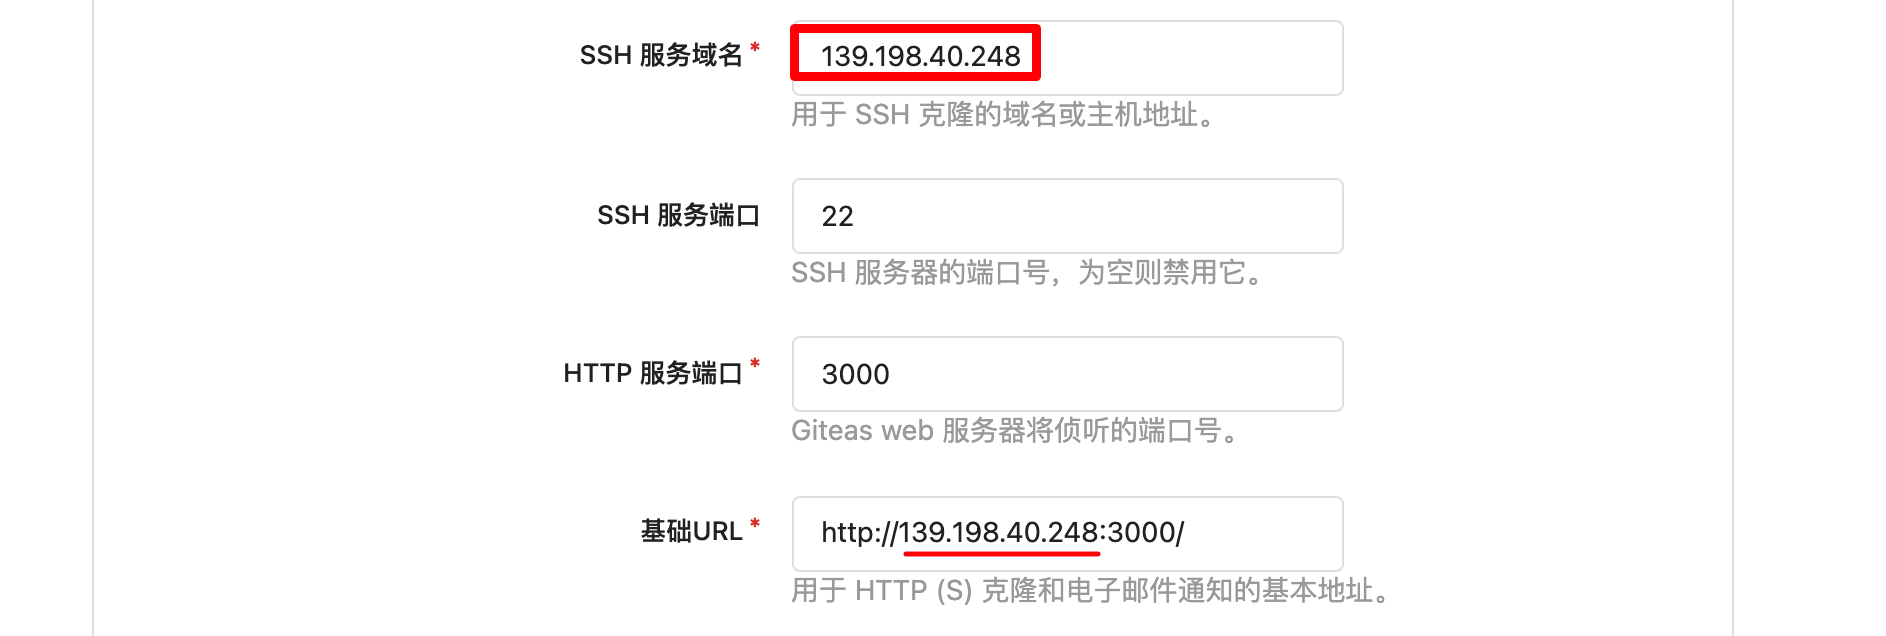
We don't need to change the database-compose.doc according to the above settings To read from the database configuration in the YML file, we need to change the domain name of the ssh service to the public ip of the server, and the prefix of the notification base url to the public ip of the server
Then create an administrator user (zsr/123456) and click Install
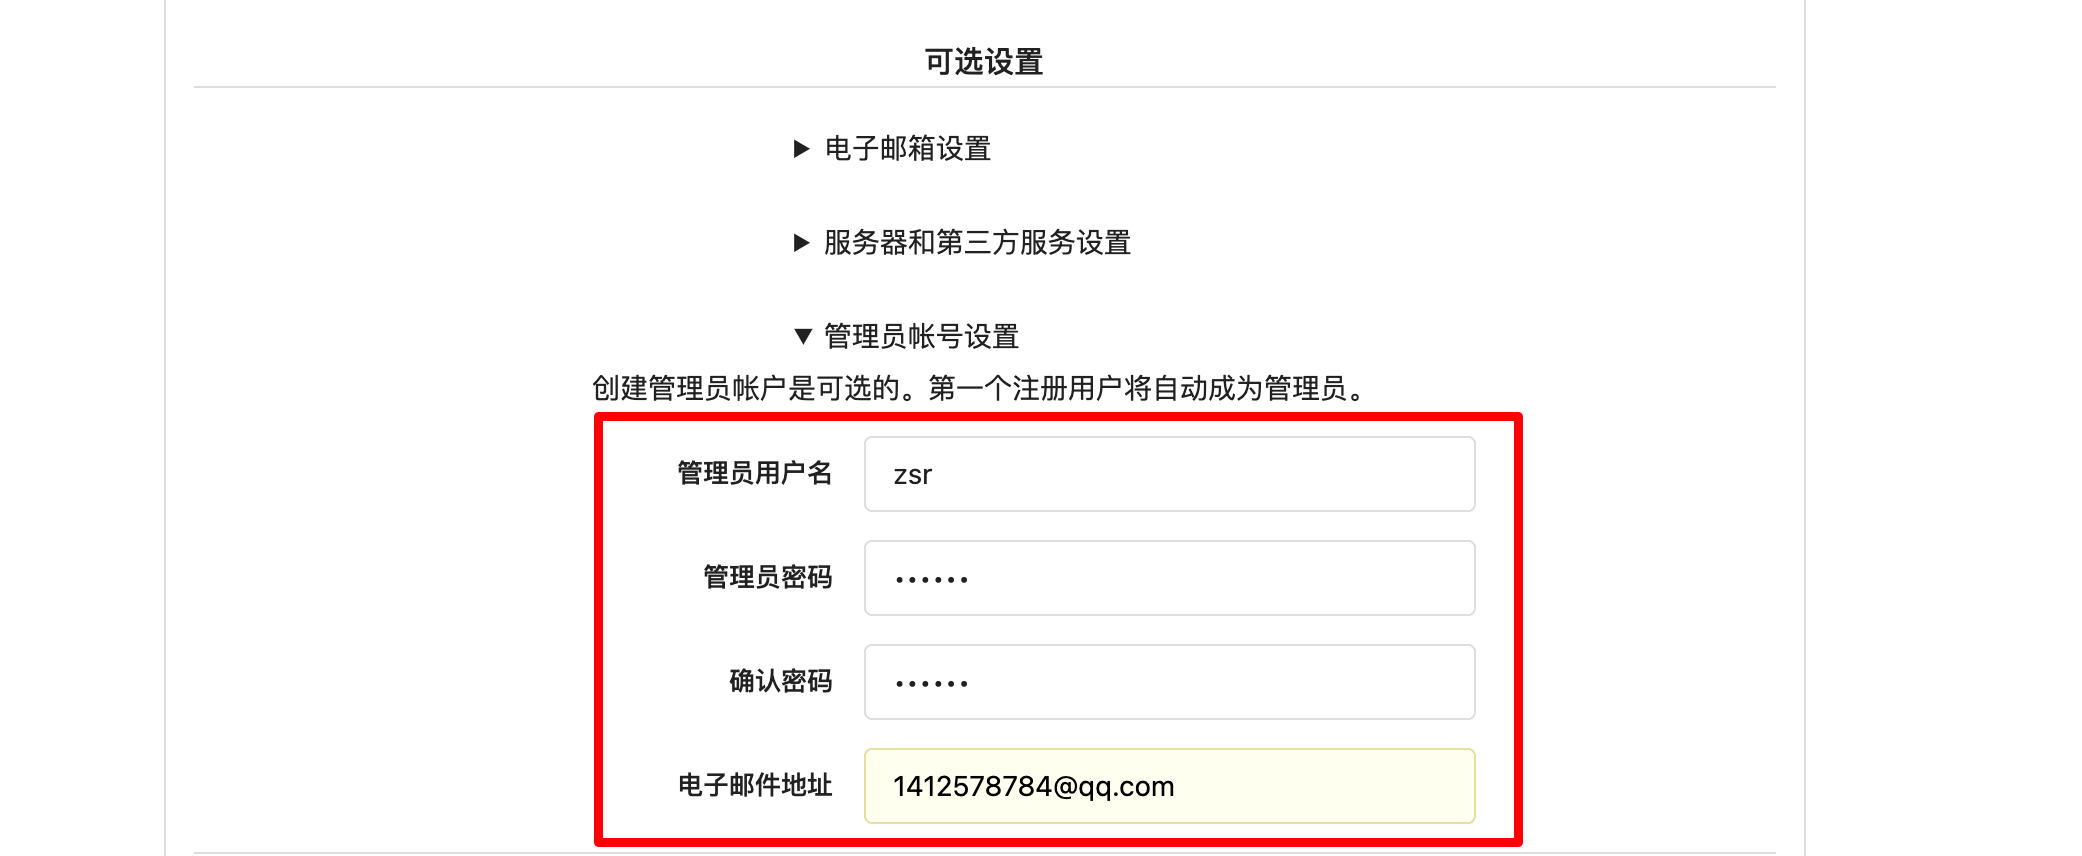
After setting, click Install Now, and then you can enter the following interface
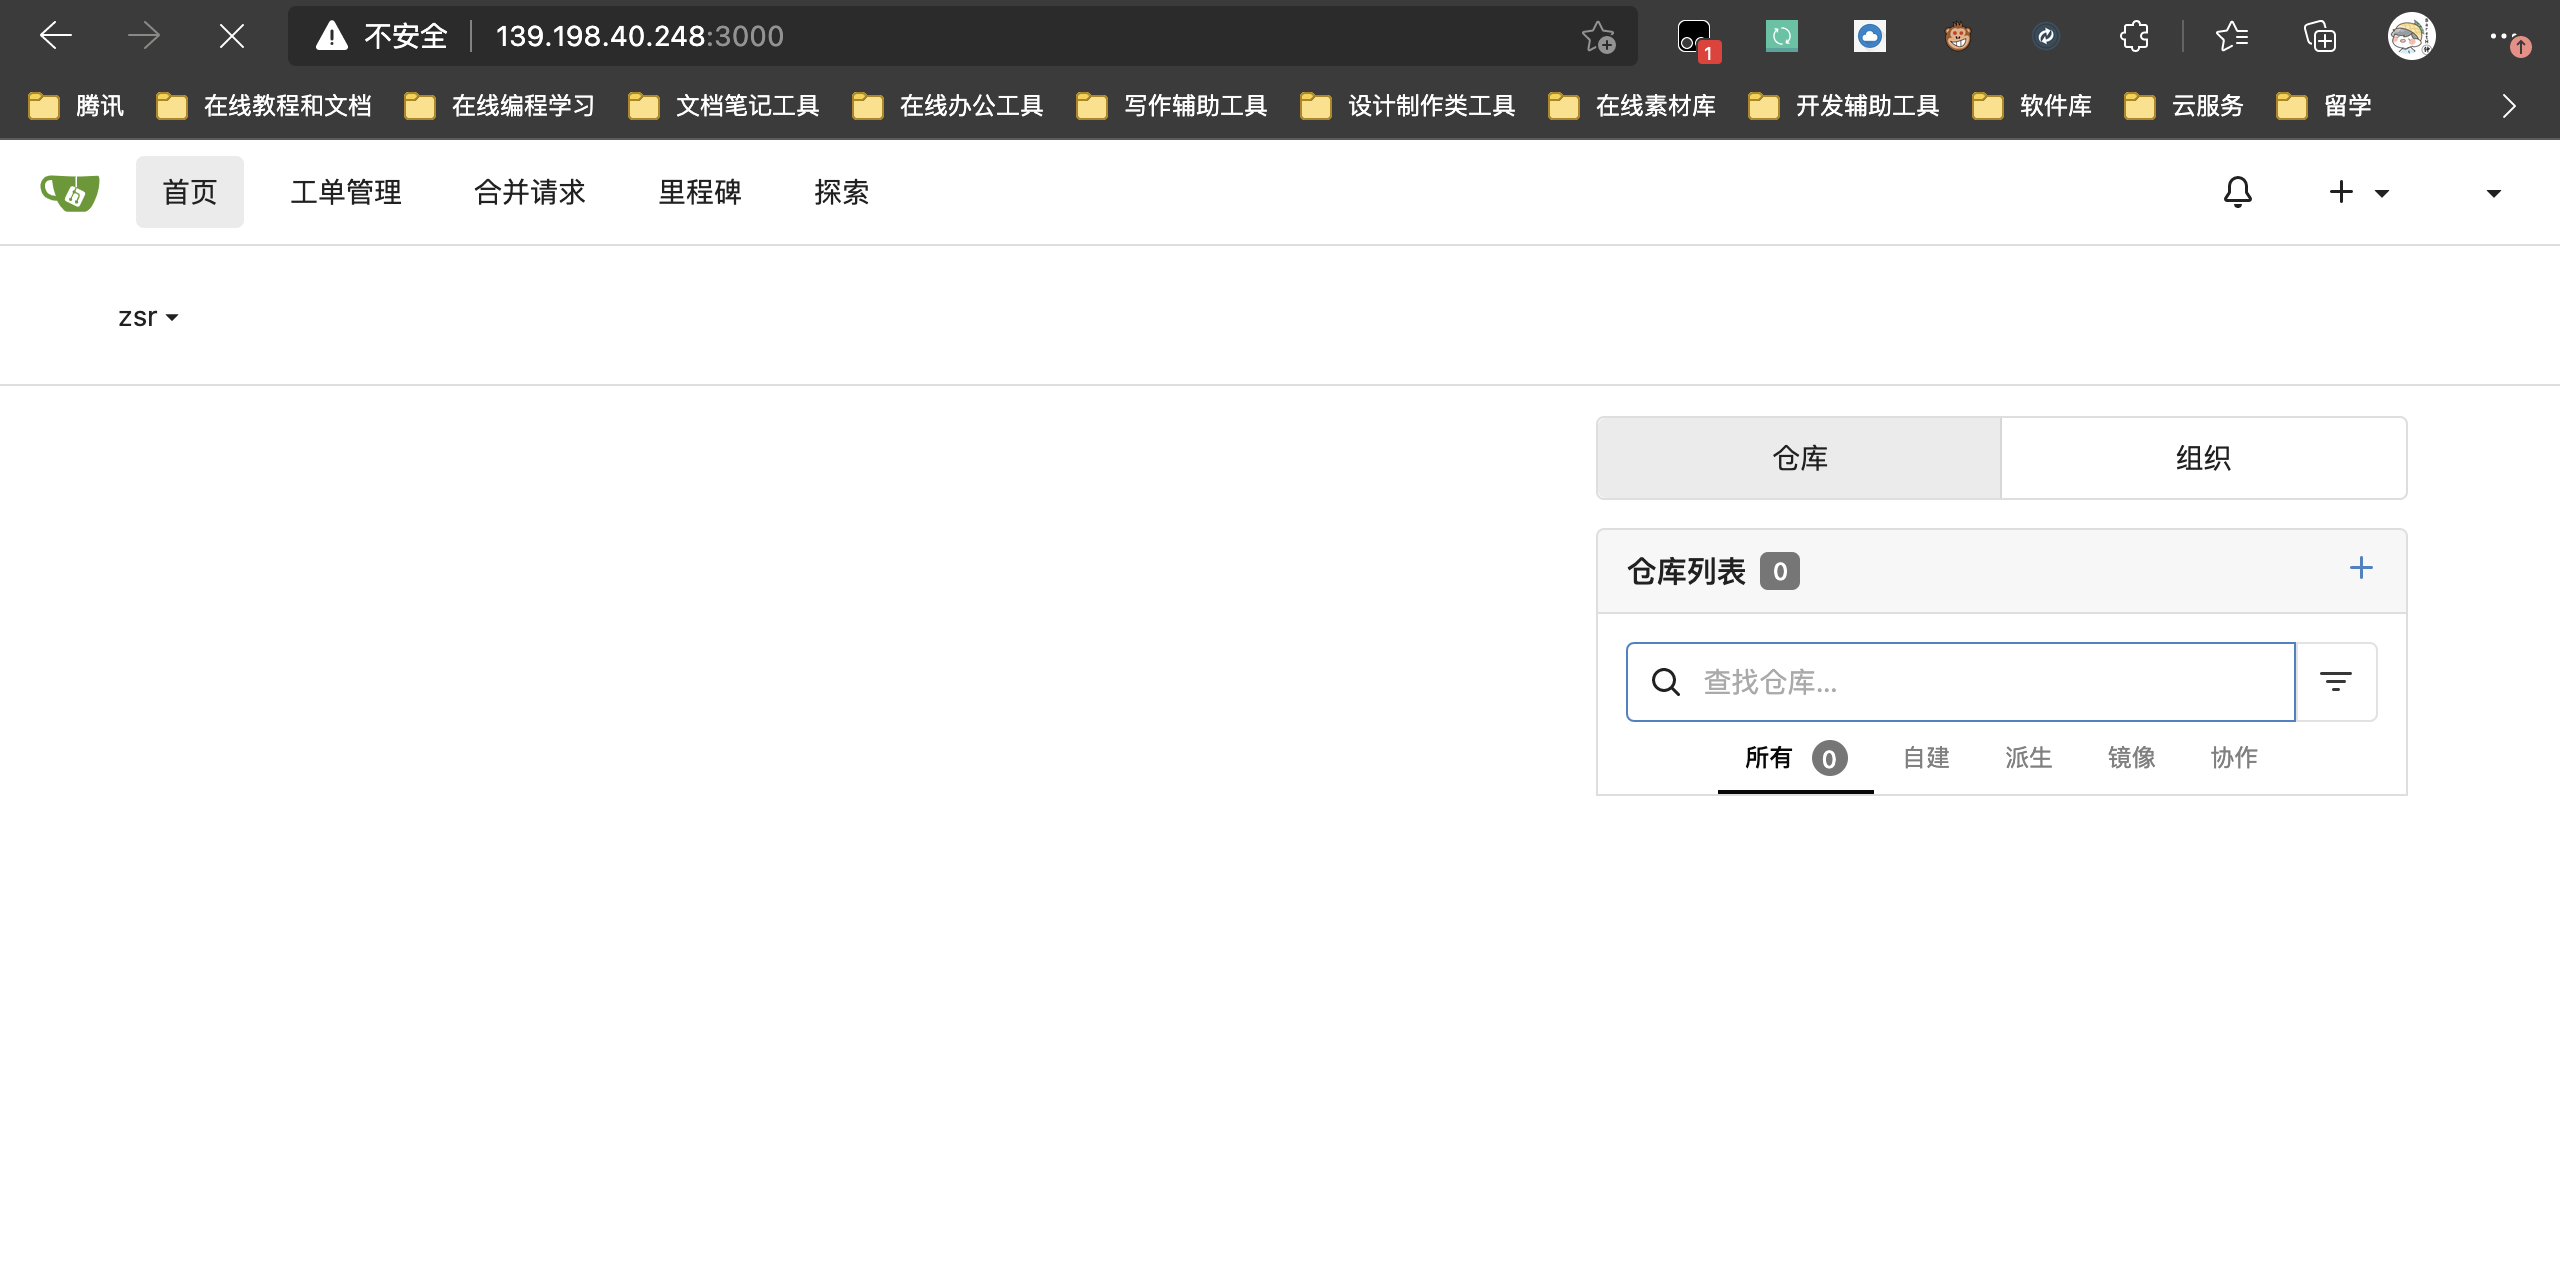
The installation and deployment of this gitea has been completed
4. Basic operation examples
Let's build a new warehouse:
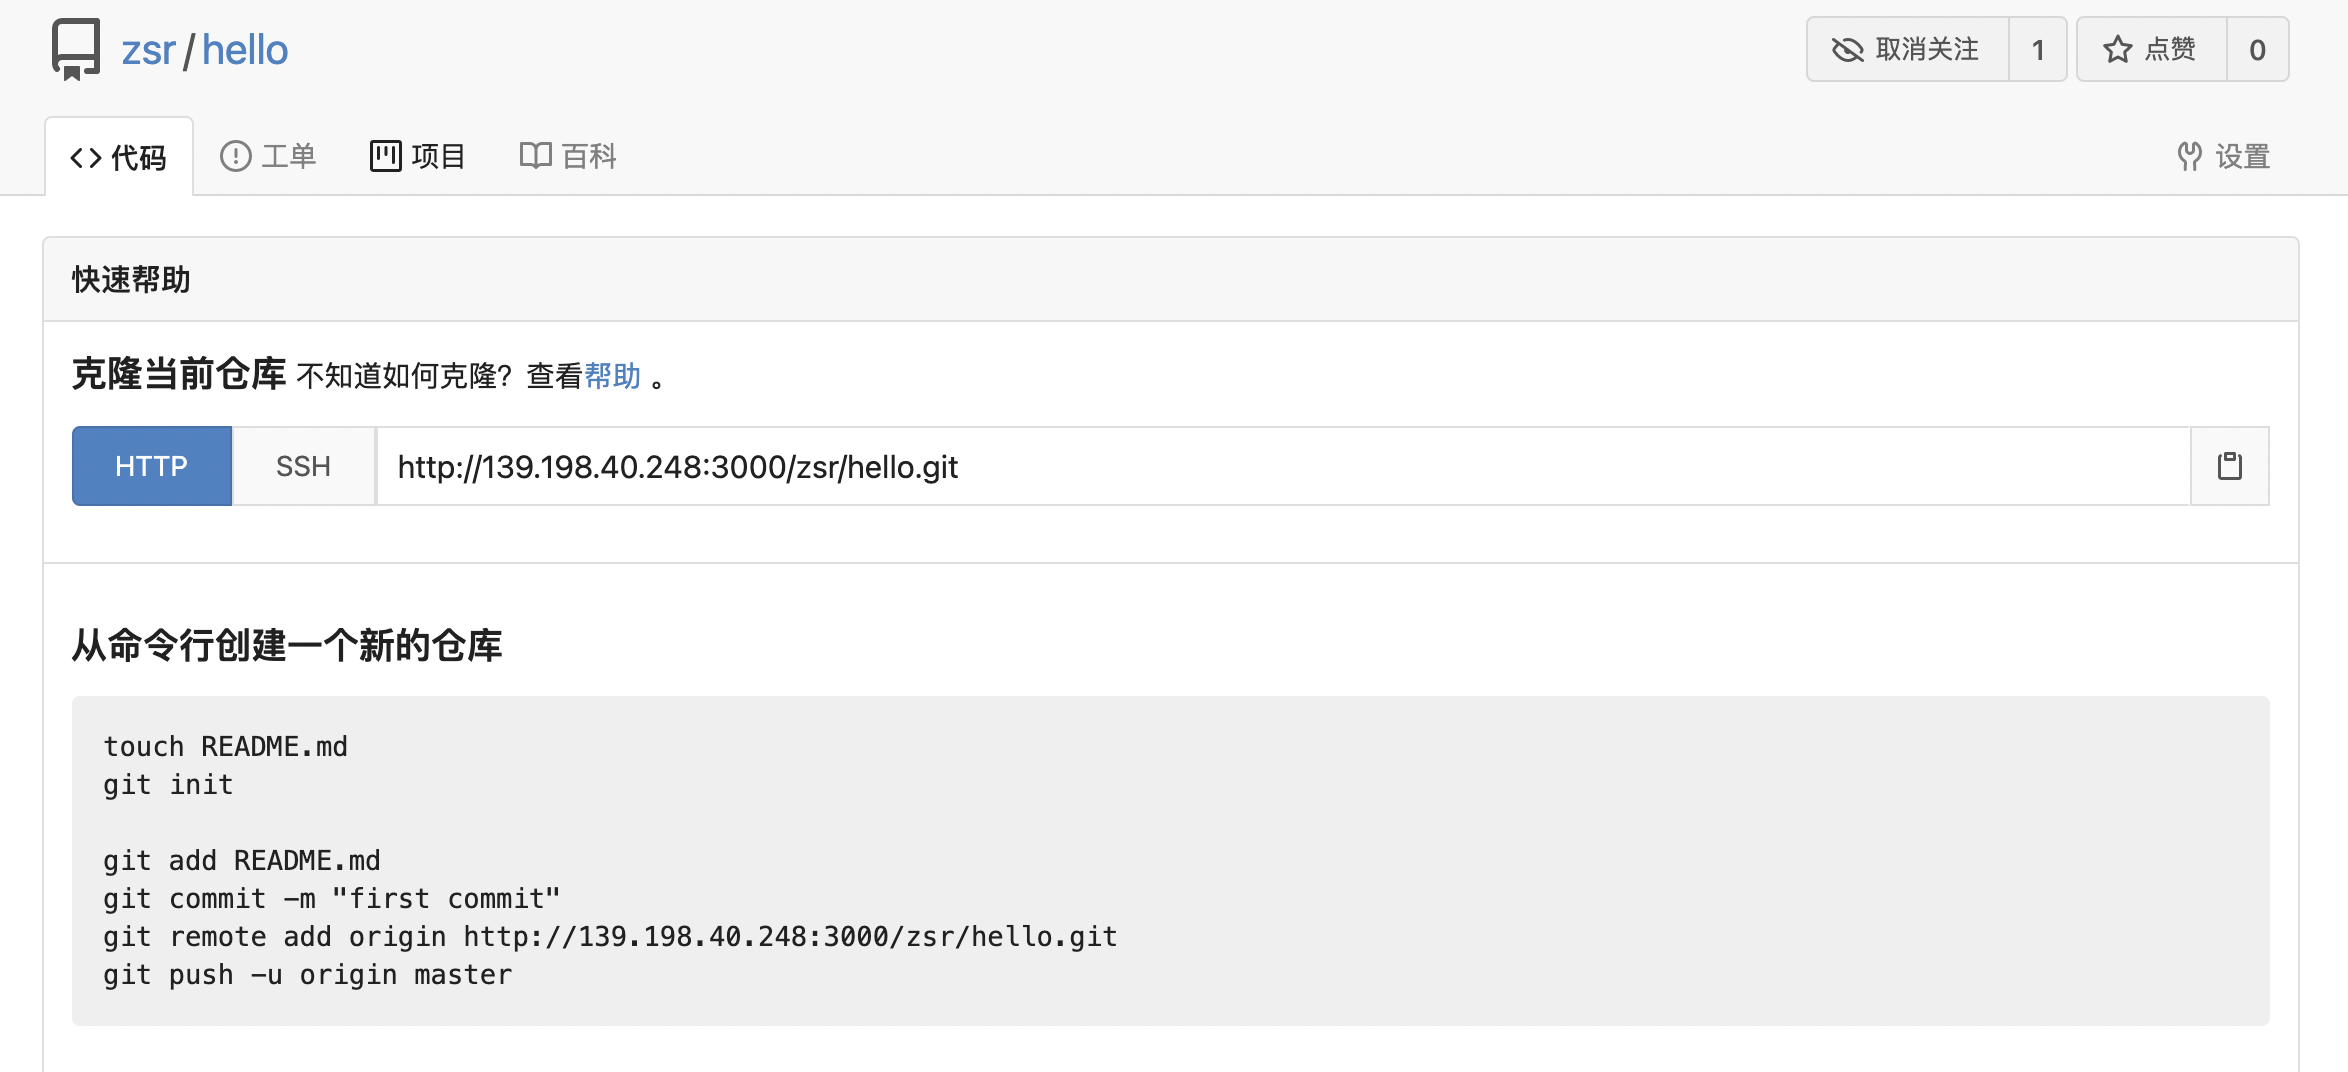
Then we clone the warehouse, add a new file, and then push it back:
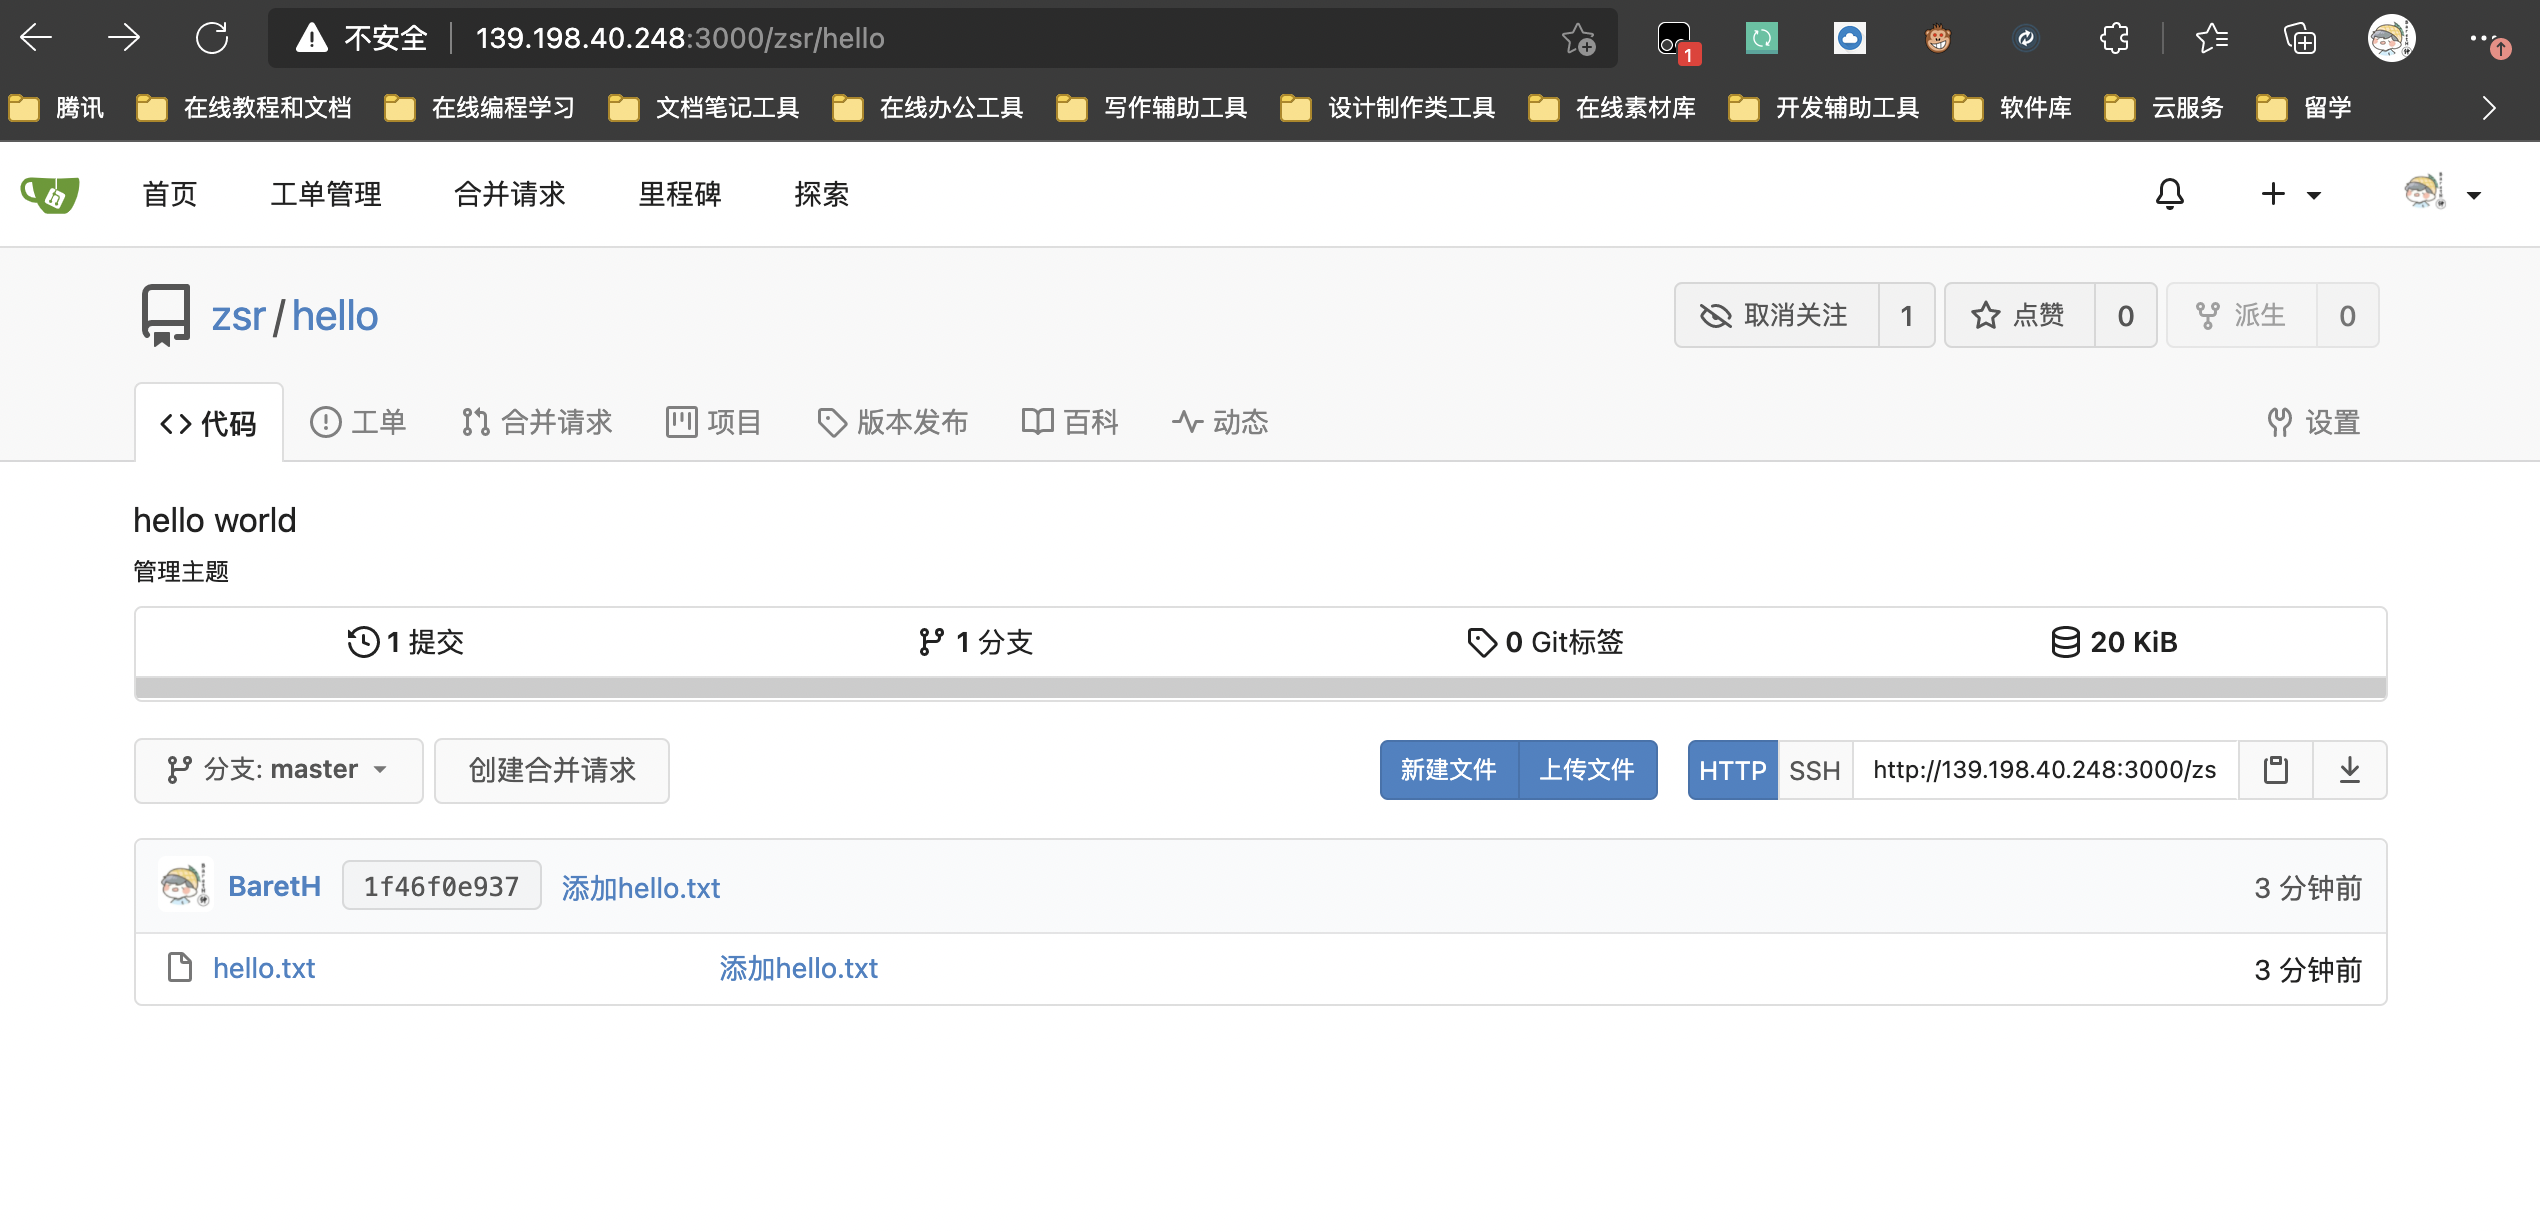
# Clone warehouse
zhongsiru@zhongsirudeMacBook-Air Desktop % git clone http://139.198.40.248:3000/zsr/hello.git
Cloning into 'hello'...
warning: You appear to have cloned an empty repository.

# Enter local warehouse directory
zhongsiru@zhongsirudeMacBook-Air Desktop % cd hello

# Add hello Txt file
zhongsiru@zhongsirudeMacBook-Air hello % vim hello.txt
zhongsiru@zhongsirudeMacBook-Air hello % ls
hello.txt

# Add changes to staging area
zhongsiru@zhongsirudeMacBook-Air hello % git add .

# Add contents of staging area to local warehouse
zhongsiru@zhongsirudeMacBook-Air hello % git commit -m "add to hello.txt"
[master (root-commit) 1f46f0e] add to hello.txt
 1 file changed, 1 insertion(+)
 create mode 100644 hello.txt

# Push to remote warehouse (user name and password to be entered)
zhongsiru@zhongsirudeMacBook-Air hello % git push origin master
Username for 'http://139.198.40.248:3000': zsr
Password for 'http://zsr@139.198.40.248:3000':
Enumerating objects: 3, done.
Counting objects: 100% (3/3), done.
Writing objects: 100% (3/3), 230 bytes | 230.00 KiB/s, done.
Total 3 (delta 0), reused 0 (delta 0), pack-reused 0
remote: . Processing 1 references
remote: Processed 1 references in total
To http://139.198.40.248:3000/zsr/hello.git
 * [new branch]      master -> master
After the above command operation is completed, we return to the gitea web page to see the changes
5. ssh configuration
As mentioned above, we need to enter the user name and password for verification when pushing to the remote warehouse, which is very troublesome. We can configure ssh to realize password free login:
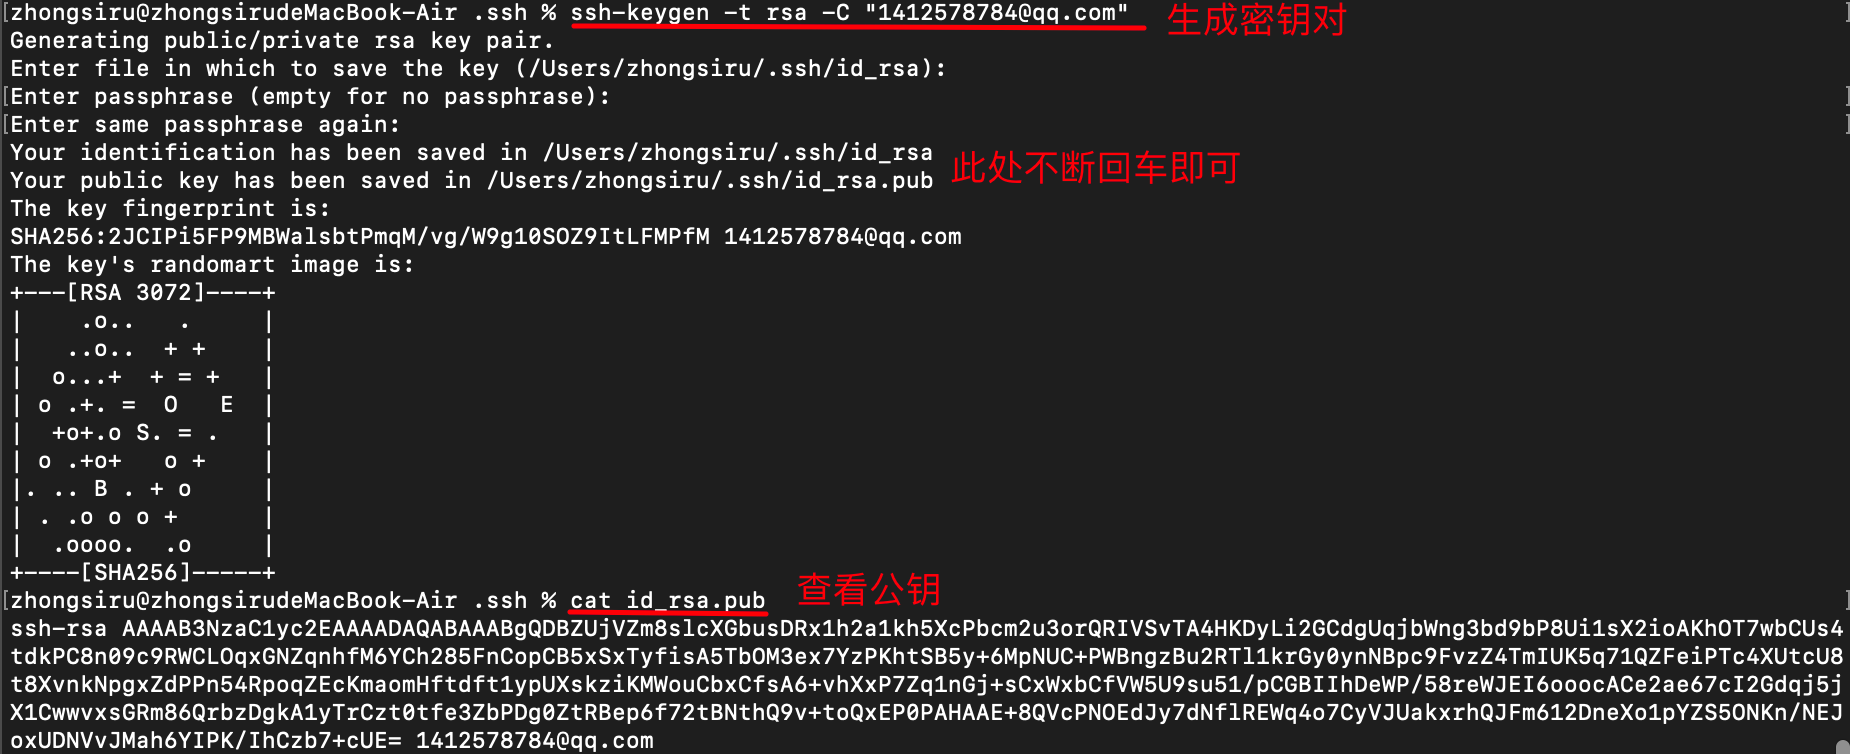
one ️⃣ First, generate the public key locally:
# Enter the ssh directory
cd ~/.ssh

# Generate key pair
ssh-keygen -t rsa -C "mailbox"

# View public key content
cat id_rsa.pub
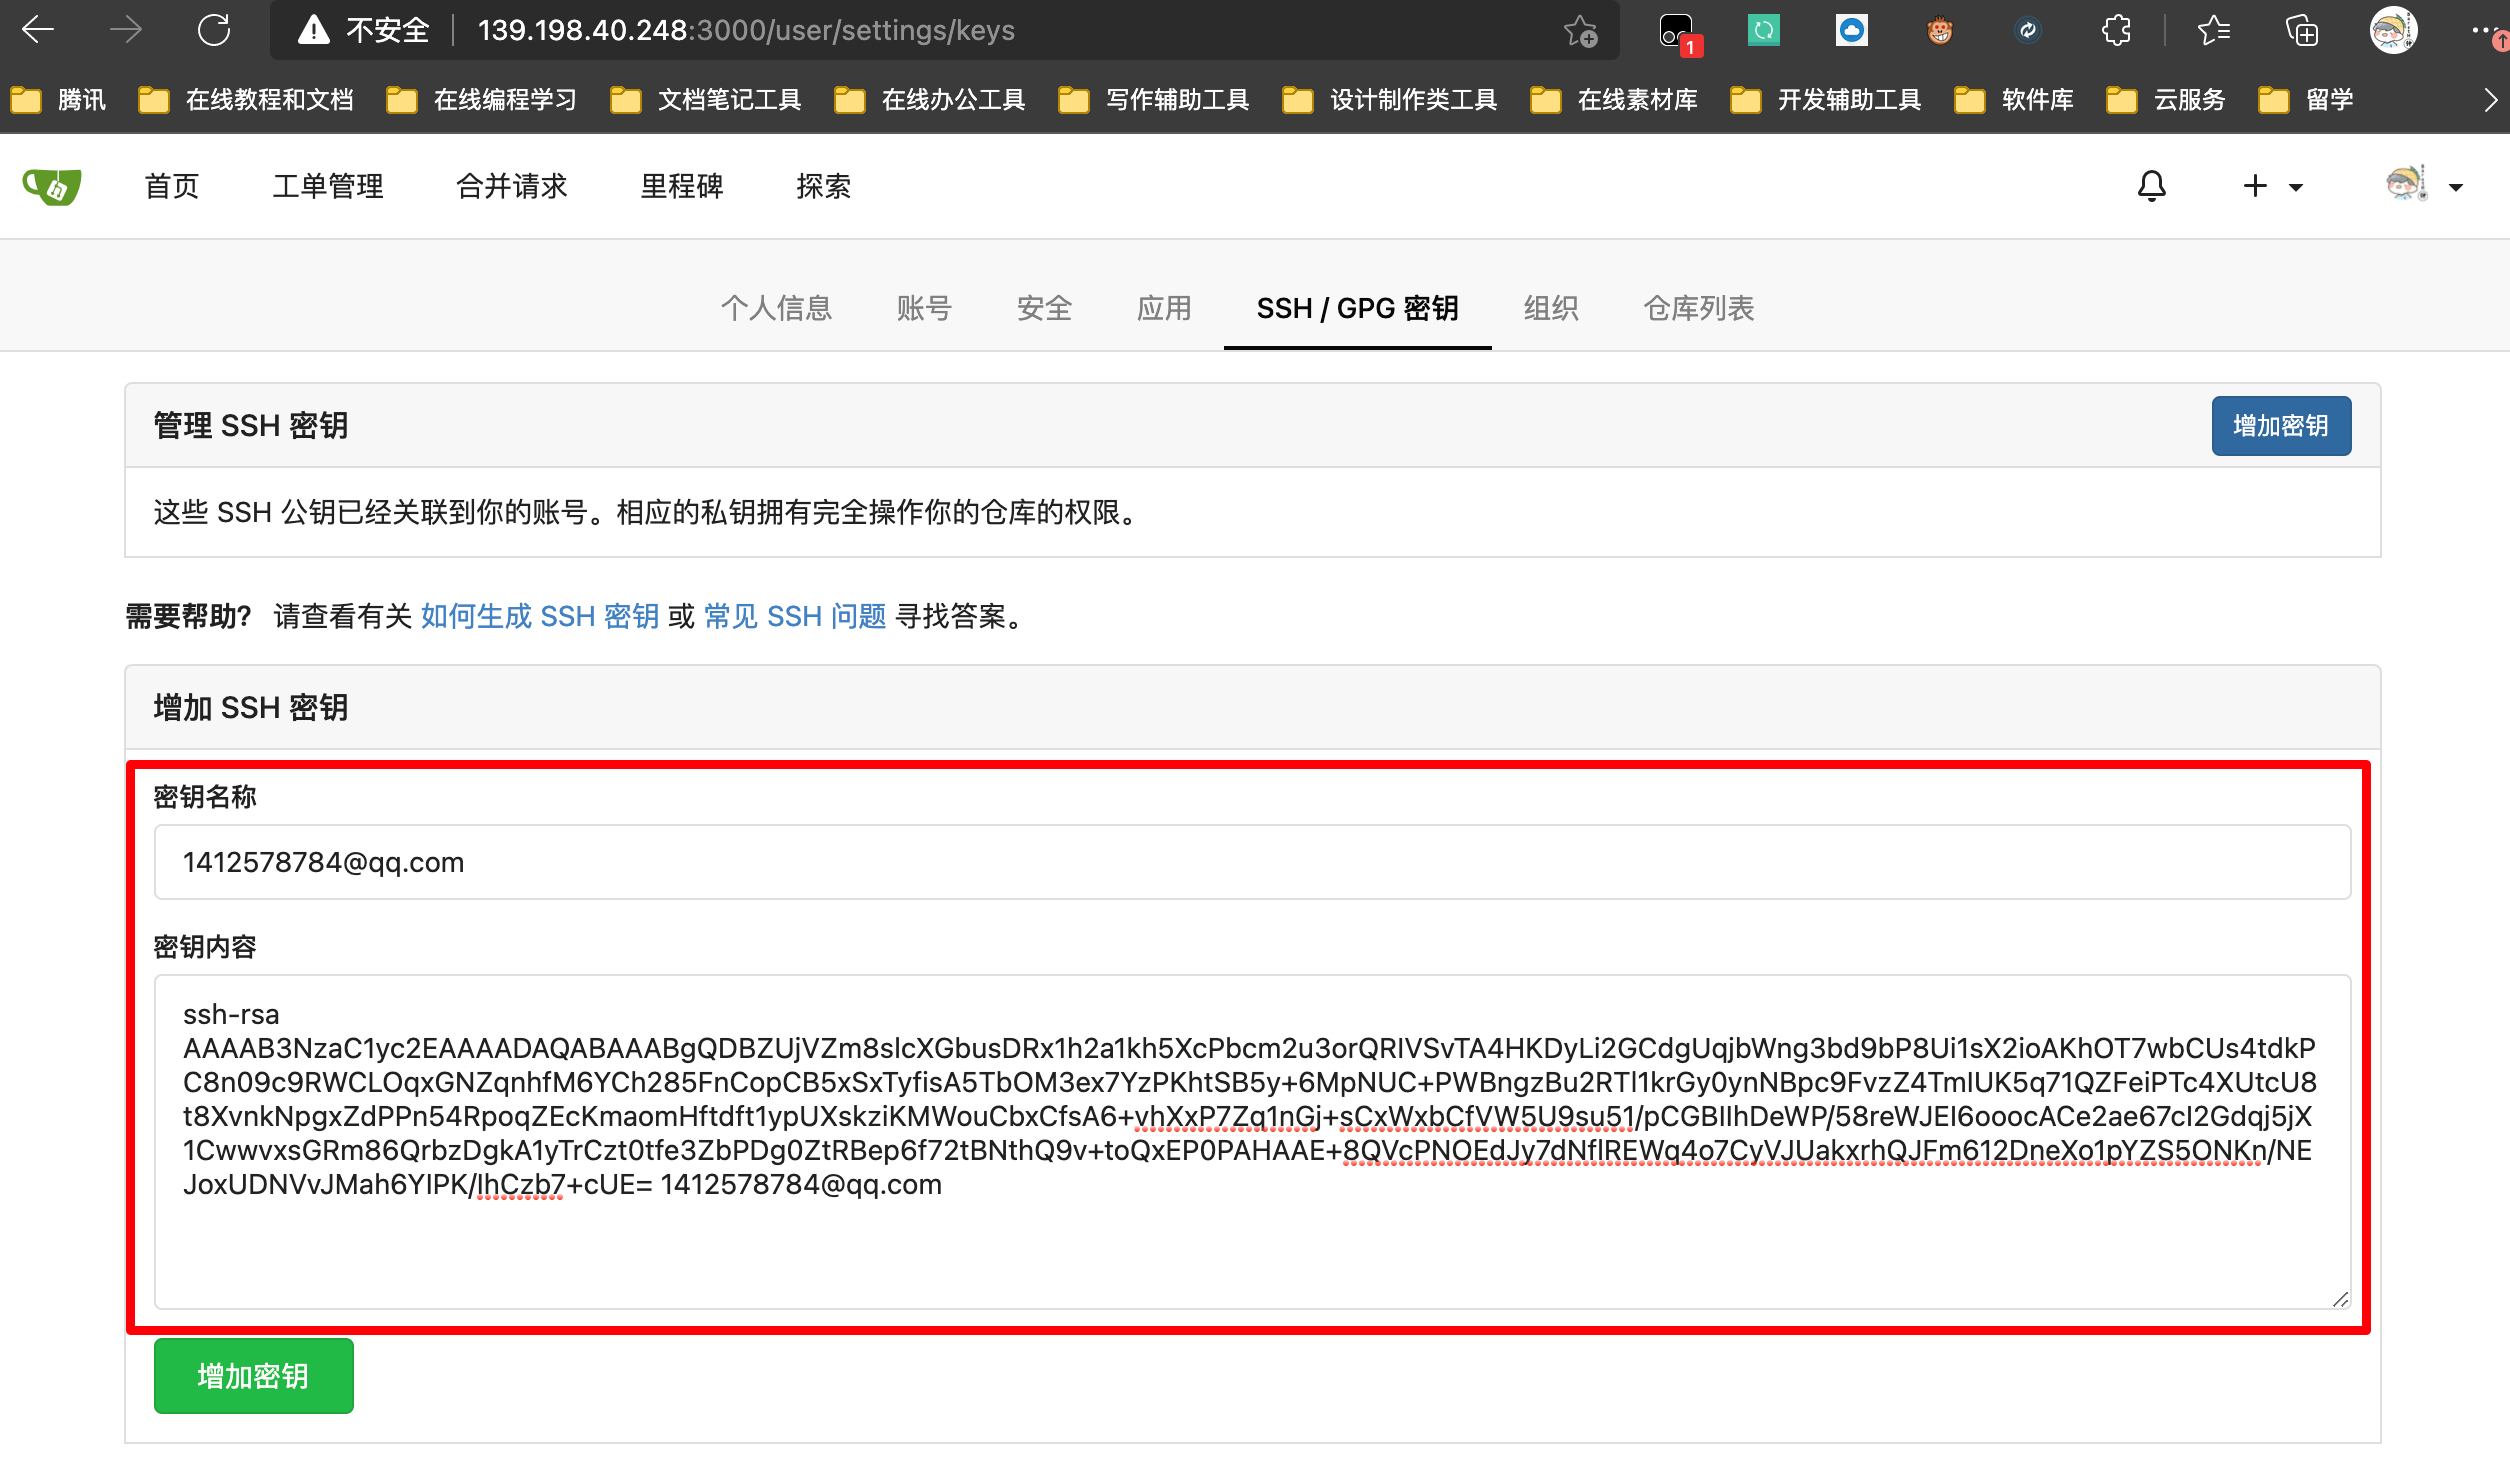
two ️⃣ Adding public keys to gitea
Add an ssh key on the ssh configuration page of gitea web interface, copy and paste the public key generated above
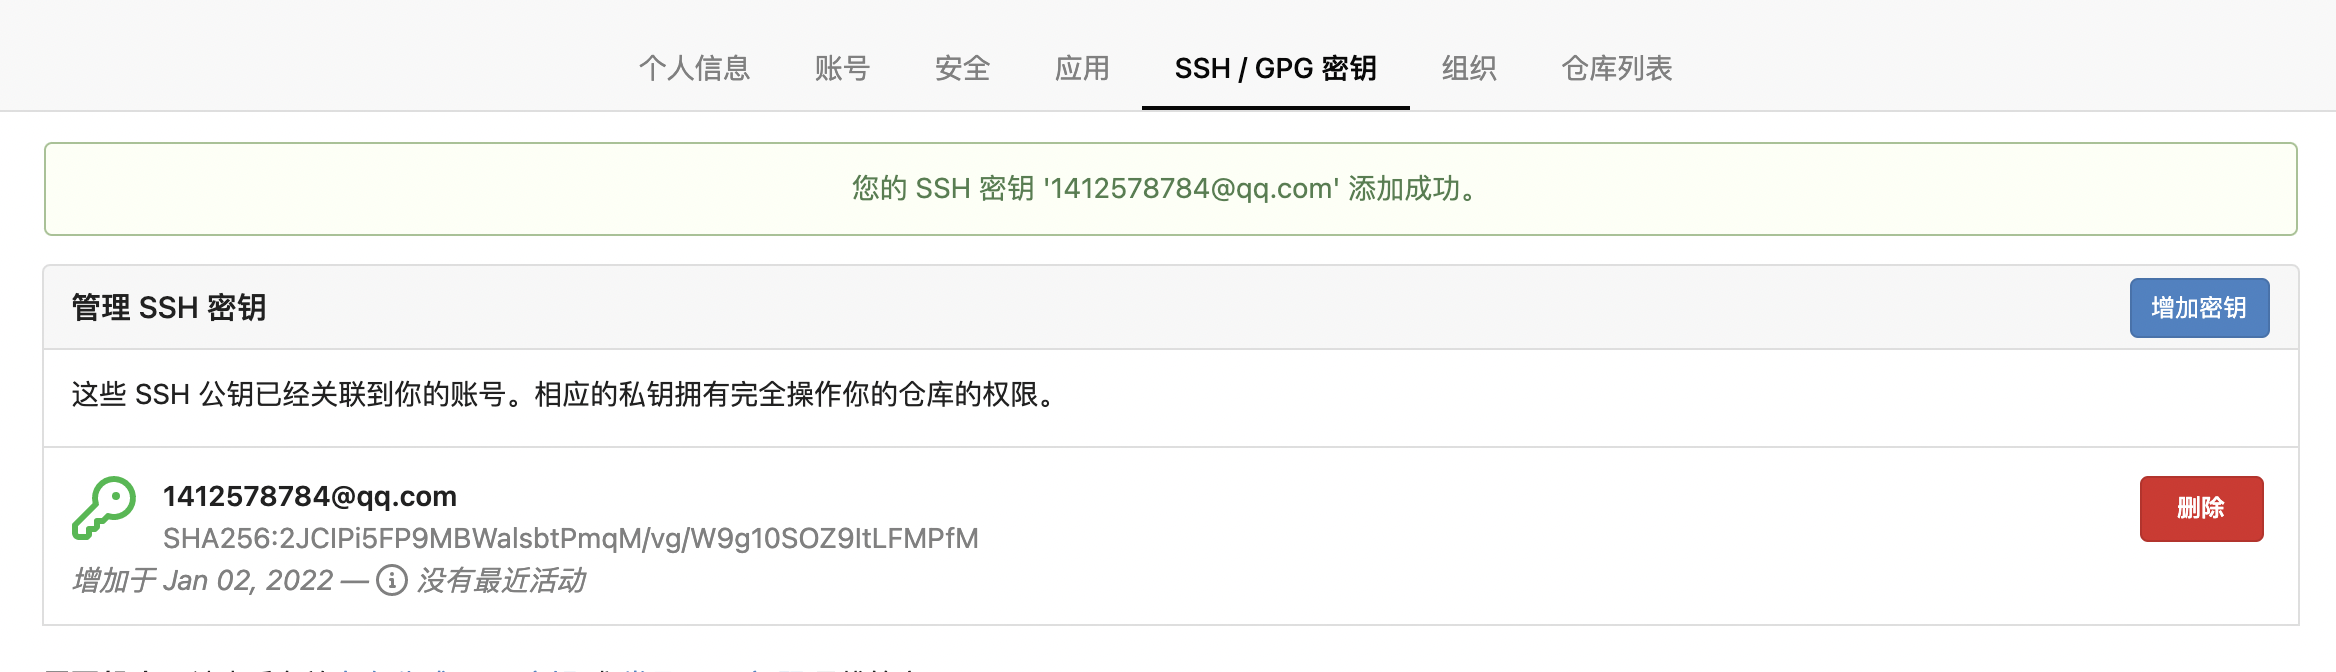
After the addition is completed, it is shown below
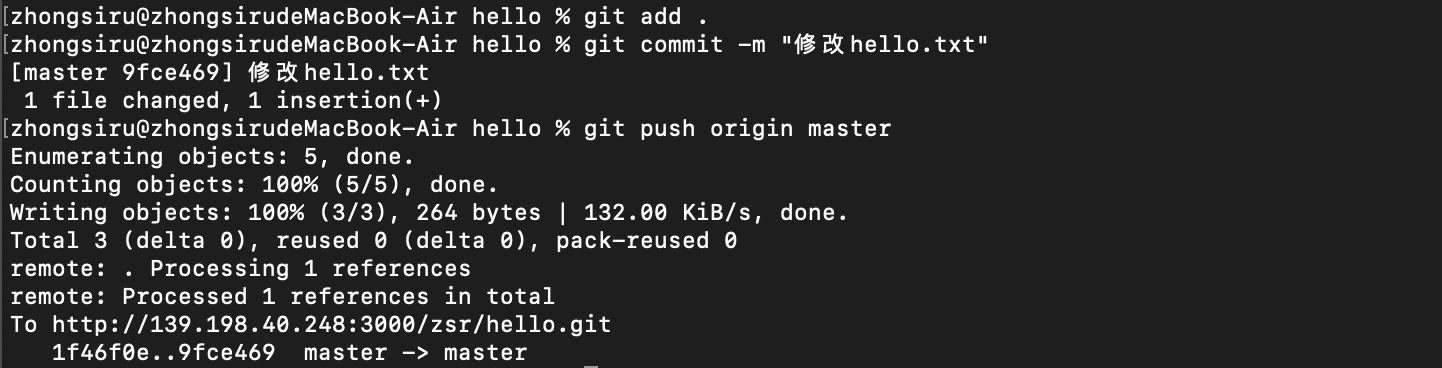
At this point, if we modify hello Txt content and then re push to gitea warehouse, you do not need to enter a password
What if we clone it by ssh?
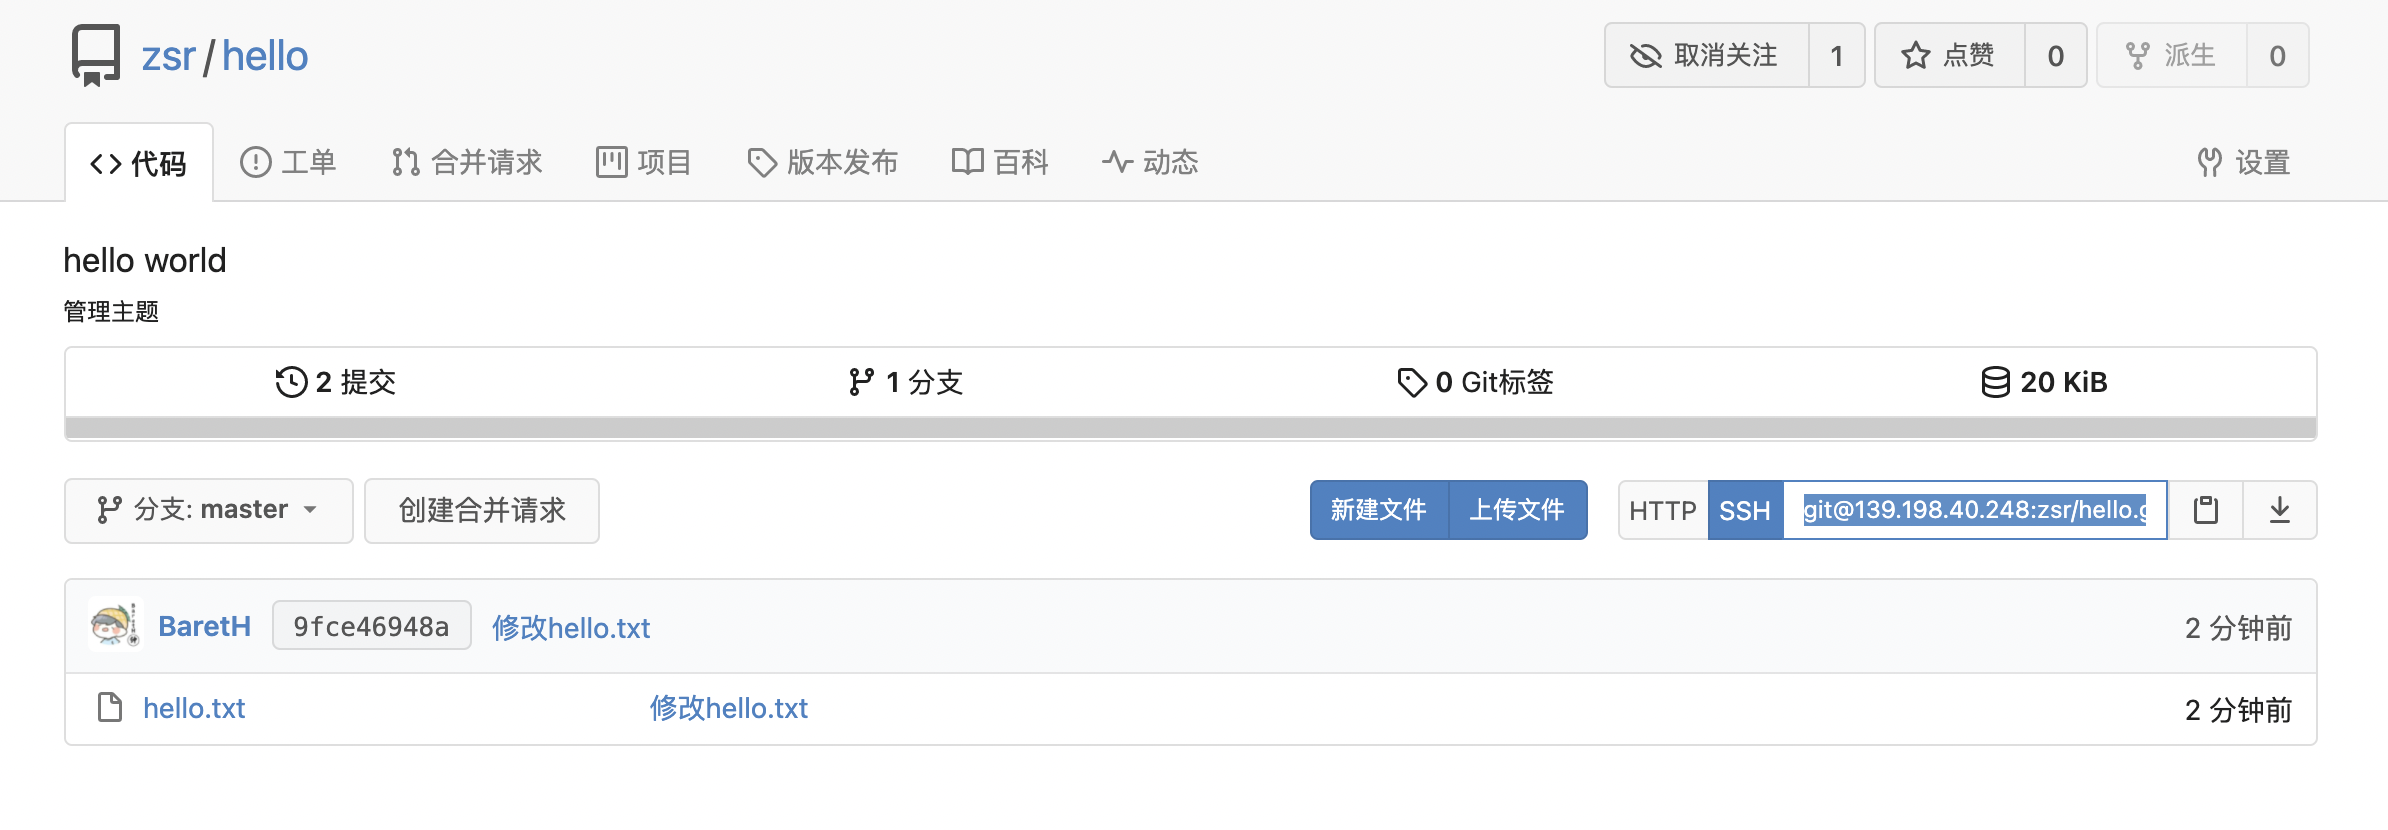
Let's copy the ssh address to see:

The discovery also allows us to enter the password. Didn't we just configure ssh? Let's take a closer look at the ssh address:
git@139.198.40.248:zsr/hello.git
The zsr user name is directly connected behind the server public network ip without any port, that is, the default port 22 is equivalent to the server public network ip:22, that is, the operation to log in to the server. Of course, a password is required. We should log in to the gitea container inside the server. Therefore, we need to modify some gitea configurations:

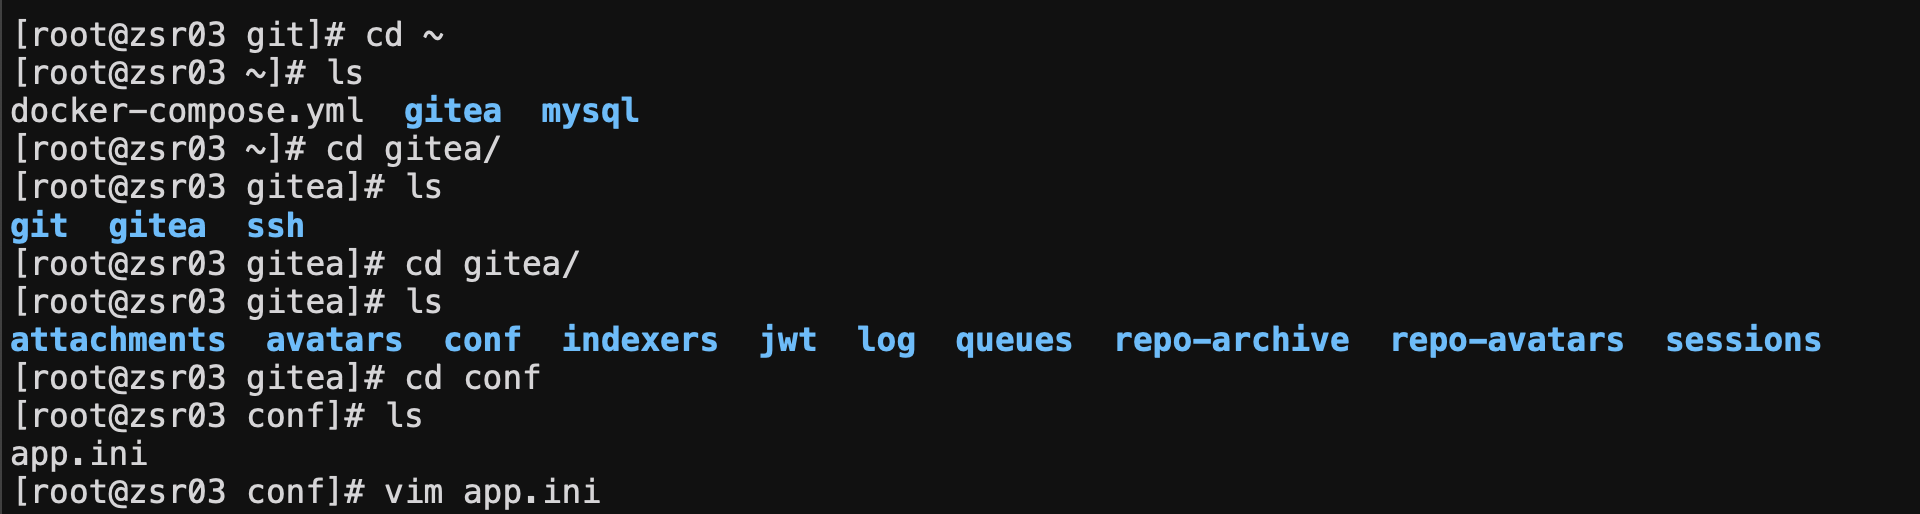
At docker compose In the YML file, because we hang the data directory of gitea in the gitea directory of this season, we need to enter the directory to modify the relevant configuration. We need to modify / gitea / gitea / conf / APP INI file
Since we map port 222 of the host to port 22 in the gitea container, we use app SSH in ini_ Port and ssh_listen_port is changed to 222 port
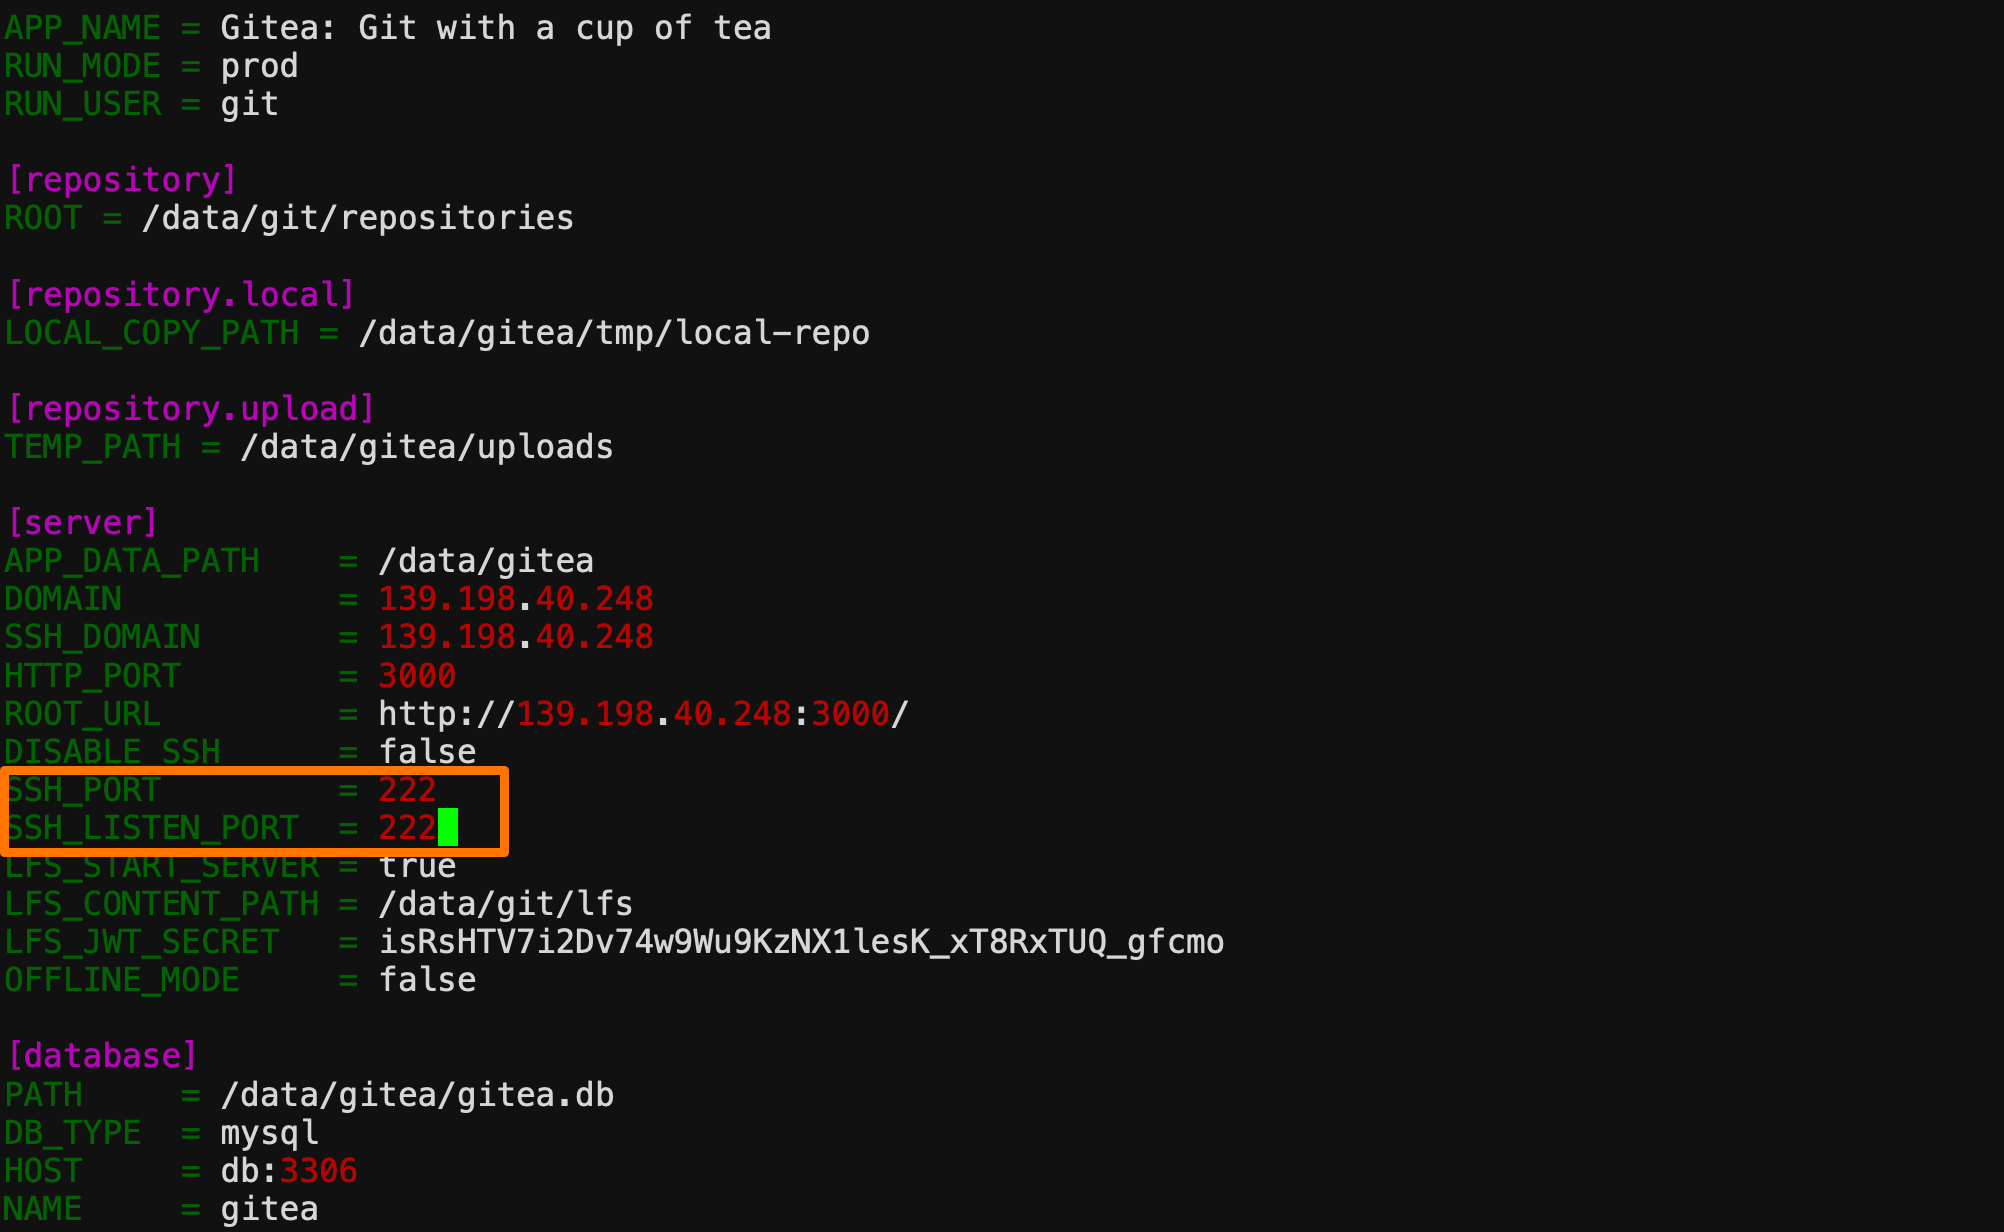
After the modification, we restart the gitea container with the docker compose restart command

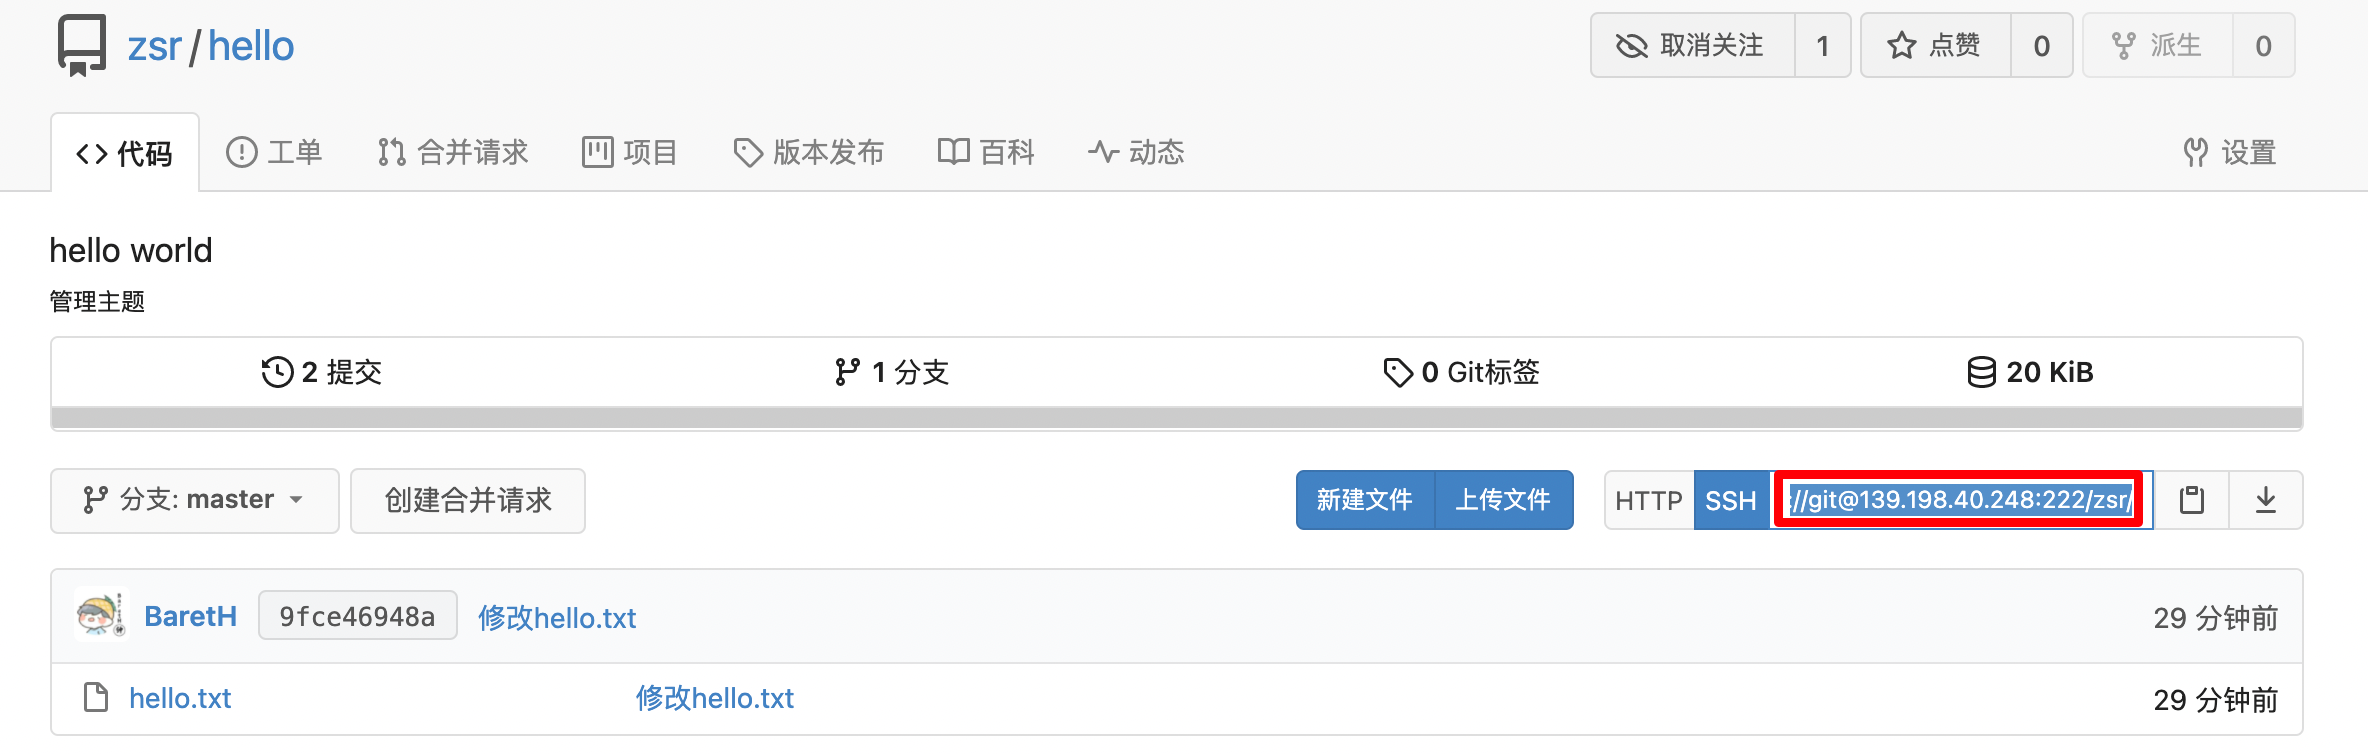
Then visit the web interface again. You can see that the ssh address has changed. Port 222 is connected to the public ip of the server (note that the server security group should release port 222), which is equivalent to accessing port 22 of the gitea container inside the server
At this point, we clone through ssh, then modify the file and push it back
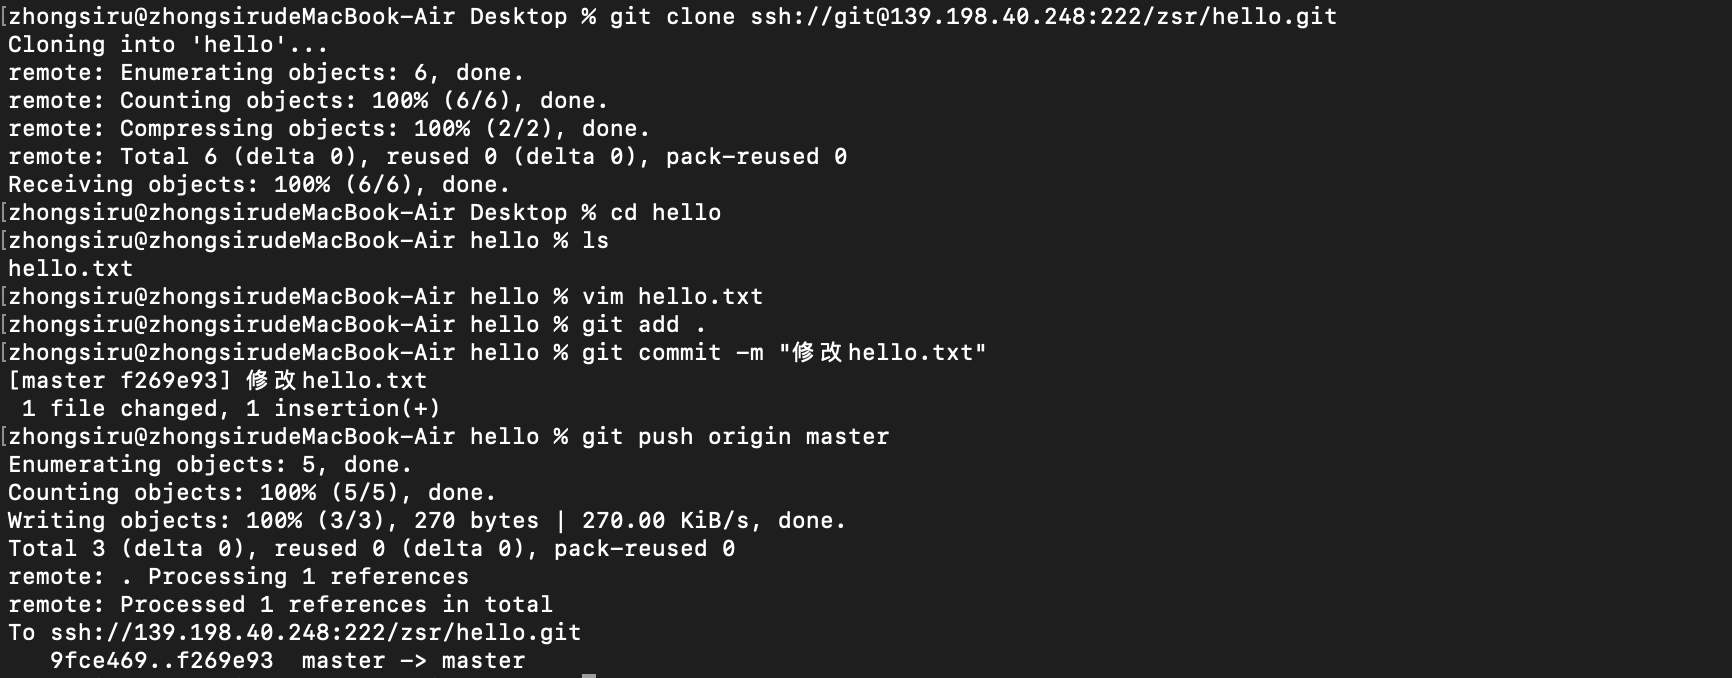
During this period, there is no need to enter a password for authentication in any process. The ssh configuration has been completed.