1, Premise:
Prepare three servers:
1.Gitlab: IP 192.168.83.140
2.Jenkins+maven: IP 192.168.83.141
3.Tomcat: IP 192.168.83.142

Three servers turn off the firewall:
systemctl stop filewalld
setenforce 0
2, Gitlab installation 192.168.83.140
1. Deploy docker
(1) Install docker using yum or up2date
yum -y install docker
(2) Start docker
systemctl start docker
2. Install Gitlab
(1) Upload the gitlab compressed package, decompress and import the prepared gitlab image
tar zxf gitlab.tar.gz
docker load -i gitlab.tar
(2) Create gitlab container
docker images

docker run --name gitlab -d -p 80:80 -h 192.168.83.140 twang2218/gitlab-ce-zh
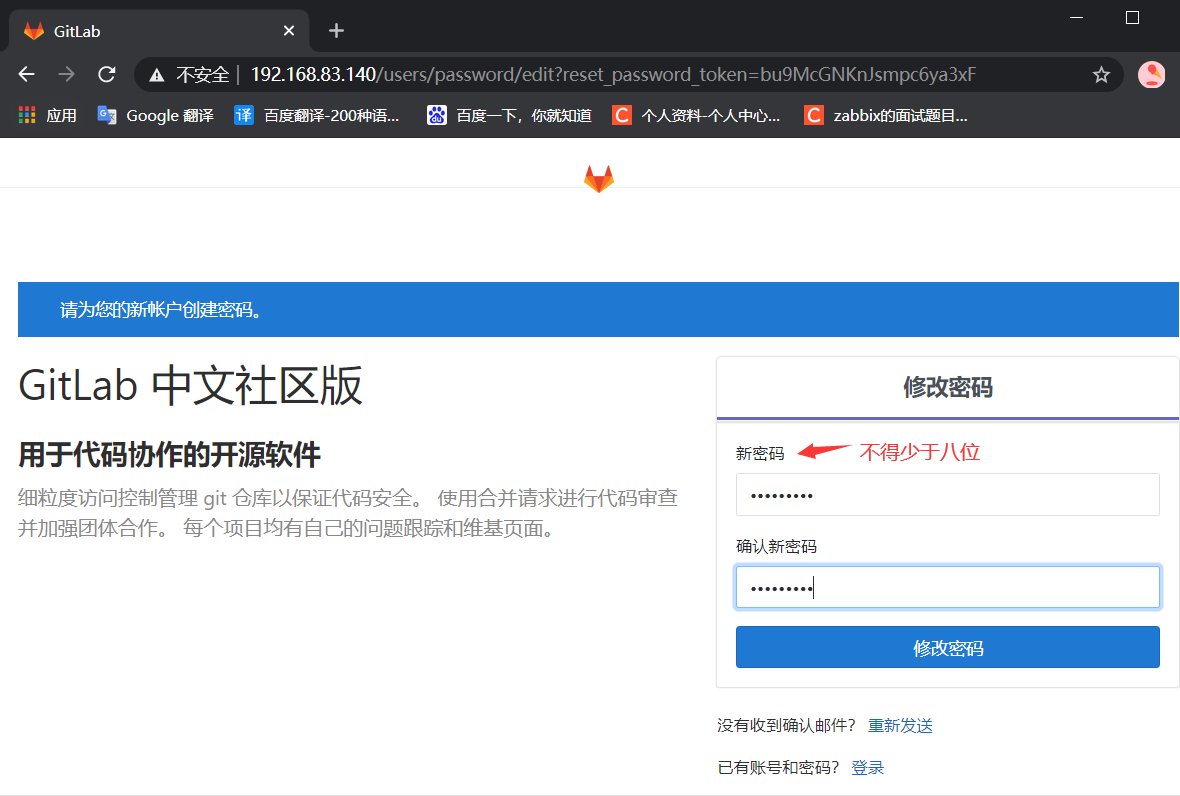
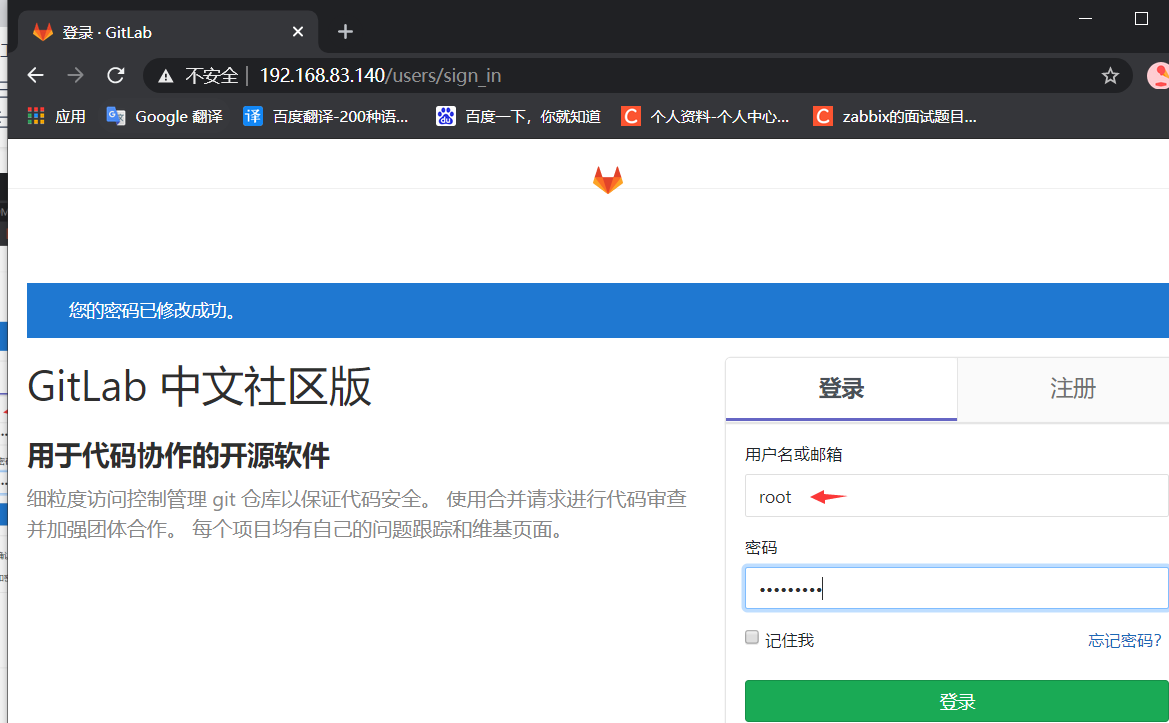
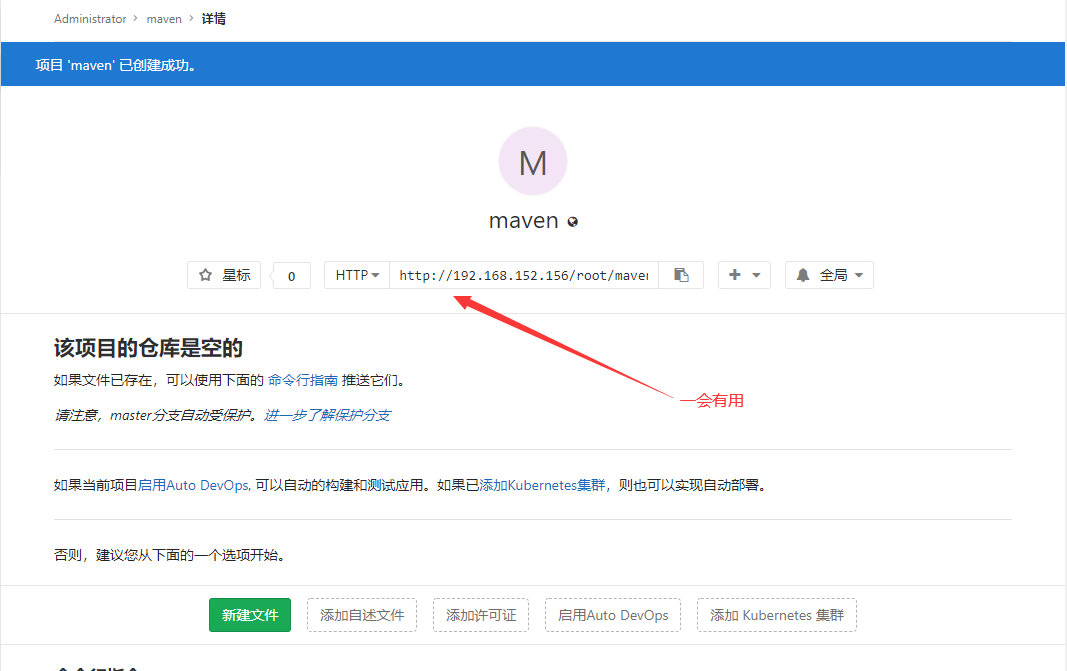
(4) Access Gitlab interface
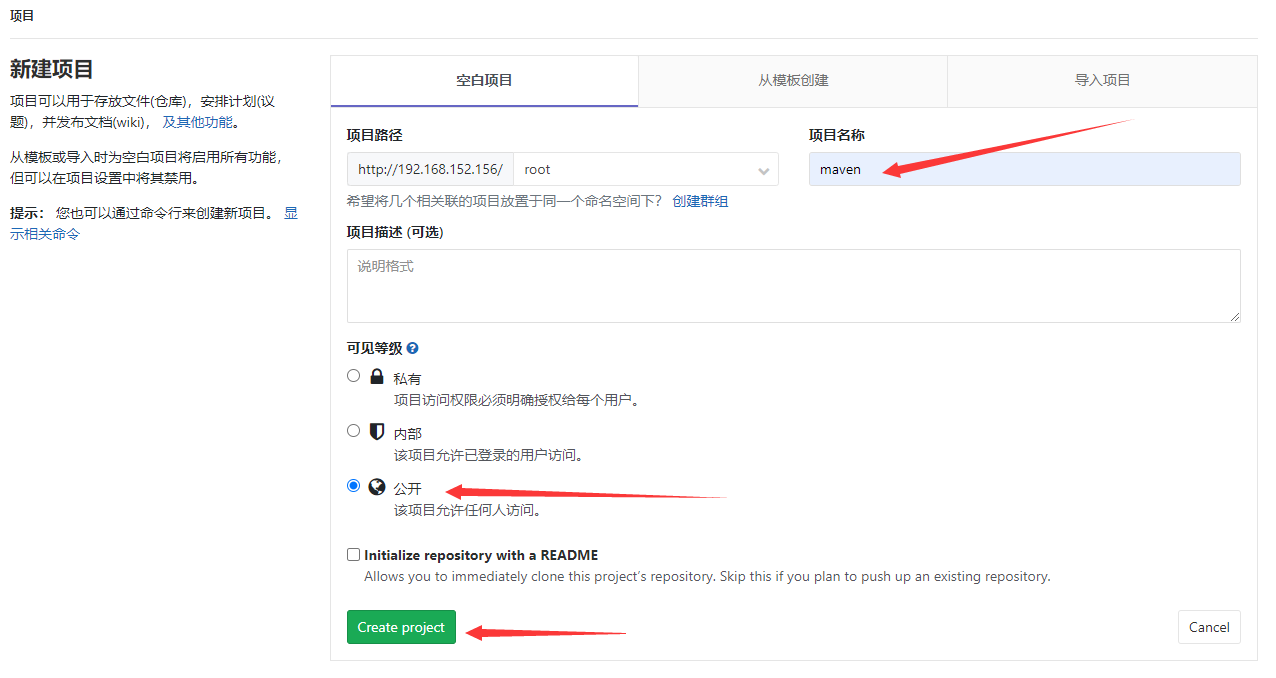
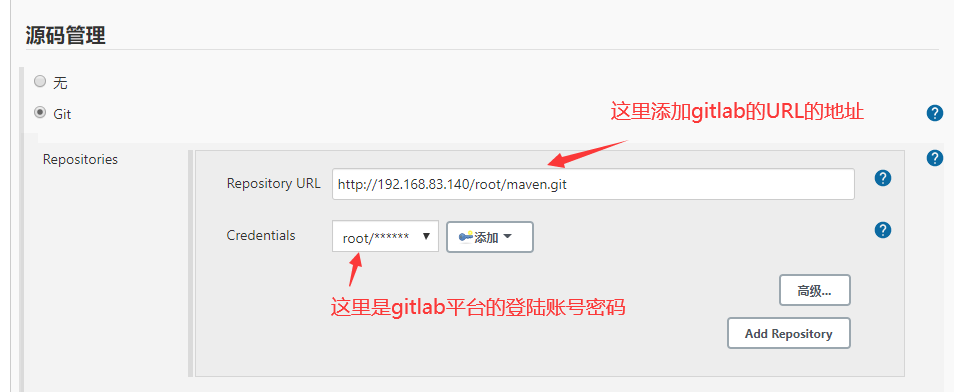
(5) Create a project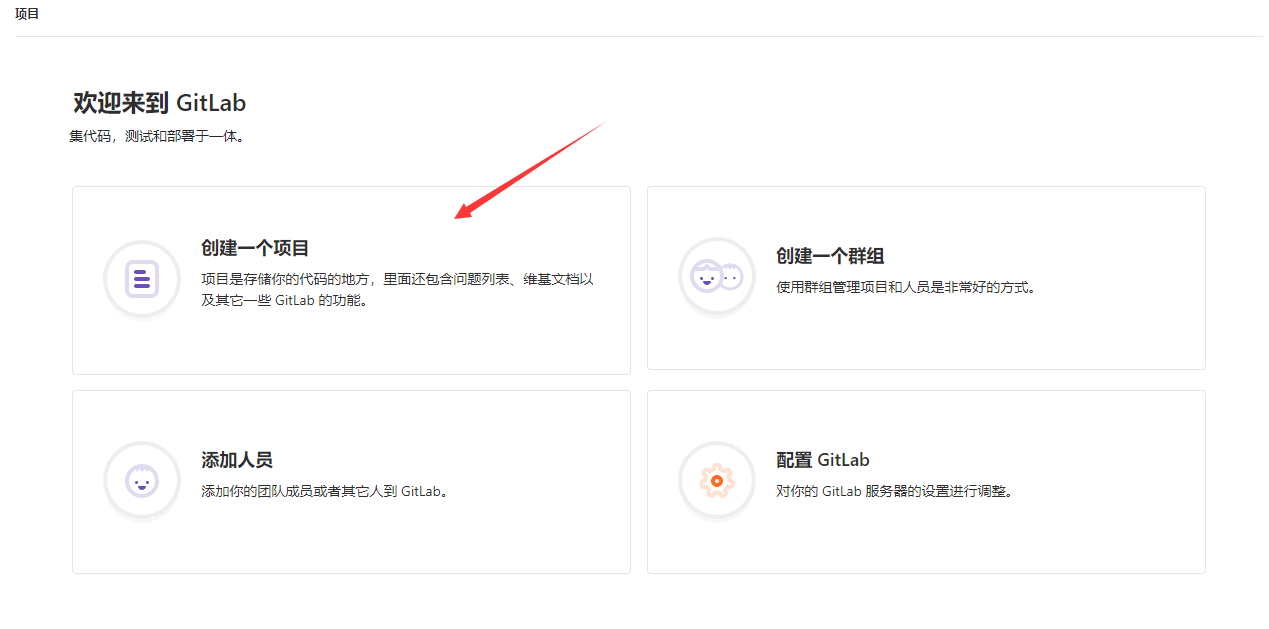
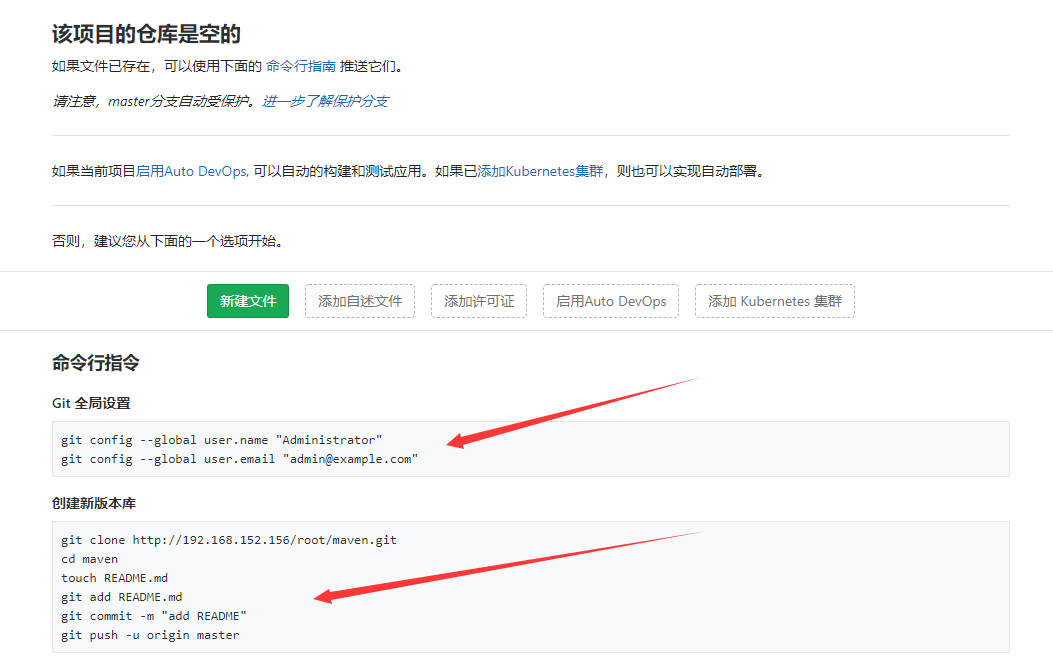
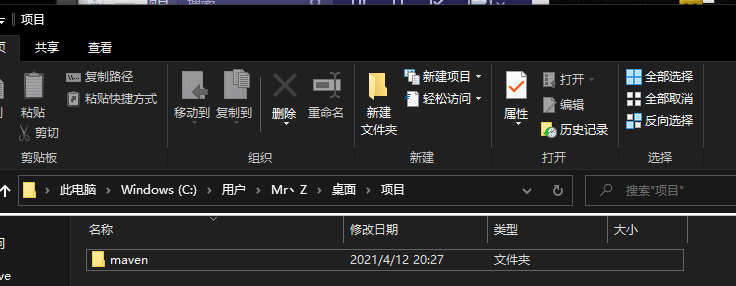
(6) Create an empty project file on the windows desktop

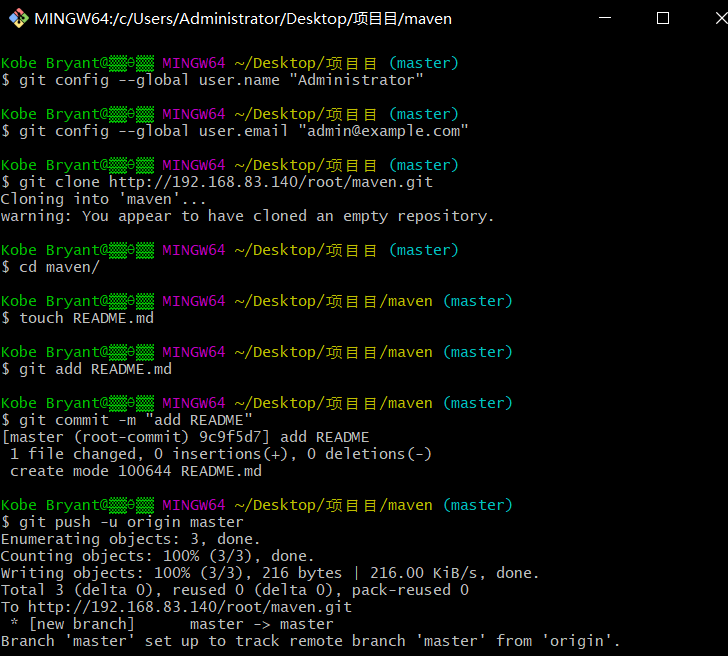
(7) Execute Git Bash Here in the folder

(8) The environment is built and copied in for testing
(9) After refreshing the page, you will see a file
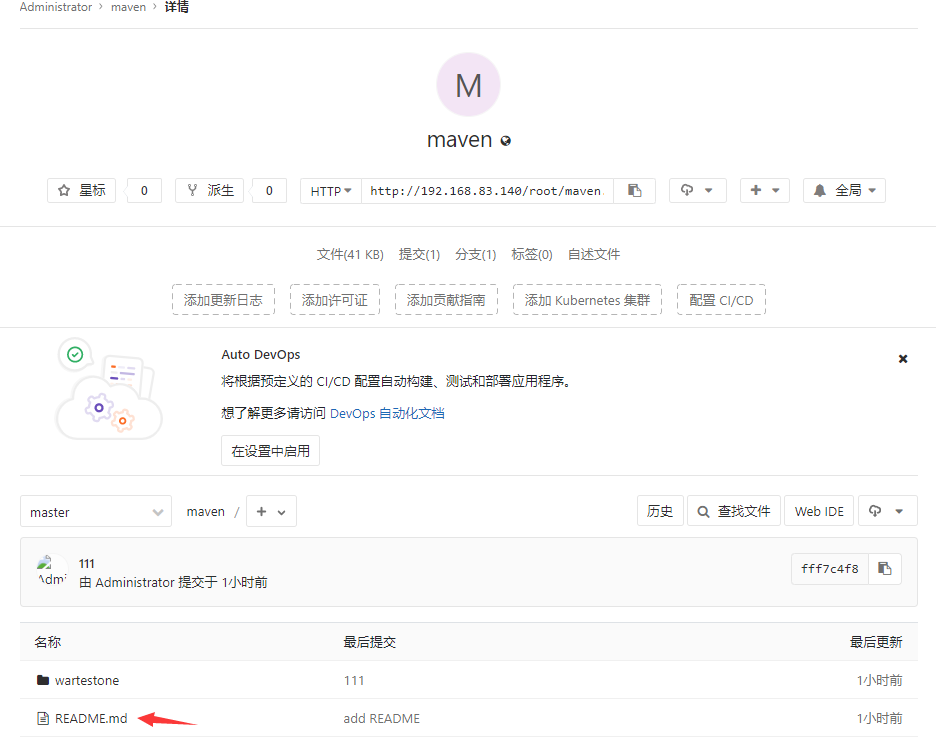
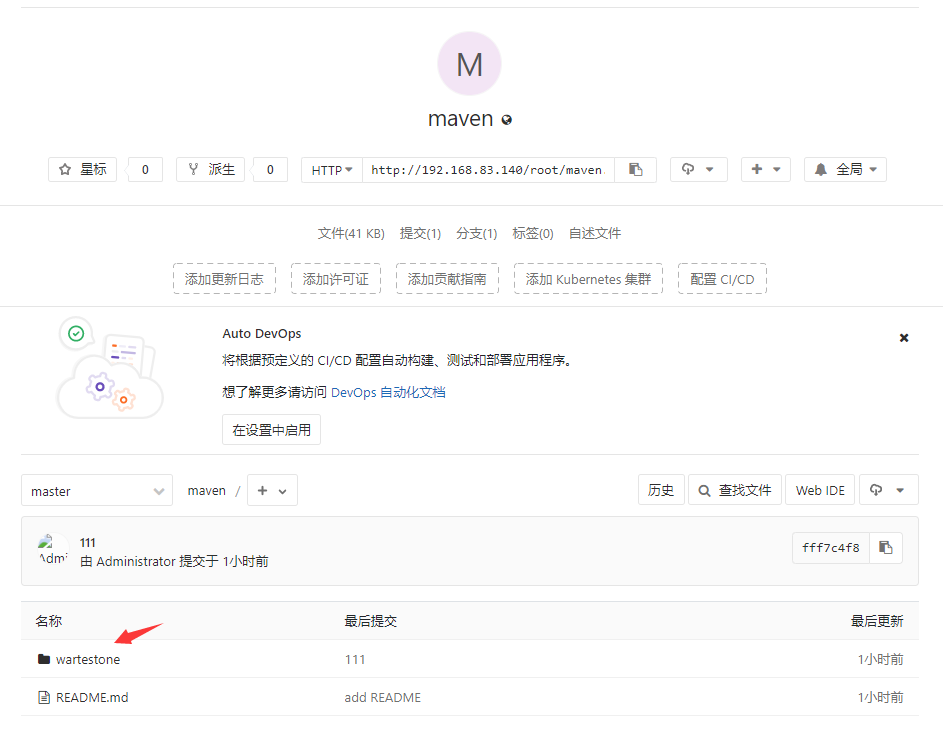
(10) Add the prepared small project to the maven folder under the project

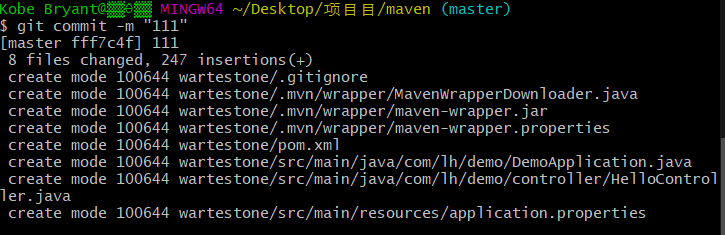
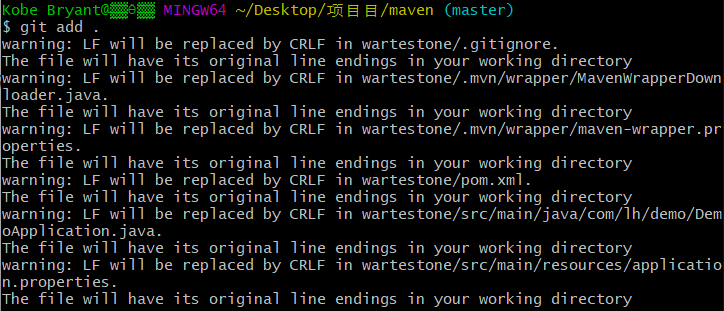
(11) Upload files to Gitlab using Git Bash Here
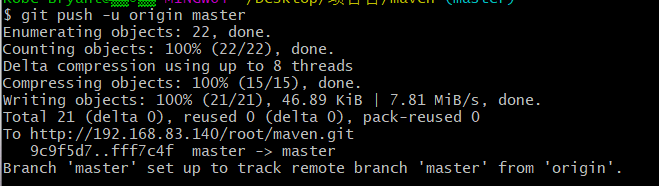
(12) A folder will be displayed in the refresh interface
3, Install Tomcat display interface 192.168.83.142
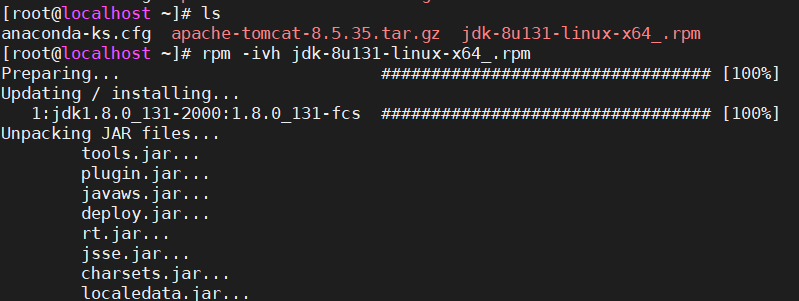
(1) Upload Tomcat+jdk installation package and install jdk
(2) Unzip tomcat and rename it to / opt as / tomcat
tar zxf apache-tomcat-8.5.35.tar.gz
mv apache-tomcat-8.5.35 /opt/tomcat
(3) Start tomcat
4, Installation of majdins + 168.jenk + 192.jenk
1. Install git plug-in
(1) Download git plug-in source package
Address: https://www.kernel.org/pub/software/scm/git/
Here I download git-2.12.0 tar. GZ version
(2) Install dependent packages
yum -y install curl-devel expat-devel gettext-devel openssl-devel zlib-devel gcc perl-ExtUtils-MakeMaker openssh-clients
(3) Unzip the git compressed package and enter the compressed package directory
tar zxf git-2.12.0.tar.gz && cd git-2.12.0/
(4) Compile and install, and specify the installation directory
./configure prefix=/usr/local/git && make && make install
(5) Configure environment variables
vim /etc/profile
Last line addition
export PATH=/usr/local/git/bin:$PATH
(6) Refresh environment variables
source /etc/profile
2. Install jdk
(1) Upload and install jdk. Here I use rpm package
rpm -ivh jdk-8u131-linux-x64_.rpm
3. Install maven
(1) Download maven package
Address: https://mirrors.cnnic.cn/apache/maven/
Here is apache-maven-3.5.4-bin tar. GZ version
(2) Unzip the tar package and specify to unzip it to / usr/local /
tar zxf apache-maven-3.5.4-bin.tar.gz -C /usr/local/
(3) The configuration environment variable is added at the end
vim /etc/profile

export MVN_HOME=/usr/local/apache-maven-3.5.4/
export MVN=$MVN_HOME/bin
export PATH=$MVN:$PATH
(4) Refresh environment variables
source /etc/profile
(5) View mvn version
mvn -v

4. Install jenkins
(1) Upload jenkins rpm package and install it
rpm -ivh jenkins-2.263.1-1.1.noarch.rpm
(2) Start jenkins
systemctl start jenkins
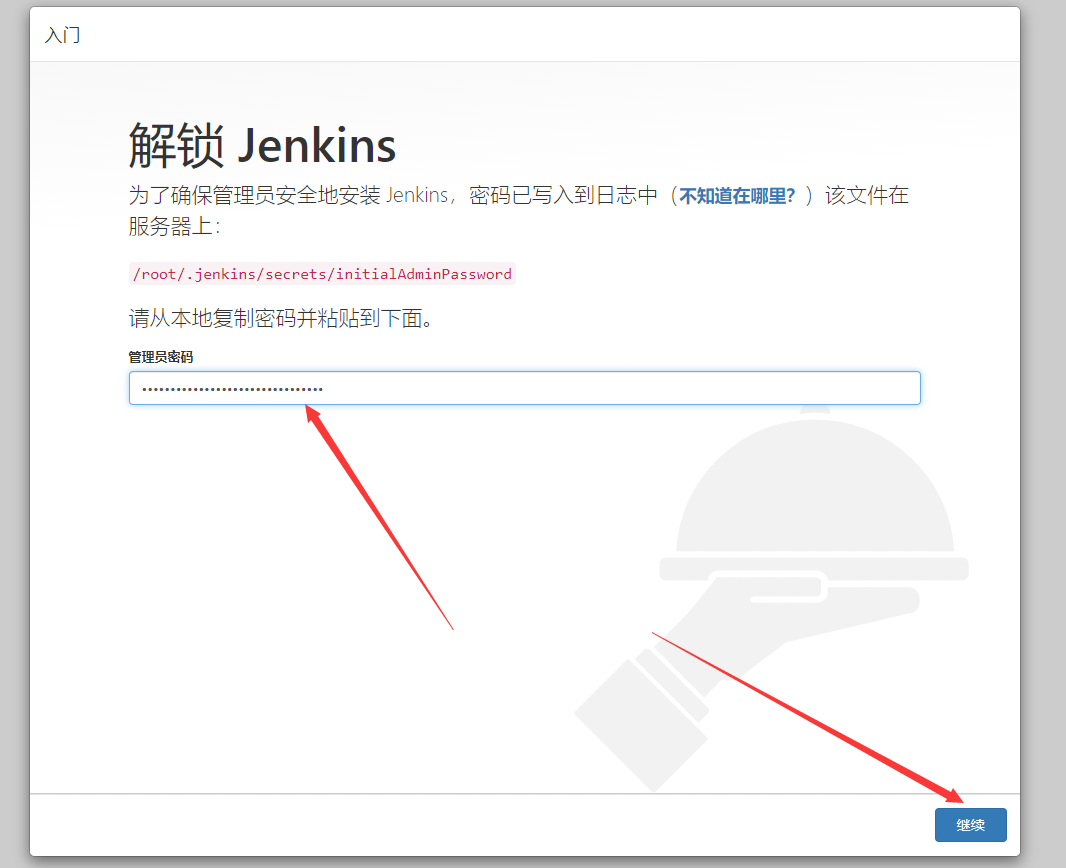
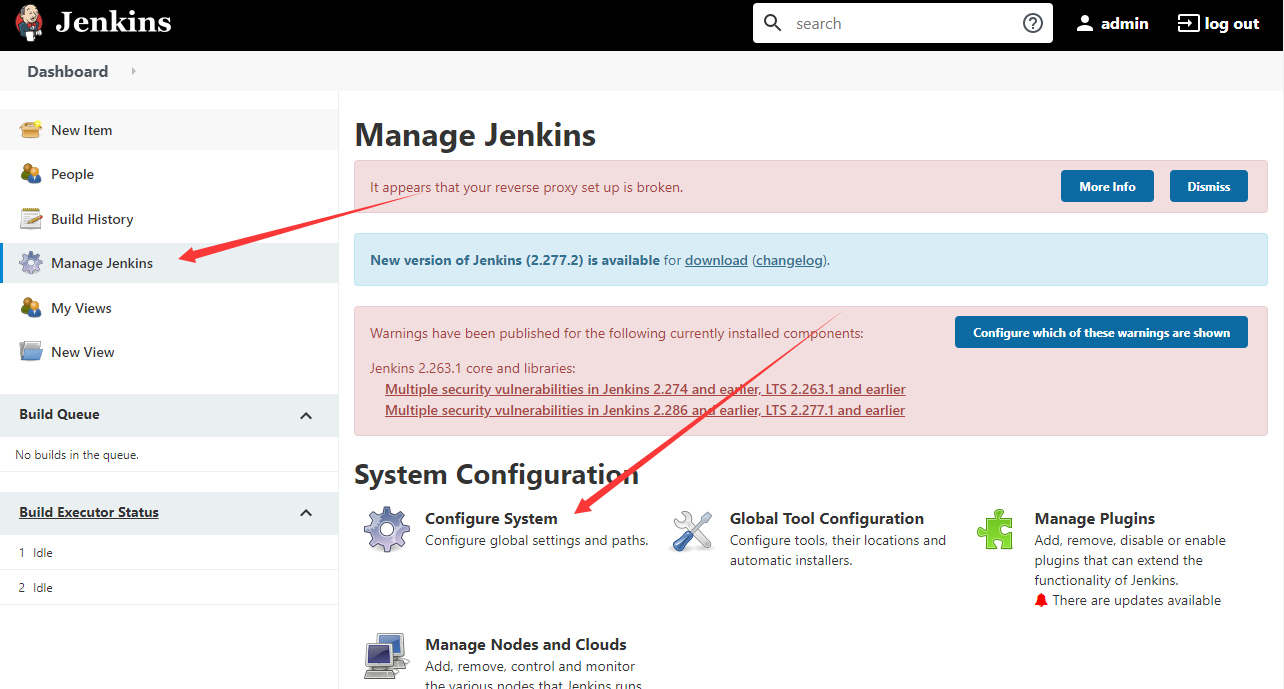
(3) Access jenkins interface

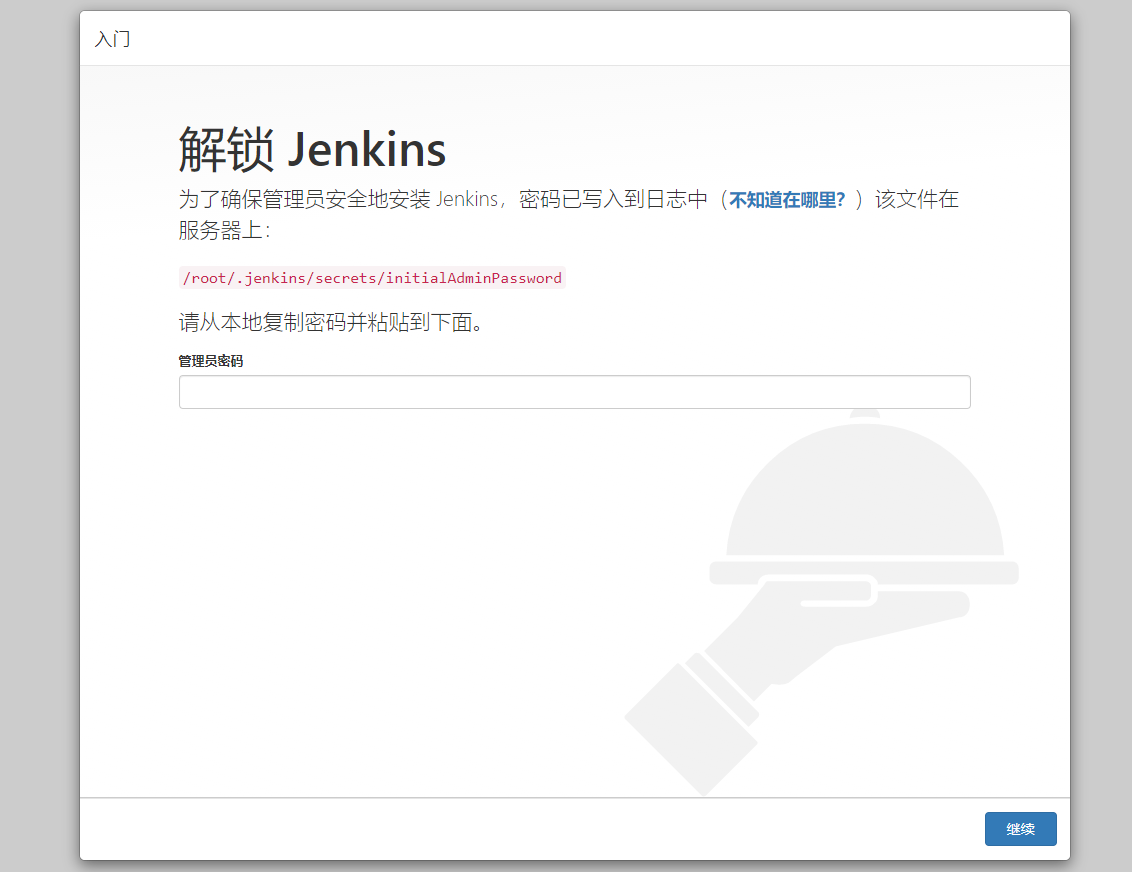
(4) Paste the found password into the input line

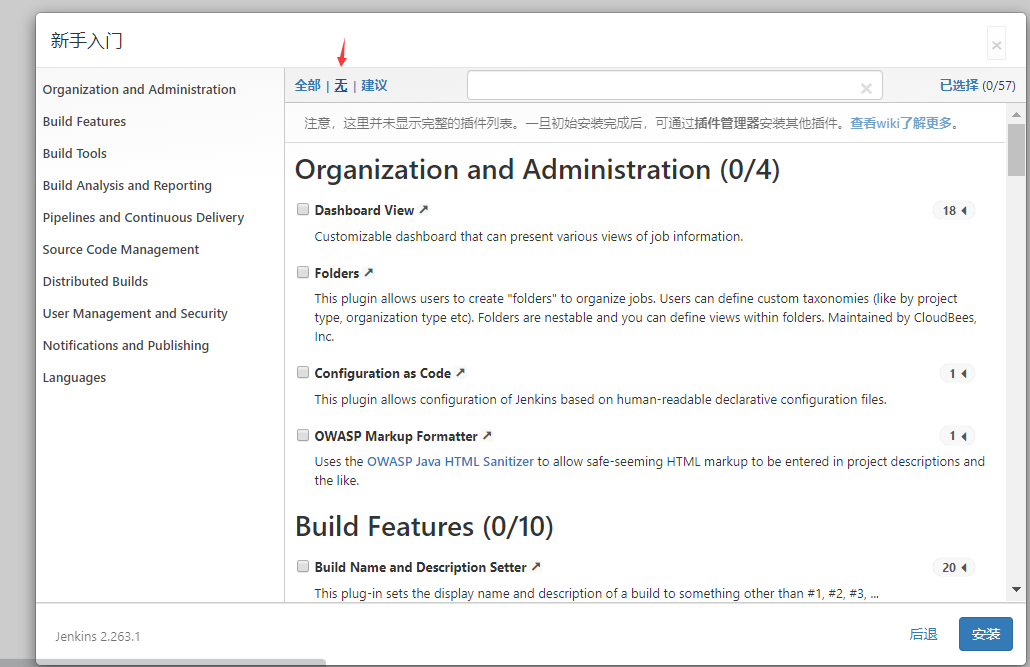
 (5) You can choose to install plug-ins or not. I choose none.
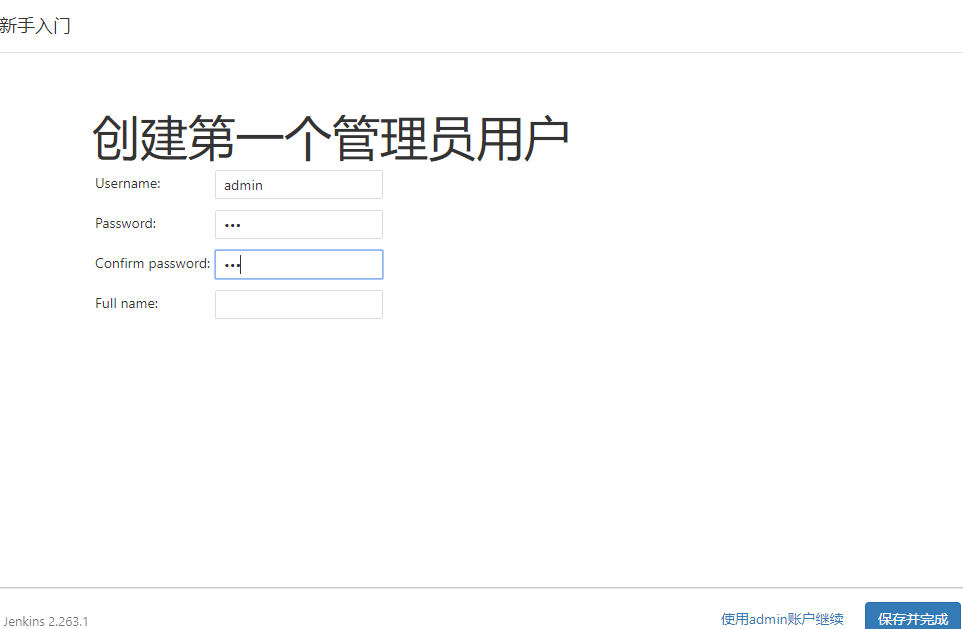
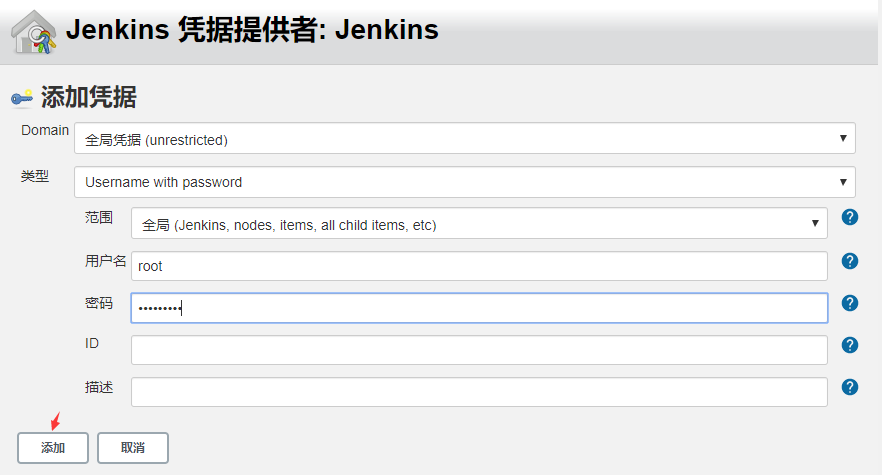
(6) Create a user
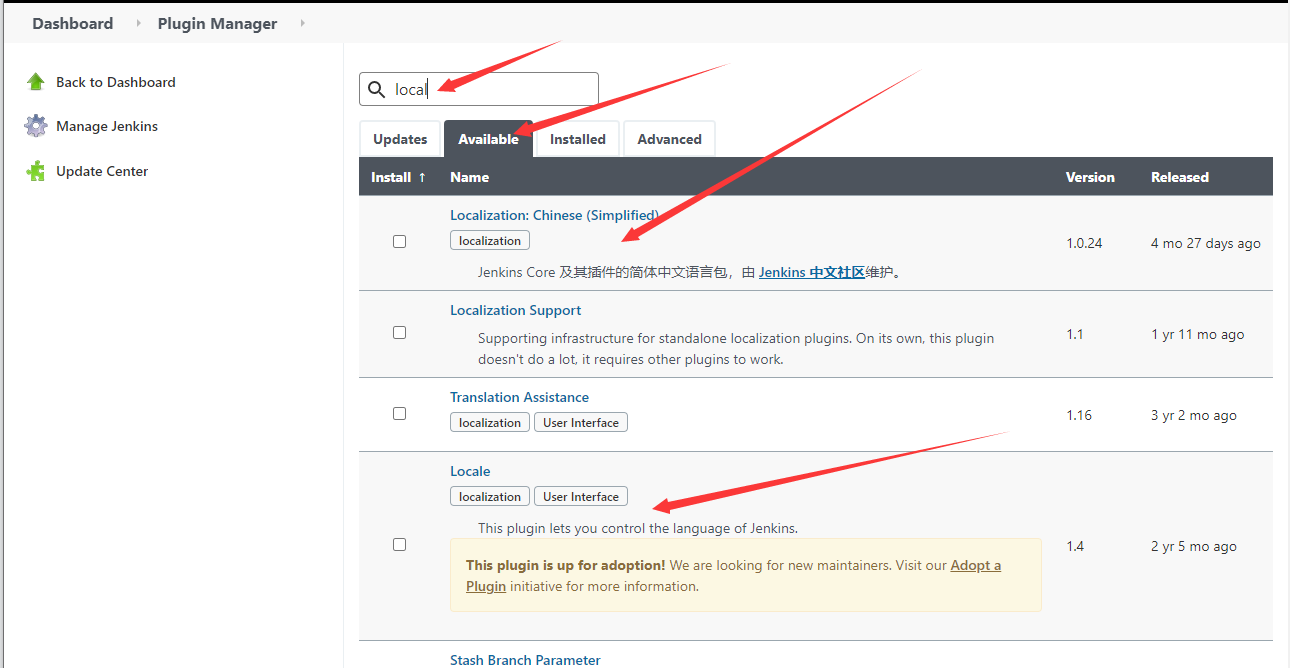
(7) Install the Chinese plug-in first
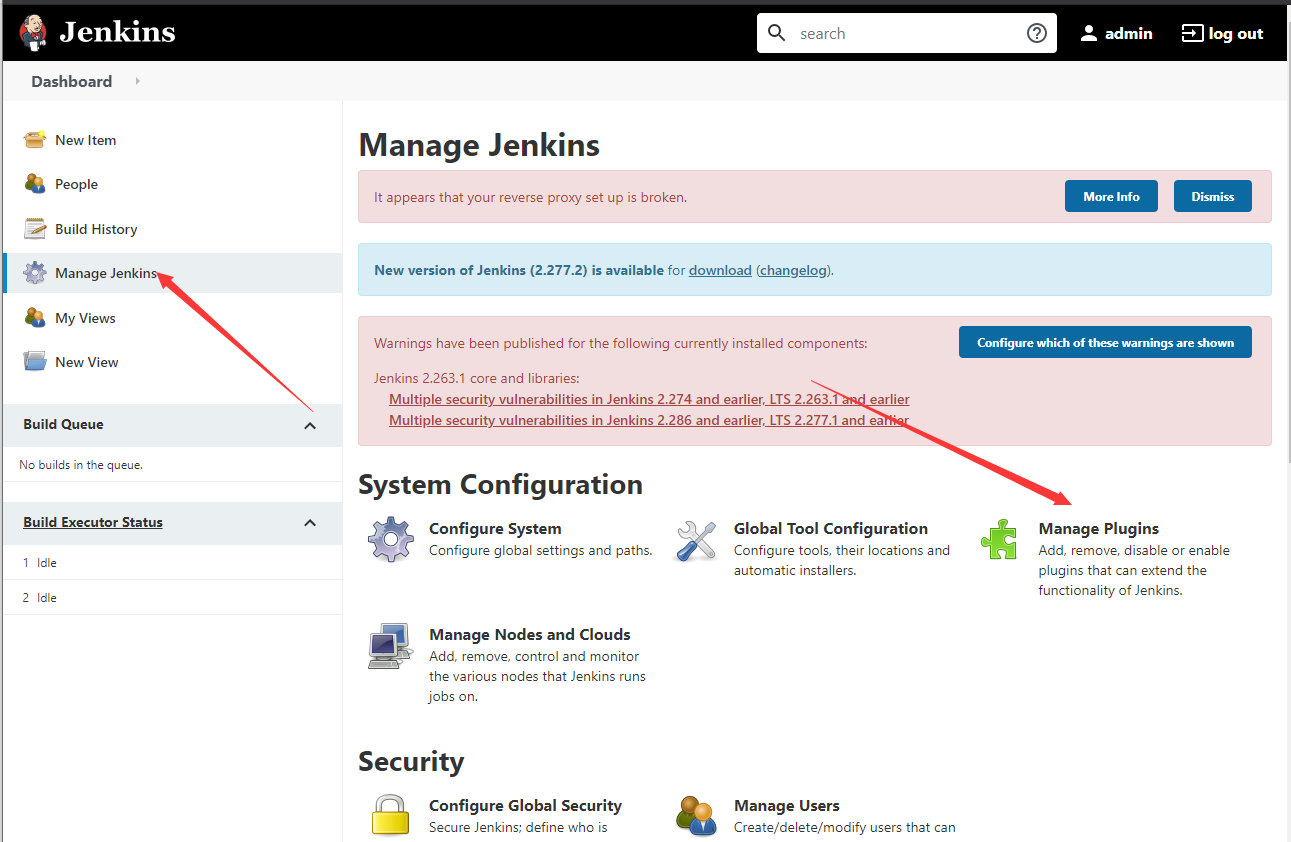

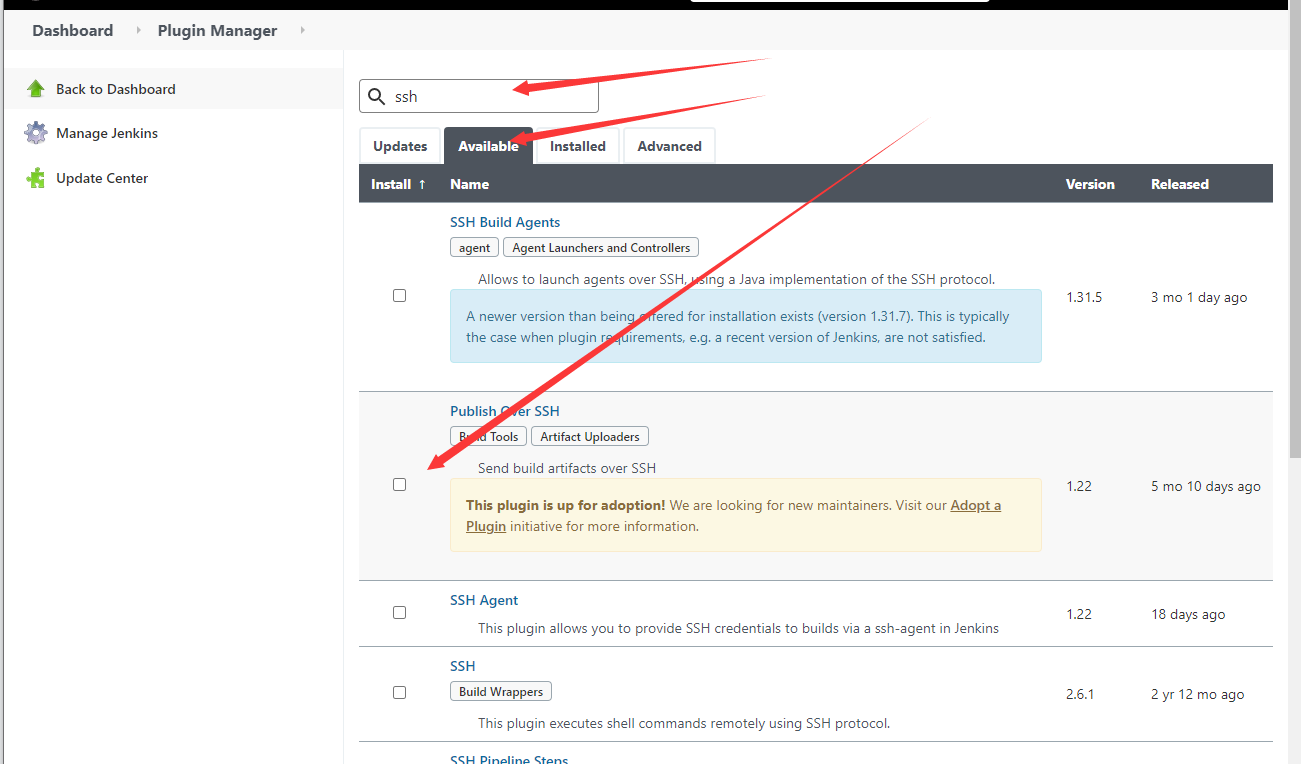
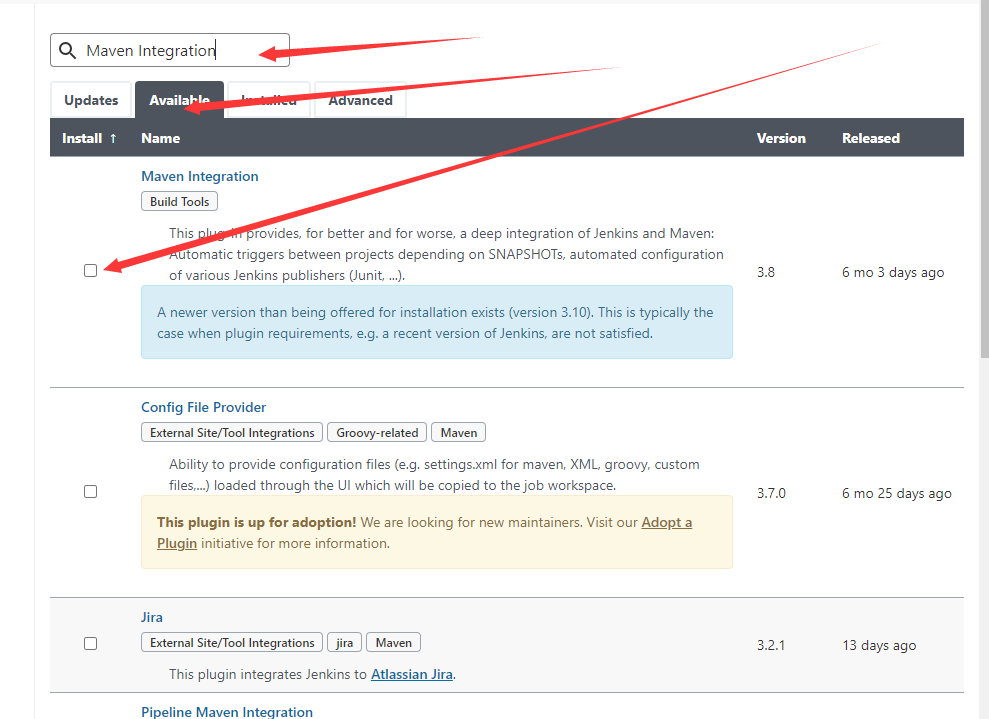
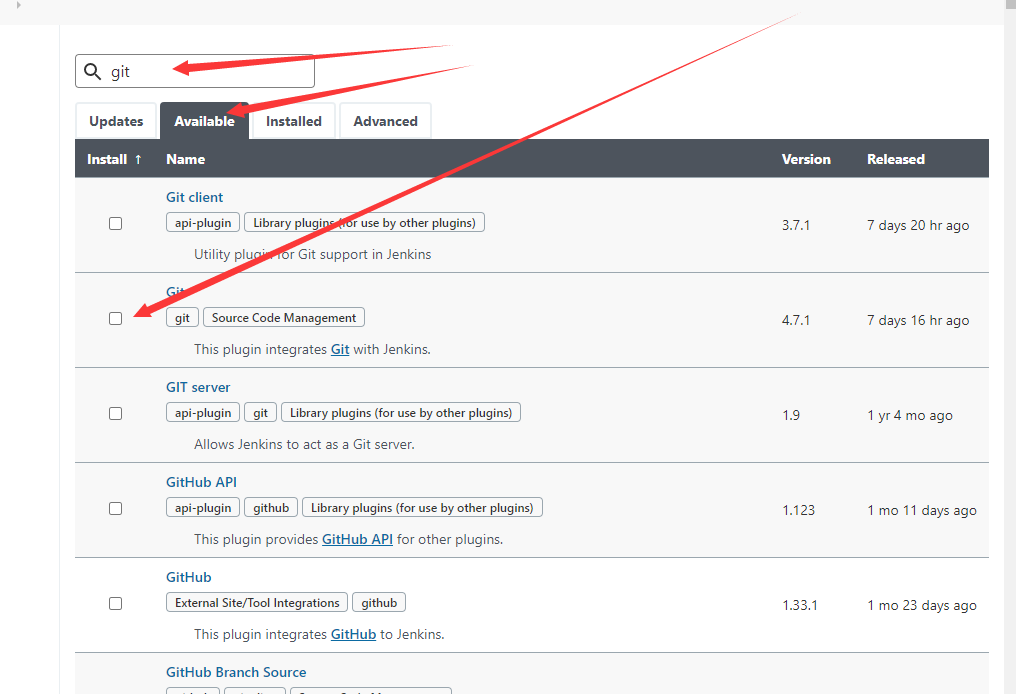
(8) Install maven, ssh and git plug-ins
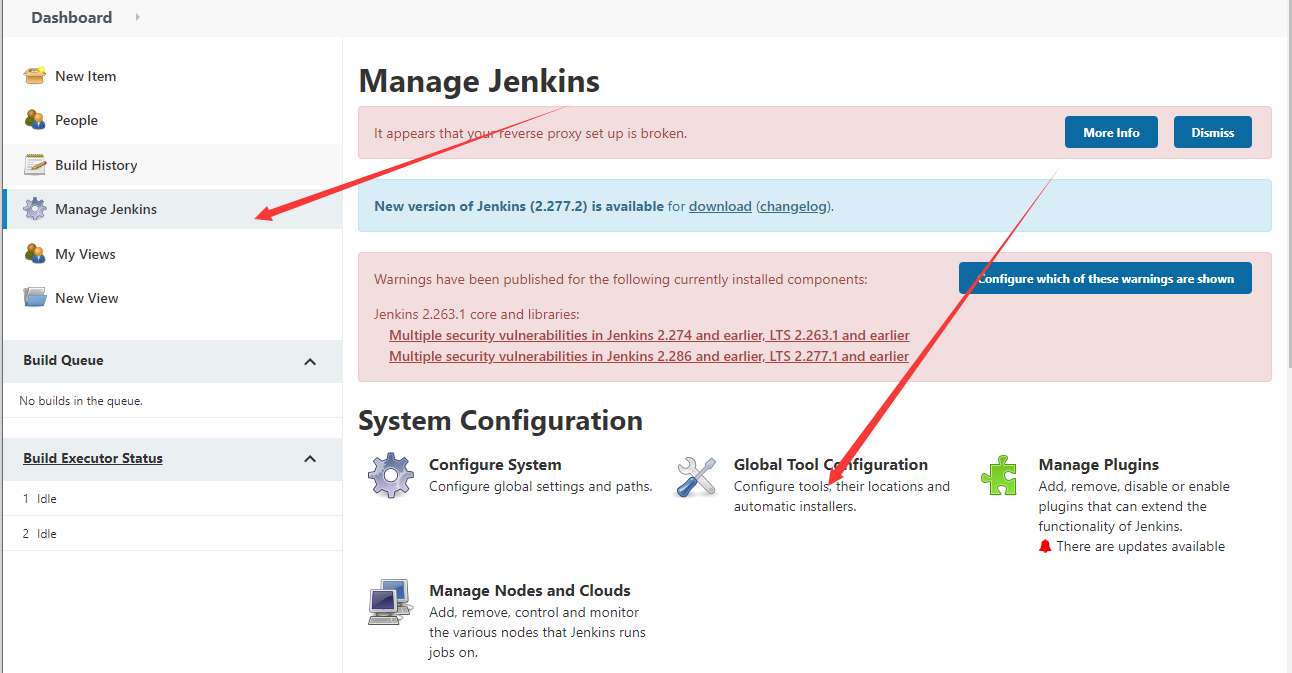
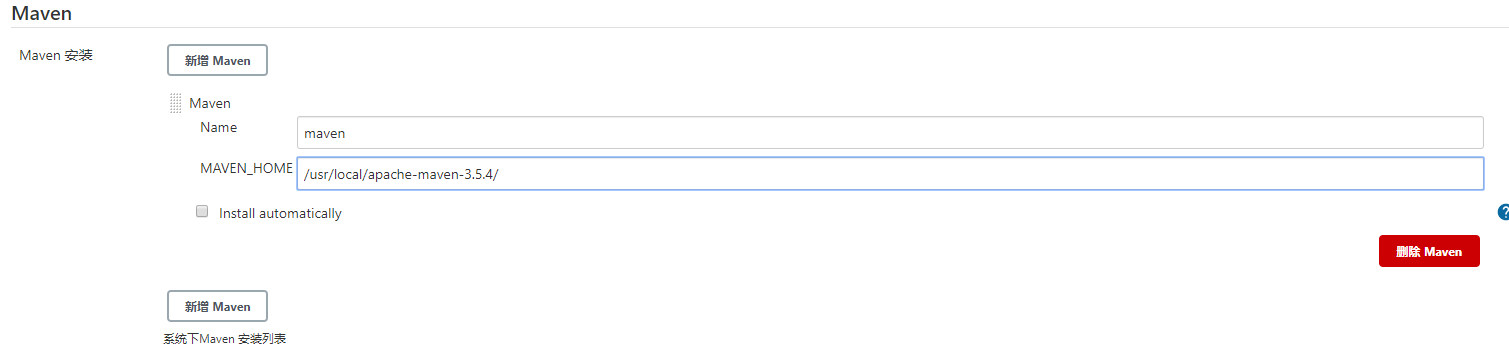
(9) Set the execution location of maven, jdk and git


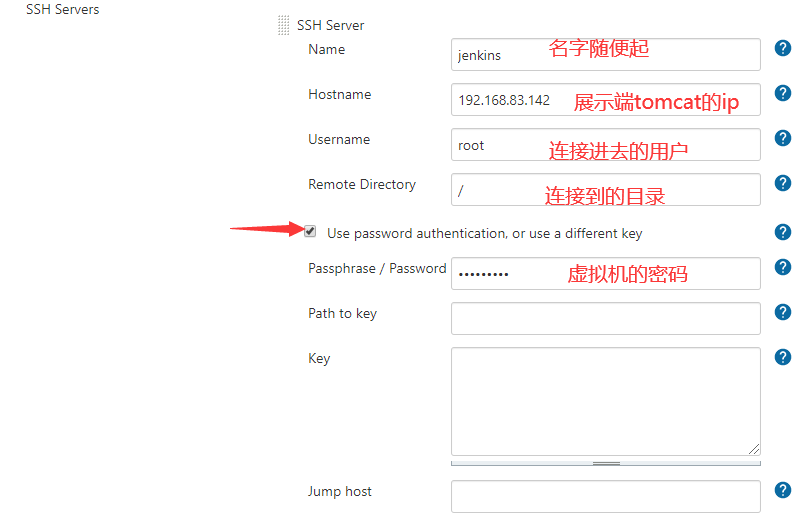
(10) Add ssh
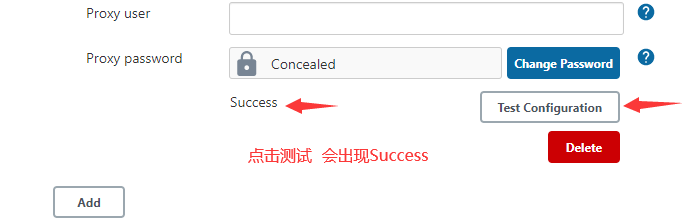
(11) Add an ssh server at the bottom of the configuration interface
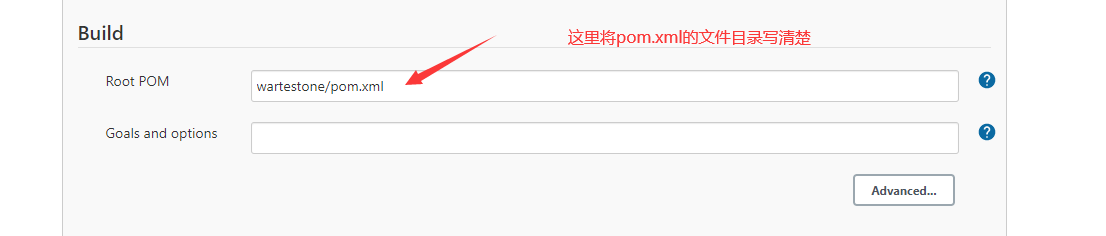
(12) Build maven based projects

(13) Add the operation after successful construction at the bottom
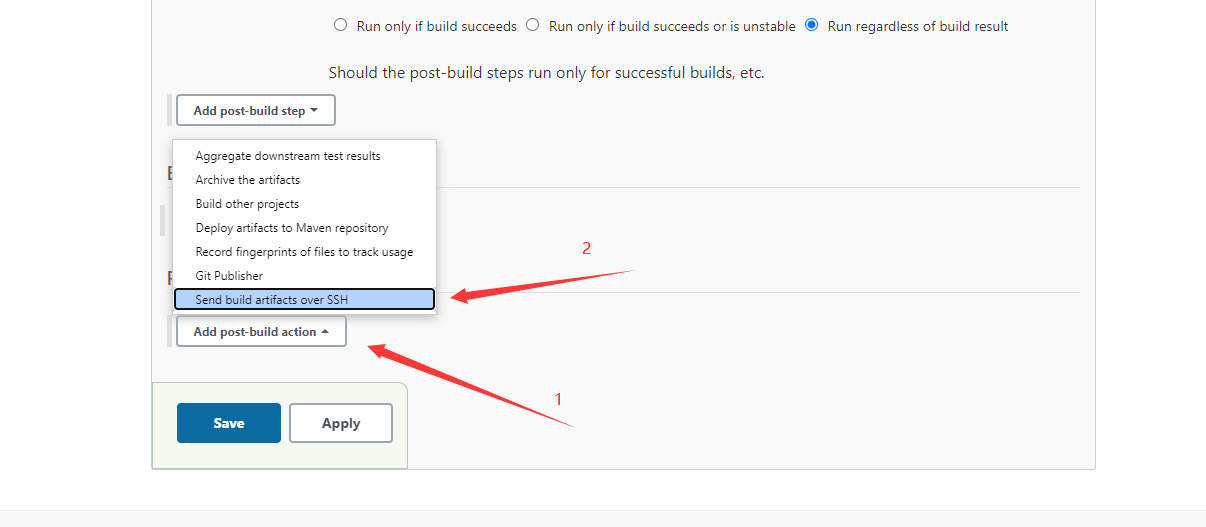
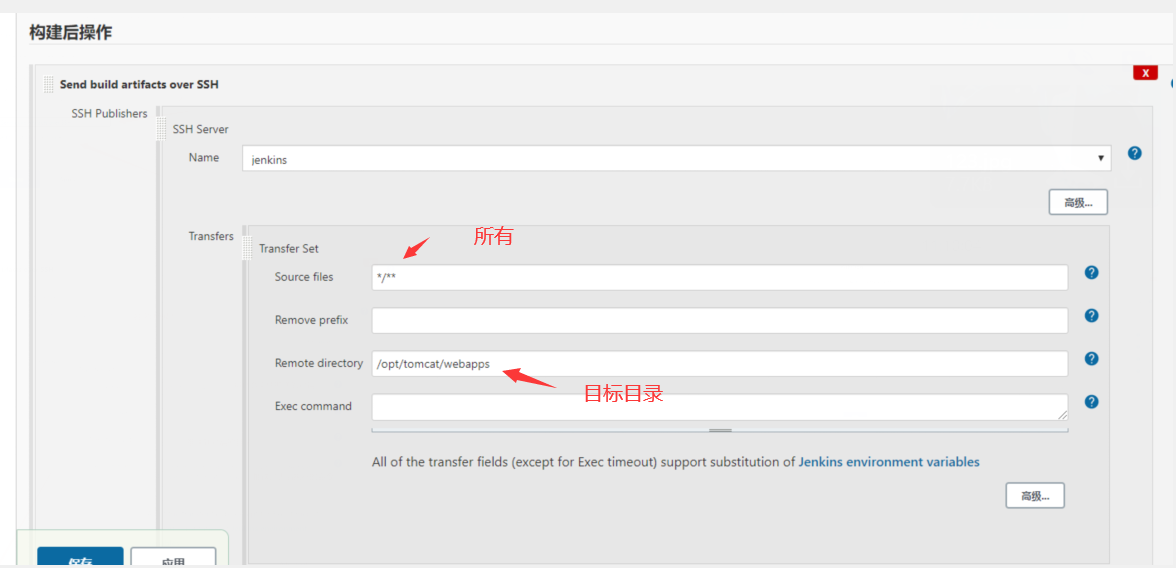
Here, the directory of the opposite end of the push will be changed to / opt/tomcat/webapps later
(14) Enter project execution
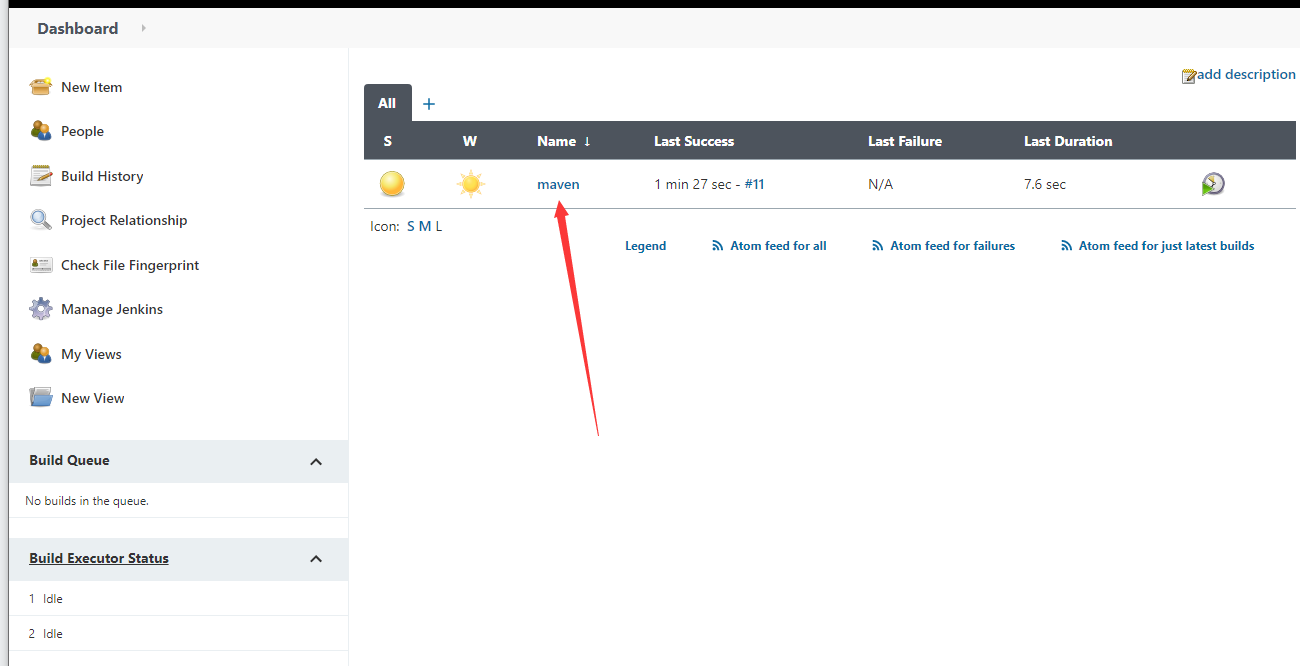
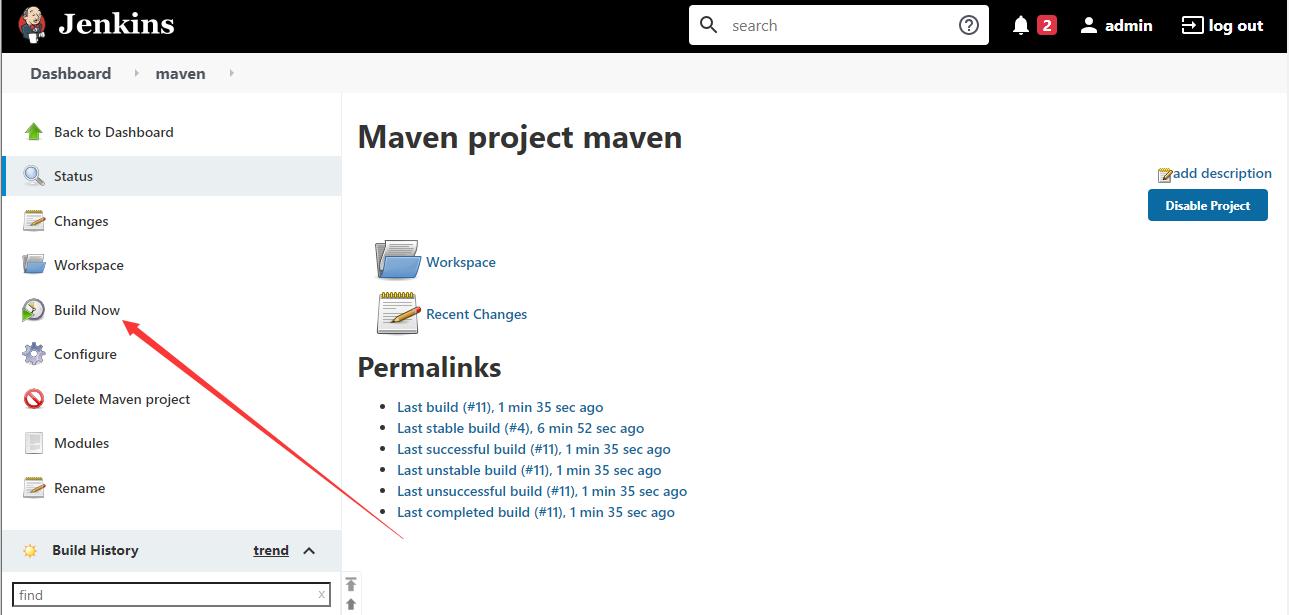
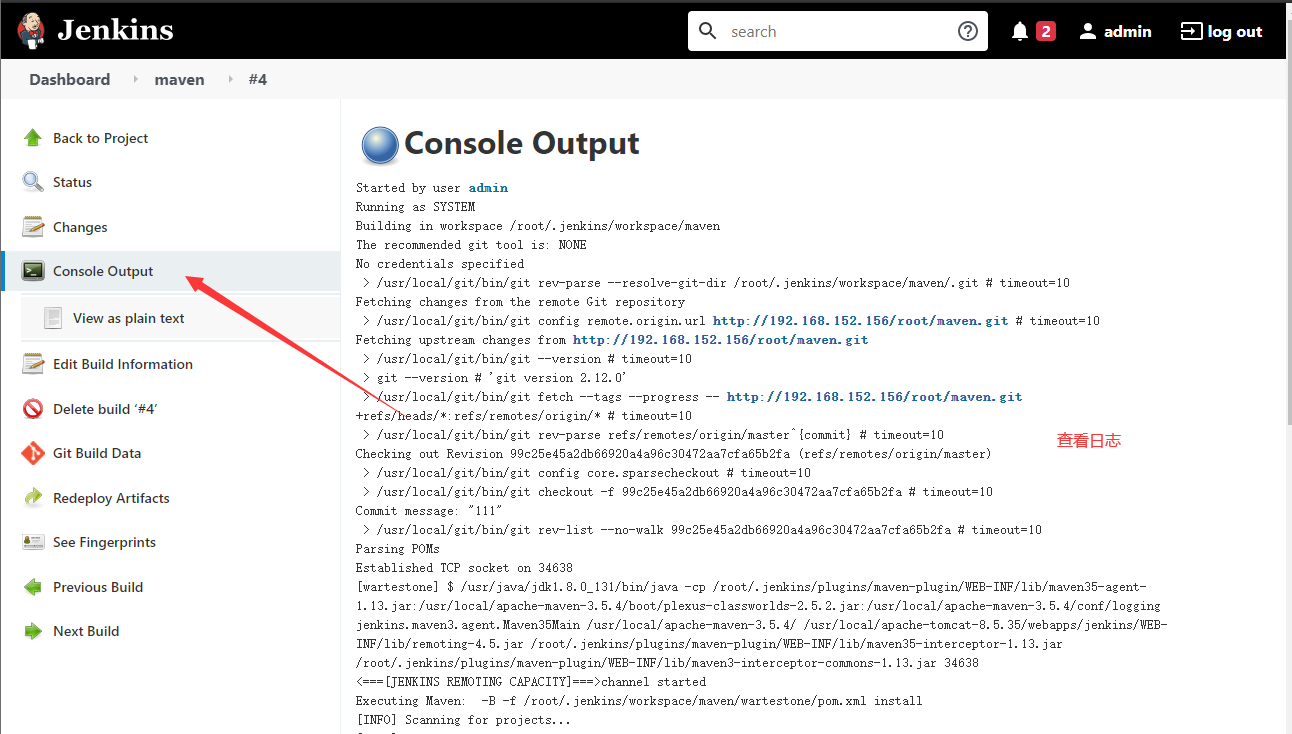
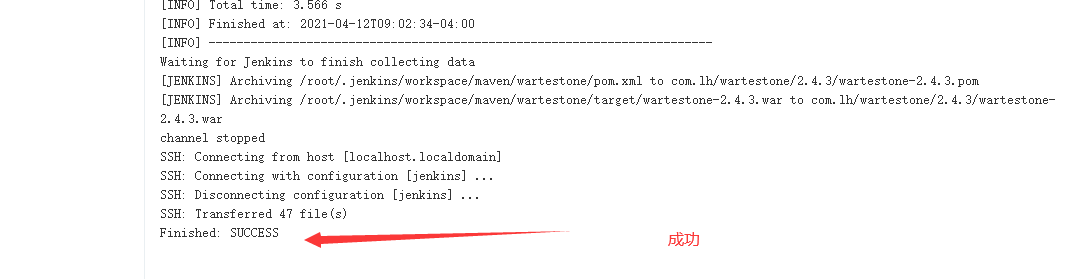
The first build takes a relatively long time and needs to wait a while.
(15) Check that the Tomcat display end project has appeared

If not, you can manually
/opt/tomcat/webapps/wartestone/target/
wartestone-2.4.3 under / opt/tomcat/webapps

(16) (20) access tomcat end

The End~