deploy
- Download installation package
- Upload and unzip the installation package
- Configure environment variables
- Modify profile
- Format HDFS
- Modify script file
- Start and verify
- Stop cluster
be careful:
1. The JDK environment is installed and configured by default
2. The CentOS7 Linux environment is installed and configured by default
3. Change the current host name to bigdata01
4. Pseudo distributed clusters are generally used in the learning phase
Download installation package
-
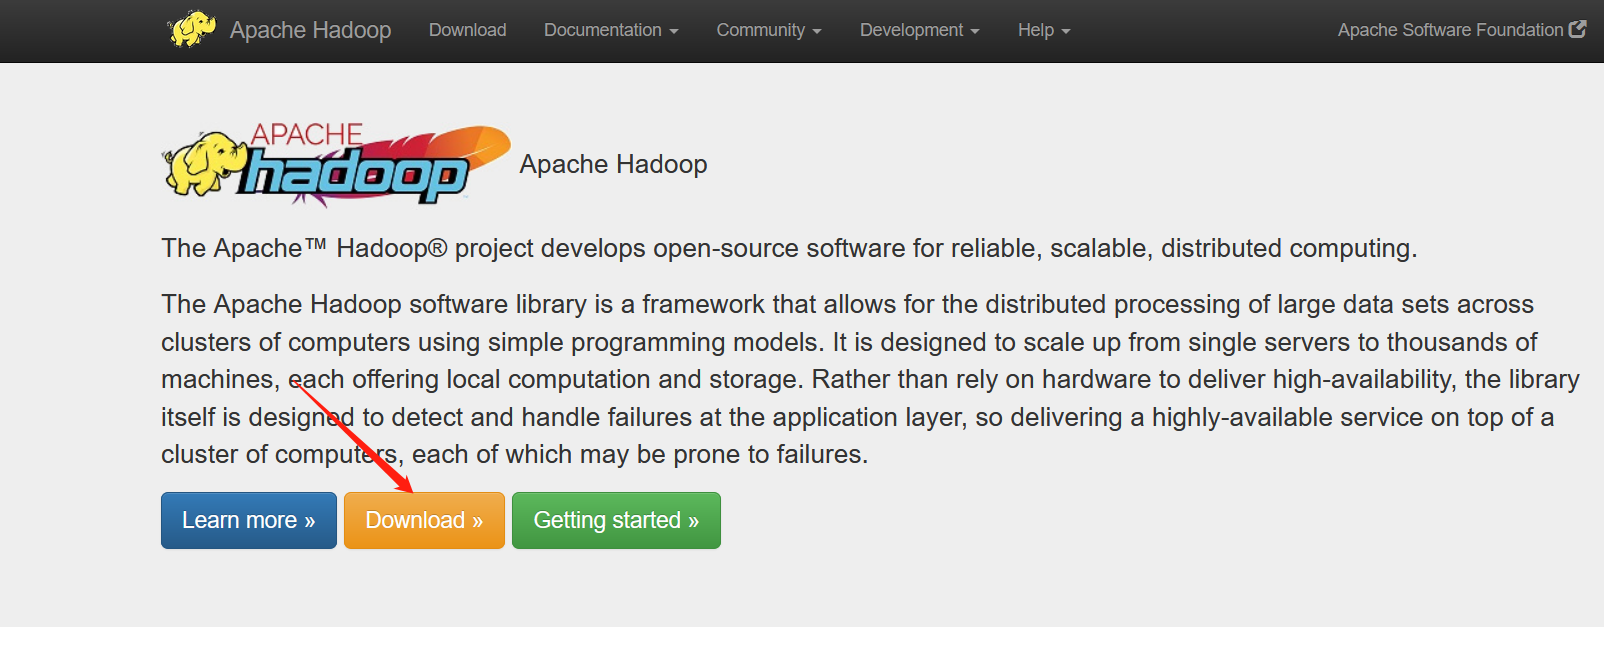
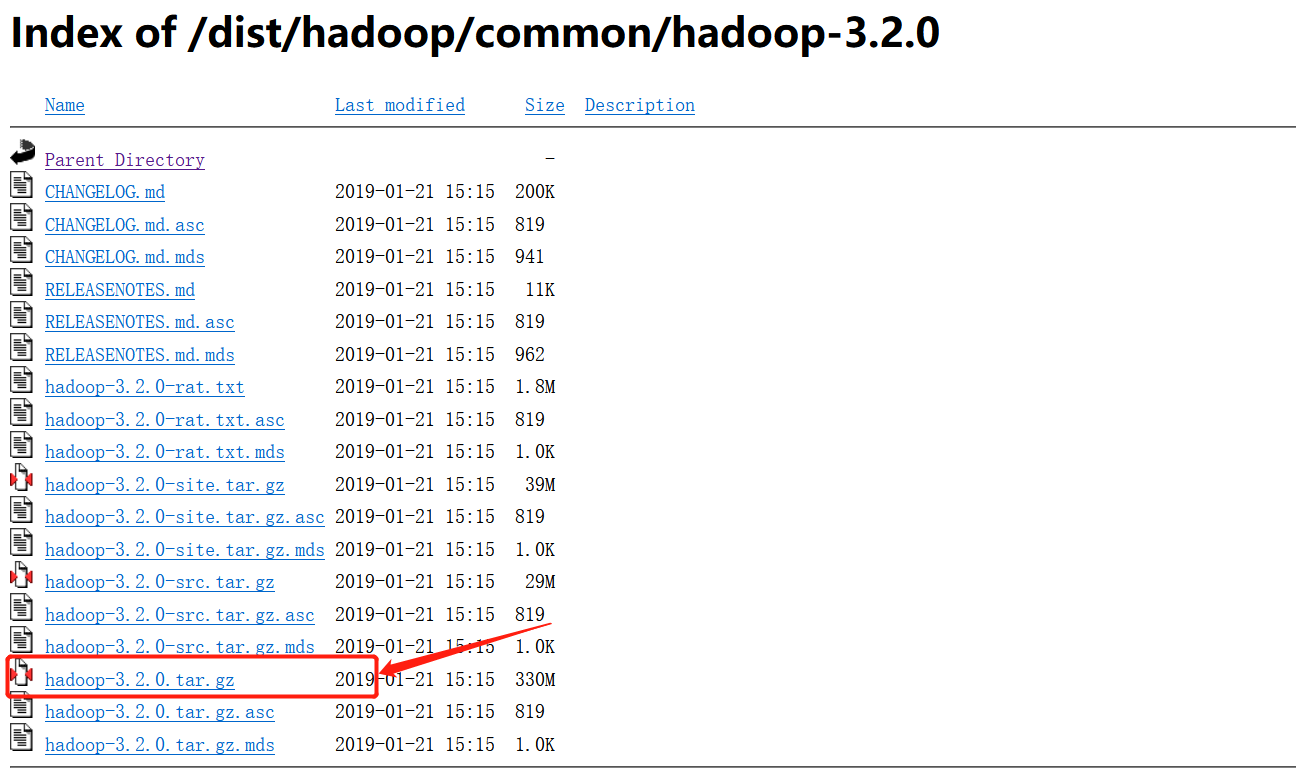
Download address
https://hadoop.apache.org/ -
Click the "download" button
 -Display the latest version. If you want to download the previous version, click the following connection
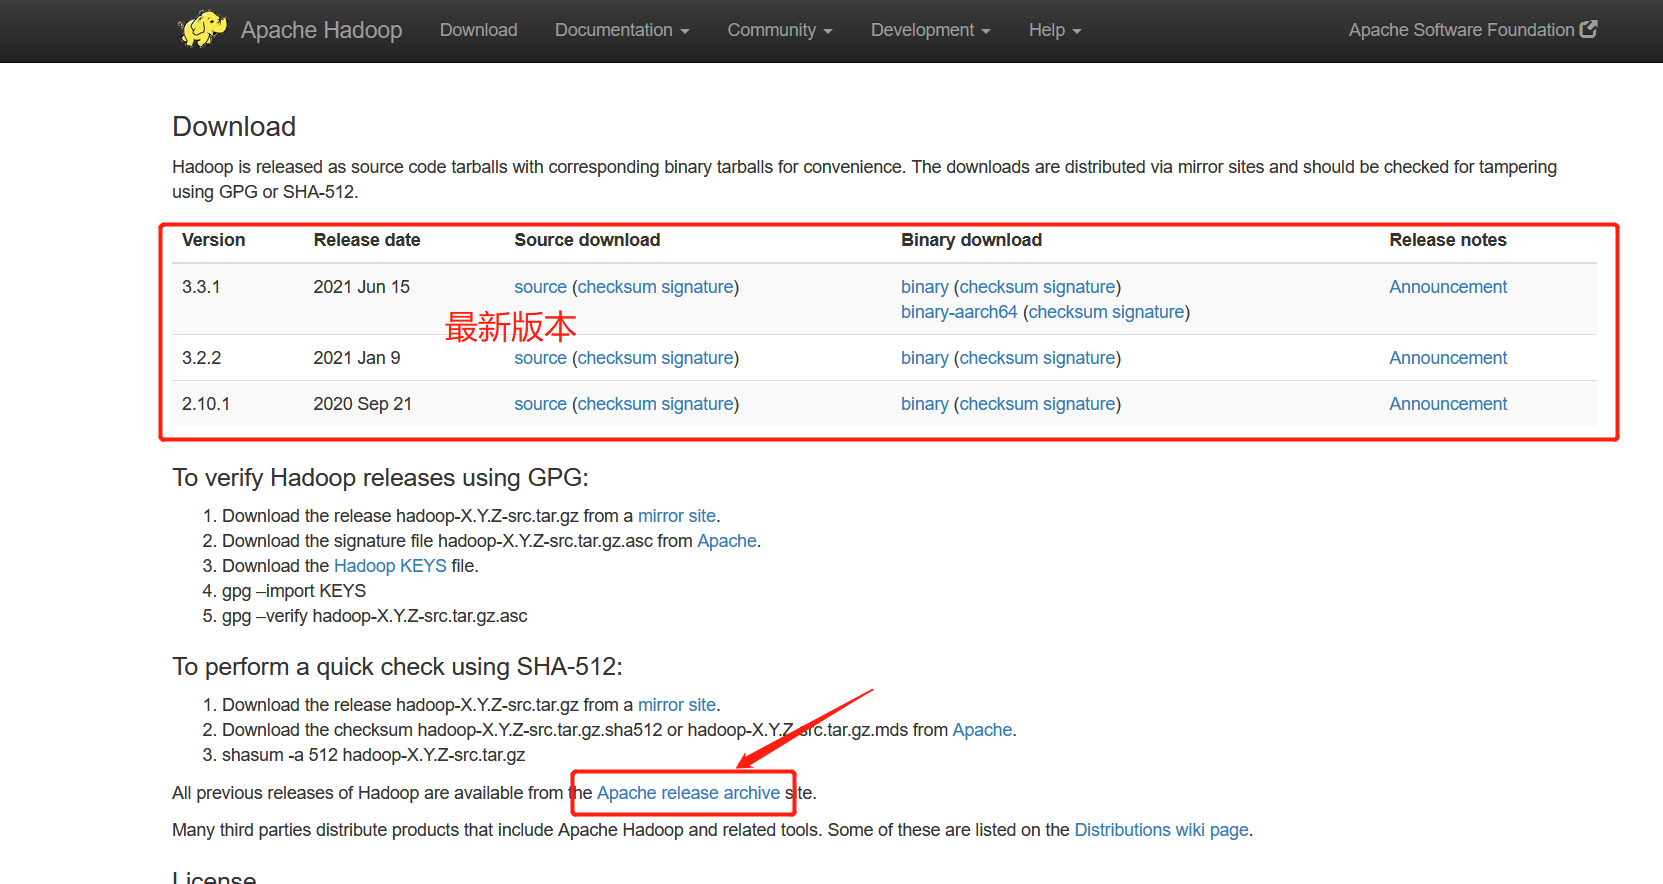 -This tutorial has taken version 3.2.0 as an example
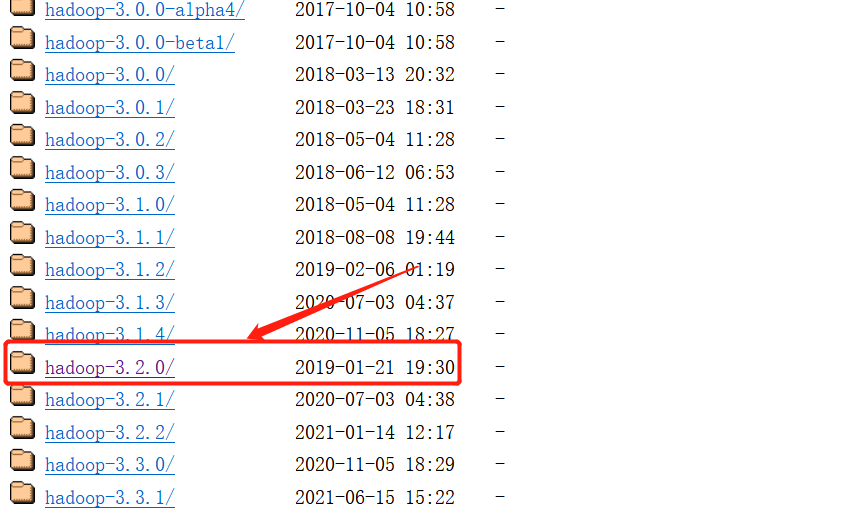 -Click to download the installation package
Upload and unzip the installation package
- xshell connects to the CentOS7 server via ssh and creates a soft directory
	# Create directory
	mkdir soft
- Upload installation package
	# Upload file
	rz -y
- Unzip the installation package to the specified directory
	# -C specifies the decompression location
	tar -zxvf hadoop-3.2.0.tar.gz -C /usr/local
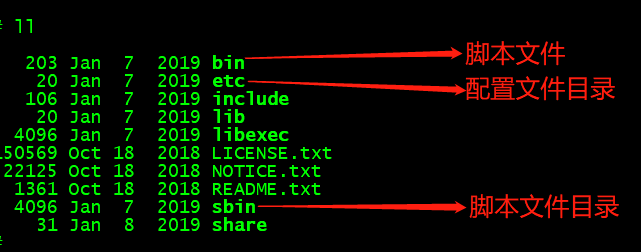
- Enter Hadoop 3 2 directory and view the contents under the directory
	# Enter hadoop directory
	cd /usr/local/hadoop-3.2.0
	# View the contents of the directory
	ll
- Introduction to important catalogue
Configure environment variables
- Open profile
	# Global profile
	vi /etc/profile
- Add the following contents at the end of the configuration file
	export HADOOP_HOME=/usr/local/hadoop-3.2.0
	export PATH=$PATH:$HADOOP_HOME/bin:$HADOOP_HOME/sbin
- Validation profile
source /etc/profile
Modify profile
- Enter the configuration file directory
cd /usr/local/hadoop-3.2.0/etc/hodoop
- Modify Hadoop env SH configuration file
	# Open file
	vi hadoop-env.sh
	# Add the following contents at the end of the file. The log directory can be used according to your own needs, and there is no need to be consistent with this article
	export JAVA_HOME=/usr/local/java_64
	export HADOOP_LOG_DIR=/usr/local/hadoop-3.2.0/hadoop_repo/logs/hadoop
be careful:
/usr/local/java_64 is the jdk directory
/usr/local/hadoop-3.2.0/hadoop_repo/logs/hadoop is the log directory
- Modify core site XML configuration file
# Open file
vi core-site.xml
# Modify the label content of the file < configuration > < / configuration > to the following content
# bigdata01 is the current CentOS7 host name
<configuration>
        <property>
                <name>fs.defaultFS</name>
                <value>hdfs://bigdata01:9000</value>
        </property>
        <property>
                <name>hadoop.tmp.dir</name>
                <value>/usr/local/hadoop-3.2.0/hadoop_repo</value>
        </property>
</configuration>
be careful:
bigdata01 is the current CentOS7 host name
/usr/local/hadoop-3.2.0/hadoop_repo is a temporary directory
- Modify HDFS site XML configuration file
# Open file
vi hdfs-site.xml
# Modify the label content of the file < configuration > < / configuration > to the following content
<configuration>
        <property>
                <name>dfs.replication</name>
                <value>1</value>
        </property>
</configuration>
Note: there is only one machine here, and the copy can be temporarily configured as "1"
- Modify mapred site XML configuration file
# Open file
vi mapred-site.xml
# Modify the label content of the file < configuration > < / configuration > to the following content
<configuration>
        <property>
                <name>mapreduce.framework.name</name>
                <value>yarn</value>
        </property>
</configuration>
Note: this configuration specifies that the specific execution engine is "yarn"
- Modify Yard site XML configuration file
# Open file
vi yarn-site.xml
# Modify the label content of the file < configuration > < / configuration > to the following content
<configuration>
        <property>
                <name>yarn.nodemanager.aux-services</name>
                <value>mapreduce_shuffle</value>
        </property>
        <property>
                <name>yarn.nodemanager.env-whitelist</name>
                <value>JAVA_HOME,HADOOP_COMMON_HOME,HADOOP_HDFS_HOME,HADOOP_CONF_DIR,CLASSPATH_PREPEND_DISTCACHE,HADOOP_YARN_HOME,HADOOP_MAPRED_HOME</value>
        </property>
</configuration>
Note: 1
The first property specifies that the calculation framework is "mapreduce_shuffle"
The second property specifies the whitelist
- Modify workers profile
# Open file
vi workers
# Change localhost to bigdata01
bigdata01
Note: there is only one machine. Both the master node and the slave node are their own. bigdata01 is the host name
Format HDFS
- Enter the hadoop root directory for formatting
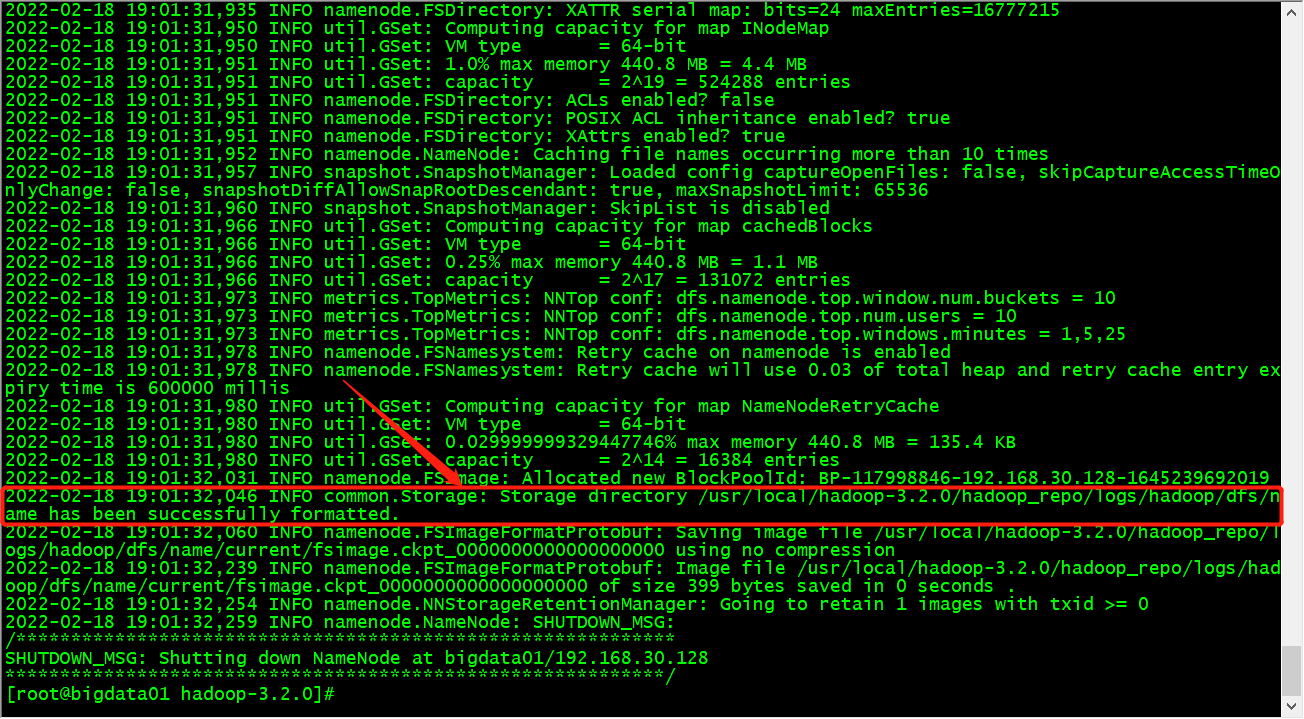
# Enter the root directory
cd /usr/local/hadoop-3.2.0
# Format with hdfs command
hdfs namenode -format
- Observe the output. If you see the following prompt, it indicates that the format is successful
 be careful:
1. When formatting is abnormal, modify the configuration according to the actual prompt, and re execute the formatting after modification
2. If the format is successful, it cannot be reformatted. Repeated formatting will cause problems
3. If you need to perform formatting multiple times, it is recommended to delete: / usr / local / hadoop-3.2.0/hadoop_ Format the contents in the repo temporary directory
Modify script file
- Enter the script file directory
cd /usr/local/hadoop-3.2.0/sbin
- Modify start DFS SH script file
# Open file
vi start-dfs.sh
# stay # Add the following before the sentence Start hadoop dfs daemons
HDFS_DATANODE_USER=root
HDFS_DATANODE_SECURE_USER=hdfs
HDFS_NAMENODE_USER=root
HDFS_SECONDARYNAMENODE_USER=root
- Modify stop DFS SH script file
# Open file
vi stop-dfs.sh
# stay # Add the following before the sentence Stop hadoop dfs daemons
HDFS_DATANODE_USER=root
HDFS_DATANODE_SECURE_USER=hdfs
HDFS_NAMENODE_USER=root
HDFS_SECONDARYNAMENODE_USER=root
- Modify start yarn SH script file
# Open file
vi start-yarn.sh
# stay ## @Add the following before the sentence description usage info
YARN_RESOURCEMANAGER_USER=root
HADOOP_SECURE_DN_USER=yarn
YARN_NODEMANAGER_USER=root
- Modify stop yard SH script file
# Open file
vi stop-yarn.sh
# stay ## @Add the following before the sentence description usage info
YARN_RESOURCEMANAGER_USER=root
HADOOP_SECURE_DN_USER=yarn
YARN_NODEMANAGER_USER=root
Start and verify
- Start hadoop
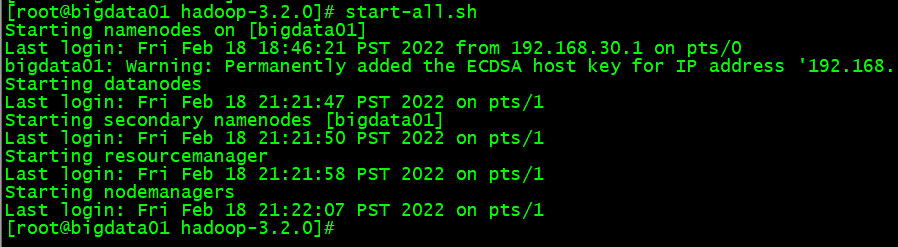
# Execute start command
start-all.sh
-
The output of startup process is as follows:
 -Using jps to view process information
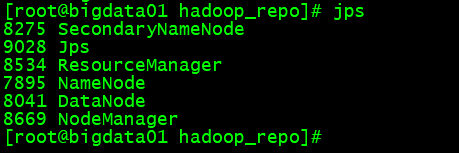
be careful:
1. When the process is missing, please carefully check the configuration again
2. Log location: / usr/local/hadoop-3.2.0/hadoop_repo/logs/hadoop view the log files corresponding to the process in this directory
3. If the configuration is modified, delete: / usr / local / hadoop-3.2.0/hadoop_ Format the contents in the repo temporary directory -
View hdfs service in browser
Access address: http://192.168.xxx.xxx:9870 ,
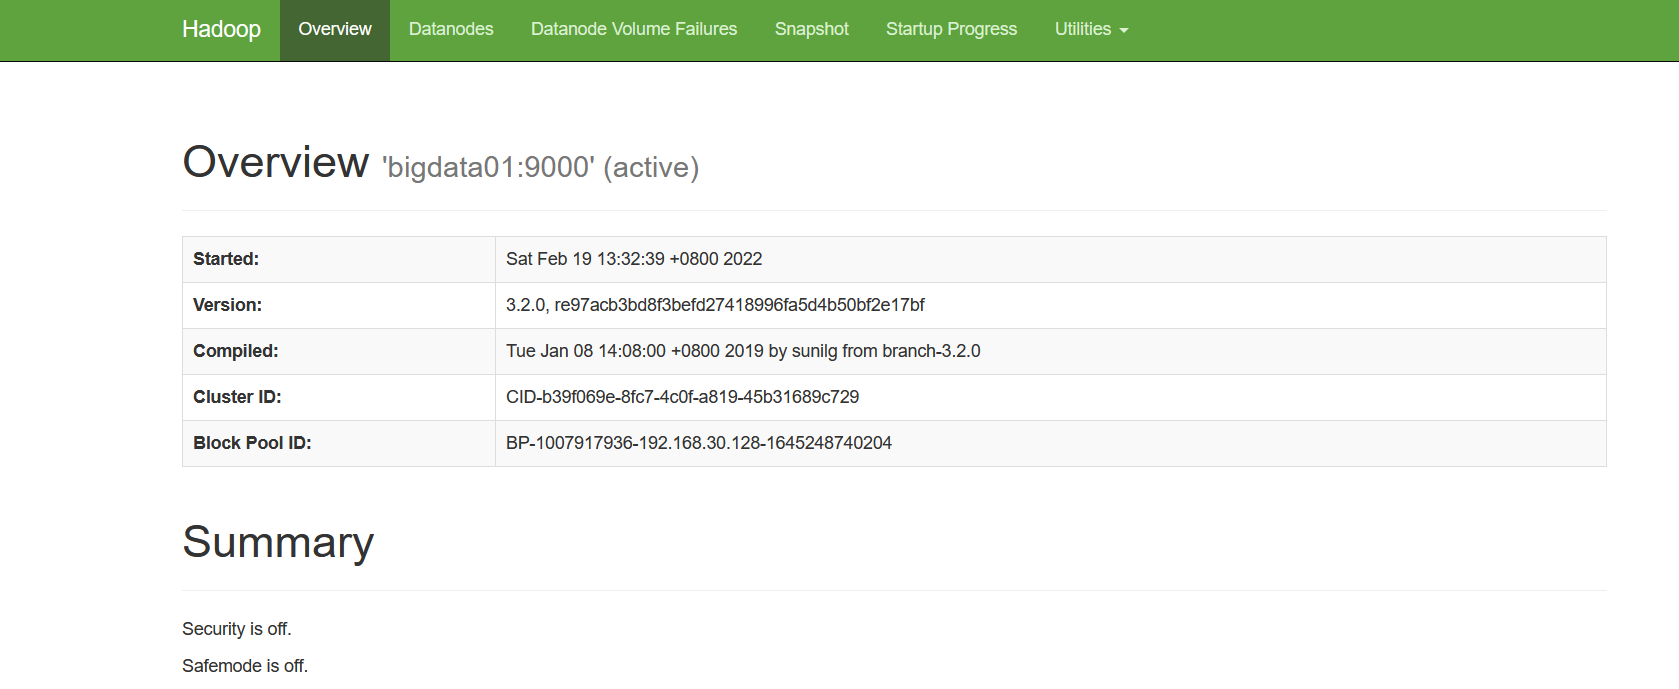
-
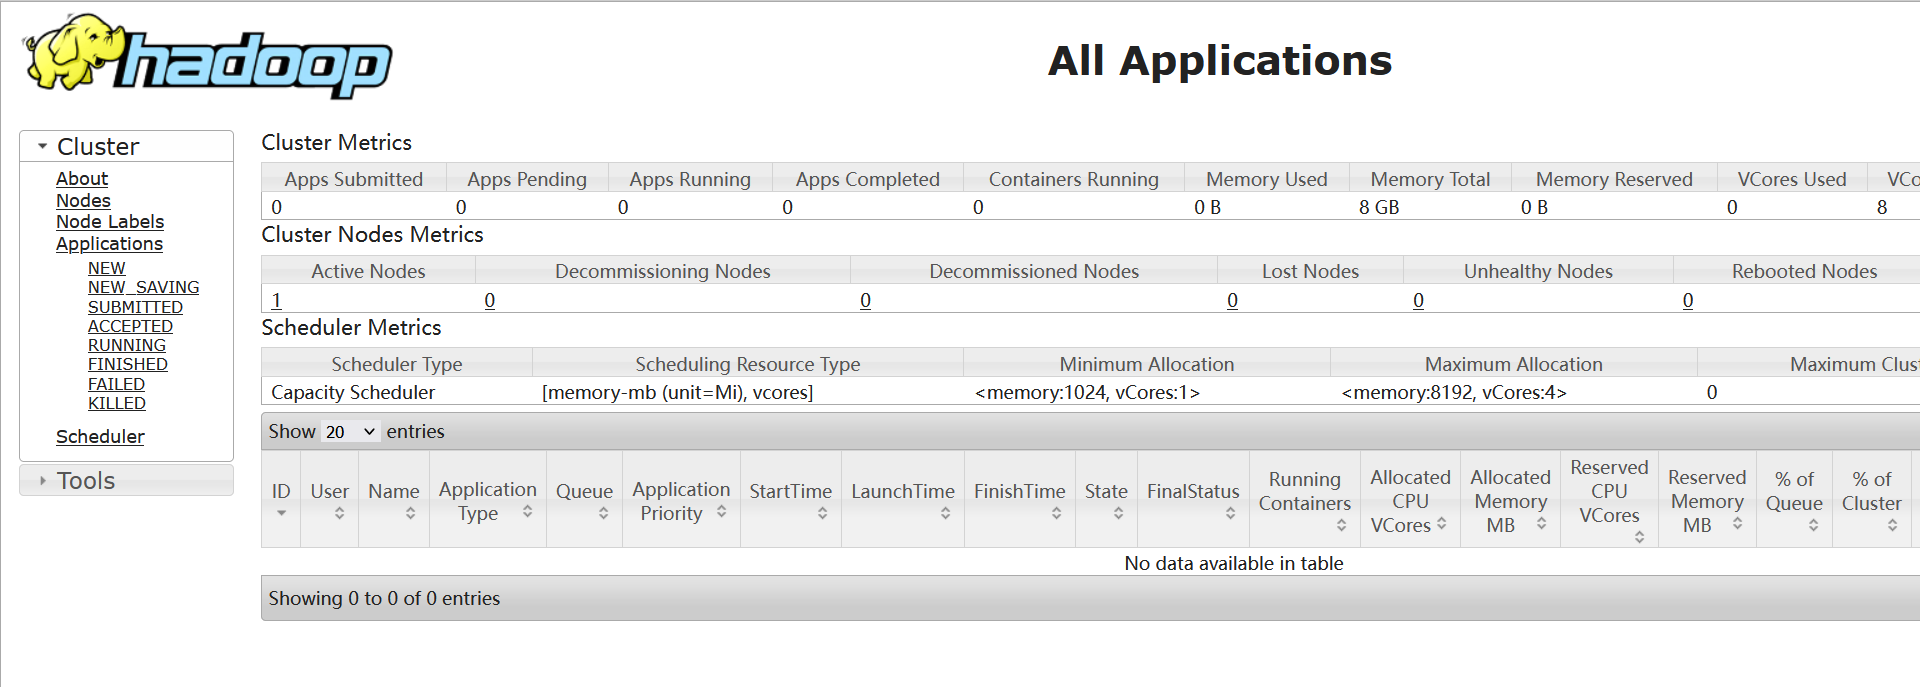
View the yarn Service in the browser
Access address: http://192.168.xxx.xxx:8088
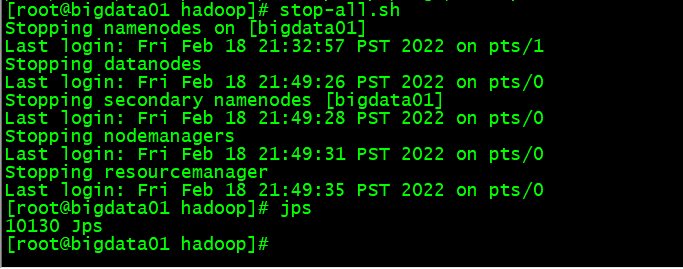
Stop cluster
- Execute stop script
# Execute the following script
stop-all.sh
- Execute jps command verification