harbor warehouse construction and docker compose syntax
Harbor
Whether you use docker distribution to build your own warehouse or run the container through the official image, we can find that it is very simple through the previous demonstration. It is not as convenient as directly using the official Docker Hub to manage the image. At least the official Docker Hub can manage the image through the web interface and perform search on the web interface, You can also use Webhooks and Automated Builds to automatically build images based on Dockerfile. Instead of executing docker build locally, users push all build context files to github as a warehouse, so that Docker Hub can pull these files from github to complete automatic construction.
However, no matter how powerful the official Docker Hub is, it is abroad after all, so the speed is the biggest bottleneck. It is impossible for us to consider using the official warehouse many times. However, the two self built warehouse methods mentioned above are very simple and inconvenient to manage, so a project favored by CNCF organization, named Harbor, emerged later.
Introduction to Harbor
Harbor is secondary encapsulated by VMWare on the basis of Docker Registry, with many additional programs added, and provides a very beautiful web interface.
Harbor is an open source trusted cloud native warehouse project for storage, user management and image discovery.
Harbor extends the open source Docker distribution by adding functions that users usually need, such as security, identity and management.
Harbor supports advanced features such as user management, access control, activity monitoring, and replication between instances.
Harbor features
- Multi tenant content signing and validation
- Security and vulnerability analysis
- Audit log record
- Identity integration and role-based access control
- Image replication between instances
- Extensible API and graphical UI
- Internationalization (currently Chinese and English Culture)
Docker compose
It is very difficult to deploy Harbor on physical machines. In order to simplify Harbor applications, Harbor officials directly make Harbor into applications running in containers. Moreover, this container relies on many storage systems such as redis, mysql and pgsql in Harbor, so it needs to arrange many containers to work together. Therefore, when deploying and using VMWare Harbor, It needs to be implemented with the help of Docker compose.
Compose is a tool for defining and running multi container Docker applications. With compose, you can use YAML files to configure the services of your application. Then, use a single command to create and start all services from the configuration.
Docker Compose official document
Harbor deployment
There is no docker compose in the yum source of centos8, so we need to run the following command to install the latest stable version of docker compose
[root@harbor ~]# curl -L "https://github.com/docker/compose/releases/download/1.29.2/docker-compose-$(uname -s)-$(uname -m)" -o /usr/local/bin/docker-compose
  % Total    % Received % Xferd  Average Speed   Time    Time     Time  Current
                                 Dload  Upload   Total   Spent    Left  Speed
100   664  100   664    0     0   1173      0 --:--:-- --:--:-- --:--:--  1171
100 12.1M  100 12.1M    0     0  2376k      0  0:00:05  0:00:05 --:--:-- 3361k
[root@harbor ~]# ls /usr/local/bin/
docker-compose
Apply executable permissions to binaries
[root@harbor ~]# chmod +x /usr/local/bin/docker-compose
Test installation
[root@harbor ~]# docker-compose --version
docker-compose version 1.29.2, build 5becea4c
Download the offline installation package of harbor
[root@harbor ~]# ls
anaconda-ks.cfg  harbor-offline-installer-v2.3.5.tgz
[root@harbor ~]# tar xf harbor-offline-installer-v2.3.5.tgz -C /usr/local/
[root@harbor ~]# ls /usr/local/
bin  etc  games  harbor  include  lib  lib64  libexec  sbin  share  src
[root@harbor ~]# cd /usr/local/harbor/
[root@harbor harbor]# ls
common.sh  harbor.v2.3.5.tar.gz  harbor.yml.tmpl  install.sh  LICENSE  prepare

[root@harbor harbor]# cp harbor.yml.tmpl harbor.yml
[root@harbor harbor]# vim harbor.yml
...
hostname: harbor.example.com		//Change here to the hostname of the current host
...
# https related config
#https: 						// The HTTPS part cannot be used now, so all comments are omitted
  # https port for harbor, default is 443
  #  port: 443
  # The path of cert and key files for nginx
  #certificate: /your/certificate/path
  #private_key: /your/private/key/path

[root@harbor harbor]# vim /etc/docker/daemon.json
{
  "insecure-registries": ["harbor.example.com"]
}
[root@harbor harbor]# systemctl daemon-reload
[root@harbor harbor]# systemctl restart docker.service
After modifying the harbor configuration file, do the host mapping in the / etc/hosts file
[root@harbor harbor]# vim /etc/hosts
127.0.0.1   localhost localhost.localdomain localhost4 localhost4.localdomain4
::1         localhost localhost.localdomain localhost6 localhost6.localdomain6
192.168.100.110 harbor.example.com
Execute install SH script to install harbor
[root@harbor harbor]# ./install.sh
...
[Step 5]: starting Harbor ...
Creating network "harbor_harbor" with the default driver
Creating harbor-log ... done
Creating harbor-portal ... done
Creating registry      ... done
Creating registryctl   ... done
Creating redis         ... done
Creating harbor-db     ... done
Creating harbor-core   ... done
Creating harbor-jobservice ... done
Creating nginx             ... done
✔ ----Harbor has been installed and started successfully.----

[root@harbor harbor]# docker images
REPOSITORY                      TAG       IMAGE ID       CREATED      SIZE
goharbor/harbor-exporter        v2.3.5    1730c6f650e2   6 days ago   81.9MB
goharbor/chartmuseum-photon     v2.3.5    47004f032938   6 days ago   179MB
goharbor/redis-photon           v2.3.5    3d0cedc89a0d   6 days ago   156MB
goharbor/trivy-adapter-photon   v2.3.5    5c0212e98070   6 days ago   133MB
goharbor/notary-server-photon   v2.3.5    f20a76c65359   6 days ago   111MB
goharbor/notary-signer-photon   v2.3.5    b9fa38eef4d7   6 days ago   108MB
goharbor/harbor-registryctl     v2.3.5    7a52567a76ca   6 days ago   133MB
goharbor/registry-photon        v2.3.5    cf22d3e386b8   6 days ago   82.6MB
goharbor/nginx-photon           v2.3.5    5e3b6d9ce11a   6 days ago   45.7MB
goharbor/harbor-log             v2.3.5    a03e4bc963d6   6 days ago   160MB
goharbor/harbor-jobservice      v2.3.5    2ac32df5a2e0   6 days ago   211MB
goharbor/harbor-core            v2.3.5    23baee01156f   6 days ago   193MB
goharbor/harbor-portal          v2.3.5    bb545cdedf5a   6 days ago   58.9MB
goharbor/harbor-db              v2.3.5    9826c57a5749   6 days ago   221MB
goharbor/prepare                v2.3.5    a1ceaabe47b2   6 days ago   255MB

[root@harbor harbor]# ss -antl
State        Recv-Q       Send-Q             Local Address:Port             Peer Address:Port      Process
LISTEN       0            128                    127.0.0.1:1514                  0.0.0.0:*
LISTEN       0            128                      0.0.0.0:80                    0.0.0.0:*
LISTEN       0            128                      0.0.0.0:22                    0.0.0.0:*
LISTEN       0            128                         [::]:80                       [::]:*
LISTEN       0            128                         [::]:22                       [::]:*
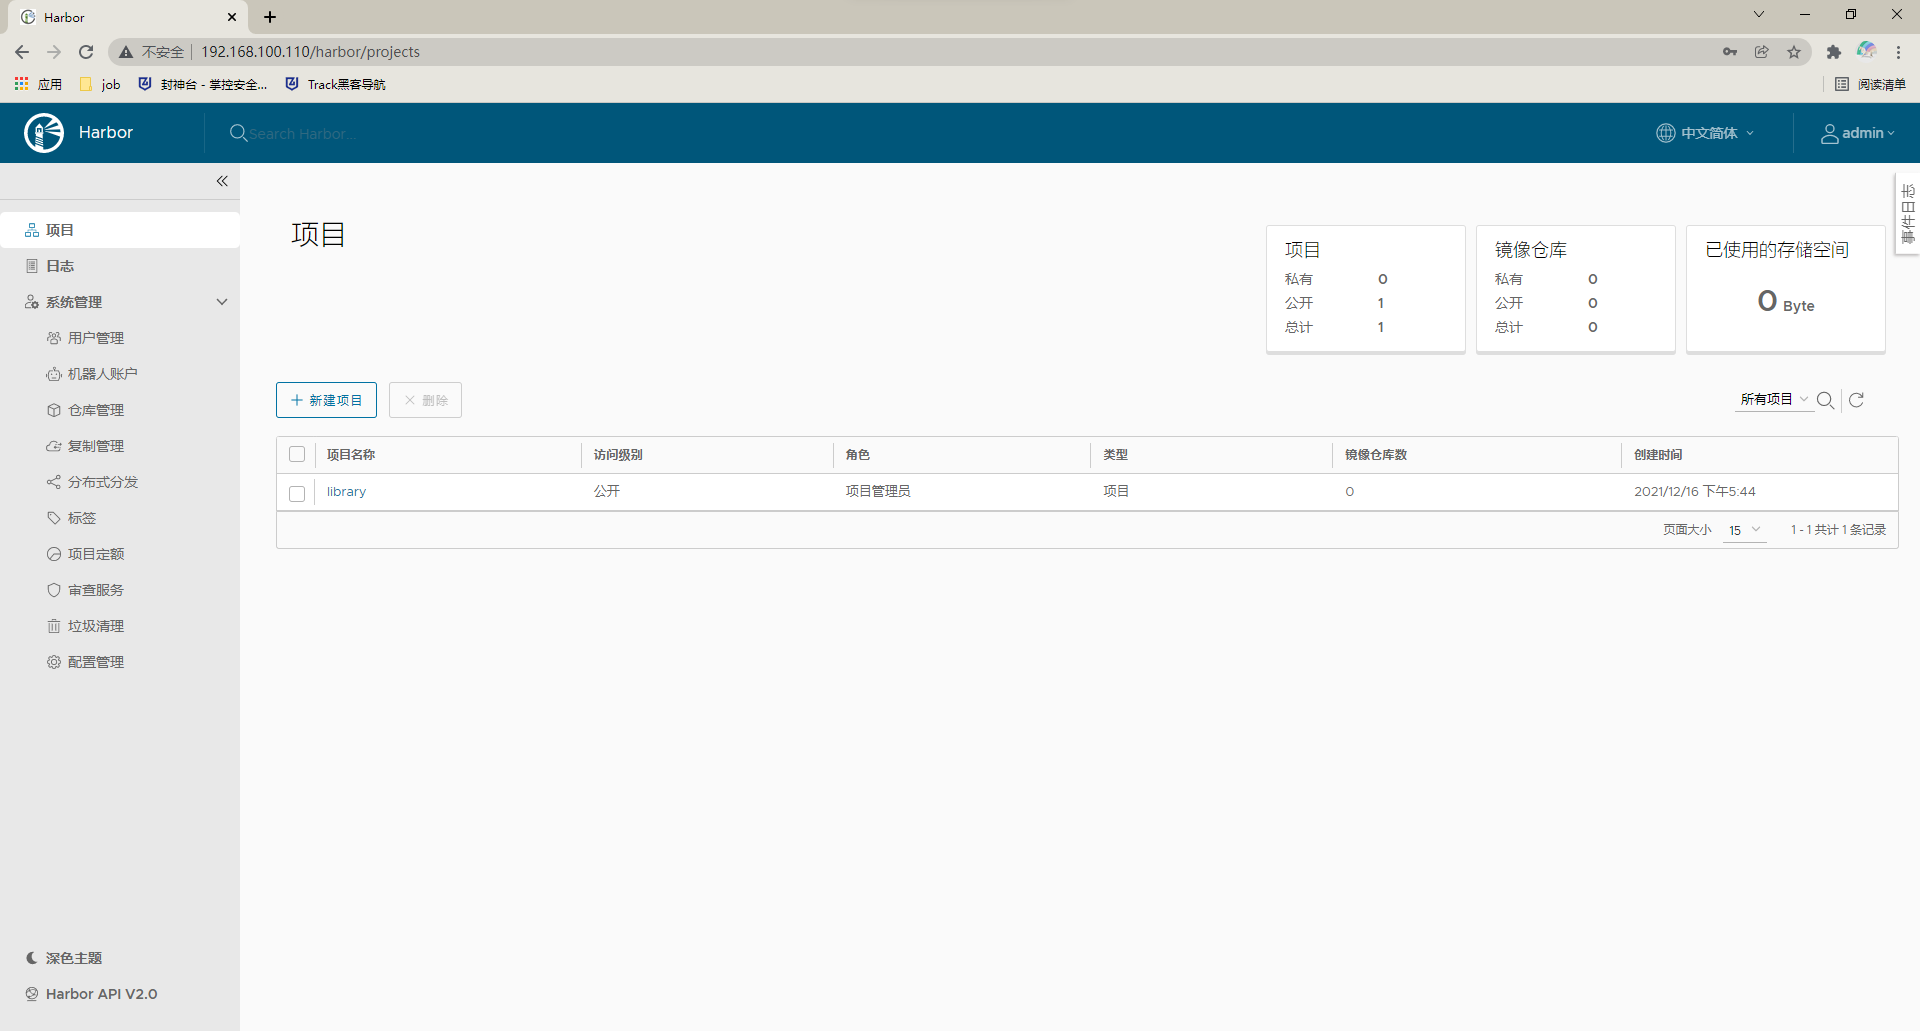
Manage harbor using IP login
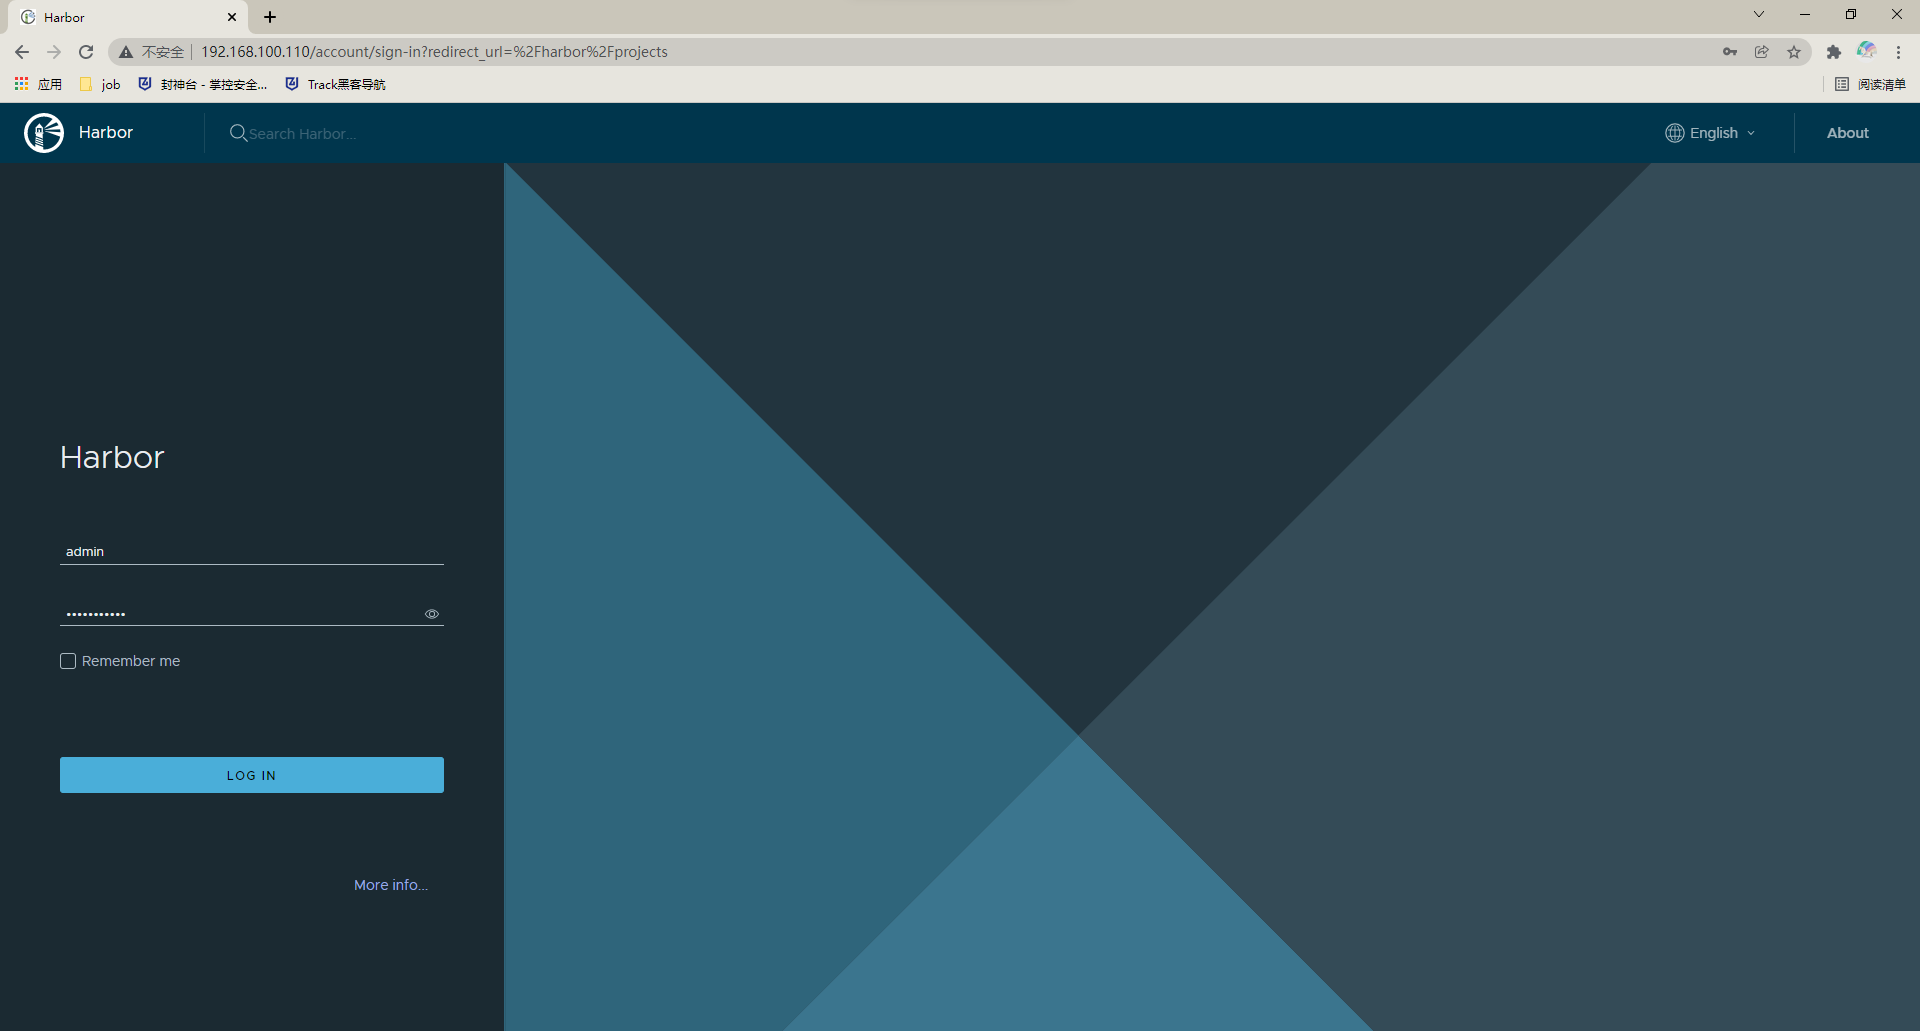
The default user name is admin and the password is Harbor12345
Pull the official image and upload it to the harbor warehouse
[root@harbor harbor]# docker images
nginx                           latest    f652ca386ed1   13 days ago   141MB
[root@harbor harbor]# docker tag nginx:latest harbor.example.com/library/nginx:latest
[root@harbor harbor]# docker images
harbor.example.com/library/nginx            latest    f652ca386ed1   13 days ago   141MB
nginx                         			    latest    f652ca386ed1   13 days ago   141MB
Log in to harbor warehouse
[root@harbor harbor]# docker login harbor.example.com
Username: admin
Password:
WARNING! Your password will be stored unencrypted in /root/.docker/config.json.
Configure a credential helper to remove this warning. See
https://docs.docker.com/engine/reference/commandline/login/#credentials-store

Login Succeeded
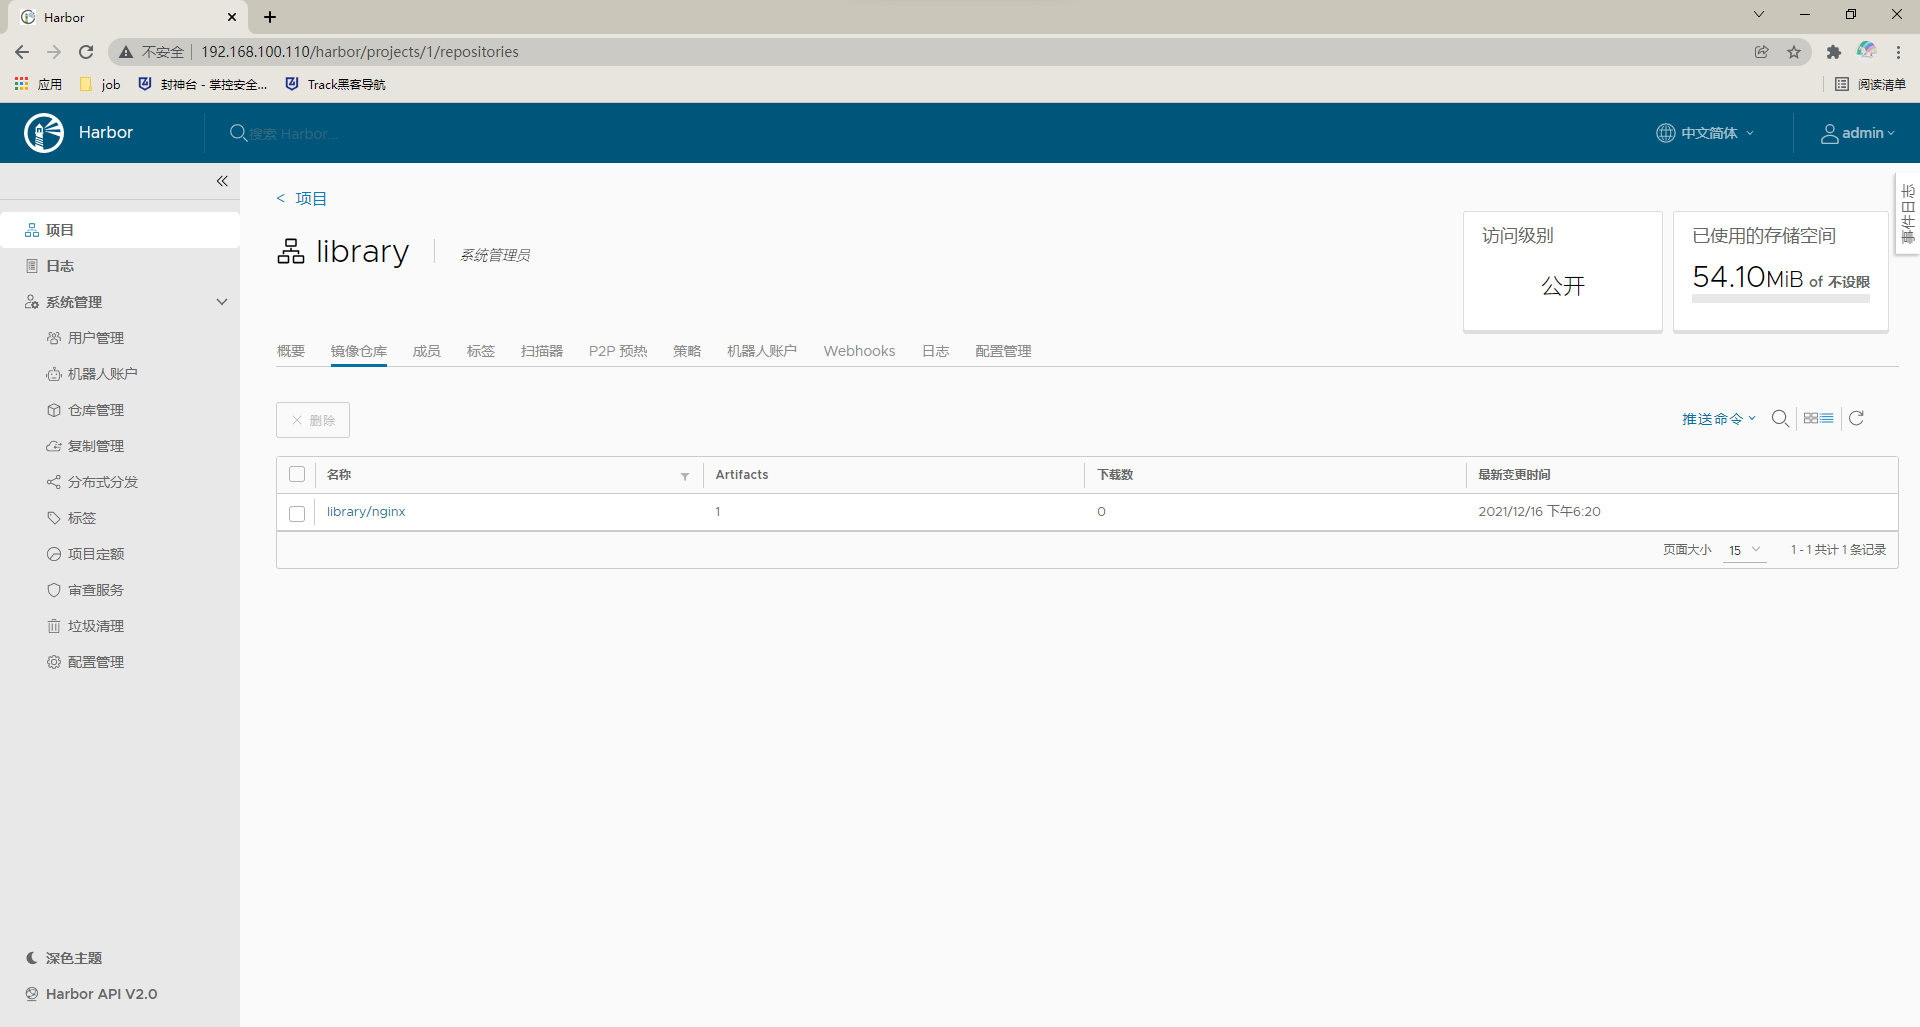
Push the modified nginx image to the harbor warehouse
[root@harbor harbor]# docker push harbor.example.com/library/nginx:latest
The push refers to repository [harbor.example.com/library/nginx]
2bed47a66c07: Pushed
82caad489ad7: Pushed
d3e1dca44e82: Pushed
c9fcd9c6ced8: Pushed
0664b7821b60: Pushed
9321ff862abb: Pushed
latest: digest: sha256:4424e31f2c366108433ecca7890ad527b243361577180dfd9a5bb36e828abf47 size: 1570
View in harbor warehouse
Delete the image and pull it again
[root@harbor harbor]# docker rmi harbor.example.com/library/nginx:latest
[root@harbor harbor]# docker images
nginx                           latest    f652ca386ed1   13 days ago   141MB

[root@harbor harbor]# docker pull harbor.example.com/library/nginx:latest
latest: Pulling from library/nginx
Digest: sha256:4424e31f2c366108433ecca7890ad527b243361577180dfd9a5bb36e828abf47
Status: Downloaded newer image for harbor.example.com/library/nginx:latest
harbor.example.com/library/nginx:latest
[root@harbor harbor]# docker images
nginx                              latest    f652ca386ed1   13 days ago   141MB
harbor.example.com/library/nginx   latest    f652ca386ed1   13 days ago   141MB
Precautions for using Harbor:
- When uploading an image on the client, you must remember to execute docker login for user authentication, otherwise you cannot directly push
- If https is not used on the client, it must be in / etc / docker / daemon Configure the insert registers parameter in the JSON configuration file
- The data storage path shall be configured into a shared storage with sufficient capacity in the configuration file
- Harbor is managed by using the docker compose command. If you need to stop harbor, you can also use docker compose stop. For other parameters, please – help
Docker compose syntax
The default template file is docker - compose YML, in which each service defined must be automatically built by specifying an image or a build instruction (Dockerfile required) through the image instruction.
Most of the others are similar to those in docker run. If the build command is used, the options set in Dockerfile (such as CMD,EXPOSE,VOLUME,ENV, etc.) will be automatically obtained without being set again in docker-compose.yml.
1,image
Specify as the mirror name or mirror ID. If the image does not exist, Compose will try to pull the image from the Internet, for example: image: ubuntu image: orchardup/postgresql image: a4bc65fd
2,build
Specify the path to the folder where the Dockerfile is located. Compose will use it to automatically build the image and then use the image. build: ./dir
3,command
Overrides the default command when the container is started. command: bundle exec thin -p 3000
4,links
Link to other service containers and use either the service name (also as an alias) or the service alias (SERVICE:ALIAS)
links:
 - db
 - db:database
 - redis
5,external_links
Link to docker Compose YML is an external container, not even a container managed by Compose. The parameter format is similar to links. external_links:
- redis_1
 - project_db_1:mysql
 - project_db_2:sqlserver
6,ports
Expose port information. Host machine port: container port (HOST:CONTAINER) format or just specify the port of the container (the host machine will randomly assign ports).
ports:
 - "3306"
 - "8080:80"
 - "127.0.0.1:8090:8001"
Note: when using HOST:CONTAINER format to map ports, you may get wrong results if the container port you use is less than 60, because YAML will parse xx:yy as base 60. Therefore, it is recommended to use string format.
7,expose
Expose ports. Unlike posts, expose can only expose ports and cannot be mapped to hosts. It is only used for external service connections; Only internal ports can be specified as parameters.
expose:
 - "3000"
 - "8000"
8,volumes
Set the path of the volume mount. You can set the host path: container path (host:container) or access mode (host:container:ro). ro means readonly, read-only mode.
volumes:
 - /var/lib/mysql:/var/lib/mysql
 - /configs/mysql:/etc/configs/:ro
9,volunes_from
Mount all data volumes of another service or container.
volumes_from:
 - service_name
 - container_name
10,environment
Set environment variables. It can be in both array and dictionary formats. If only the name of the variable is given, its value on the Compose host will be automatically loaded, which can be used to prevent unnecessary data disclosure.
environment:
 - RACK_ENV=development
 - SESSION_SECRET
11,env_file
Get the environment variable from the file, which can be a separate file path or list. Env if a template file is specified through docker compose - f file_ The path in file is based on the template file path. If a variable name conflicts with the environment instruction, the latter shall prevail.
env_file: .env
env_file:
 - ./common.env
 - ./apps/web.env
 - /opt/secrets.env
Each line in the environment variable file must have a comment, and the comment line at the # beginning is supported.
# common.env: Set Rails/Rack environment
RACK_ENV=development
12,extends
Service expansion based on existing services. For example, we already have a webapp service, and the template file is common yml.
# common.yml
webapp:
build: ./webapp
environment:
\ - DEBUG=false
\ - SEND_EMAILS=false
Write a new development YML file, using common Extend webapp service in YML. development.yml
web:
extends:
file: common.yml
service:
  webapp:
    ports:
      \ - "8080:80"
    links:
      \ - db
    envelopment:
      - DEBUG=true
   db:
    image: mysql:5.7
The latter will automatically inherit common webapp service and related environment variables in YML.
13,net
Set the network mode. Use the same value as the -- net parameter of docker client.
# The network to which the container is connected by default is the docker0 network installed by default when all dockers are installed
net: "bridge"
# Container custom network stack
net: "none"
# Network configuration using another container
net: "container:[name or id]"
# Add a container on the host network stack, and the network configuration in the container will be the same as that of the host
net: "host"
Docker will automatically create three networks for each node: the network name acts as the network to which the bridge container is connected by default. It is the docker0 network none container installed by default when all dockers are installed. The customized network stack host adds a container to the host network stack, The network configuration in the container will be the same as that of the host appendix: operation name command create network docker network create -d bridge mynet view network list docker network ls
14,pid
The process namespace is shared with the host system, and the containers that open this option can access and operate on each other through the process id.
pid: "host"
15,dns
to configure DNS The server. It can be a value or a list.
dns: 8.8.8.8
dns:
 - 8.8.8.8
 - 9.9.9.9
16,cap_add,cap_drop
Add or discard the Linux Capability of the container.
cap_add:
 - ALL
cap_drop:
 - NET_ADMIN
 - SYS_ADMIN
17,dns_search
Configure DNS search domain. It can be a value or a list.
dns_search: example.com
dns_search:
 - domain1.example.com
 \ - domain2.example.com
working_dir, entrypoint, user, hostname, domainname, mem_limit, privileged, restart, stdin_open, tty, cpu_shares
These are similar to the options supported by docker run.
cpu_shares: 73
working_dir: /code
entrypoint: /code/entrypoint.sh
user: postgresql
hostname: foo
domainname: foo.com
mem_limit: 1000000000
privileged: true
restart: always
stdin_open: true
tty: true
Note: when using compose to manage Docker containers, you need to write Docker compose The yml file is easy to encounter some low-level problems when it is first written, resulting in the error of parsing the yml file first when Docker compose up is executed. The more common is yml the strict requirements for indentation.
The indent after the line of yml file is OK. tab characters are not allowed. Only spaces can be used, and the number of spaces is also required. After actual test, it is found that it is normal to add a space for indent in each line. For example:
web:
<Space>build:
<Space><Space>command:
...
Otherwise, it is easy to cause various yaml scanner. Scannererror: error prompt for.