preface
This blog technology describes how to use hexo+GitHub to build a personal blog. gitee began to rest its personal home page in May this year and can't build it for the time being.
Environmental preparation
Install git
git download address: Git - Downloads (git-scm.com)
Verify that git installation is complete:
git --version
The following message appears and the installation is complete.

Install node
node.js download address: Download | node js (nodejs.org)
Verify that node is installed successfully
node -v
The following message indicates that the installation is complete:

GitHub warehouse
Create a GitHub account. Of course, gitee can also.
GitHub address: https://github.com/
Gitee address: https://gitee.com/
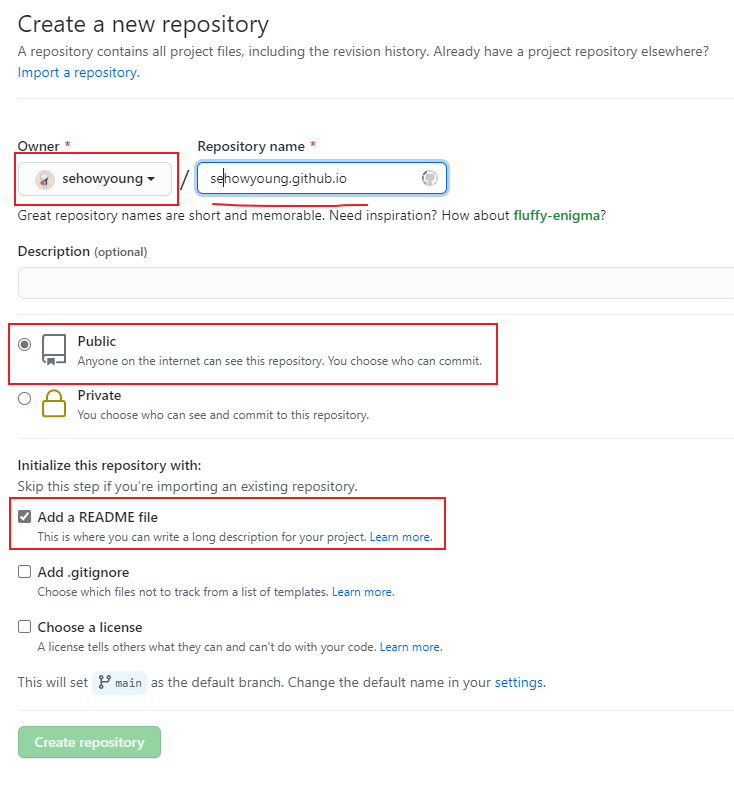
Create a new warehouse after registration

The warehouse name is configured as user name github.io

Install hexo and run locally
Create a folder for your blog
//Switch to the same disk location
e:
//Switch to folder location
cd myBlog
Installation of hexo cli scaffold
npm install -g hexo-cli
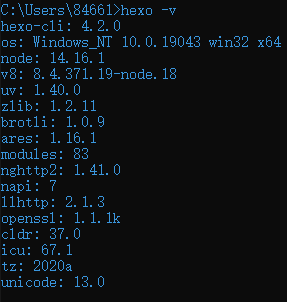
Verify whether the hexo cli scaffold is installed with hexo -v

Use hexo init to initialize the website. If an error is reported or the installation is unsuccessful, go hexojs/hexo-starter(github.com) Download the code and put it in your directory.
Then enter the folder where the website is located and execute the npm install command to install the necessary components. After installation, the page structure is shown in the figure
.
├── _config.yml # For the configuration information of the website, you can configure most parameters here.
├── package.json
├── node_modules # Folder of component
├── scaffolds # Template folder
├── source  # Resource folders, except_ Other underlined documents_ The first file or folder will not be compiled and packaged into the public folder
|   ├── _drafts # Draft document
|   └── _posts # Article Markdowm file
└── themes  # Theme folder
Use hexo g to generate static web pages, which can be found in public. Then run hexo s to open the local server and you can view it. This is the interface after I change the theme matrix. The details will be written later.

Connect GitHub to local git
Configure ssh key
Right click the mouse, select Git Bash Here, open git interface and start configuring ssh key.
Enter SSH keygen - t RSA - C 'your mailbox'
$ ssh-keygen -t rsa -C 'howyoung525@foxmail.com'
Generating public/private rsa key pair.
Enter file in which to save the key (/c/Users/84661/.ssh/id_rsa): You can enter your file saving address here. The default is~/.ssh/id_rsa,Replace with~/.ssh/id_rsa.github
Enter passphrase (empty for no passphrase):
Enter same passphrase again:
Your identification has been saved in /c/Users/84661/.ssh/id_rsa
Your public key has been saved in /c/Users/84661/.ssh/id_rsa.pub
The key fingerprint is:
SHA256:oFnXNTgDePDBcW6j2xp9mTpbheokQ0JjM+3nLvtxqfA howyoung525@foxmail.com
The key's randomart image is:
+---[RSA 3072]----+
|      .++o..o    |
|      .oo=+. .   |
|      O.+ =o     |
|     * B o . .   |
|    o . S . . .  |
|       o * . =   |
|        * B B    |
|        .@.B     |
|        o+Eo     |
+----[SHA256]-----+
Enter the command cat ~ / ssh/id_ rsa. github. Pub, view the public key file, select it, and right-click copy.
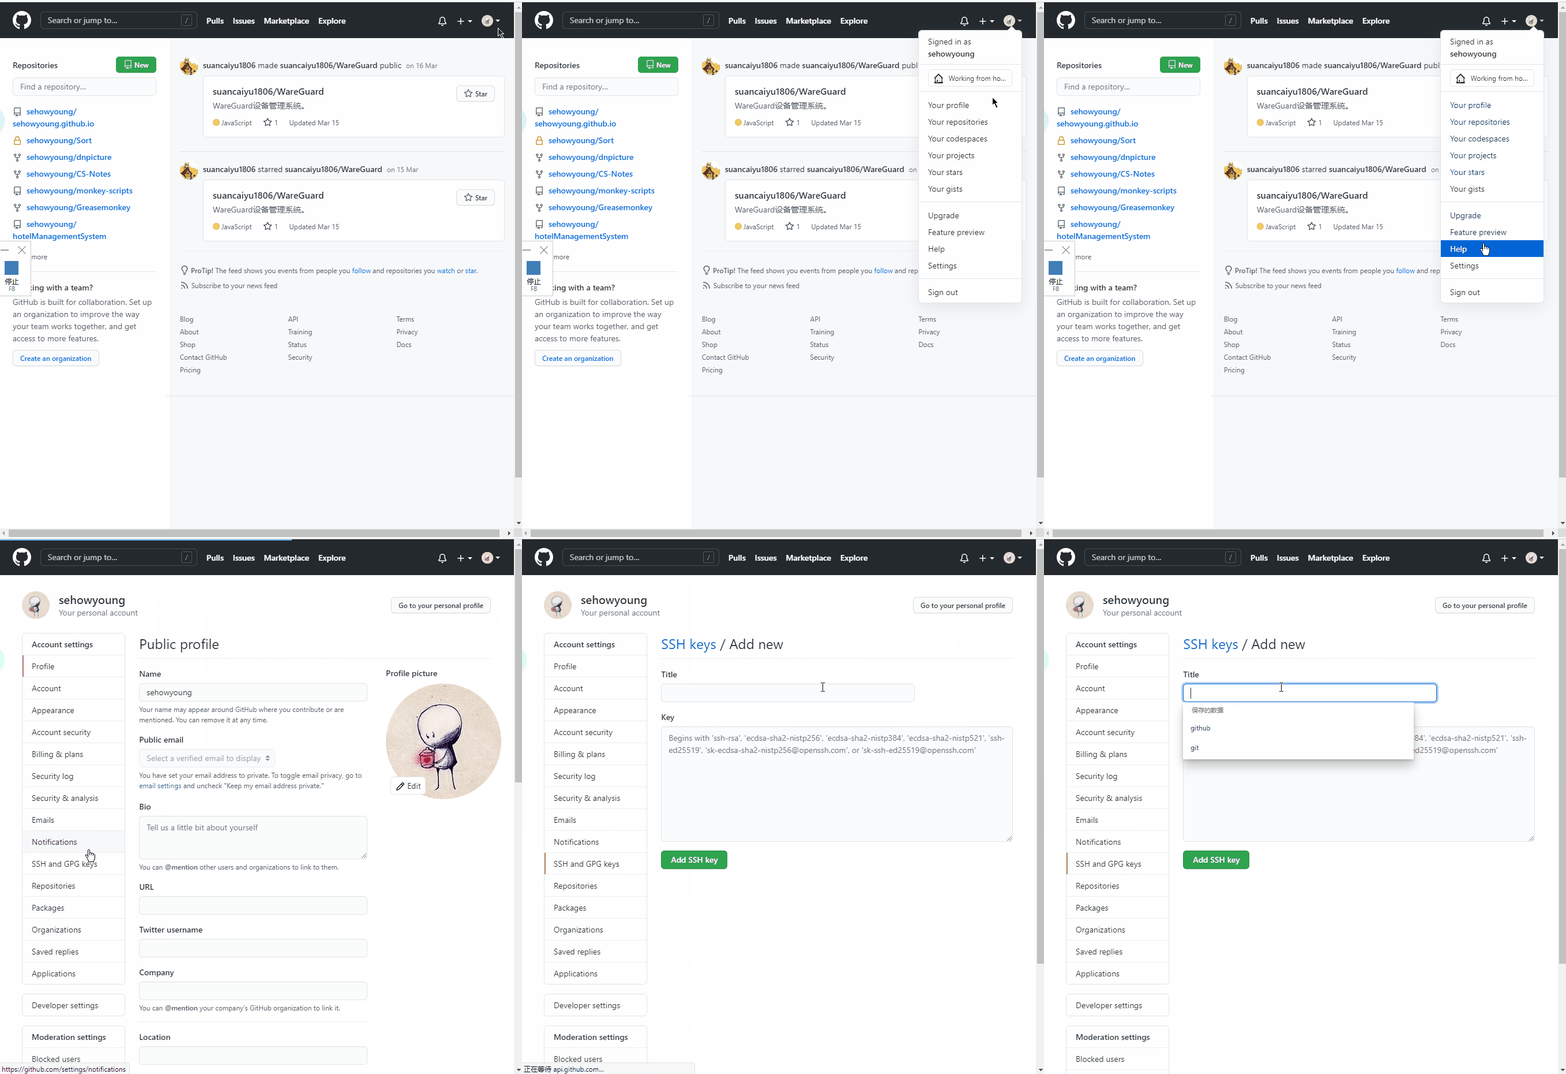
Open your GitHub, click the inverted triangle next to the avatar in the upper right corner, select settings, click SSH adn GPG keys, click new, and add title and key to the page. The title can be written freely, and the key can paste the contents of the public key file.

Configure local accounts
git config --global user.name 'Your username'
git config --global user.email 'Your email'
Test connection
Use ssh -T git@github.com To test whether it is successful, the following message appears: success (first, enter yes)

Deploy to GitHub
Install plug-ins
npm install hexo-deployer-git --save
Open the folder below_ config.yml file, find the lowest delpoy, and modify the configuration as follows:
deploy:
  type: git
  repository:
    github: git@github.com:Yours GitHub user name/user name.github.io.git
Use hexo g -d to generate static files and upload them.
After a while, you can access https: / / your user name in the browser github.io, you can see your blog.