Today, I want to talk about the monitoring function in Druid.
Druid database connection pool is believed to have been used by many small partners. Personally, I feel that Druid is a relatively successful open source project of Alibaba. Unlike Fastjson, Druid has always been excellent in all aspects. It has complete functions and is easy to use. Let's forget the basic usage. Today, let's take a look at the monitoring function in Druid.
1. Preparation
First, let's create a Spring Boot project and introduce MyBatis, as follows:
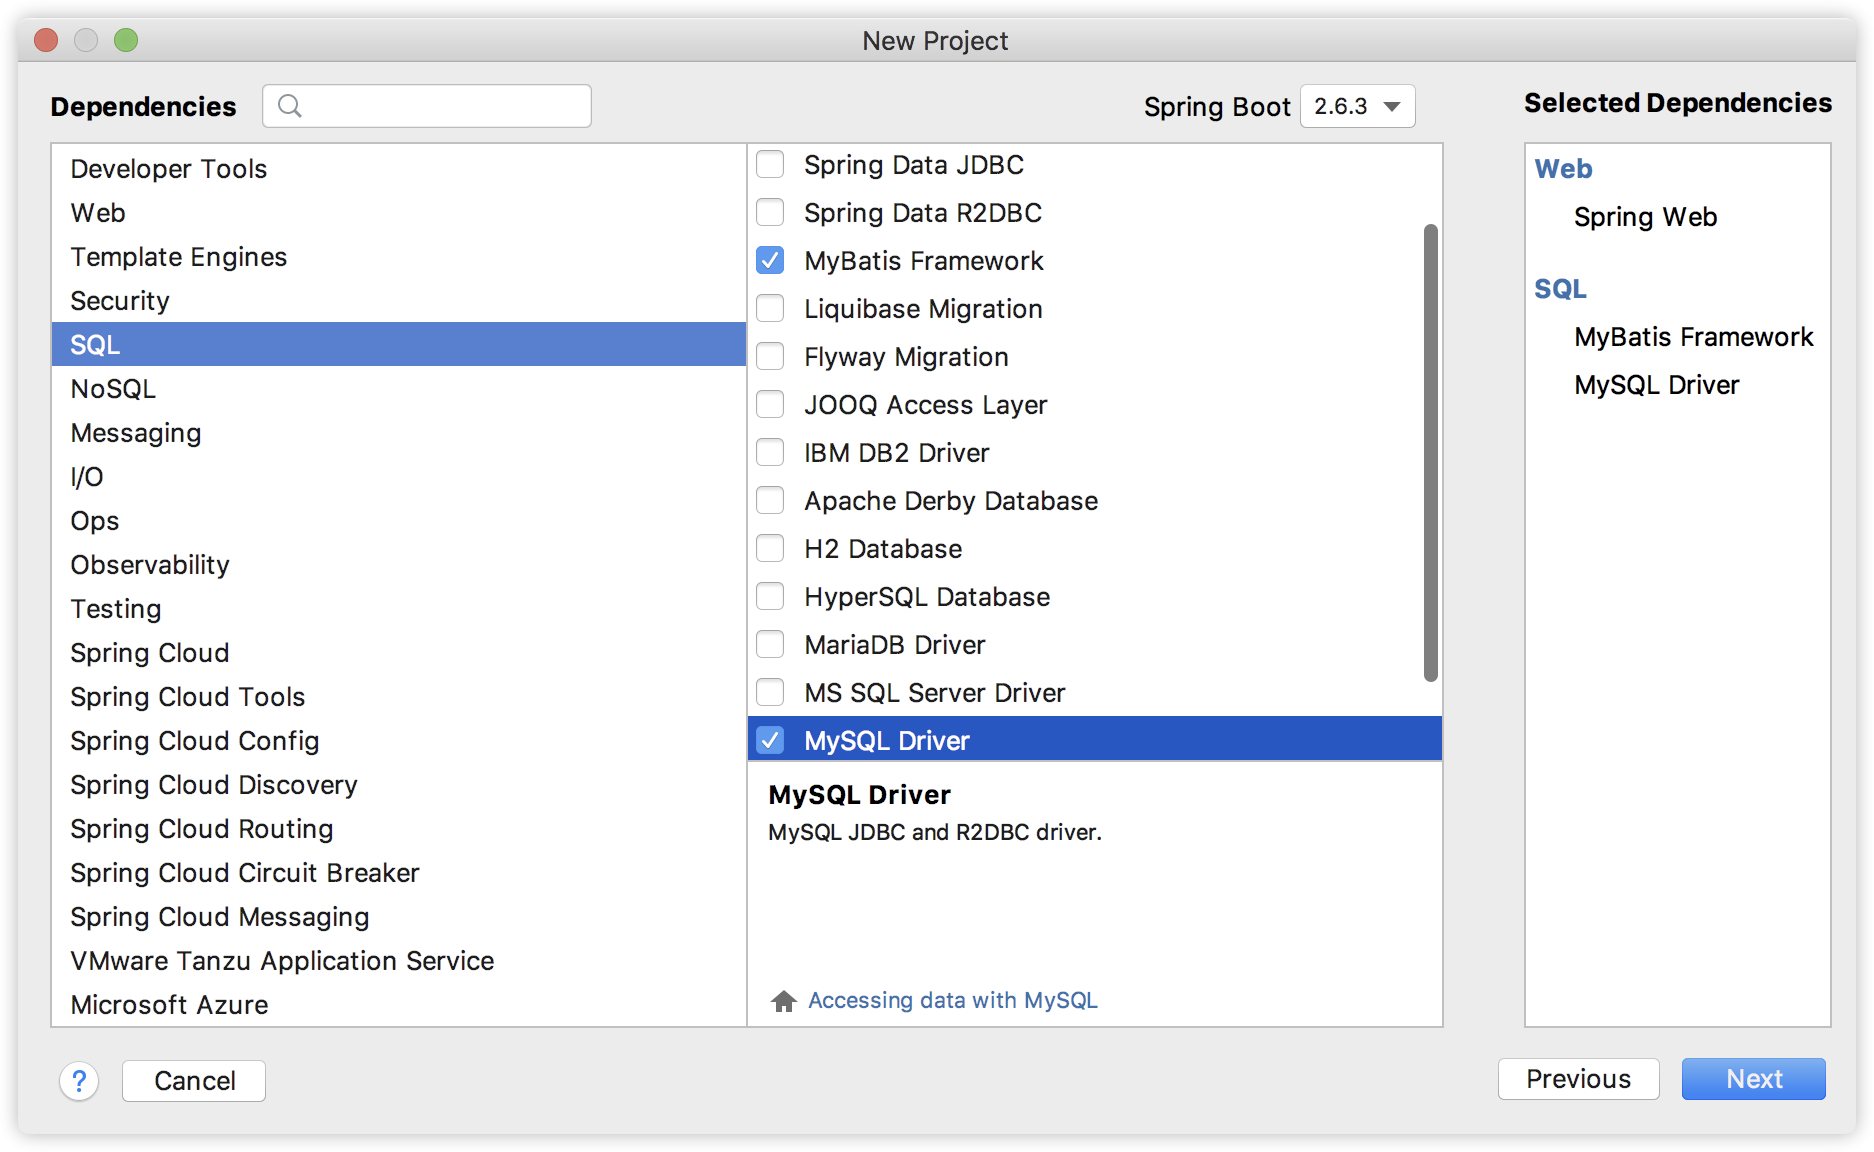
Choose MyBatis and MySQL drivers to make a simple test case.
First, connect to the database:
spring.datasource.username=root
spring.datasource.password=123
spring.datasource.url=jdbc:mysql:///test05?serverTimezone=Asia/Shanghai
Create a User entity class and make a simple query case as follows:
public class User {
    private Integer id;
    private String username;
    private String address;
    private String password;
    private String email;
    //Omit getter/setter
}
@Mapper
public interface UserMapper {
    List<User> getUserByUsername(String username);
}
@Service
public class UserService {
    @Autowired
    UserMapper userMapper;
    public List<User> getUserByUsername(String username){
        return userMapper.getUserByUsername(username);
    }
}
@RestController
public class UserController {
    @Autowired
    UserService userService;

    @GetMapping("/user")
    public List<User> getUser(String username) {
        return userService.getUserByUsername(username);
    }
}
UserMapper. The XML is as follows:
<!DOCTYPE mapper
        PUBLIC "-//mybatis.org//DTD Mapper 3.0//EN"
        "http://mybatis.org/dtd/mybatis-3-mapper.dtd">
<mapper namespace="org.javaboy.druid_monitor.mapper.UserMapper">
    <select id="getUserByUsername" resultType="org.javaboy.druid_monitor.model.User">
        select * from user where username=#{username}
    </select>
</mapper>
A very simple test, nothing to say.
You can set up this environment at will. If you already have a case of persistence, look directly at the introduction of Druid in the second section.
Now the default database connection pool used in this project is HikariDataSource, which is the default database connection pool in Spring Boot. In fact, this is also good.
2. Introduction of Druid
Next, let's introduce Druid:
<dependency>
    <groupId>com.alibaba</groupId>
    <artifactId>druid-spring-boot-starter</artifactId>
    <version>1.2.8</version>
</dependency>
Note that the Druid introduced by Spring Boot is the above one, which will be more convenient when configuring monitoring in the future.
Next, we are in application Configure WebStatFilter in properties. WebStatFilter is used to collect web JDBC Association monitoring data:
# Enable WebStatFilter
spring.datasource.druid.web-stat-filter.enabled=true
# Configure interception rules
spring.datasource.druid.web-stat-filter.url-pattern=/*
# Exclude unnecessary URL s that do not involve SQL queries
spring.datasource.druid.web-stat-filter.exclusions=*.js,*.gif,*.jpg,*.png,*.css,*.ico,/druid/*
# Enable session statistics
spring.datasource.druid.web-stat-filter.session-stat-enable=true
# The default sessionStatMaxCount is 1000, which can be configured as needed
spring.datasource.druid.web-stat-filter.session-stat-max-count=1000
# Configure principalSessionName so that druid can know who is the user of the current session
# As required, the value of this parameter is the sessionName in which the user information is saved in the session
#spring.datasource.druid.web-stat-filter.principal-session-name=
# The function of the following configuration is similar to that of the above configuration. This is to identify users through cookies
#spring.datasource.druid.web-stat-filter.principal-cookie-name=
# After opening the profile, you can monitor the call list of a single URL address
#spring.datasource.druid.web-stat-filter.profile-enable=
We can configure the first five and the last three without configuration. The meaning of each configuration has been listed in the code.
Next, start the configuration of StatViewServlet, as follows:
# Enable built-in monitoring page
spring.datasource.druid.stat-view-servlet.enabled=true
# Address of built-in monitoring page
spring.datasource.druid.stat-view-servlet.url-pattern=/druid/*
# Enable Reset All function
spring.datasource.druid.stat-view-servlet.reset-enable=true
# Set login user name
spring.datasource.druid.stat-view-servlet.login-username=javaboy
# Set login password
spring.datasource.druid.stat-view-servlet.login-password=123
# White list (if allow is not configured or empty, all accesses are allowed)
spring.datasource.druid.stat-view-servlet.allow=127.0.0.1
# Blacklist (deny takes precedence over allow. If it is in deny list, it will be rejected even if it is in allow list)
spring.datasource.druid.stat-view-servlet.deny=
Configure the page address and black-and-white list.
It should be noted that even if the reset enable attribute is set to false, the reset button will be displayed, but clicking this button will not reset.
Well, that's it.
3. Test
Well, let's start the Spring Boot project for testing.
After the Spring Boot project is started successfully, first visit the following address:
- http://localhost:8080/druid/login.html
At this point, we will see the login authentication page, as follows:
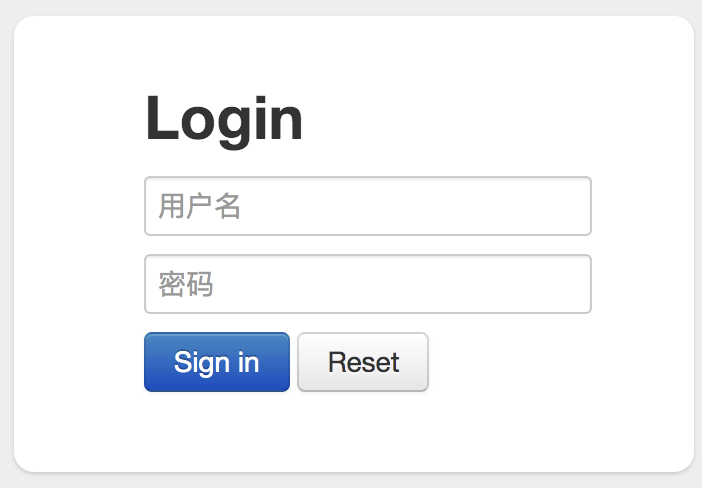
Enter the user name / password (javaboy/123) we configured earlier to log in. After successful login, you can see the following page:
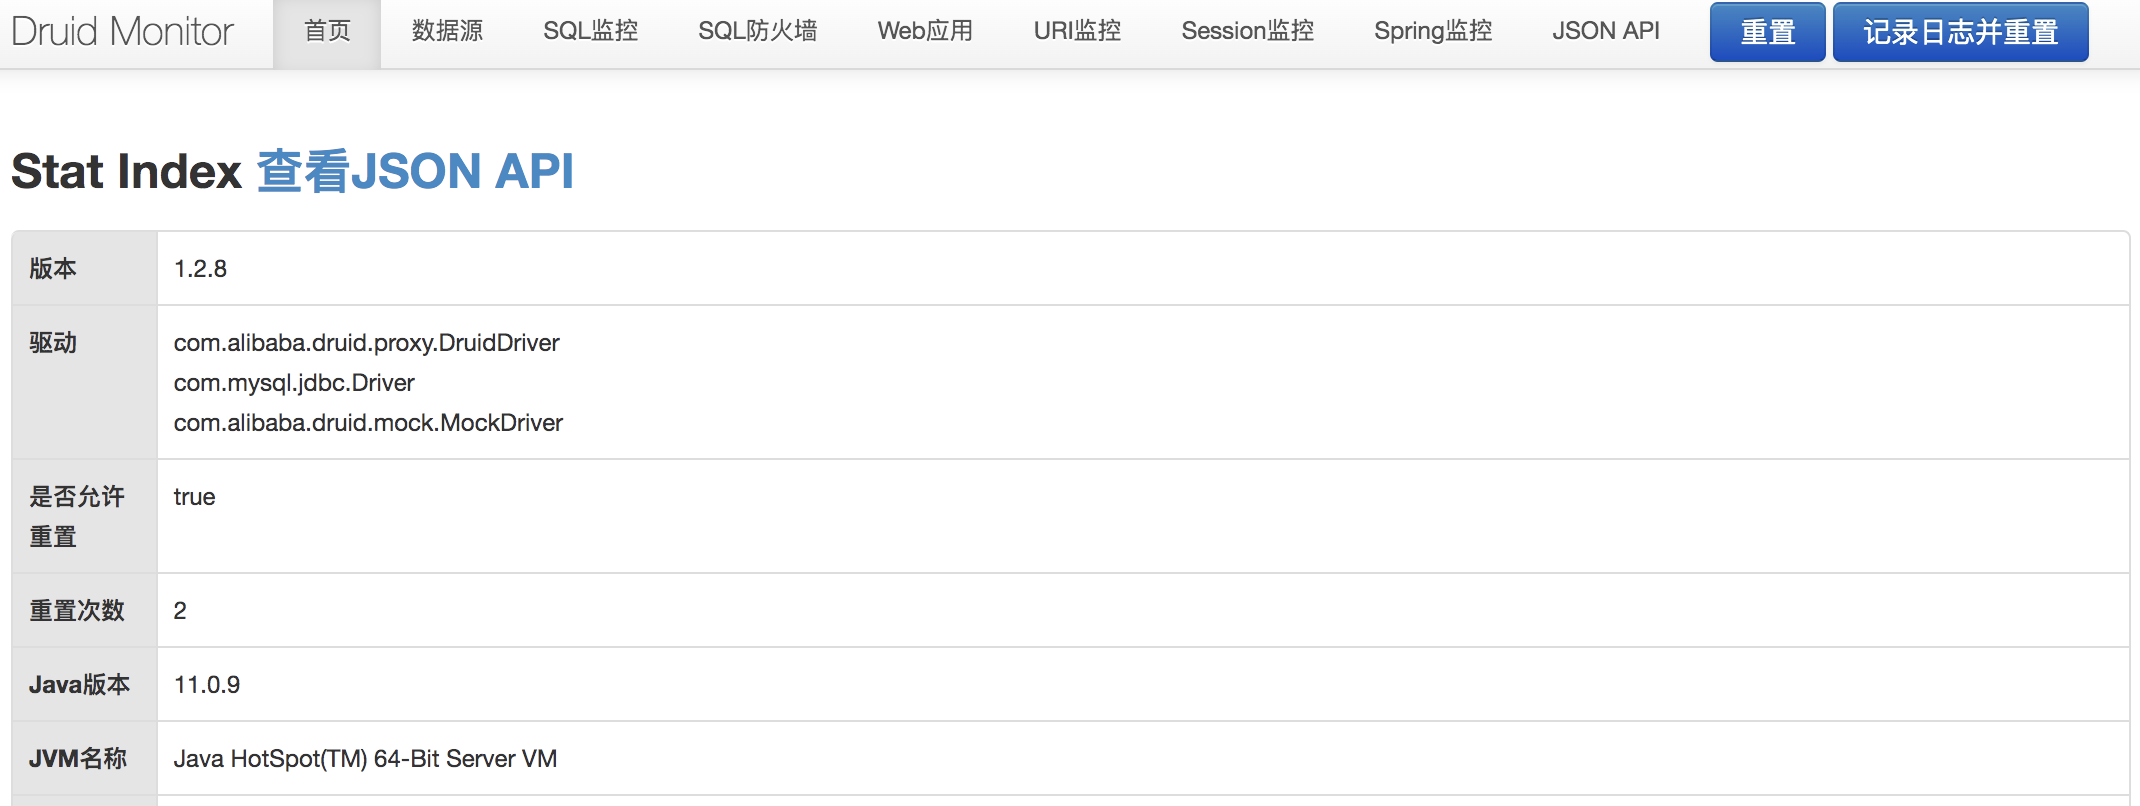
As can be seen from the title bar, data source, SQL monitoring, SQL firewall and other functions are available.
Next we visit http://localhost:8080/user?username=aaa Address and execute an SQL. After execution, let's check SQL monitoring:

You can see the SQL execution record.
Other monitoring data can also be seen, so I won't list them one by one. If the partners feel that the data displayed here is not intuitive and want to draw their own HTML page, it is also OK. Click the JSON API at the back to see the JSON address of each monitoring item, and display it as they want with JSON.
4. Go advertising
If you want to use this monitoring page directly, there are Alibaba advertisements on it, as shown in the figure below. It is particularly awkward for the company to use it:

We may want to get rid of this advertisement, which is also very easy.
First of all, after analysis, we find that advertising is made by a company called common JS, which is located in druid-1.2.8 jar!/ support/http/resources/js/common.js here, common JS file has the following lines:
init : function() {
	this.buildFooter();
	druid.lang.init();
},
buildFooter : function() {
	var html ='';
	$(document.body).append(html);
},
The logic is probably like the above. The buildFooter method is responsible for building the advertisement at the end of the page and calling the buildFooter method in the init method.
Then if you want to remove the advertisement, don't call the buildFooter method.
So our idea of advertising is also very simple. Write a filter and intercept the common JS, and then make a little modification, as follows:
@WebFilter(urlPatterns = "/druid/js/common.js")
public class RemoveAdFilter implements Filter {
    @Override
    public void doFilter(ServletRequest servletRequest, ServletResponse servletResponse, FilterChain filterChain) throws IOException, ServletException {
        String text = Utils.readFromResource("support/http/resources/js/common.js");
        text = text.replace("this.buildFooter();", "");
        servletResponse.getWriter().write(text);
    }
}
As you can see, this filter is to intercept / Druid / JS / common JS request. After intercepting the request, read the common.js file by yourself JS file, and then manually replace this buildFooter(); This sentence is enough. Finally, just write the document out.
Of course, remember to scan the Filter in the startup class, as follows:
@SpringBootApplication
@ServletComponentScan("org.javaboy.druid_monitor.filter")
public class DruidMonitorApplication {

    public static void main(String[] args) {
        SpringApplication.run(DruidMonitorApplication.class, args);
    }

}
Well, that's all right. With this filter, there will be no advertising.
Official account back to druid_monitor can download this case.
reference material:
- https://github.com/alibaba/druid/wiki/