Change the number of Nginx running processes
- In the high concurrency scenario, more Nginx processes need to be started to ensure fast response, so as to process users' requests and avoid blocking
- You can use the ps aux command to view the number of Nginx running processes
-
Configuration method for changing the number of processes
- Modify the configuration file and process configuration parameters
-
Modify the worker? Processes parameter of the configuration file
- Generally set as the number of CPU s or cores
- In case of high concurrency, it can be set to twice the number of CPU s or cores
- There are many running processes - some, when responding to the access request, Nginx will not temporarily start a new process to provide services, reducing the system overhead and improving the service speed
-
Use ps aux to see the change of the number of running processes
- By default, multiple processes of Nginx may run on one CPU, and different processes can be allocated to different CPUs for processing, making full use of hardware multi-core and multi CPU
- In a 4-core physical server, you can configure the following to allocate processes
- Worker_ cpu_affinity 0001 0010 0100 1000
Configuration example
[root@localhost conf]# ps aux | grep nginx / / check the number of processes
root       5278  0.0  0.0  20548   612 ?        Ss   15:17   0:00 nginx: master process /usr/local/nginx/sbin/nginx
nginx      5279  0.0  0.0  23076  1396 ?        S    15:17   0:00 nginx: worker process
root       5295  0.0  0.0 112728   972 pts/0    S+   15:18   0:00 grep --color=auto nginx
[root@localhost ~]# cd /proc / / enter the device directory
[root@localhost proc]# cat cpuinfo / / view cpu Information
processor   : 0
vendor_id   : GenuineIntel
cpu family  : 6
...//Omit part... / / first cpu Information
clflush size    : 64
cache_alignment : 64
address sizes   : 43 bits physical, 48 bits virtual
power management:

processor   : 1
vendor_id   : GenuineIntel
cpu family  : 6
...//Omit parts
clflush size    : 64                 //Second cpu Information
cache_alignment : 64
address sizes   : 43 bits physical, 48 bits virtual
power management:
[root@localhost proc]# vim /usr/local/nginx/conf/nginx.conf / / enter and edit the nginx configuration file
#user  nobody;
worker_processes  2;             //Increase the number of CPUs
worker_cpu_affinity 01 10;       //Set average access requests

#error_log  logs/error.log;
#error_log  logs/error.log  notice;
#error_log  logs/error.log  info;

#pid        logs/nginx.pid;

events {
    worker_connections  1024;
}
...//Omit parts
:wq
[root@localhost proc]# systemctl restart nginx.service / / restart the service
[root@localhost proc]# ps aux | grep nginx / / check the number of processes
root       1813  0.0  0.0  20548   616 ?        Ss   15:32   0:00 nginx: master process /usr/local/nginx/sbin/nginx
nginx      1814  0.0  0.0  23076  1400 ?        S    15:32   0:00 nginx: worker process
nginx      1815  0.0  0.0  23076  1400 ?        S    15:32   0:00 nginx: worker process
//Increase the number of processes
root       1823  0.0  0.0 112728   972 pts/0    S+   15:32   0:00 grep --color=auto nginx
Configure Nginx to realize web page compression
- NGX http gzip module of Nginx provides the function of compressing file content
- Allow the Nginx server to compress the output content before sending the client to save the bandwidth of the website and improve the user's access experience. It is installed by default
- The corresponding compression function parameters can be added to the configuration file to optimize the compression performance
Explanation of compression function parameters
- gzip on: turn on gzip compression output
- Gzip? Min? Length 1K: used to set the minimum number of bytes of the page allowed to be compressed
- gzip_buffers 4 16k: it means to apply for 4 memory units of 16k as the compression result stream cache. The default value is to apply for the same memory space as the original data to store the gzip compression result
- Zip http version 1.0: used to set and identify the http protocol version. The default is 1.1. Currently, most browsers support gzip decompression, but the processing is the slowest, which also consumes CPU resources of the server
- Gzip ﹣ comp ﹣ Level 2: used to specify the gzip compression ratio. 1. The compression ratio is the smallest and the processing speed is the fastest; 9. The compression ratio is the largest and the transmission speed is the fastest, but the processing speed is the slowest. Use the default
- Gzip ﹐ types text / plain: compression type, which web documents can be compressed
- gzip_vary on: option allows the front-end cache server to cache gzip compressed pages
Add the above compression function parameters to the main configuration file httpd configuration section
Configuration example
[root@localhost proc]# cd /usr/local/nginx/conf / / / enter the configuration file directory
[root@localhost conf]# vim nginx.conf / / edit the configuration file
...//Omit parts
    #keepalive_timeout  0;
    keepalive_timeout  65 180;
    client_header_timeout 80;
    client_body_timeout 80;

    gzip  on;                               //Turn on compression
    gzip_min_length 1k;                     //Edit compression function entry
    gzip_buffers 4 16k;
    gzip_http_version 1.1;
    gzip_comp_level 6;
    gzip_types text/plain application/x-javascript text/css image/jpg image/jpeg image/png image/gif application/xml text/javascript application/x-httpd-php application/javascript application/json;
    gzip_disable "MSIE [1-6]\.";
    gzip_vary on;

    server {
        listen       80;
        server_name  localhost;
...//Omit parts
:wq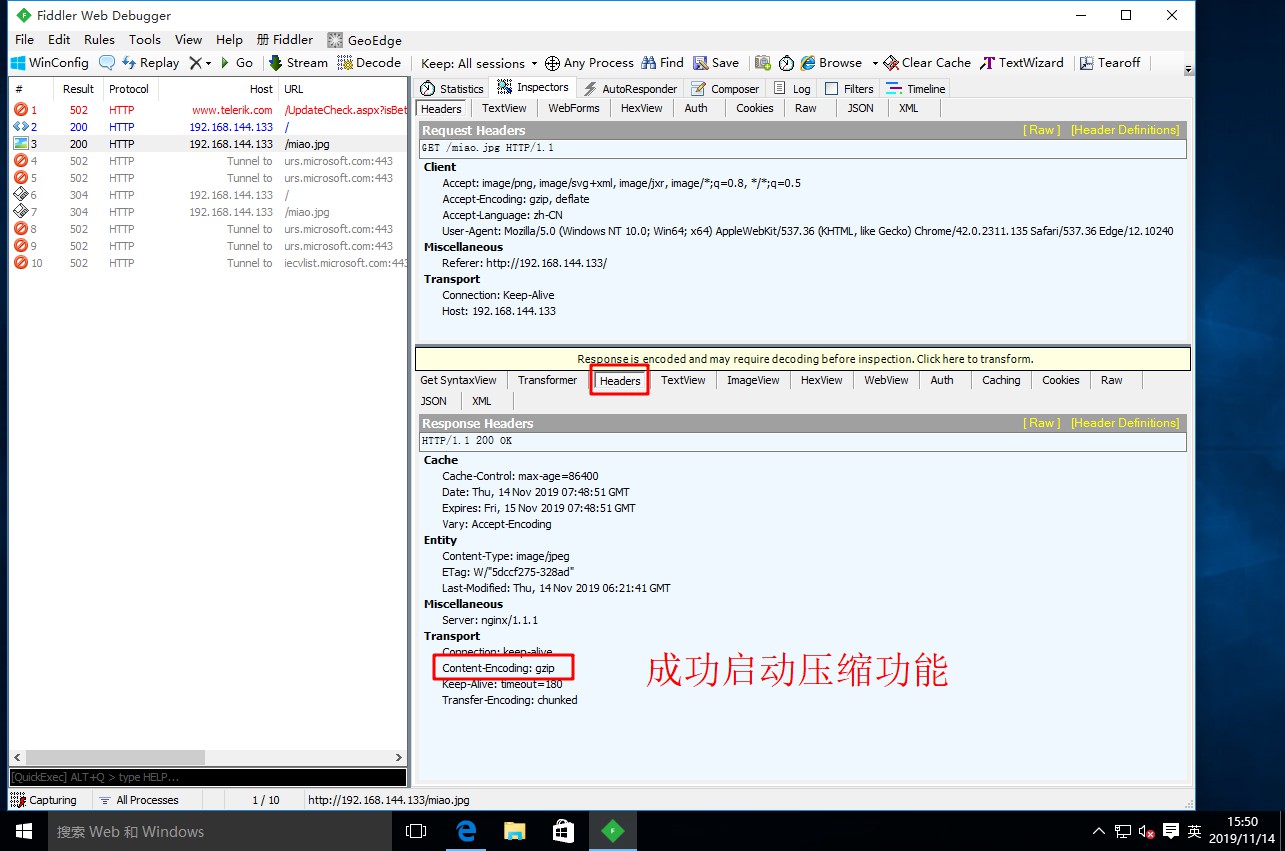
[root@localhost conf]# systemctl restart nginx.service / / restart the service- Visit the web page in the client and use the packet capturing tool to check whether the compression function is enabled
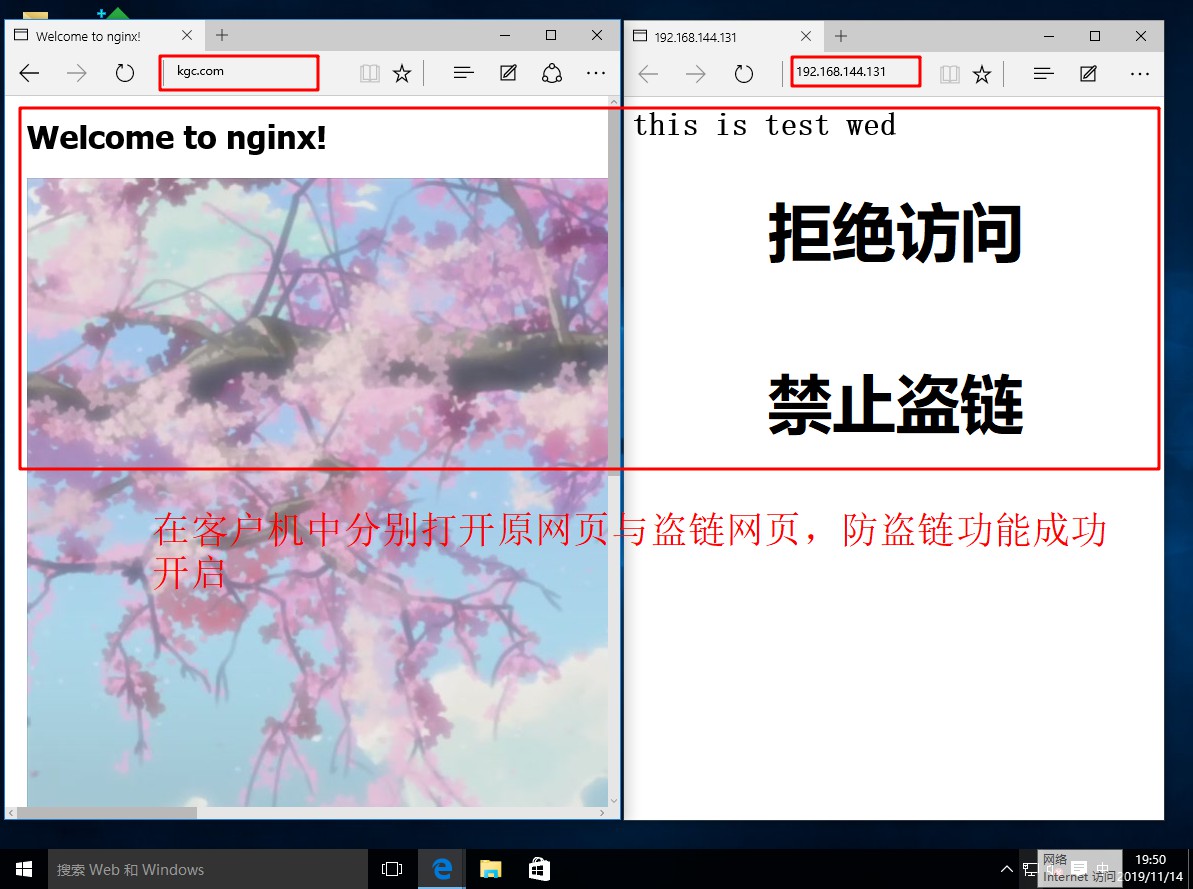
Configure Nginx to realize anti-theft chain
- In the service of enterprise website, the function of anti-theft chain should be configured in order to avoid the illegal embezzlement of website content and economic loss
- The Nginx anti-theft chain is also very powerful. By default, a simple configuration is required to implement the anti-theft chain processing
Configuration example
[root@localhost ~]# mount.cifs //192.168.100.10/lamp-c7 /mnt / / mount the prepared anti-theft chain image directory to Linux system
Password for root@//192.168.100.10/lamp-c7:
root@localhost mnt]# cd /mnt / / / enter the mount directory
[root@localhost mnt]# ls
apr-1.6.2.tar.gz cronolog-1.6.2-14.el7.x86_64.rpm httpd-2.4.29.tar.bz2 mysql-5.6.26.tar.gz
apr-util-1.6.0.tar.gz Discuz_X2.5_SC_UTF8.zip LAMP-php5.6.txt nginx-1.12.0.tar.gz
awstats-7.6.tar.gz error.png miao.jpg php-5.6.11.tar.bz2
[root@localhost mnt]# cp error.png /usr/local/nginx/html / / / copy the anti-theft chain picture to the nginx site directory
[root@localhost mnt]# cd /usr/local/nginx/html / / / enter the site directory
[root@localhost html]# ls / / view
50x.html error.png index.html miao.jpg //Picture copied successfully
[root@localhost html]# yum install bind -y / / install DNS function
//Loaded plug-ins: faststmirror, langpacks
Loading mirror speeds from cached hostfile
...//Omit parts
//Installed:
bind.x86_64 32:9.11.4-9.P2.el7
//Installed as a dependency:
bind-export-libs.x86_64 32:9.11.4-9.P2.el7
//Upgraded as a dependency:
bind-libs.x86_64 32:9.11.4-9.P2.el7 bind-libs-lite.x86_64 32:9.11.4-9.P2.el7
bind-license.noarch 32:9.11.4-9.P2.el7 bind-utils.x86_64 32:9.11.4-9.P2.el7
dhclient.x86_64 12:4.2.5-77.el7.centos dhcp-common.x86_64 12:4.2.5-77.el7.centos
dhcp-libs.x86_64 12:4.2.5-77.el7.centos
//Complete!
[root@localhost html]# vim /etc/named.conf / / edit DNS master configuration file
...//Omit parts
options {
listen-on port 53 { any; };
listen-on-v6 port 53 { ::1; };
directory "/var/named";
dump-file "/var/named/data/cache_dump.db";
statistics-file "/var/named/data/named_stats.txt";
memstatistics-file "/var/named/data/named_mem_stats.txt";
recursing-file "/var/named/data/named.recursing";
secroots-file "/var/named/data/named.secroots";
allow-query { any; };
...//Omit parts
:wq
[root@localhost html]# vim /etc/named.rfc1912.zones / / edit the DNS zone configuration file
...//Omit parts
zone "kgc.com" IN {
type master;
file "kgc.com.zone";
allow-update { none; };
};
...//Omit parts
:wq
[root@localhost named]# cp -p named.localhost kgc.com.zone / / copy the DNS zone data file and change the file name
[root@localhost named]# vim kgc.com.zone / / edit DNS zone data profile
$TTL 1D
@ IN SOA @ rname.invalid. (
0 ; serial
1D ; refresh
1H ; retry
1W ; expire
3H ) ; minimum
NS @
A 127.0.0.1
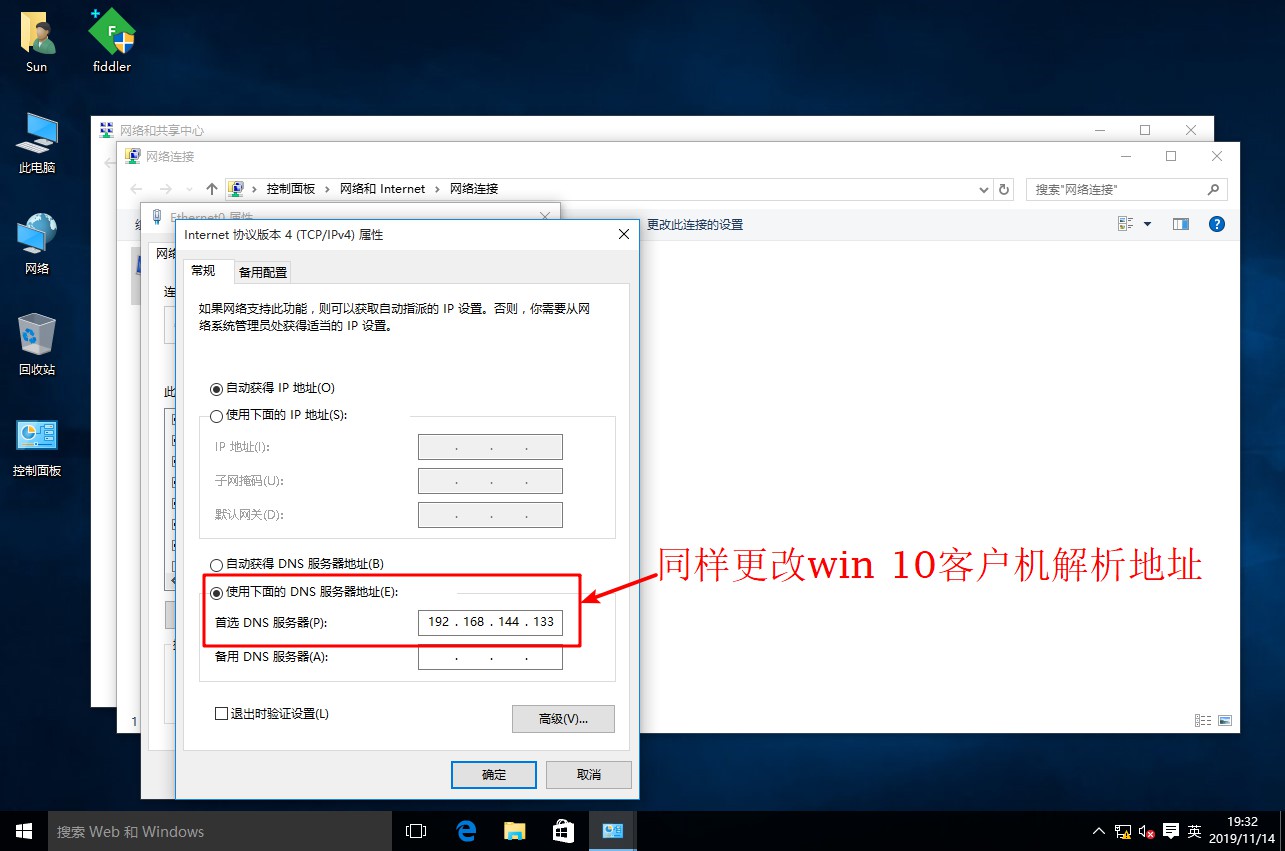
www IN A 192.168.144.133 //Set resolution address
:wq
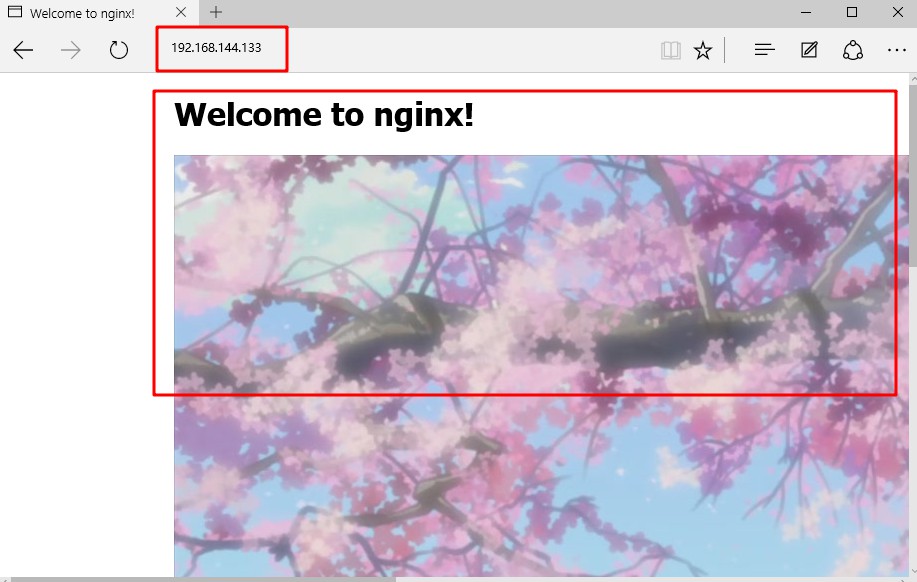
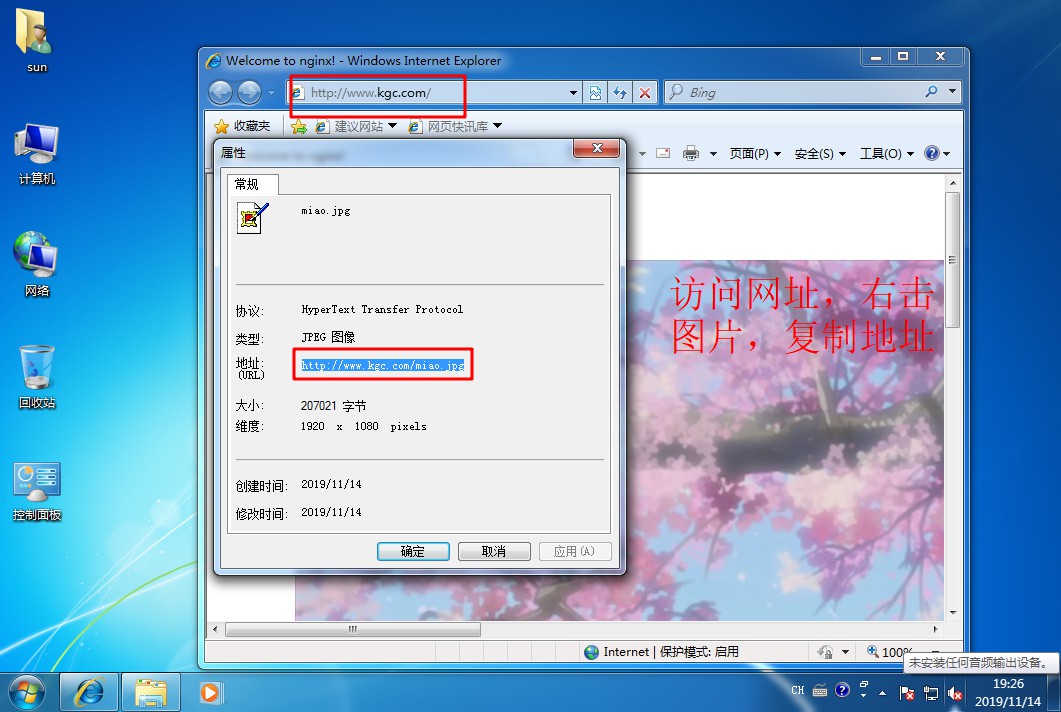
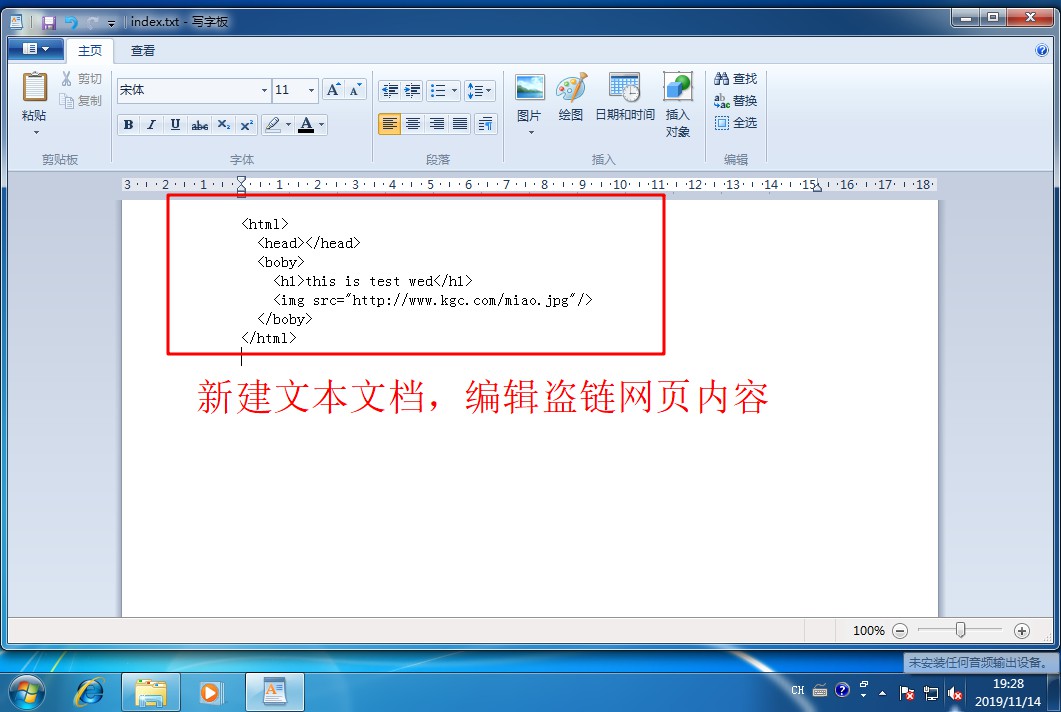
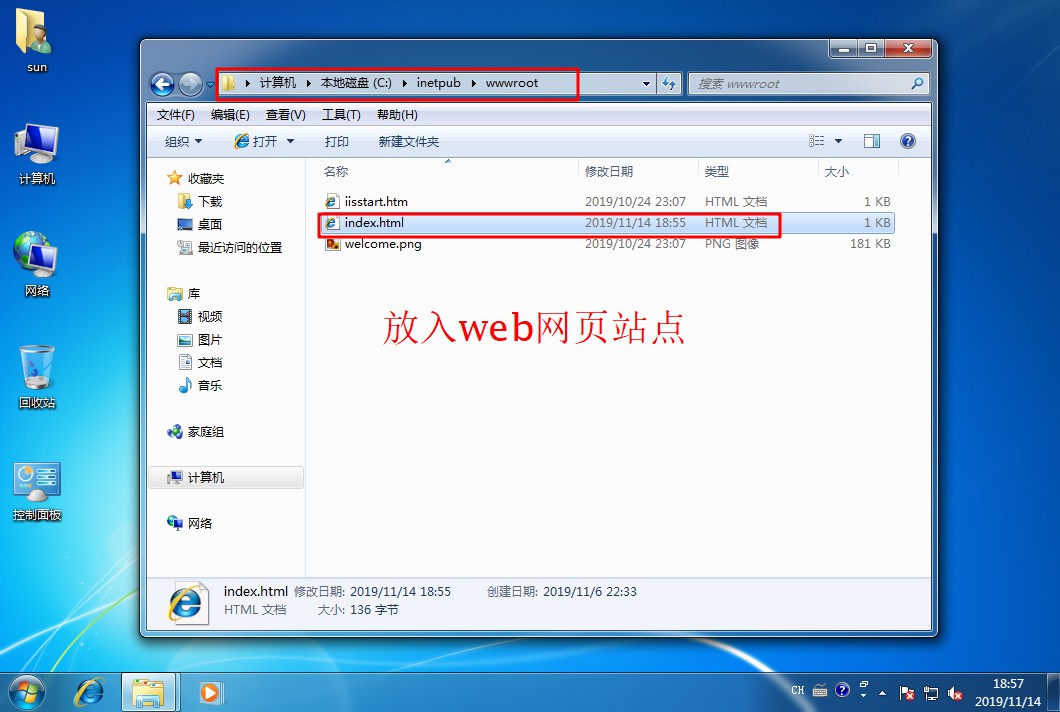
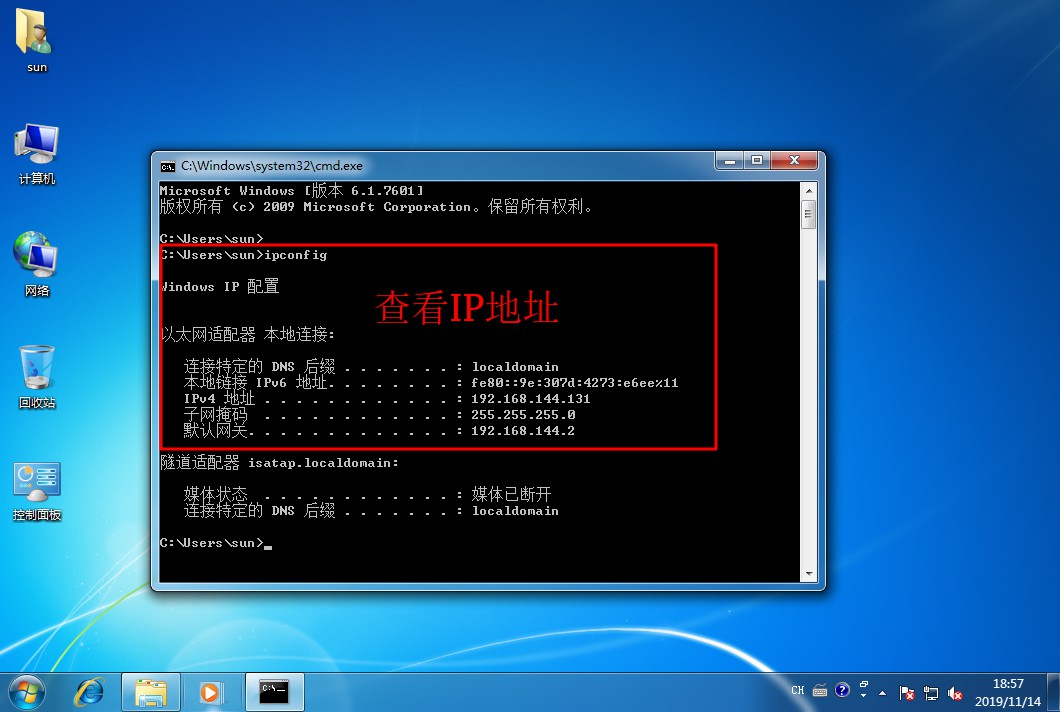
[root@localhost named]# systemctl start named / / start DNS Service- Open a win10 client and a win 7 client, install the web service in the win7 client, establish the website of stealing chain, and test and visit the website in the client

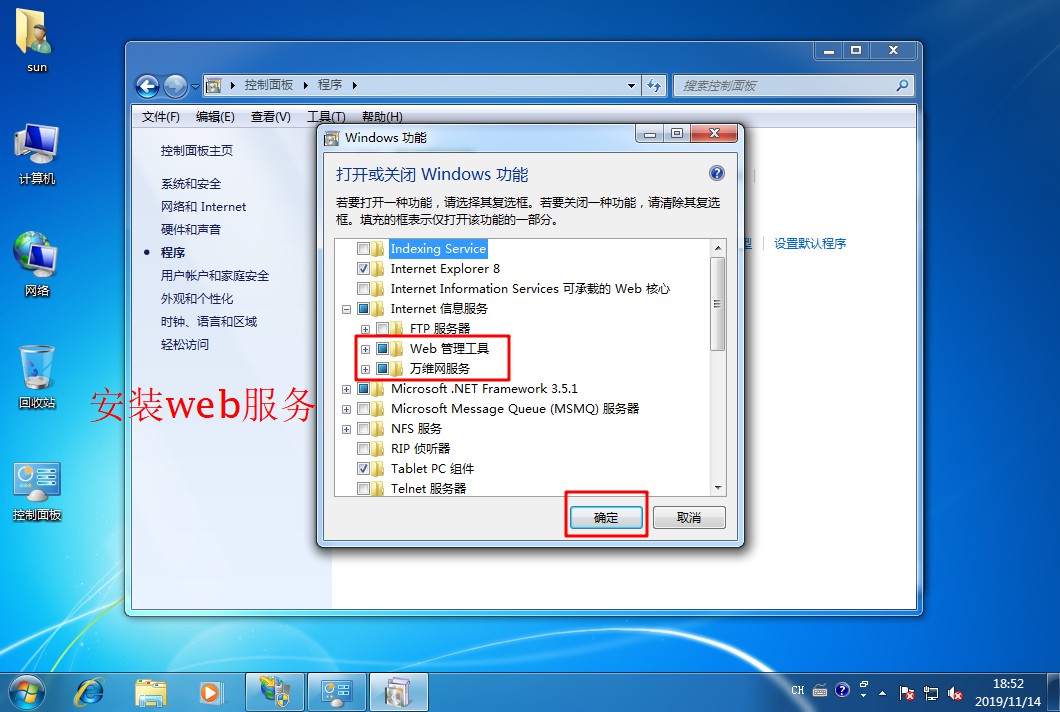

[root@localhost html]# CD.. / conf / / / enter nginx configuration file directory
[root@localhost conf]# vim nginx.conf / / edit the configuration file
...//Omit parts
# redirect server error pages to the static page /50x.html
        #
        error_page   500 502 503 504  /50x.html;
        location = /50x.html {
            root   html;
        }

        location ~*\.(jpg|gif|swf)$ {         //Add anti-theft chain entry under server module
             valid_referers none blocked *.kgc.com kgc.com;
             if ( $invalid_referer ) {
                 rewrite ^/ http://www.kgc.com/error.png;
            }
        }
...//Omit parts
:wq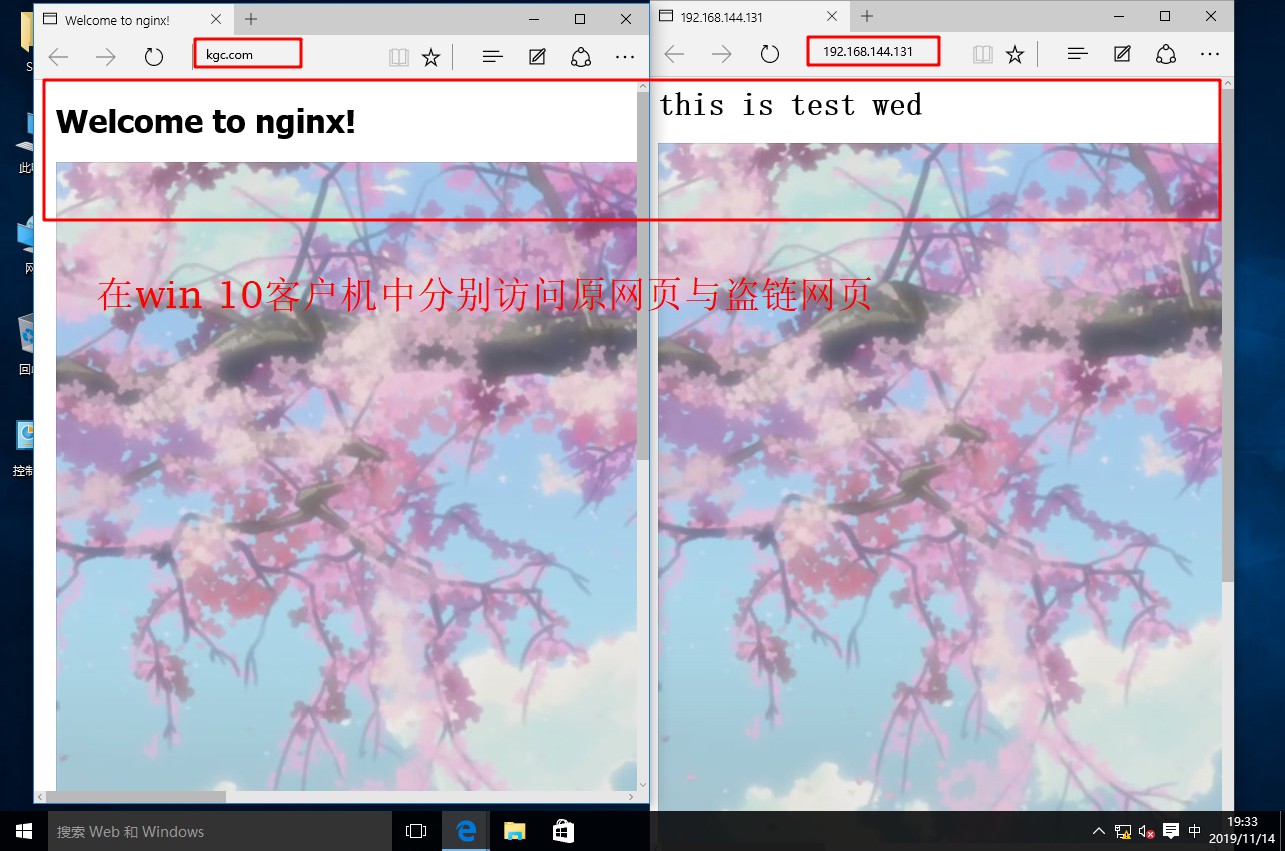
[root@localhost conf]# systemctl restart nginx.service- Test whether the anti-theft chain function is on in win 10 client