ECS preparation
First, we must have an alicloud server, Portal
Here we can buy a 9.9 yuan one. The following configuration must be centos!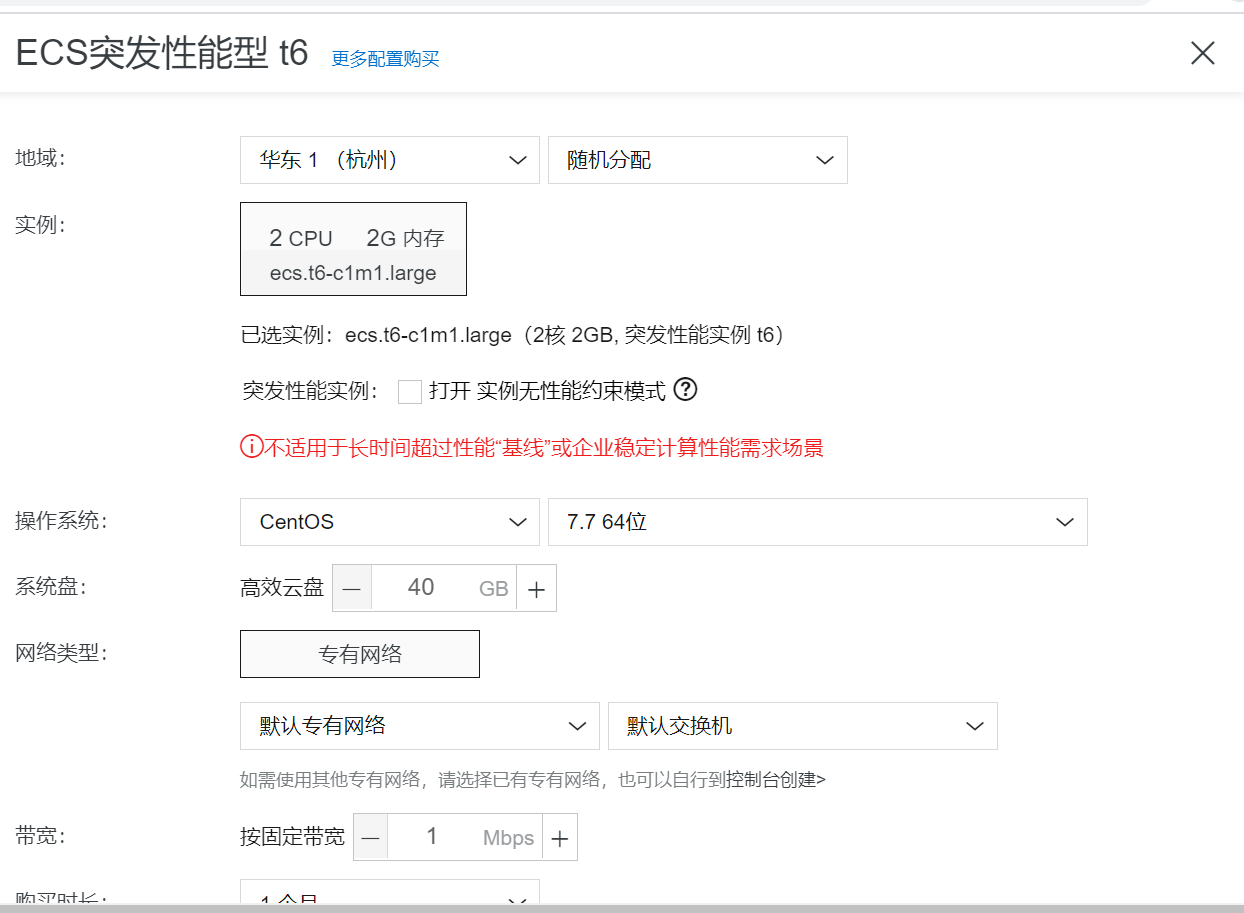
After the purchase, there will be the following. If you can't find it, click the console in the upper right corner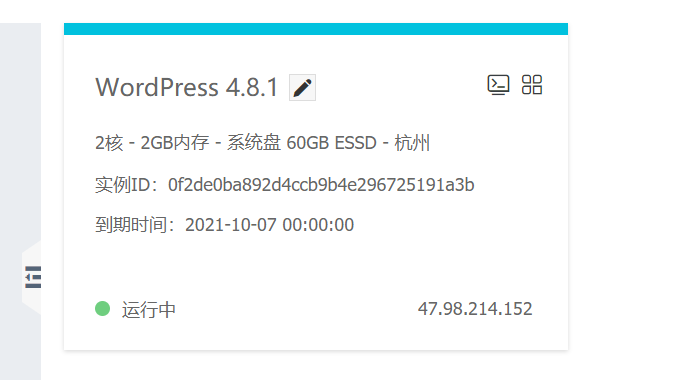
After entering, we can see our own public IP (which is of great use in the back)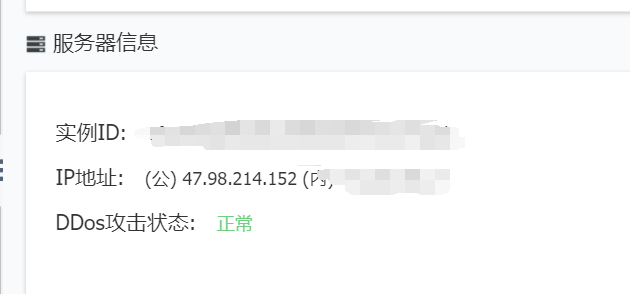
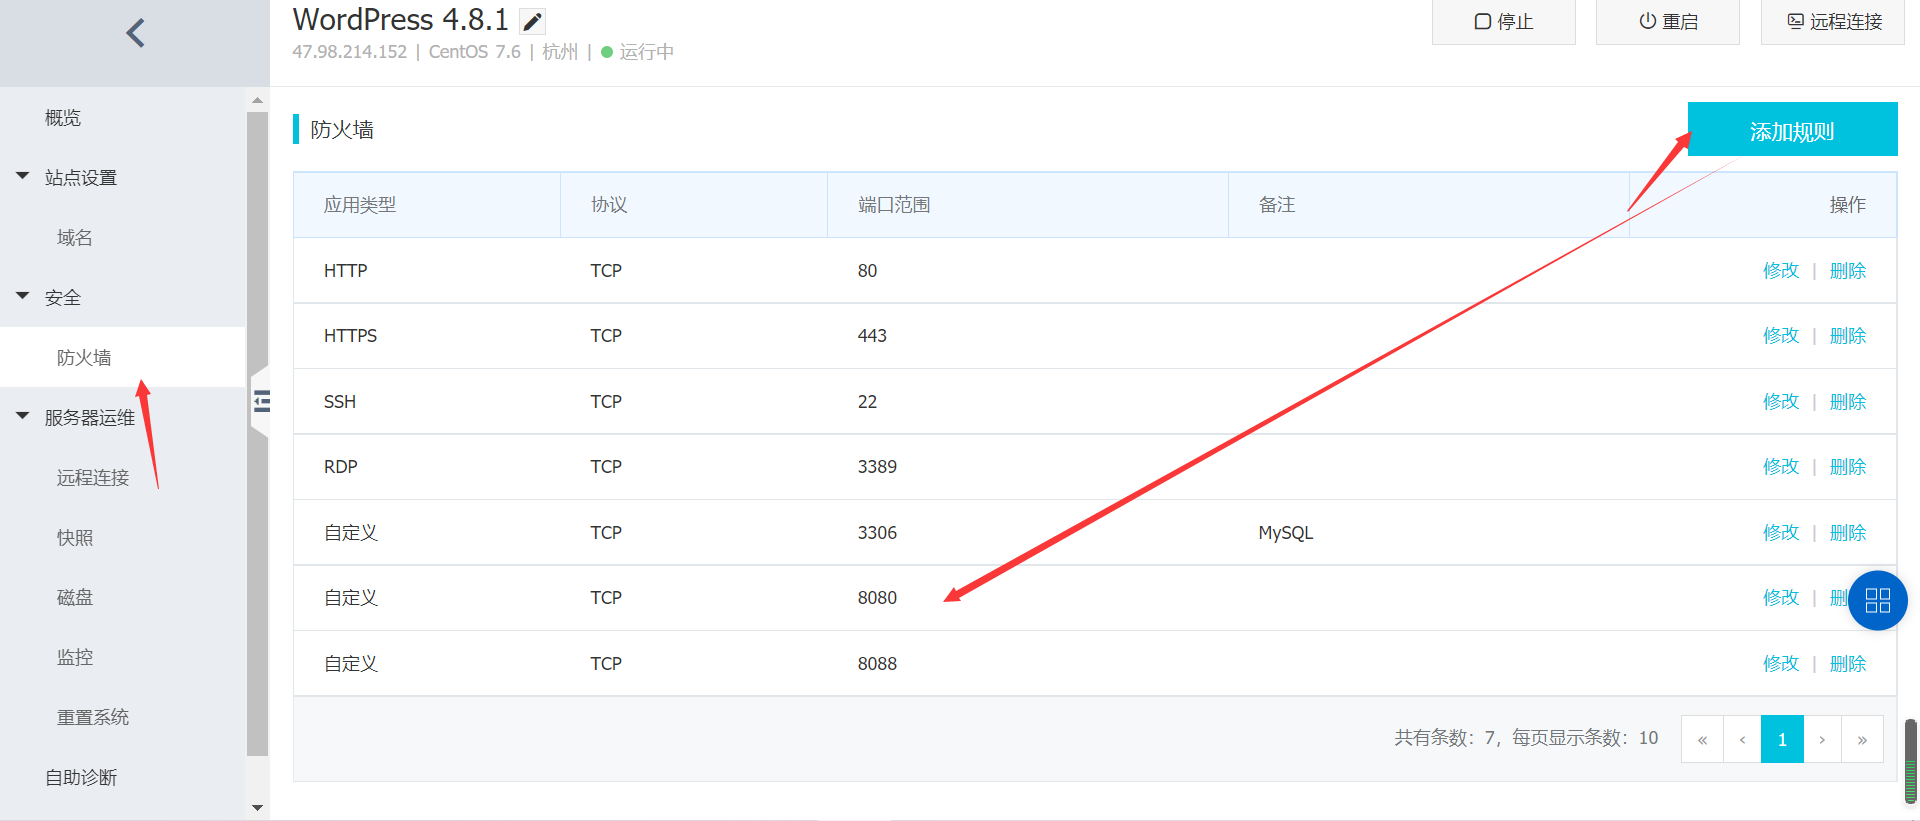
Then click the sidebar, there is a security firewall, and then click the add rule in the upper right corner to add the port number 8080 (described in Tomcat after 8080 here, which can be modified)
Finally, let's not forget to configure the password, which is still very important
2. Preparation of xshell and xftp
Now that we have finished configuring alicloud, we can do some fun things. Next, Download xshell and xftp. I think you must like the genuine version, right (I dare not share the pirated version). I must arrange it for you Portal . After you go in, click download, and then jump to a separate interface and slide down. There is a 30 day trial version (hey, can you whore for nothing again). After clicking, he will send a connection to your email and click the connection to download. Both software need to be downloaded. I won't repeat it here (i.e. next all the way).
Now when you're done
Let's first click on xshell and then take pictures all the way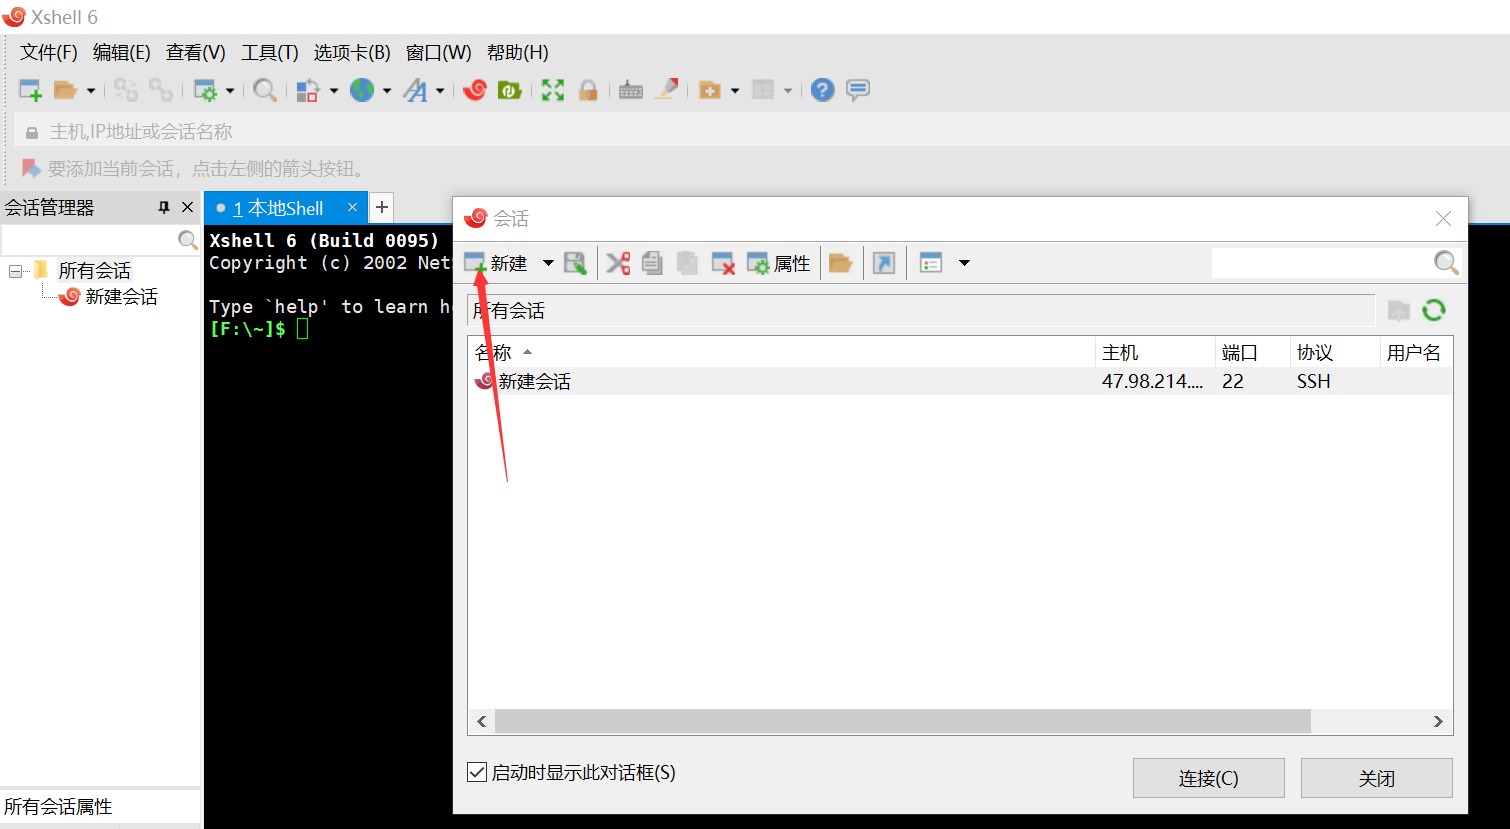
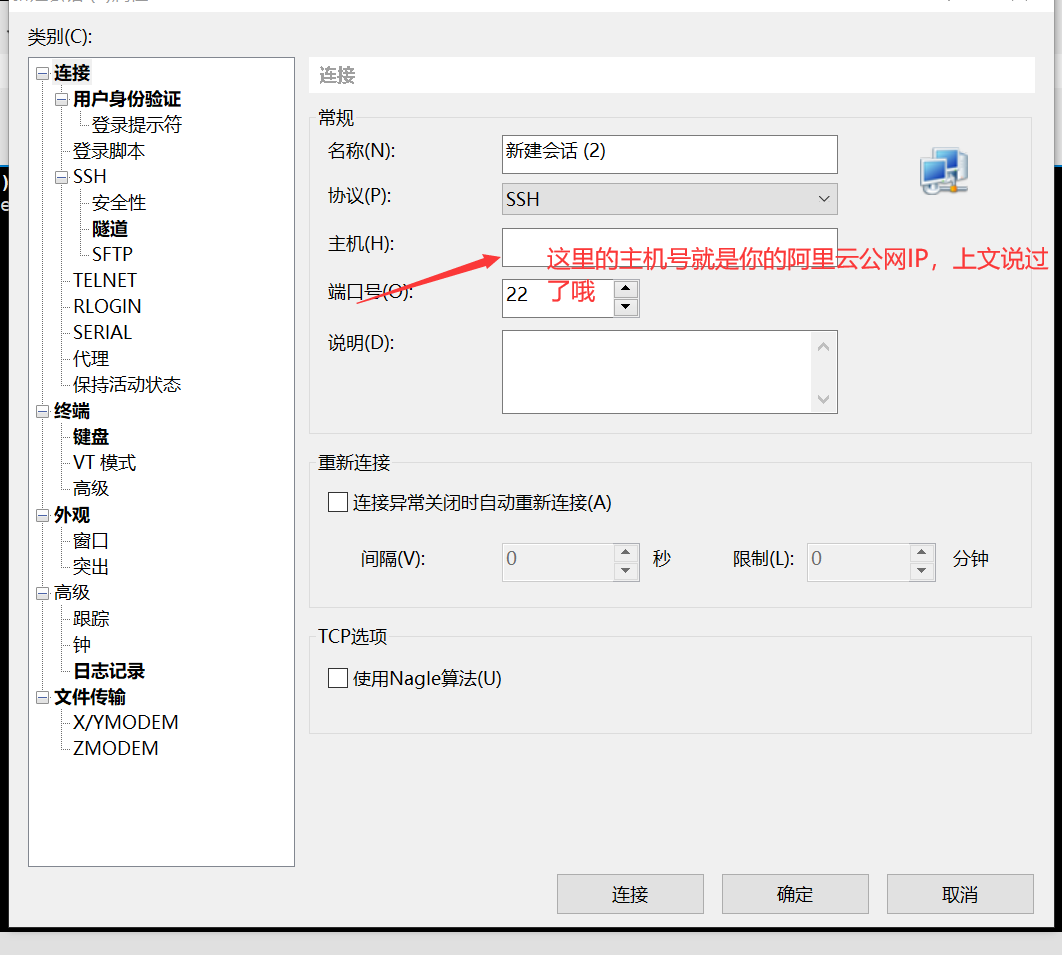
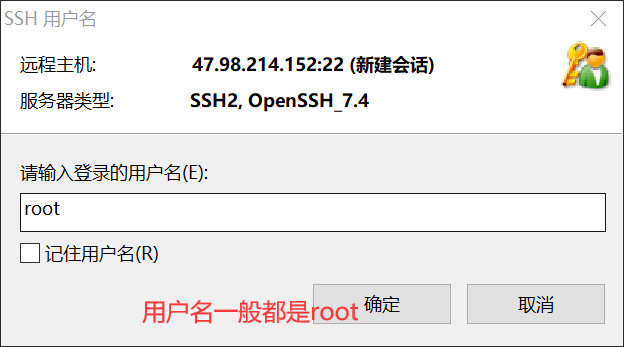
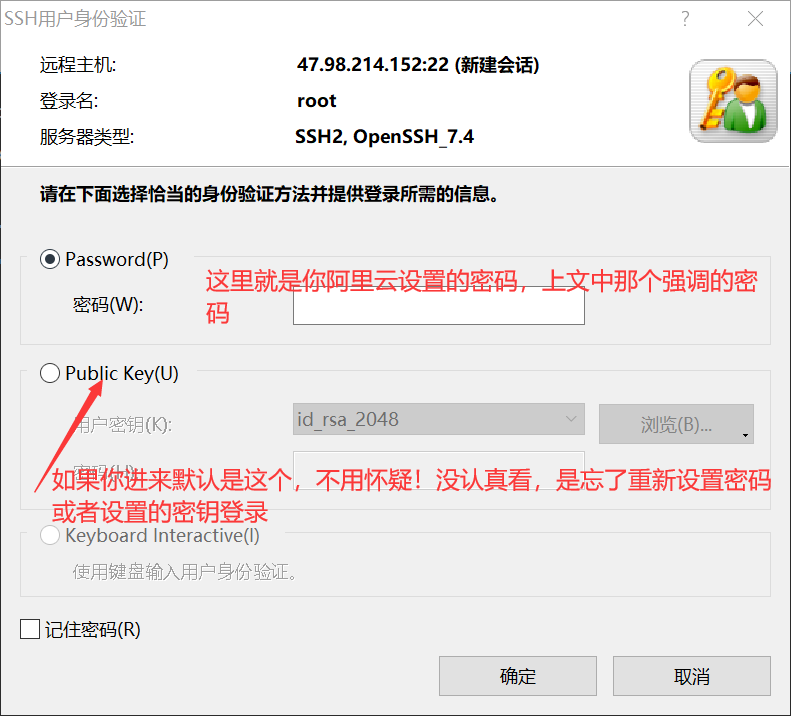
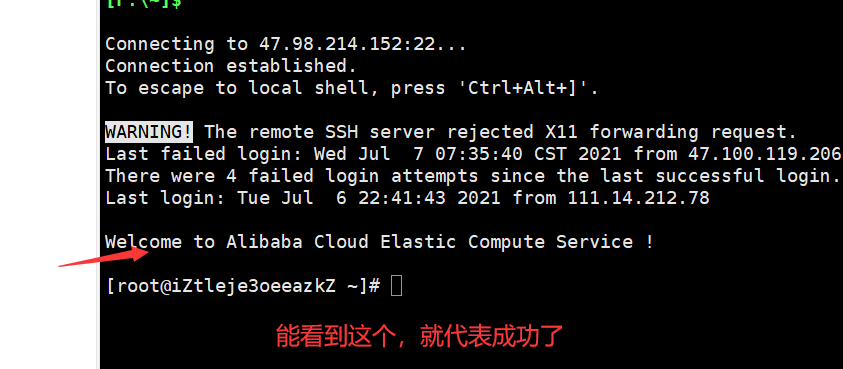
Here we finally connected to our Alibaba cloud. Hold on. It's fast. It's really fast.
3. We need to install our own jdk, Tomcat and MySQL on xshell and xftp (note that these are under linux, not Windows)
(1) Install the jdk first
yum -y install java-1.8.0-openjdk.x86_64
(you can't directly paste with shortcut keys, you can click the right mouse button to paste)
View jdk version
java -version
(2) Install MySQL
The following four lines of code are executed step by step. There will be no cute. Paste four lines at one go
cd /tmp
wget http://repo.mysql.com/mysql-community-release-el7-5.noarch.rpm
rpm -ivh mysql-community-release-el7-5.noarch.rpm
yum install mysql mysql-server mysql-devel -y
complete means success!
Then start MySQL
systemctl start mysql.service
Set password: (the password I show you is 123456)
mysqladmin -u root password 123456(Here I set 123456)
verification:
mysql -uroot -p123456
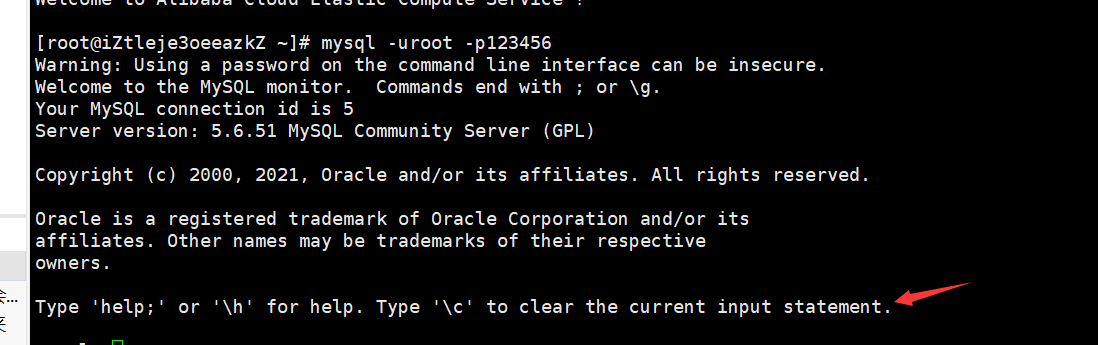
This means you're in.
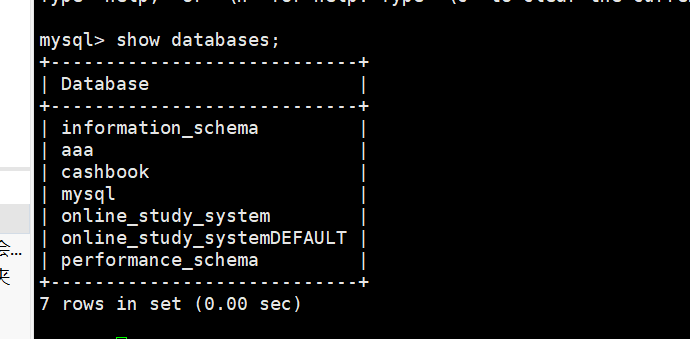
Displays the current table of the database:
show databases;
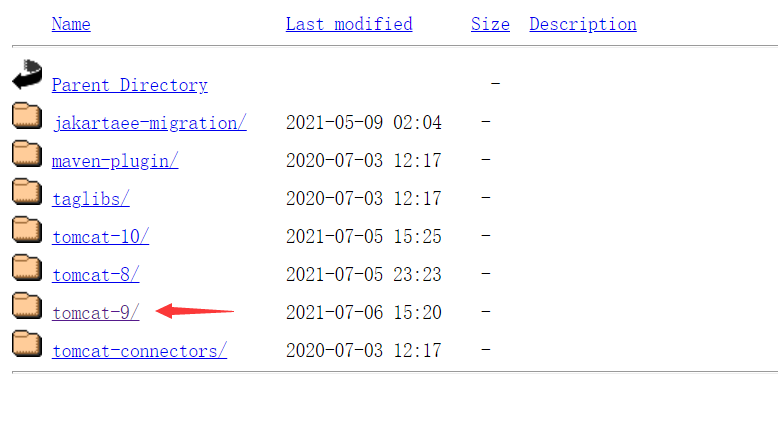
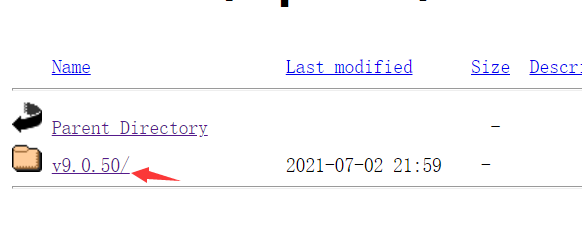
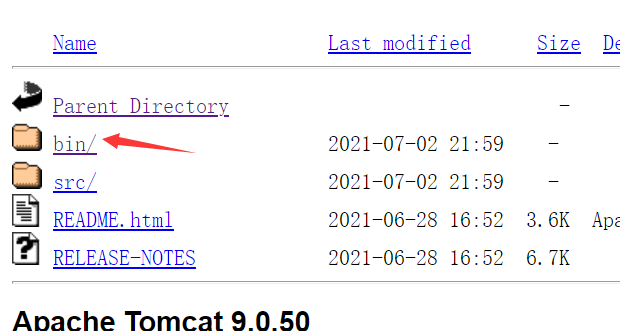
(3) Download Tomcat
first Portal
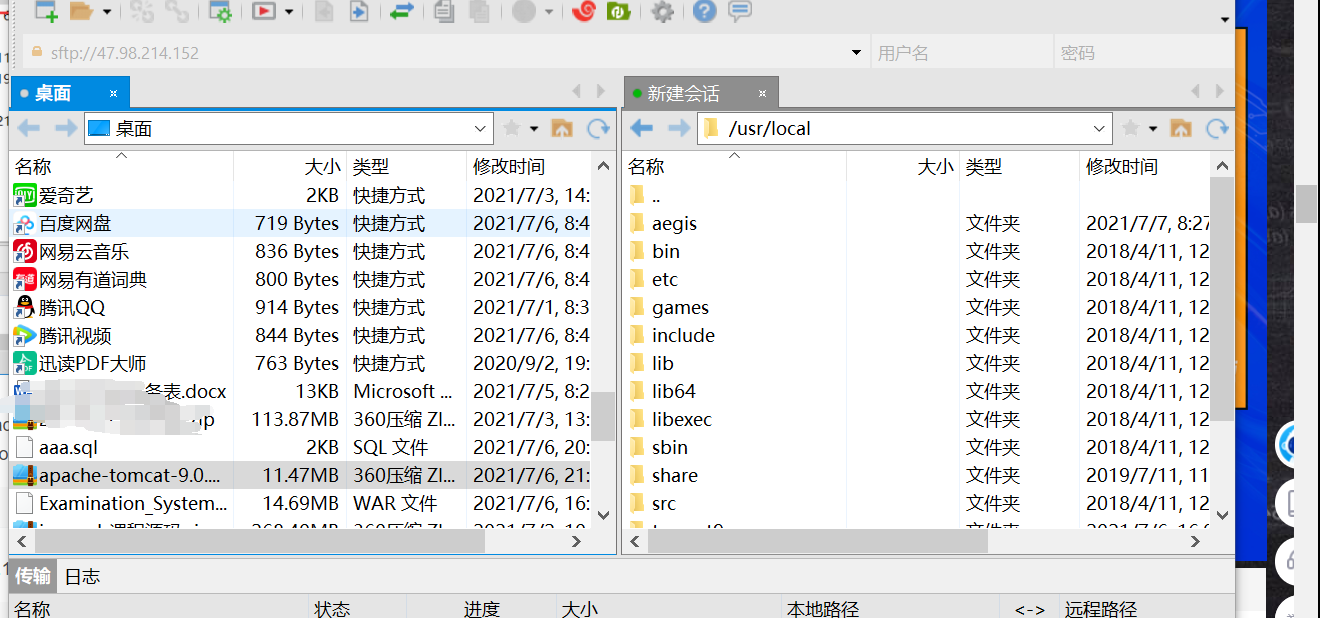
After the download, we open xftp, and the connection is the same as that of xshell. I won't repeat it;
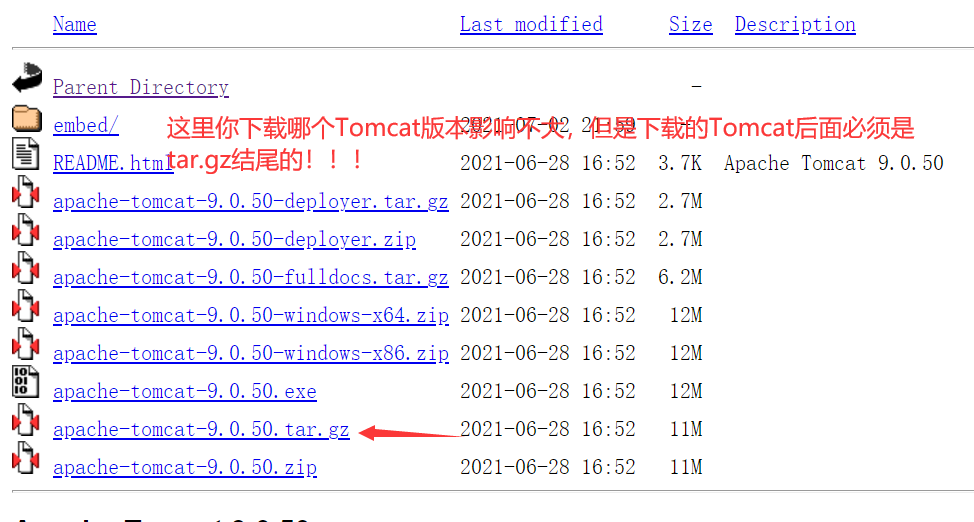
(1) The above is the local download of apache-tomcat-9.0.50 Tar (note here that we downloaded 50, which may be different from yours. Note later) is transferred to the / usr/local directory of the server. (if you want to modify the Tomcat port number here, please follow my follow-up blog, which is different from Windows)
(2) Unzip apache-tomcat-9.0.50 in xshell tar
cd /usr/local
tar xzf apache-tomcat-9.0.17.tar.gz
(3) Then we right-click in xftp to rename apache-tomcat-9.0.50 in the directory Change the tar folder to tomcat9 (other names are OK)

(4) Here we go back to xshell and start Tomcat. Exit MySQL and enter quit
 cd /usr/local/tomcat9/bin
./startup.sh
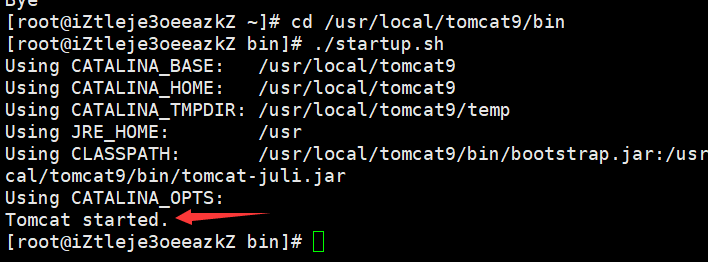
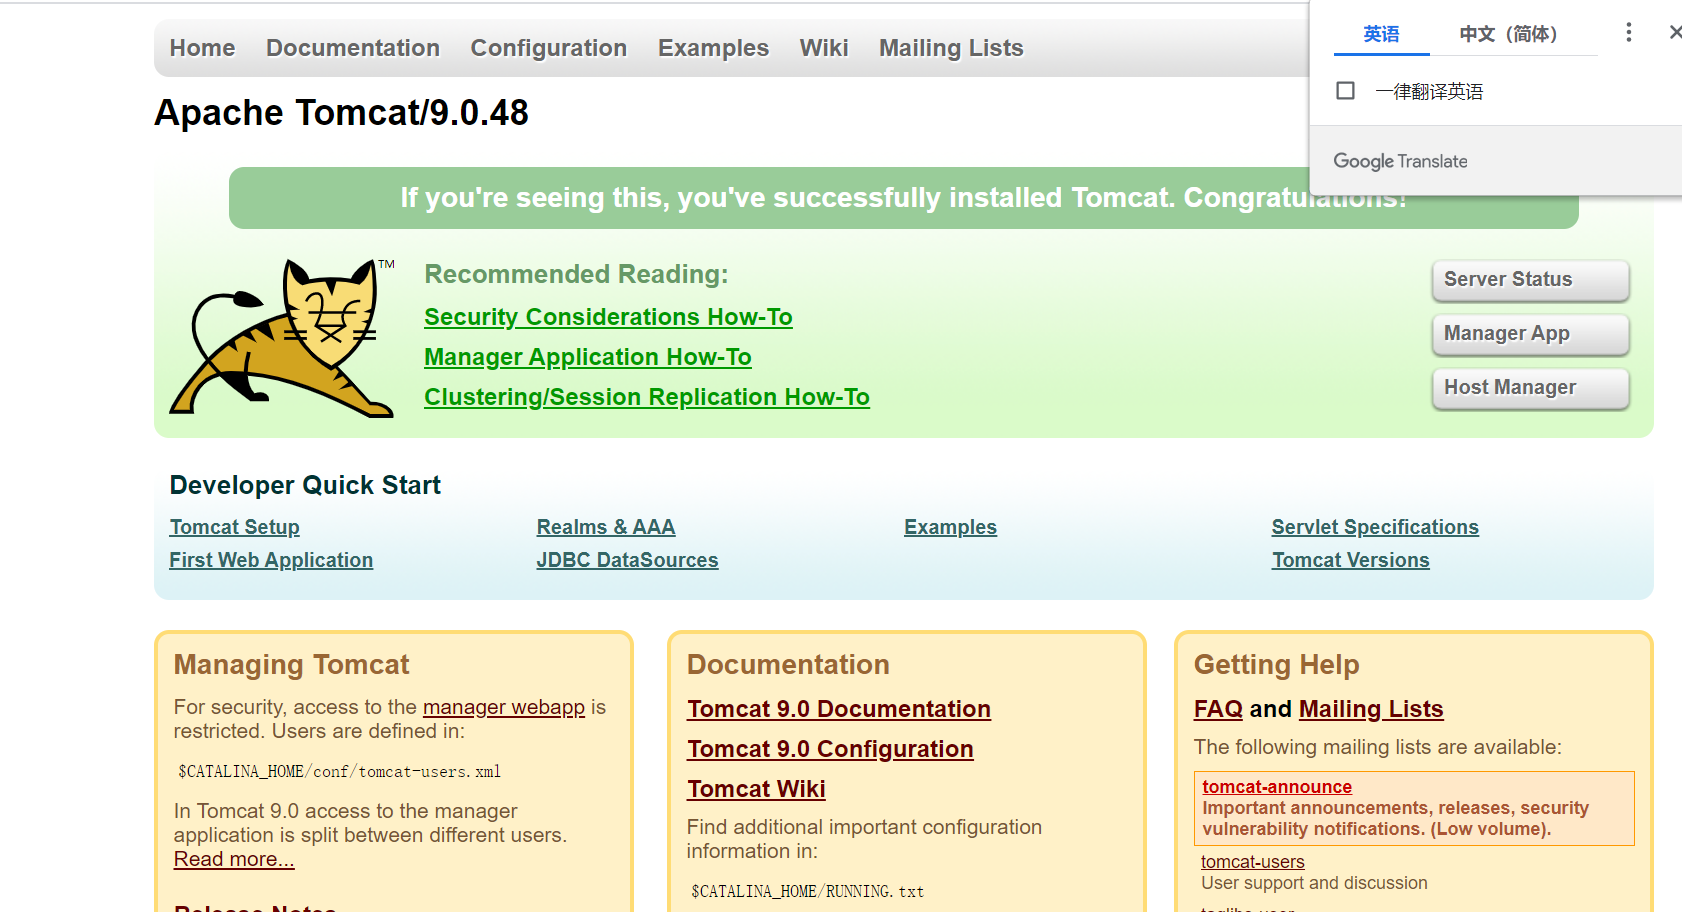
(5) Test:
Enter the public network address: 8080 in the browser, and the following appears, indicating that Tomcat has been successfully installed
4. Import data
(1) We first export the MySQL data to the sql file, and then upload it to the usr/local path through xftp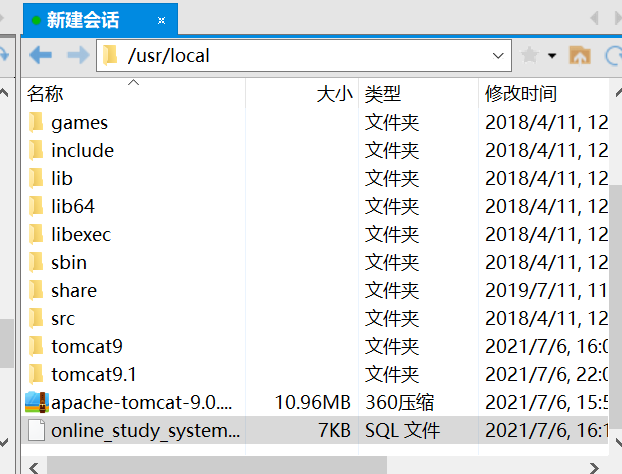
(2) Start MySQL
mysql -uroot -p123456(Demo password I set up earlier)
CREATE DATABASE online_study_system DEFAULT CHARACTER SET utf8;
//Here online_study_system is the name of the database used in my project. Everyone's is different
show databases;
=
(3) Exit MySQL and import data
quit
mysql -u root -p123456 --default-character-set=utf8 online_study_system < /usr/local/online_study_system.sql
//Previous online_study_system is the database name, and the latter is the table name, which is generally the same name
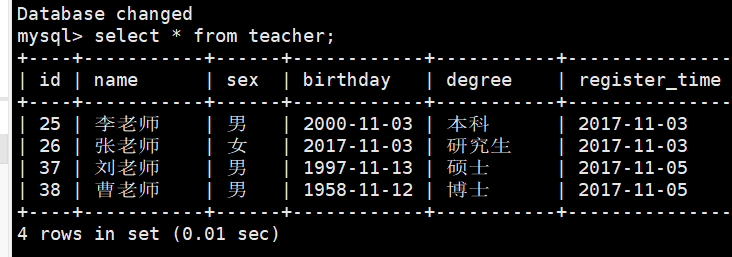
(4) Check whether the data enters the database
mysql -uroot -p123456
use online_study_system;//Use this table
select * from teacher;//This is because my database table has a teacher table
5 generate the maven project into a war file
Different editors here have different steps. You can baidu it;
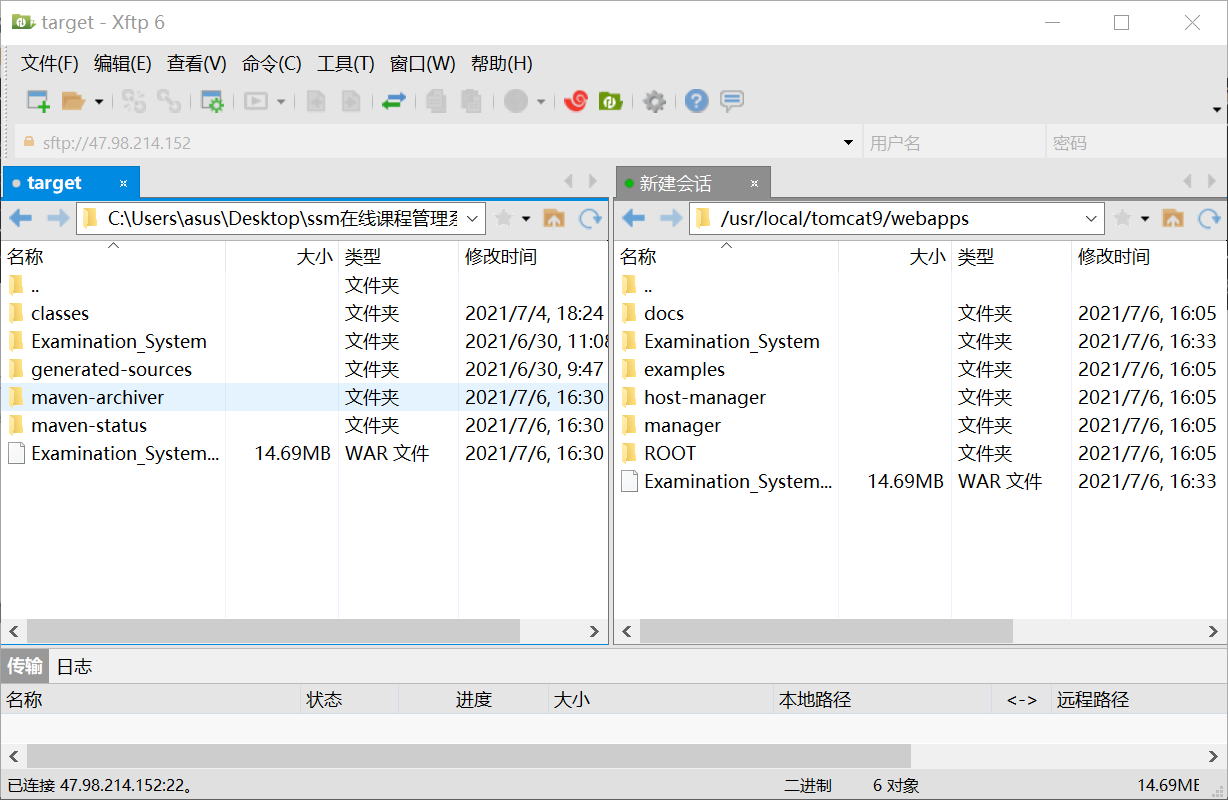
(1) Pass war into the wabapps directory under tomcat9 of the server, and still use Xftp6
6. Restart Tomcat
cd /usr/local/tomcat9/bin
./startup.sh
7. Enter web address
http: / / public IP:8080/war file name / login
Here login is login
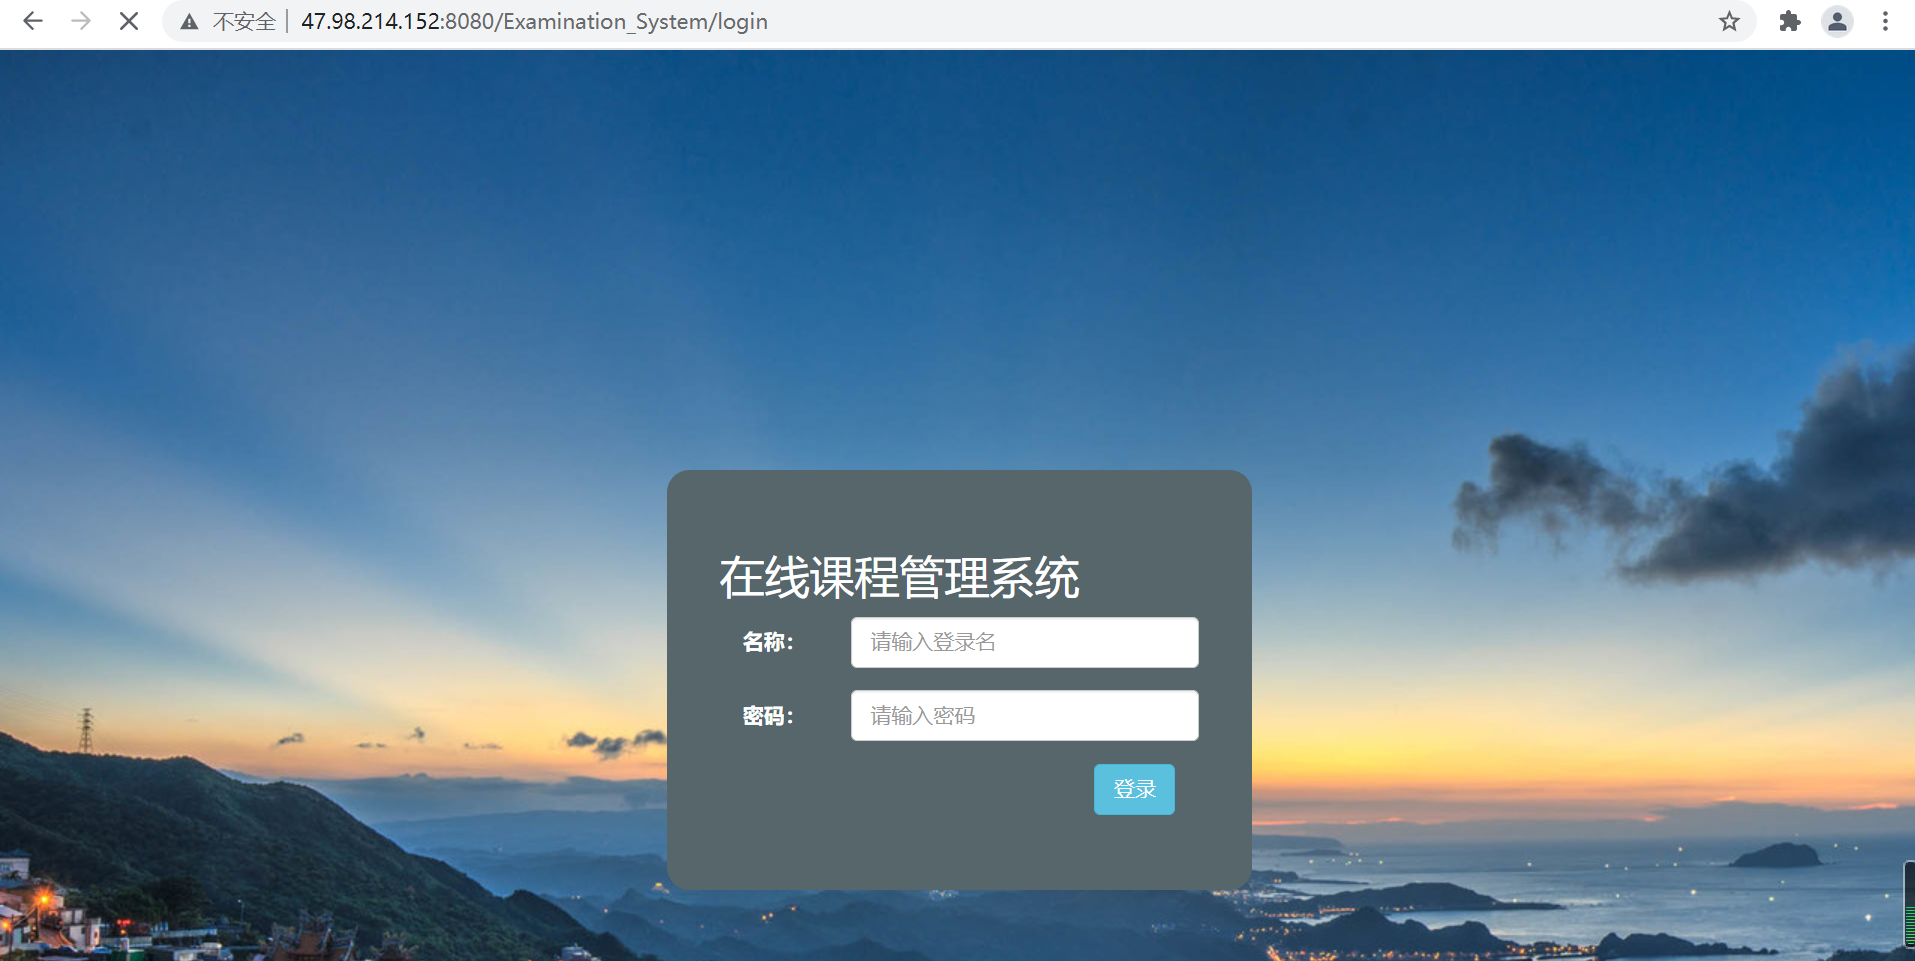
OK, so the external network can be accessed!!!
Congratulations on seeing the last code. It's not easy. Let's connect it three times.