Basic concepts
Currently Ceph officially provides three ways to deploy Ceph clusters, ceph-deploy, cephadm, and manual installation
- ceph-deploy
A cluster automation deployment tool, long-lasting, mature and stable, integrated by many automation tools for production deployment
- cephadm
from Octopus Beginning of new cluster deployment tools that support adding nodes via GUI or command line interface. Not recommended for production environments at this time. Interested to try
- manual
Manual deployment, step-by-step deployment Ceph Cluster, supports more customization and understanding of deployment details, is difficult to install, but can clearly grasp the details of installation and deployment
Here we implement a Ceph cluster deployment using a mature and simple ceph-deploy
Infrastructure of ceph-deploy
See ip: ip addr
View Gateway: ip route show
See DNS: cat /etc/resolv.conf
Note: You can modify the above section according to your environment
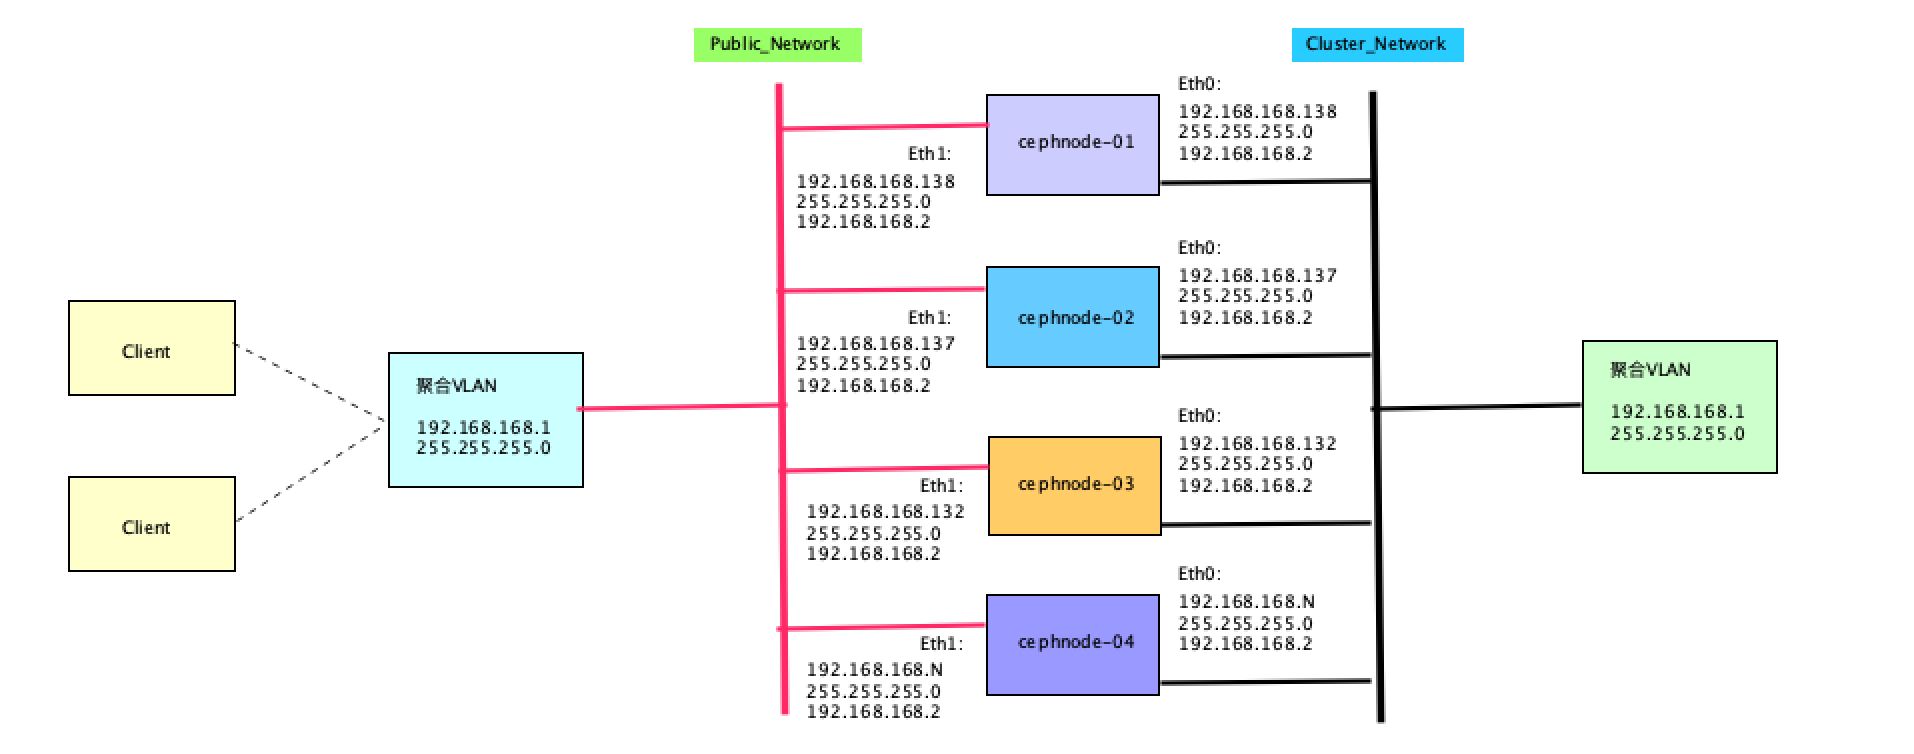
Public Network-Cluster Network
-
Public network configuration is used to explicitly define IP addresses and subnets for public networks (ceph defaults to all hosts running on public networks).
-
The role of cluster networks: handling OSD heartbeats, object replication, restoring traffic
OSD handles data replication for clients and the resulting network load affects the communication between clients and ceph clusters. For performance and security reasons, it is necessary to configure a cluster network independent of the public network
This article is multiplexed Public Network and Cluster network
Roles in Clusters
- admin-node
An installation management node is required, which is responsible for the overall deployment of the cluster. cephnode-01 by admin-node and Ceph-Mon Node;
- mon
monitor Node, that is Ceph Monitoring management node, undertake Ceph Important cluster management tasks
Typically, three or five nodes are required, and a simple one is deployed here Monitor node
- osd
OSD That is Object Storage Daemon,Node actually responsible for data storage
3 There is one 20 on each node G Disk serves as OSD role
Note: The production environment can continue to expand horizontally if there are more than one node; Longitudinal expansion can also be performed if disk capacity is insufficient
Install a 3-node Ceph cluster
- hardware environment
Virtual Machine, 2 core+4G+20G disk
- operating system
cat /proc/version

CentOS Linux 7.9.2009 Core
- Deployment Version
ceph-deploy 2.0.1
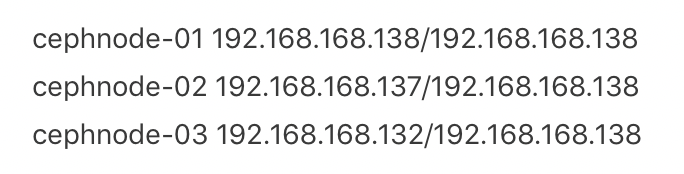
Cluster Planning
System Initialization
Note: Without special instructions, all operations in this section require the initialization of this document on all nodes
Configure Host Name
hostnamectl set-hostname cephnode-01
hostnamectl set-hostname cephnode-02
hostnamectl set-hostname cephnode-03
Add the host name and IP correspondence to each machine's/etc/hosts file
cat >> /etc/hosts <<EOF
# Ceph Cluster Network
192.168.168.138  cephnode-01
192.168.168.137  cephnode-02
192.168.168.132  cephnode-03

# Ceph Public Network
192.168.168.138  cephnode-01
192.168.168.137  cephnode-02
192.168.168.132  cephnode-03
EOF


Then exit and log in again root Account, you can see that the hostname is valid

Add Node SSH Trust
ssh-keygen -t rsa
ssh-copy-id root@cephnode-01
ssh-copy-id root@cephnode-02
ssh-copy-id root@cephnode-03
Close Firewall
systemctl stop firewalld
systemctl disable firewalld
iptables -F && iptables -X && iptables -F -t nat && iptables -X -t nat
iptables -P FORWARD ACCEPT
Note: Close firewall, clear firewall rules, set default Forwarding Policy
Close swap partition
swapoff -a
sed -i '/ swap / s/^\(.*\)$/#\1/g' /etc/fstab
Turn off SELinux
setenforce 0
sed -i 's/^SELINUX=.*/SELINUX=disabled/' /etc/selinux/config
Configure EPEL Source
To configure Yum source, due to network environment factors, it is necessary to configure the yum source to Ali cloud in China to speed up the installation and configuration of rpm. The basic source of CentOS, EPEL source and Eph source need to be configured
# Remove Default yum Source and Configure Ali yum source
rm -f /etc/yum.repos.d/*.repo
wget http://mirrors.aliyun.com/repo/Centos-7.repo  -P /etc/yum.repos.d/
#  Install EPEL source
wget http://mirrors.aliyun.com/repo/epel-7.repo -P /etc/yum.repos.d/
Configure Ceph Source
cat > /etc/yum.repos.d/ceph.repo <<EOF
[noarch]
name=Ceph noarch
baseurl=https://mirrors.aliyun.com/ceph/rpm-nautilus/el7/noarch/
enabled=1
gpgcheck=0

[x86_64]
name=Ceph x86_64
baseurl=https://mirrors.aliyun.com/ceph/rpm-nautilus/el7/x86_64/
enabled=1
gpgcheck=0
EOF
Install Dependent Packages
Install the Ceph-deploy deployment tool, the ceph-deploy version provided by the default EPEL source is 1.5. Be sure to install version 2.0.1 or above, otherwise there will be many problems during installation
# To update yum source
yum update -y
# Install the toolkit, python-setuptools Be sure to install, otherwise error will occur
yum install -y chrony conntrack ipset jq iptables curl sysstat libseccomp wget socat git python-setuptools

# install ceph-deploy Deployment Tools
yum install ceph-deploy -y
#Verify Version
ceph-deploy --version
Configure System Time
timedatectl set-timezone Asia/Shanghai
Configure clock synchronization
timedatectl status
Note: System clock synchronized: yes, indicating that the clock is synchronized; NTP service: active, indicating that the clock synchronization service is turned on
Write Hardware Clock
# Make the current UTC Time Writing Hardware Clock
timedatectl set-local-rtc 0

#  Restart system time dependent services
systemctl restart rsyslog
systemctl restart crond
Turn off unrelated services
systemctl stop postfix && systemctl disable postfix
After doing all the above, we can restart all hosts
sync
reboot
Deploy Ceph Cluster
Ceph-deploy Some cluster initialization profiles and configuration files are generated during deployment key
Need to be used for subsequent expansion
Therefore, it is recommended that admin-node Create a separate directory on
Subsequent operations are entered into the directory for operation
To create ceph-admin take as an example
Here in/root/Create one below ceph-admin Catalog

mkdir -p ceph-admin
#  All subsequent operations need to be completed under the ceph-admin directory
cd ceph-admin
Installation package required to install Ceph
Can be used during installation ceph-deploy install Provided Installation Method
This command will be installed automatically EPEL Source, Reset Ceph source
Here we have already set the domestic source
So use manual installation Ceph Installation package method
To ensure subsequent installation
On three nodes Ceph The installation packages are deployed and the following commands can be executed on each of the three nodes

yum install ceph-mon ceph-radosgw ceph-mds ceph-mgr ceph-osd ceph-common -y
Create a Ceph Cluster Cluster Cluster
Need to be specified cluster-network(Intra-cluster communication) and public-network(External access Ceph Cluster)

ceph-deploy new --cluster-network 192.168.168.0/24 --public-network 192.168.168.0/24 cephnode-01
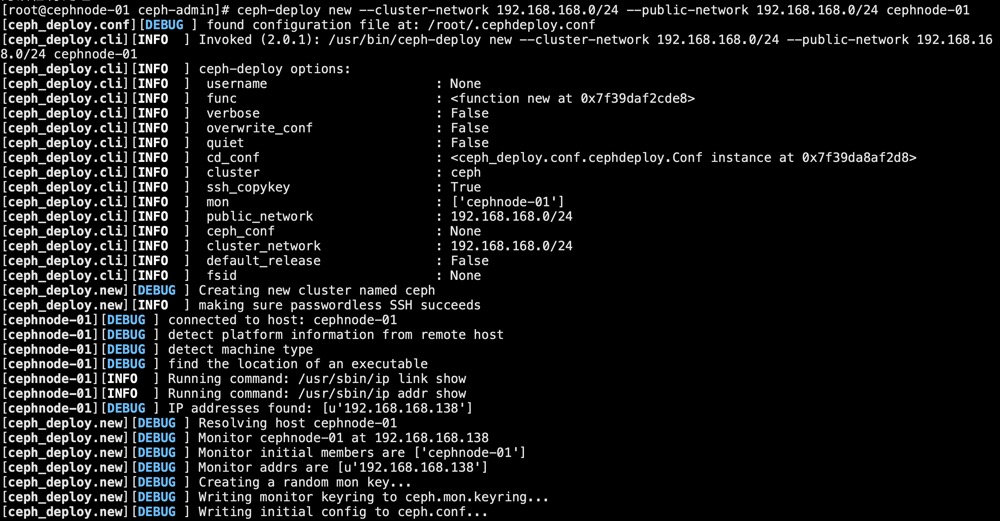
You can see from the output above
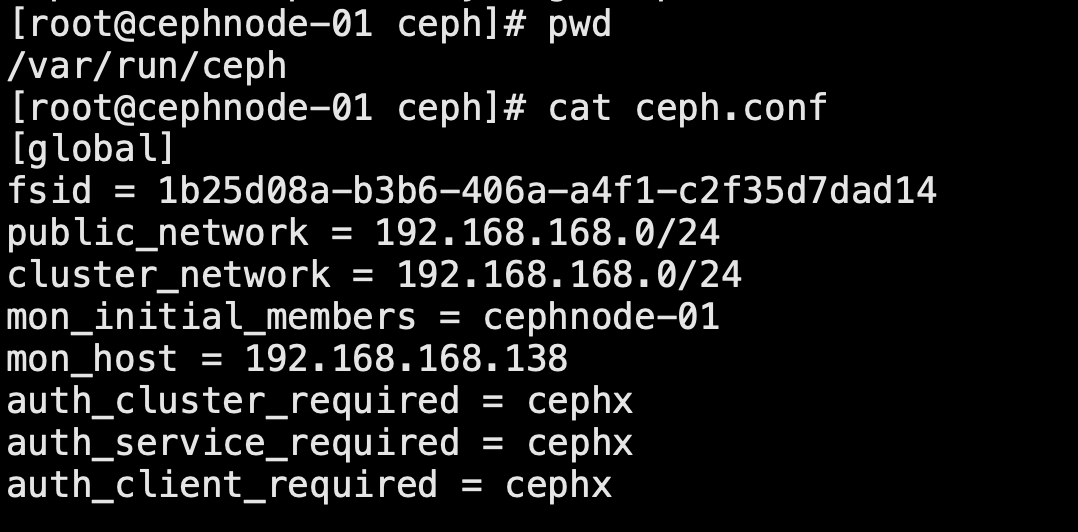
new Generated during initialization of the cluster ssh key Key, ceph.conf Configuration file, ceph.mon.keyring Authentication Management Key
To configure cluster network and pubic network
Looking at the files in the directory at this point, you can see the following
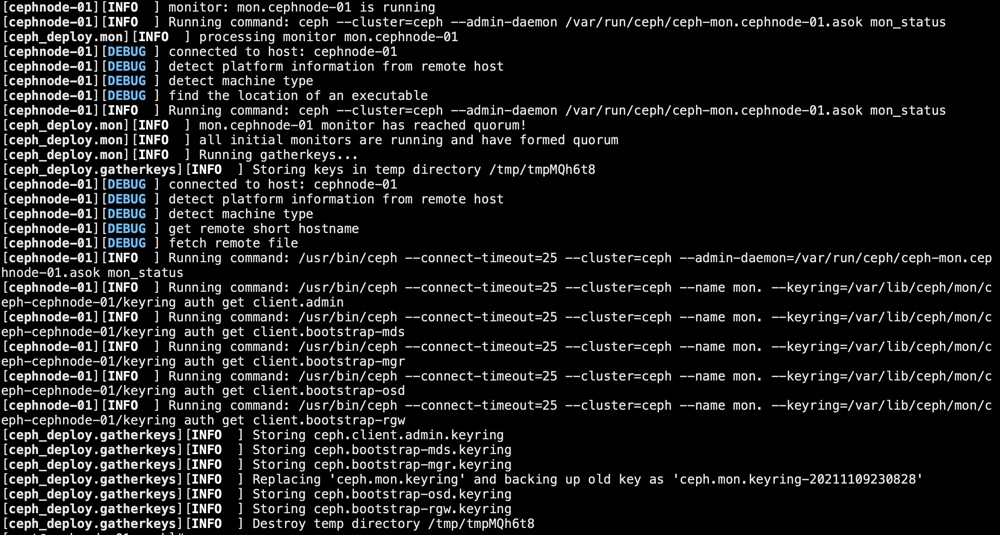
Initialize monitor node
ceph-deploy mon create-initial
Possible exceptions
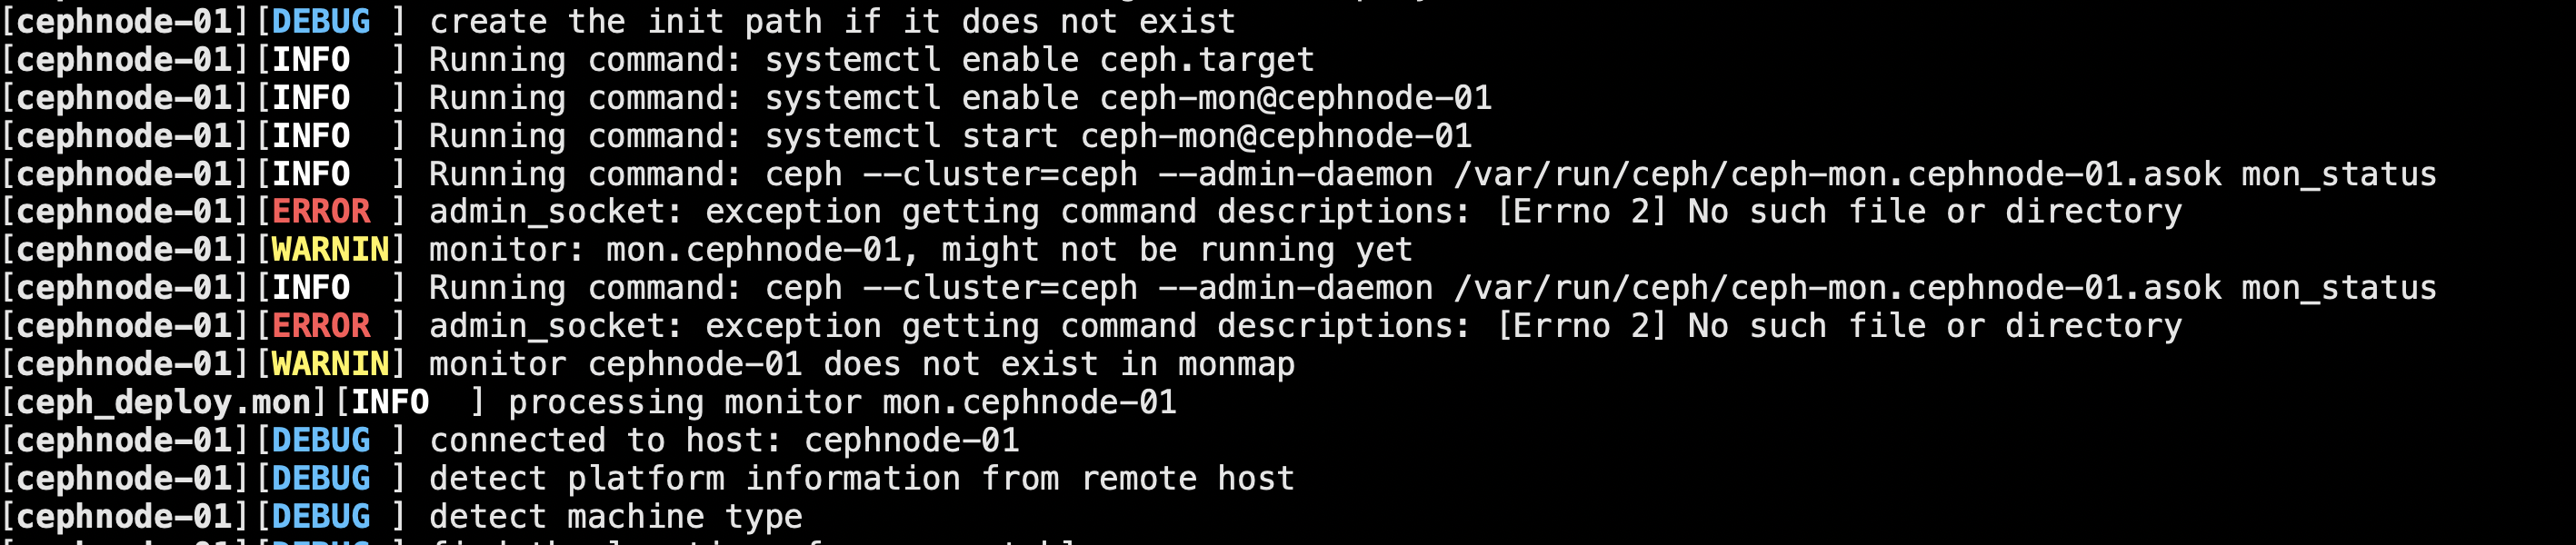
Installed ceph after Will generate/var/run/ceph/ceph-mon.cephnode-01.asok This file

When executing this command
ceph --cluster=ceph --admin-daemon /var/run/ceph/ceph-mon.cephnode-01.asok mon_status

This error will be reported if this file is not found

Confirm the host name and/etc/hosts Configuration name is consistent
After initialization, the following files are automatically generated for subsequent and Ceph Authentication Interactive Use
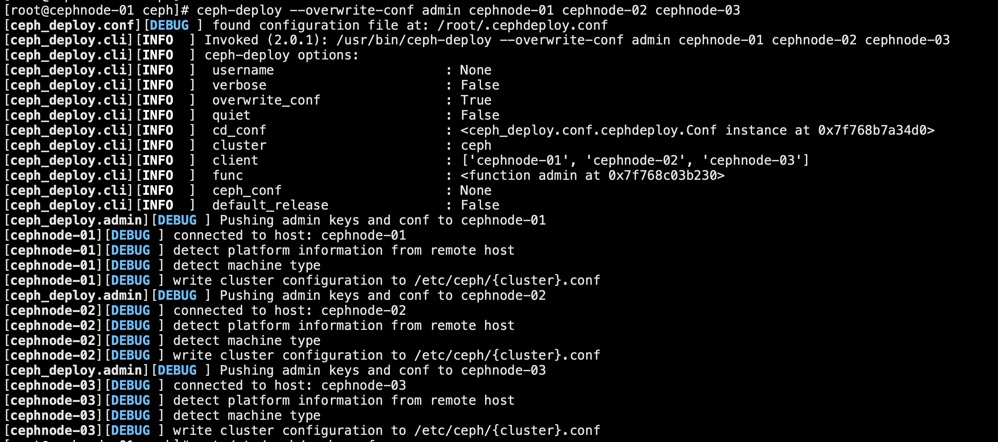
After initialization we will admin Copy the authentication key to another node
Easy ceph The command line can be passed through keyring and ceph Cluster Interaction
ceph-deploy --overwrite-conf admin cephnode-01 cephnode-02 cephnode-03
View cluster status
Ceph Cluster has been set up
Current Ceph Cluster contains one monitor node
adopt ceph -s We can view the current ceph Status of the cluster
But there is nothing at this point OSD Node, so operations such as writing data to a cluster are not possible

From the above screenshot, we can see that there are currently no clusters OSD node
So I can't store the data, so I'm going to start adding it to the cluster OSD node
As we said earlier, there is a 20 on each node G Disk of/dev/sda
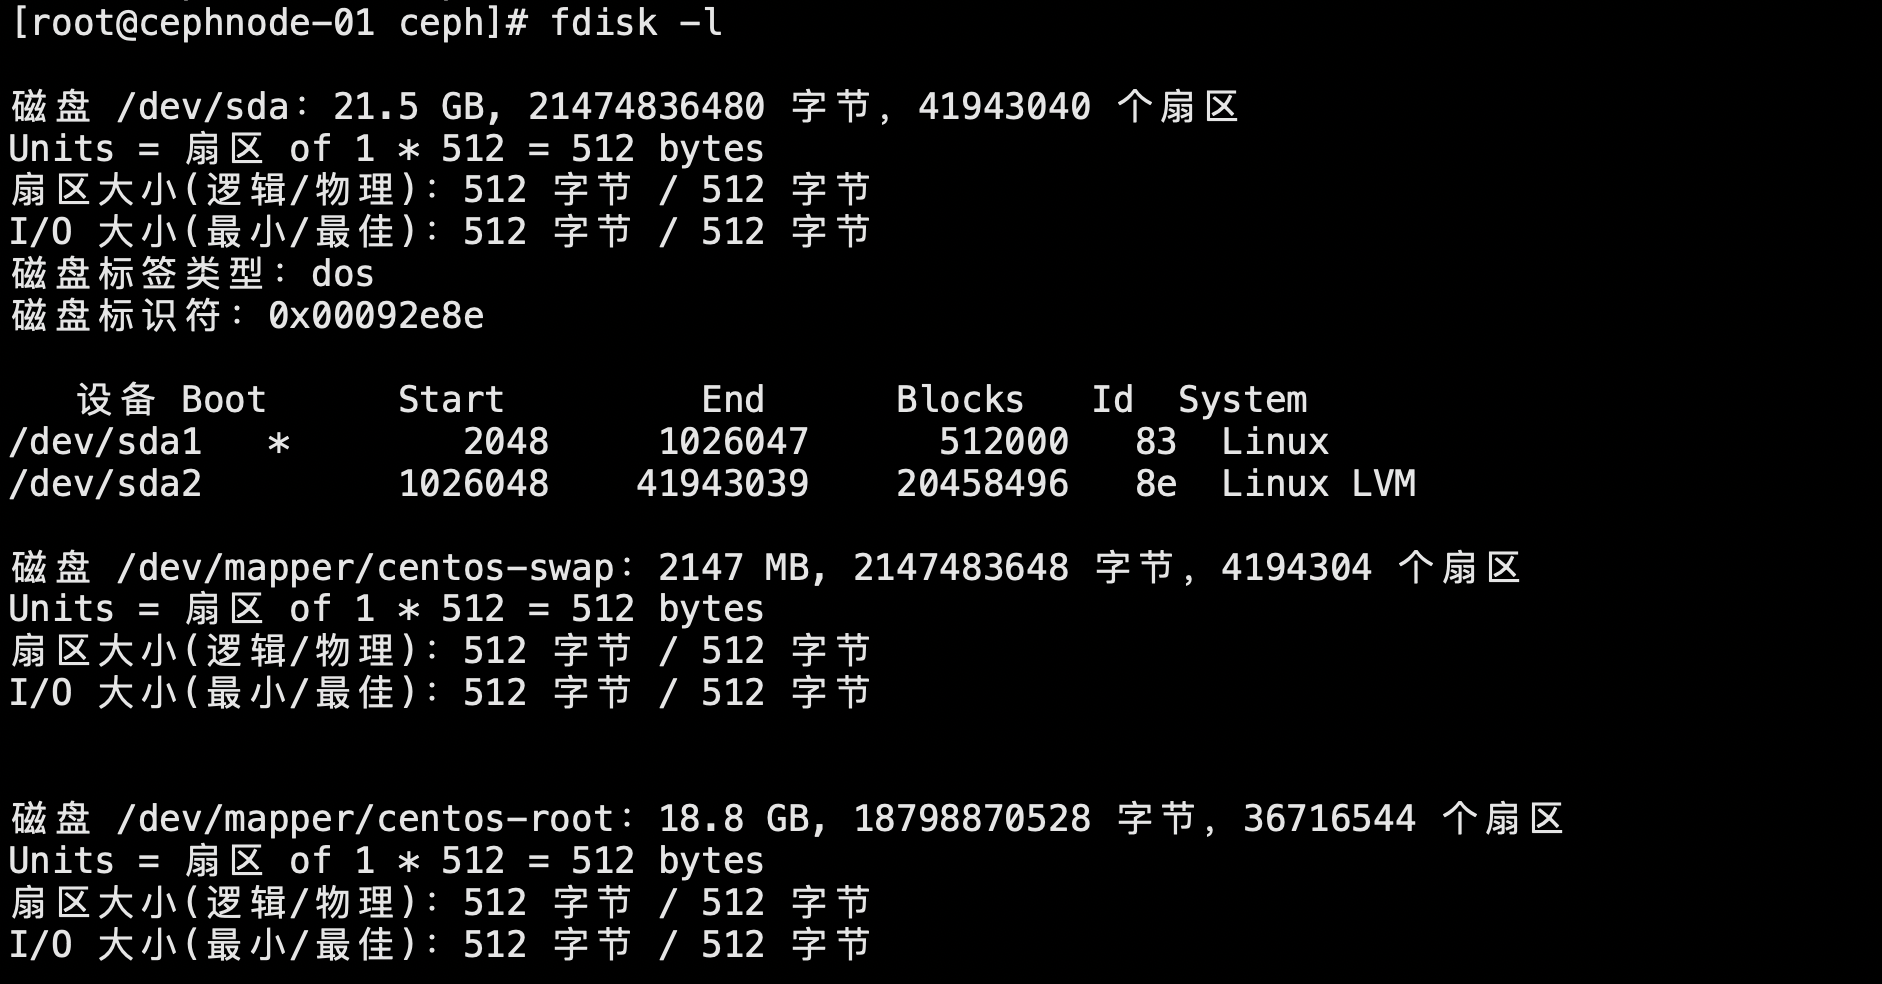
The next article describes how to add disks to a cluster as OSD Procedures for nodes and other operations