Basic label
Font label
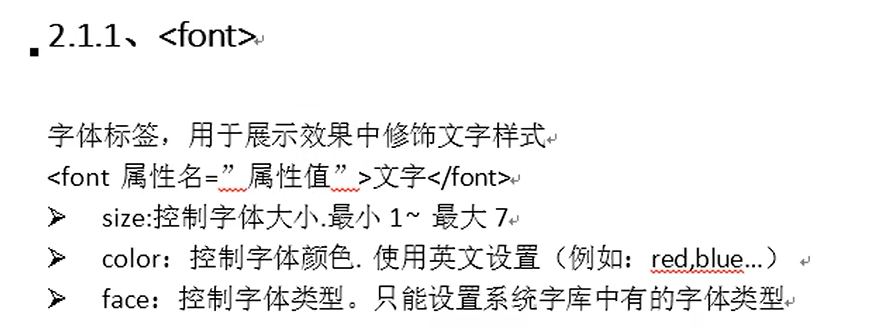 Code demonstration:
< font color = "blue" size = "5" face = "italics" > Customer Service Hotline: 1000000000 < / font >
Format label
1. < br/ >
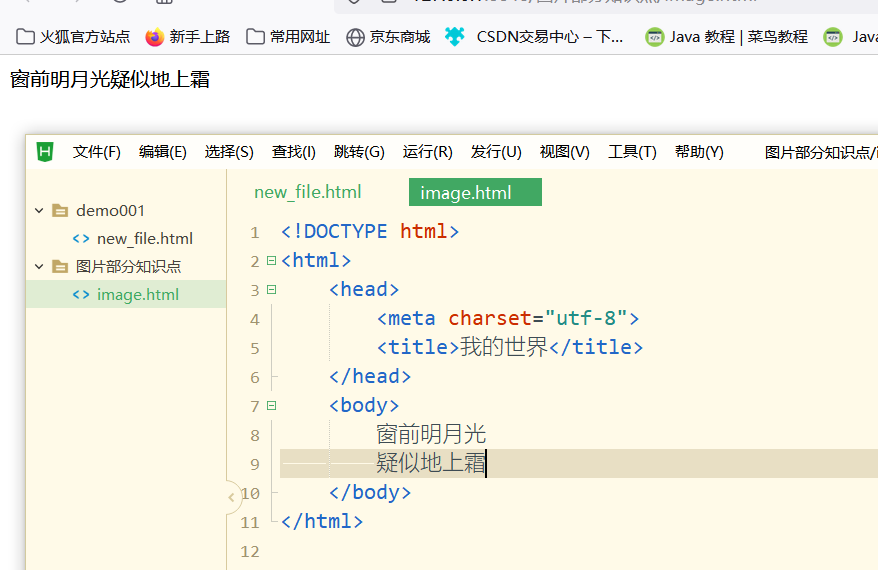
- Line breaks in the Html source code will be automatically ignored by the browser when parsing.
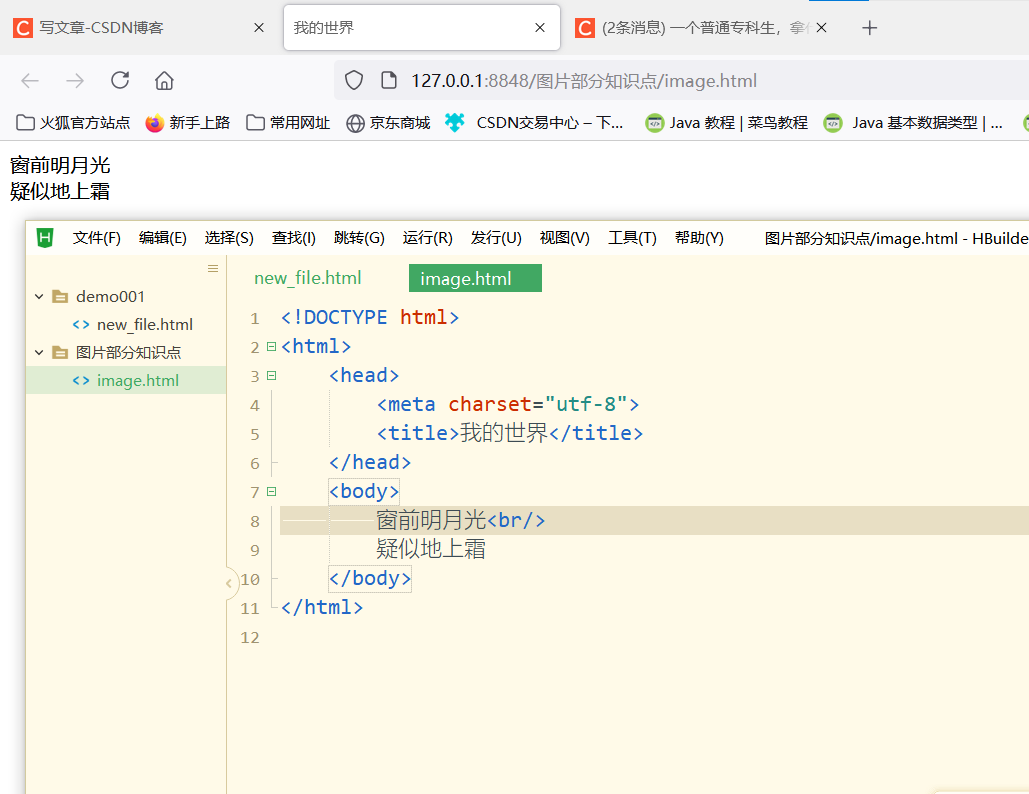
- Line feed label, used to show the line feed in the effect.
Show the effect without line feed:
 Effect after adding line feed:
2. < p > < /p >

Effect demonstration:
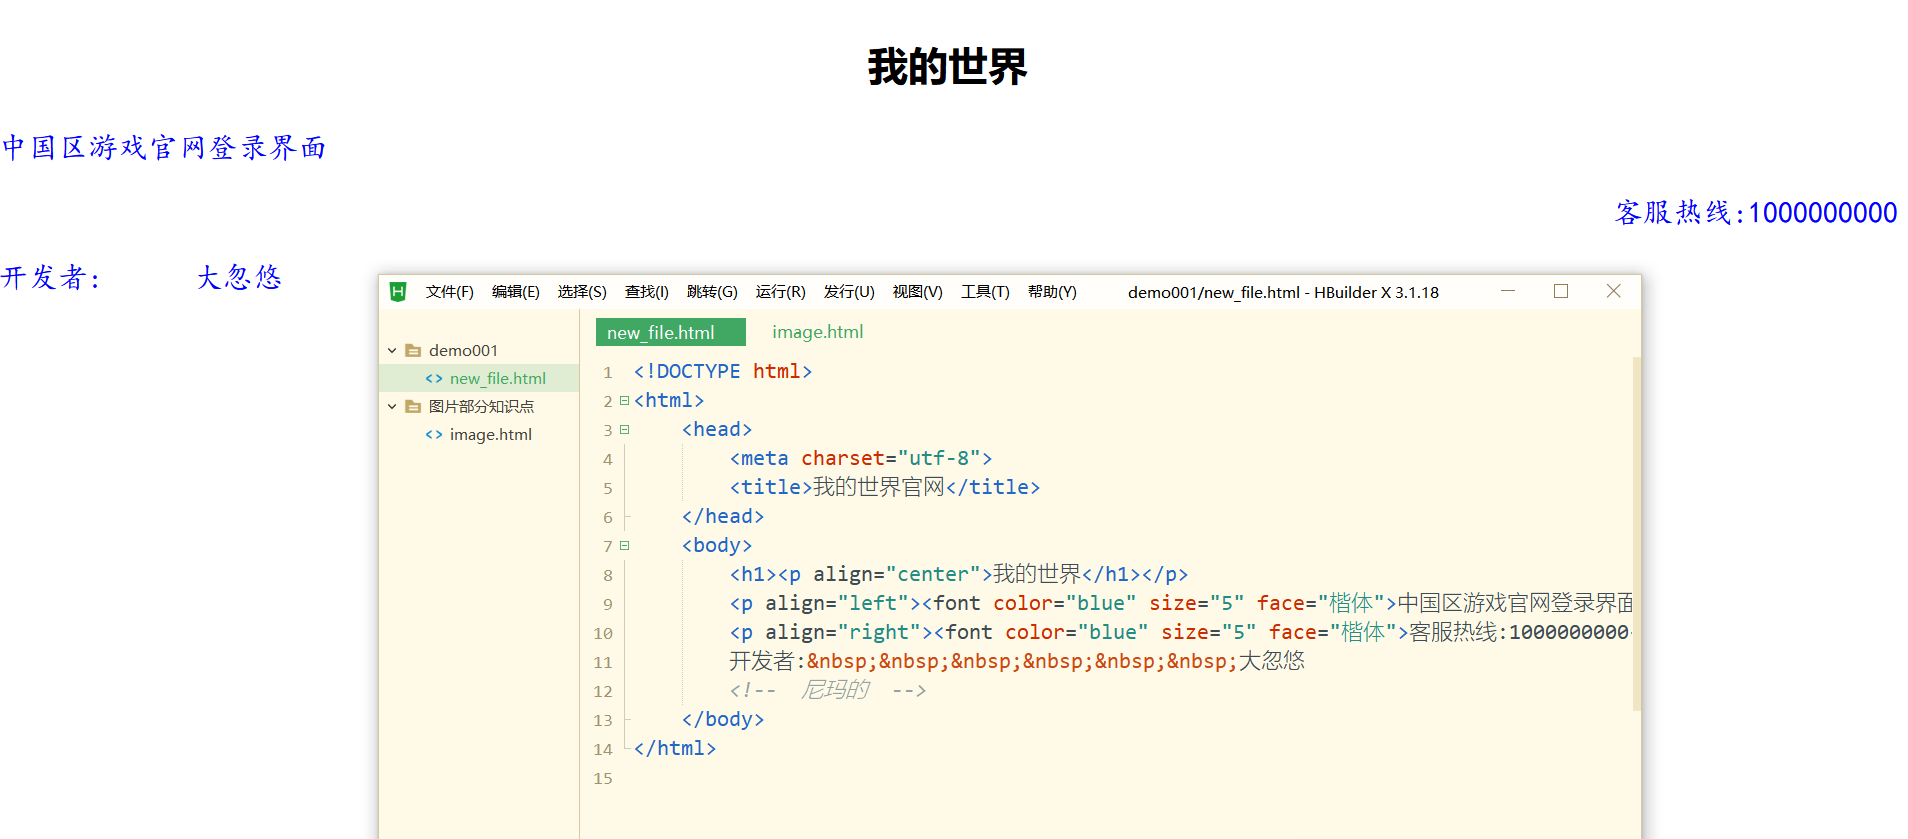
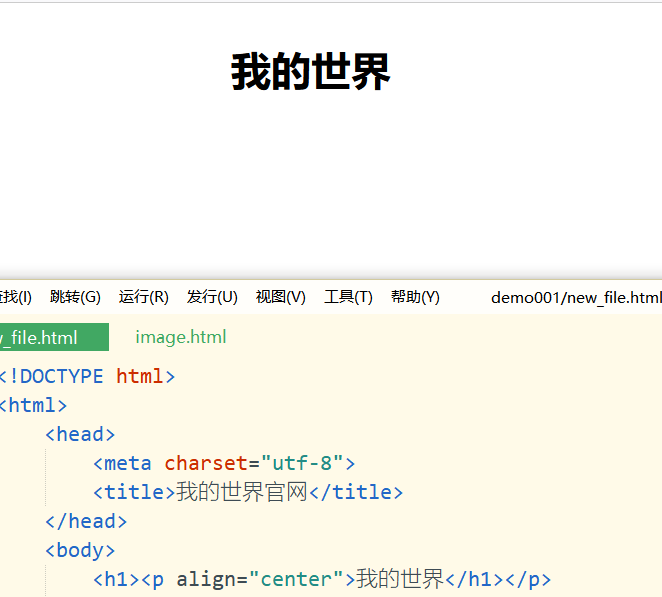
3. < h1 > < /h1 >

Effect demonstration:
4. & nbsp
 Effect demonstration:

Html comments

example:

Picture label
1. < img/ >
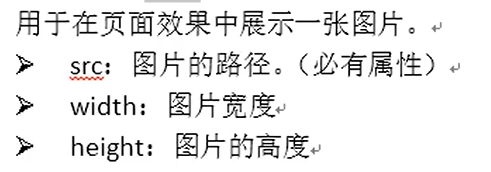
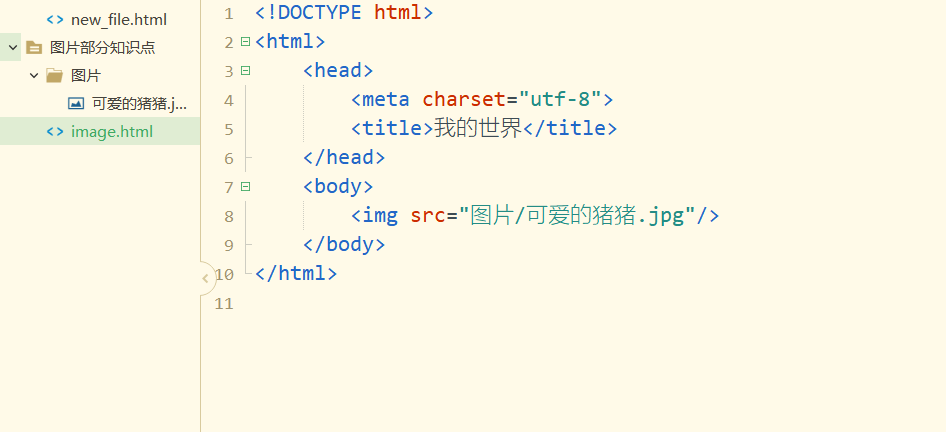
Effect demonstration:
1. Relative path (intranet path)
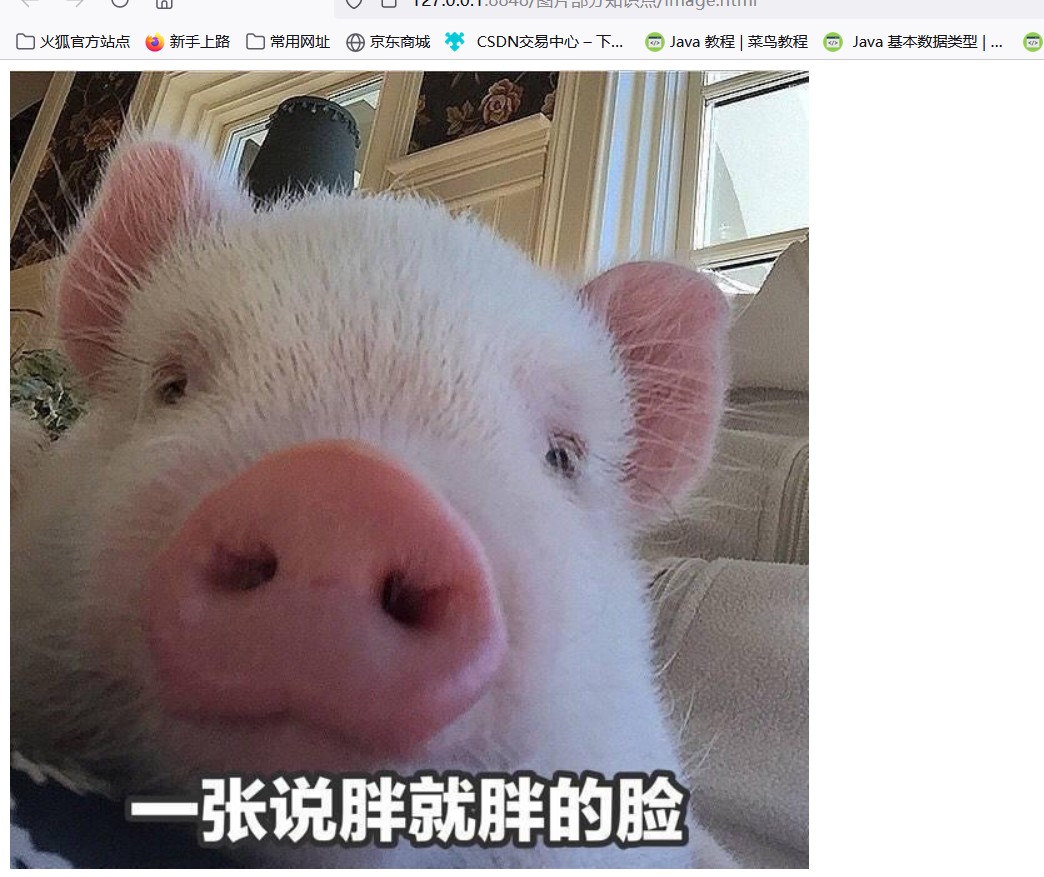
Set the width and height of the picture: the picture size is static

Percentage setting: the percentage of the browser page. When the width is 50% of the browser page size, it changes dynamically
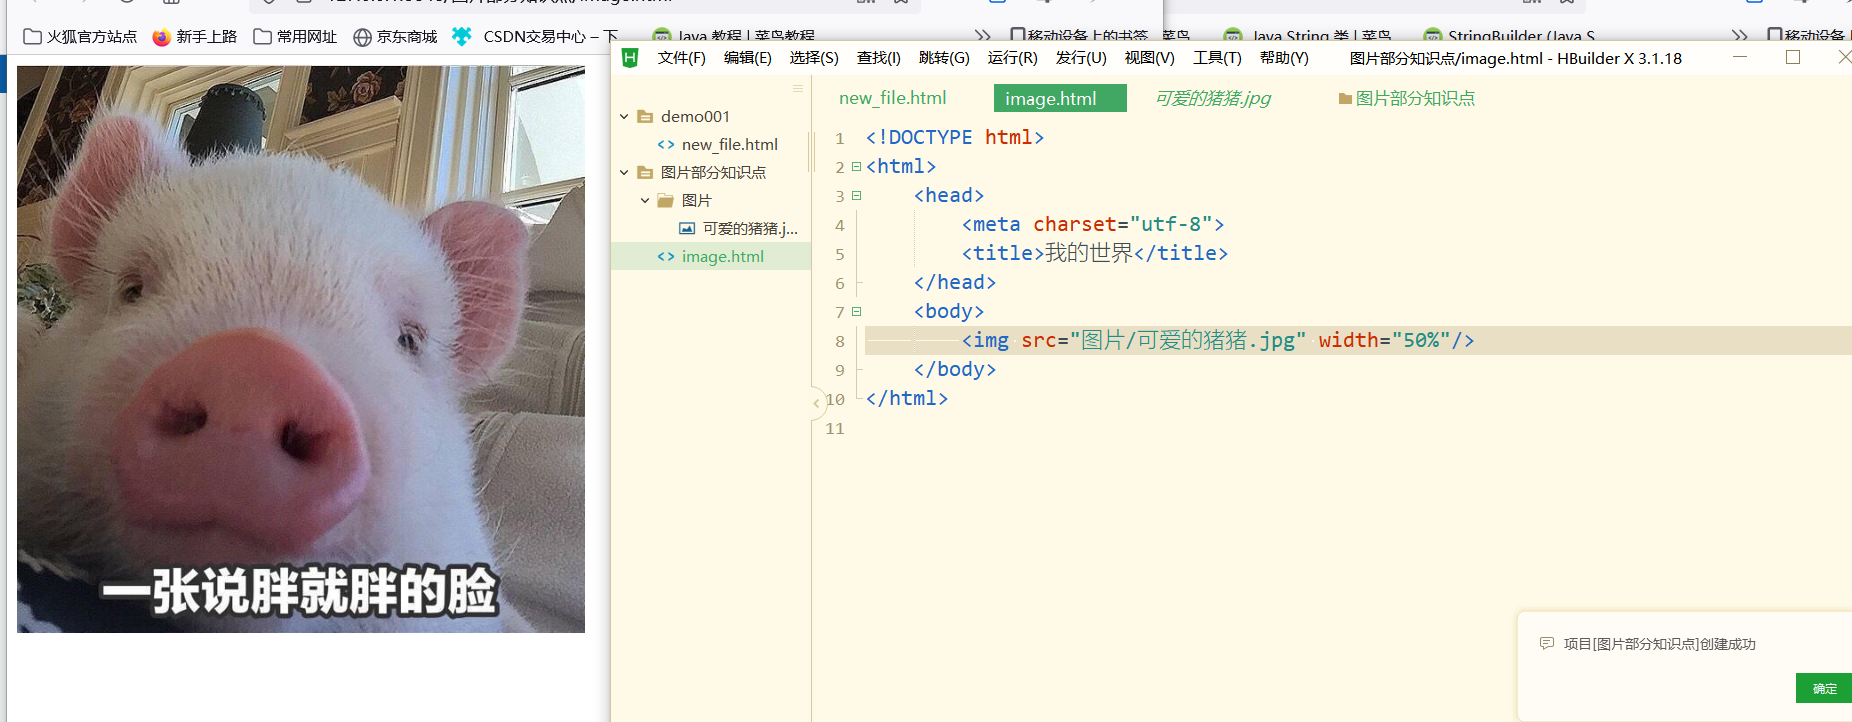
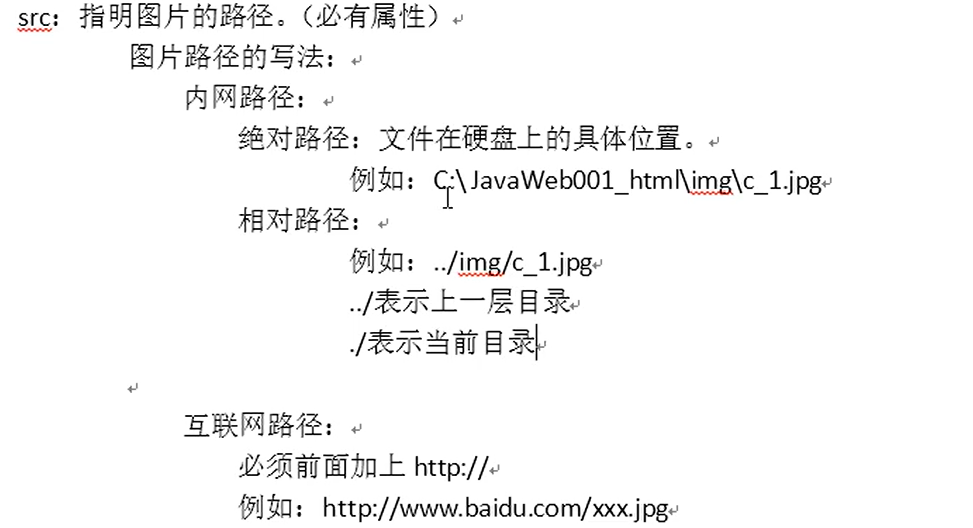
2. Extranet path (Internet path)

3. Route related knowledge points
List label
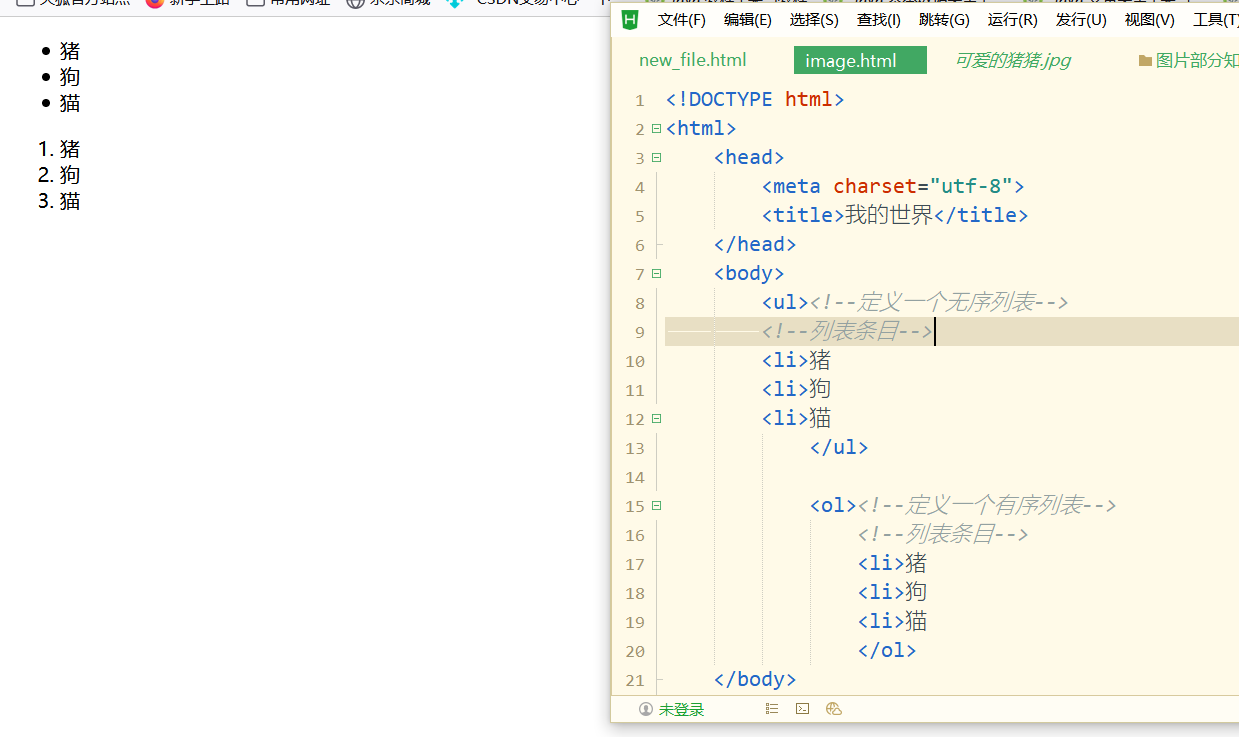
1. < ul > < /ul >
Unordered list label, used to define an unordered list in the effect
2. < li > < /li >
List entry item label, which is used to define the entry of a list in the list
3. < ol > < /ol >
The ordered list label is used to define a sequential table in the effect
Effect demonstration:
<!DOCTYPE html>
<html>
	<head>
		<meta charset="utf-8">
		<title>Minecraft</title>
	</head>
	<body>
		<ul><!--Define an unordered list-->
		<!--List entry-->
		<li>pig
		<li>dog
		<li>cat
			</ul>

			<ol><!--Define a sequence table-->
				<!--List entry-->
				<li>pig
				<li>dog
				<li>cat
				</ol>
	</body>
</html>
Hyperlink label
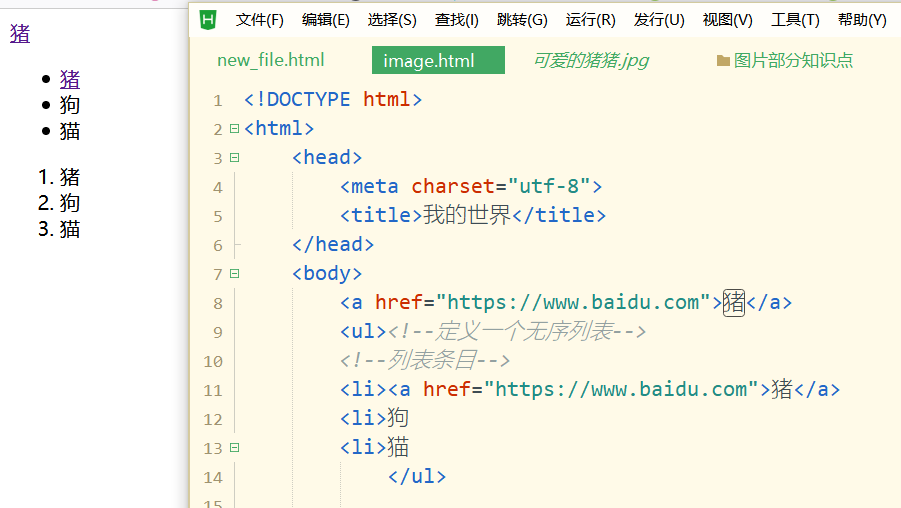
< a > < /a >

Effect demonstration:
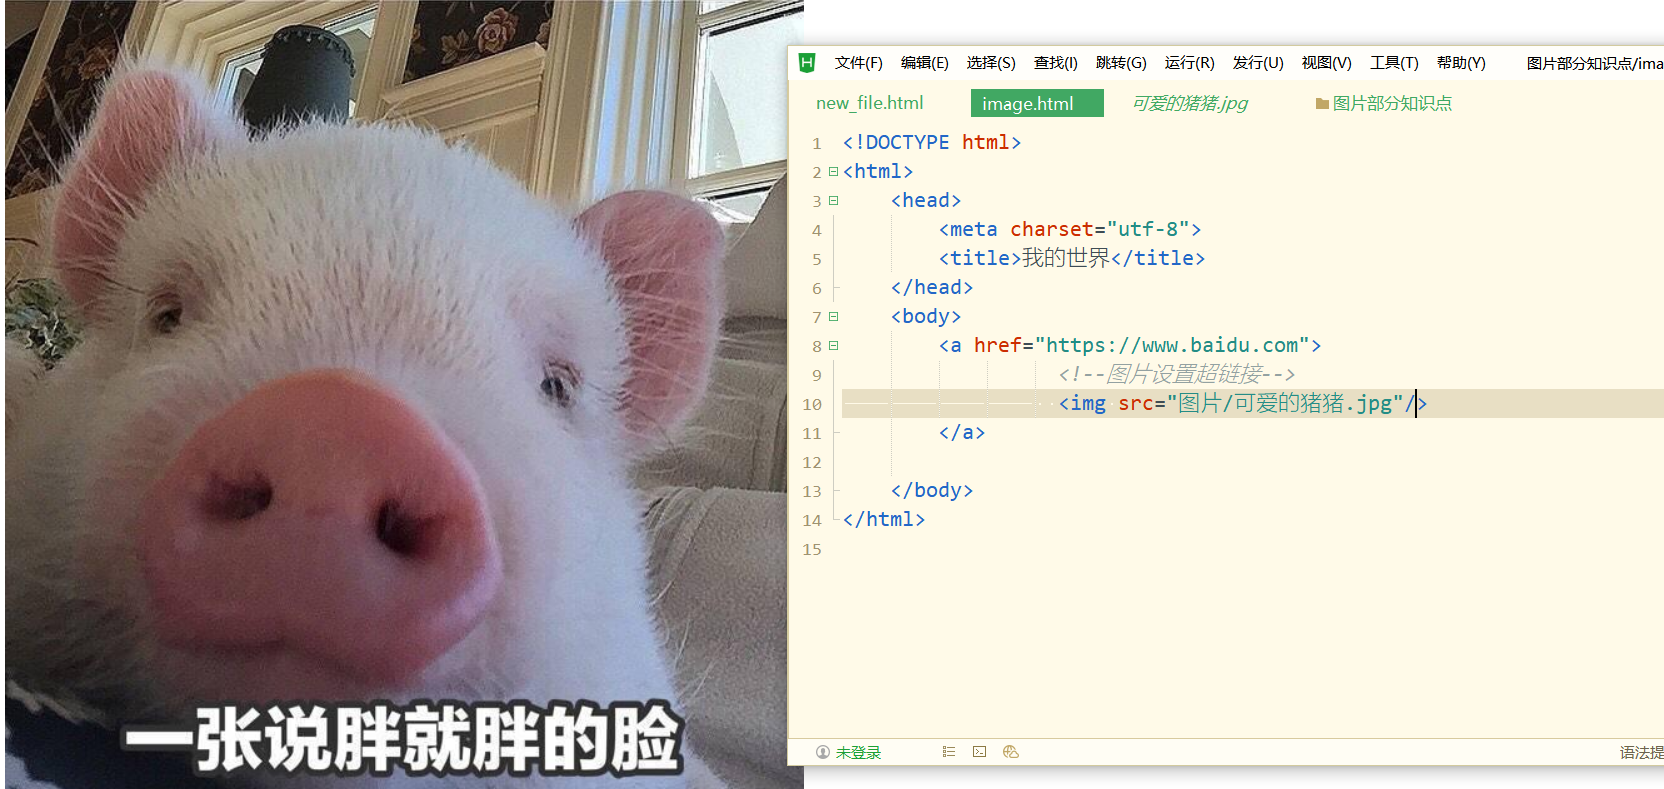
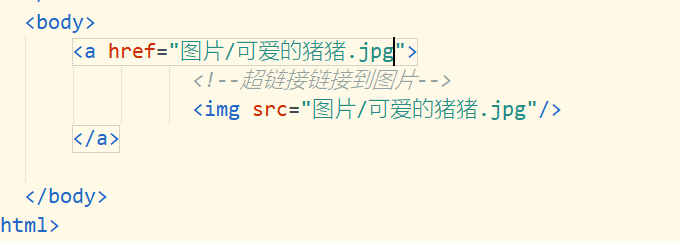
matters needing attention:

Table label
1. < table > < /table >
 Effect demonstration:
<!DOCTYPE html>
<html>
<head>
<meta charset="utf-8">
<title>Minecraft</title>
</head>
<body>
<table>
<tr>
<td> Chainsaw 1 </td>
<td> Saw2 </td>
<td> Chainsaw thriller 3 </td>
<td> Chainsaw 4 </td>
<td> Chainsaw 5 </td>
<td> Chainsaw 6 </td>
<td> Chainsaw 8 </td>
<td> Chainsaw thriller 7 </td>
</tr>
</table>
<table>
<tr>
<td> Terror index 1 </td>
<td> Terror index 2 </td>
<td> Terror index 3 </td>
<td> Terror index 4 </td>
<td> Terror index 5 </td>
<td> Terror index 6 </td>
<td> Terror index 8 </td>
<td> Terror index 7 </td>
</tr>
</table>
</body>
</html>

Property settings:

Effect display:
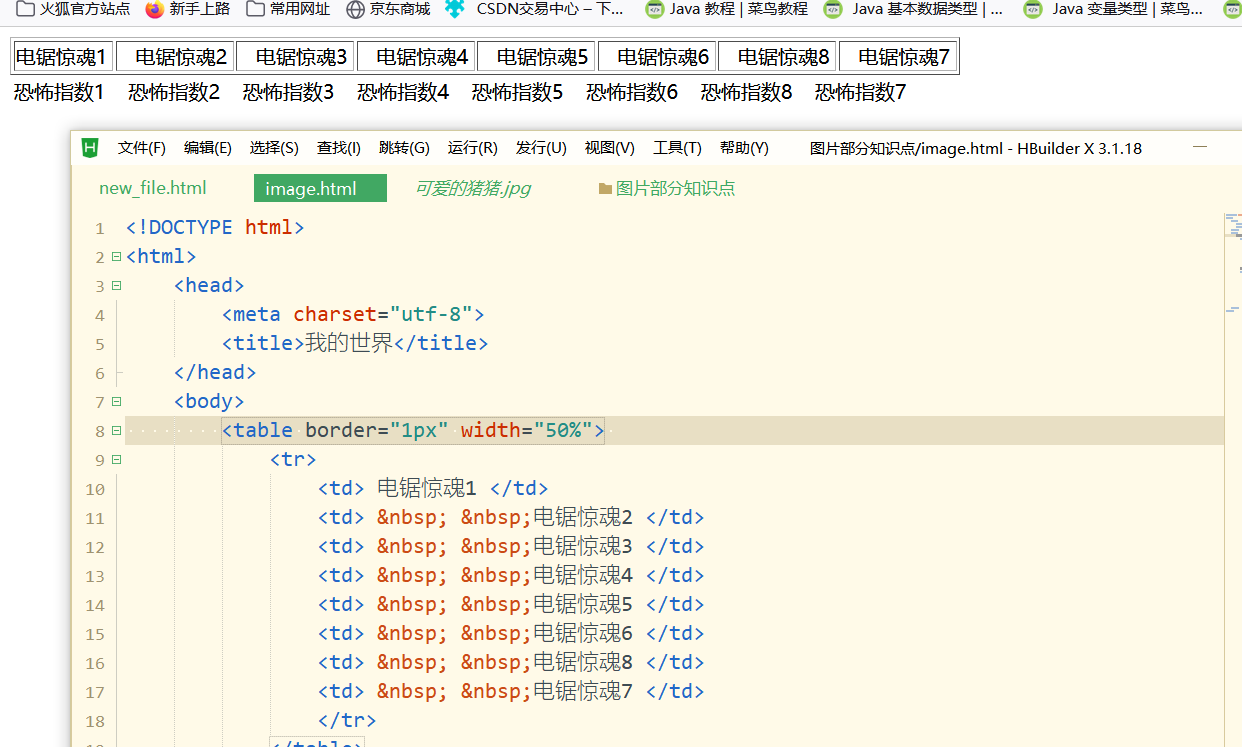
2. < th > < /th >

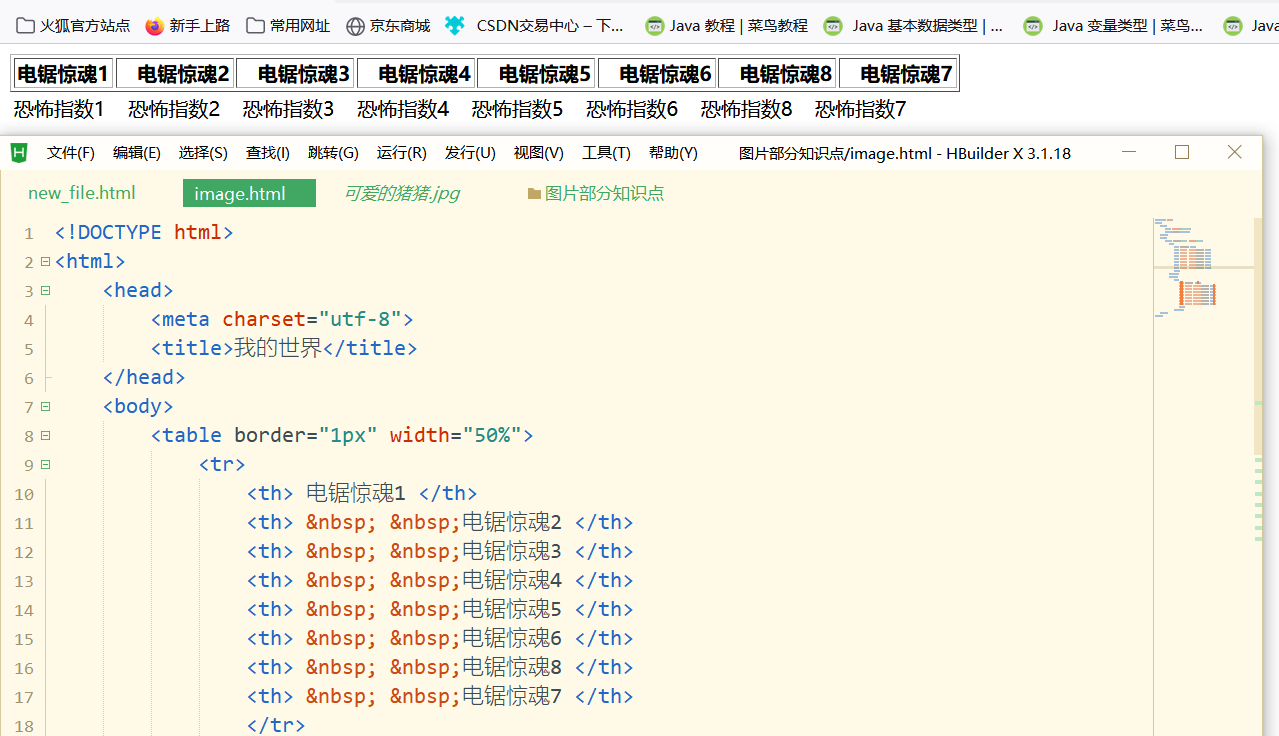
be careful:

3. Merge cells
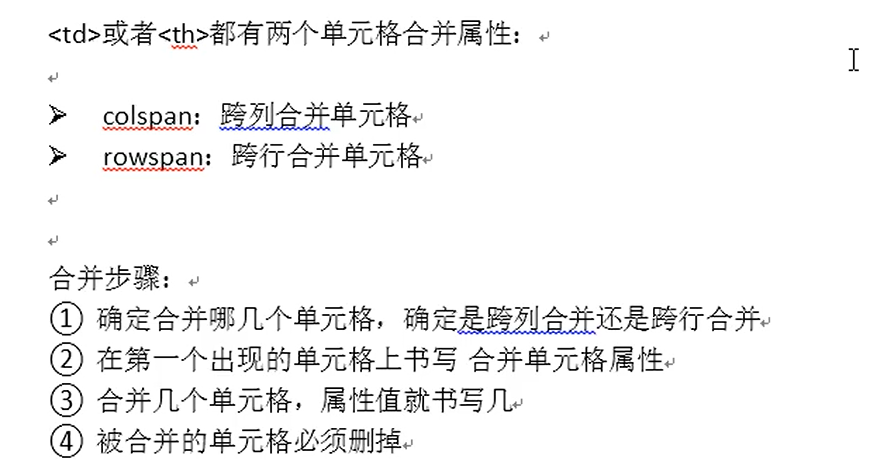
Cross column merge presentation:
<!DOCTYPE html>
<html>
<head>
<meta charset="utf-8">
<title>Minecraft</title>
</head>
<body>
<table border="1px" width="50%">
<tr>
<th> Chainsaw 1 </th>
<th> Saw2 </th>
<th> Chainsaw thriller 3 </th>
<th> Chainsaw 4 </th>
<th> Chainsaw 5 </th>
<th> Chainsaw 6 </th>
<th> Chainsaw 8 </th>
<th> Chainsaw thriller 7 </th>
</tr>
<tr>
<td colspan="3"> Terror index 1 </td>
<td> Terror index 4 </td>
<td> Terror index 5 </td>
<td> Terror index 6 </td>
<td> Terror index 8 </td>
<td> Terror index 7 </td>
</tr>
</table>
</body>
</html>

Demonstration of cross bank consolidation:
<!DOCTYPE html>
<html>
<head>
<meta charset="utf-8">
<title>Minecraft</title>
</head>
<body>
<table border="1px" width="50%">
<tr>
<td> Chainsaw 1 </td>
<td > Saw2 </td>
<td> Chainsaw thriller 3 </td>
<td> Chainsaw 4 </td>
<td rowspan="2"> Chainsaw 5 </td>
<td> Chainsaw 6 </td>
<td> Chainsaw 8 </td>
<td> Chainsaw thriller 7 </td>
</tr>
<tr>
<td colspan="3"> Terror index 1 </td>
<td> Terror index 4 </td>
<td> Terror index 6 </td>
<td> Terror index 8 </td>
<td> Terror index 7 </td>
</tr>
</table>
</body>
</html>

Block label
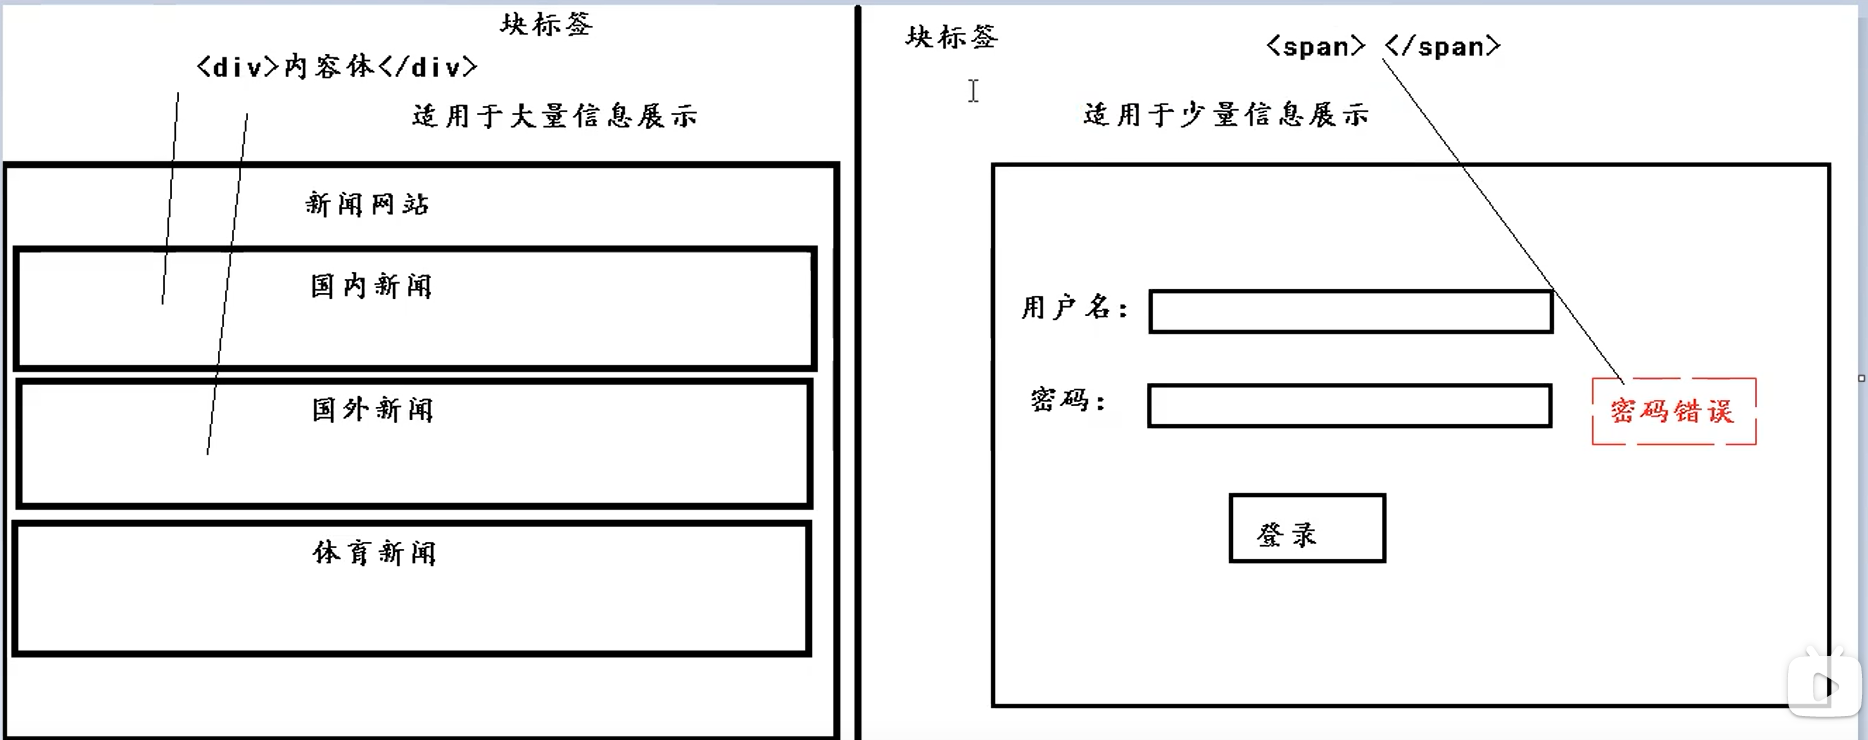
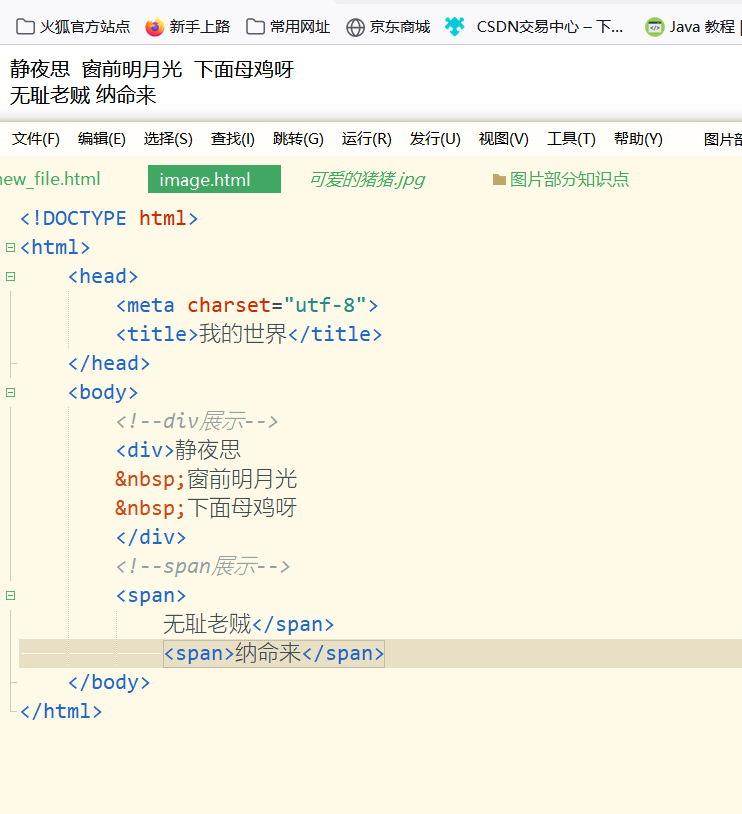
1. < span > < / span > label

2. < div > < / div > label

Effect display:
Form label
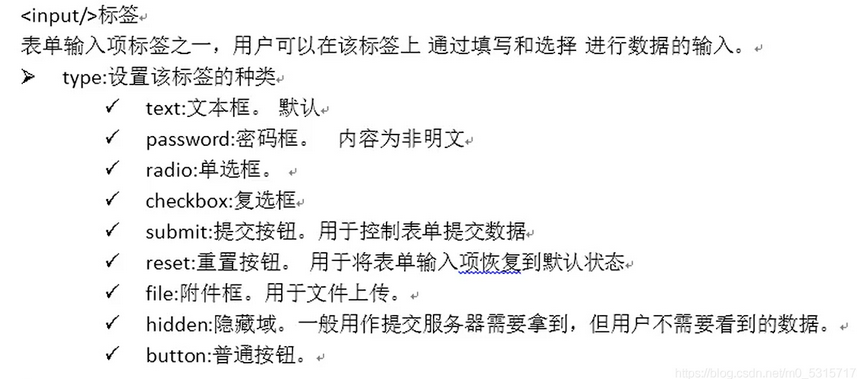
Text box, password box, radio box and relevant knowledge points
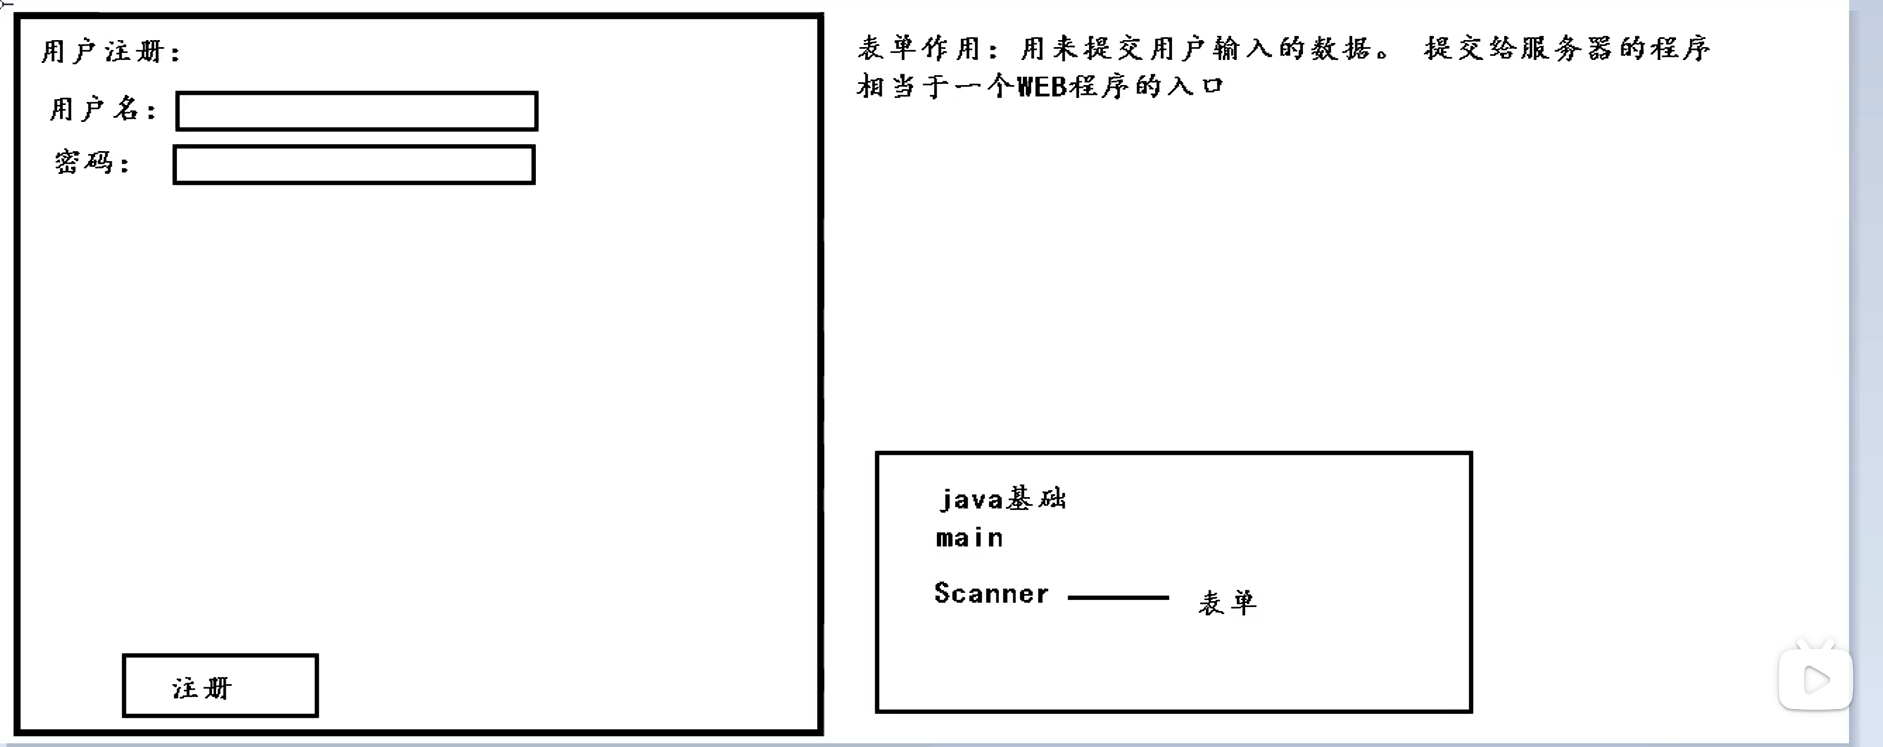
Steps:

Property settings:
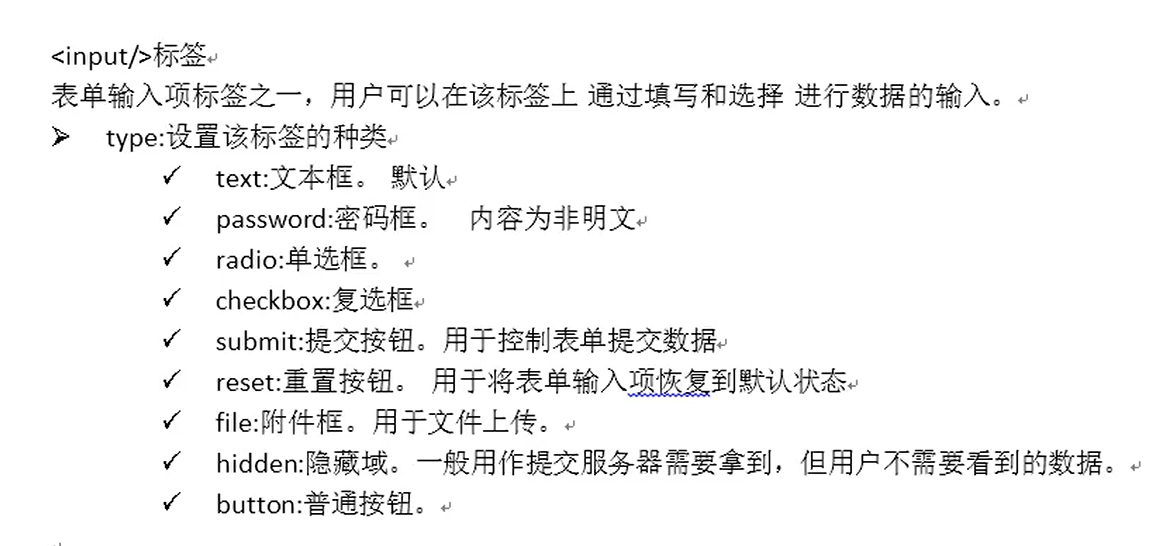

demonstration:
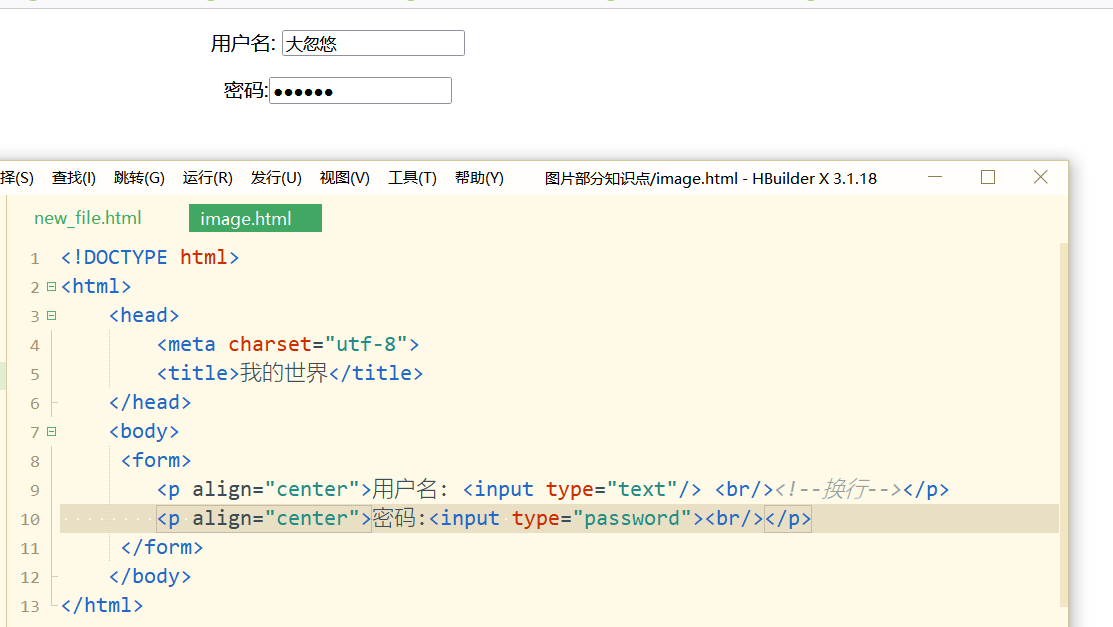
Radio box precautions:
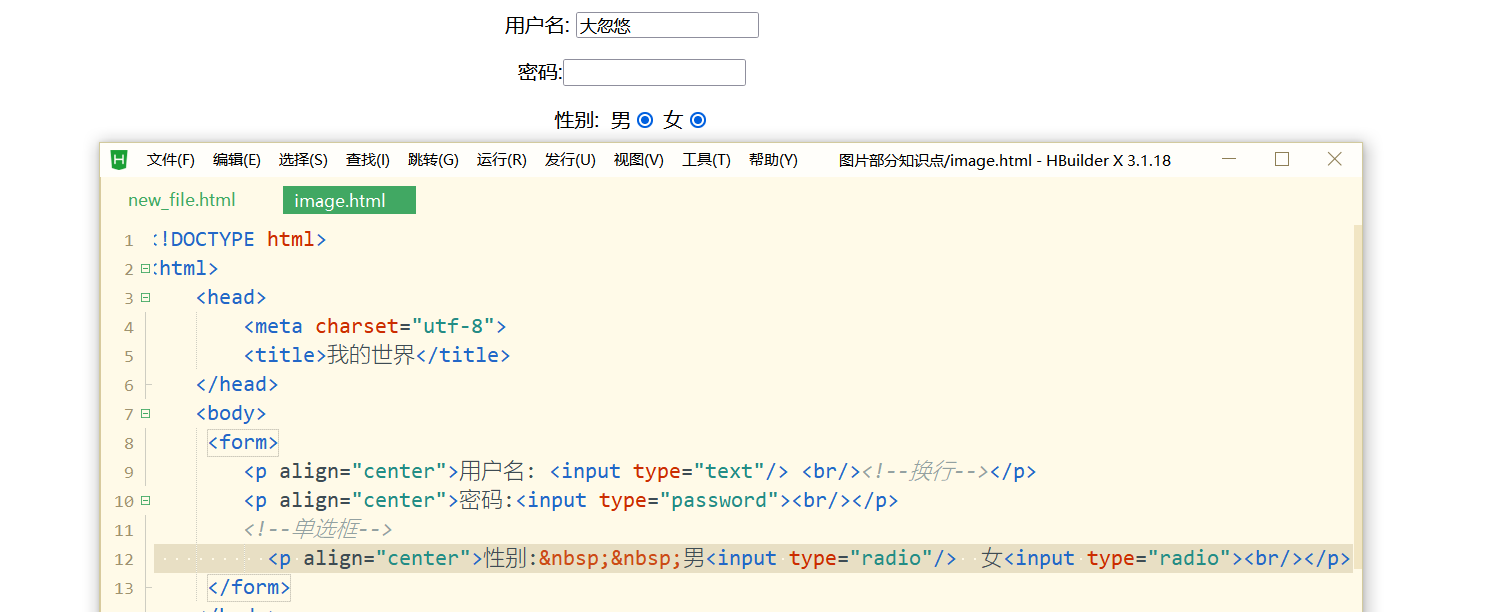 It's reasonable to say that there can only be one choice between men and women, but now you can choose both.
Corresponding to the radio box, it has the effect of radio selection in the same group.
How are radio boxes grouped?
The name attribute, and those with the same name value are a group
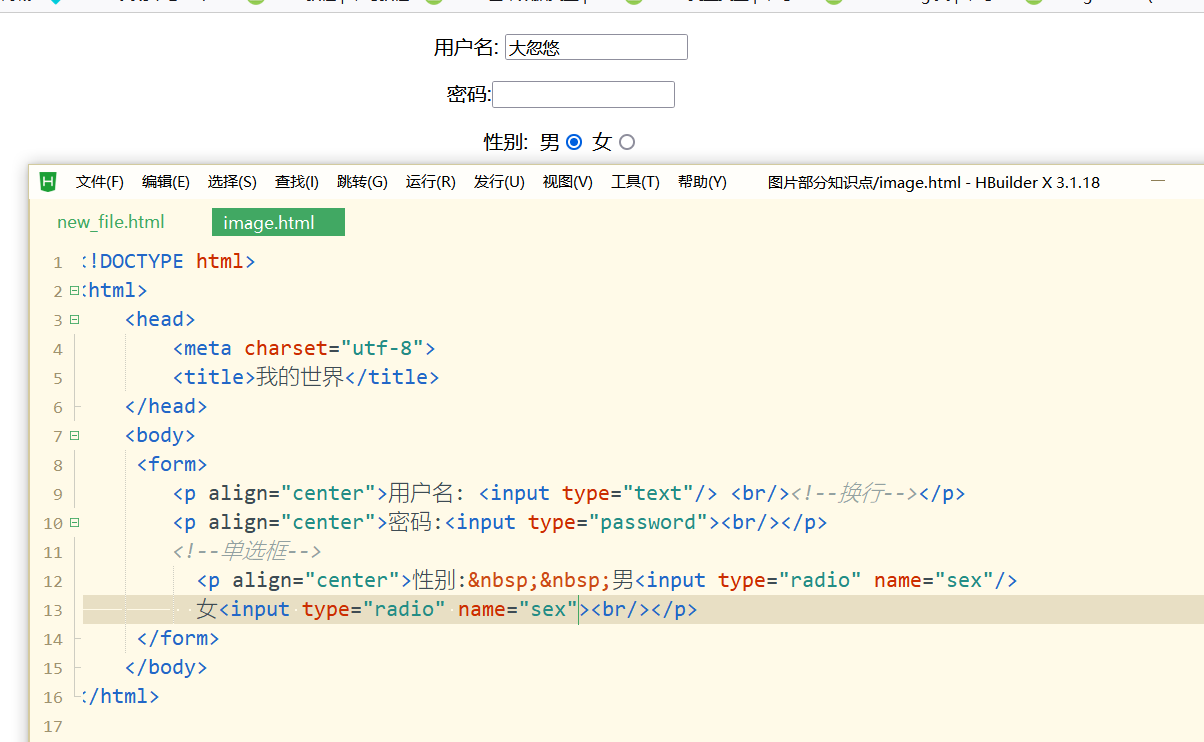 Submit button:
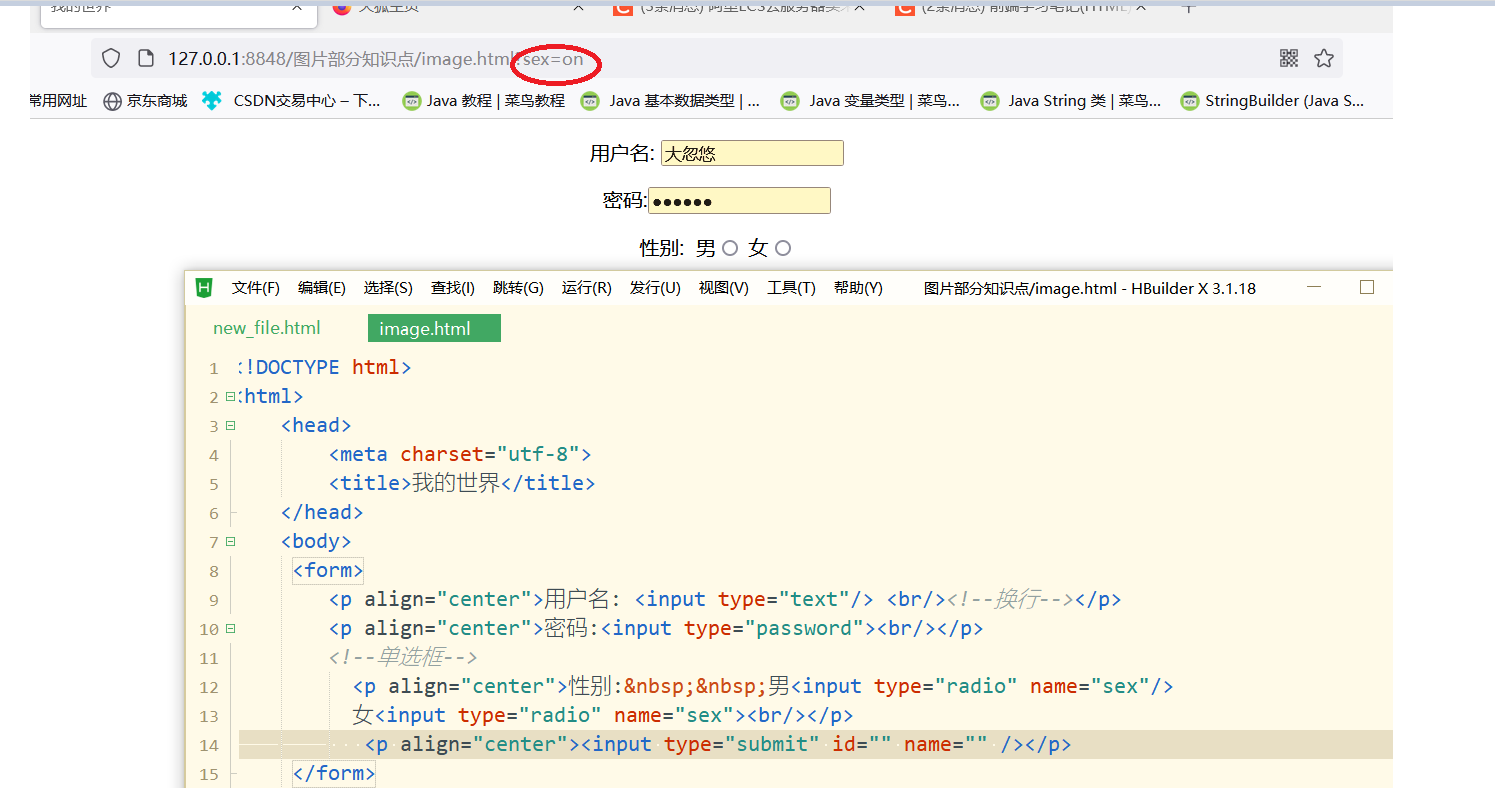
Note:? Followed by a list of parameters
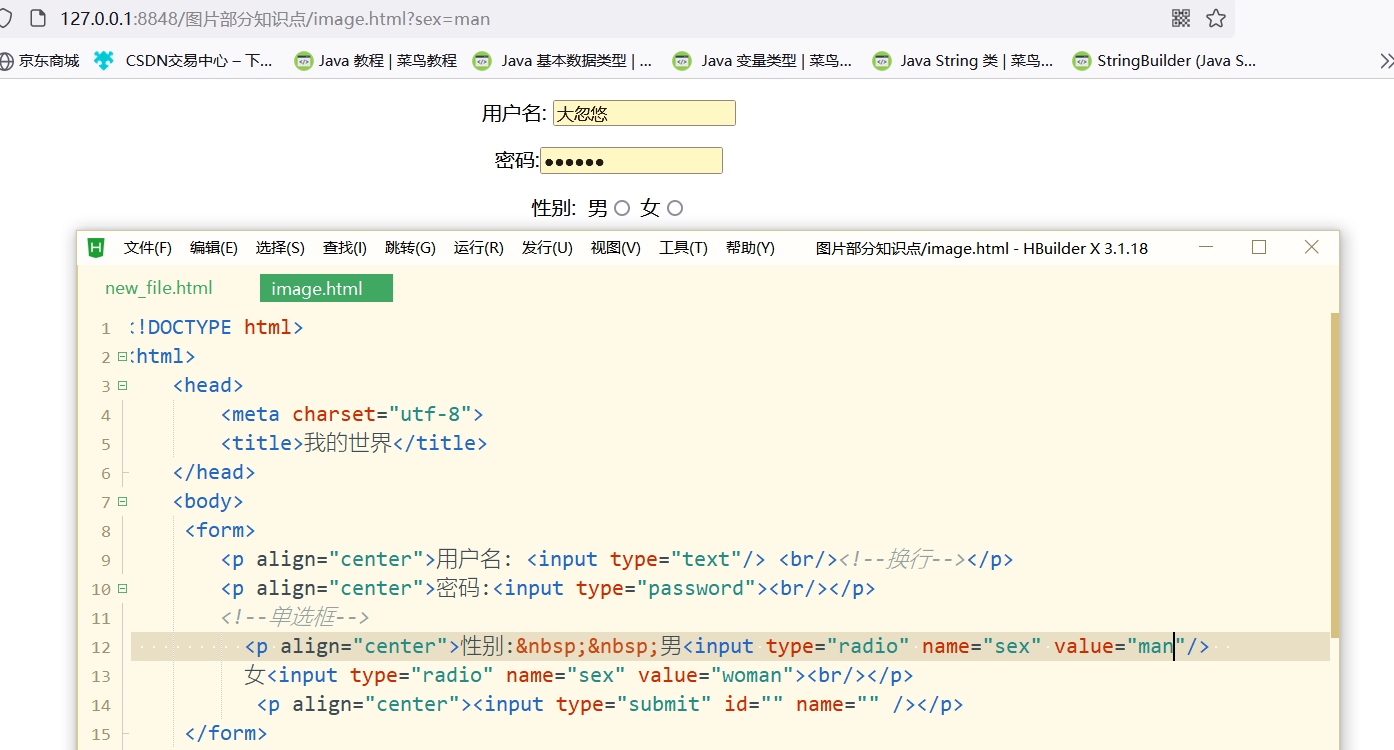
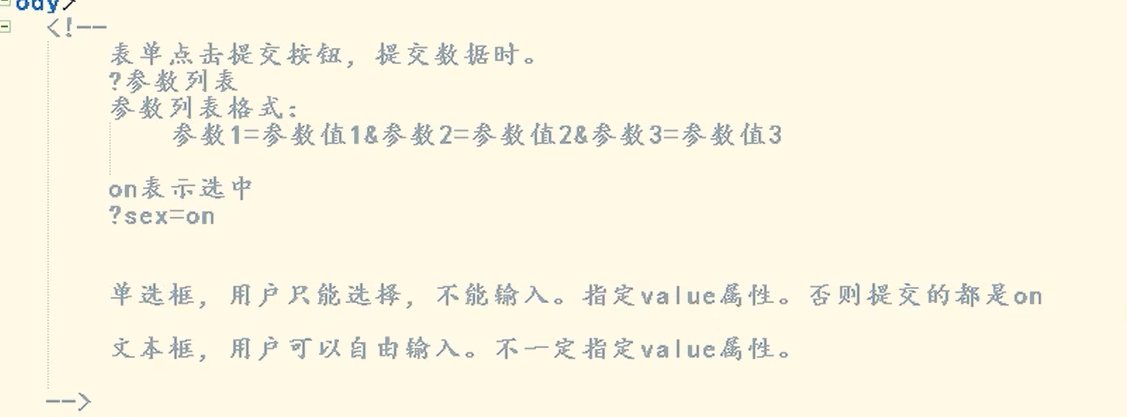 If the value attribute is not specified in the radio box, the data submitted to the database will be displayed as on, so it is impossible to distinguish the selected gender
There is no user name and password in the parameter list, which means that the user name and password have not been submitted. The reason why they have not been submitted is that we have not set their parameter name, that is, the name attribute
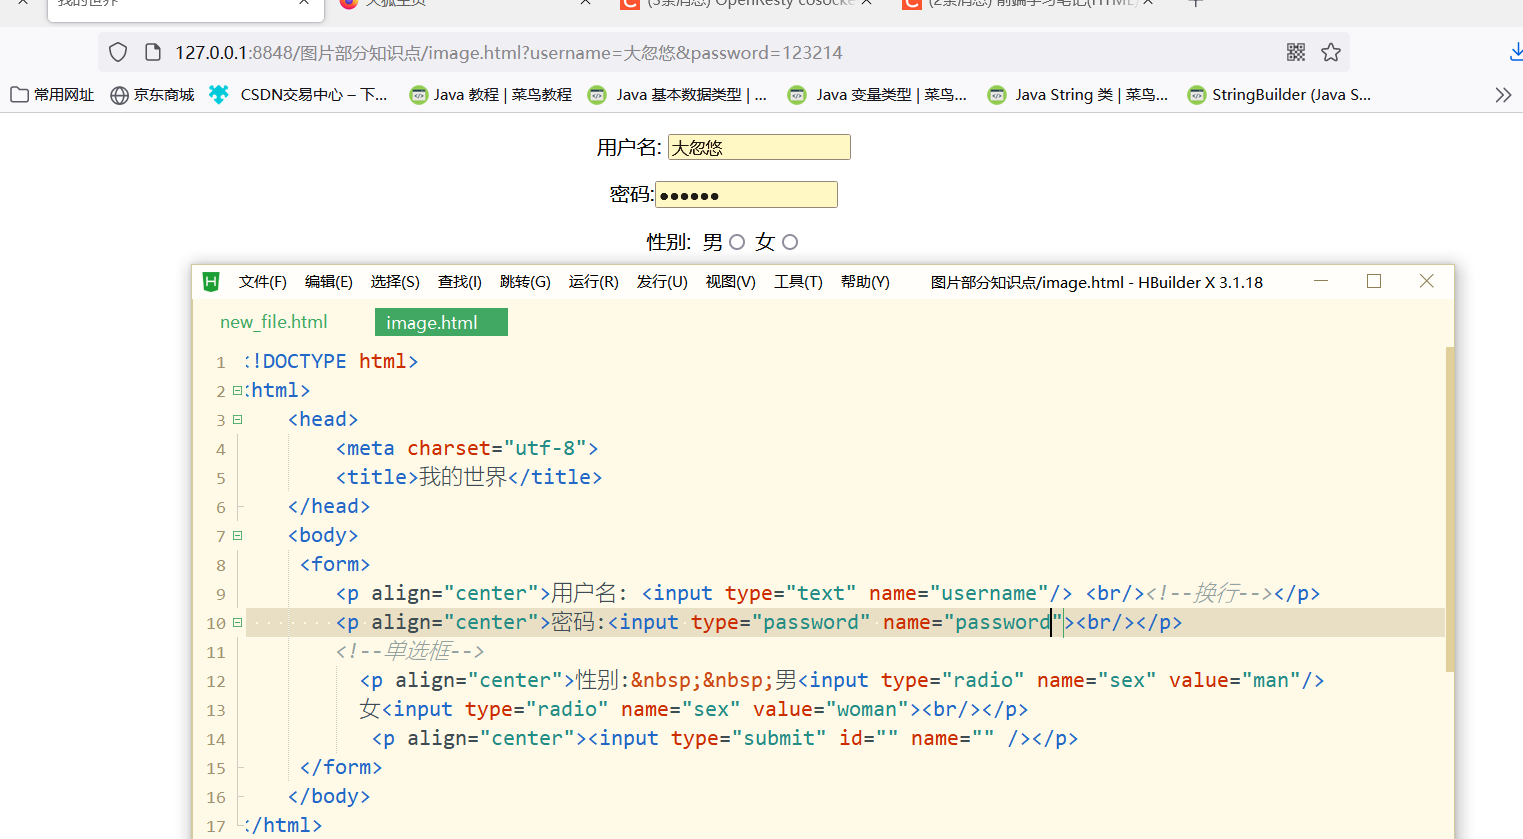
We can also directly provide an initial value for the user name and password by setting its value attribute
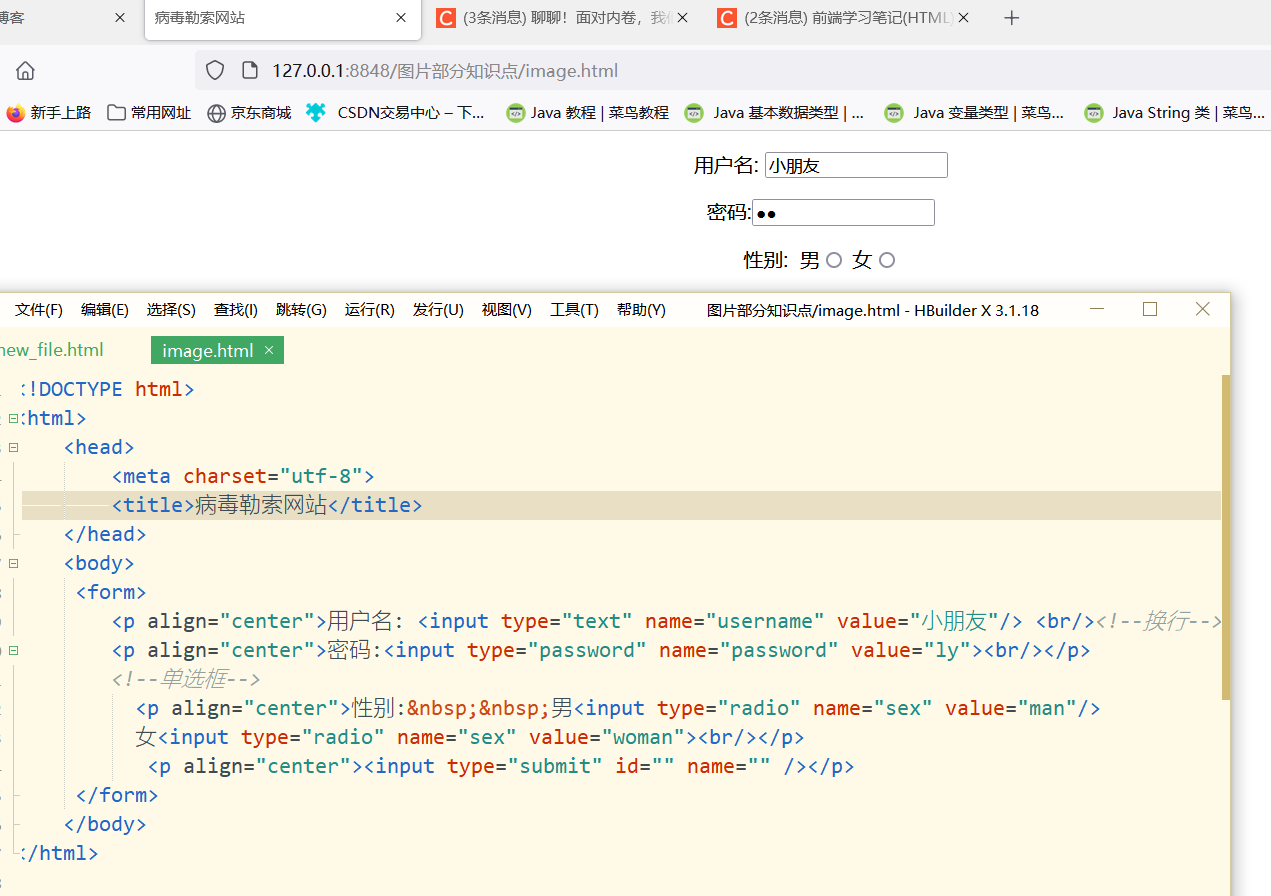
A radio box is checked by default
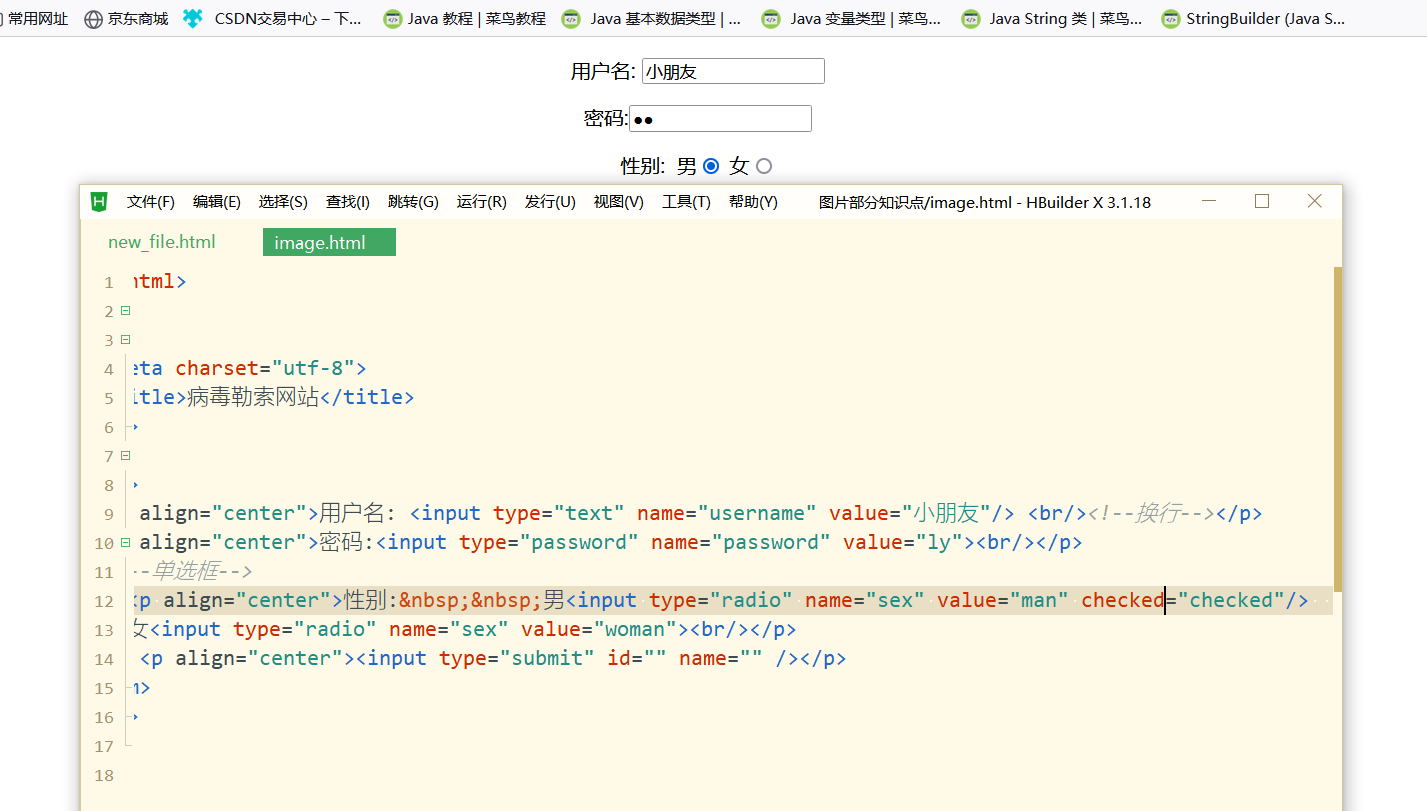 Full code:
<!DOCTYPE html>
<html>
<head>
<meta charset="utf-8">
<title>Virus blackmail website</title>
</head>
<body>
<form>
<p align="center">user name: <input type="text" name="username" value="children"/> <br/><!--Line feed--></p>
<p align="center">password:<input type="password" name="password" value="ly"><br/></p>
<!--Radio -->
<p align="center">Gender: male<input type="radio" name="sex" value="man" checked="checked"/>
female<input type="radio" name="sex" value="woman"><br/></p>
<p align="center"><input type="submit" id="" name="" /></p>
</form>
</body>
</html>
Check box related knowledge points
Effect demonstration:
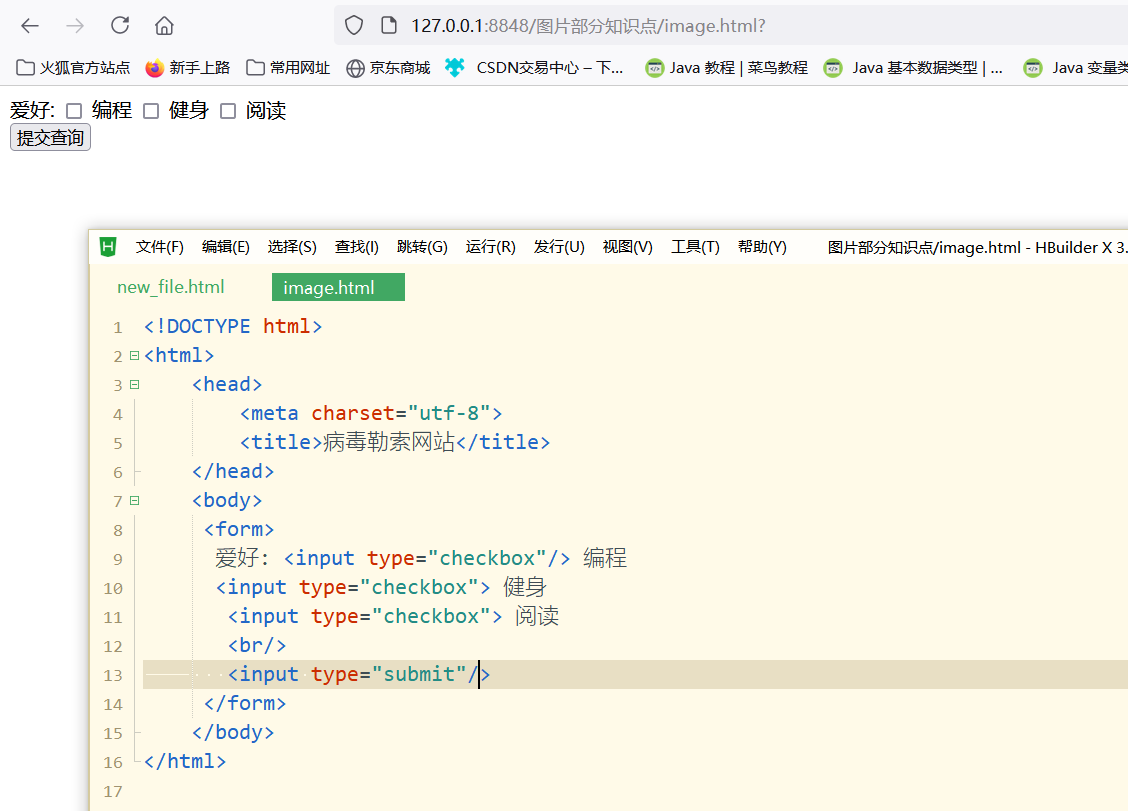
Why is the parameter list not displayed after submission?
Because we need to group them, that is, set their name attribute
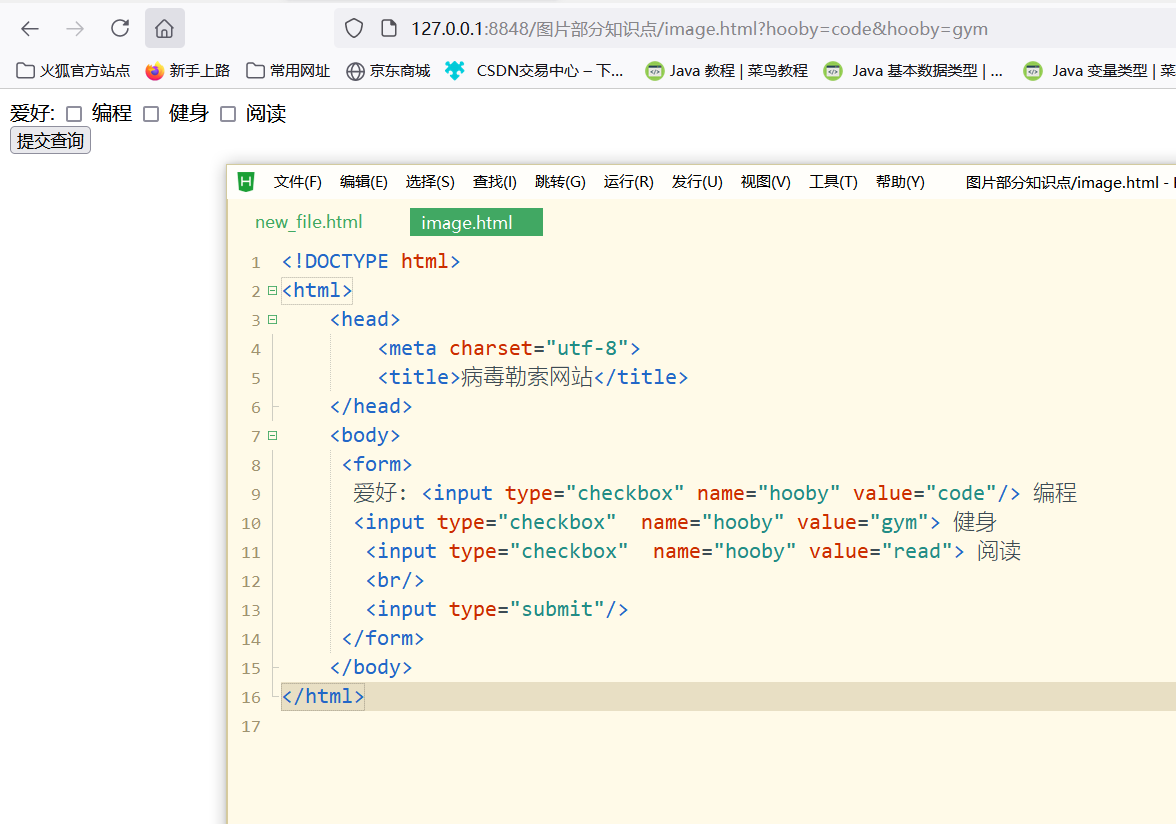
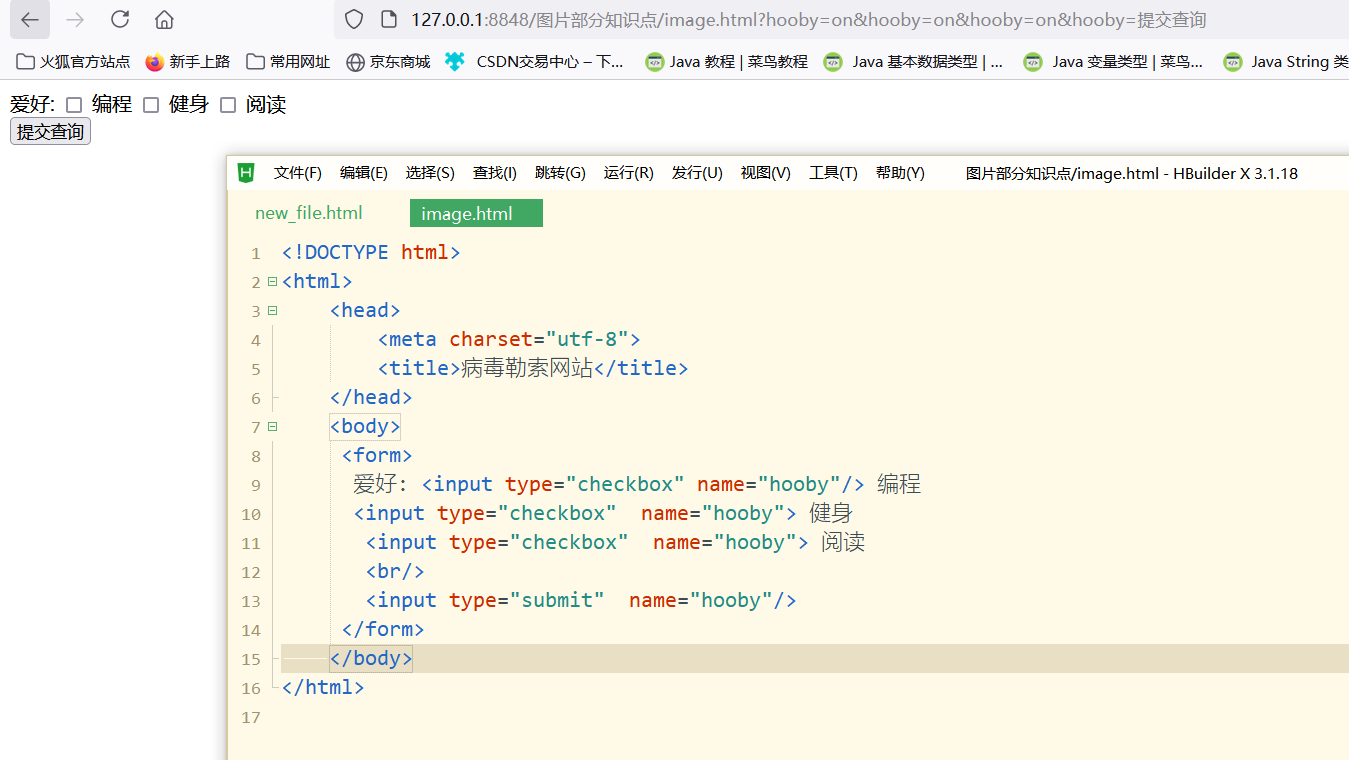 At the same time, we also need to set its value attribute like a radio box, otherwise all submissions are on
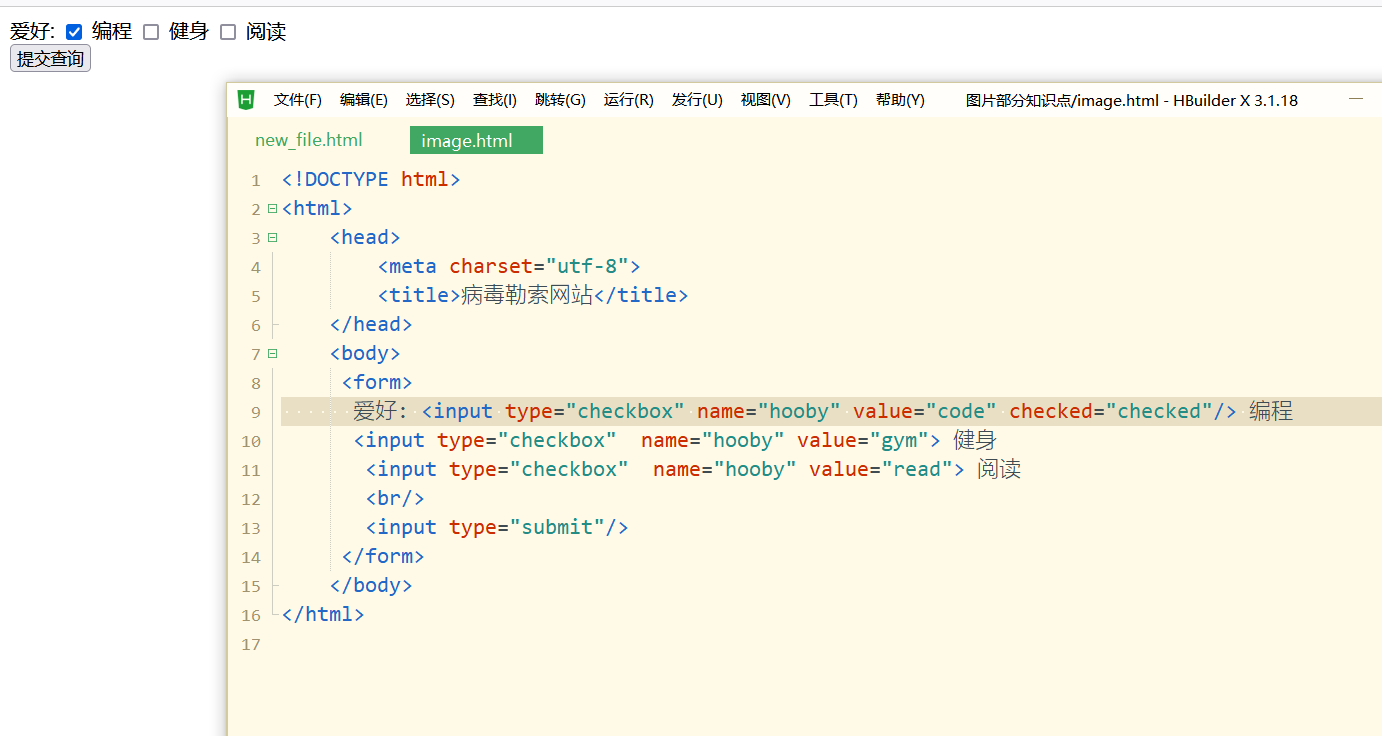
checked by default
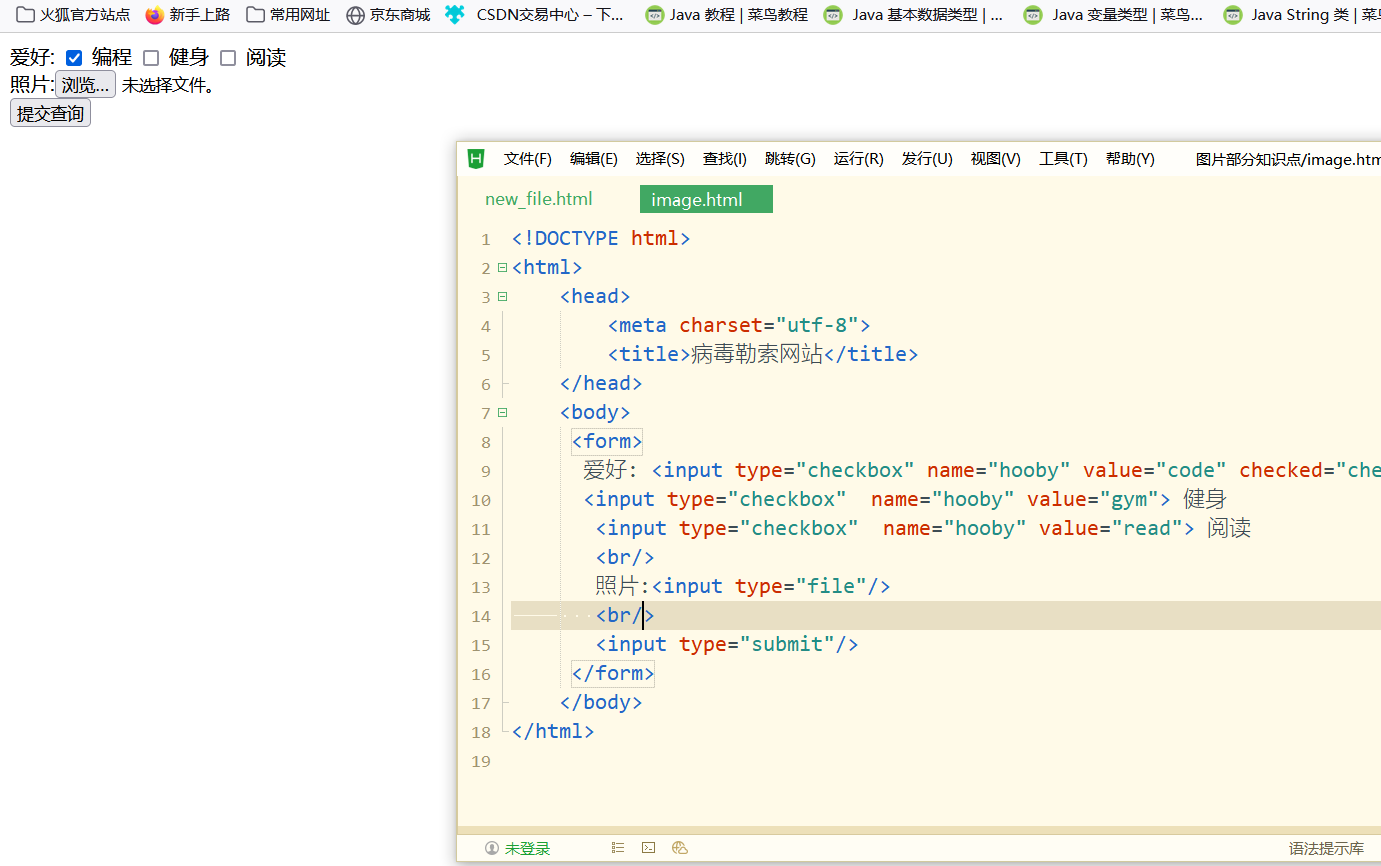
Attachment box -- for file upload
Reset button ---- reset
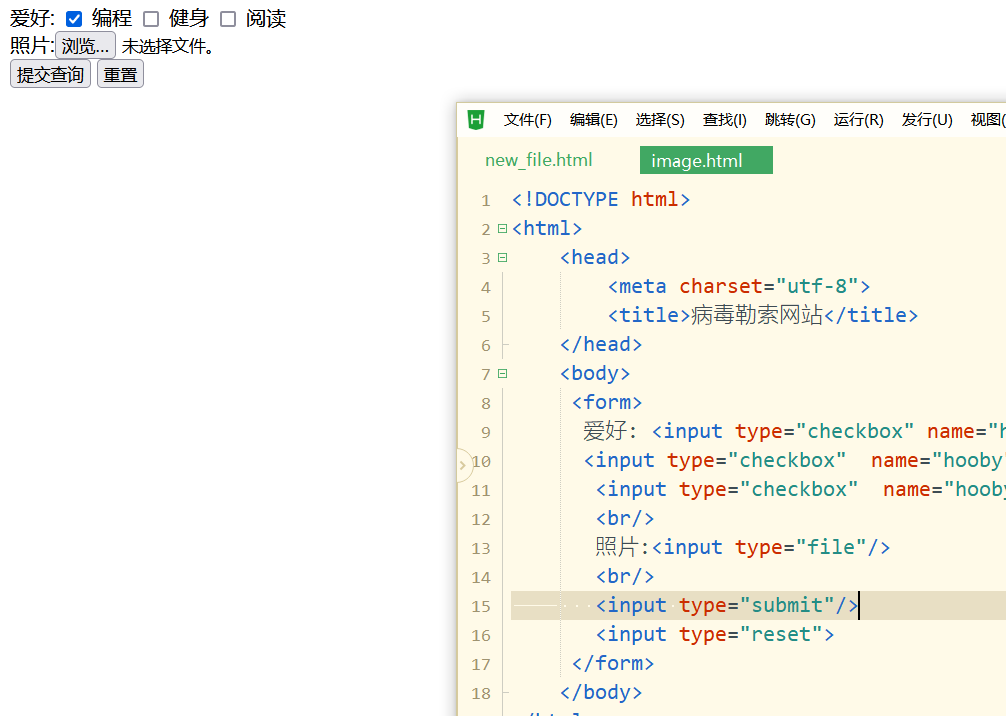
Normal button
Note: if you want to set the button name, you can do so by setting the value attribute

Effect demonstration:
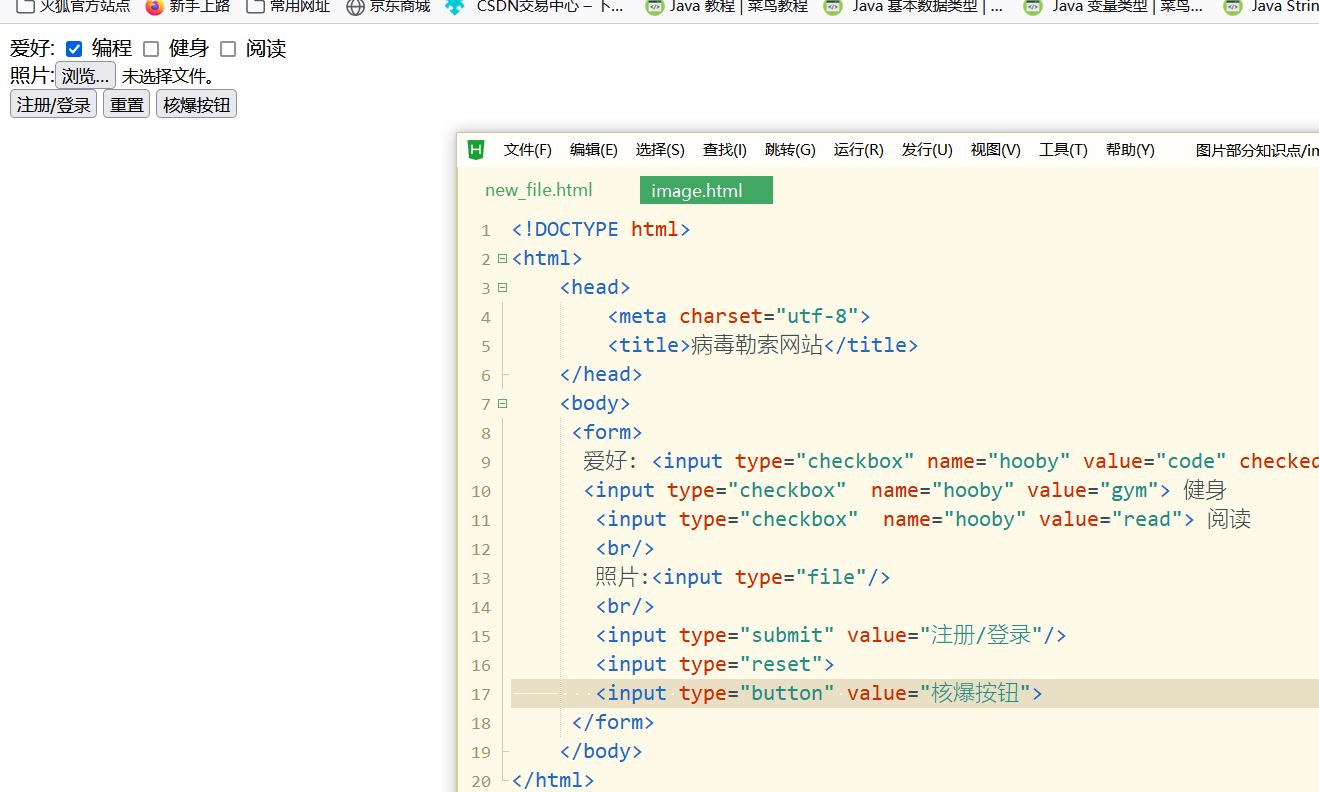
After setting the ordinary button here, it is useless to click it. It needs to be connected with the event of js
Hidden domain
The user can't see it, but the data can be submitted. This is the hidden field
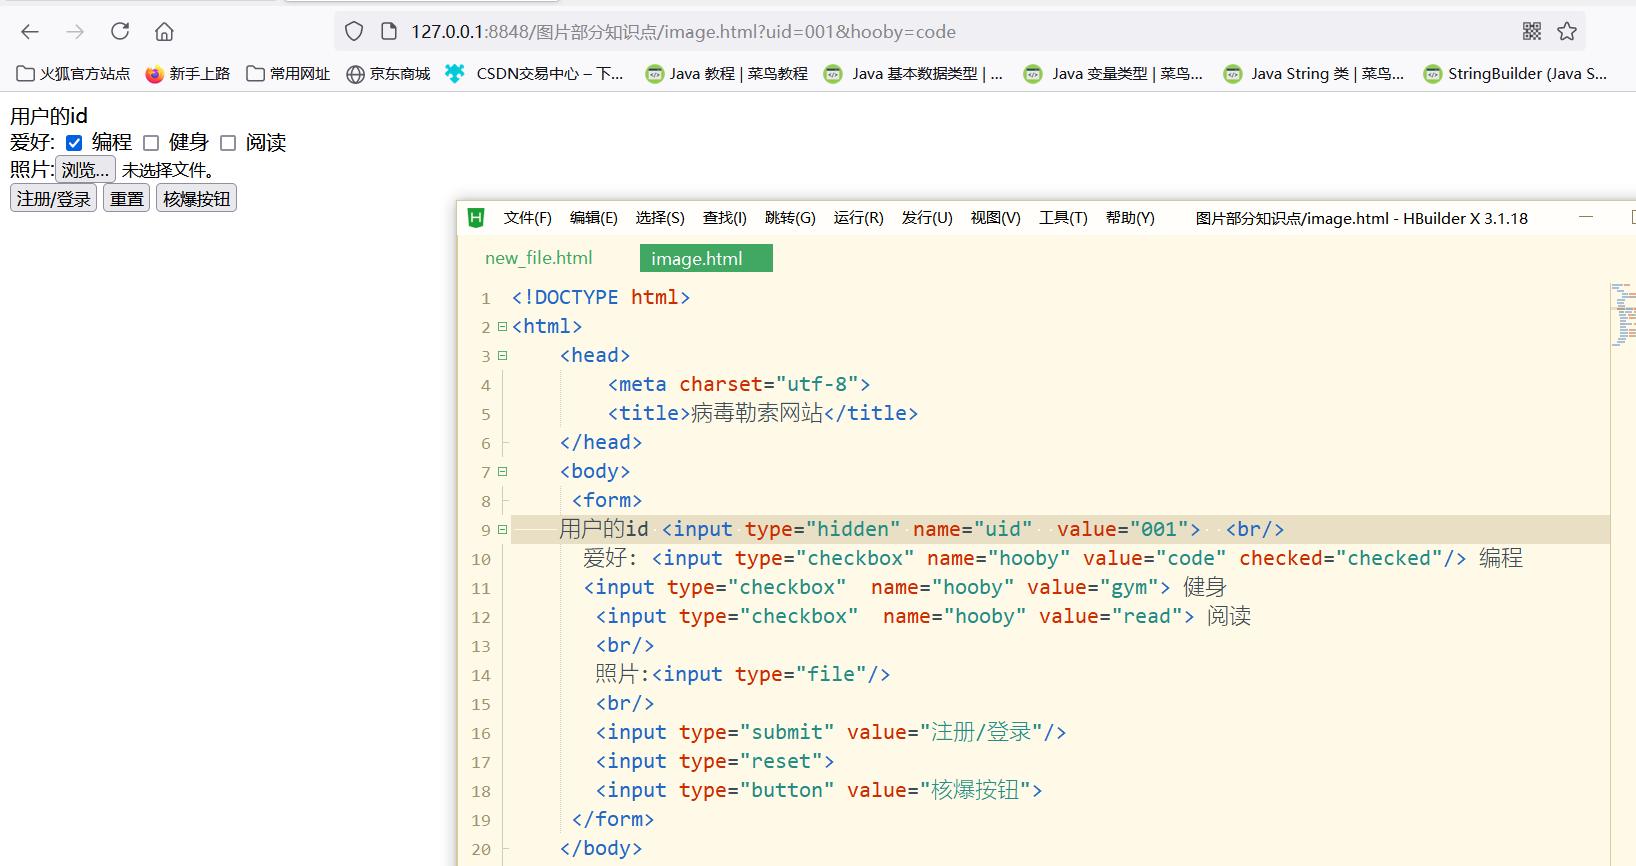
Full code:
<!DOCTYPE html>
<html>
	<head>
		<meta charset="utf-8">
		<title>Virus blackmail website</title>
	</head>
	<body>
     <form>
	User's id <input type="hidden" name="uid"  value="001">  <br/>
      hobby: <input type="checkbox" name="hooby" value="code" checked="checked"/> programming
	  <input type="checkbox"  name="hooby" value="gym"> Bodybuilding
	   <input type="checkbox"  name="hooby" value="read"> read
	   <br/>
	   Photo:<input type="file"/>
	   <br/>
	   <input type="submit" value="register/Sign in"/>
	   <input type="reset">
	   <input type="button" value="Nuclear explosion button">
     </form>
	</body>
</html>
Read only properties and set unavailable properties

Effect demonstration:
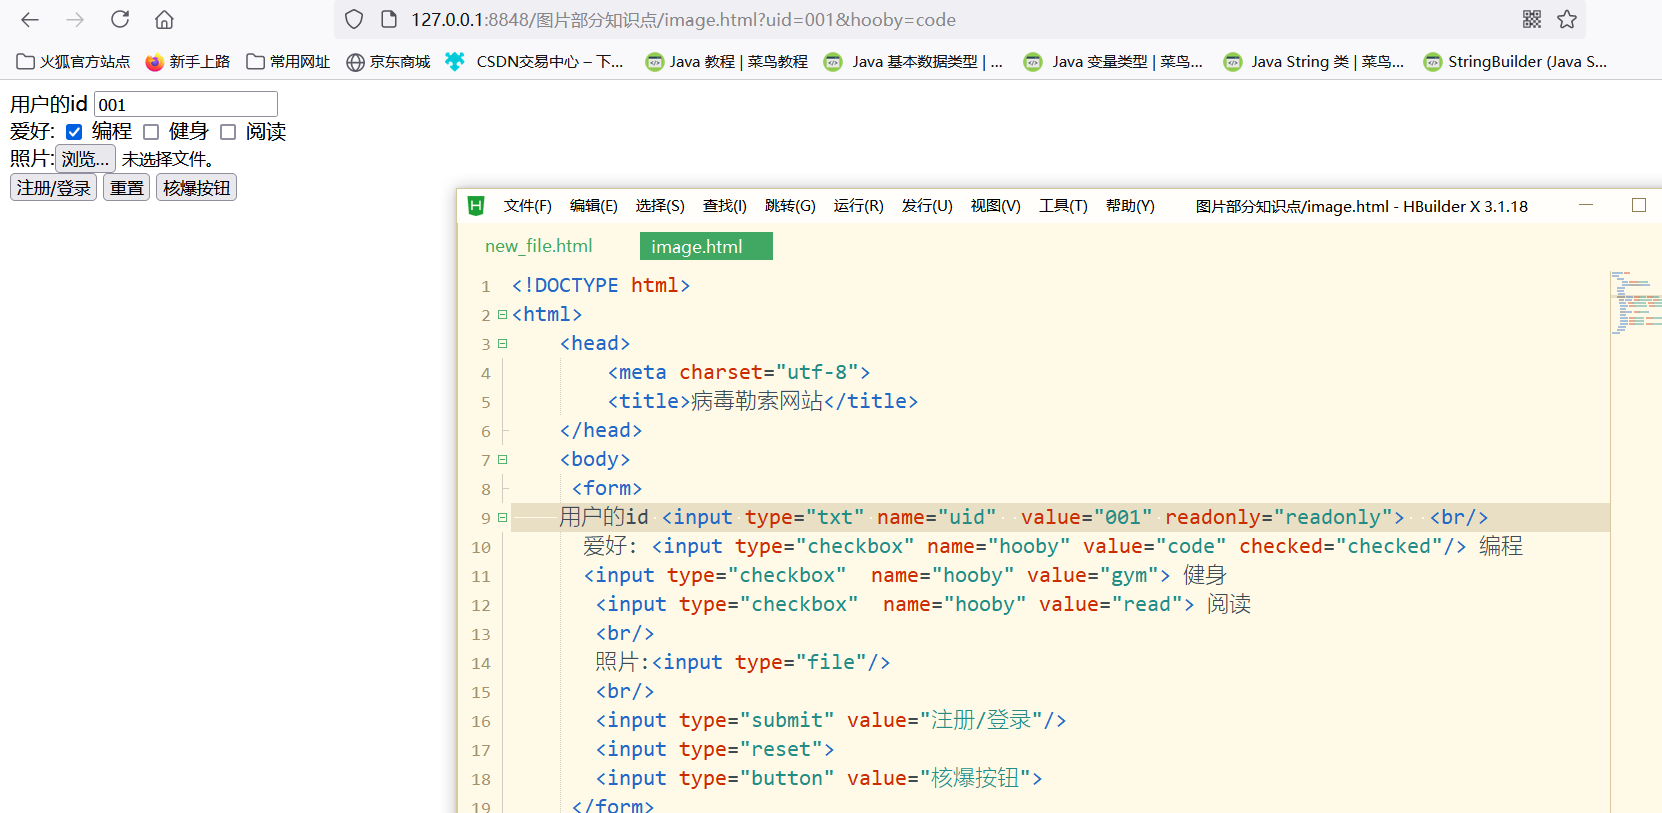
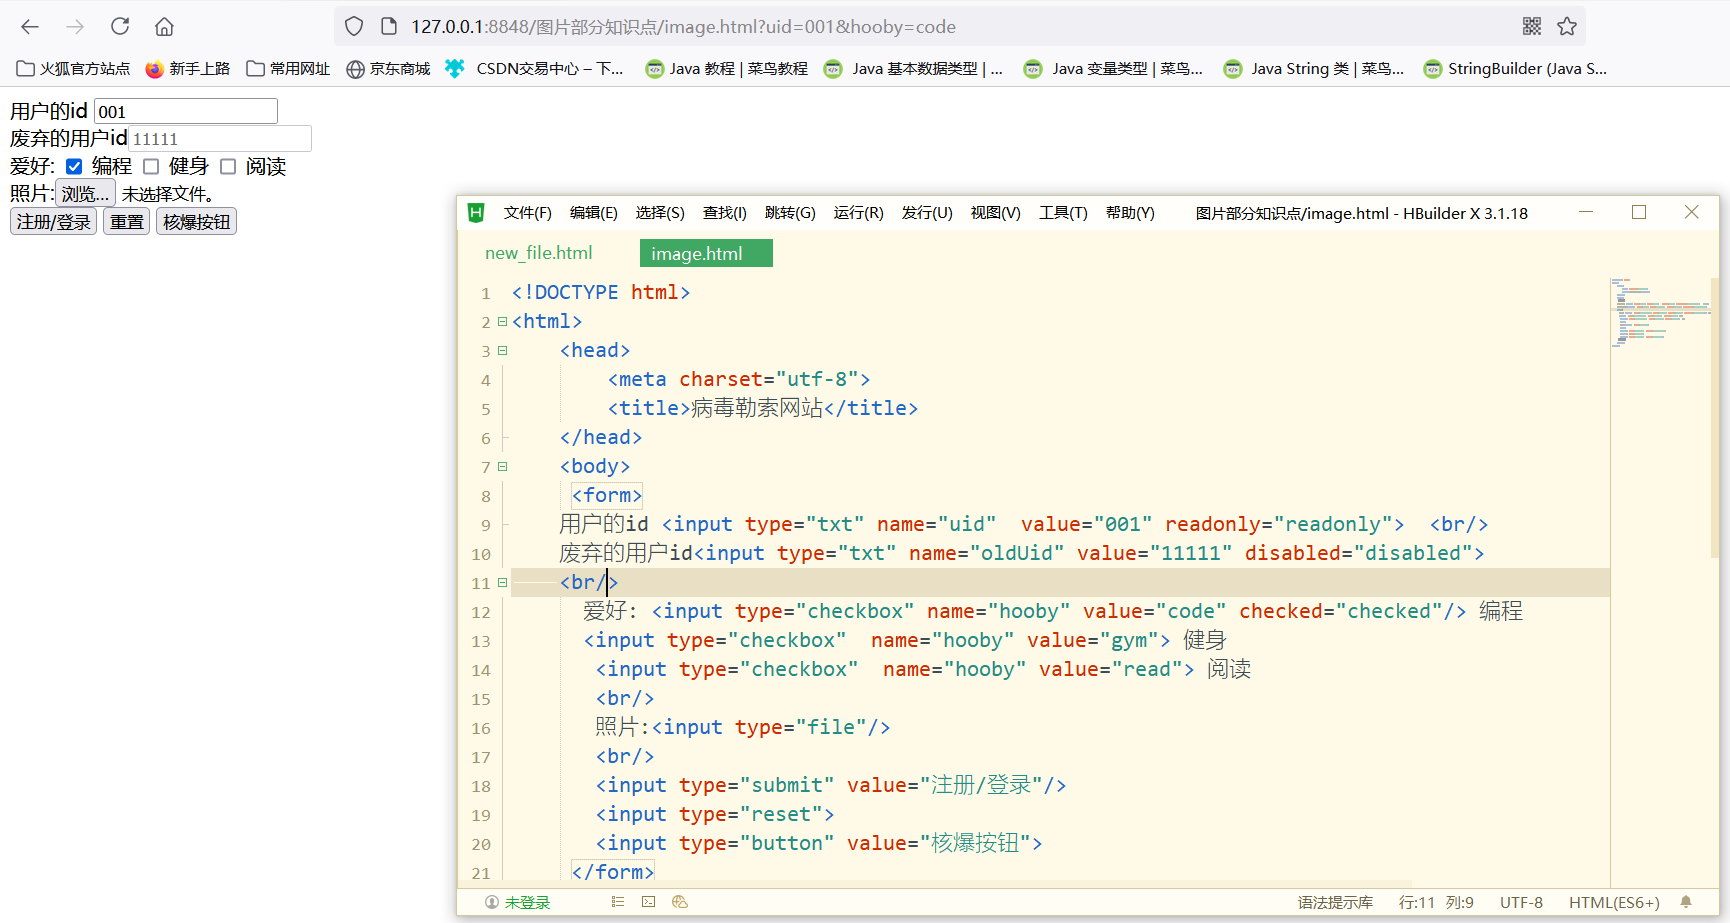
Full code:
<!DOCTYPE html>
<html>
	<head>
		<meta charset="utf-8">
		<title>Virus blackmail website</title>
	</head>
	<body>
     <form>
	User's id <input type="txt" name="uid"  value="001" readonly="readonly">  <br/>
	Abandoned users id<input type="txt" name="oldUid" value="11111" disabled="disabled">
	<br/>
      hobby: <input type="checkbox" name="hooby" value="code" checked="checked"/> programming
	  <input type="checkbox"  name="hooby" value="gym"> Bodybuilding
	   <input type="checkbox"  name="hooby" value="read"> read
	   <br/>
	   Photo:<input type="file"/>
	   <br/>
	   <input type="submit" value="register/Sign in"/>
	   <input type="reset">
	   <input type="button" value="Nuclear explosion button">
     </form>
	</body>
</html>
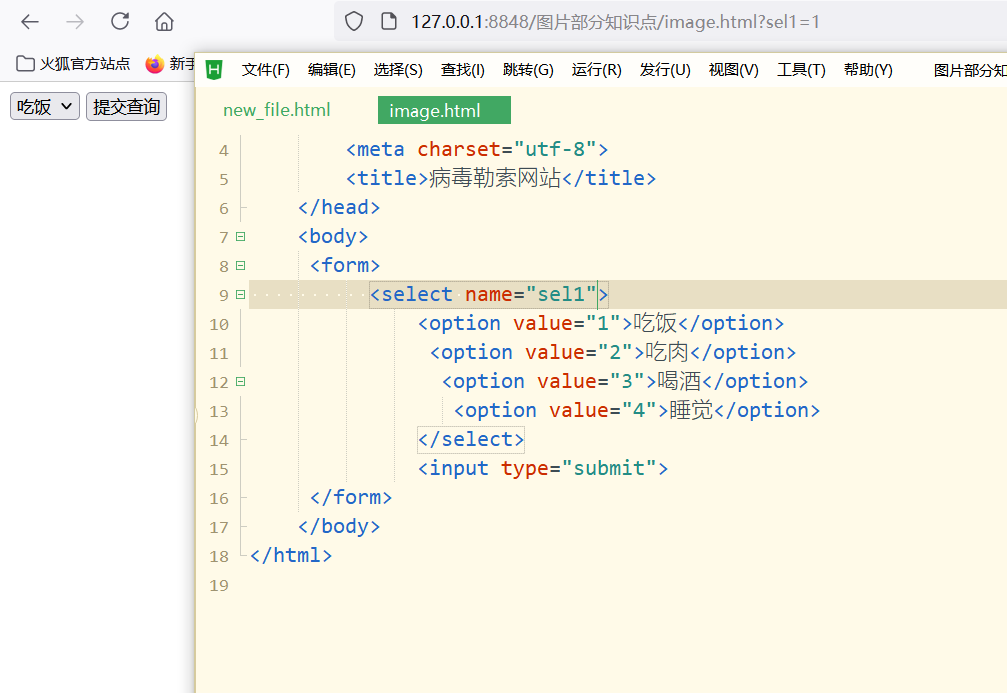
Select box label
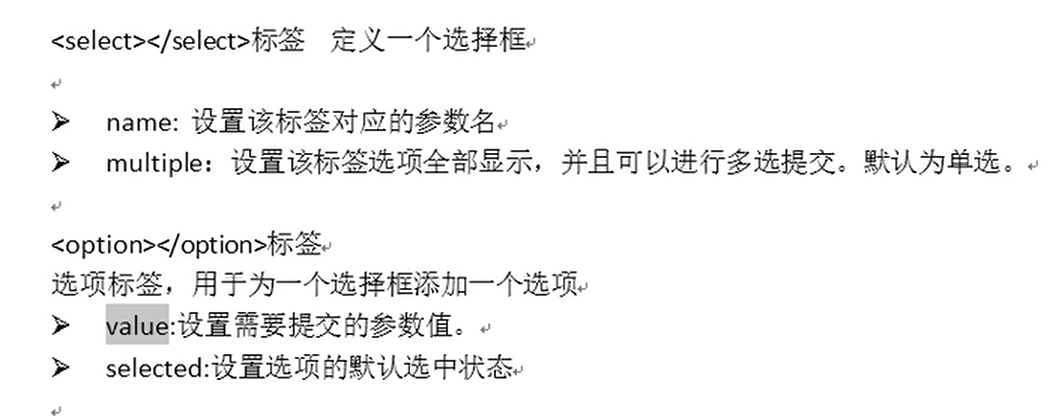
Effect demonstration:
Default selection:
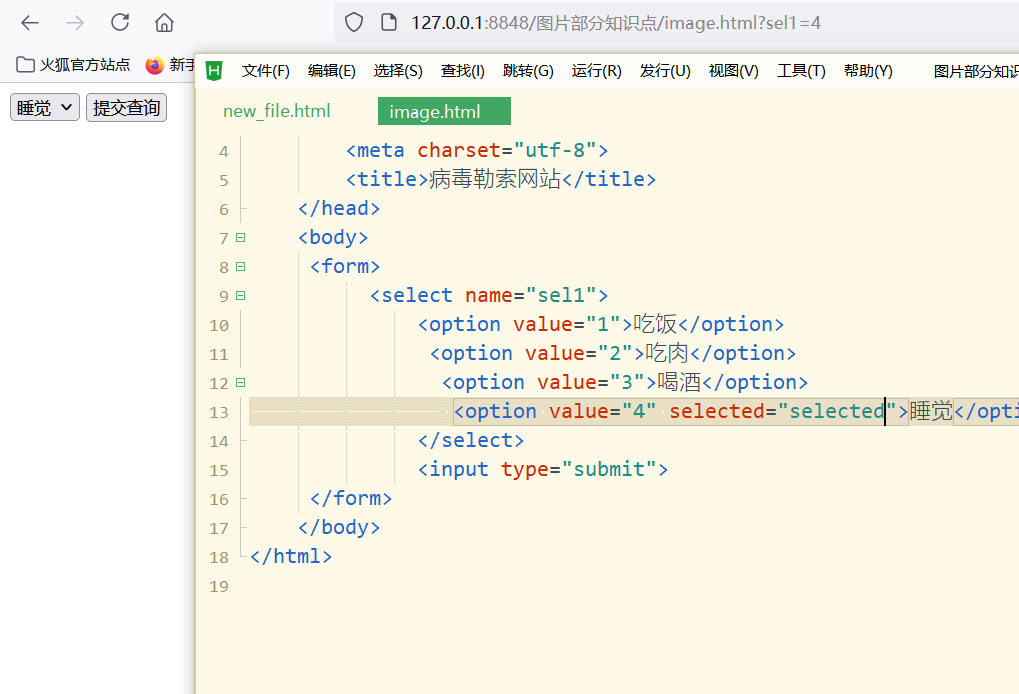
The default is single choice, which is set as multiple choice below
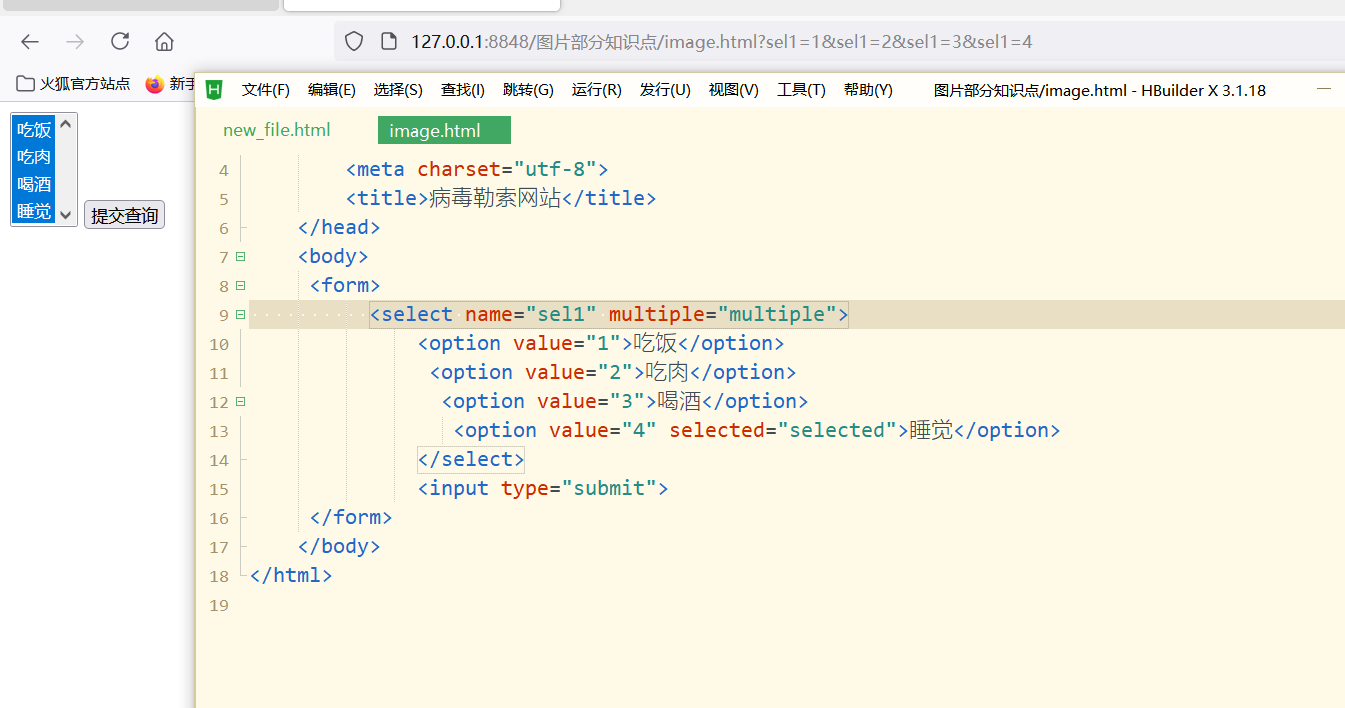
Full code:
<!DOCTYPE html>
<html>
	<head>
		<meta charset="utf-8">
		<title>Virus blackmail website</title>
	</head>
	<body>
     <form>
          <select name="sel1" multiple="multiple">
			  <option value="1">having dinner</option>
			   <option value="2">eat meat</option>
			    <option value="3">drink</option>
				 <option value="4" selected="selected">sleep</option>
			  </select>
			  <input type="submit">
     </form>
	</body>
</html>
Text field label
 Effect demonstration:
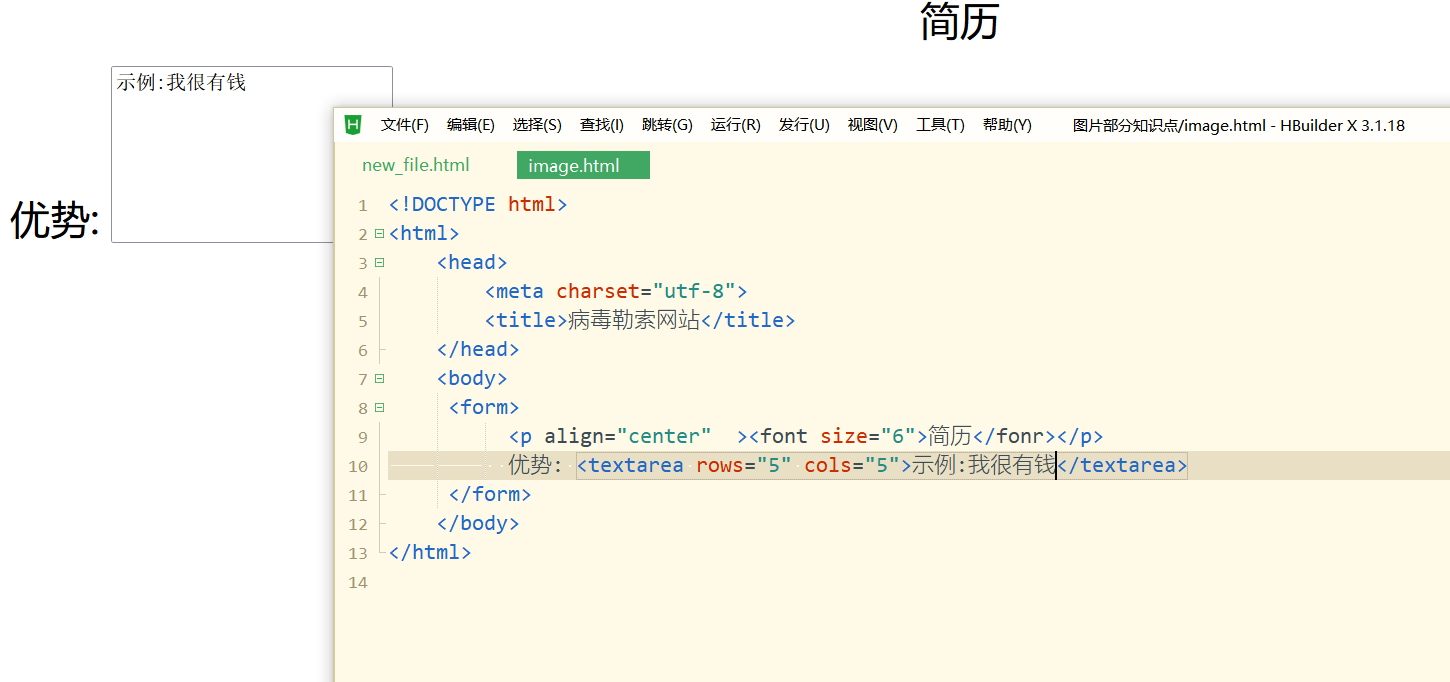 be careful:

Full code:
<!DOCTYPE html>
<html>
	<head>
		<meta charset="utf-8">
		<title>Virus blackmail website</title>
	</head>
	<body>
     <form>
          <p align="center"  ><font size="6">resume</fonr></p>
		  advantage: <textarea rows="5" cols="5">Examples:I'm rich</textarea>
		    <input type="submit" value="Submit resume">
     </form>
	</body>
</html>
Property value of form
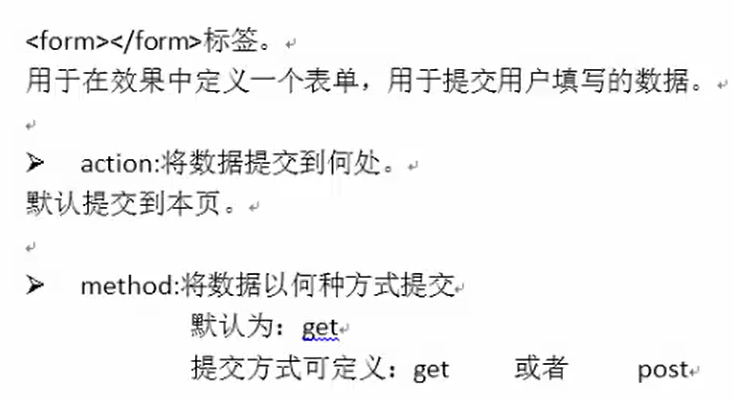
be careful:
action submission path:
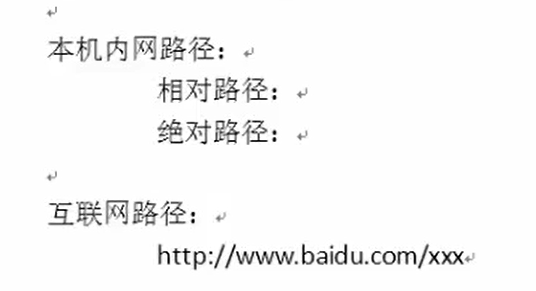
Method submission method:

The difference between Get and psot:
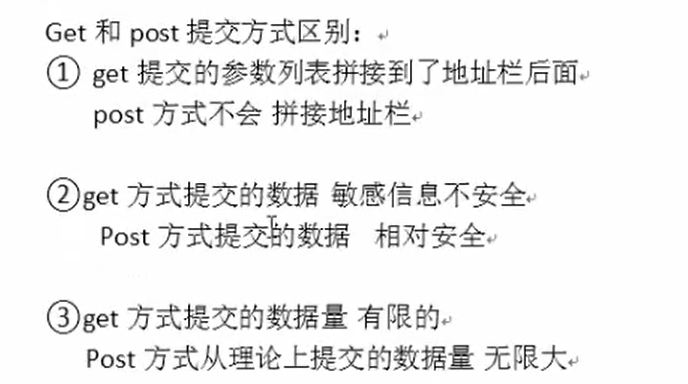
Net quantity submit form using post method