1. Introduction to Images
The image is mainly composed of one pixel point.
Pixel points in a computer range from 0 to 255, and the value represents the brightness of the point.
RGB is called the color channel of an image, where R represents the red channel, G represents the green channel, and B represents the blue channel.
Grayscale images have only one channel, which is mainly used to represent brightness.
2. Reading Images
OpenCV provides the function cv2.imread() to read images, which supports a variety of static image formats, such as *.jpg, *.png, *.jp2, *.dib, *.bmp, *.sr, *.ras, and so on.
The grammar format is:
retval = cv2.imread( filename[, flags] )
retval: Returns the value of the image read. If no image is read, returns "None".
filename: The full file name that represents the image to be read.
flags: Read tag. This tag controls the type of file read.
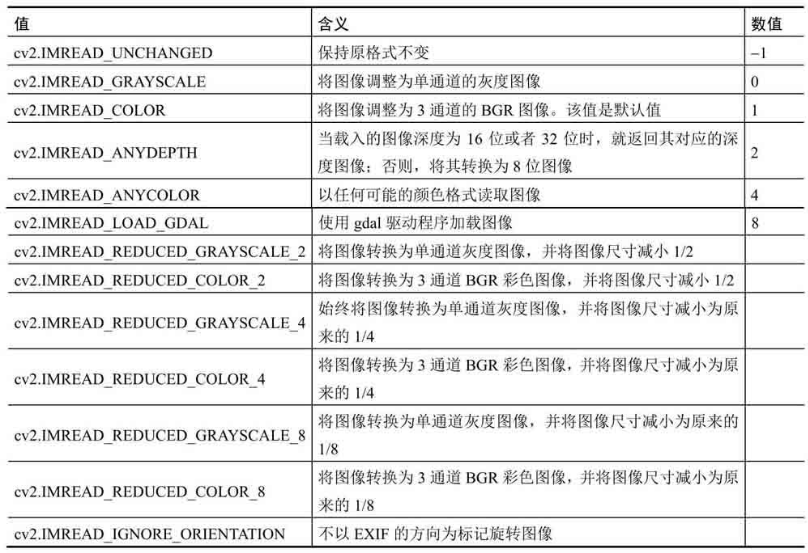
Give an example:
To read an image named lena.bmp in the current directory and keep it in its original format, use the following statement:
lena=cv2.imread( "lena.bmp", -1)
When actually writing code, the steps are as follows:
Step 1: First import the required toolkits;
import cv2 #cv2 in python, opencv reads in BGR format
import matplotlib.pyplot as plt #Mainly used for drawing display
import numpy as np #Basic Numeric Computing Toolkit
%matplotlib inline #Show the diagram directly without calling the show() function, only for jupyter notebook
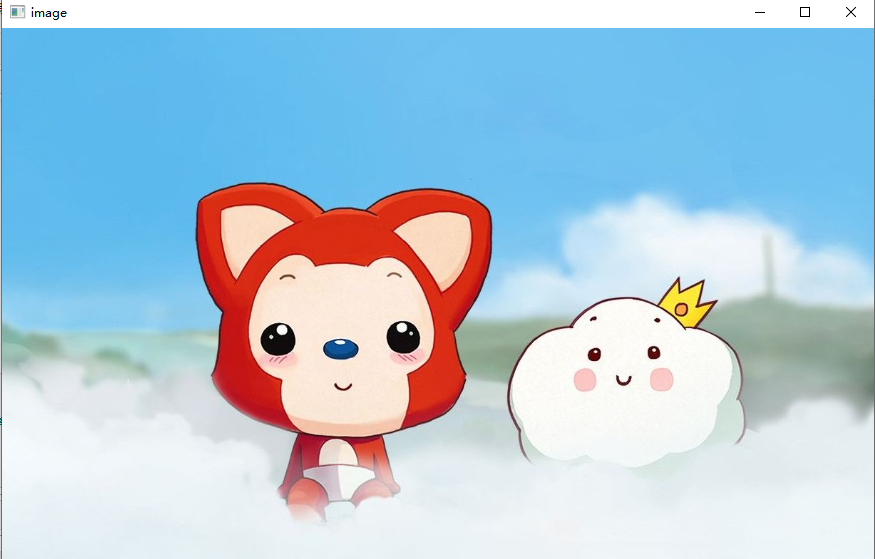
img=cv2.imread('G:/pic/ali_two.png') #Read the picture, G:\pic\ali_two.png indicates the directory where the picture is located
Step 2: Display the read photos;
#Image Display
cv2.imshow('image',img)
#Wait time press, 0 means any key terminates
cv2.waitKey(0)

cv2.destroyAllWindows()
The results are as follows:
Because the above three lines of code are required for each display image, the reuse rate is high and it is easy to reuse directly encapsulated as a function, as follows:
def cv_show(name,img):
    cv2.imshow(name,img)
    cv2.waitKey(0)
    cv2.destroyAllWindows()
The common cv2.imwrite() function for saving images has the following syntax format:
Retval = cv2.imwrite (filename, img[, params]) retval: Return value. Return if saved successfully
TRUE; otherwise, FALSE is returned. filename: The full path name of the target file to be saved, including the file extension. img: The name of the saved image.
params: Save type parameters, optional.
3. View image properties
Color maps and grayscale maps can be converted to each other. In practice, the two types of pictures are often converted.
Color image: cv2.IMREAD_COLOR;
- shape property: [h, w, c], h for height, w for width, C for BGR.
img.shape
The attributes of the picture are as follows:

Convert a color map to a gray scale image: add cv2.IMREAD_GARYSCALE on the basis of the original reading.
img_gray=cv2.imread('G:/pic/ali_two.png',cv2.IMREAD_GRAYSCALE)
img_gray

#Image Display
cv_show(img_gray)
The results are as follows:
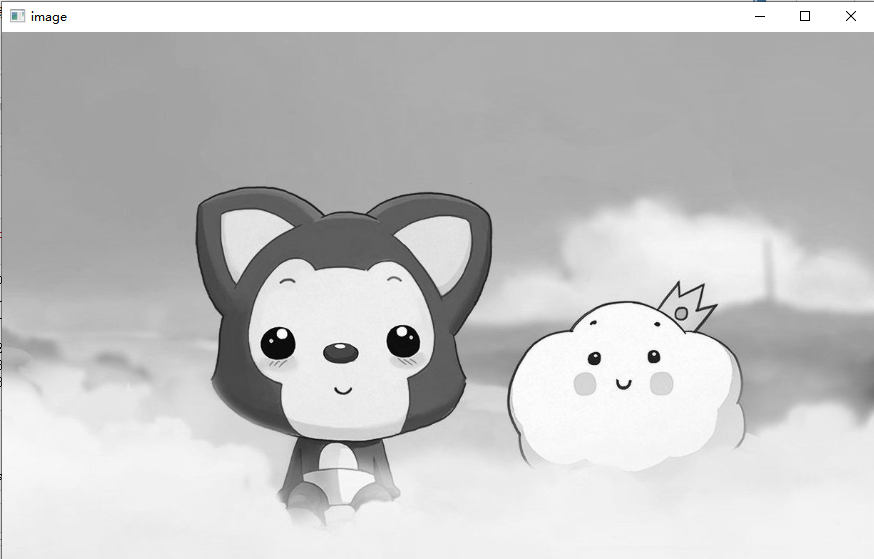 Grayscale image: cv2.IMREAD_GRAYSCALE;
Note: Errors may occur during the reading process. If the path to the photo is written incorrectly, the following may occur:
error: OpenCV(4.5.3) C:\Users\runneradmin\AppData\Local\Temp\pip-req-build-u4kjpz2z\opencv\modules\imgproc\src\color.cpp:182: error: (-215:Assertion failed) !_src.empty() in function 'cv::cvtColor'
If similar errors occur, check that your photo path is correct, remember it in Windows, or use \ or /, //both. The path where you store your photos is in English as much as possible, and the photo name should not appear in numbers. In both cases, errors may occur. Please Baidu yourself according to your own errors.
3. Read Video
A video consists of multiple images. When reading a video, the video is split into frames.
vc=cv2.VideoCapture('G:/pic/VID_sky.mp4')

#Check if it opens correctly
#Boolean value returned by open, frame is the image of the current frame
if vc.isOpened():
    open,frame=vc.read()
else:
    open=False

#Frame is a captured frame image
while open:
    ret, frame=vc.read()
    #Explanation video is not empty
    if frame is None:
        break
    if ret == True:
        gray=cv2.cvtColor(frame, cv2.COLOR_BGR2GRAY)
        cv2.imshow('result',gray)
        if cv2.waitKey(10) & 0xFF==27:
            break
vc.release()
cv2.destroyAllWindows()
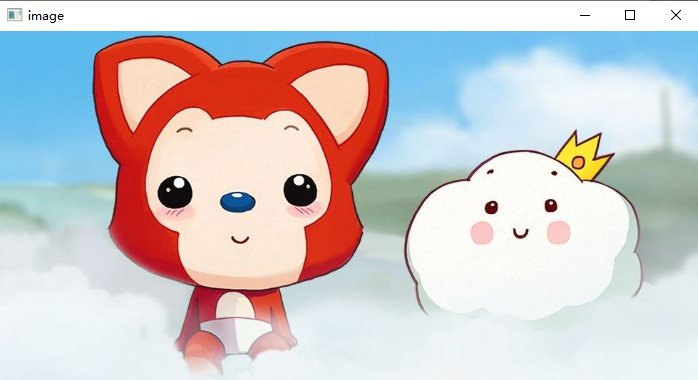
4. Capture part of the image data
In practical applications, intercepting part of the image data is very common and common.
img=cv2.imread('G:/pic/ali_two.png')
ali=img[150:500,100:800]
cv_show("image",ali)
After the image is intercepted, the color channels can be extracted.
#Color Channel Extraction
b,g,r=cv2.split(img)
b
b.shape
#Merge separate restores together
img=cv2.merge((b,g,r))
img.shape
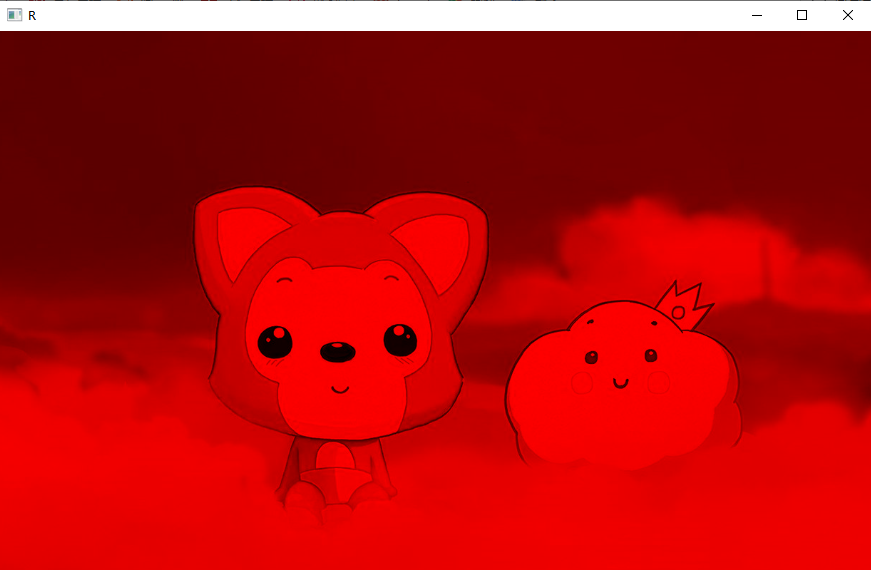
#Retain only R
cur_img=img.copy()
cur_img[:,:,0]=0
cur_img[:,:,1]=0
cv_show('R',cur_img)
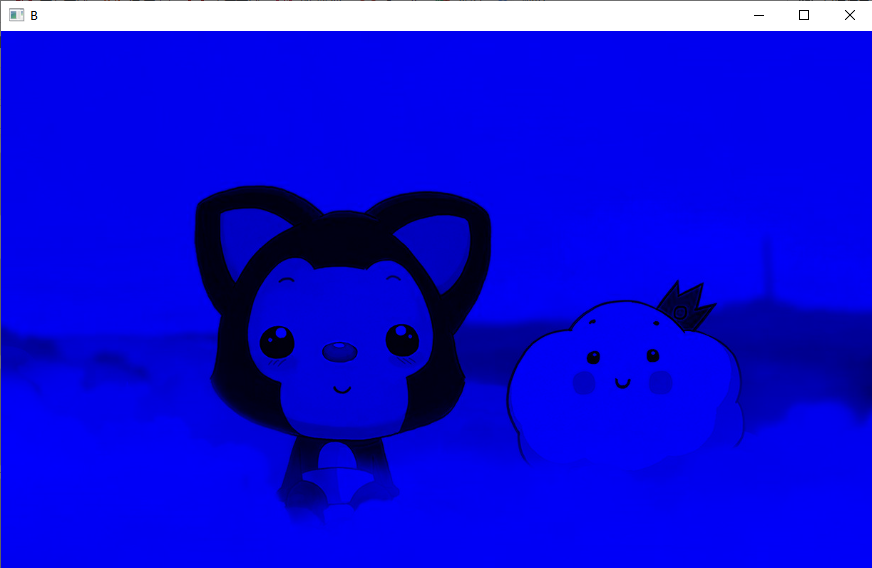
#Keep only B
cur_img=img.copy()
cur_img[:,:,1]=0
cur_img[:,:,2]=0
cv_show('B',cur_img)
#Keep only G
cur_img=img.copy()
cur_img[:,:,0]=0
cur_img[:,:,2]=0
cv_show('G',cur_img)
The effect is shown as follows:

5. Boundary Filling
BORDER_REPLICATE: Replication method that copies the most edged pixels.
BORDER_REFLECT: Reflection method that copies pixels in an image of interest on both sides.
BORDER_REFLECT_101: Reflection method, symmetrical on the axis of the most edged pixel.
BORDER_WRAP: Outsourcing method.
BORDER_CONSTANT: Constant method, filled with constant values.
#Boundary Filling
top_size,bottom_size,left_size,right_size=(50,50,50,50)
replicate=cv2.copyMakeBorder(img,top_size,bottom_size,left_size,right_size,borderType=cv2.BORDER_REPLICATE)
reflect=cv2.copyMakeBorder(img, top_size,bottom_size,left_size,right_size,cv2.BORDER_REFLECT)
reflect101=cv2.copyMakeBorder(img,top_size,bottom_size,left_size,right_size,cv2.BORDER_REFLECT_101)
wrap=cv2.copyMakeBorder(img,top_size,bottom_size,left_size,right_size,cv2.BORDER_WRAP)
constant=cv2.copyMakeBorder(img,top_size,bottom_size,left_size,right_size,cv2.BORDER_CONSTANT,value=0)

#Show pictures
import matplotlib.pyplot as plt
plt.subplot(231),plt.imshow(img,'gray'),plt.title('ORIGINAL')
plt.subplot(232),plt.imshow(replicate,'gray'),plt.title('REPLICATE')
plt.subplot(233),plt.imshow(reflect,'gray'),plt.title('REFLECT')
plt.subplot(234),plt.imshow(reflect101,'gray'),plt.title('REFLECT_101')
plt.subplot(235),plt.imshow(wrap,'gray'),plt.title('WRAP')
plt.subplot(236),plt.imshow(constant,'gray'),plt.title('CONSTANT')

plt.show()
The results are as follows:
