Version information
ubuntu version: 16.04.1
MySQL server version: 5.7.23
install
First, check the mysql version available from apt
ubuntu@VM-0-4-ubuntu:~$ apt search mysql
You can see that there are two package s in the result. We can install MySQL server. You can see that the MySQL server provided is 5.7.23.
mysql-client/xenial-security,xenial-security,xenial-updates,xenial-updates 5.7.23-0ubuntu0.16.04.1 all
  MySQL database client (metapackage depending on the latest version)

mysql-server/xenial-security,xenial-security,xenial-updates,xenial-updates 5.7.23-0ubuntu0.16.04.1 all
  MySQL database server (metapackage depending on the latest version)
Install mysql provided by apt
sudo apt install mysql-server
Start the installation and select Y directly
Reading package lists... Done
Building dependency tree
Reading state information... Done
The following additional packages will be installed:
  libaio1 libcgi-fast-perl libcgi-pm-perl libencode-locale-perl
  libevent-core-2.0-5 libfcgi-perl libhtml-parser-perl libhtml-tagset-perl
  libhtml-template-perl libhttp-date-perl libhttp-message-perl libio-html-perl
  liblwp-mediatypes-perl libtimedate-perl liburi-perl mysql-client-5.7
  mysql-client-core-5.7 mysql-common mysql-server-5.7 mysql-server-core-5.7
Suggested packages:
  libdata-dump-perl libipc-sharedcache-perl libwww-perl mailx tinyca
The following NEW packages will be installed:
  libaio1 libcgi-fast-perl libcgi-pm-perl libencode-locale-perl
  libevent-core-2.0-5 libfcgi-perl libhtml-parser-perl libhtml-tagset-perl
  libhtml-template-perl libhttp-date-perl libhttp-message-perl libio-html-perl
  liblwp-mediatypes-perl libtimedate-perl liburi-perl mysql-client-5.7
  mysql-client-core-5.7 mysql-common mysql-server mysql-server-5.7
  mysql-server-core-5.7
0 upgraded, 21 newly installed, 0 to remove and 195 not upgraded.
Need to get 19.4 MB of archives.
After this operation, 162 MB of additional disk space will be used.
Do you want to continue? [Y/n]
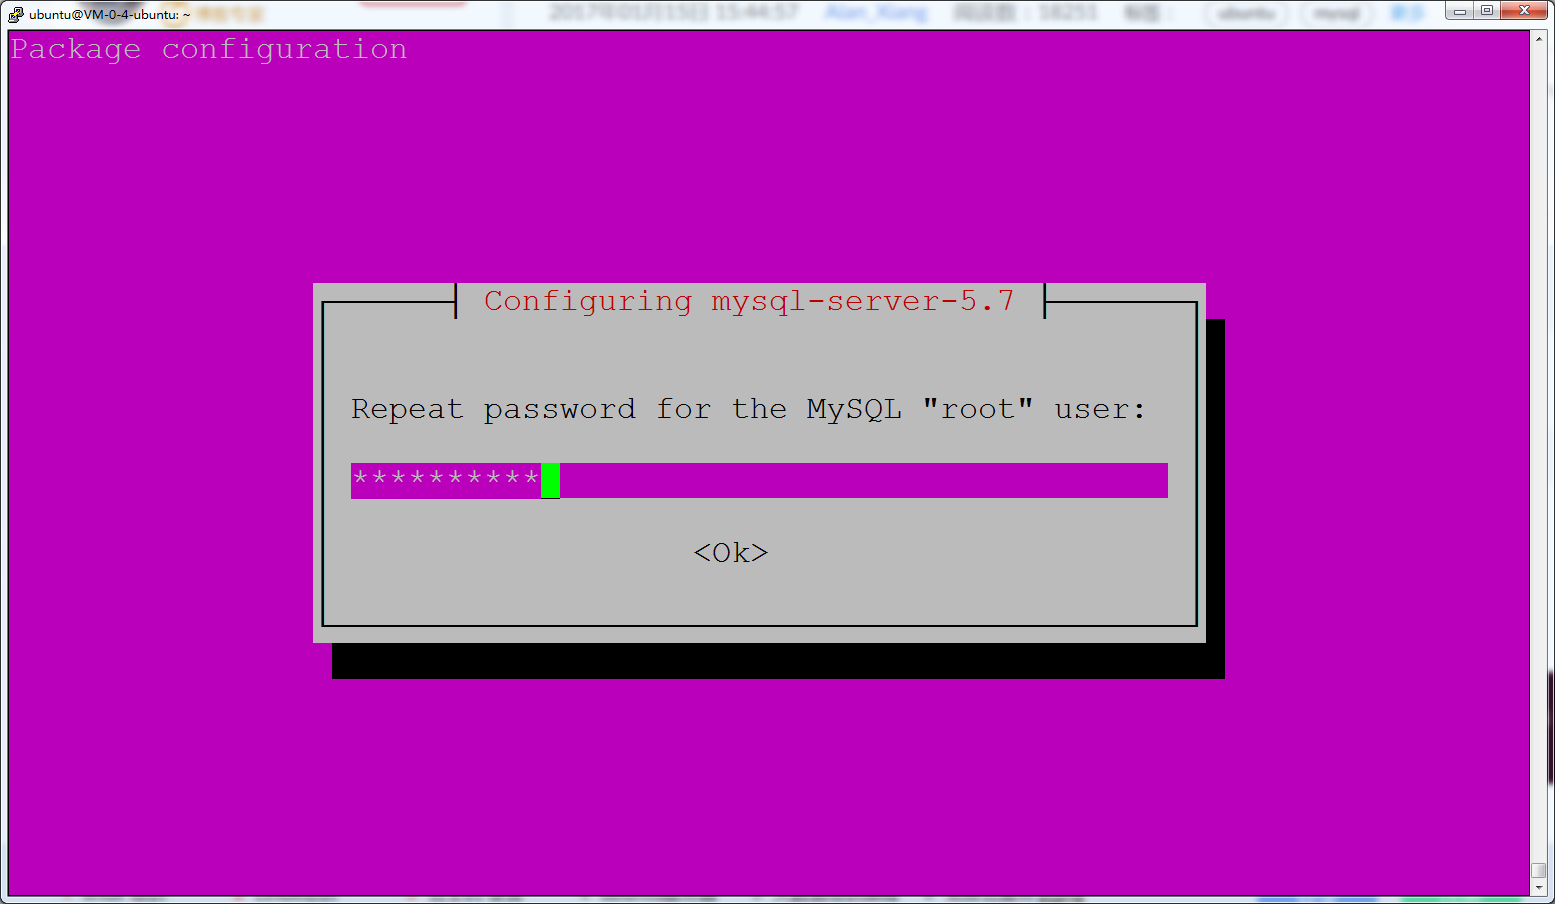
During the installation process, you will be asked to set the password of the root user. After you set it, you can log in to mysql later
Check if the installation is successful
sudo netstat -tap | grep mysql
The following is a successful installation
tcp 0 0 localhost.localdo:mysql *:* LISTEN 26647/mysqld
Modify character set
Log in to mysql with the root user and the password just set
mysql -u root -p
First look at the character set before modification
mysql> show variables like '%char%';
+--------------------------+----------------------------+
| Variable_name            | Value                      |
+--------------------------+----------------------------+
| character_set_client     | utf8                       |
| character_set_connection | utf8                       |
| character_set_database   | latin1                     |
| character_set_filesystem | binary                     |
| character_set_results    | utf8                       |
| character_set_server     | latin1                     |
| character_set_system     | utf8                       |
| character_sets_dir       | /usr/share/mysql/charsets/ |
+--------------------------+----------------------------+
We modify the character set by modifying MySQL's configuration file my.cnf (which is the link file of mysql.conf, and you can change mysql.conf directly, no difference).
The location of the configuration file is in / etc/mysql/my.cnf. sudo should be added before vim modification, because non root users do not have write permission for this file.
sudo vim /etc/mysql/my.cnf
The configuration file before modification should look like this.
#
# The MySQL database server configuration file.
#
# You can copy this to one of:
# - "/etc/mysql/my.cnf" to set global options,
# - "~/.my.cnf" to set user-specific options.
#
# One can use all long options that the program supports.
# Run program with --help to get a list of available options and with
# --print-defaults to see which it would actually understand and use.
#
# For explanations see
# http://dev.mysql.com/doc/mysql/en/server-system-variables.html

#
# * IMPORTANT: Additional settings that can override those from this file!
#   The files must end with '.cnf', otherwise they'll be ignored.
#

!includedir /etc/mysql/conf.d/
!includedir /etc/mysql/mysql.conf.d/
Add the following information later to set the character set of mysql.
#[client]
#default-character-set=utf8
#The system variables character set and character set connectioncharacter set results are affected, so the [client] part of the settings need not be added
[mysqld]
character-set-server=utf8
#The system variables character set database and character set server are affected. Because the two system variables are Latin 1 by default, you need to add
Restart mysql after modification and saving. Remember to add sudo, because non root users do not have permission to restart.
sudo service mysql restart
Then look at the character set of the database and change it to utf8.
mysql> show variables like '%char%';
+--------------------------+----------------------------+
| Variable_name            | Value                      |
+--------------------------+----------------------------+
| character_set_client     | utf8                       |
| character_set_connection | utf8                       |
| character_set_database   | utf8                       |
| character_set_filesystem | binary                     |
| character_set_results    | utf8                       |
| character_set_server     | utf8                       |
| character_set_system     | utf8                       |
| character_sets_dir       | /usr/share/mysql/charsets/ |
+--------------------------+----------------------------+