catalogue
1.1 download and unzip the installation package
3, OpenCV about the use of cameras
three point one Get camera permissions for virtual machine
three point three record video
1, Install OpenCV3.4.11
1.1 download and unzip the installation package
Since it is slow to download using the download address of the foreign official website, I recommend using the domestic image source download here
Domestic fast download address: https://www.bzblog.online/wordpress/index.php/2020/03/09/opencvdownload/
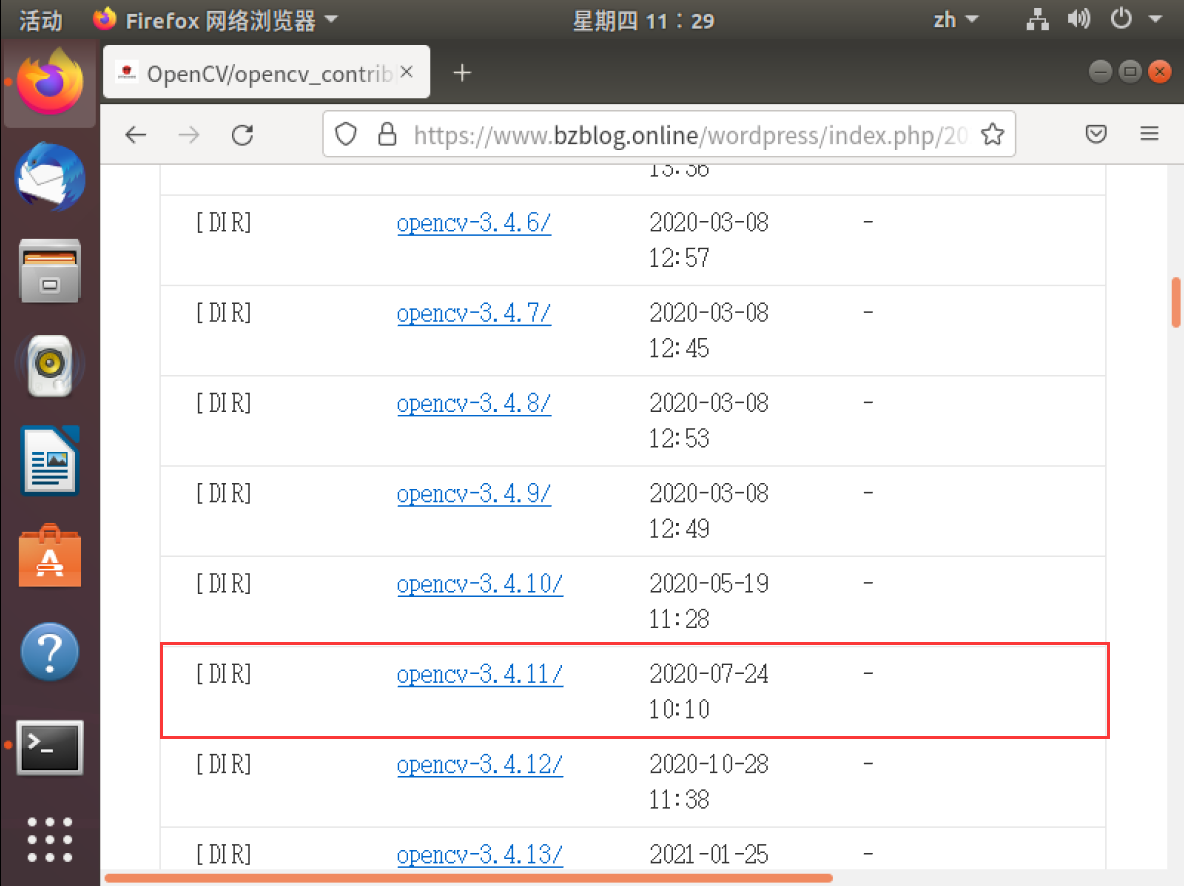
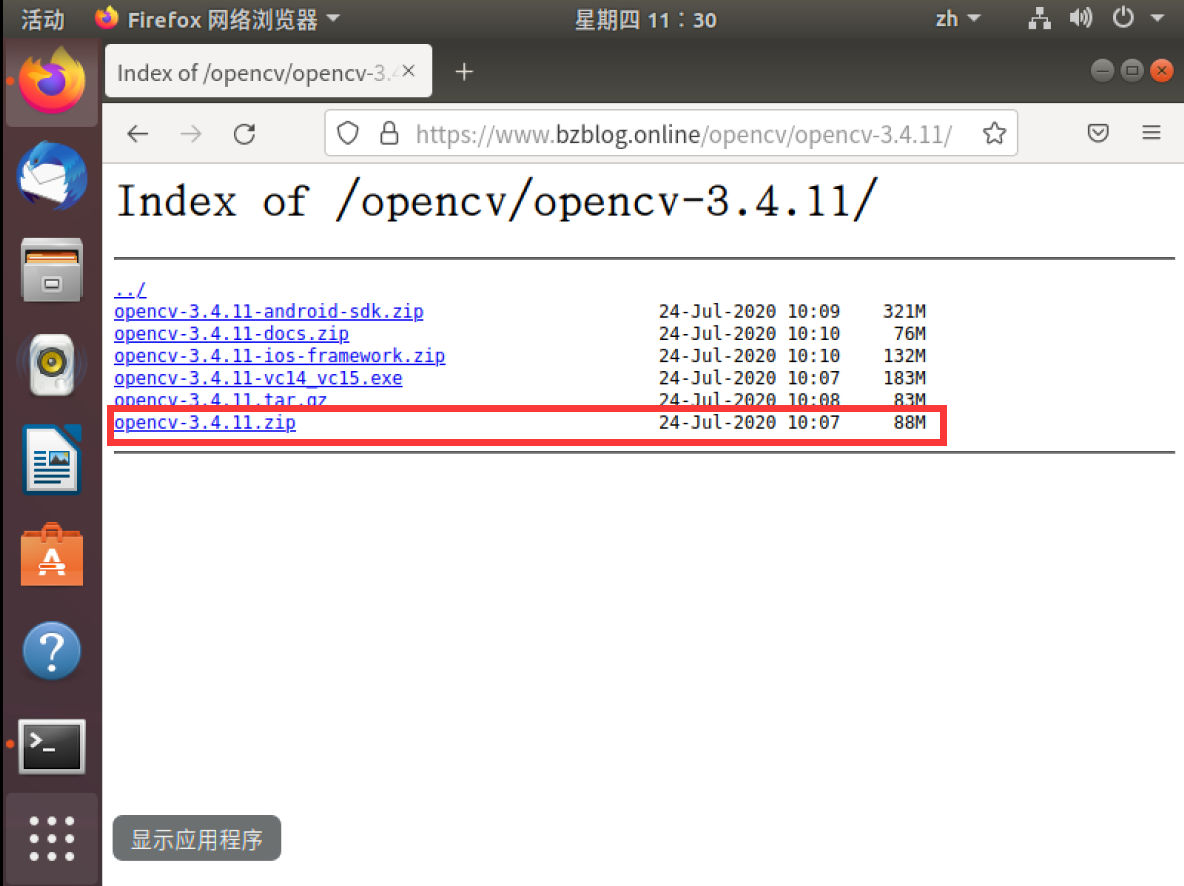
In the virtual machine, directly use the browser to open the website above, click the options shown below in turn, and download the installation package.
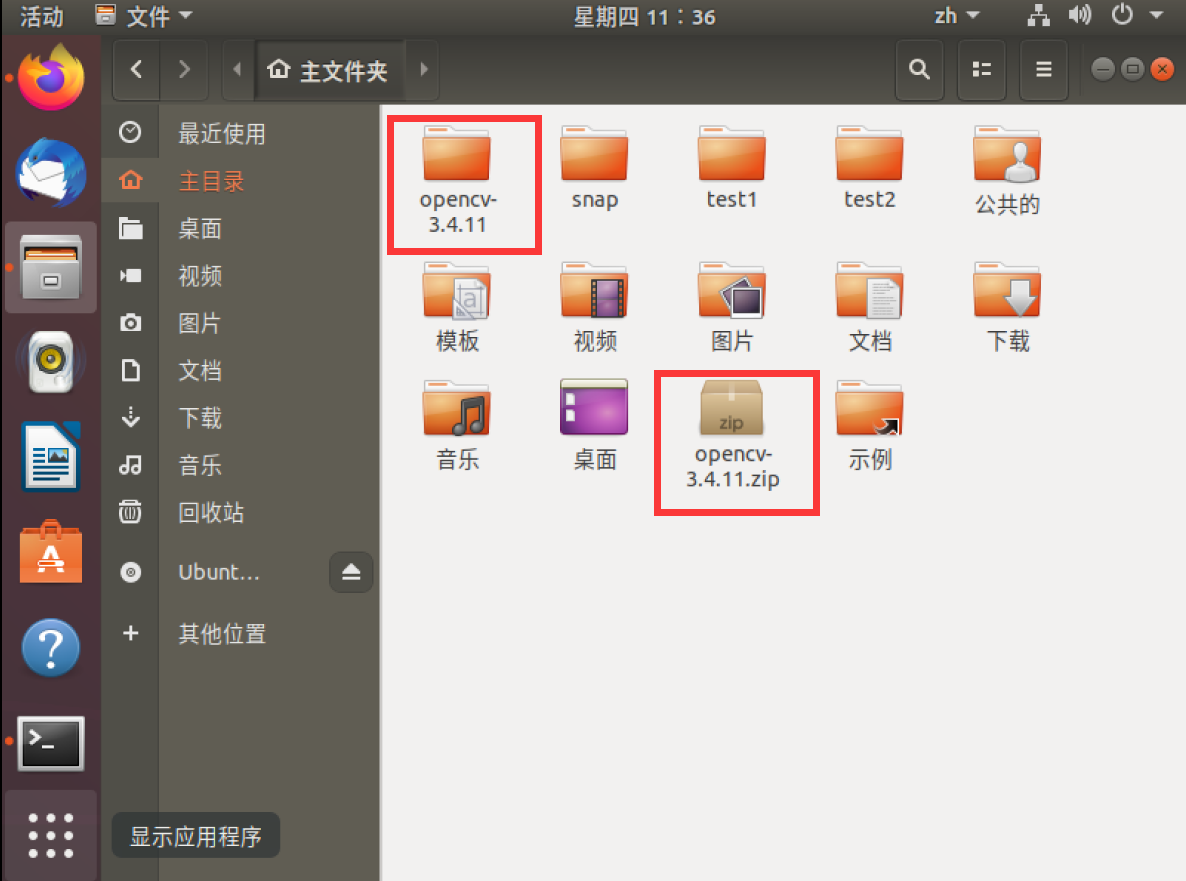
Before decompressing the package, copy opencv-3.4.11.zip to the home directory folder, and then decompress it.
unzip opencv-3.4.11.zip
1.2 installing opencv
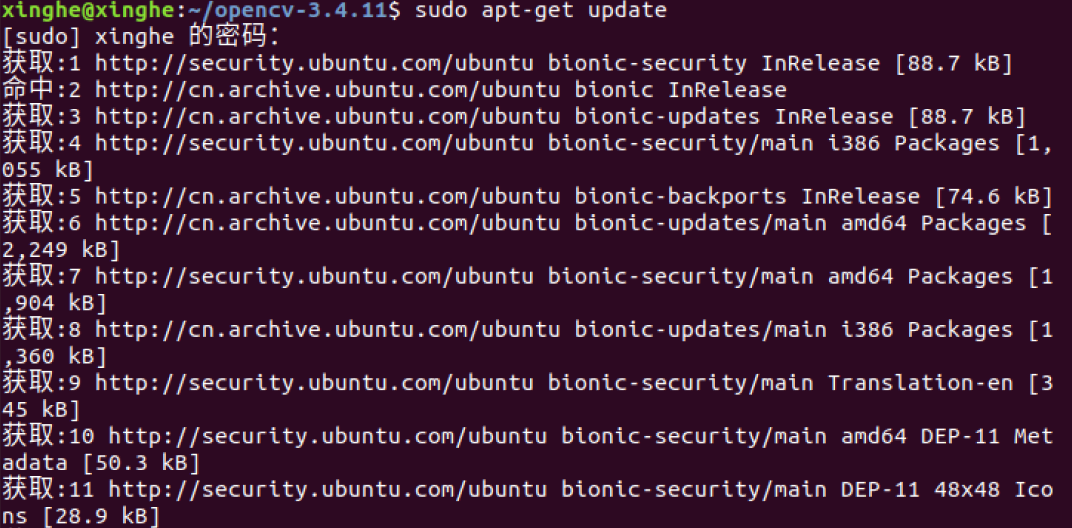
Enter the command cd opencv-3.4.11 to enter the extracted folder

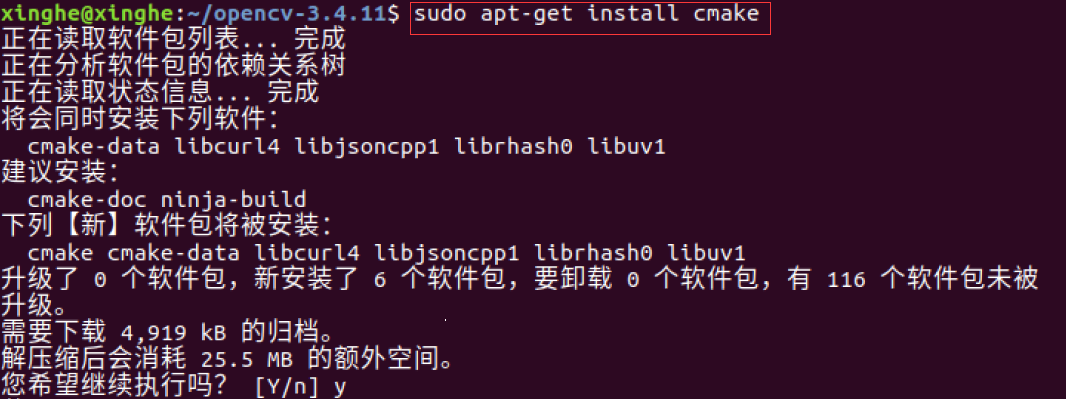
Update it first, and then enter the installation
sudo apt-get update
sudo apt-get install cmake
Then enter the following command to install the dependent Library
sudo apt-get install build-essential libgtk2.0-dev libavcodec-dev libavformat-dev libjpeg.dev libtiff5.dev libswscale-dev libjasper-dev

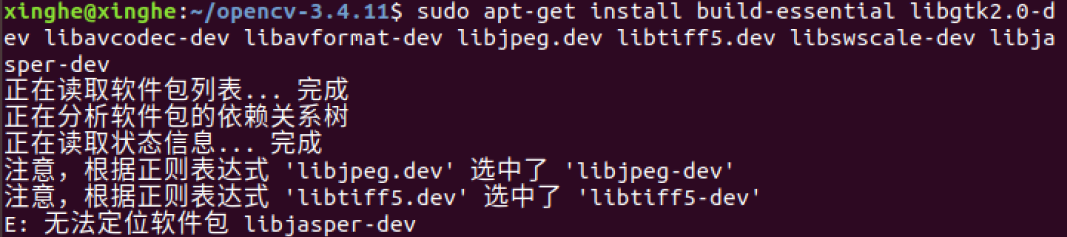
Note: when I execute this statement, there is an error: libjasper dev cannot be located, so when I execute this command, I delete the last library: libjasper dev, and then I can continue the installation.

After installing the dependency library, we create a folder
mkdir build
Then go to the folder we created
cd build

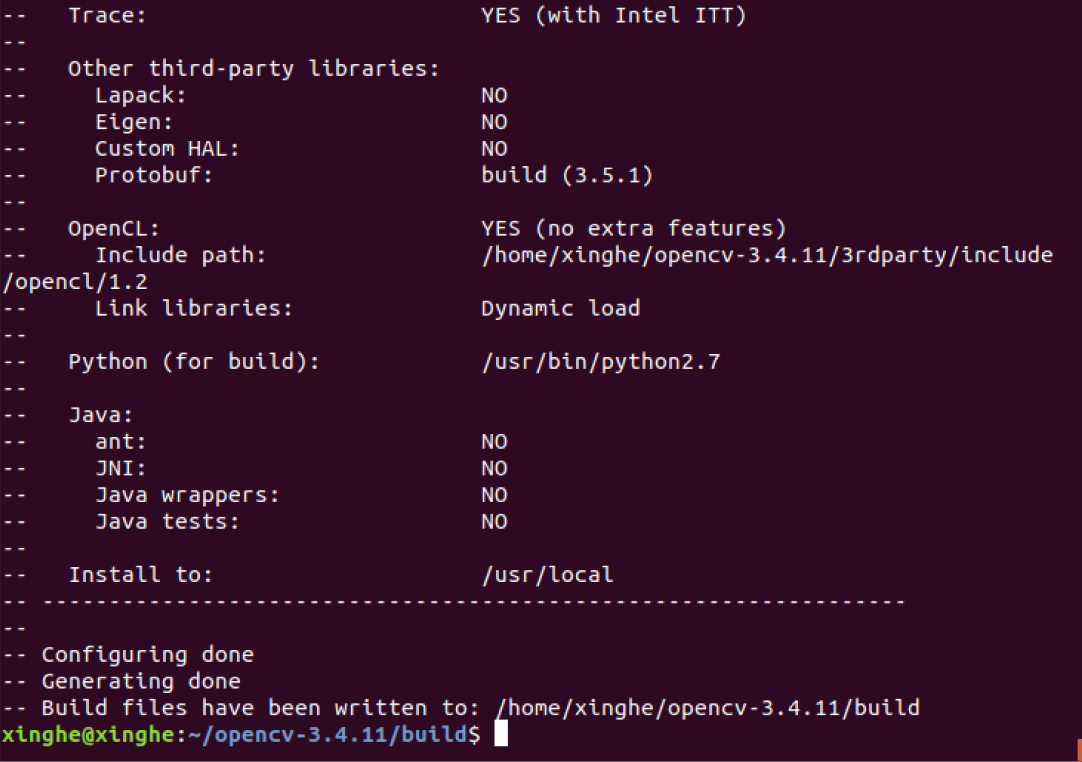
Compile parameters using cmake
cmake -D CMAKE_BUILD_TYPE=Release -D CMAKE_INSTALL_PREFIX=/usr/local ..

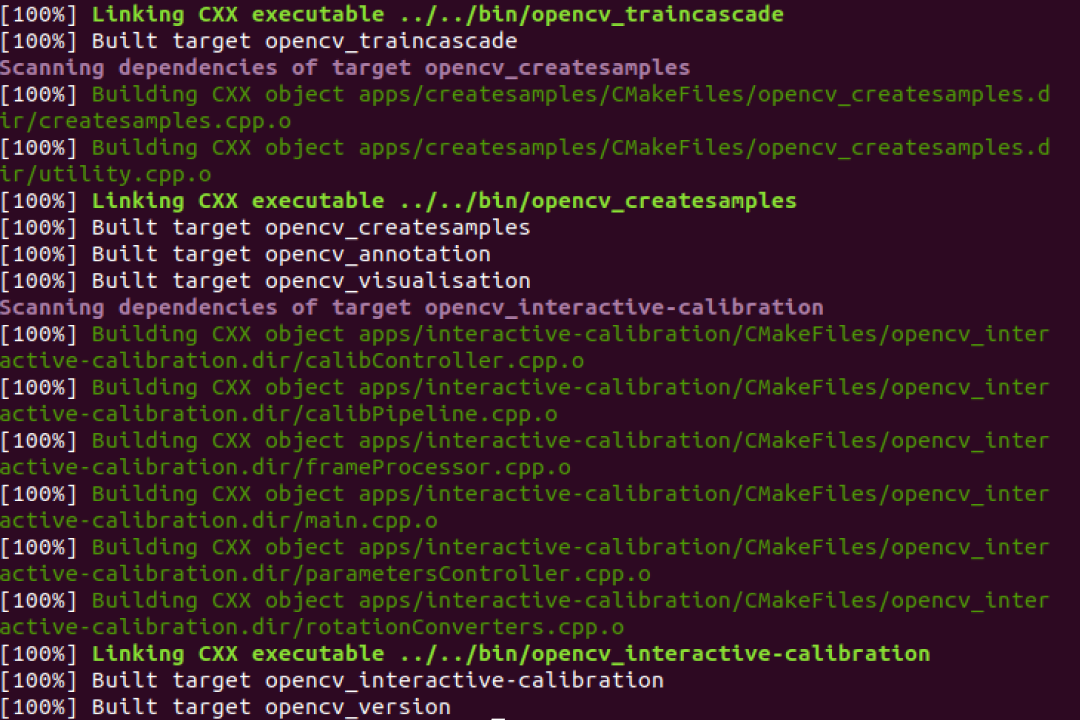
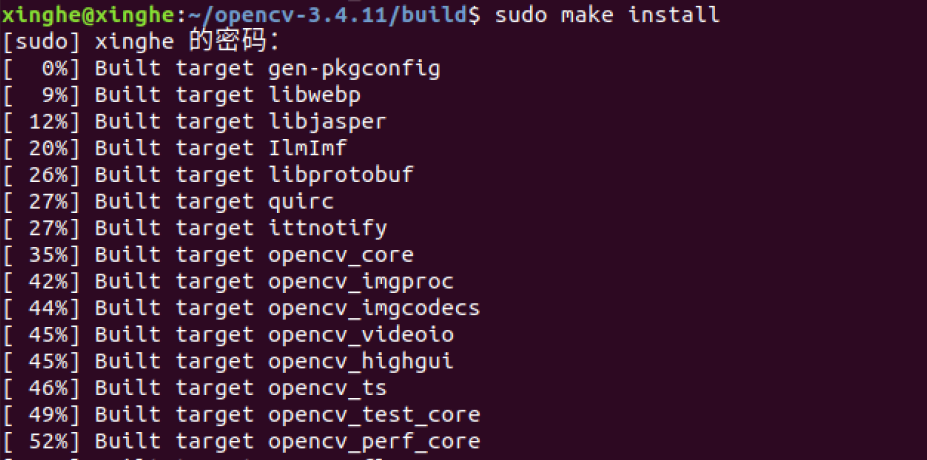
It takes a long time to create a compilation using make. Please wait patiently
sudo make
After completion, the following interface will be displayed
Continue with the command installation
sudo make install
If no error is reported during installation, the installation is complete
1.3 environment configuration
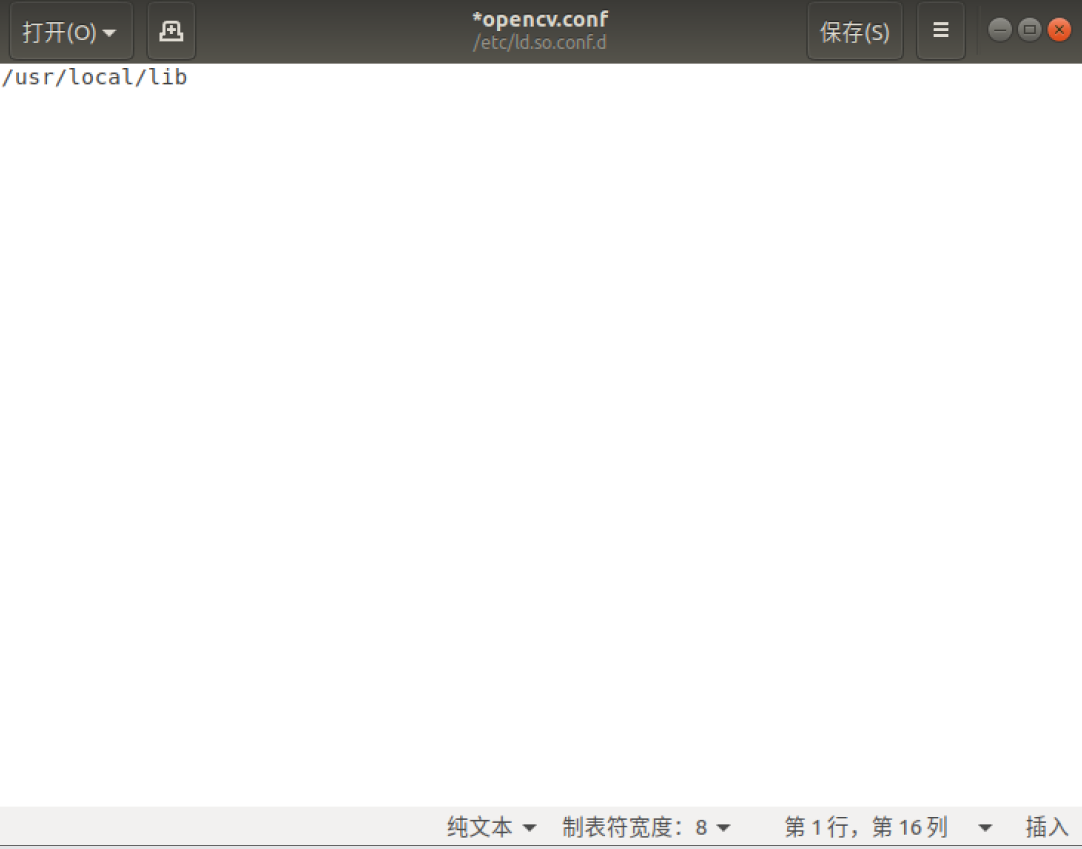
Modify the opencv.conf file, enter the following command, open the file and find that it is empty. Directly click it and enter / usr/local/lib to add the installation path of OpenCV library. Save and exit
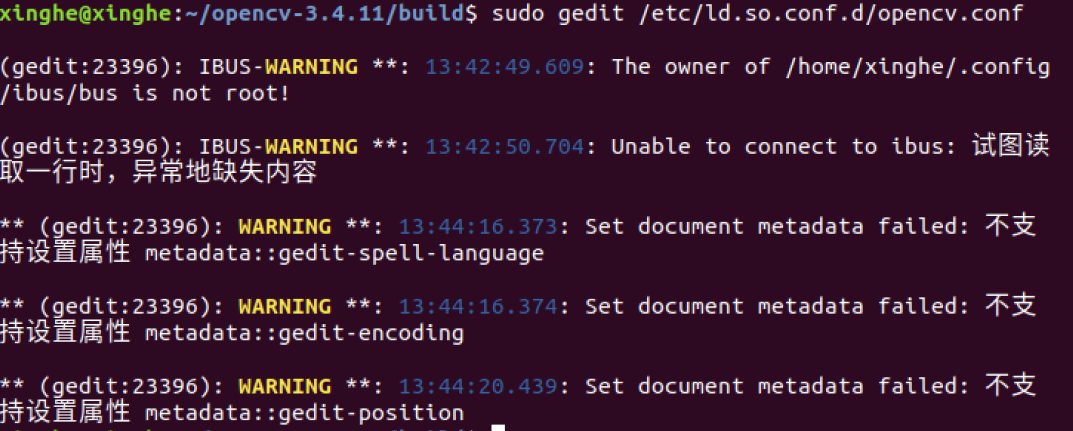
sudo gedit /etc/ld.so.conf.d/opencv.conf
After saving, you will see the previous warning information. Don't worry. It's normal
Execute the following command to make the configuration path take effect
sudo ldconfig
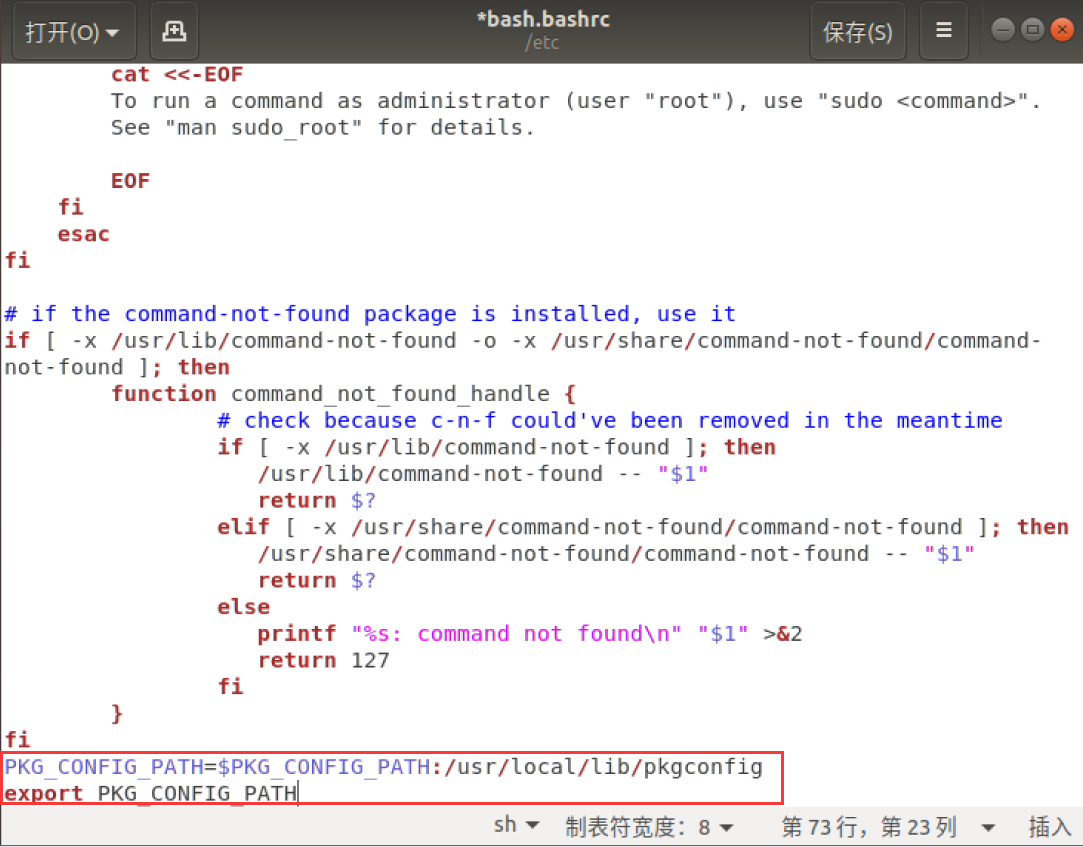
Configure Bash and modify bash.bashrc file
sudo gedit /etc/bash.bashrc
After opening the file, enter the following code at the end of the file
PKG_CONFIG_PATH=$PKG_CONFIG_PATH:/usr/local/lib/pkgconfig
export PKG_CONFIG_PATH
Exit after saving, and then execute the following command to make the configuration effective
source /etc/bash.bashrc
Then update it
sudo updatedb

Finally, check the version information of opencv
pkg-config --modversion opencv

Here, opencv 3.4.11 is installed
2, Linux picture programming
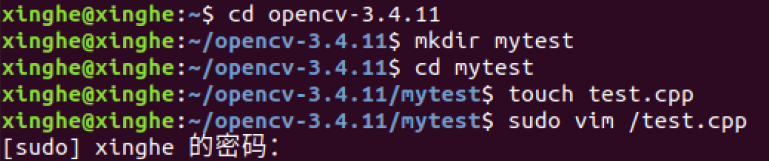
Enter the folder opencv-3.4.11, create a new folder mytest, create test.cpp in this folder, and enter programming
cd opencv-3.4.11
mkdir mytest
cd mytest
touch test.cpp
sudo vim /test.cpp  #Edit according to your own configuration editor
Copy and paste the following code
test.cpp
#include <opencv2/highgui.hpp>
#include <opencv2/opencv.hpp>
using namespace cv;
using namespace std;
int main(int argc, char** argv)
{
	CvPoint center;
    double scale = -3;

	IplImage* image = cvLoadImage("lena.jpg");
	argc == 2? cvLoadImage(argv[1]) : 0;

	cvShowImage("Image", image);


	if (!image) return -1; 	center = cvPoint(image->width / 2, image->height / 2);
	for (int i = 0;i<image->height;i++)
		for (int j = 0;j<image->width;j++) {
			double dx = (double)(j - center.x) / center.x;
			double dy = (double)(i - center.y) / center.y;
			double weight = exp((dx*dx + dy*dy)*scale);
			uchar* ptr = &CV_IMAGE_ELEM(image, uchar, i, j * 3);
			ptr[0] = cvRound(ptr[0] * weight);
			ptr[1] = cvRound(ptr[1] * weight);
			ptr[2] = cvRound(ptr[2] * weight);
		}

	Mat src;Mat dst;
	src = cvarrToMat(image);
	cv::imwrite("test.png", src);

    cvNamedWindow("test",1);  	imshow("test", src);
	 cvWaitKey();
	 return 0;
}
Compile the above file:
g++ test.cpp -o test `pkg-config --cflags --libs opencv`
Note: the format is g++ + File name + - o + output file stream name + ` support package

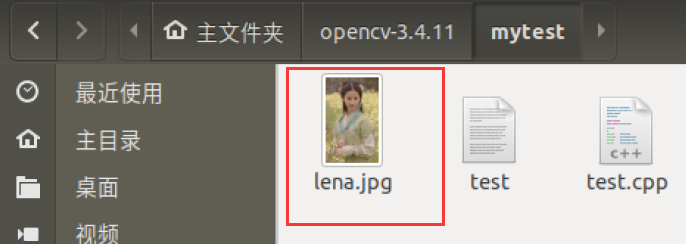
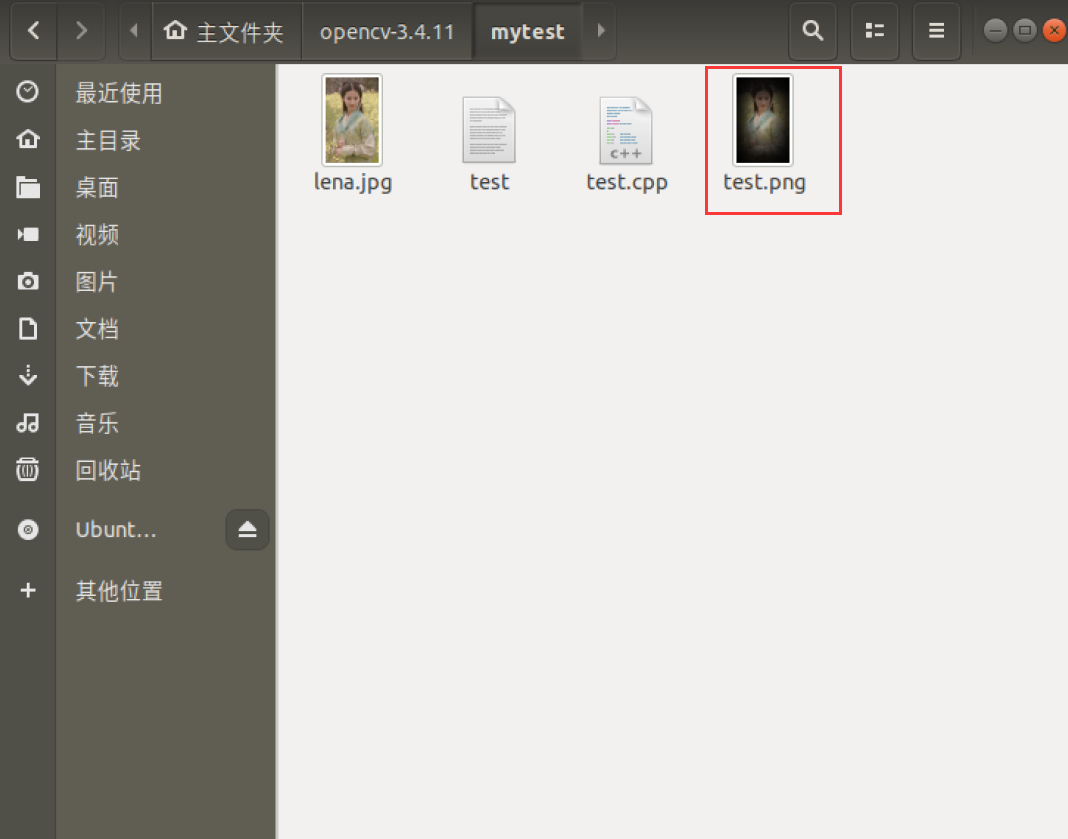
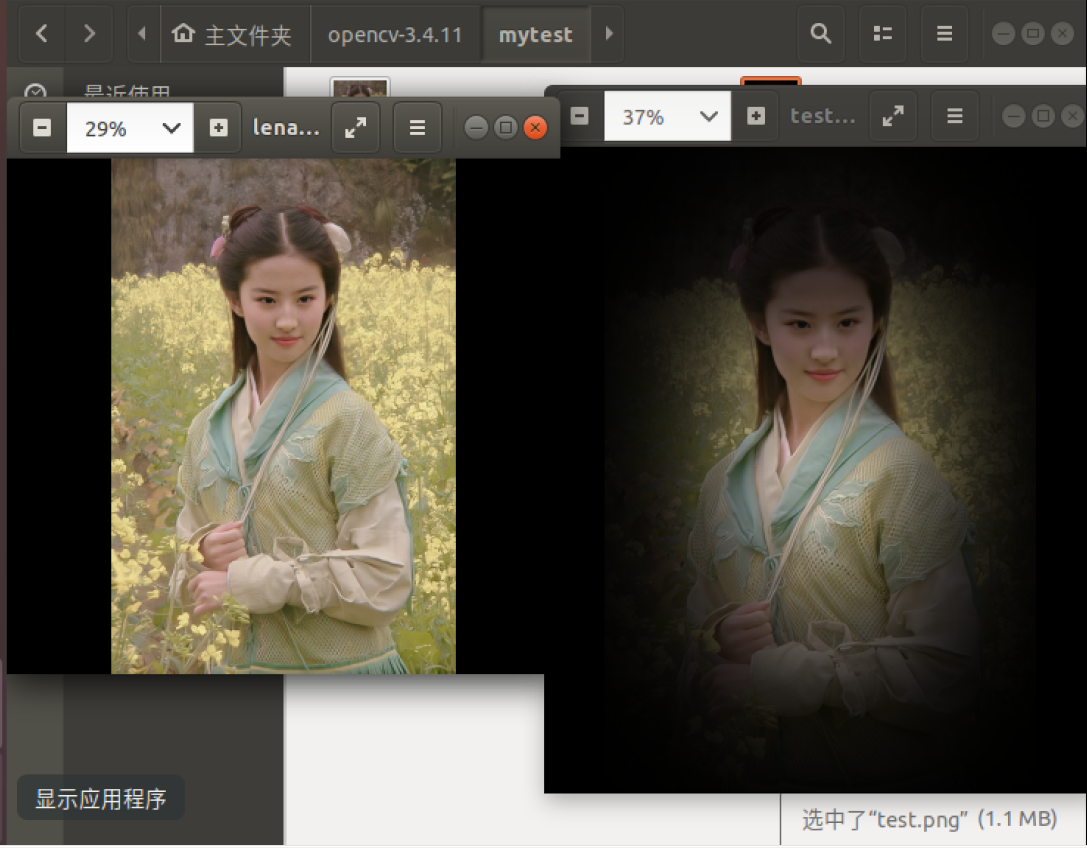
Prepare a picture in the same folder with the file name lena.jpg
Then run the program:
./test
You can see that lena.jpg generates a test.png with different effects
3, OpenCV about the use of cameras
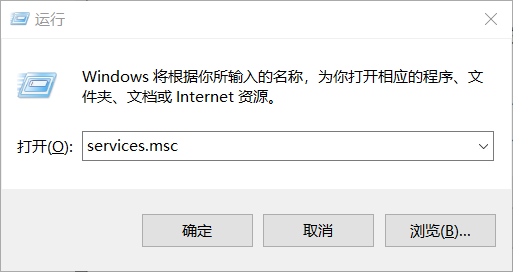
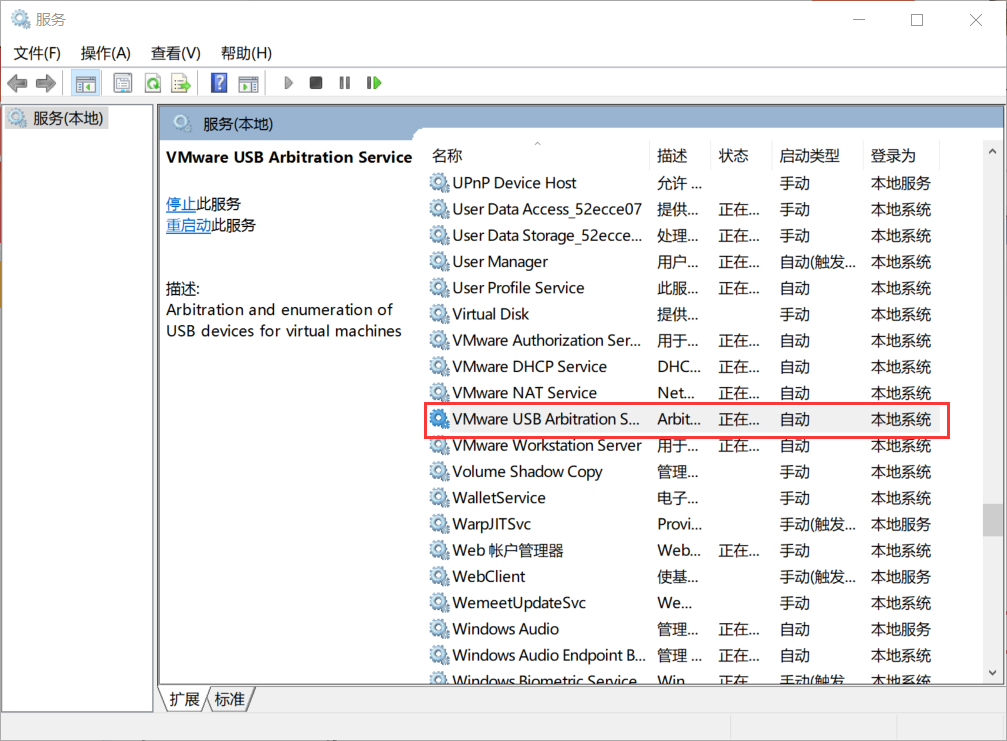
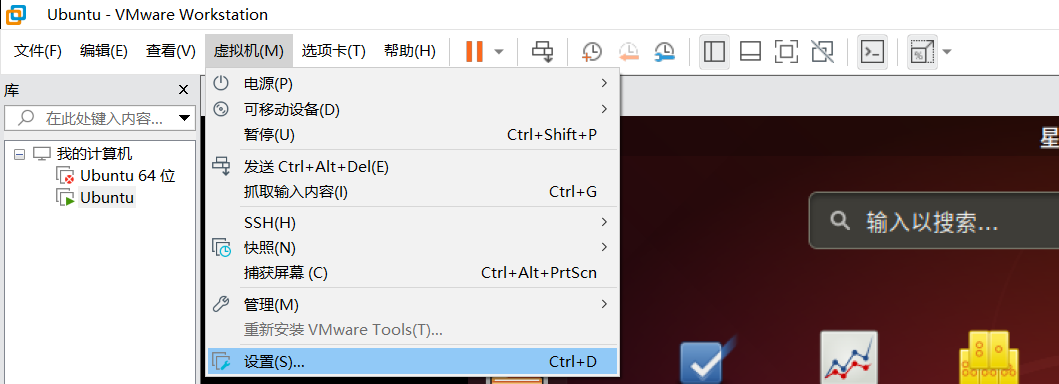
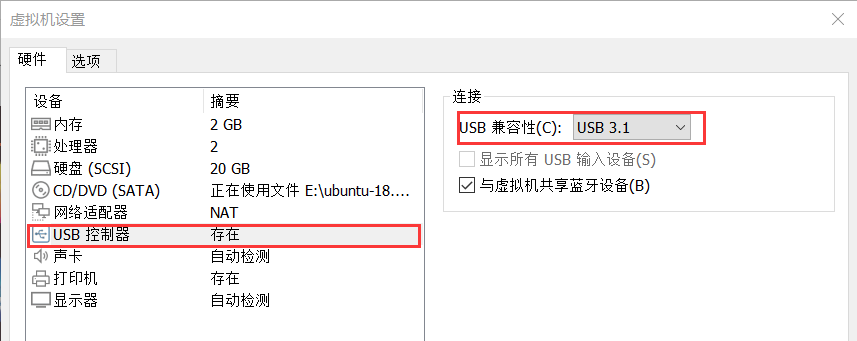
three point one Get camera permissions for virtual machine
Use the shortcut key Win + R, enter services.msc and press enter
Find VMware USB Arbitration The Service ensures that it is started
Click virtual machines, and then click settings
Select USB controller and set USB compatibility to USB 3.1 ” , And click OK.
Select virtual machines, then removable devices, and then Quanta hm1091_techfront ” (Note: different models of computer cameras have different names. Please select your own camera) , Finally, click "connect", and then click "OK" in the pop-up window
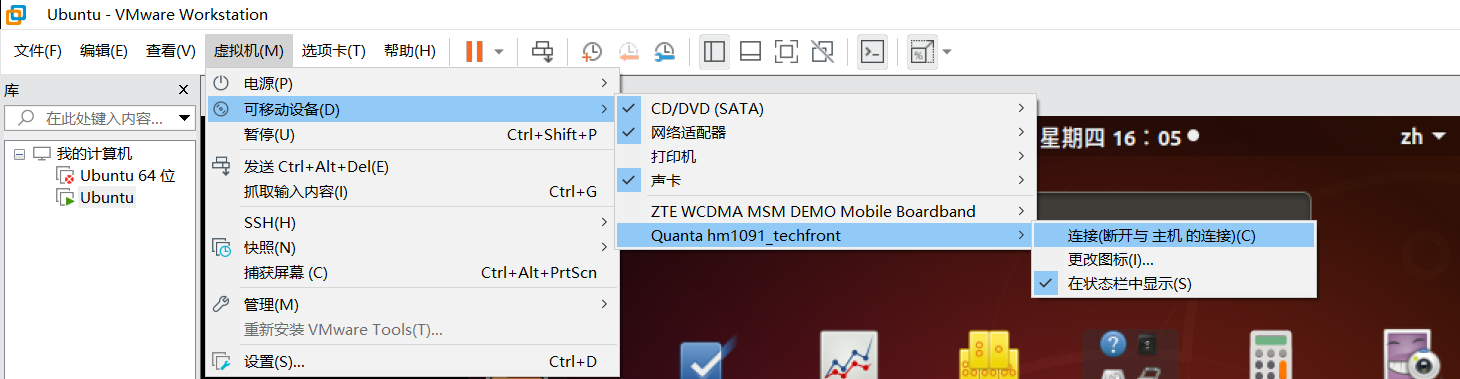
If there is a small green dot on the camera icon in the lower right corner of the virtual machine, the connection is successful

3.2 playing video
Create a test2.cpp file
vim test2.cpp
test2.cpp:
#include <opencv2/opencv.hpp>
using namespace cv;
int main()
{
	//Read video from camera
	VideoCapture capture("man.mp4");
	//Cycle through each frame
	while(1){
		Mat frame;//Define a Mat variable to store the image of each frame
		capture >> frame;//Read current frame
		if(frame.empty())//Play finished, exit
			break;
		imshow("Read video frame",frame);//Displays the current frame
		waitKey(30);//Cover up 30ms
	}
	system("pause");
	return 0;
}
Code explanation:
If the statement: videocapture (0), and the subsequent parameter is set to 0, the video will be read from the camera and displayed circularly; if it is set to the file name of a video, such as shipping.mp4, the video will be read and displayed circularly.
The Mat data structure in the while loop body is actually a dot matrix, corresponding to each point on the image. The set of points forms a frame image. For a detailed explanation of Mat, please see the Mat data structure in OpenCV
Statement: waitKey(30). The parameter unit in the statement is MS, that is, the interval of each frame is 30 ms. this statement cannot be deleted. Otherwise, an error will be executed and the video cannot be played or recorded.
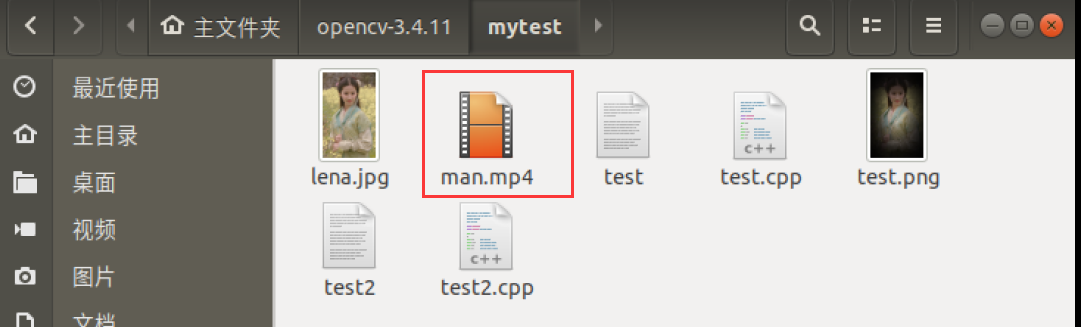
Put the prepared man.mp4 into the
Compile the test2.cpp file
g++ test2.cpp -o test2 `pkg-config --cflags --libs opencv`
Run program
./test2

three point three record video
Create a test3.cpp
vim test3.cpp
test3.cpp:
#include<iostream>
#include <opencv2/opencv.hpp>
#include<opencv2/core/core.hpp>
#include<opencv2/highgui/highgui.hpp>
using namespace cv;
using namespace std;
int main()
{
//Turn on the computer camera
VideoCapture cap(0);
if (!cap.isOpened())
{
cout << "error" << endl;
waitKey(0);
return 0;
}
//Get the resolution of cap
int w = static_cast<int>(cap.get(CV_CAP_PROP_FRAME_WIDTH));
int h = static_cast<int>(cap.get(CV_CAP_PROP_FRAME_HEIGHT));
Size videoSize(w, h);
VideoWriter writer("RecordVideo.avi", CV_FOURCC('M', 'J', 'P', 'G'), 25, videoSize);
Mat frame;
int key;//Record keyboard keys
char startOrStop = 1;//0 starts recording video; 1 ends recording video
char flag = 0;//Recording flag 0 - not recording; 1 - recording
while (1)
{
cap >> frame;
key = waitKey(100);
if (key == 32)//Press the space to start recording and pause recording to switch back and forth
{
startOrStop = 1 - startOrStop;
if (startOrStop == 0)
{
flag = 1;
}
}
if (key == 27)//Press ESC to exit the whole program and save the video file to disk
{
break;
}
if (startOrStop == 0 && flag==1)
{
writer << frame;
cout << "recording" << endl;
}
else if (startOrStop == 1)
{
flag = 0;
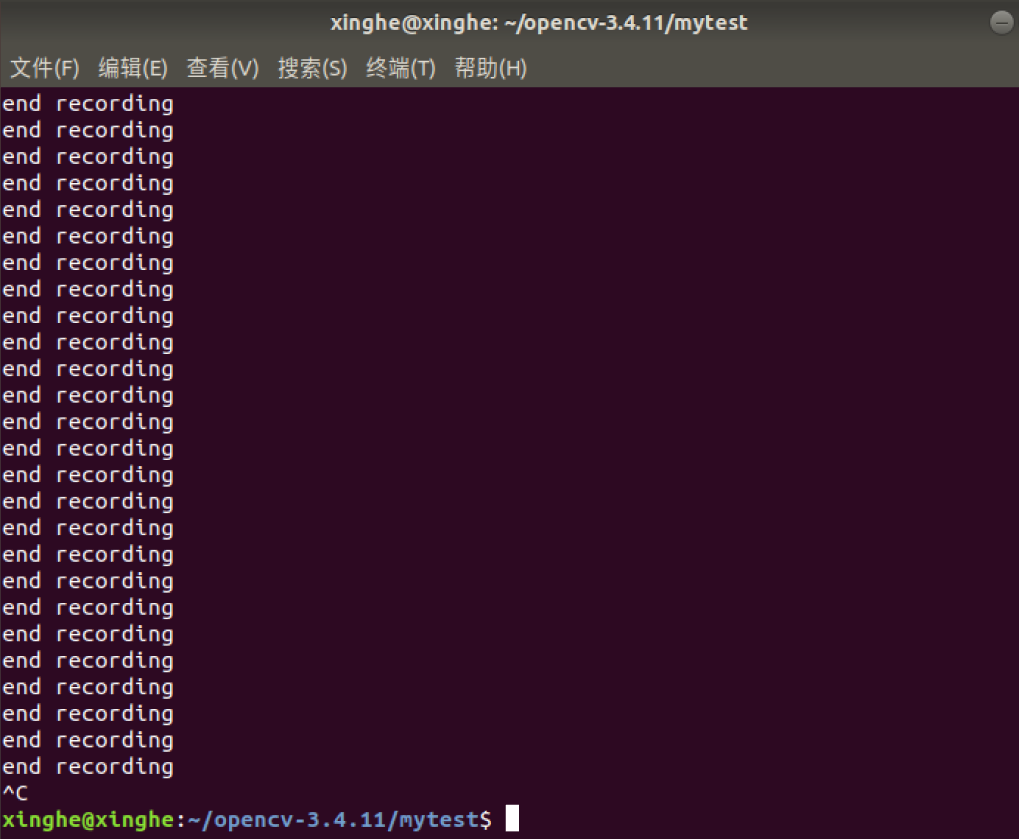
cout << "end recording" << endl;
}
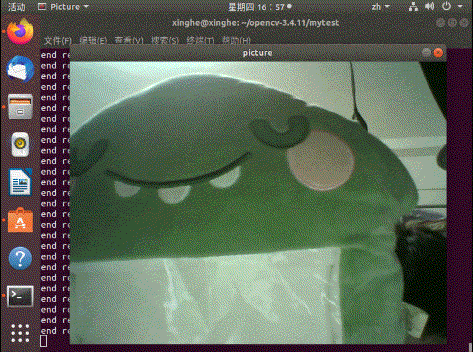
imshow("picture", frame);
}
cap.release();
writer.release();
destroyAllWindows();
return 0;
}Note: the space controls the start and pause of video recording. ESC exits and saves the video RecordVideo.avi
Compile the test3.cpp file
g++ test3.cpp -o test3 `pkg-config --cflags --libs opencv`
Run program
./test3
An. avi file is generated and frames are generated continuously
3.4 problem analysis
1) If you need to open a video file on your hard disk to play, how to modify the sample code?
Change VideoCapture (0) in line 11 of the code to VideoCapture capture ("/ home directory / folder 1 / Folder 2 / video name. mp4")
That is, change the 0 in the original code to the video path to be opened plus the video name.
2) In the while loop of the sample code, what data structure is Mat? Why do you have to add a waitKey delay code and delete it?
Mat is a matrix, and each image is composed of countless points, that is, mat is an image matrix.
The function of waitKey() is to refresh the image continuously. Without this function, the real-time display of the image cannot be realized, that is, the change of the image cannot be seen.
3) The sample code will run all the time in the while loop. If you try to close the image display window with the mouse, you will find that it cannot be closed. You need to use the keyboard Ctrl+C to forcibly interrupt the program, which is very unfriendly. How to improve it?
You can add a judgment statement in the while loop to exit the loop end program when it is equal to a certain value.