1. Install hive
1.1 installing java
Java must be installed on the system before Hive can be installed. Use the following command to verify whether Java has been installed. If Java has been installed on the system, you can see the following response

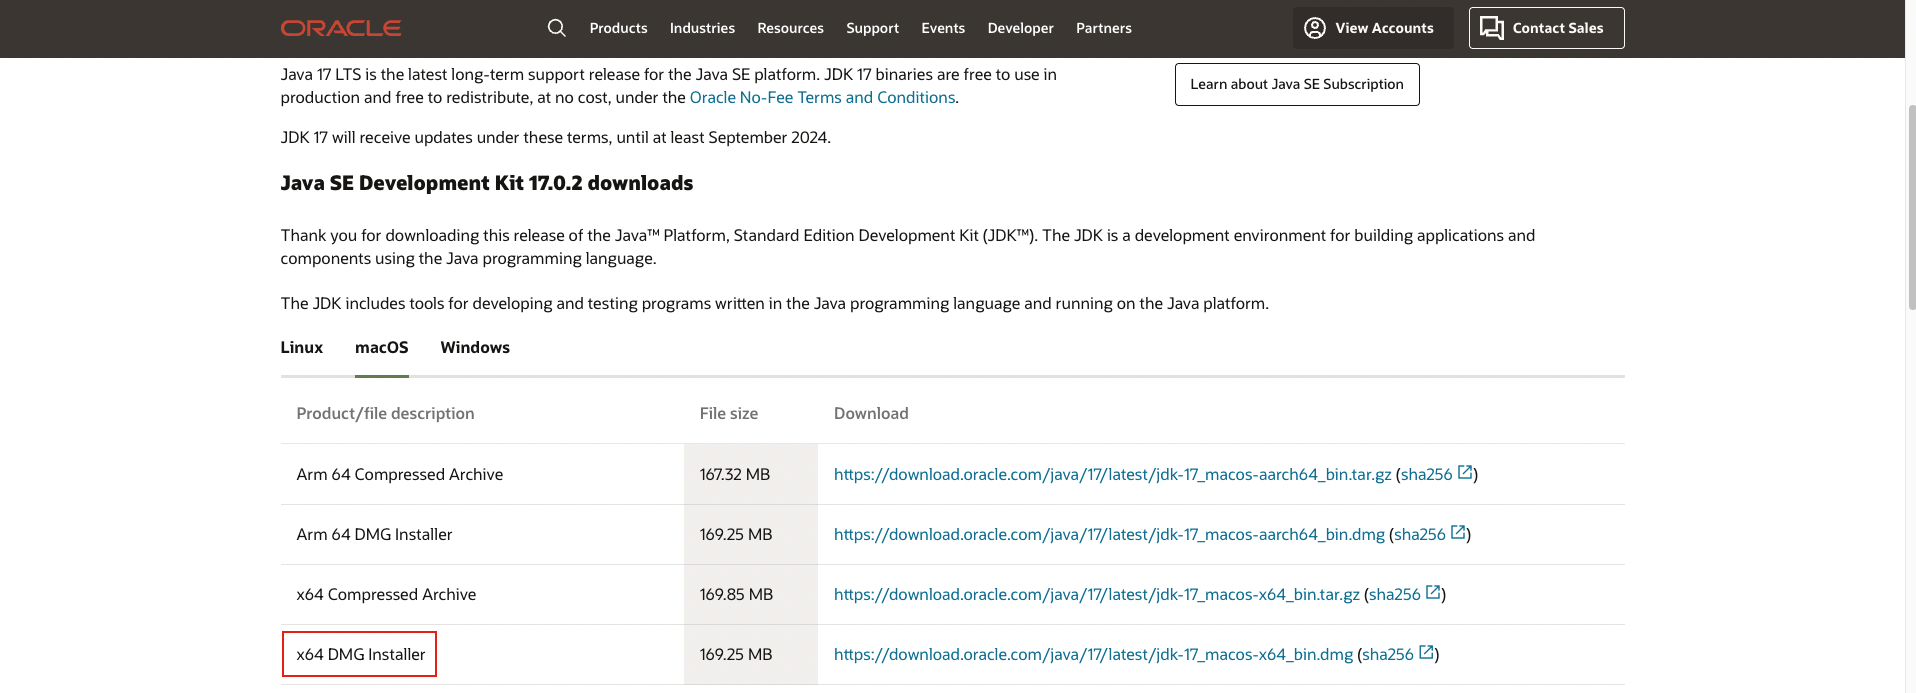
stay java official website Download and install as a fool

1.2 hadoop installation
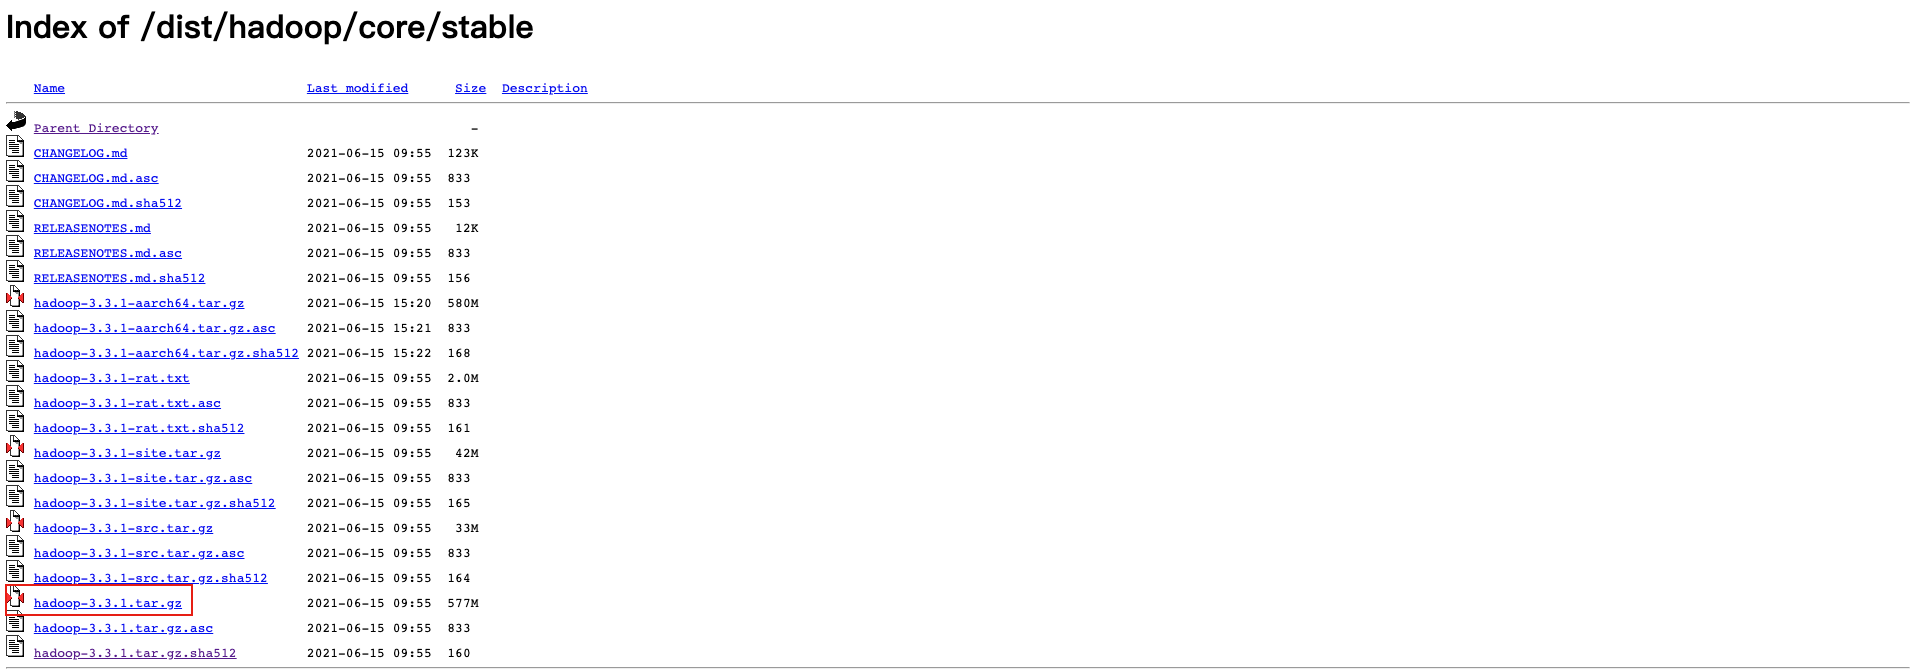
download hadoop
Unzip it into the specified directory and configure the environment variables (mac system) as follows
- Execute VIM ~ / bash_ Modify the environment variable of profile (it should be ~ /. bashrc under linux)
export HADOOP_HOME=/usr/local/hadoop
export HADOOP_MAPRED_HOME=$HADOOP_HOME
export HADOOP_COMMON_HOME=$HADOOP_HOME
export HADOOP_HDFS_HOME=$HADOOP_HOME
export YARN_HOME=$HADOOP_HOME
export HADOOP_COMMON_LIB_NATIVE_DIR=$HADOOP_HOME/lib/native export
PATH=$PATH:$HADOOP_HOME/sbin:$HADOOP_HOME/bin
- source ~/.bash_profile applies the current changes to the running system
Verify with the following command

hadoop configuration
Enter Hadoop configuration file directory $HADOOP_HOME/etc/hadoop
-
In order to use java to develop Hadoop projects, Java must be replaced by Java in the system_ Home value resets Hadoop env Java environment variables in SH file
First use / usr/libexec/java_home -V view java installation path

Modify Hadoop env SH file

-
Modify core site XML file, core site The XML file contains the following information, such as the memory allocated to the file system using the Hadoop instance, the memory limit port number for storing data, and the size of the read / write buffer
Open core site XML file and add the following attributes between tags
<configuration>

<property>
  <name>fs.default.name</name>
  <value>hdfs://localhost:9000</value>
</property>

</configuration>
-
Modify HDFS site XML file, HDFS site The XML file contains the following information, such as the value of the copied data, the path of the name node, and the path of the data node of the local file system
More configuration References: hive installation
Verify hadoop installation
-
Verifying hadoop dfs
start-dfs.sh

Crater record: connection rejected error
reference resources 1. Guidelines for building Hadoop development environment on Mac OS X
2. Permission denied (publickey,password,keyboard-interactive). -
Validate the yarn script
start-yarn.sh
-
The default port number for accessing Hadoop is 50070 (the default port of hadoop 3 is 9870). Use the following website to obtain the browser Hadoop service
http://localhost:9870/
1.3 hive installation
Download hive
download hive 2.3.9 , as shown in the figure below

Configure hive environment variables
Via VIM ~ / bash_ Profile, add the following statement
export HIVE_HOME=/Applications/apache-hive-2.3.9-bin
export PATH=$PATH:$HIVE_HOME/bin
export CLASSPATH=$CLASSPATH:/Applications/hadoop-3.3.1/lib/*:.
export CLASSPATH=$CLASSPATH:/Applications/apache-hive-2.3.9-bin/lib/*:.
Execute source ~ / bash_ Profile to make it effective
Configure hive
cd $HIVE_HOME/conf
cp hive-env.sh.template hive-env.sh
Edit HIV Env SH file add the following line
export HADOOP_HOME=/Applications/hadoop-3.3.1
1.4 download and install Apache Derby
As above, Hive installation completed successfully. Now, you need an external database server to configure the Metastore. We use the Apache Derby database.
2. hive use
-
Create database
CREATE DATABASE [IF NOT EXISTS] <database name>;
-
query data base
SHOW DATABASES;
-
Delete database
DROP DATABASE [IF EXISTS] <database name>;
-
Create table
CREATE TABLE [IF NOT EXISTS] [db_name.] table_name
[(col_name data_type, col_name2 data_type2, ...)]
[COMMENT table_comment]
[ROW FORMAT row_format]
[STORED AS file_format]
For example, create a table of employees
CREATE TABLE IF NOT EXISTS employee ( id int, name String, salary String, destination String); -
insert data
After creating a table in SQL, you can use INSERT statement to INSERT data. In Hive, you can use LOAD DATA statement to INSERT dataLOAD DATA [LOCAL] INPATH <filepath> [OVERWRITE] INTO TABLE <tablename>
LOCAL is the identifier specifying the LOCAL path; OVERWRITE overwrites the data in the table;
-
Change the name of the table
ALTER TABLE <name> RENAME TO <new_name>
-
Add a column
ALTER TABLE <name> ADD COLUMNS (col_spec[, col_spec ...])
-
Delete a column
ALTER TABLE <name> DROP [COLUMN] <column_name>
-
Change the column name / type of a column
ALTER TABLE <name> CHANGE <column_name> <new_name new_type>
-
Delete table
DROP TABLE [IF EXISTS] table_name;
-
Query statement select
SELECT [ALL | DISTINCT] <select_expr>, <select_expr>, ...
FROM <table_name>
[WHERE <condition>]
[GROUP BY col_list]
[HAVING having_condition]
[CLUSTER BY col_list | [DISTRIBUTE BY col_list] [SORT BY col_list]]
[LIMIT number];
-
Query and sort
SELECT [ALL | DISTINCT] <select_expr1>, <select_expr2>, ...
FROM <table_name>
[WHERE where_condition]
[GROUP BY col_list]
[HAVING having_condition]
ORDER BY <column_list>
[LIMIT number];
From the above syntax, we can see that the syntax of hive is very similar to that of mysql