1, Install PostgreSQL database on the server
1. yum command installation:
Select the system, Version (the version I selected is 12) and so on here. I use the yum command to install here. My command here is:
yum install https://download.postgresql.org/pub/repos/yum/reporpms/EL-6-x86_64/pgdg-redhat-repo-latest.noarch.rpm
yum install postgresql12
service postgresql-12 initdb
chkconfig postgresql-12 on
service postgresql-12 start
Pit 1 - error "Couldn't resolve host 'apt.sw.be'"
Run the following command and try again
cd /etc/yum.repos.d/
mv rpmforge.repo rpmforge.repo.bak
yum clean all
yum install
2. Apt get installs the PostgreSQL server and client
sudo apt-get install postgresql postgresql-client
3. PostgreSQL is started by default after installation
sudo /etc/init.d/postgresql start #open
sudo /etc/init.d/postgresql stop #close
sudo /etc/init.d/postgresql restart #restart
4. Create database user houls and specify as super user
sudo -u postgres createuser --superuser username
\q sign out psql
#Install git
sudo apt-get install git
#Download mimic IV using git
git clone https://github.com/MIT-LCP/mimic-iv.git
2, Connect postgres
1. Connect
psql -U txh -h localhost -p 5432 -d postgres
#At first, it was connected like this every time. In fact, it doesn't have to be so complicated,
psql postgres # directly connects to the default user postgres, whose password is psql by default
The following is commonly used. Connect to the postgres database as the user of hours, and then connect to other databases created on this basis
psql -U username -d postgres
2. Create database mimic
CREATE DATABASE mimic OWNER username;
3. Connecting to mimic database
\c mimic;
4. Create a mimic4 schema under mimic4
CREATE SCHEMA mimic4;
set search_path to mimic4;
3, Use the script file downloaded from git to create tables and load data sets
1. Use the mic IV script file downloaded from git to create tables and load data sets
#For the example directly given on the official website, the sql script file is directly in the current directory by default, but the mimic IV folder of the downloaded script file containing sql is usually not in the current directory
psql 'dbname=mimic user=username options=--search_path=mimiciv' -f create.sql
The command needs to be modified, including the directory where the script is located
psql 'dbname=mimic user=username options=--search_path=mimic4' -f /home/txh/mimic-iv/buildmimic/postgres/postgres_create_tables.sql
#That is, Postgres_ create_ tables. The SQL file is placed under / home / T / MIC IV / buildmimic / Postgres
This is the interface given by the official website for the successful operation of the above script. Some other information may appear, such as deleting warning. It is normal. As long as it is not "sql file not found"
2. Load data
psql 'dbname=mimic user=mimicuser options=--search_path=mimic4' -f postgres_load_data.sql -v mimic_data_dir='<path_to_data>'
I used it after modification and met many problems
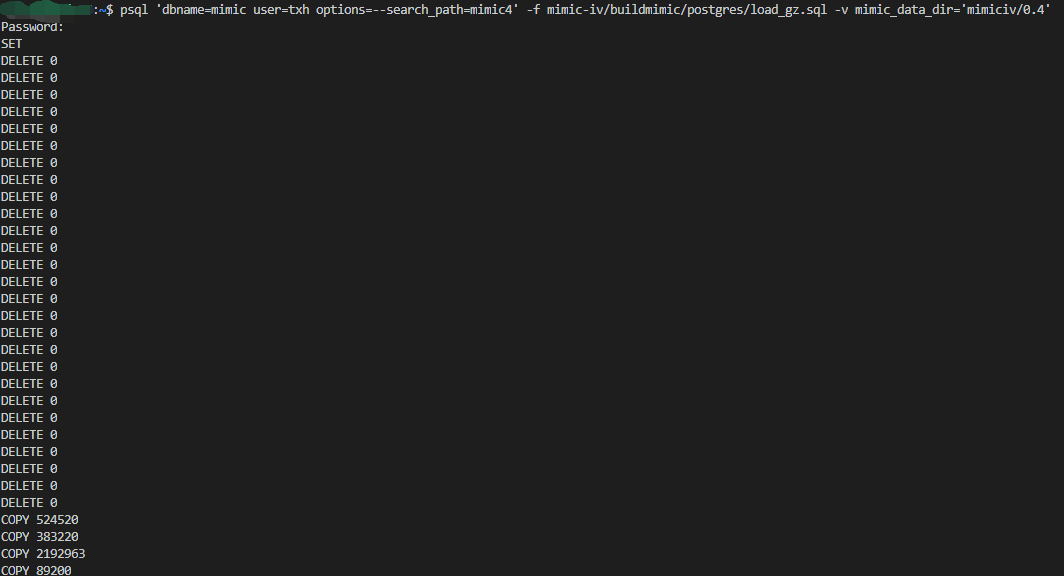
psql 'dbname=mimic user=txh options=--search_path=mimic4' -f mimic-iv/buildmimic/postgres/load_gz.sql -v mimic_data_dir='mimiciv/0.4'
#There are several decompression scripts under the mimic IV / buildmimic / Postgres directory. If the data has been decompressed, use load The SQL file is OK. If it is not decompressed, use load_gz.sql or load_ 7z. Any SQL can be used. It depends on which decompression tool is installed
3. You can also decompress the data first and then load the data
#Decompression first
unzip /home/houls/MIMIC.zip
#You can find that there are many gz compressed files in the extracted file,
Specifically, enter the decompressed data set
cd /home/houls/MIMIC
Then use the ls command to see the specific contents in the mime folder
In fact, you don't need to decompress at this time, because the previously downloaded mic code script file contains the script that loads the GZ compressed file: postgres_load_data_gz.sql
But I may have failed to run successfully due to other errors. The final solution is to unzip all gz files first,
gunzip *gz
Then use Postgres_ load_ data. Copy the sql / home file to / cp
The specific commands finally executed are:
psql 'dbname=mimic user=username options=--search_path=mimic4' -f postgres_load_data.sql -v mimic_data_dir='/home/txh/MIMIC'
Screenshot of successful data import

4. Indexing
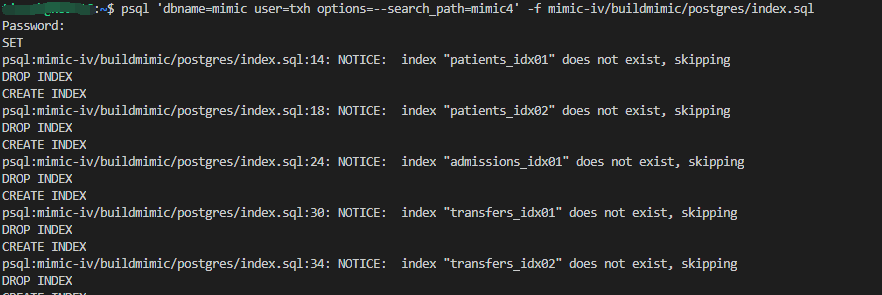
psql 'dbname=mimic user=txh options=--search_path=mimic4' -f mimic-iv/buildmimic/postgres/index.sql

5. Verify data integrity
psql 'dbname=mimic user=txh options=--search_path=mimic4' -f mimic-iv/buildmimic/postgres/constraints.sql