preface
Early methods for image rotation were:
- cv2.imread() reads the image
- numpy rotating image
- Save the rotated image CV2 Imwrite() and read the image again
Because of the basic operation of images, I am a little white and have never touched anything. Therefore, the early idea is like this. This method is simple and clear, but you know the disadvantages
Later, I saw this article occasionally: [PyQt5] displays multiple pictures and supports scrolling , one line of code: label Setscaledcontents (true) adapts the size of window controls, so I collected all kinds of information on the Internet, tested it myself, and finally summarized it into this blog.
Here is a collection of simple image processing + basic format conversion used in image interface design. I hope it can help you!
1, Conversion
- Test image
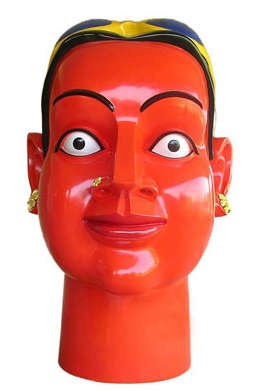
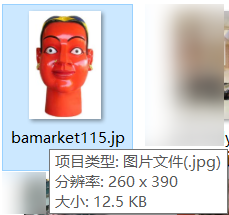
- path,photo
path = r'F:\python\gradu_design\gra_des\compr\bamarket115.jpg'
# r'F:\python\gradu_design\gra_des\imges\logo1_1.jpg'

# call
photo = QImage(path)
# print('photo type:', type(photo), photo.width(), photo.height())
The parameters photo and path involved in the following methods come from this
- Display problem
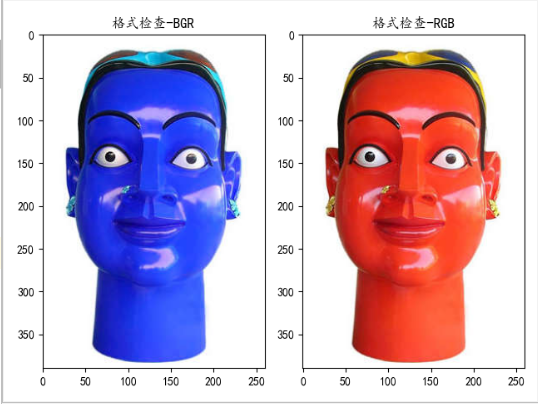
The following method will see two pictures compared together: This is to use matplotlib alone to display and view the effect of conversion:
matplotlib displays RGB images. Since the test image is red, if the result shows blue, it proves that the image is in BGR format. On the contrary, if it is the same as the original image, it is in RGB format
# image type must be < class' numpy Ndarray '>, plt can be displayed
def plt_show(self,image):
    plt.subplot(121)
    plt.title('Format check-BGR')
    plt.imshow(image)

    plt.subplot(122)
    plt.title('Format check-RGB')
    plt.imshow(image[:,:,::-1])  # Normal display

    plt.show()
1.1 Opencv_to_QPixmap
Complete process: opencv - > qimage - > qpixmap
- code
# Call cv2 to read the image - > qpixmap to make QLabel display
self.cvread_labelshow(pic_show_label=self.label,path=path)
# cv2 read image - > qpixmap let QLabel display
def Opencv_to_QPixmap(self,pic_show_label,path):
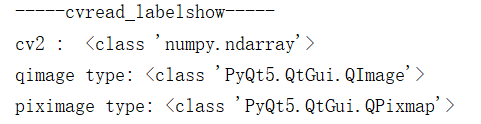
print('-----cvread_labelshow-----')
# Picture path
img_path = path
# Read BGR format of picture through cv
img = cv2.imread(img_path)
print('cv2 : ',type(img))# cv2 : <class 'numpy.ndarray'>
plt.subplot(121)
plt.title('BGR-format')
plt.imshow(img) # IMG was originally in BGR format and was converted to RGB format through img[:,:,::-1]
# Channel conversion BGR - > RGB
RGBImg = cv2.cvtColor(img, cv2.COLOR_BGR2RGB)
plt.subplot(122)
plt.title('RGB-format')
plt.imshow(RGBImg) # matplotlib can only display RGB images
plt.show()
# Convert pictures to Qt readable format QImage
qimage = QImage(RGBImg, RGBImg.shape[1], RGBImg.shape[0], QImage.Format_RGB888)
print('qimage type:', type(qimage))
piximage = QPixmap(qimage)
print('piximage type:', type(piximage))
# display picture
pic_show_label.setPixmap(piximage)
pic_show_label.setScaledContents(True)
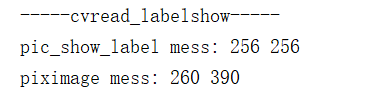
print('pic_show_label mess:',pic_show_label.width(), pic_show_label.height())
print('piximage mess:',piximage.width(),piximage.height())
- test result
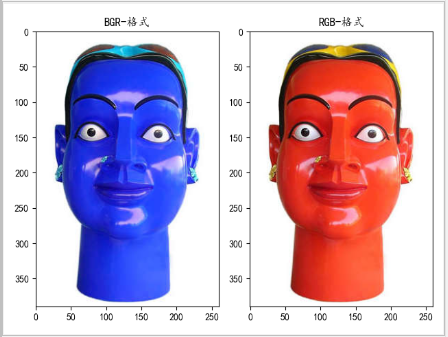
- conclusion
- matplotlib can only display numpy Adarry type and display RGB format
- The adaptation does not change the actual size of the image
1.2 QImage_to_QPixmap
- code
self.QImage_to_QPixmap(photo)

# Make the read image adaptive qlabel qimage - > qpixmap
def QImage_to_QPixmap(self,photo):
    print('-----Adjust_Img_Size-----')
    width = self.label.width()
    height = self.label.height()
    print('photo size:',type(photo),photo.width(),photo.height())

    size = QSize(width, height)
    # Qt.IgnoreAspectRatio,Qt.KeepAspectRatio,
    # https://www.cnblogs.com/qixianyu/p/6891054.html
    pixphoto = QPixmap.fromImage(photo.scaled(size, Qt.KeepAspectRatio,Qt.SmoothTransformation)) # Qimage - > qpixmap ignoreaspectratio: ignore aspect ratio

    self.label.setPixmap(pixphoto)
    self.label.setScaledContents(True)  # Image adaptive window size

    print('pixphoto type:', type(pixphoto), width,height)
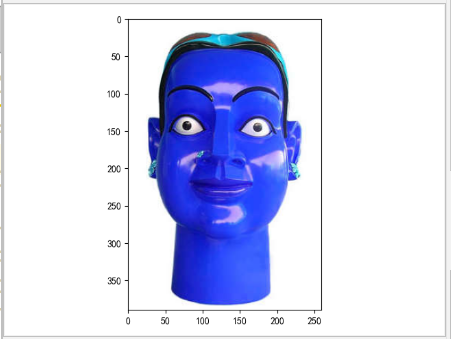
- test result

Will code
- pixphoto = QPixmap.fromImage(photo.scaled(size, Qt.KeepAspectRatio,Qt.SmoothTransformation))
Change to
- pixphoto = QPixmap(photo)
QPixmap shape change

1.3 QPixmap_to_Opencv
- code
pixphoto = QPixmap(path)
# Call Pixmap_to_Opencv
pixarr = self.Pixmap_to_Opencv(pixphoto)
plt.imshow(pixarr)
plt.show()
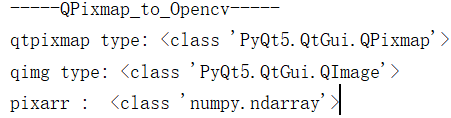
print('pixarr : ', type(pixarr)) # Look at the test results 1
# QPixmap to CV2
def Pixmap_to_Opencv(self,qtpixmap):
print('-----QPixmap_to_Opencv-----')
print('qtpixmap type:',type(qtpixmap))
qimg = qtpixmap.toImage() # QPixmap-->QImage
print('qimg type:', type(qimg))
temp_shape = (qimg.height(), qimg.bytesPerLine() * 8 // qimg.depth())
temp_shape += (4,)
ptr = qimg.bits()
ptr.setsize(qimg.byteCount())
result = np.array(ptr, dtype=np.uint8).reshape(temp_shape)
result = result[..., :3]
# cv2.imwrite('./result.jpg',result) # If saved, RGB format will be displayed
return result
- test result
-
-
-
If you examine the code carefully, you will find this line of code:
cv2.imwrite('./result.jpg',result)
According to test result 1, call pixmap_ to_ After opencv method, the image is in BGR format. Will the saved image also be in BGR format?
A: no (this line of code is used to test the effect)
The saved image is actually color (if it is in BGR format, the image should be blue). Therefore, we infer that there should be format change when using opencv to save the image (if you are interested, you can check the source code, which will not be repeated here)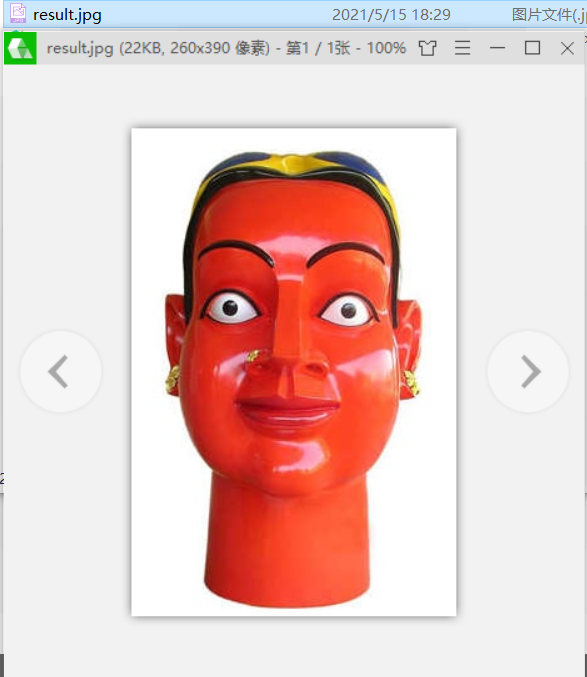
-
Modify calling code
pixphoto = QPixmap(path) ① pixarr = self.Pixmap_to_Opencv(pixphoto)② print('pixarr : ', type(pixarr)) ③
Change to
pixphoto = QPixmap(path)① pixarr = self.Pixmap_to_Opencv(pixphoto)② print('pixarr : ', type(pixarr))③ self.plt_show(pixarr)④See the effect displayed by matlibplot:
1.4 QImage_to_Opencv
- code
# Call QImage_to_Opencv
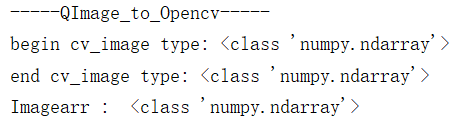
Imagearr = self.QImage_to_Opencv(photo)
print('Imagearr : ', type(Imagearr))
self.plt_show(Imagearr)
# QImage to Opencv
def QImage_to_Opencv(self,qimg):
print('-----QImage_to_Opencv-----')
tmp = qimg
# Create an empty image using numpy
cv_image = np.zeros((tmp.height(), tmp.width(), 3), dtype=np.uint8)
print('begin cv_image type:',type(cv_image))
for row in range(0, tmp.height()):
for col in range(0, tmp.width()):
r = qRed(tmp.pixel(col, row))
g = qGreen(tmp.pixel(col, row))
b = qBlue(tmp.pixel(col, row))
# cv_image[row, col, 0] = r
# cv_image[row, col, 1] = g
# cv_image[row, col, 2] = b
cv_image[row, col, 0] = b
cv_image[row, col, 1] = g
cv_image[row, col, 2] = r
print('end cv_image type:', type(cv_image))
cv2.imwrite('./QImage_to_Opencv.jpg',cv_image)
return cv_image
- test result

1.5 Opencv_to_QImage
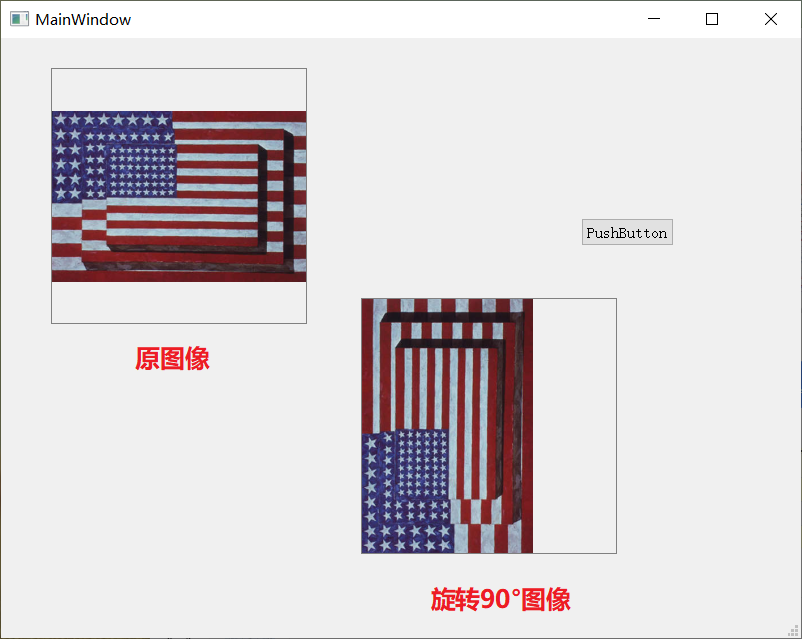
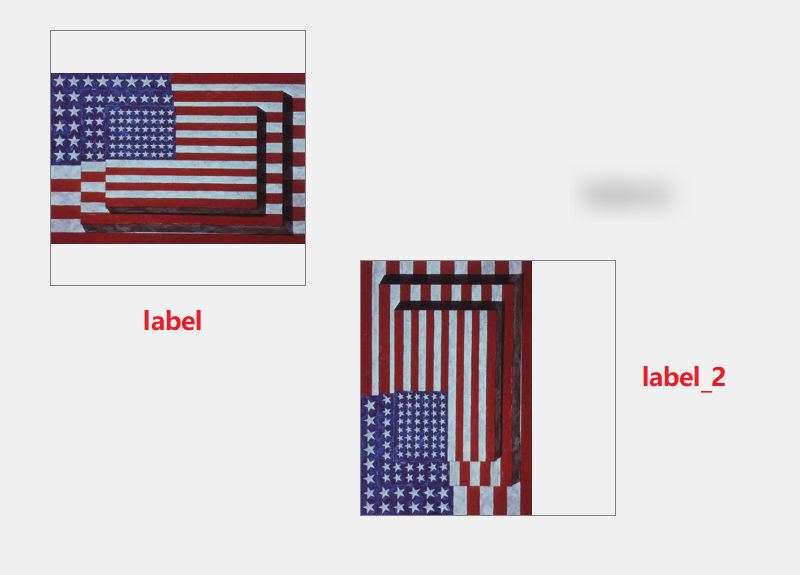
Requirement: distortion occurs when the image is rotated by 90 °, as follows:
analysis:
The whole process of image rotation is qpixmap - > qpencv - > qpixmap. I tested qpixmap - > qpencv ① and qpencv - > qpixmap ② respectively, and found that process ② is the cause of the problem, so I changed the whole process to:
QPixmap -> Qpencv -> QImage -> QPixmap
- code
# Call QPixmap_to_Opencv
pixphoto = QPixmap(path)
pixarr = self.QPixmap_to_Opencv(pixphoto)

print('pixarr : ', type(pixarr))
img_rotate = np.rot90(pixarr, 1)

print('img_rotate : ', type(img_rotate))
plt.imshow(img_rotate[:, :, ::-1])
plt.show()

# Call Opencv_to_QImage
QtImg = self.Opencv_to_QImage(img_rotate)
self.QImage_to_QPixmap(QtImg,self.label_2) # This is qimage_ to_ Modified version of qpixmap

def Opencv_to_QImage(self,img):

    # Convert the picture to BGRA mode;
    img_rgb = cv2.cvtColor(img, cv2.COLOR_BGR2BGRA)
    QtImg = QImage(img_rgb.data, img_rgb.shape[1], img_rgb.shape[0],QImage.Format_RGB32)

    # # Display pictures into label;
    # self.labImage.resize(QSize(img_rgb.shape[1],img_rgb.shape[0]))
    # self.labImage.setPixmap(QPixmap.fromImage(QtImg))

    return QtImg
- test result
See 2.1 case 1 - image rotation for the complete source code
2, Actual combat cases
2.1 case 1 - image rotation
- test_resize.ui file
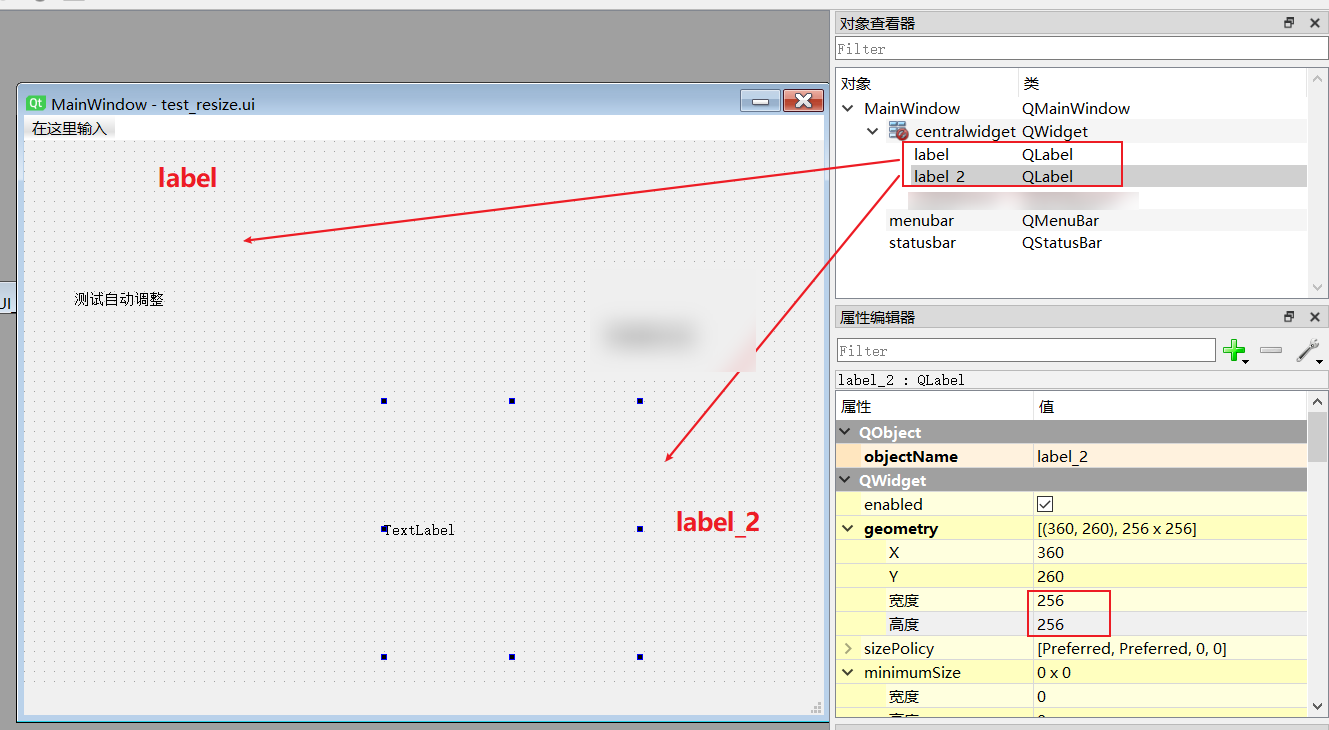
- Image rotation source code
import sys
import cv2
from PyQt5.QtCore import *
from PyQt5.QtGui import *
from PyQt5.QtWidgets import *

import numpy as np
import matplotlib.pyplot as plt
from PyQt5.uic import loadUi

class QLabel_resize(QMainWindow):
    def __init__(self):
        super().__init__()

        self.setupUi()
        self.resize_QLabel()

    def setupUi(self):
        loadUi('./test_resize.ui', self)
        plt.rcParams['font.sans-serif'] = ['KaiTi']

    def resize_QLabel(self):
        print('-----resize_QLabel-----')

        path = r'F:\python\gradu_design\gra_des\compr\jasper_johns.jpg'

        photo = QImage(path)
        print('photo type:', type(photo), photo.width(), photo.height())

        self.all_iamge_type_conversion(path,photo)

    def all_iamge_type_conversion(self,path,photo):

		# QImage_to_QPixmap reads the image first and displays it in QLabel
        self.QImage_to_QPixmap(photo,self.label)

        pixphoto = QPixmap(path)
        pixarr = self.QPixmap_to_Opencv(pixphoto)
        print('pixarr : ', type(pixarr))
        img_rotate = np.rot90(pixarr, 1)

        print('img_rotate : ', type(img_rotate))
        plt.imshow(img_rotate[:, :, ::-1])
        plt.show()

        # Call Opencv_to_QImage
        QtImg = self.Opencv_to_QImage(img_rotate)
        self.QImage_to_QPixmap(QtImg,self.label_2)


    # Make the read image adaptive qlabel qimage - > qpixmap
    def QImage_to_QPixmap(self,photo,label):
        print('-----Adjust_Img_Size-----')
        label.setStyleSheet("border:1px solid gray") # Make QLabel border

        width = self.label.width()
        height = self.label.height()

        print('photo size:',type(photo),photo.width(),photo.height())

        size = QSize(width, height)

        # Qt.IgnoreAspectRatio,Qt.KeepAspectRatio,
        # https://www.cnblogs.com/qixianyu/p/6891054.html
        pixphoto = QPixmap.fromImage(photo.scaled(size, Qt.KeepAspectRatio,Qt.SmoothTransformation)) # Qimage - > qpixmap ignoreaspectratio: ignore aspect ratio
        # pixphoto = QPixmap(photo)
        label.setPixmap(pixphoto)


    # QPixmap to Opencv
    def QPixmap_to_Opencv(self,qtpixmap):
        print('-----QPixmap_to_Opencv-----')
        print('qtpixmap type:',type(qtpixmap))
        qimg = qtpixmap.toImage()  # QPixmap-->QImage

        temp_shape = (qimg.height(), qimg.bytesPerLine() * 8 // qimg.depth())
        temp_shape += (4,)
        ptr = qimg.bits()
        ptr.setsize(qimg.byteCount())
        result = np.array(ptr, dtype=np.uint8).reshape(temp_shape)
        result = result[..., :3]

        return result

    def Opencv_to_QImage(self,img):
        # Convert the picture to BGRA mode;
        img_rgb = cv2.cvtColor(img, cv2.COLOR_BGR2BGRA)
        QtImg = QImage(img_rgb.data, img_rgb.shape[1], img_rgb.shape[0],QImage.Format_RGB32)
        return QtImg


def main():
    app = QApplication(sys.argv)
    window = QLabel_resize()
    window.show()
    app.exec_()

if __name__ == "__main__":
    main()
- Test effect
summary
- Reference resources