1: Create a project
django-admin startproject mysite
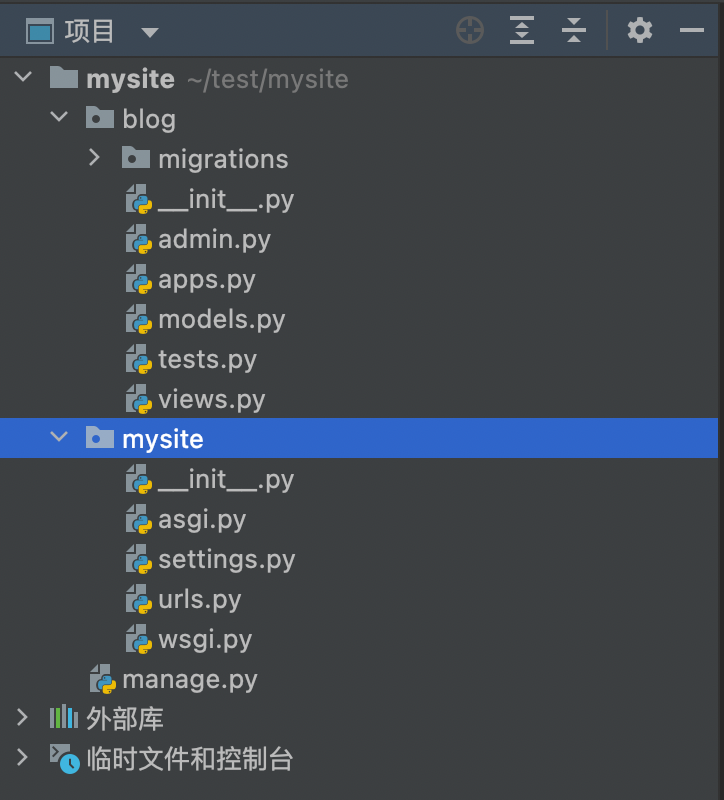
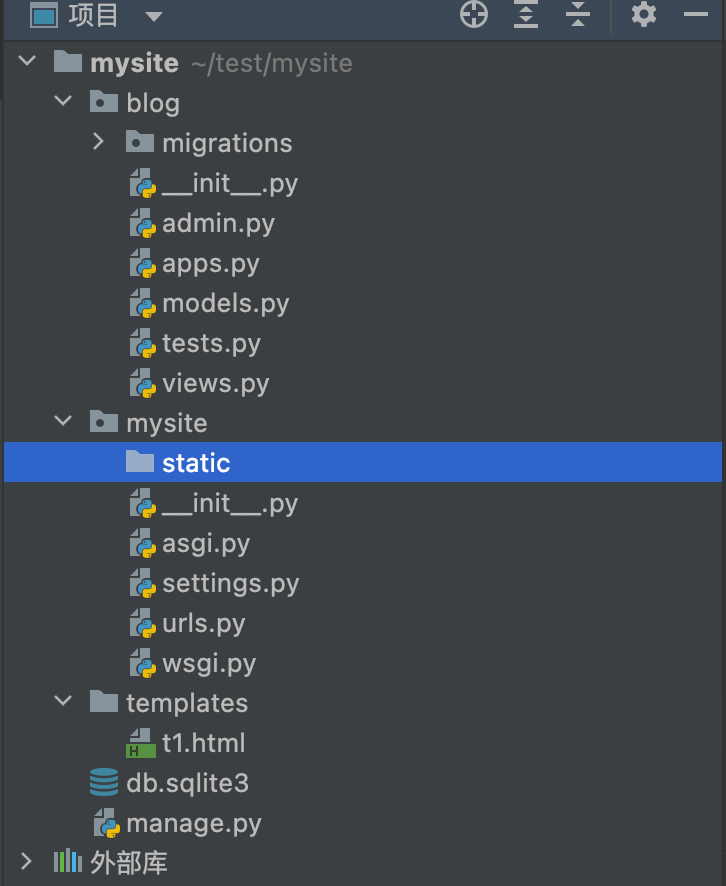
Once created, the project directory structure is as follows:
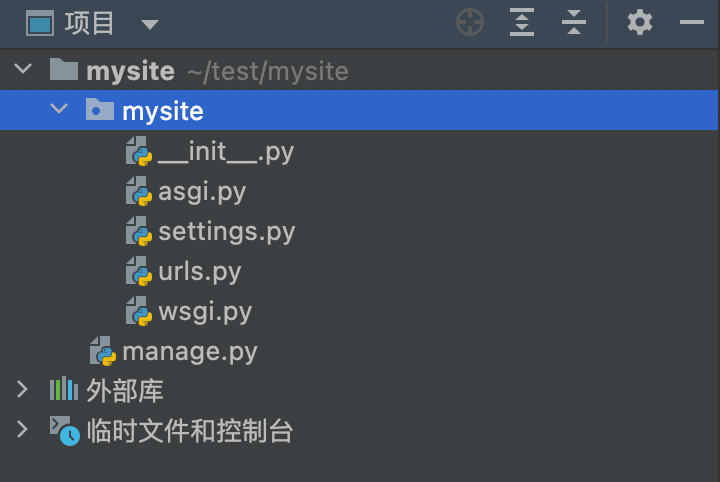
Manage. Py ----- Tools inside a Django project that can call Django shells, databases, etc.
settings.py -- Contains default settings for the project, including database information, debug flags, and other work variables.
urls.py -- Responsible for mapping URL patterns to applications.
2:Create blog Application
python manage.py startapp blog
When completed, a blog folder will be generated in the project
3: Database operations
Initialize the database:
python comes with its own SQLite database, and Django supports a variety of mainstream databases, so let's start with SQLite.
If you use another database, set tings. Set in py file. The default configuration of the database is:
DATABASES = {
'default': {
'ENGINE': 'django.db.backends.sqlite3',
'NAME': os.path.join(BASE_DIR, 'db.sqlite3'),
}
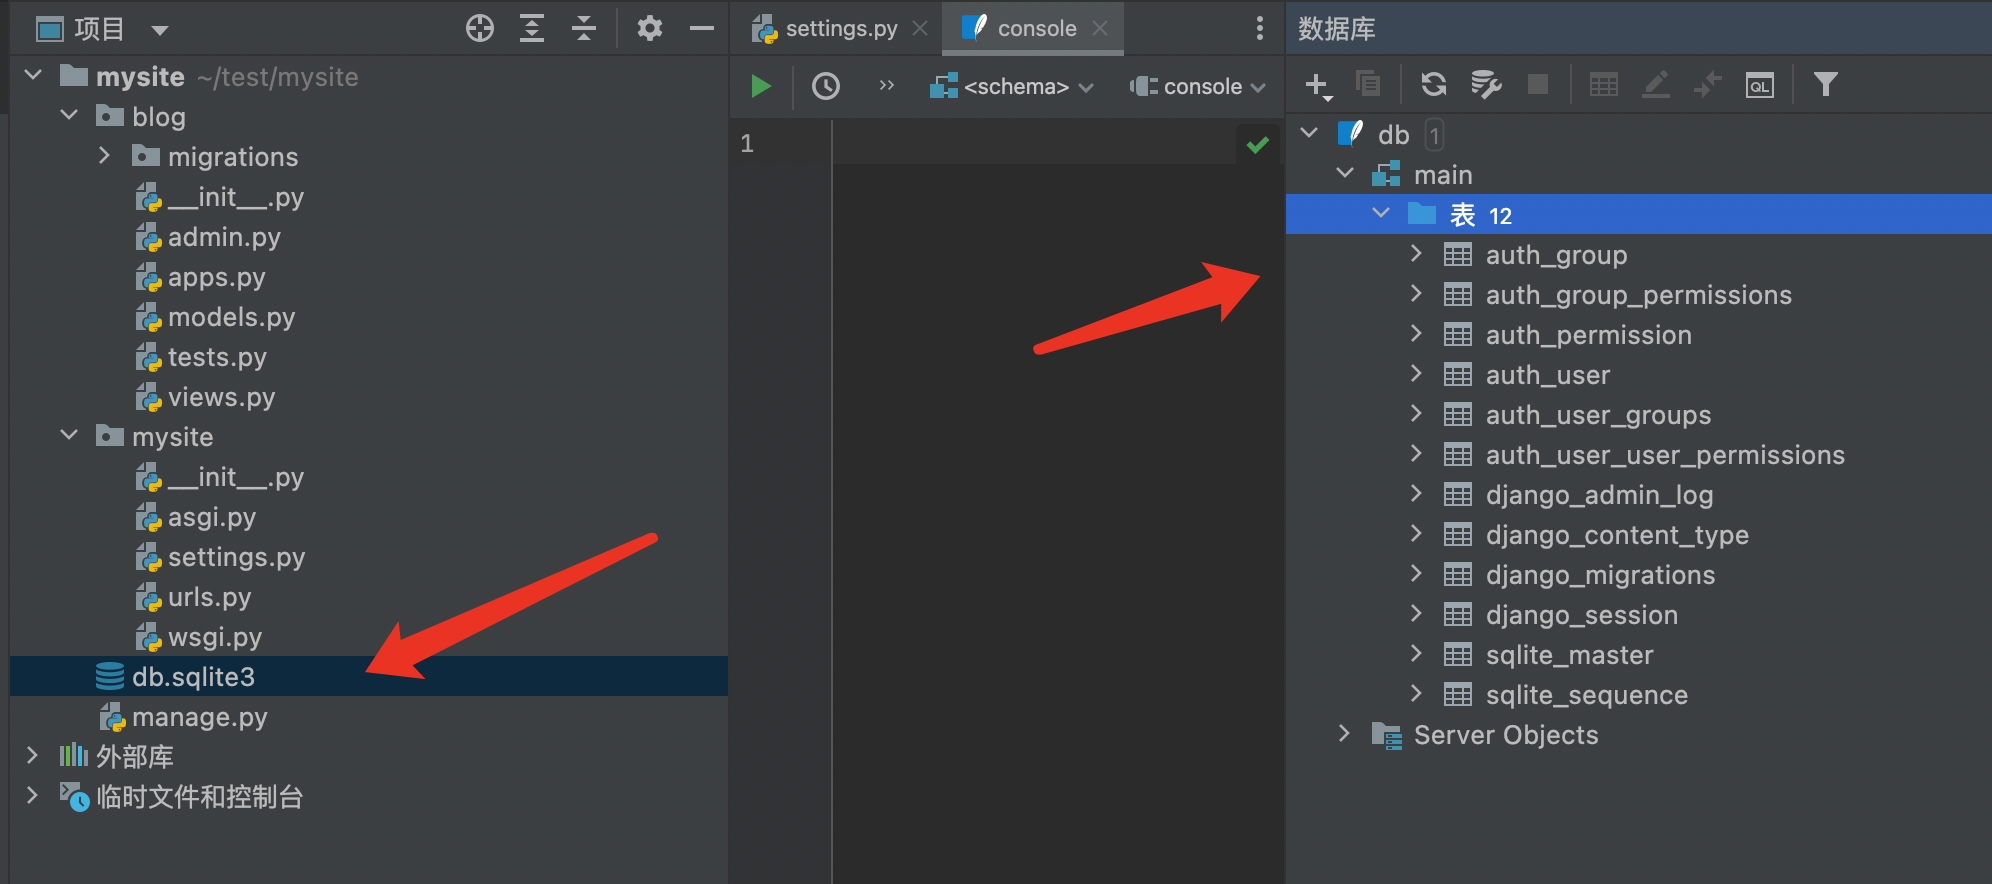
}Initialize the database using the default data configuration:
When the command is executed, some data tables are generated:
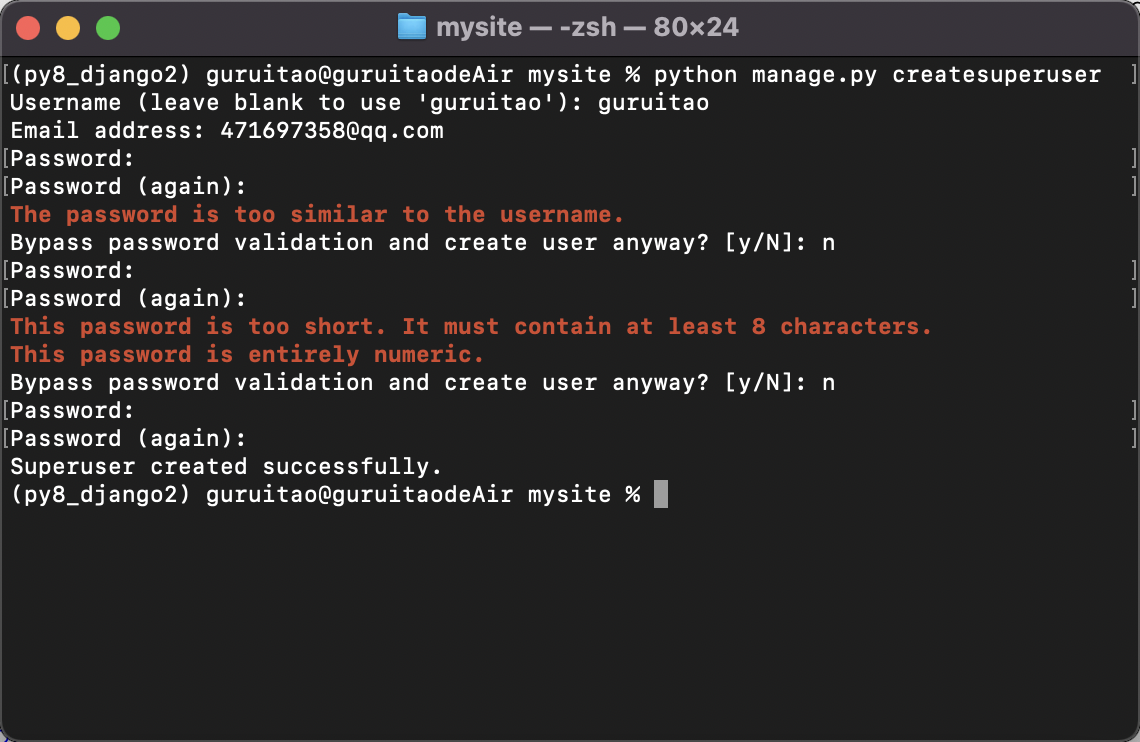
Django comes with a WEB background. Here is the user name and password to create the WEB background:
python manage.py createsuperuser
Be careful ⚠️: Passwords cannot resemble user names, and passwords cannot be pure numbers.
Next, let's try using the account password created above to log in to the background. To log in to the background, you must set tings. Add the APP, or blog, created above to the PY file:
INSTALLED_APPS = [
    'django.contrib.admin',
    'django.contrib.auth',
    'django.contrib.contenttypes',
    'django.contrib.sessions',
    'django.contrib.messages',
    'django.contrib.staticfiles',
    'blog',
]
Note that there must be a comma after it!
Start the django container:
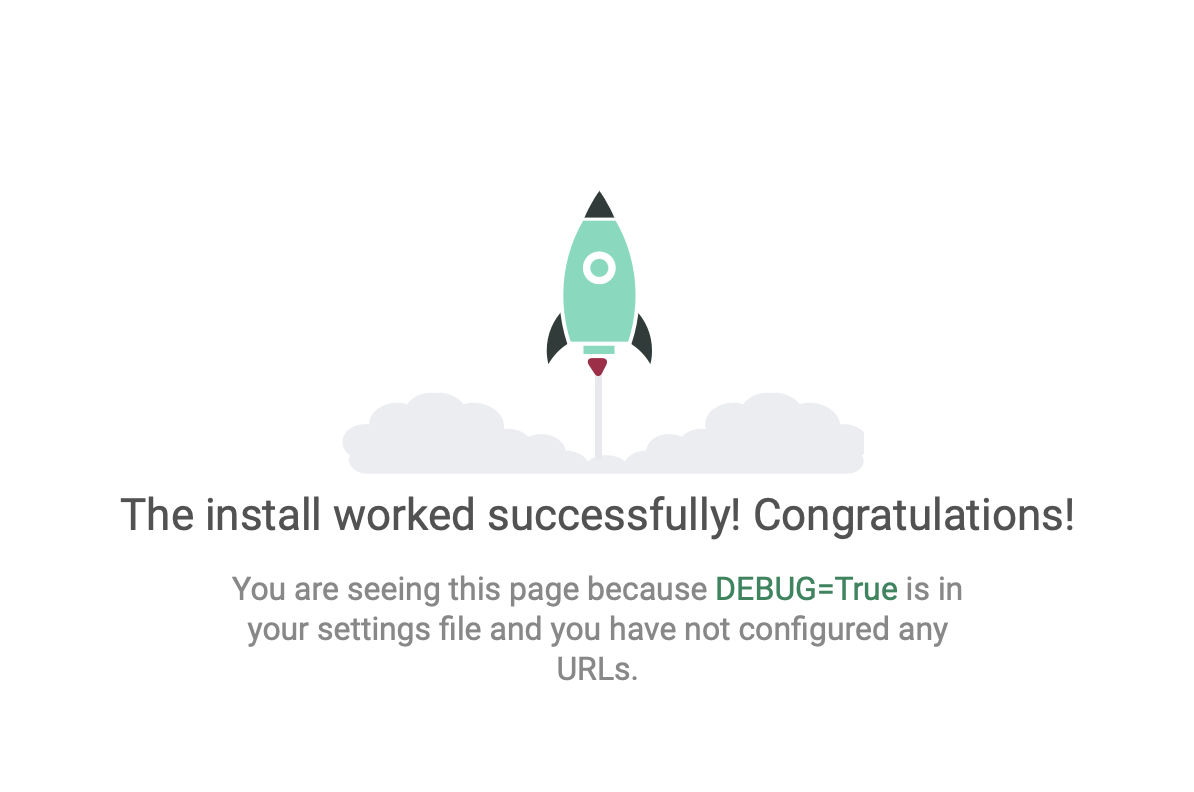
python manage.py runserver
The default WEB address is http://127.0.0.1 , port 8000, use this address and port to access the home page:
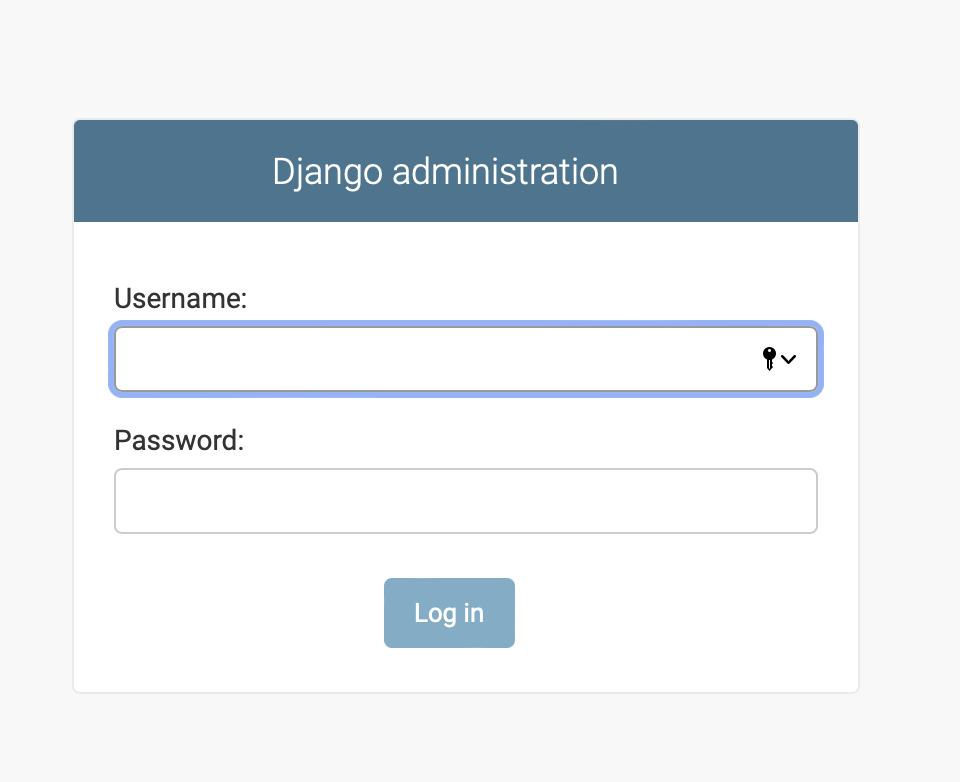
Visit django's background below: http://127.0.0.1/admin
Create a UseInfo table and create fields:
Now let's open models in the blog directory. Py file, which is where we define the blog data structure. Open mysite/blog/models.py file to modify:
from django.db import models


# Create your models here.
class Demo(models.Model):
    car_num = models.CharField(max_length=32)
    park_name = models.CharField(max_length=32)
    jinru_Date = models.CharField(max_length=32)
    chuqu_Date = models.CharField(max_length=32)
    time = models.CharField(max_length=32)
Command line execution:
python manage.py makemigrations
python manage.py migrate
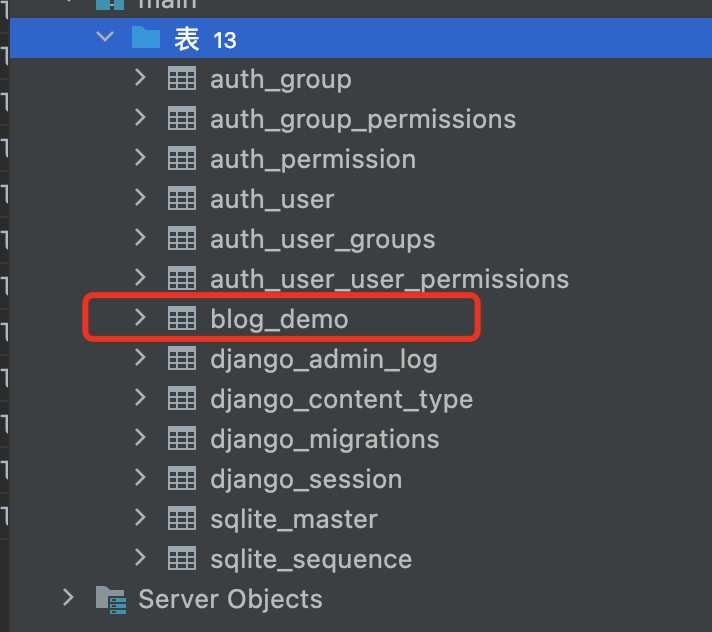
As you can see from the figure above, Django prefixes the datasheet with APP by default and the datasheet name with class name!
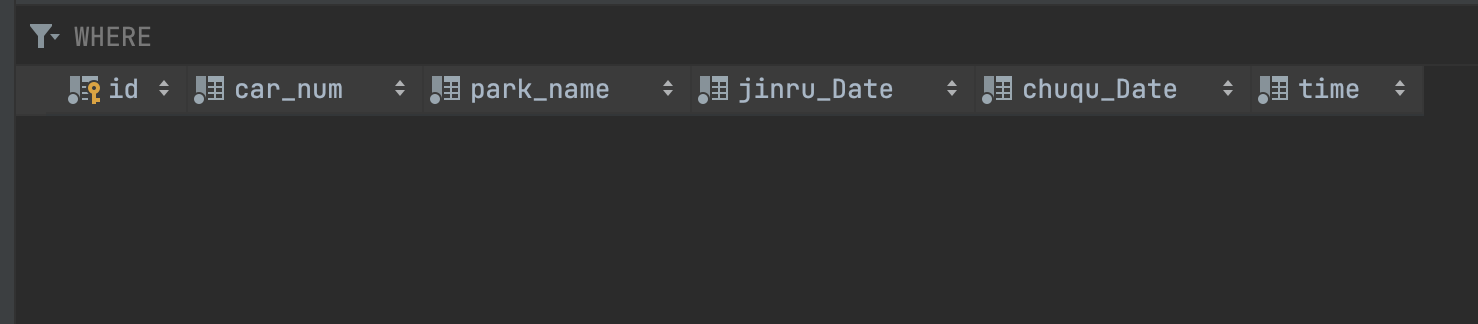
The fields created are as follows:
4. In blog_ Add data to the demo table:
Django is in views. In the PY file, import models.py file to create data:
from django.shortcuts import render

# Create your views here.

from blog import models  # Import blog Module
from django.shortcuts import HttpResponse


def db_handle(request):
    # Add data
    models.Demo.objects.create(car_num='Shaanxi E-BV886', park_name='Chinese Medical Hospital', jinru_Date='2022-02-05',
                                   chuqu_Date='2022-02-06', time='1')
    return HttpResponse('OK')
Next, we configure routes so that browsers can access views.py file:
from blog import views

urlpatterns = [
    path('admin/', admin.site.urls),
    path(r'db_handle', views.db_handle),
]
Next let's visit http://127.0.0.1/db_handle
Check to see if the database was created successfully:
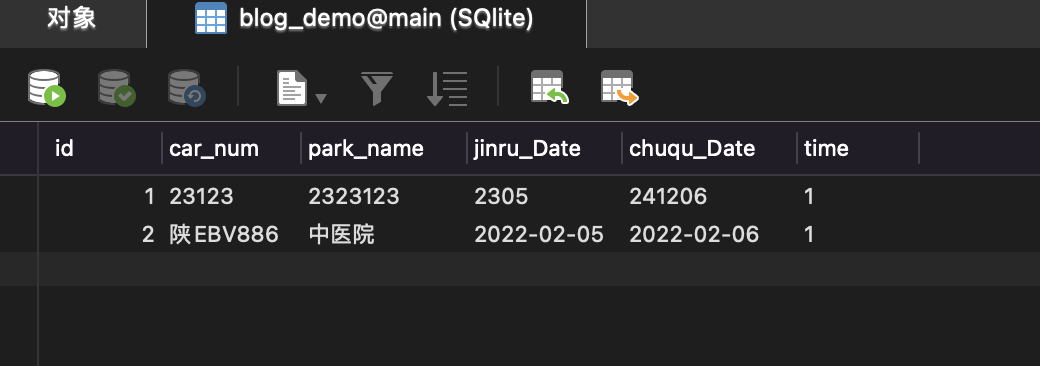
The above is to create table data, or table data can be created in a dictionary format:
def db_handle(request):
    dic = {car_num='Shaanxi E-BV886', park_name='Chinese Medical Hospital', jinru_Date='2022-02-05',chuqu_Date='2022-02-06', time='1'}
    models.Demo.objects.create(**dic)
    return HttpResponse('OK')
Delete table data:
Views. The py file is as follows:
def db_handle(request):
#Delete table data
models.Demo.objects.filter(id=1).delete()
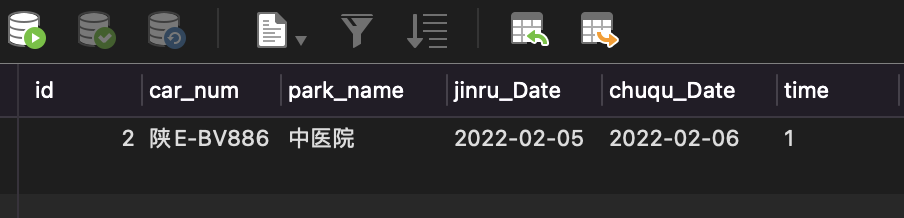
return HttpResponse('OK')In the same way, once executed in the browser, the data with id=1 in the data is deleted:
Modify table data:
def db_handle(request):
    # Modify table data
    models.Demo.objects.filter(id=2).update(time=18)
    return HttpResponse('OK')
Queries for data:
In order to make the queried data more intuitive, we will use the template function of Django to display the queried data in the WEB browser.
Create a new T1 in the templates directory. HTML file, as follows:
<!DOCTYPE html>
<html lang="en">
<head>
    <meta charset="UTF-8">
    <title>Django Operational Database</title>
    <link type="text/css" href="/static/base.css" rel="stylesheet" />
</head>
<body>
    <table border="1">
        <tr>
            <th>License plate number</th>
            <th>Parking lot name</th>
            <th>Einlass</th>
            <th>Exit time</th>
            <th>Parking Duration</th>
        </tr>
        {% for item in li %}
        <tr>
            <td>{{ item.car_num }}</td>
            <td>{{ item.park_name }}</td>
            <td>{{ item.jinru_Date }}</td>
            <td>{{ item.chuqu_Date }}</td>
            <td>{{ item.time }}</td>
         </tr>
        {% endfor %}
</body>
</html>
Views. The py file queries the data and specifies the template file to be invoked as follows:
def db_handle(request):
        user_list_obj = models.Demo.objects.all()
        return render(request, 't1.html', {'li': user_list_obj})
Note: Since this is a template created in the templates directory below the project, not in the blog application, view above. T1 called in py file. HTML template, T1 will not be found at runtime. Error in HTML template, we still need settings in order to find the template file under mysite/templates. Path to pyfile configuration template:
TEMPLATES = [
{
'BACKEND': 'django.template.backends.django.DjangoTemplates',
'DIRS': [os.path.join(BASE_DIR, 'templates')], # Configuration template path
'APP_DIRS': True,
'OPTIONS': {
'context_processors': [
'django.template.context_processors.debug',
'django.template.context_processors.request',
'django.contrib.auth.context_processors.auth',
'django.contrib.messages.context_processors.messages',
],
},
},
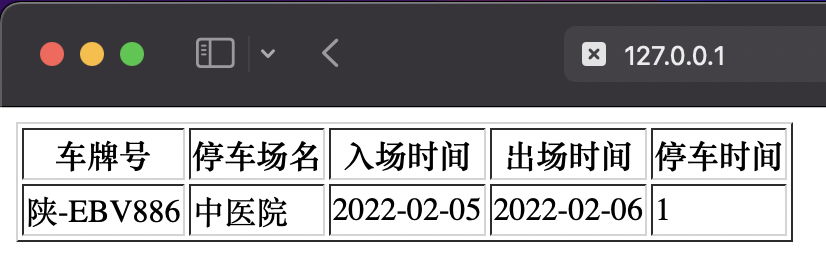
]The following can be viewed in the browser:
Introduce static files such as JS, CSS, etc.
Create a new static directory in the mysite directory where you can place both JS and CSS files! And in settings. The static directory is specified in the PY file:
STATIC_URL = '/static/'
STATICFILES_DIRS = (
    os.path.join(BASE_DIR, 'static'),
)
Form submission data:
To submit a form using post in Django, settings are required. The following line is commented out in the PY configuration file:
# 'django.middleware.csrf.CsrfViewMiddleware',
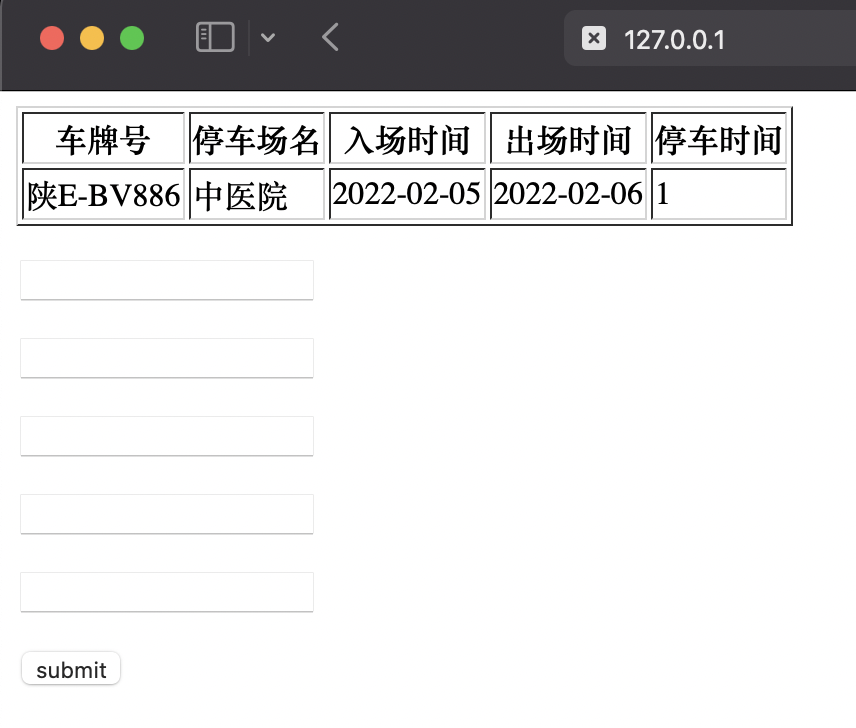
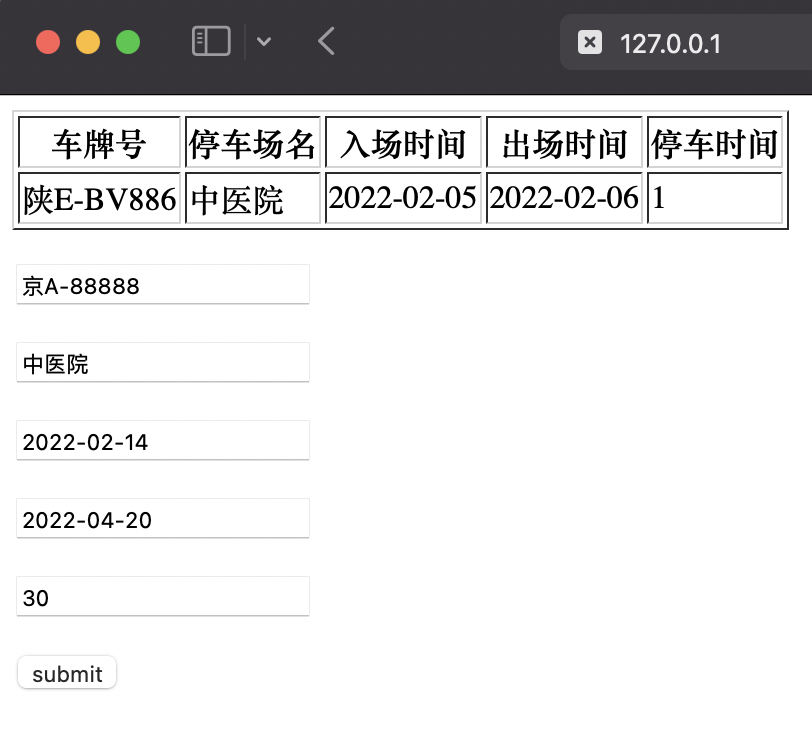
Submit the form (t1.html is still used here):
<!DOCTYPE html>
<html lang="en">
<head>
    <meta charset="UTF-8">
    <title>Django Operational Database</title>
    <link type="text/css" href="/static/base.css" rel="stylesheet" />
</head>
<body>
    <table border="1">
        <tr>
            <th>License plate number</th>
            <th>Parking lot name</th>
            <th>Einlass</th>
            <th>Exit time</th>
            <th>Parking Duration</th>
        </tr>
        {% for item in li %}
        <tr>
            <td>{{ item.car_num }}</td>
            <td>{{ item.park_name }}</td>
            <td>{{ item.jinru_Date }}</td>
            <td>{{ item.chuqu_Date }}</td>
            <td>{{ item.time }}</td>
         </tr>
        {% endfor %}
    </table>
    <form action="/db_handle" method="post">
         <p><input name="car_num" /></p>
         <p><input name="park_name" /></p>
         <p><input name="jinru_Date" /></p>
         <p><input name="chuqu_Date" /></p>
         <p><input name="time" /></p>
         <p><input type="submit" value="submit" /></p>
     </form>
</body>
</html>
Write to database (views.py):
def db_handle(request):
if request.method == "POST":
models.Demo.objects.create(car_num=request.POST['car_num'],park_name=request.POST['park_name'],jinru_Date=request.POST['jinru_Date'],chuqu_Date=request.POST['chuqu_Date'],time=request.POST['time'])
user_list_obj = models.Demo.objects.all()
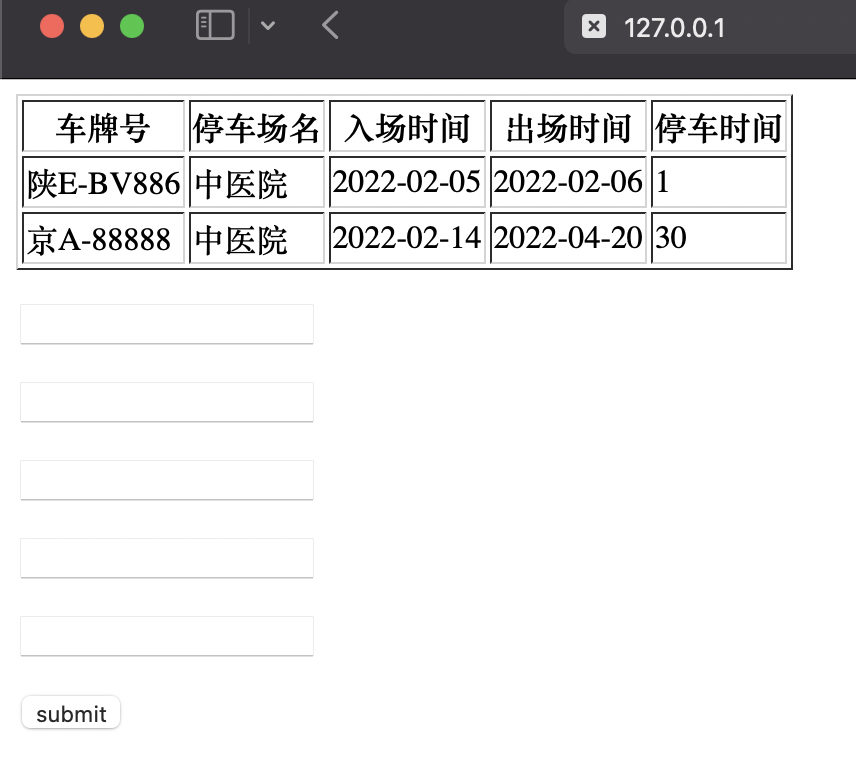
return render(request, 't1.html', {'li': user_list_obj})After submitting the data, the following figure is shown: