Basic operation of image
Basic objectives:
Master the methods of image reading and saving
Ability to draw geometry on images using OpenCV
Pixels that can access the image
It can obtain the attributes of the image and separate and merge the channels
It can realize the transformation of color space
1. IO operation of image
Here we will introduce you how to read images, how to display images and how to save images.
1.1 image reading
API
cv.imread()
Parameters:
Image to read
Flag of reading mode
cv.IMREAD*COLOR: When an image is loaded in color mode, the transparency of any image is ignored. This is the default parameter.

cv.IMREAD*GRAYSCALE: Load image in grayscale mode

cv.IMREAD_UNCHANGED: include alpha Load image mode of the channel.

You can use 1, 0, or-1 To replace the above three signs
Reference code
import numpy as np
import cv2 as cv
1.2 display image
API
cv.imshow()
Parameters:
The name of the window that displays the image, expressed as a string
 Image to load
 Note: when calling the display image API After, to call cv.waitKey()Leave time for the image to be drawn, otherwise the window will be unresponsive and the image will not be displayed.

In addition, we can also use matplotlib Display the image.
Reference code
opencv Display in
cv.imshow('image',img)
cv.waitKey(0)
matplotlib Show in
plt.imshow(img[:,:,::-1])
1.3 saving images
API
cv.imwrite()
Parameters:
File name, where do you want to save it
 Image to save
Reference code
cv.imwrite('messigray.png',img)
We load the grayscale image and display the image. If we press's' and exit, we will save the image, or press ESC to exit without saving.
import numpy as np
import cv2 as cv
import matplotlib.pyplot as plt
# 1 read image
img = cv.imread('messi5.jpg',0)
# 2 display image
# 2.1 displaying images with opencv
cv.imshow('image',img)
# 2.2 displaying images in Matplotlib
plt.imshow(img[:,:,::-1])
plt.title('Matching results'), plt.xticks([]), plt.yticks([])
plt.show()
k = cv.waitKey(0)
# 3 save image
cv.imwrite('messigray.png',img)
2. Draw geometry
2.1 draw a straight line
cv.line(img,start,end,color,thickness)
Parameters:
img:Image to draw a line
Start,end: Start and end of line
color: Line color
Thickness: Line width
2.2 draw a circle
cv.circle(img,centerpoint, r, color, thickness)
Parameters:
img:Image to draw a circle
Centerpoint, r: center and radius
color: Line color
Thickness: Line width, is-1 Generates a closed pattern and fills the color
2.3 draw rectangle
cv.rectangle(img,leftupper,rightdown,color,thickness)
Parameters:
img:The image to draw the rectangle
Leftupper, rightdown: Coordinates of the upper left and lower right corners of the rectangle
color: Line color
Thickness: Line width
2.4 adding text to images
cv.putText(img,text,station, font, fontsize,color,thickness,cv.LINE_AA)
Parameters:
img: image
text: Text data to write
station: Placement of text
font: typeface
Fontsize :font size
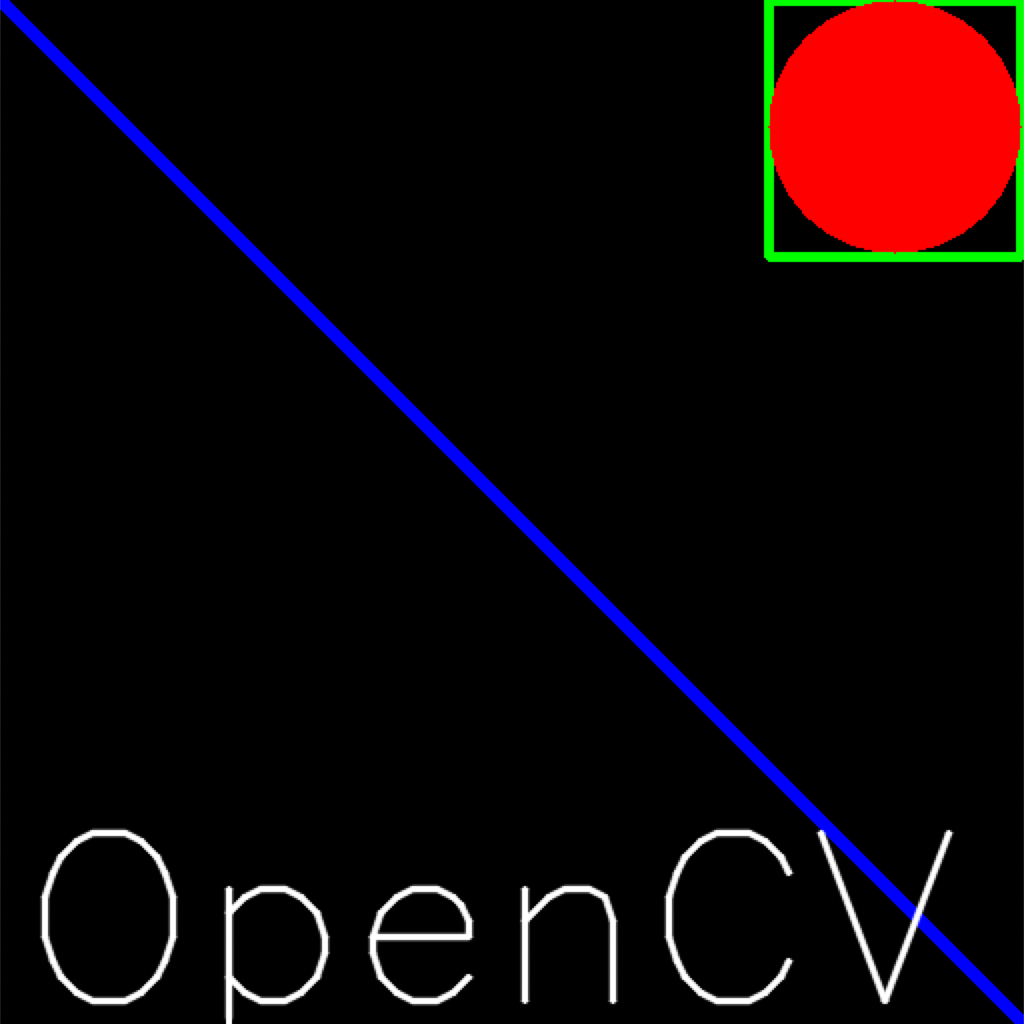
2.5 effect display
We generate an all black image, then draw the image and add text in it
import numpy as np
import cv2 as cv
import matplotlib.pyplot as plt
# 1 create a blank image
img = np.zeros((512,512,3), np.uint8)
# 2 drawing graphics
cv.line(img,(0,0),(511,511),(255,0,0),5)
cv.rectangle(img,(384,0),(510,128),(0,255,0),3)
cv.circle(img,(447,63), 63, (0,0,255), -1)
font = cv.FONT_HERSHEY_SIMPLEX
cv.putText(img,'OpenCV',(10,500), font, 4,(255,255,255),2,cv.LINE_AA)
# 3 image display
plt.imshow(img[:,:,::-1])
plt.title('Matching results'), plt.xticks([]), plt.yticks([])
plt.show()
result:
3. Acquire and modify the pixels in the image
We can obtain the pixel value of the pixel point through the coordinate values of the row and column. For BGR images, it returns an array of blue, green, and red values. For grayscale images, only the corresponding intensity value is returned. Use the same method to modify the pixel value.
import numpy as np
import cv2 as cv
img = cv.imread('messi5.jpg')
# Gets the value of a pixel
px = img[100,100]
# Gets only the intensity value of the blue channel
blue = img[100,100,0]
# Modify the pixel value of a position
img[100,100] = [255,255,255]
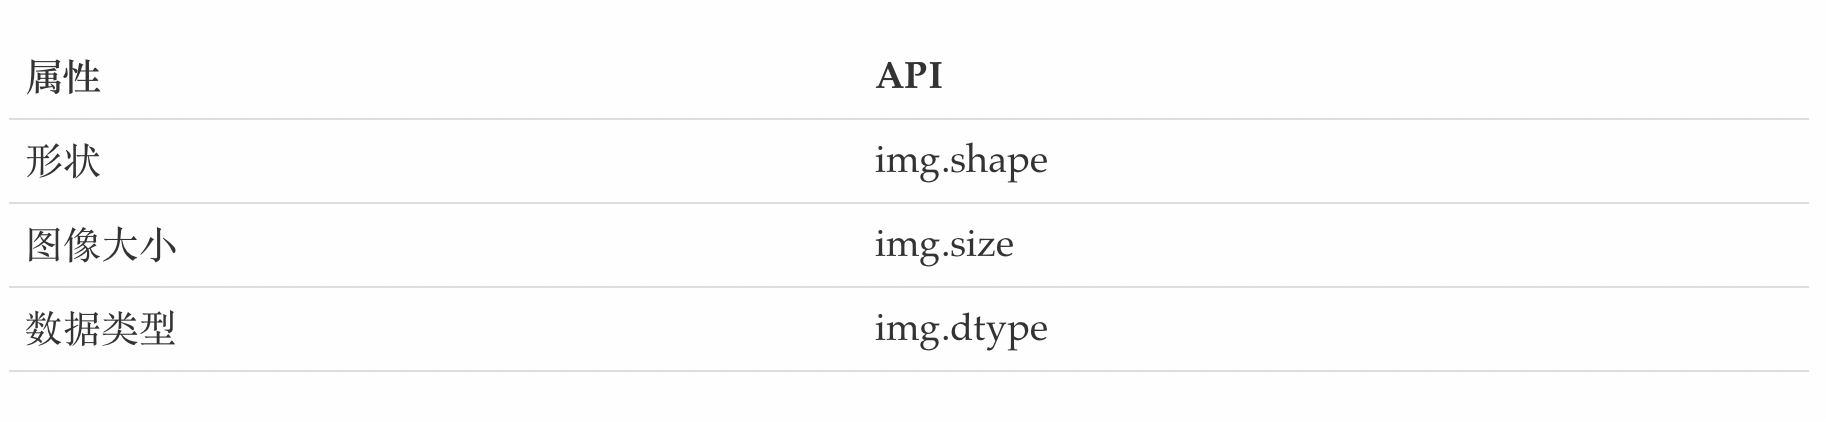
4. Get the attributes of the image
Image attributes include the number of rows, columns and channels, image data type, number of pixels, etc.
5. Splitting and merging of image channels
Sometimes it is necessary to work alone on the images of B, G and R channels. In this case, the BGR image needs to be divided into a single channel. Or in other cases, it may be necessary to combine these separate channels into BGR images. You can do it in the following ways.
# Channel splitting
b,g,r = cv.split(img)
# Channel merging
img = cv.merge((b,g,r))
6. Change of color space
There are more than 150 color space conversion methods in OpenCV. There are two most widely used conversion methods, BGR ↔ Gray and BGR ↔ HSV.
API
cv.cvtColor(input_image,flag)
Parameters:
input_image: Image for color space conversion
flag: Conversion type
cv.COLOR_BGR2GRAY : BGR↔Gray
cv.COLOR_BGR2HSV: BGR→HSV