Environment: Ubuntu 18 04, ROS version: Melody
launch file: realize the configuration and startup of multiple nodes through xml file. ROS master can be started automatically without entering roscore instruction
1, launch file syntax
1. Grammar
The root element in the launch file is defined with the < launch > tag
< node >: start the node
Common include pkg, type, name, etc
pkg: node function pack name
type: the executable name of the node
Name: the name of the node runtime
For example: < node PKG = "turnlesim" type = "turnlesim_node" name = "turnlesim_node" >
In addition, there are output, respawn, required, ns and args
output: the control node prints information to the terminal
respawn: restart the node
Required: a node is required to start
ns: namespace to avoid naming conflicts
args: enter parameters for the node
2. Examples
simple.launch file:
<launch>
    <node pkg="learning_topic" type="person_subscriber" name="talker" output="screen" />
    <node pkg="learning_topic" type="person_publisher" name="listener" output="screen" />
</launch>
This is the topic of publishing and subscribing that we learned before. Now we use the launch file to start two nodes. The premise is to follow the Introduction to ROS learning notes | topic publishing and subscription Only after running successfully can it be called with the launch file.
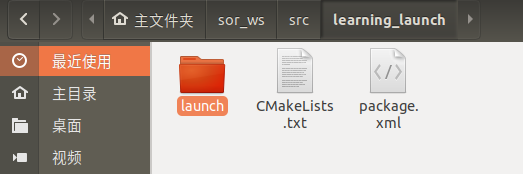
First in sor_ Create a new one called learning in the src directory of WS workspace_ The function package of launch. Because the launch file mainly calls other function packages, the instructions do not need to be followed by dependencies
cd ~/sor_ws/src
catkin_create_pkg learning_launch

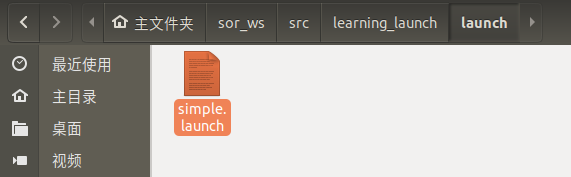
Then in learning_ Create a folder in launch, name it launch, and copy simple Launch to folder
Compile workspace
cd ~/sor_ws
catkin_make
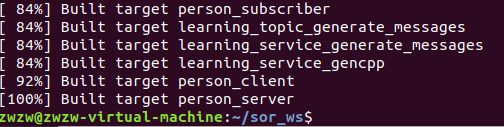
Compilation succeeded
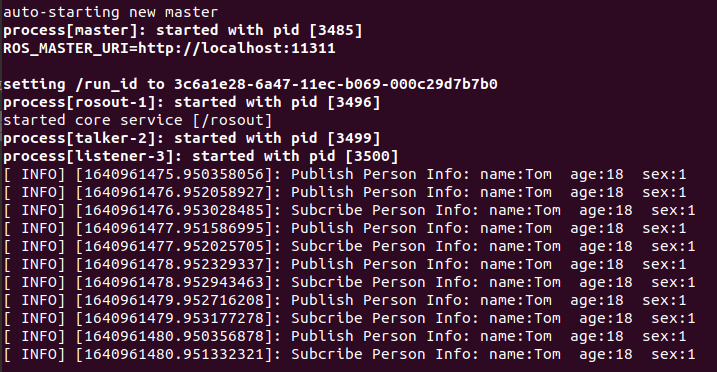
launch file
source ~/sor_ws/devel/setup.bash
roslaunch learning_launch simple.launch

2, Parameter setting
1. < param > / < rosparam > and < Arg >
<param>/<rosparam>:
< param > set a single parameter in the operating parameters of the ROS system and save it in the parameter server
For example: < param name = "turtle" type = "string" value = "turtle 1" / >
< rosparam > put multiple parameters in param Yaml, load multiple parameters in the parameter file
For example: < rosparam file = "$(find learning_launch) / config / param. Yaml" command = "load" / >
The main difference is that param only loads one parameter, while rosparam can load multiple parameters
< Arg >: set parameters inside the launch file, which is only used by the launch file
<arg name="name" default="value" />
For example: < node PKG = "learning_tf" type = "turtle_tf_broadcaster" args = "/ turtle 2" name = "turtle 2_tf_broadcaster" / >
2. Examples
Run two turtle following experiments using the launch file
Programming implementation of broadcasting and monitoring in | tf coordinate system
You need to follow the steps in this article to run successfully before you can use the launch instruction
start_tf_demo_c++.launch file
Start the turtle simulator
<node pkg="turtlesim" type="turtlesim_node" name="sim"/>
Start the keyboard control node and control the turtle movement with the up, down, left and right keys
<node pkg="turtlesim" type="turtle_teleop_key" name="teleop" output="screen"/>
Start tf broadcast
<node pkg="learning_tf" type="turtle_tf_broadcaster" args="/turtle1" name="turtle1_tf_broadcaster" />
<node pkg="learning_tf" type="turtle_tf_broadcaster" args="/turtle2" name="turtle2_tf_broadcaster" />
Start tf listening,
<node pkg="learning_tf" type="turtle_tf_listener" name="listener" />
The complete code is as follows
<launch>
<!-- Turtlesim Node-->
<node pkg="turtlesim" type="turtlesim_node" name="sim"/>
<node pkg="turtlesim" type="turtle_teleop_key" name="teleop" output="screen"/>
<node pkg="learning_tf" type="turtle_tf_broadcaster" args="/turtle1" name="turtle1_tf_broadcaster" />
<node pkg="learning_tf" type="turtle_tf_broadcaster" args="/turtle2" name="turtle2_tf_broadcaster" />
<node pkg="learning_tf" type="turtle_tf_listener" name="listener" />
</launch>
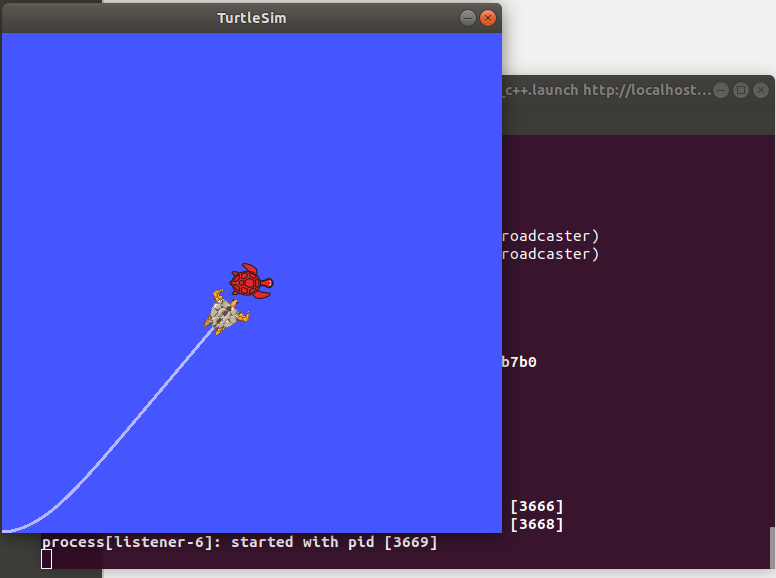
roslaunch learning_launch start_tf_demo_c++.launch
Copy start_tf_demo_c++.launch to folder
launch file
source ~/sor_ws/devel/setup.bash
roslaunch learning_launch start_tf_demo_c++.launch
3. Nesting and remapping
Nesting: < include >: contains other launch files, similar to header files in C language
For example: < include file = "$(find learning_launch) / launch / simple. Launch" / >
Remap: < remap >: remap the naming of ROS calculation diagram resources, from: original naming to: naming after mapping
For example: < remap from = "/ turtle 1 / cmd_vel" to = "/ cmd_vel" / >
4. Examples
turtlesim_remap.launch file
<launch>

	<include file="$(find learning_launch)/launch/simple.launch" />

    <node pkg="turtlesim" type="turtlesim_node" name="turtlesim_node">
		<remap from="/turtle1/cmd_vel" to="/cmd_vel"/>
	</node>

</launch>
Copy turnlesim_ remap. Launch to folder
launch file
source ~/sor_ws/devel/setup.bash
roslaunch learning_launch turtlesim_remap.launch
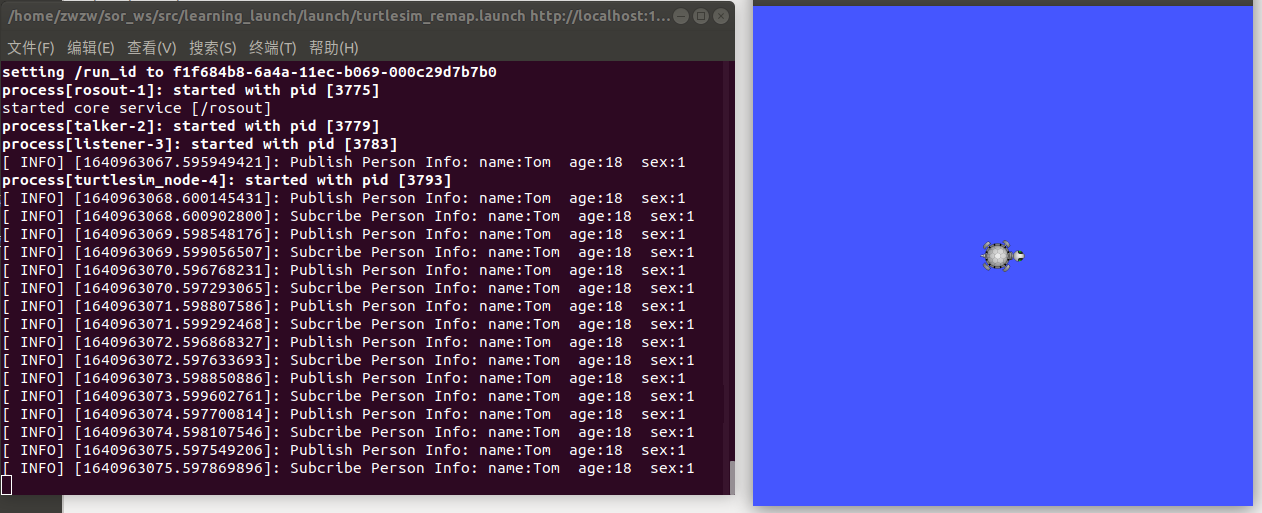
After startup, you can see that the turtle emulator and INFO appear because the include contains simple Launch file
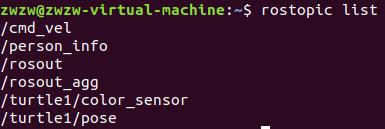
Open a new terminal and enter rostopic list (be careful not to close the previous terminal, otherwise an error will be reported, ERROR: Unable to communicate with master!), Can see
< remap from = "/ turnle1 / cmd_vel" to = "/ cmd_vel" / > has changed "/ cmd_vel" to "/ cmd_vel"
summary
The function of the launch file is to integrate multiple node nodes into one file, and then start the file to run the program without opening many terminals.
This article is for learning only. The learning materials are from: [Guyue residence] Guyue · ROS beginner level lecture 21