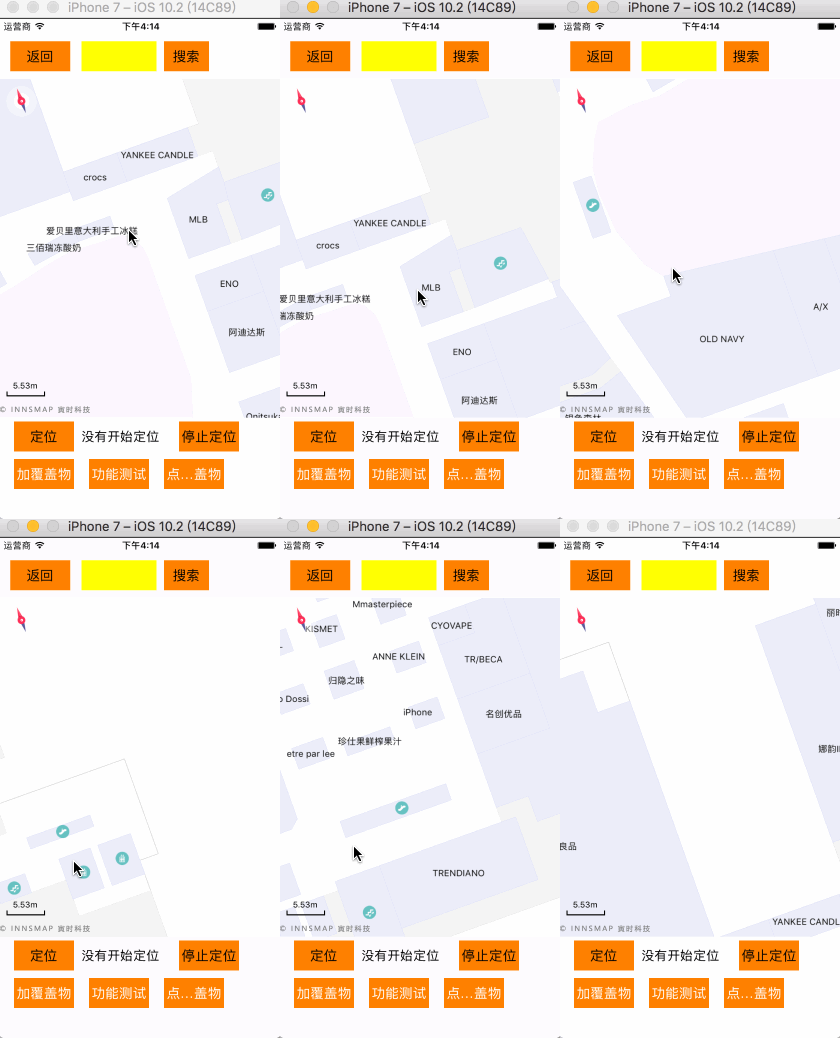
Recently, SDK has developed a new gesture sliding map, which should have the function of inertial sliding effect. Android made it first, and then showed it to me. Because I had already experienced a bird map, a bird map also had this effect, and Android did a really good job. I was still busy studying OpenGL, so I had to put down my hands and watch the new function conceived silently.
Put the results out first:

Tell me about the reason for writing this article: Android is due to a systematic api, which calls the system's own API at the end of the sliding gesture, and the speed (x direction and y direction) at the end of the incoming gesture can be done by the system itself. And iOS does not, but I still think this function is very good to do.. However, after conceiving, I found that I still have to find Baidu, but Baidu gave me no results that can satisfy me. So, after I have made this effect, I have to share it, provide ideas for people in need, and hope to discuss with each other and accept better ways to make a better effect. (This is similar to the sliding effect of UIScrollView, but there is no code on the Internet.)
For the benefit of the company, I wrote demo to demonstrate the code.
Enter the topic:
1. Define our goal: Possess inertial sliding effect after gesture sliding.
2. Think about concrete realization: the faster the hand slides, the greater the inertia of the object, the longer the movement time, the slower the hand slides, the smaller the movement speed of the object, and the shorter the movement time.
3. Some minor problems: solving them
OK, think of the second point can become the king of the mouth, then it depends on whether the operation is bronze:?
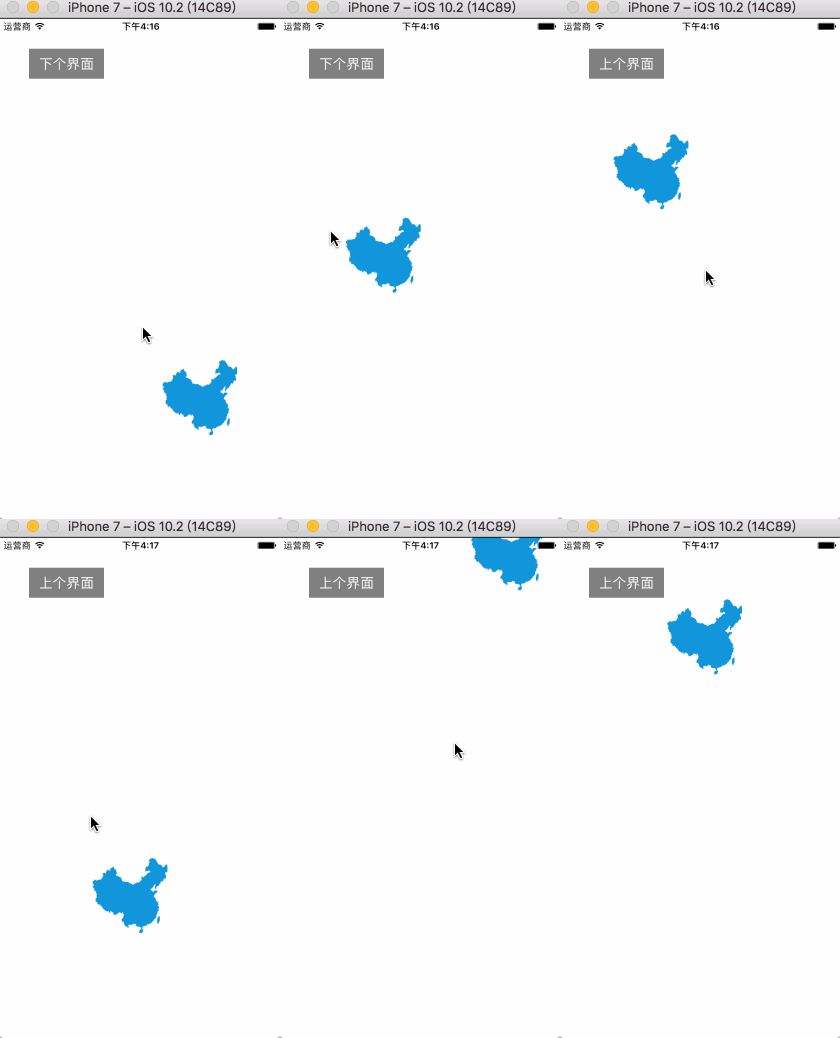
The demo effect is as follows:

Please don't look at the gif map, it seems a little card, but actually it's not card at all. It's very smooth and natural!

demo uses two methods to make it slide inertially.
The first is to change the center of the blue image through the UIView animation after the gesture is finished, because the system UIView animation has the effect of fast-in and slow-out UIView Animation Option Curve EaseOut.
-(void)paned:(UIPanGestureRecognizer *)pan
{
        CGPoint locationPoint = [pan locationInView:self.view];  //Finger Points

        CGPoint transPoint = [pan translationInView:self.view];  //Moving point

        //    If (CGRectContainsPoint (blueImgView. frame, locationPoint){// If you want to work only on the Blue Map, move the following code here

        //}

        blueImgView.center = CGPointMake(blueImgView.center.x+transPoint.x, blueImgView.center.y+transPoint.y);
        [pan setTranslation:CGPointZero inView:self.view];

        if (pan.state == UIGestureRecognizerStateEnded) {

            CGPoint velocity = [pan velocityInView:self.view];   //Speed in x and y directions when the finger leaves, in points/second
            CGFloat magnitude = sqrtf((velocity.x * velocity.x) + (velocity.y * velocity.y)); //Real Speed
            CGFloat slideMult = magnitude / 200;  //Change the sensitivity by changing the proportion you try out.

            float slideFactor = 0.1 * slideMult;
            CGPoint finalPoint = CGPointMake(pan.view.center.x + (velocity.x * slideFactor),
                                             pan.view.center.y + (velocity.y * slideFactor));
            finalPoint.x = MIN(MAX(finalPoint.x, 0), self.view.bounds.size.width);
            finalPoint.y = MIN(MAX(finalPoint.y, 0), self.view.bounds.size.height);

            [UIView animateWithDuration:slideFactor delay:0 options:UIViewAnimationOptionCurveEaseOut animations:^{ //The slideFactor animation changes the center in seconds, the animation effect fast in and slow out (first fast then slow)
                blueImgView.center = finalPoint;
            } completion:nil];

        }

}
Focus on processing in UIGesture Recognizer State Ended
CGPoint velocity = pan velocityInView: self. view]; this method can obtain the speed in the x,y direction when the gesture leaves, in the unit of point per second (logical size point).
Then we can get the total velocity according to the speed of x and y. You can output velocity, look at its data and find its law (I see it many times). According to the speed of our hand sliding, the velocity value will change, and the total speed magnitude will also change. Of course, the faster the hand sliding, the bigger the magnitude, the slower the magnitude, the smaller the magnitude. Then, use magnitude to determine the time, and then try to divide it by 200. In addition, we know its velocity in the direction of x and Y according to velocity, determine the time of movement, of course, we can also know the distance of its movement during this period: that is, velocity * time = distance. (After all, primary school)
Then we animated the UIView.
[UIView animateWithDuration:slideFactor delay:0 options:UIViewAnimationOptionCurveEaseOut animations:^{ //The slideFactor animation changes the center in seconds, the animation effect fast in and slow out (first fast then slow)
                blueImgView.center = finalPoint;
            } completion:nil];
The first way to comment: I don't feel very natural. Maybe the effect of UIView Animation Option Curve EaseOut is not very obvious. Of course, it is also possible to change the code and adjust the sensitivity. The effect will be much better. Most importantly: our company's products can't be implemented in this UIView way, using matrix transform, so we'll start with the second method.
Second, the difference between the two methods lies in the gesture sliding event. In the second method, we first define several variable objects.
@interface OtherViewController ()
{

    UIImageView *blueImgView;

    CGAffineTransform viewTransform;   //transform based on self.view
    CGAffineTransform currentTransform; //Current transform

    CADisplayLink *dis; //timer
    int updateCount;    //Number of refreshes required
    int currentCount;   //Current refresh times
    CGPoint velocity;   //speed
}
Then viewTransform = self.view.transform in viewDidLoad;
- (void)viewDidLoad {
    [super viewDidLoad];
    self.view.backgroundColor = [UIColor whiteColor];

    blueImgView = [[UIImageView alloc]init];
    blueImgView.frame = CGRectMake(50, 100, 100, 100);
    blueImgView.image = [UIImage imageNamed:@"Map 1"];
    [self.view addSubview:blueImgView];

    UIPanGestureRecognizer *pan = [[UIPanGestureRecognizer alloc]initWithTarget:self action:@selector(paned:)];
    [self.view addGestureRecognizer:pan];

    viewTransform = self.view.transform;

    UIButton *Btn = [UIButton buttonWithType:UIButtonTypeCustom];
    Btn.frame = CGRectMake(40, 40, 100, 40);
    Btn.backgroundColor = [UIColor grayColor];
    [Btn setTitle:@"Last interface" forState:UIControlStateNormal];
    [Btn addTarget:self action:@selector(Btn) forControlEvents:UIControlEventTouchUpInside];
    [self.view addSubview:Btn];
}
We use CADisplayLink in gesture sliding events. CADisplayLink is also a timer. The call interval is consistent with the screen refresh frequency (1s60 times). In order to make our animation effect efficient and smooth, we use this.
-(void)paned:(UIPanGestureRecognizer *)pan
{
    if (dis) {
        [dis invalidate];
        dis = nil;
    }

    CGPoint locationPoint = [pan locationInView:self.view];  //Finger Points

    CGPoint transPoint = [pan translationInView:self.view];  //Moving point

    //    If (CGRectContainsPoint (blueImgView. frame, locationPoint){// If you want to work only on the Blue Map, move the following code here

    //}

    currentTransform = CGAffineTransformTranslate(viewTransform, transPoint.x, transPoint.y);
    blueImgView.transform = currentTransform;

    if (pan.state == UIGestureRecognizerStateEnded) {
        viewTransform = currentTransform;

        velocity = [pan velocityInView:self.view];
        CGFloat magnitude = sqrtf((velocity.x * velocity.x) + (velocity.y * velocity.y));
        CGFloat slideMult = magnitude / 200;
        float slideFactor = 0.1 * slideMult;

        updateCount = slideFactor * 120 + 1;
        currentCount = 0;
        dis = [CADisplayLink displayLinkWithTarget:self selector:@selector(updateView)];
        [dis addToRunLoop:[NSRunLoop currentRunLoop] forMode:NSDefaultRunLoopMode];
    }

}
The code deals with speed in the same way as the first way, but the next action is to determine the number of animation calls updateCount, why updateCount = slideFactor * 120 + 1; also tried out, originally * 60, you can change to see the effect.
In the method called by CADisplayLink:
-(void)updateView
{

    currentCount++;
    if (currentCount>updateCount || currentCount>60) {

        //        dis.paused = YES;
        [dis removeFromRunLoop:[NSRunLoop currentRunLoop] forMode:NSDefaultRunLoopMode];
        [dis invalidate];
        dis = nil;
    }else{
        CGPoint point = CGPointMake(velocity.x/30.0/currentCount, velocity.y/30.0/currentCount);
        currentTransform = CGAffineTransformTranslate(viewTransform, point.x, point.y);
        blueImgView.transform = currentTransform;
        viewTransform = currentTransform;
    }

}
We stipulate that the number of calls should not be more than 60 times, that is, the maximum movement time of the action object is 1 s, in the course of the action object movement.
CGPoint point = CGPointMake(velocity.x/30.0/currentCount, velocity.y/30.0/currentCount);
It is to determine the velocity in the direction of X and y. The velocity in the direction of X and Y is divided by 30 to get a suitable velocity value. The reason for dividing current Count by 30 is to let the object decelerate. CurrtCount is increasing, divided by current Count, the velocity decreases. (At the end of the method, the speed can be modified to change the sensitivity.)
Summary: All the code is on it, so don't put it on github. If it's my pleasure to help you, and summer is hot, buy me a watermelon if you can.