Write in front
1. After iOS14, apple updated the extension component and introduced a new UI component: WidgetKit, but abandoned the Today Extension component of versions below iOS14;
2. The widgextension uses a new WidgetKit, which is different from the Today Widget. It can only be developed using SwiftUI, so SwiftUI and Swift foundation are required;
3. The Widget supports three sizes systemSmall (2x2), systemMedium (4x2) and systemLarge (4x4)
1. Create Widget
First, create a project named MyApp;
Then create the Widget, file - > New - > target
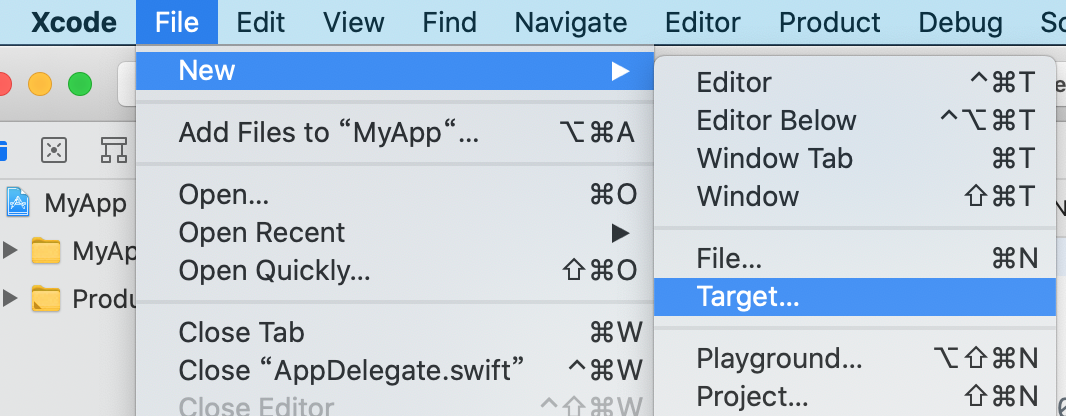
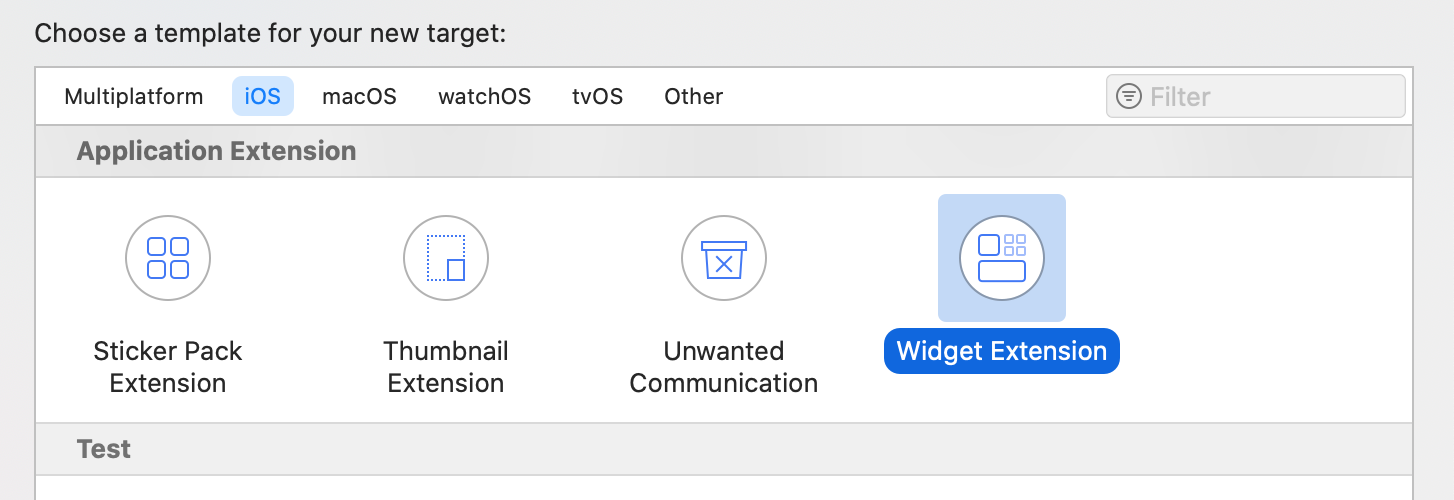
iOS -> Application Extension -> Widget Extension
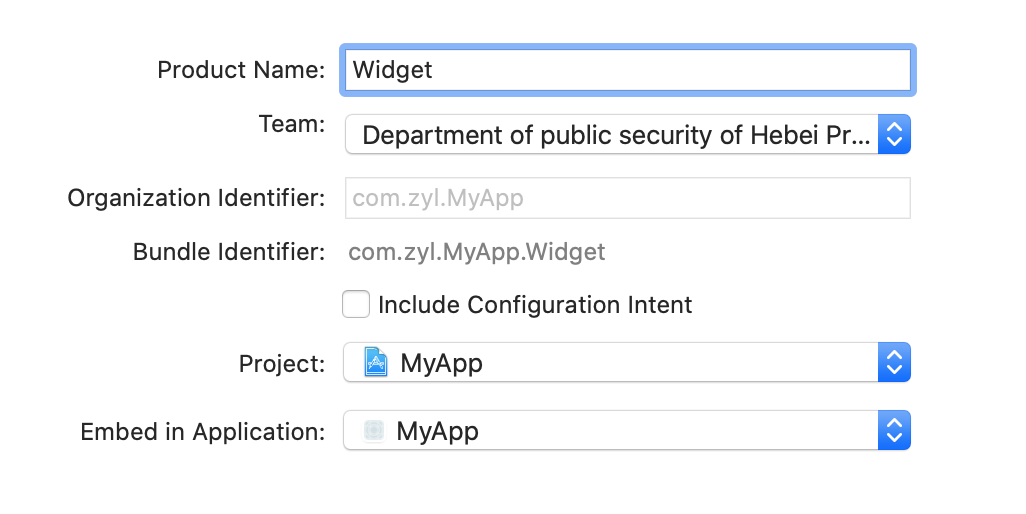
Enter the project name;
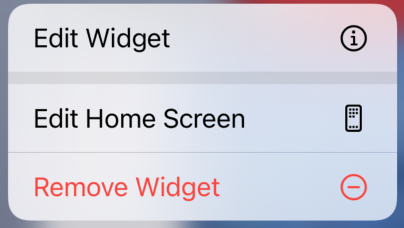
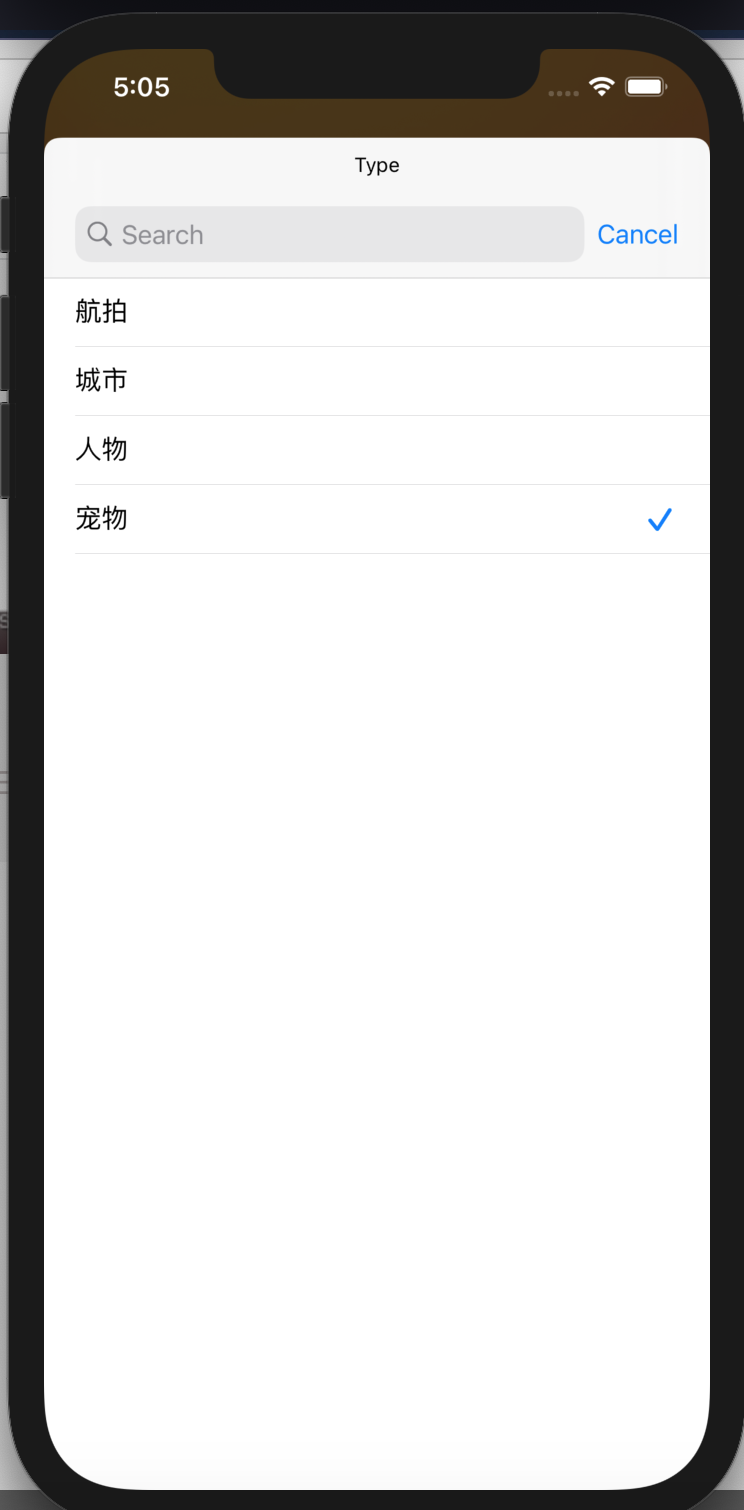
Note that widgets are divided into Static and Intent modes. Long press in Intent mode to edit, but there is no editing option in Static mode. The following figure shows Intent mode:
It is named MyWidget. If it is not selected here, Include Configuration Intent will be created. If it is not selected, a static widget will be created. If it is selected, an editable widget will be created.
Note: you can't name Widget here. If the system has this file, an error will be reported.
You can see here
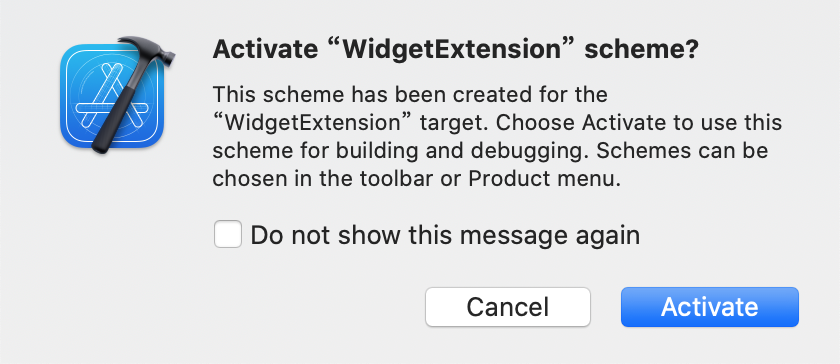
Click create and a pop-up window will pop up. Click Activate directly
Now you can run it, and a widget with only time text will be displayed on the simulator.
2. Structure description
There are five structures in the MyWidget.swift file
2.1,Provider
Where the timeline is managed, data binding processing.
2.2,SimpleEntry
The timeline entry produces only one date attribute by default. If you need to customize the field, it is declared here.
2.3,MyWidgetEntryView
The widget view layout is implemented here, and the processing data is displayed to the view.
2.4,MyWidget
Widget loading entry, static calling StaticConfiguration, editable calling IntentConfiguration.
2.5,MyWidget_Previews
View preview.
Here is a more detailed introduction: iOS 14 WidgetKit development
3. Change Static to Intent
3.1. Add Intent file
If we need to change the static to editable, we need to manually add the Intent file.
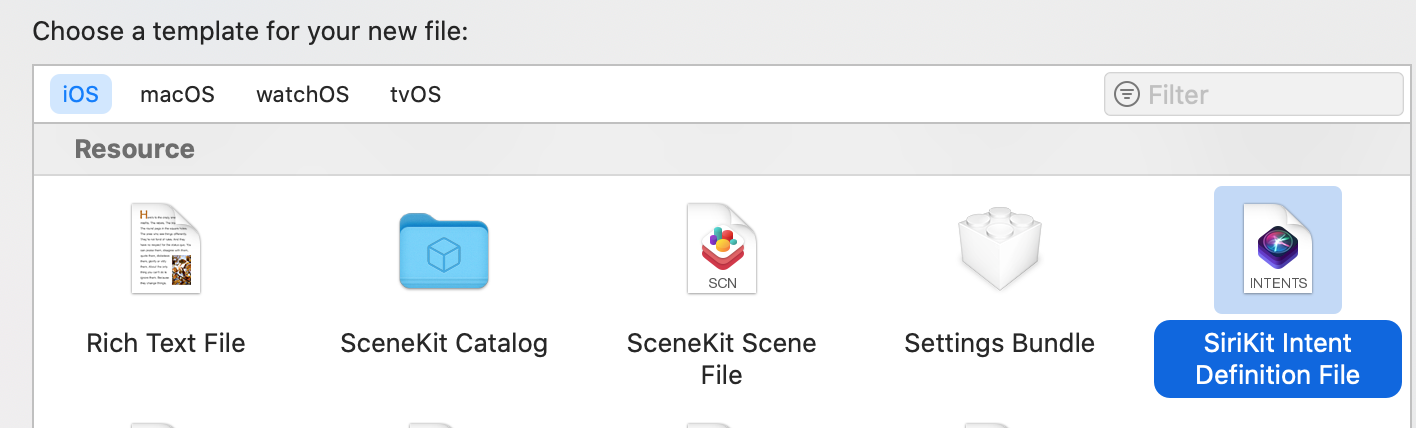
File -> New -> File (cmd + N)
iOS -> Resource -> SiriKit Intent Definition File
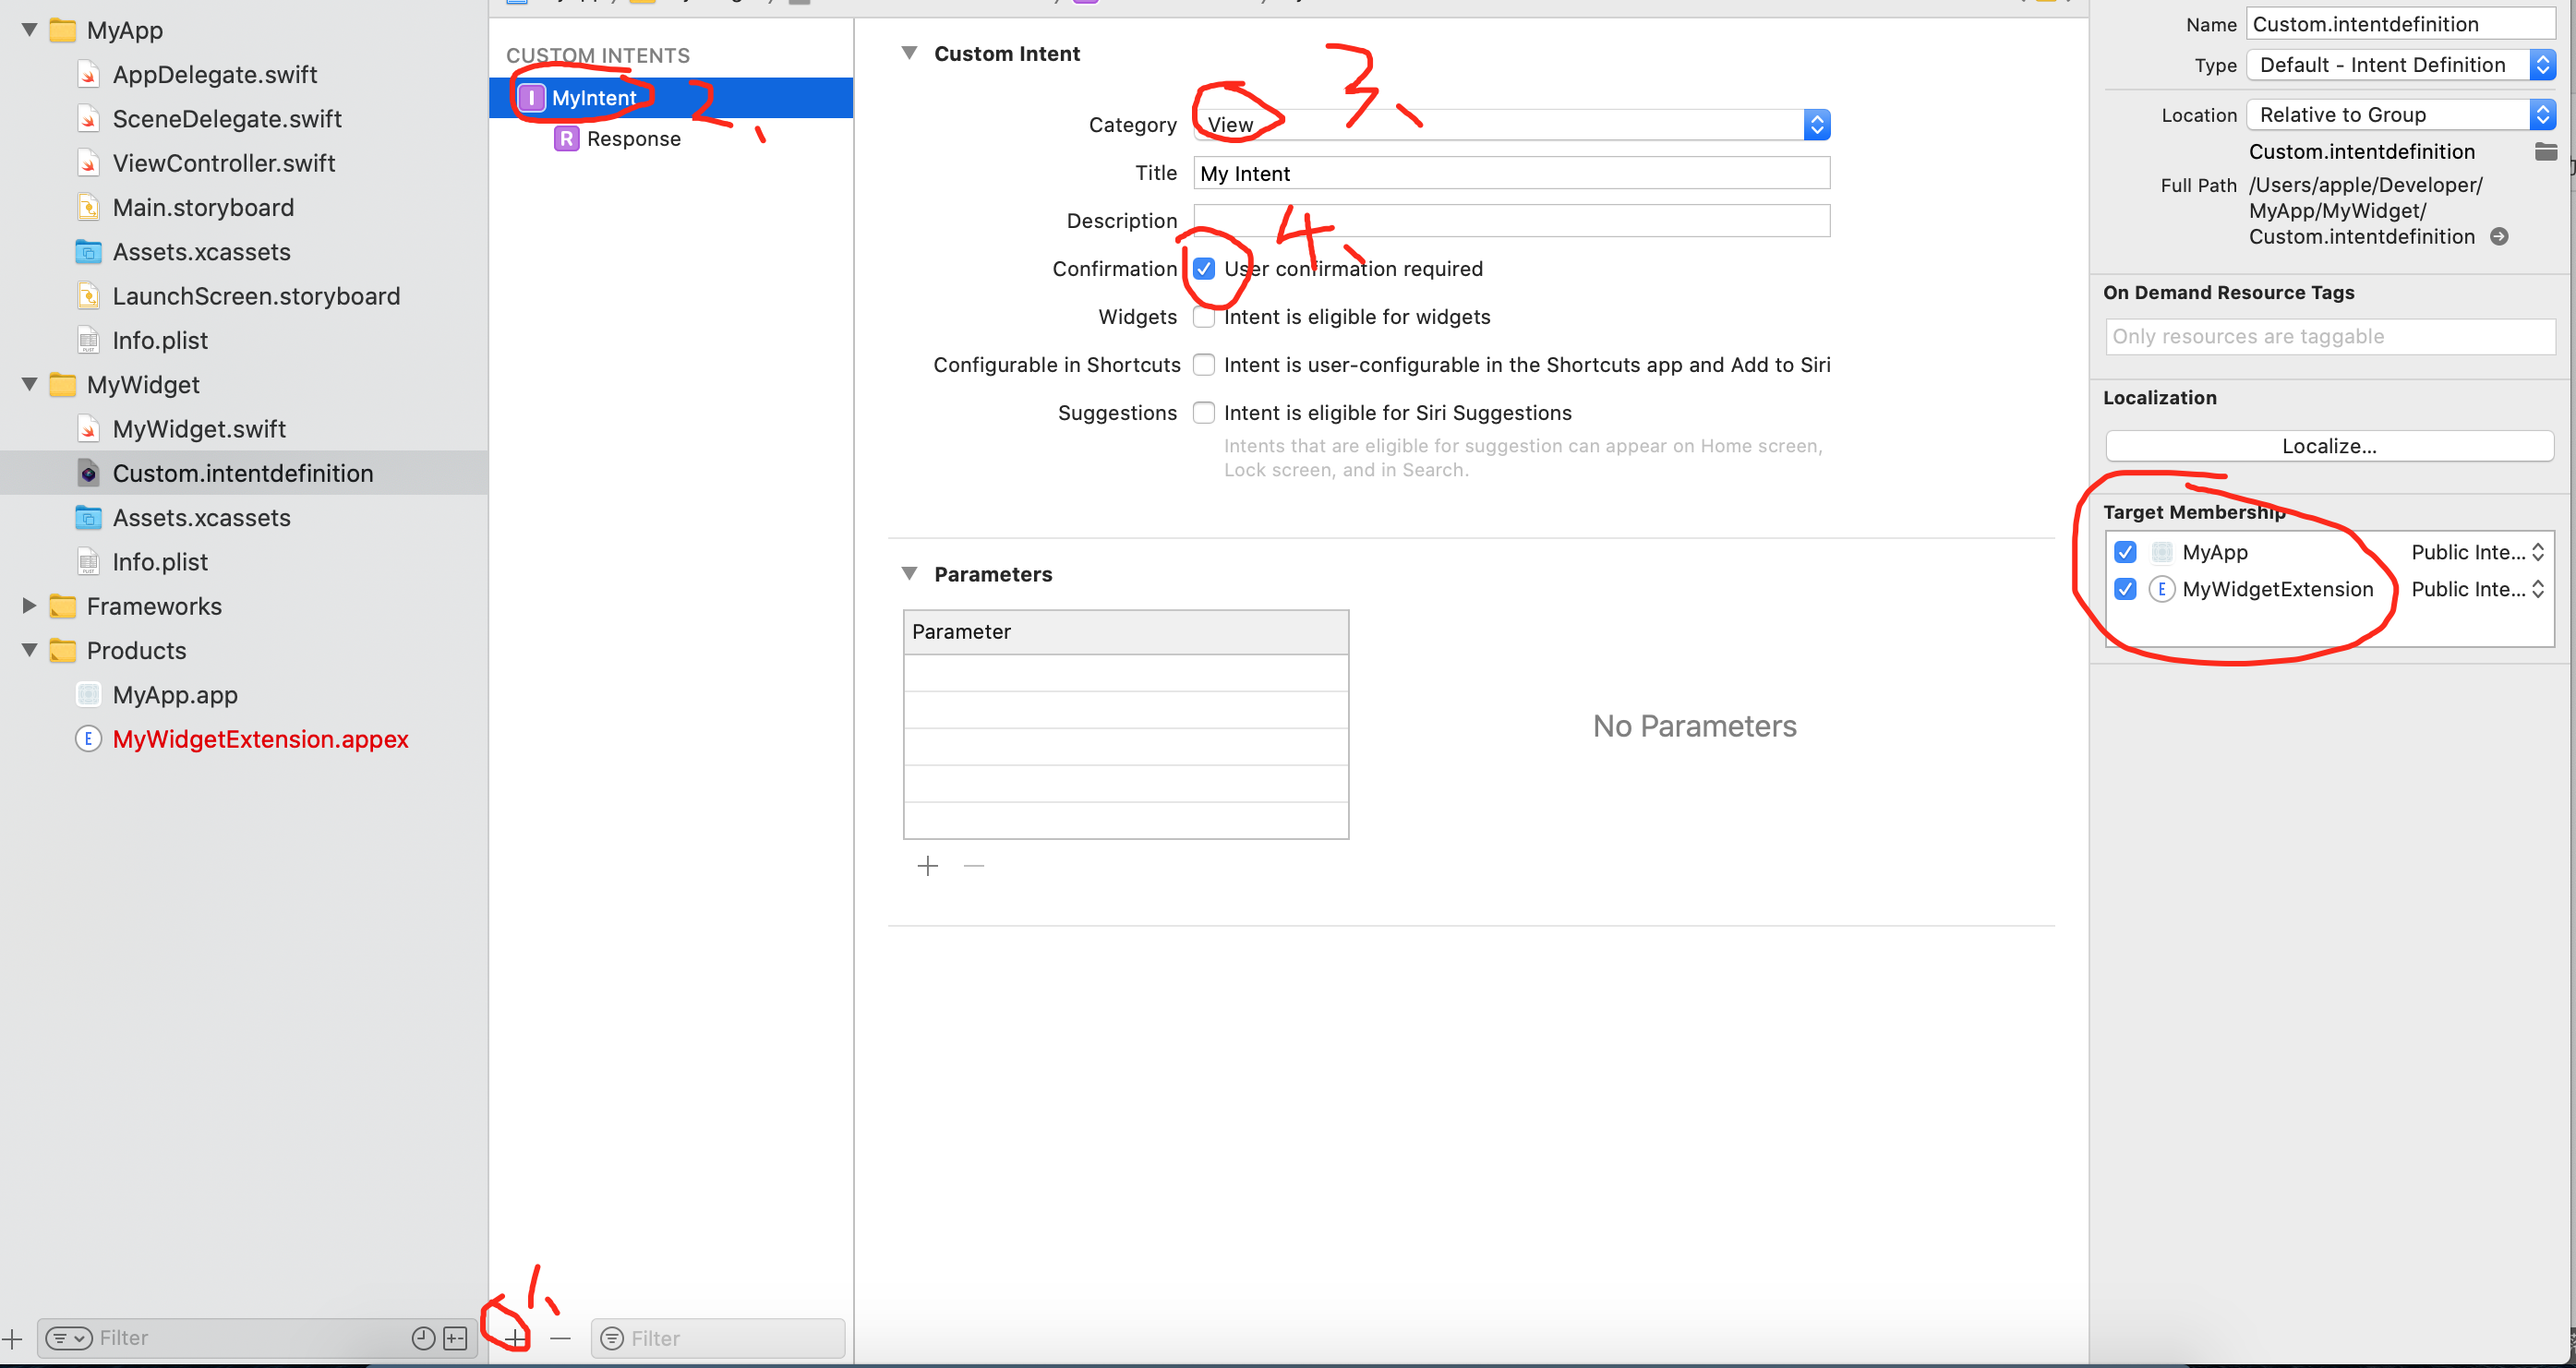
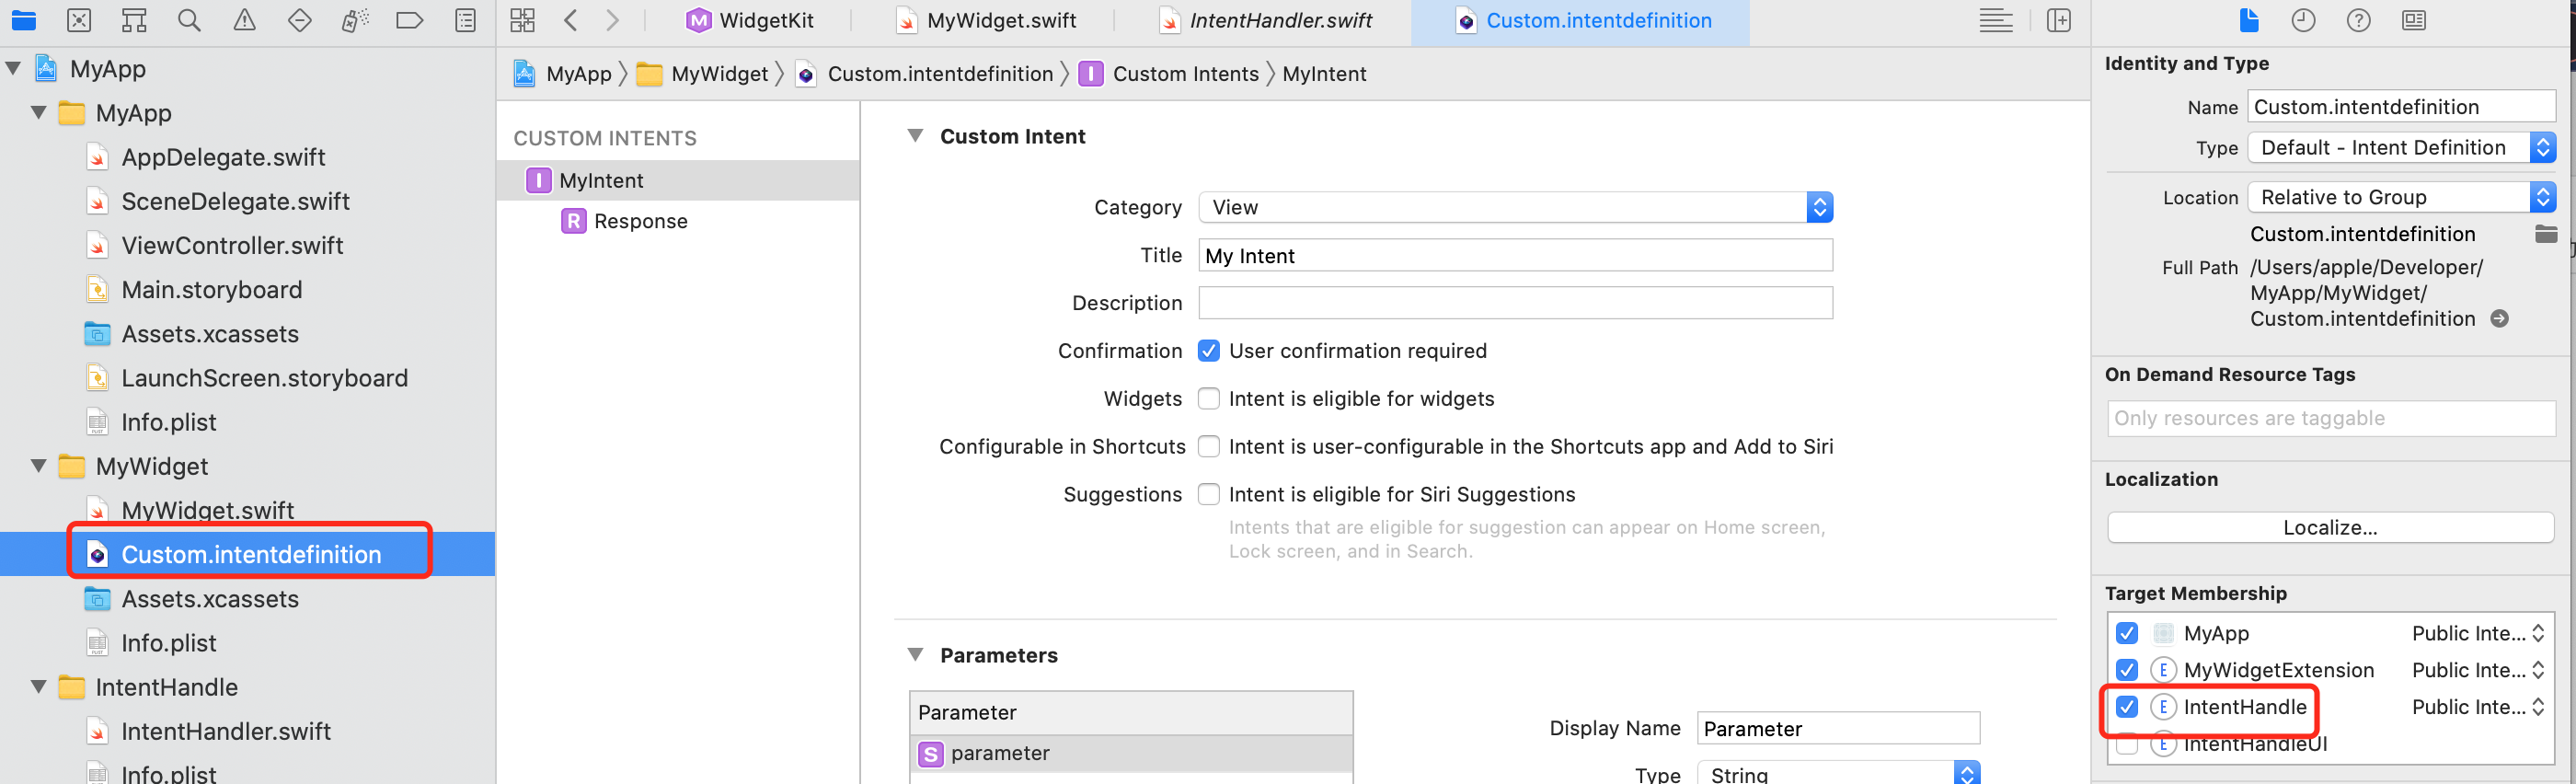
It is named Custom.intentdefinition. Here, small and medium components should be selected for Targets, which is not selected by default.

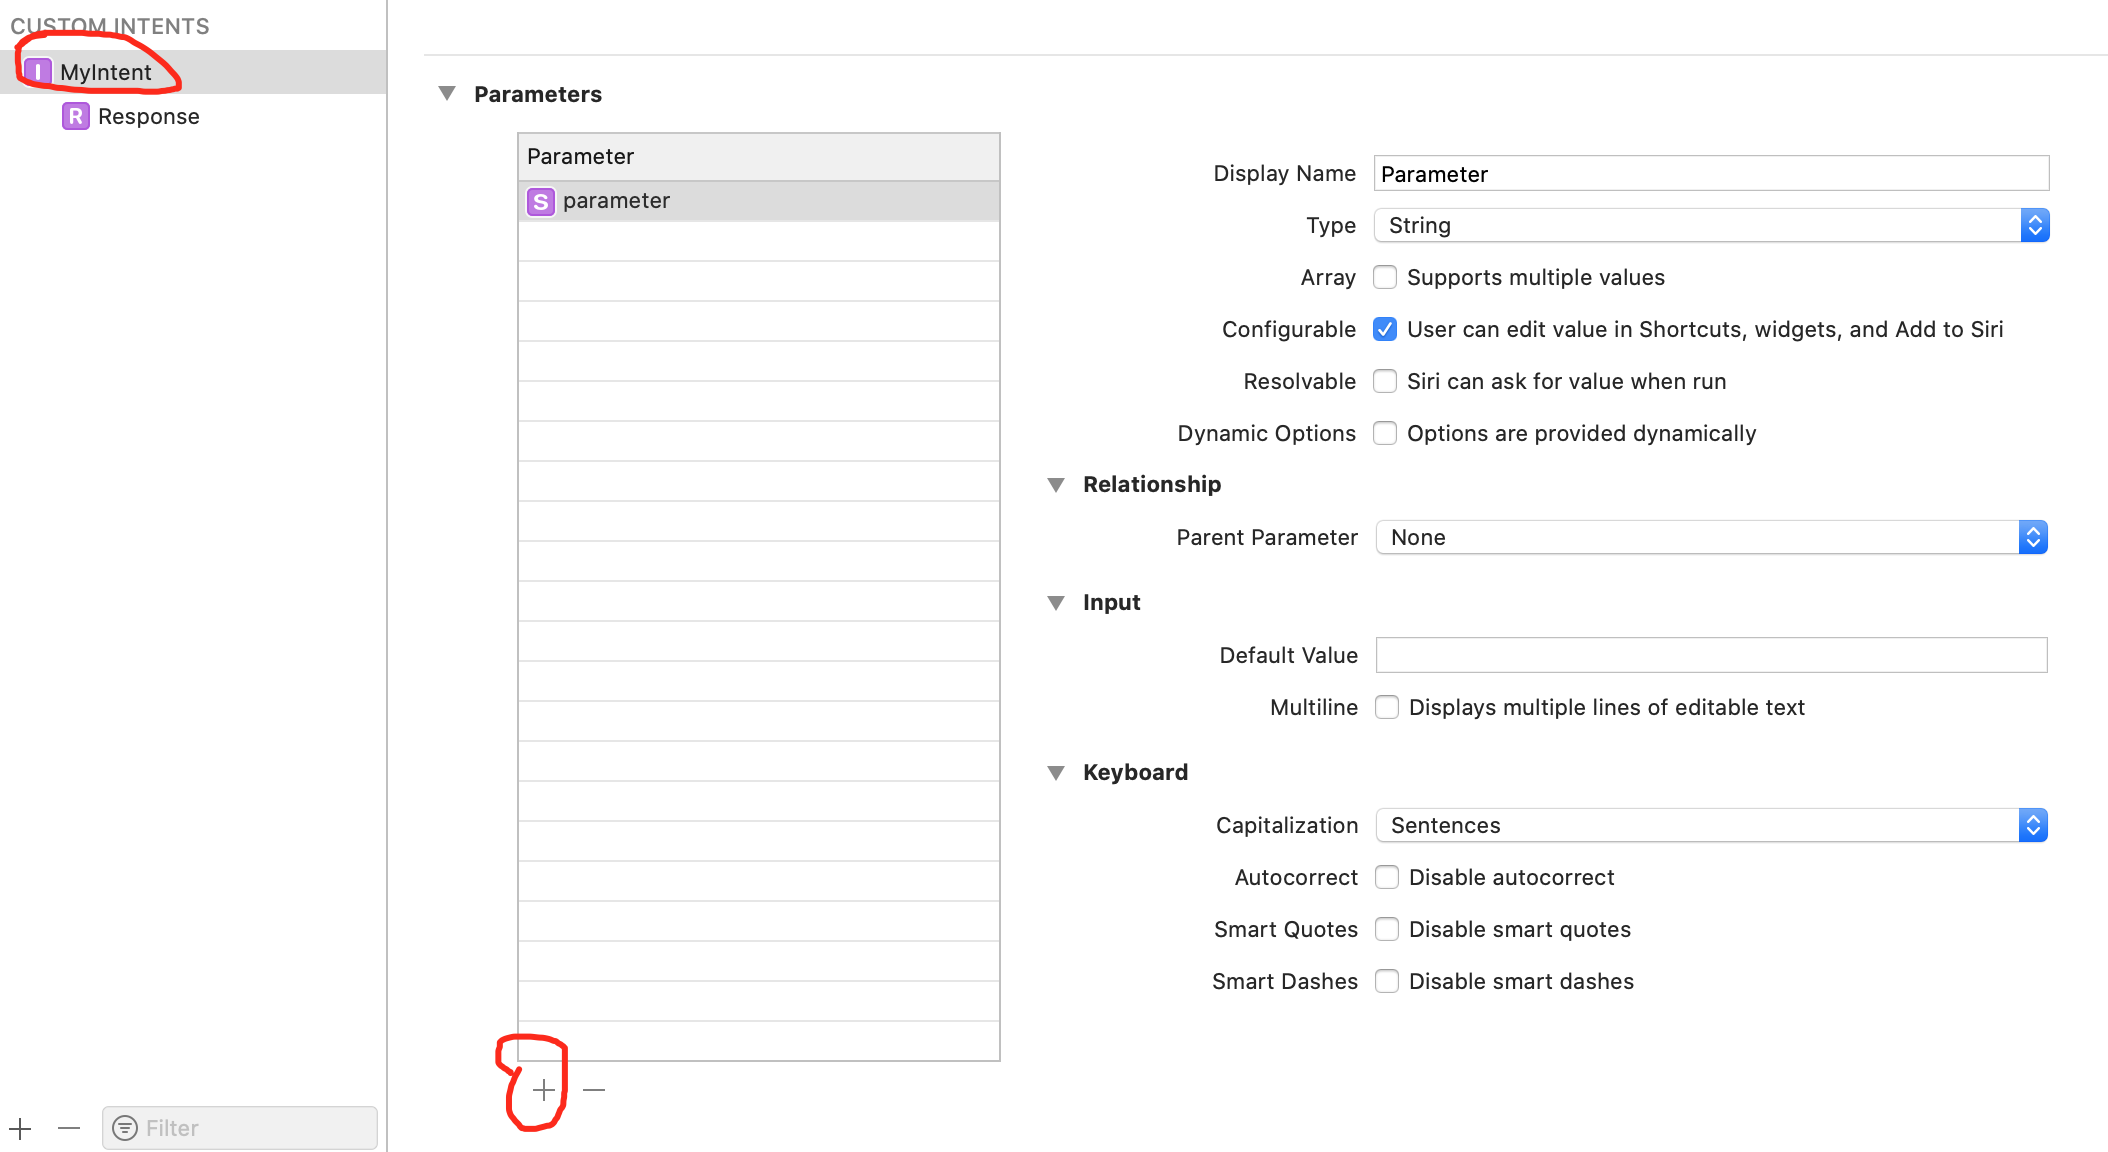
3.2. Add Intent
Name MyIntent, Category, select View, select user confirmation required, and none.
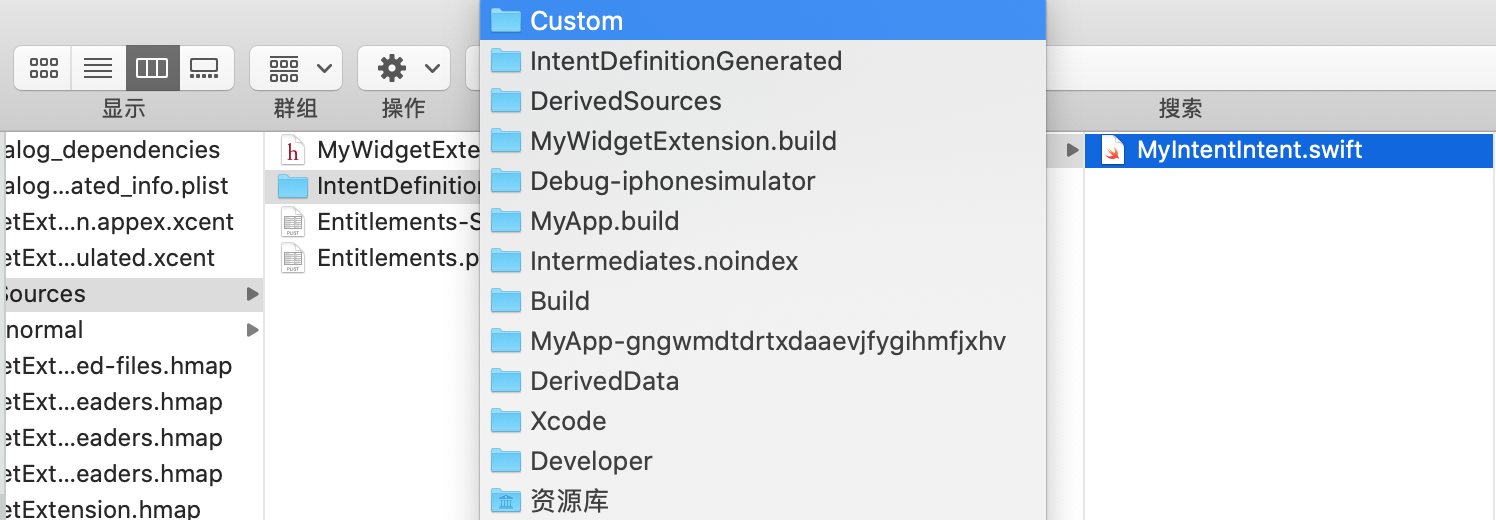
After adding, compiling the project (cmd + B) will generate a myintentint.swift file. MyIntent is the name of our custom Intent.
File path
3.3. Modify MyWidget.swift
3.3.1,Provider
Change TimelineProvider to IntentTimelineProvider
struct Provider: TimelineProvider {
...
Change to
struct Provider: IntentTimelineProvider {
...
getSnapshot method modification
func getSnapshot(in context: Context, completion: @escaping (SimpleEntry) -> ()) {
...
Change to
func getSnapshot(for configuration:MyIntentIntent, in context: Context, completion: @escaping (SimpleEntry) -> ()) {
...
getTimeline method modification
func getTimeline(in context: Context, completion: @escaping (Timeline<Entry>) -> ()) {
...
Change to
func getTimeline(for configuration:MyIntentIntent, in context: Context, completion: @escaping (Timeline<Entry>) -> ()) {
...
3.3.2 SimpleEntry
Add configuration attribute
let configuration: MyIntentIntent
Modify where SimpleEntry is called
Provider -> placeholder
SimpleEntry(date: Date(), configuration: MyIntentIntent())

Provider -> getSnapshot
let entry = SimpleEntry(date: Date(), configuration: configuration)

Provider -> getTimeline
let entry = SimpleEntry(date: entryDate, configuration: configuration)

MyWidget_Previews
MyWidgetEntryView(entry: SimpleEntry(date: Date(), configuration: MyIntentIntent()))
3.3.3 MyWidget
Change StaticConfiguration to IntentConfiguration
StaticConfiguration(kind: kind, provider: Provider()) { entry in
...
Change to
IntentConfiguration(kind: kind, intent: MyIntentIntent.self, provider: Provider()) { entry in
...
3.3.4 MyWidget_Previews
The above has been modified, see 3.3.2.
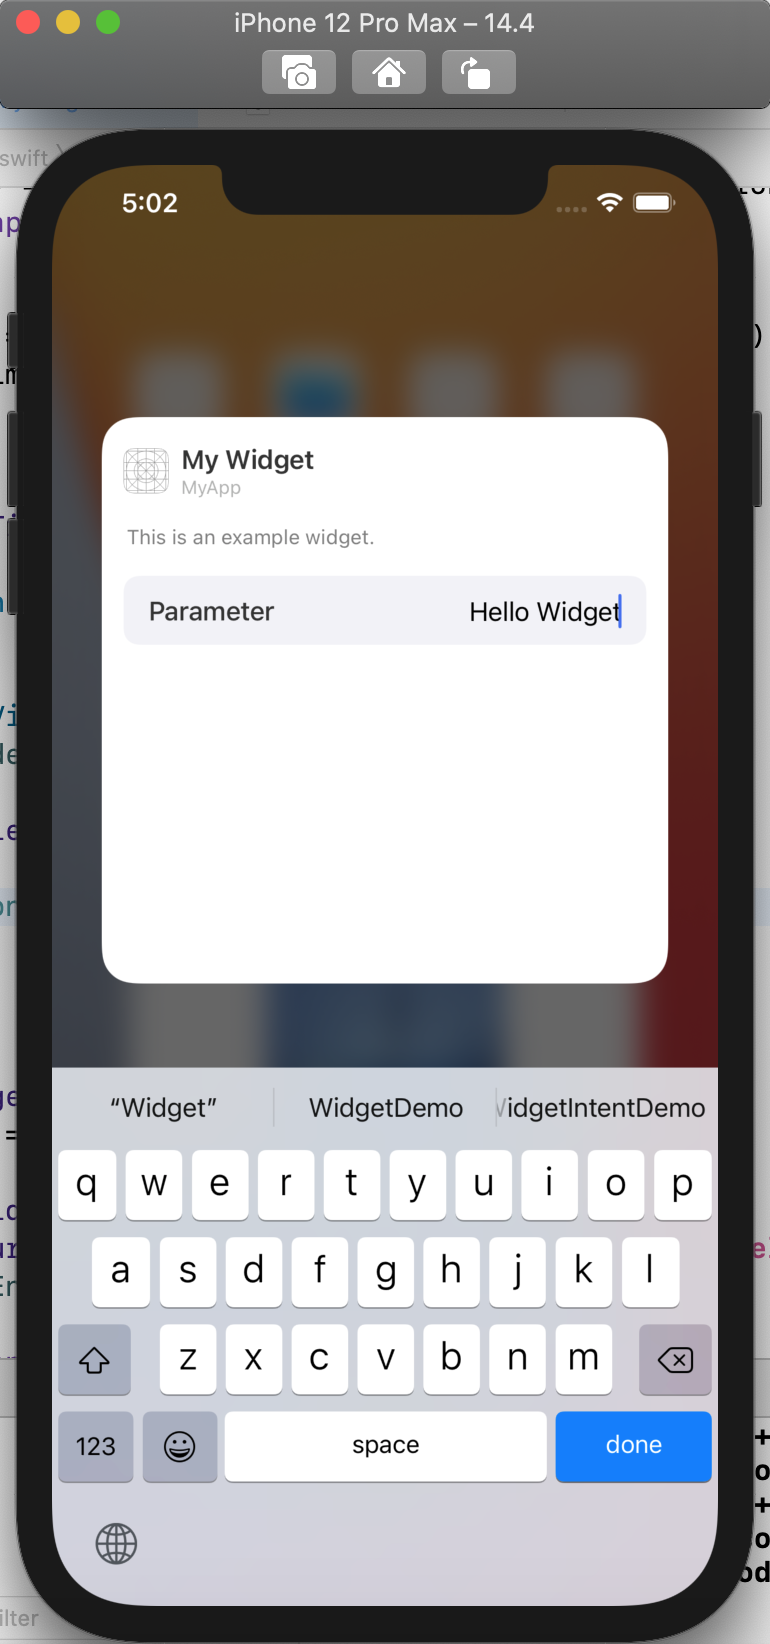
There is a problem here, because it is statically modified to editable. Clicking Edit will not bring up the editing interface. Delete the widget and add it again.
Add an option and try it.
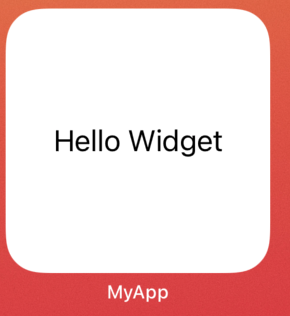
Get the parameter value in MyWidgetEntryView and display it on the screen
Text(entry.configuration.parameter ?? "")
4. Custom optional list
4.1. Create IntentHandle
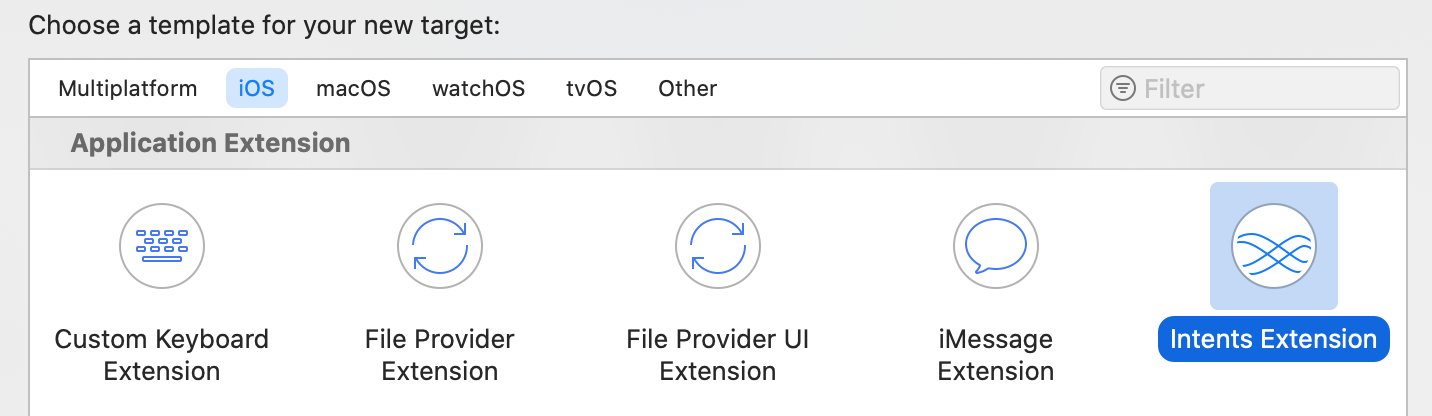
Add Target: IOS - > Application Extension - > intents extension
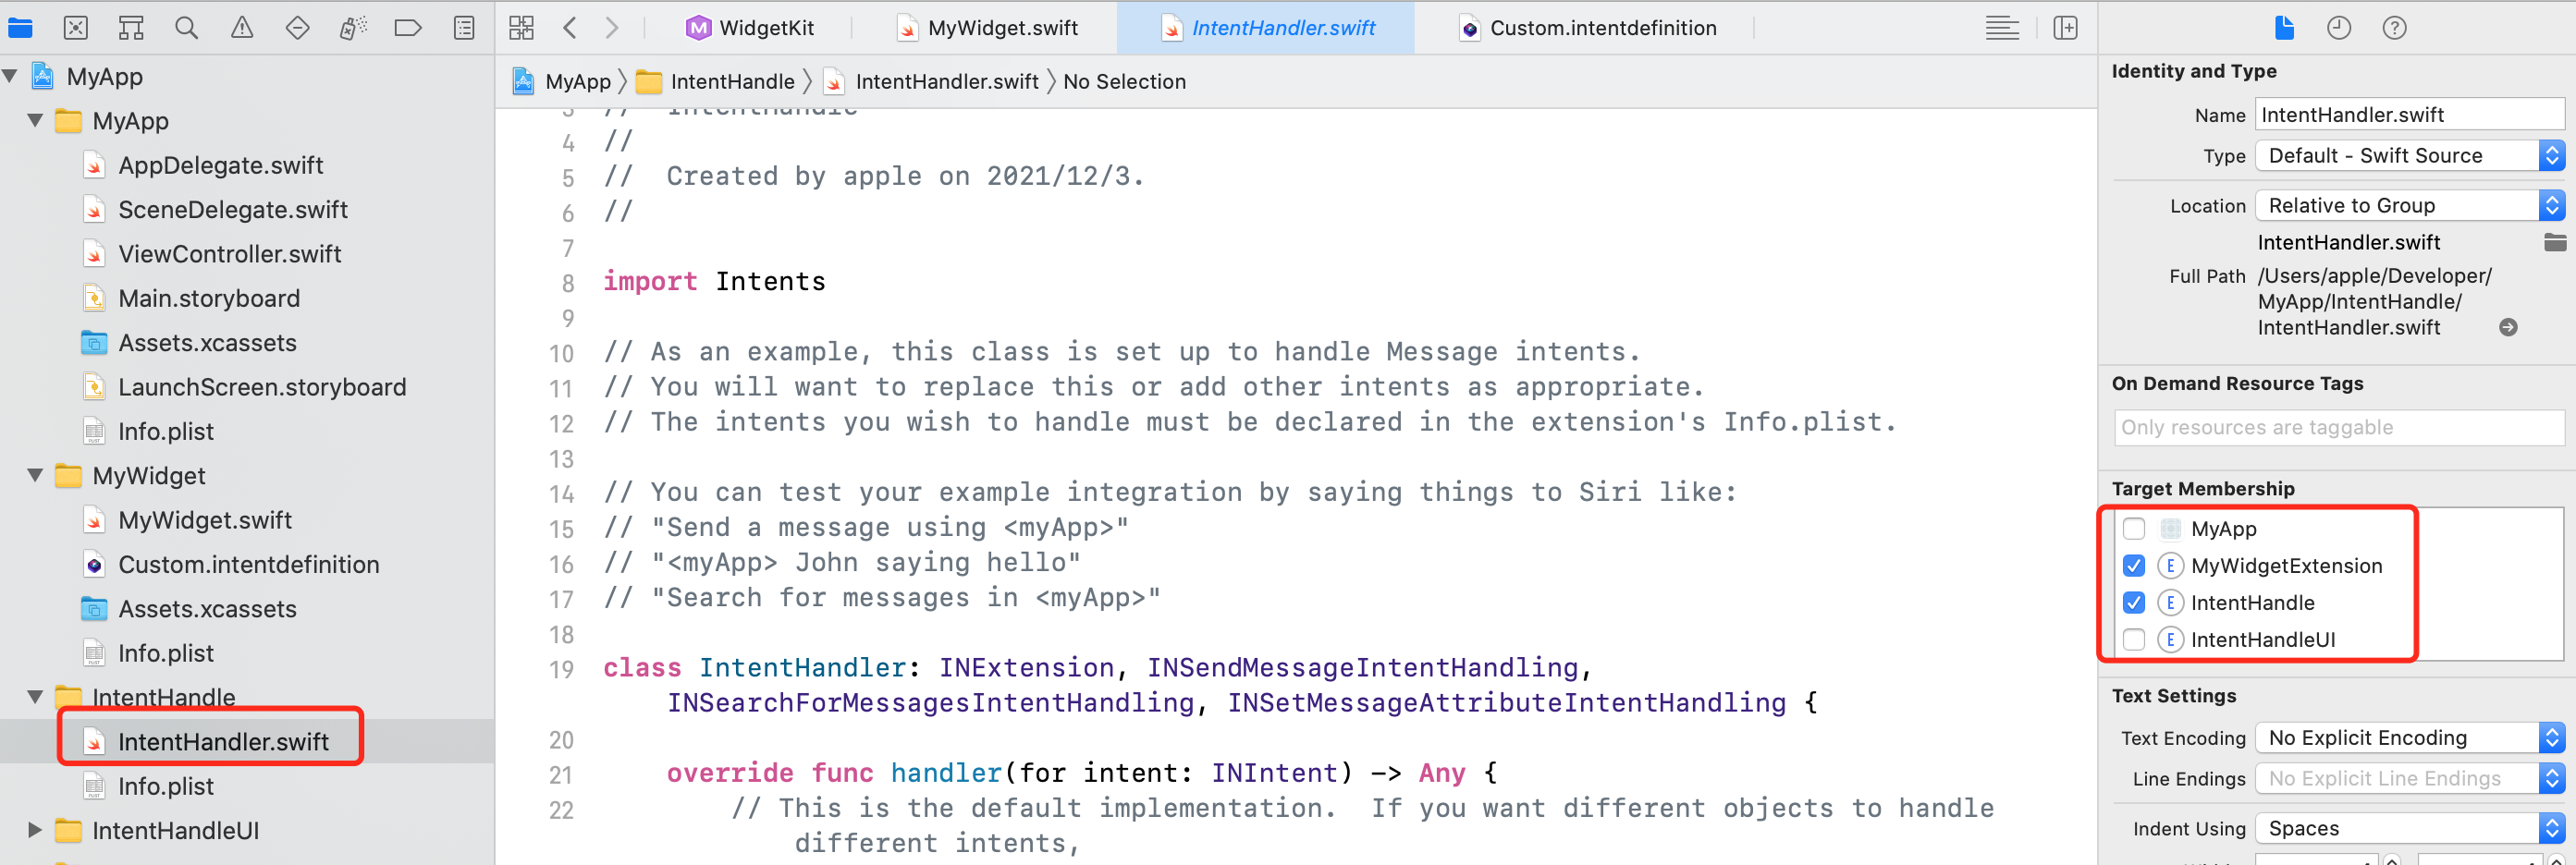
Named intenthandle. This binding Intent file and data model, set up the next target to select the small components, it can be called in the group, Intent target to select Intenthandle. The MyWidget.swift file does not move.
4.2. Create a list file and add picture resources
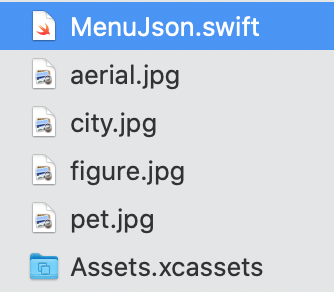
Create the MenuJson.swift file. Note that the widget and handle are selected for target

Add picture
import Foundation

struct MenuJson: Codable {
    let id: String
    let name: String
    let image: String

    static func createMenuList() -> [MenuJson] {
        var list = [MenuJson]()
        list.append(.init(id: "1", name: "Aerial photography", image: "aerial.jpg"))
        list.append(.init(id: "2", name: "city", image: "city.jpg"))
        list.append(.init(id: "3", name: "character", image: "figure.jpg"))
        list.append(.init(id: "4", name: "Pets", image: "pet.jpg"))
        return list
    }
}
Here, select the target of small and medium-sized components

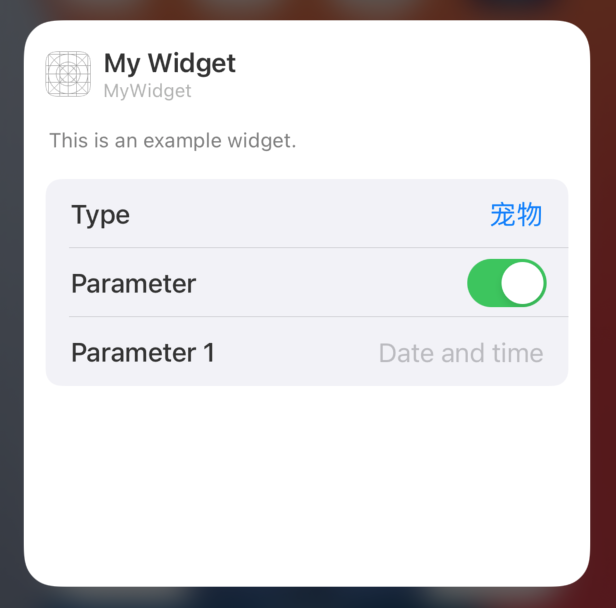
4.3. Add data to the Intent file
4.3.1. Add Type
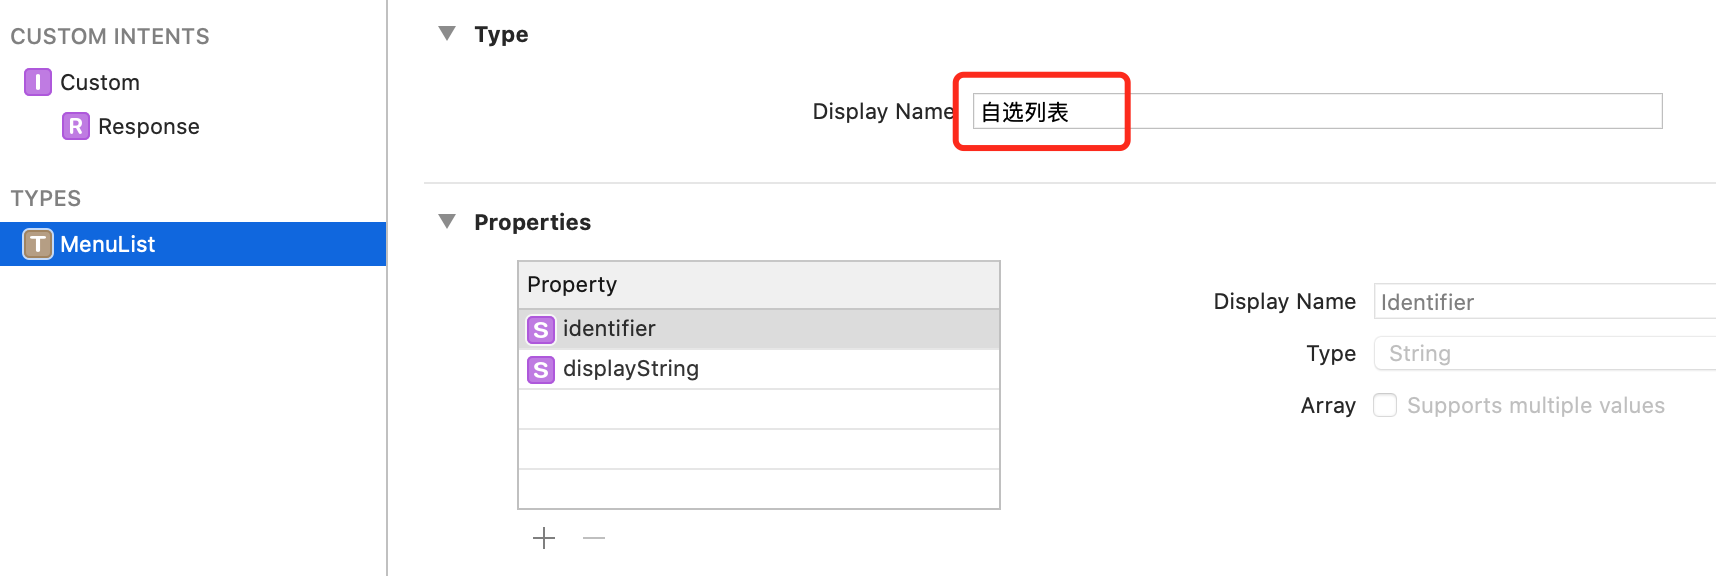
Add a Type attribute, select Add Type... And the Type is named MenuList.
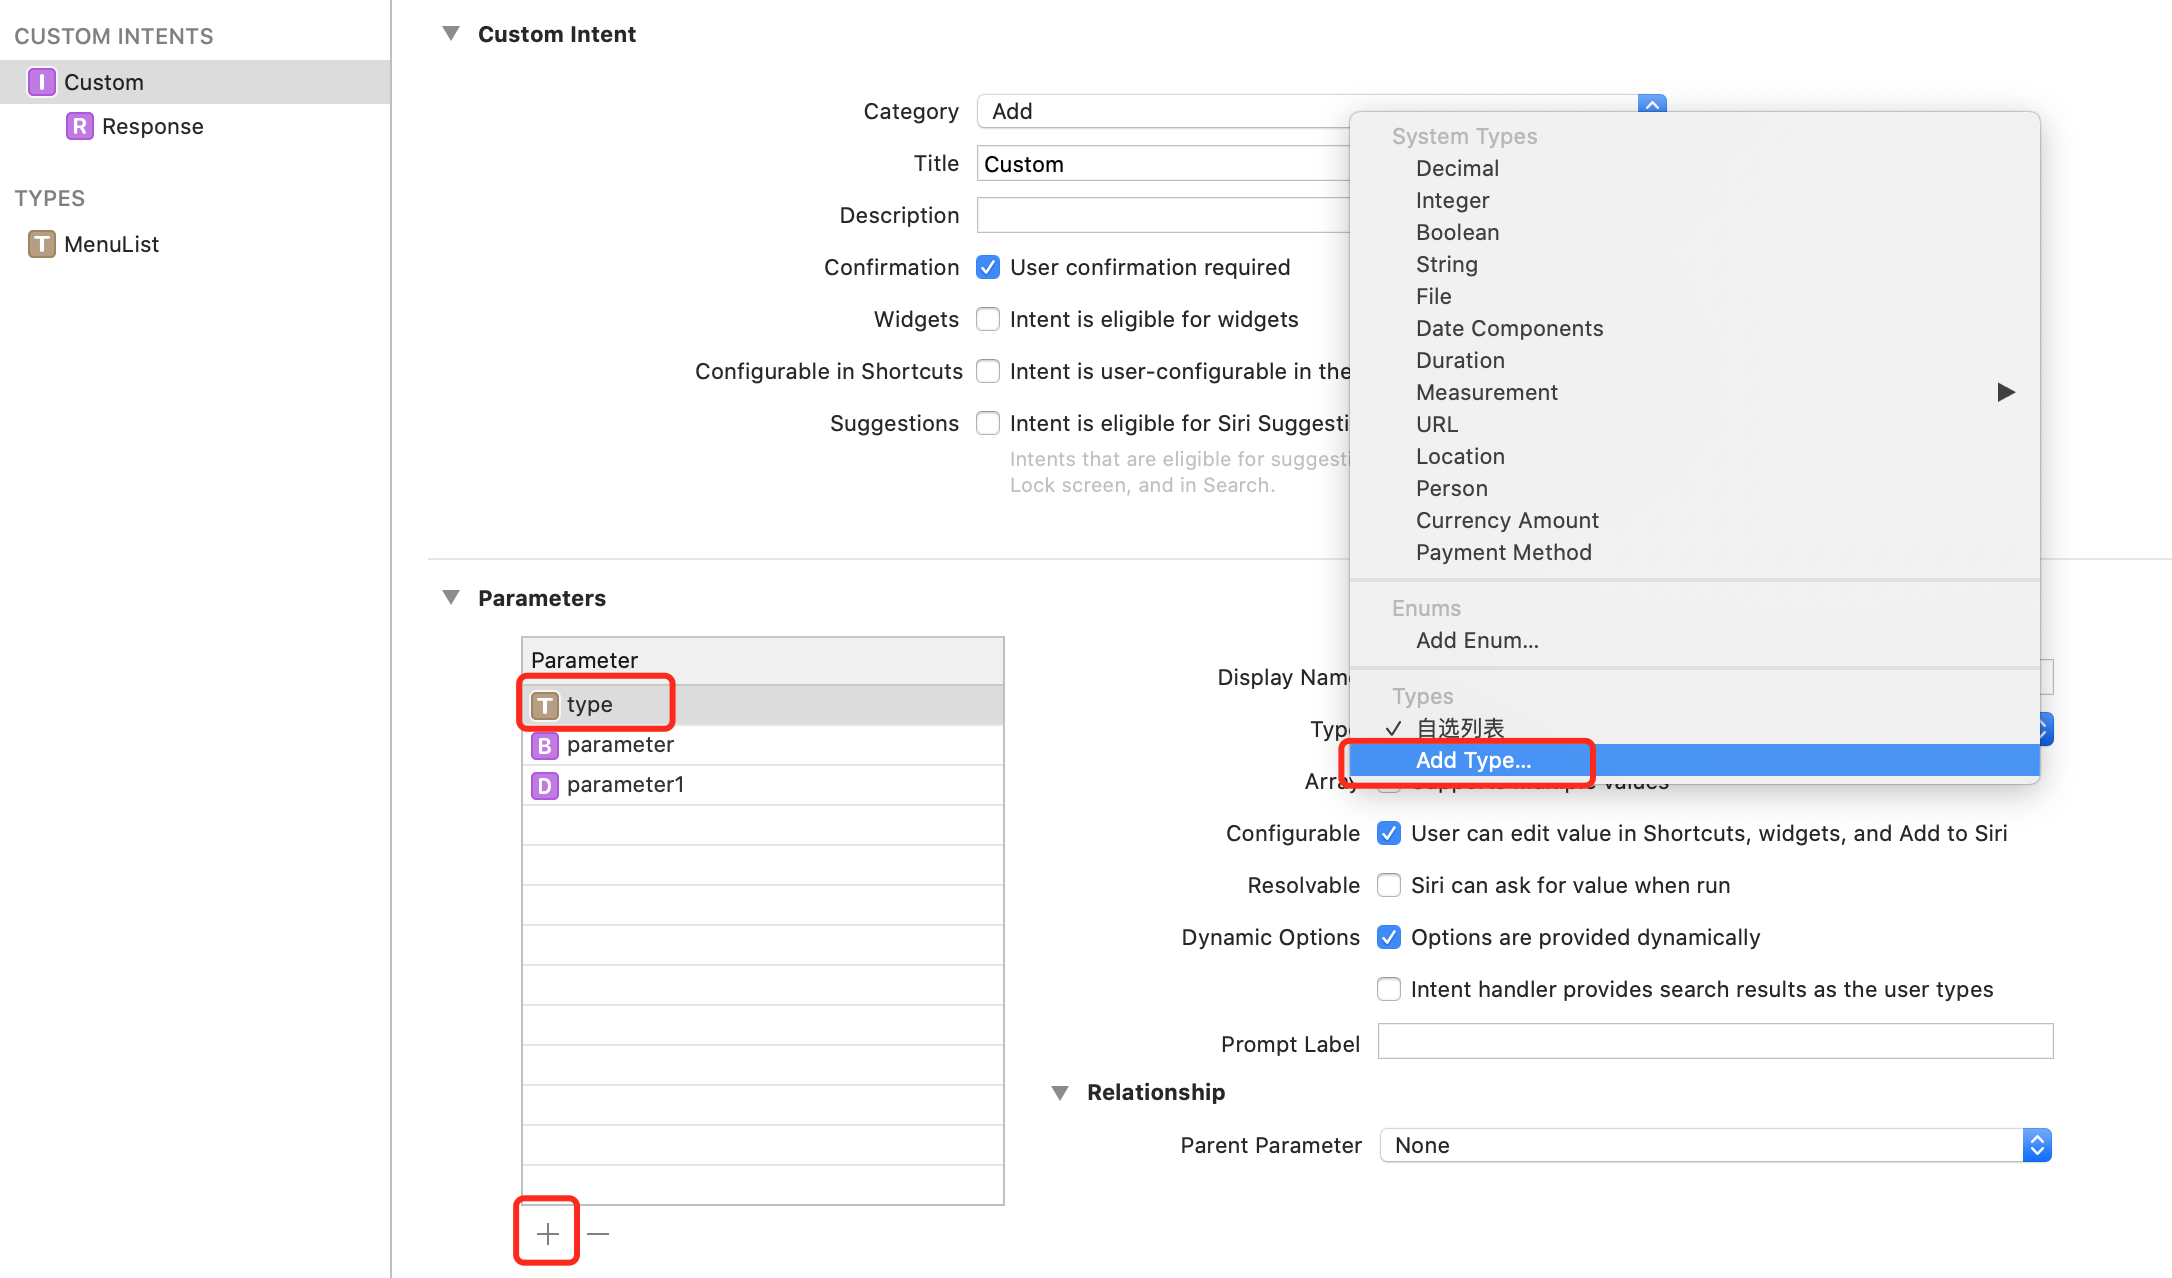
Type display name can be customized
4.4. Modify IntentHandler file
Add agent myinthandling
Add method provideTypeOptionsCollection
Binding data in provideTypeOptionsCollection
class IntentHandler: INExtension, MyIntentIntentHandling {

    func provideTypeOptionsCollection(for intent: MyIntentIntent, with completion: @escaping (INObjectCollection<MenuList>?, Error?) -> Void) {
        let list = MenuJson.createMenuList().map { (item) -> MenuList in
            .init(identifier: item.id, display: item.name)
        }
        completion(.init(items: list), nil)
    }
    ...
4.5. Modify MyWidget file
struct Provider: IntentTimelineProvider {

    let list = MenuJson.createMenuList().map { (item) -> MenuList in
        .init(identifier: item.id, display: item.name)
    }

    func placeholder(in context: Context) -> SimpleEntry {
        SimpleEntry(
            date: Date(),
            configuration: MyIntentIntent(),
            menu: list[0]
        )
    }

    func getSnapshot(for configuration:MyIntentIntent, in context: Context, completion: @escaping (SimpleEntry) -> ()) {

        var firstItem = list.filter { (item: MenuList) -> Bool in
            item.identifier == configuration.type?.identifier
        }
        if firstItem.count == 0 {
            firstItem = list
        }

        let entry = SimpleEntry(
            date: Date(),
            configuration: configuration,
            menu: firstItem[0]
        )
        completion(entry)
    }

    func getTimeline(for configuration:MyIntentIntent, in context: Context, completion: @escaping (Timeline<Entry>) -> ()) {

        var firstItem = list.filter { (item: MenuList) -> Bool in
            item.identifier == configuration.type?.identifier
        }
        if firstItem.count == 0 {
            firstItem = list
        }

        let entry = SimpleEntry(
            date: Date(),
            configuration: configuration,
            menu: firstItem[0]
        )

        let timeline = Timeline(entries: [entry], policy: .atEnd)
        completion(timeline)
    }
}

struct SimpleEntry: TimelineEntry {
    let date: Date
    let configuration: MyIntentIntent
    let menu: MenuList
}

struct MyWidgetEntryView : View {
    var entry: Provider.Entry

    var body: some View {

        let item = MenuJson.createMenuList().first { (subItem: MenuJson) -> Bool in
            subItem.id == entry.menu.identifier
        }
        let defaultText = "Sword dancing Hongmen can forgive the Han Dynasty, the ship sank, and the giant deer competed to kill the Qin Dynasty.\n-- clear • Yan Suicheng"
        ZStack {

            Image(uiImage: UIImage(imageLiteralResourceName: item?.image ?? "figure.jpg"))
                .resizable()
                .aspectRatio(contentMode: .fit)
            VStack {
                Spacer()
                Text(item?.name ?? defaultText)
            }

        }
        .widgetURL(URL(string: "widget://tap"))
    }
}

@main
struct MyWidget: Widget {
    let kind: String = "MyWidget"

    var body: some WidgetConfiguration {
        IntentConfiguration(kind: kind, intent: MyIntentIntent.self, provider: Provider()) { entry in
            MyWidgetEntryView(entry: entry)
        }
        .configurationDisplayName("My Widget")
        .description("This is an example widget.")
    }
}

struct MyWidget_Previews: PreviewProvider {
    static var previews: some View {
        let list = MenuJson.createMenuList().map { (item) -> MenuList in
            .init(identifier: item.id, display: item.name)
        }
        MyWidgetEntryView(entry: SimpleEntry(date: Date(), configuration: MyIntentIntent(), menu: list[0]))
            .previewContext(WidgetPreviewContext(family: .systemSmall))
    }
}
Note:
The pictures added by SwiftUI Image("") can only be placed in Assets. The pictures directly dragged into the project need to call UIImage to load
Image(uiImage: UIImage(imageLiteralResourceName: item?.image ?? "figure.jpg"))