Diary: June 12, 2021 16:55:42
Diary: it's 15:04:04 on June 12, 2021
Diary: it's 07:04:28, June 13, 2021. I've been thinking about it all night. Due to dependency problems, I installed Python 3 6 frequent failures. In order not to repeat the actions, the following dependencies are provided:
apt-get install -y sqlite* zlib* arm-linux-gnueabihf* build-essential libsqlite3-dev gcc libffi-dev python3-dev libssl-dev
Chapter 2: server - play guest cloud brush into armbian system After brushing armbian, we have to update the software source.
Replace Ali source:

Enter the command to edit the source file: nano /etc/apt/sources.list
 Paste the following before the note:
deb http://mirrors.aliyun.com/debian stretch main contrib non-free
deb-src http://mirrors.aliyun.com/debian stretch main contrib non-free
deb http://mirrors.aliyun.com/debian stretch-updates main contrib non-free
deb-src http://mirrors.aliyun.com/debian stretch-updates main contrib non-free
deb http://mirrors.aliyun.com/debian-security stretch/updates main contrib non-free
deb-src http://mirrors.aliyun.com/debian-security stretch/updates main contrib non-free

Exit and save.
Enter the command to complete the update:
sudo apt-get update;
sudo apt-get upgrade;
catalogue
3, Install Pagoda - server monitoring Kanban
1, Install Python 3.0 6+
use wget Command Download Python Package:

Download: wget https://www.python.org/ftp/python/3.6.5/Python-3.6.5.tgz

Decompression: tar -xzvf Python-3.6.5.tgz

hold Python3.6 Install to/etc/python3.6: ./configure --prefix= /etc/python3.6

Compilation and installation: make && make install

After installation, soft link it to/usr/bin:

ln -s /etc/python3.6/python3.6 /usr/bin/python3.6

By the same token, will pip6 Soft link to/usr/bin: ln -s /etc/python3.6/pip3.6 /usr/bin/pip3.6
End the installation.
Enter python 3 6 -V; Check that python was successfully installed
Enter PIP3 6 -V; Check whether pip is successfully installed

Possible problems during python installation:
a. Prompt during installation:
zlib not available;
solve:
apt-get install -y zlib*
Reinstall python:
make install
b. Maybe python3.0 already exists in the original system x. If it's Python 3 5. At this time, the system has versions 3.5 and 3.6. Because we just soft chain to Python 3 6 instruction, so there is no conflict with Python 3 instruction.
If you still want to execute python3 directly, use the latest installed python3 6, you can set the priority of / usr / bin / Python 3:
update-alternatives --install /usr/bin/python3 python3 /usr/bin/python3.5 1
update-alternatives --install /usr/bin/python3 python3 /etc/python3.6/bin/python3.6(Your installation path) 2
update-alternatives --config python3
Prompt at this time (Priority means weight):
There are 2 choices for the alternative python3 (providing /usr/bin/python3).

  Selection    Path                      Priority   Status
------------------------------------------------------------
* 0            /etc/python3.6/bin/python3.6   2         auto mode
  1            /usr/bin/python3.5             1         manual mode
  2            /etc/python3.6/bin/python3.6   2         manual mode

Press <enter> to keep the current choice[*], or type selection number:
Then click enter to finish. At this point, going straight to Python 3 is Python 3 Version 6 environment.
c. Use PIP3 6. When installing, you will be prompted:
Command 'lsb_release -a' returned non-zero exit status 1.
Estimated LSB_ There is a problem with the release function. The version is incorrect. The solution is excerpted online:
# find / -name 'lsb_release.py'
/usr/lib/python3/dist-packages/lsb_release.py
/usr/lib/python2.7/dist-packages/lsb_release.py
/usr/share/pyshared/lsb_release.py
# find /usr -name python3.6
/usr/local/bin/python3.6
/usr/local/lib/python3.6
# cp /usr/lib/python3/dist-packages/lsb_release.py /usr/local/lib/python3.6/
2, Installing HomeAssistant
Direct installation using pip tool:
pip3.6 install homeassistant
If the prompt version is too low:

Then update the pip version:
python3 -m pip install --upgrade pip
After the installation is completed, find the hash in the bin directory of python, which is the startup script of HomeAssistant. Bind it first so that you can enter the hash directly to start it effectively:
ln -s /etc/python3.6/bin/python3.6/bin/hass /usr/bin/hass
Otherwise:
hass: command not found
To start HomeAssistant:
hass --open-ui
It takes a long time to start for the first time:

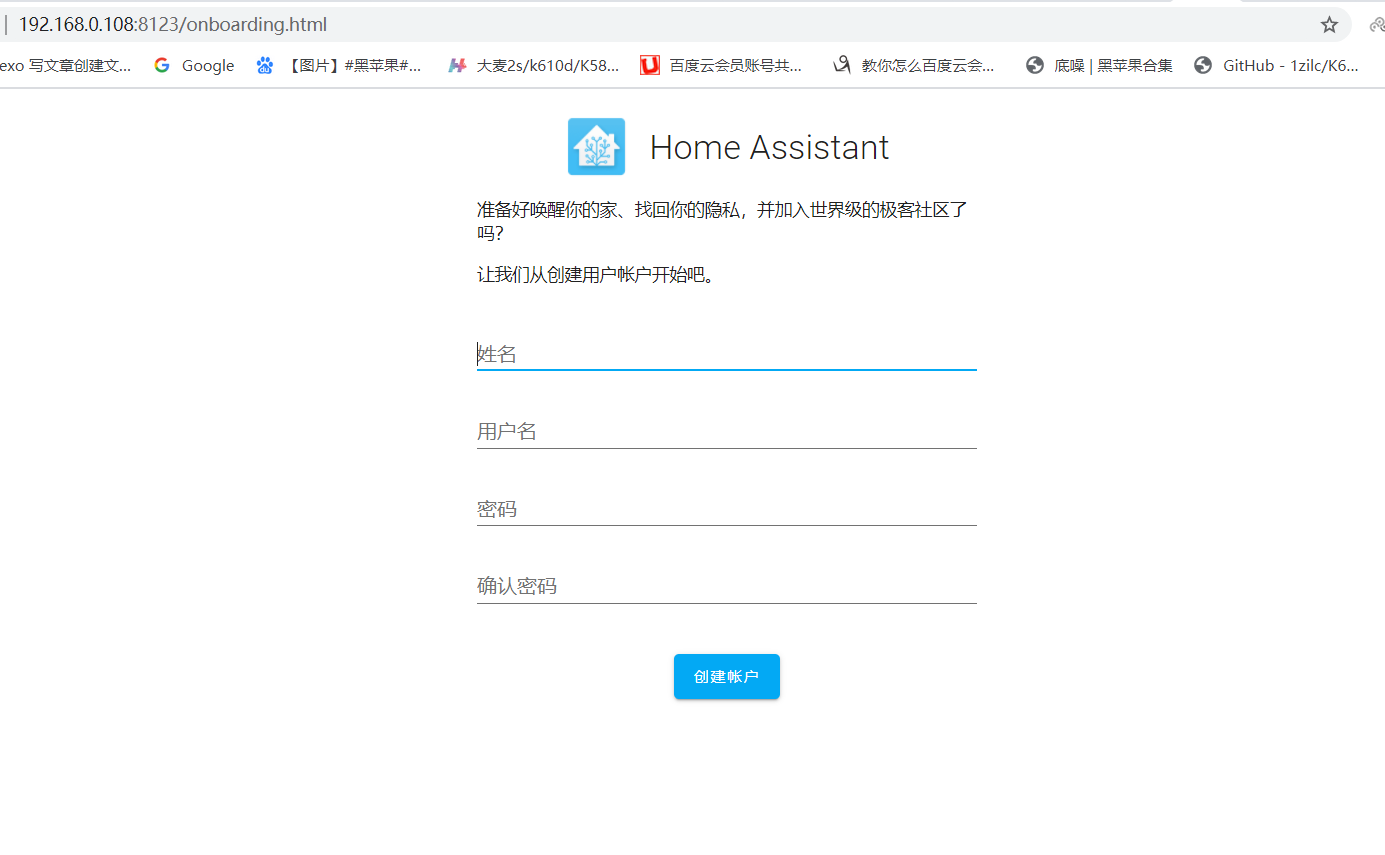
After startup, open in the browser: ip:8123; The following login interface indicates that the installation and startup are successful.

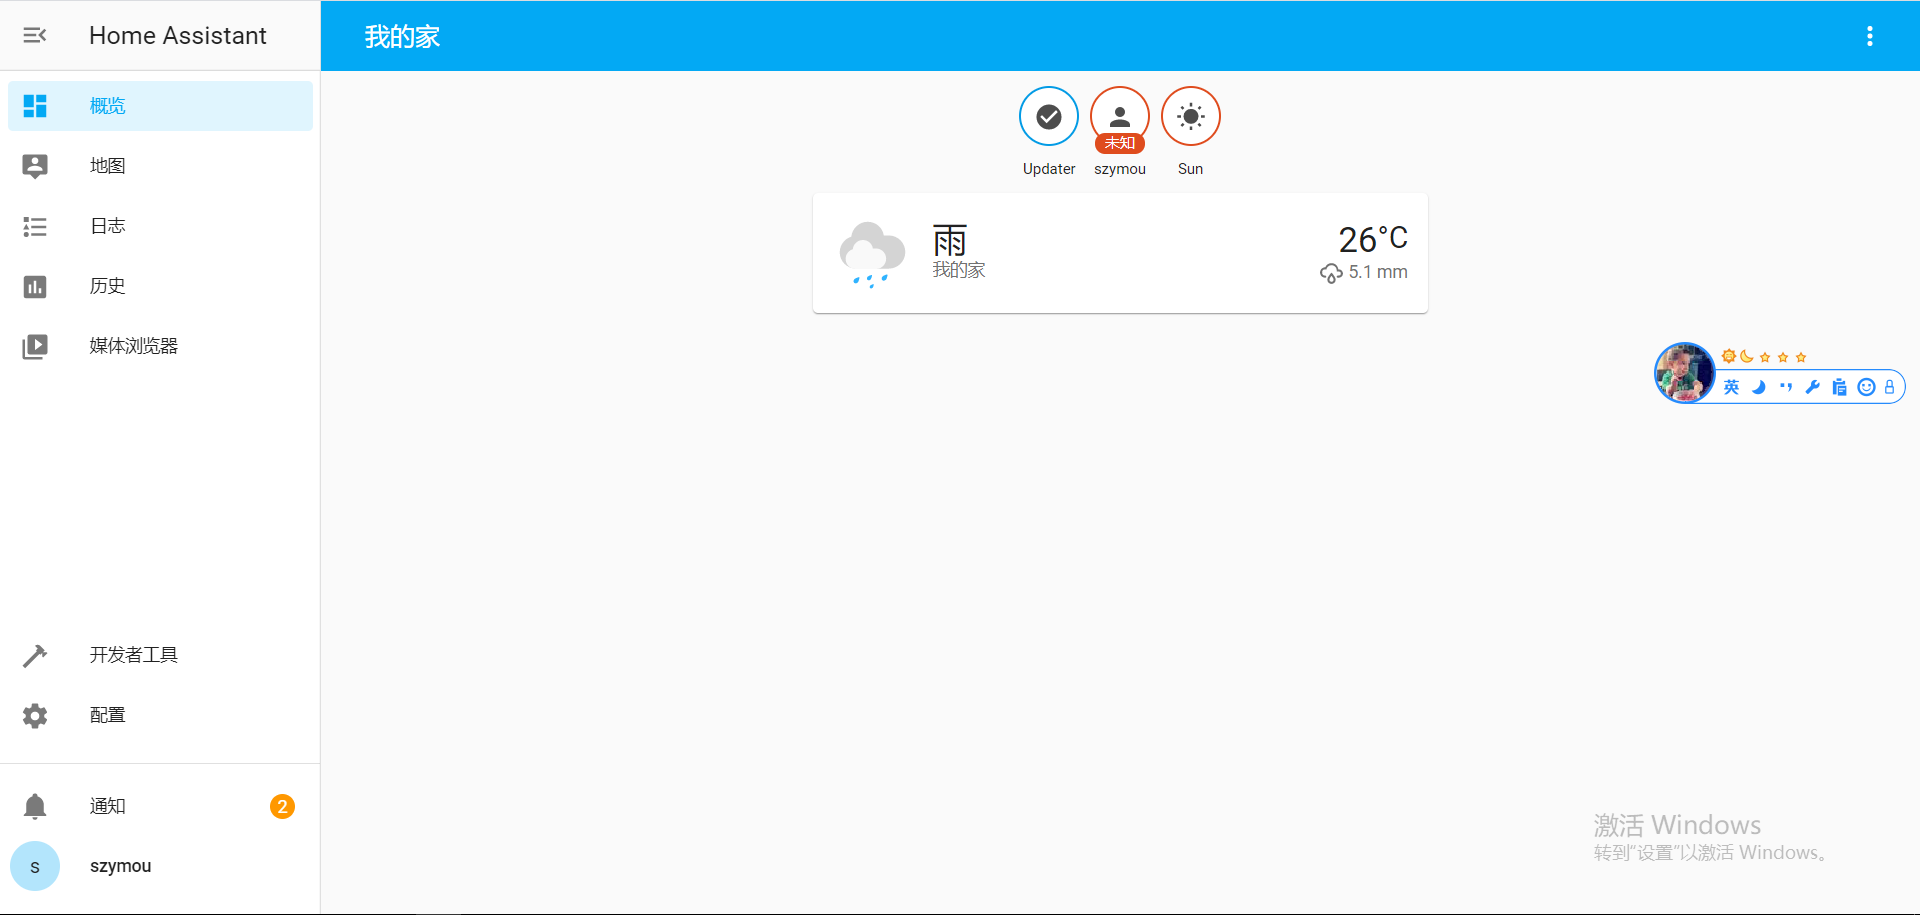
Normal operation interface:

Complete collection of hass instructions
Configure auto start:
Open / etc / RC Local, edit and add nohup has > / home / has log 2>&1 &:
#!/bin/sh -e
#
# rc.local
#
# This script is executed at the end of each multiuser runlevel.
# Make sure that the script will "exit 0" on success or any other
# value on error.
#
# In order to enable or disable this script just change the execution
# bits.
#
# By default this script does nothing.

# start HomeAssistant
nohup hass > /home/hass.log 2>&1 &;


exit 0
3, Install Pagoda - server monitoring Kanban
Download and install:
wget -O install.sh http://download.bt.cn/install/install-ubuntu_6.0.sh && bash install.sh
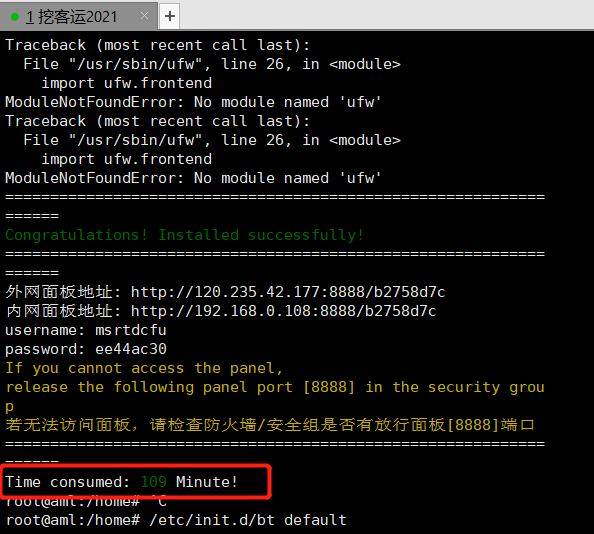
Installation complete:

Open ip:8888 in the browser and the following interface will appear:

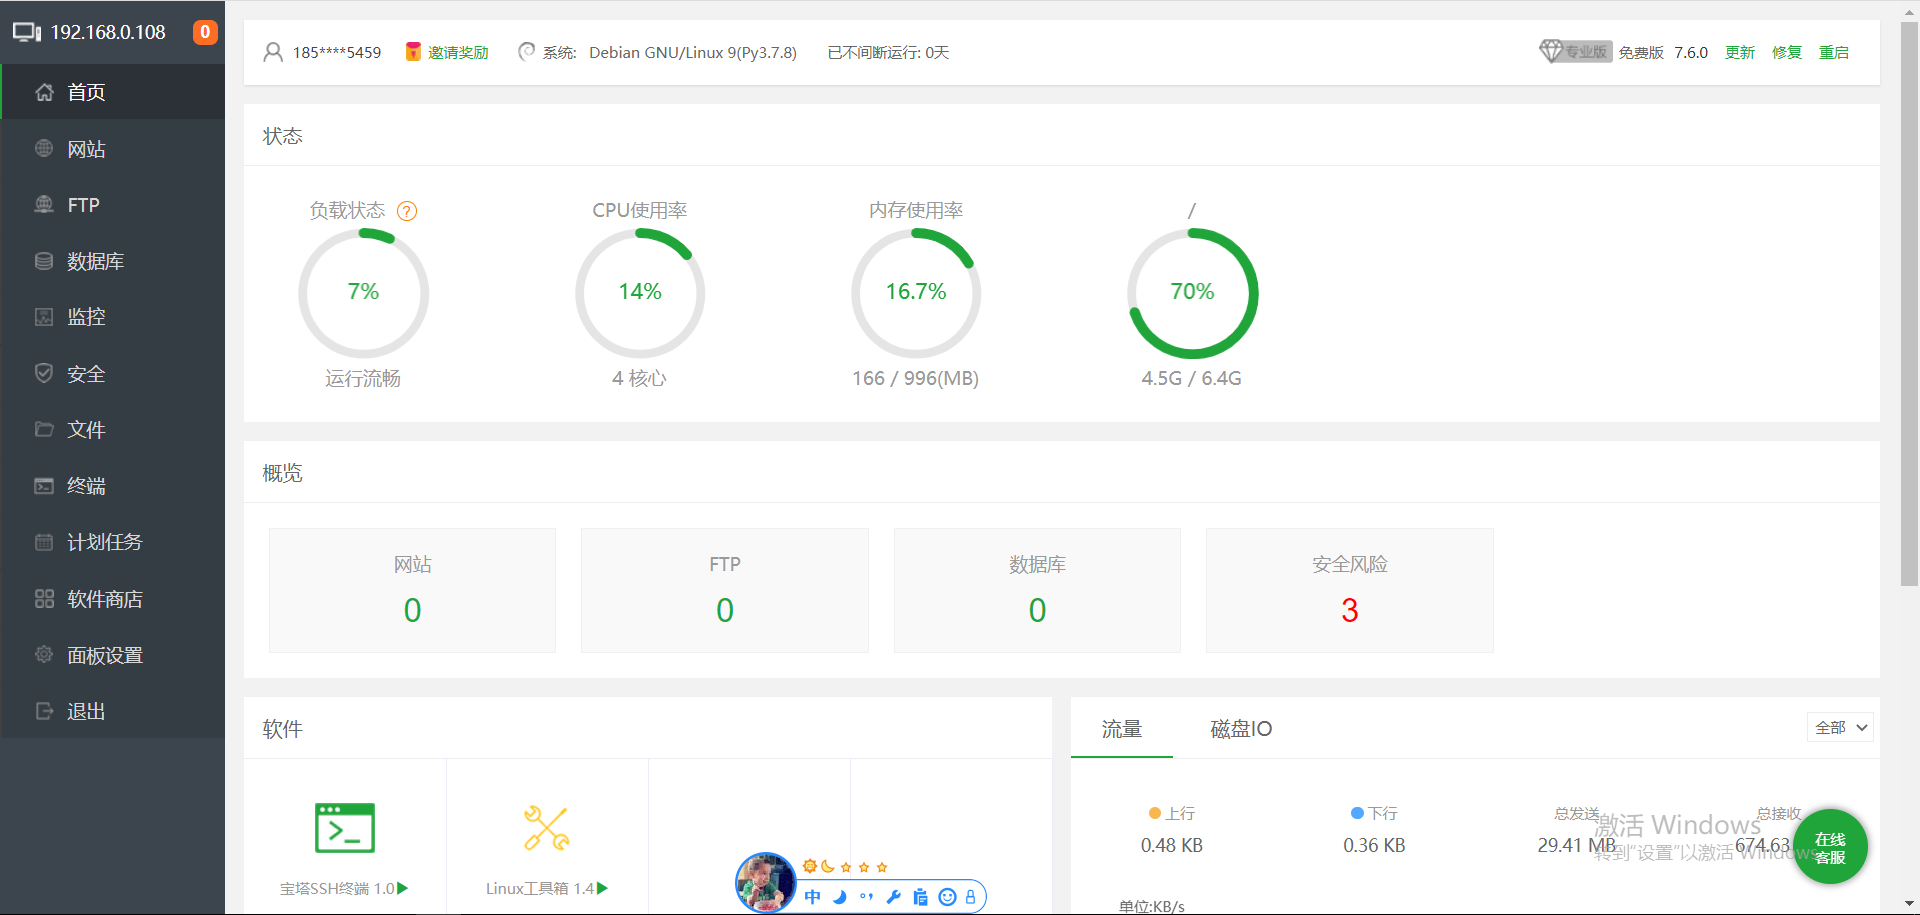
Normal operation interface:

Diary: current time: 09:02:53, June 13, 2021