I. build git server
After all, github is open, and private warehouses have to pay for it. So we can find a way to build a private one for our own company. Gitlab is a good choice. Before introducing it, let's talk about the command line git server
To find a server, you need to install git first. Here you have a new machine to install GIT.
# yum install -y git
Add git user and set the shell to / usr / bin / git shell to prevent git user from logging in remotely
# useradd -s /usr/bin/git-shell git
# cd /home/git
First, put the public key on the client into the file / home/git/.ssh/authorized_keys on the GIT server.
Create the authorized_keys file and change the owner, group and permission to store the public key on the client machine.
# mkdir .ssh
# touch .ssh/authorized_keys
# chown -R git:git .ssh
# chmod 600 .ssh/authorized_keys
[root@MRX ~]#cat. ssh/id_rsa.pub / / copies the public key on the first machine
[root@wbs git]#vi. ssh/authorized_keys / / paste it into the file just created on the new machine (server)
[root@MRX ~]#ssh git@192.168.197.133 go to the client and try to log in. If you see such a prompt, it means there is no problem, indicating that the verification is successful.
The authenticity of host '192.168.197.133 (192.168.197.133)' can't be established.
ECDSA key fingerprint is SHA256:PZXNkWqC/6h4hUQYkfOM9AMj82OTskLMIB4qLkgeajU.
ECDSA key fingerprint is MD5:99:19:04:c5:11:8d:94:ad:9a:86:40:b9:ad:b9:d4:8f.
Are you sure you want to continue connecting (yes/no)? yes
Warning: Permanently added '192.168.197.133' (ECDSA) to the list of known hosts.
fatal: Interactive git shell is not enabled.
hint: ~/git-shell-commands should exist and have read and execute access.
Connection to 192.168.197.133 closed.
Define the directory to store git warehouse on the server, such as / data/gitroot
# mkdir /data/gitroot
# cd /data/gitroot
# git init --bare sample.git
//A bare warehouse will be created, and there is no workspace in the bare warehouse. Because the git warehouse on the server is purely for sharing, users are not allowed to log in to the server directly to change the workspace, and the git warehouse on the server usually ends with. git.
# chown -R git.git sample.git
The above operations are done on git server. Usually, GIT server does not need developers to log in and modify the code. It just acts as a server, just like github, usually the operations are done on our own pc.
Clone remote warehouse on client (own pc)
git clone git@ip:/data/gitroot/sample.git
# git clone git@192.168.197.133:/data/gitroot/sample.git
 Cloning to 'sample'
warning: you seem to have cloned an empty version library.
At this point, you can generate a sample directory under the current directory, which is the remote warehouse we cloned. Enter here, you can develop some code, and then push it to the remote.
# cp /etc/init.d/mysqld .
[root@MRX sample]# ls
mysqld
[root@MRX sample]# git add .
[root@MRX sample]# git commit -m "add new file"
[master(Root commit) 1d1a5a0] add new file
 1 file changed, 378 insertions(+)
 create mode 100755 mysqld

[root@MRX sample]#git push / / because it is a bare warehouse, there is no branch in it. It is pushed directly. The remote does not know which branch it is, so you need to specify a branch.
warning: push.default Not set, its default value will be Git 2.0 from 'matching'
//Change to 'simple'. To stop displaying this message and maintain the current usage after its default value changes,
//Make the following settings:

  git config --global push.default matching

//To stop displaying this message and adopt a new usage from now on, set:

  git config --global push.default simple

//See 'git help config' and look for 'push.default' for more information.
('simple' Mode from Git 1.7.11 Version introduction. If you need to use an older version of Git,
//For compatibility, use 'current' instead of 'simple' mode)

No refs in common and none specified; doing nothing.
Perhaps you should specify a branch such as 'master'.
fatal: The remote end hung up unexpectedly
error: Cannot push some references to 'git@192.168.197.133:/data/gitroot/sample.git'

#Git push origin master / / specify the master branch. When pushing again, you can directly git push.
Counting objects: 3, done.
Delta compression using up to 2 threads.
Compressing objects: 100% (2/2), done.
Writing objects: 100% (3/3), 3.84 KiB | 0 bytes/s, done.
Total 3 (delta 0), reused 0 (delta 0)
To git@192.168.197.133:/data/gitroot/sample.git
 * [new branch]      master -> master

 # cd /tmp
 # git clone git@192.168.197.133:/data/gitroot/sample.git
 # ls sample/
1.txt  mysqld
[root@MRX tmp]# cd sample/
[root@MRX sample]#vim 1.txt / / changes to file contents
# git add 1.txt
# git commit -m "ch 1.txt"
# git push
#cd / root/sample / / if another user is connected, you can git pull down the changes
#git pull / / the content you just changed is pulled down
This is a very simple way to build git server.
II. Installation of gitlab
In addition to self built servers, you can also use online code hosting platforms, such as coding.net, code market and code cloud, which are relatively good code management platforms in China, which are relatively easy to worry about and need no maintenance.
In addition to this method, you can also build a web interface browse management control code management platform, the preferred use of gitlab.
gitlab official website https://about.gitlab.com/gitlab-com/
Official installation document https://about.gitlab.com/installation/? Version = CE × centos-7 (ce/ee)
The server memory is required to be no less than 2g. Because the official image download is slow, the domestic image is used here. This image is a server of Tsinghua University.
#Add the following to vim / etc/yum.repos.d/gitlab.repo / /
[gitlab-ce]
name=Gitlab CE Repository
baseurl=https://mirrors.tuna.tsinghua.edu.cn/gitlab-ce/yum/el$releasever/
gpgcheck=0
enabled=1
# yum install -y gitlab-ce
#Gitlab CTL reconfigure / / this command will start all services involved in gitlab.
...
Chef Client finished, 524/1419 resources updated in 14 minutes 08 seconds
gitlab Reconfigured!
So far, gitlab has been installed. Although it's easy to install, if something goes wrong, it will be difficult to make changes and maintenance. Therefore, it's suggested that this gitlab server should not do other applications, just run git server. Usually do a good job of data backup. Gitlab has official tools for data backup.
Stop Nginx before installing gitlab.
#netstat - lntp / / check the listening port. Both lines are generated by gitlab.
tcp        0      0 127.0.0.1:8080          0.0.0.0:*               LISTEN      1621/unicorn master
tcp        0      0 127.0.0.1:9168          0.0.0.0:*               LISTEN      1439/puma 3.12.0 (t
#Gitlab CTL stop / restart / start / status / / status, view the status
# gitlab-ctl  status
run: alertmanager: (pid 2563) 10476s; run: log: (pid 1448) 10585s
run: gitaly: (pid 1407) 10586s; run: log: (pid 1406) 10586s
run: gitlab-exporter: (pid 1439) 10585s; run: log: (pid 1438) 10585s
run: gitlab-workhorse: (pid 1426) 10585s; run: log: (pid 1425) 10585s
run: grafana: (pid 1446) 10585s; run: log: (pid 1445) 10585s
run: logrotate: (pid 18743) 3379s; run: log: (pid 1434) 10585s
run: nginx: (pid 25804) 1s; run: log: (pid 1423) 10585s
run: node-exporter: (pid 1433) 10585s; run: log: (pid 1432) 10585s
run: postgres-exporter: (pid 1452) 10585s; run: log: (pid 1451) 10585s
run: postgresql: (pid 1409) 10586s; run: log: (pid 1408) 10586s                 //postgresql, database
run: prometheus: (pid 1450) 10585s; run: log: (pid 1447) 10585s
run: redis: (pid 1405) 10586s; run: log: (pid 1404) 10586s
run: redis-exporter: (pid 1442) 10585s; run: log: (pid 1441) 10585s
run: sidekiq: (pid 1415) 10586s; run: log: (pid 1414) 10586s
run: unicorn: (pid 1413) 10586s; run: log: (pid 1412) 10586s
Browser access to gitlab, input ip access, before access, first see if there are iptables rules, if so, add an 80 port.
Default administrator root, no password, it will let us define a password.
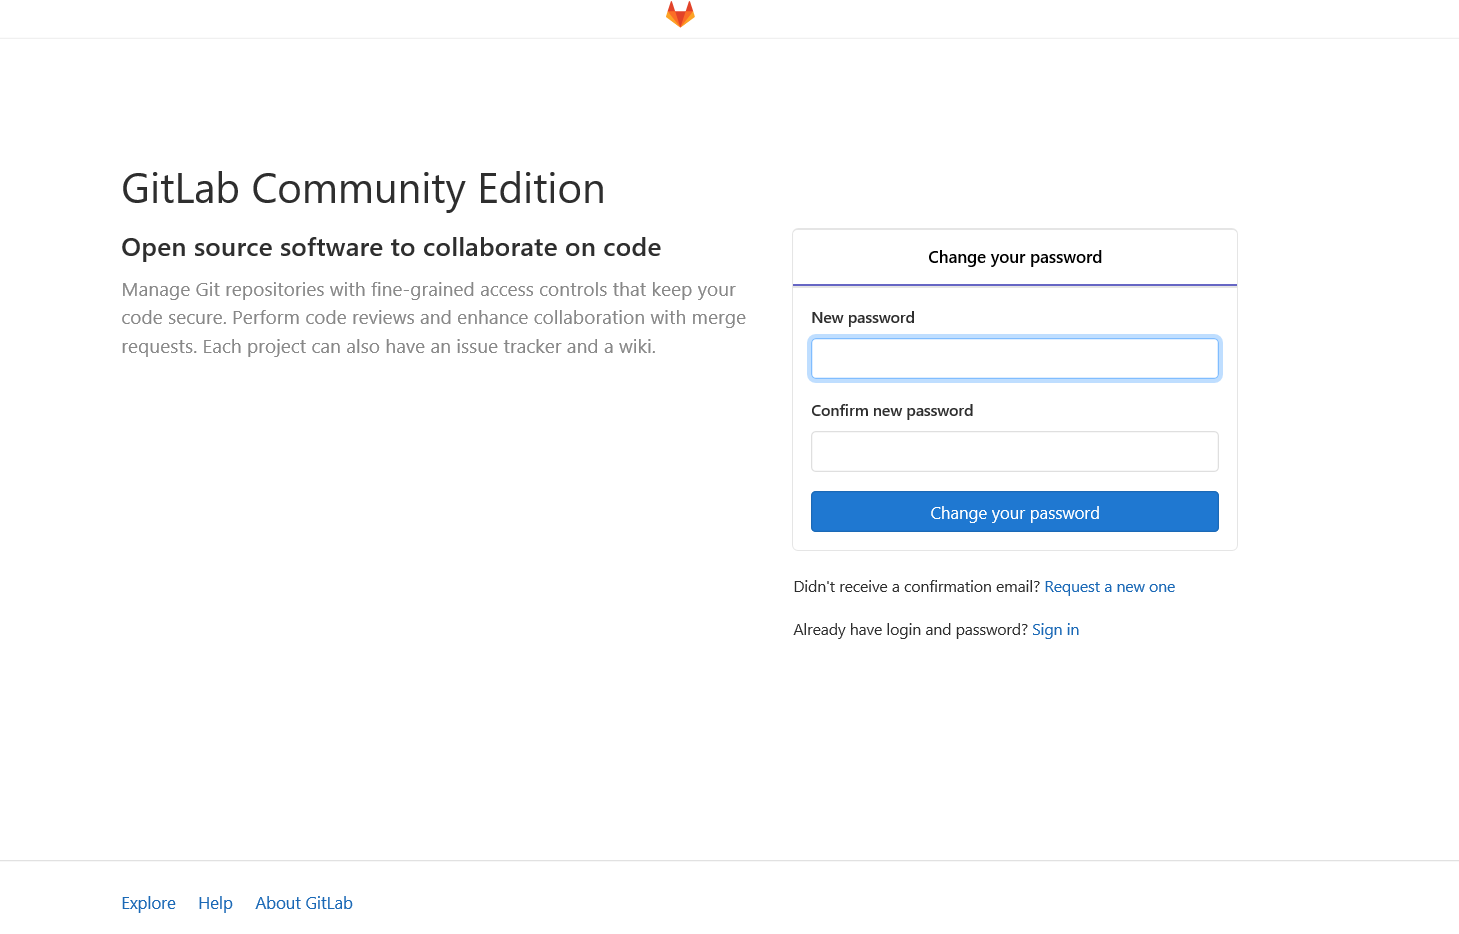
After setting, you can sign in.
III. using gitlab
It can also be accessed by domain name. If you want to access by domain name, first you need to find out who provides the web service on this server, such as Nginx. The configuration file of Nginx is located in / var/opt/gitlab/nginx/conf /, which contains nginx.conf, which is the main configuration file. gitlab-http.conf is the corresponding configuration file of gitlab. If you want to bind a domain name, or change listening Port, you can edit this configuration file.
# vim /var/opt/gitlab/nginx/conf/gitlab-http.conf
server {
  listen *:80;          //Define listening port

  server_name gitlab.example.com;      //Domain name
If this server does not need to run other services, only one gitlab, it does not need to move at all.
First, use the browser to enter gitlab, first create a group, customize the group name, and set the permission to Private private.
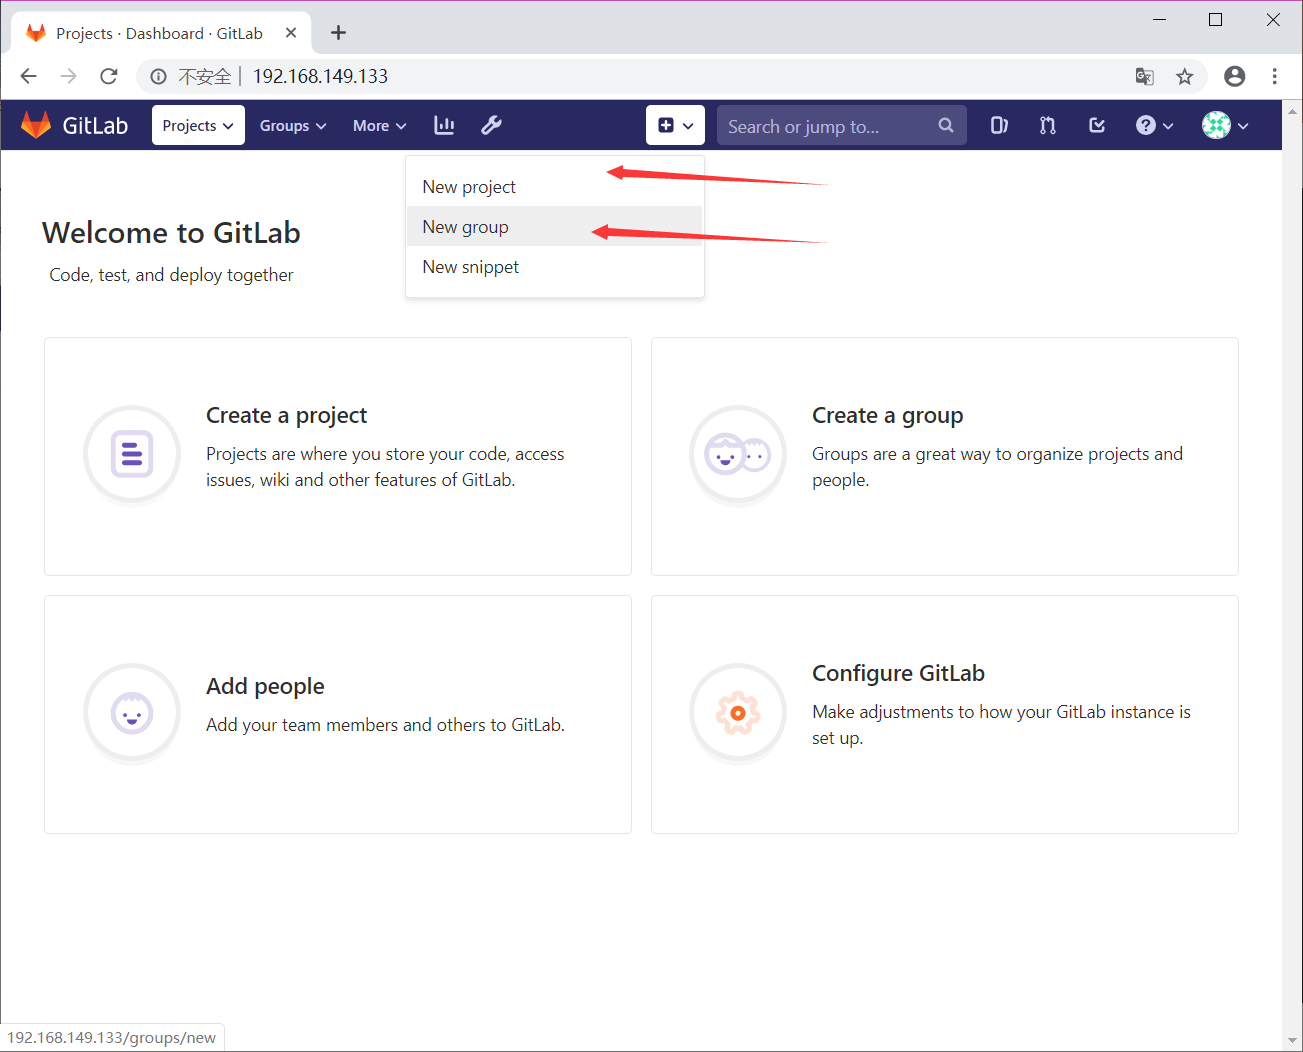
To create another project, you can select the group you just created and set the project name.

After creation, a "You won't be able to pull or push project code via SSH until you add an SSH key to your profile" is displayed at the top, saying that no ssh key has been created.
Create ssh key: click settings on the avatar, and you can see ssh keys on the left. Put the public key (/ root/.ssh/id_rsa.pub) in to create it.
Create user: click Admin Area, new user, user name zhangsan, email: zhangsan@111.com , the password setting prompt will send the link to set the password to the user's mailbox and create. After creation, click Edit on the top right to Edit and set password, and save the settings. Then log in to zhangsan. The first time you log in, you will be asked to set a new password.
IV. gitlab backup and recovery
gitlab backup
# gitlab-rake gitlab:backup:create
The backup directory is in / var/opt/gitlab/backups
Creating backup archive: 1569829062_2019_09_30_12.3.1_gitlab_backup.tar ... done
After the backup, you can see the file name, time stamp + date + version number from this sentence.
When gitlab recovers the service first and recovers the data, the version of the data should be the same as the current version of gitlab.
# gitlab-ctl stop unicorn ; gitlab-ctl stop sidekiq
unicorn is a web server related to ruby, and sidekiq is a message queue, which is also based on Ruby. The purpose of stopping these two services is not to change the data temporarily.
#Gitlab rake gitlab:backup:restore backup = 1569829062 (here is a number, i.e. the prefix of the backup file)
Restart service gitlab CTL star