After class practice of Mybatis and web Learning
·
·
·
First, we identify our needs:
1: We need a login and registration page to operate
2: We need to connect to the database to query whether there is this user, and realize login and registration
After determining the requirements, let's practice
The first is the interface:
css and html front-end knowledge are needed here
I just copied my homework
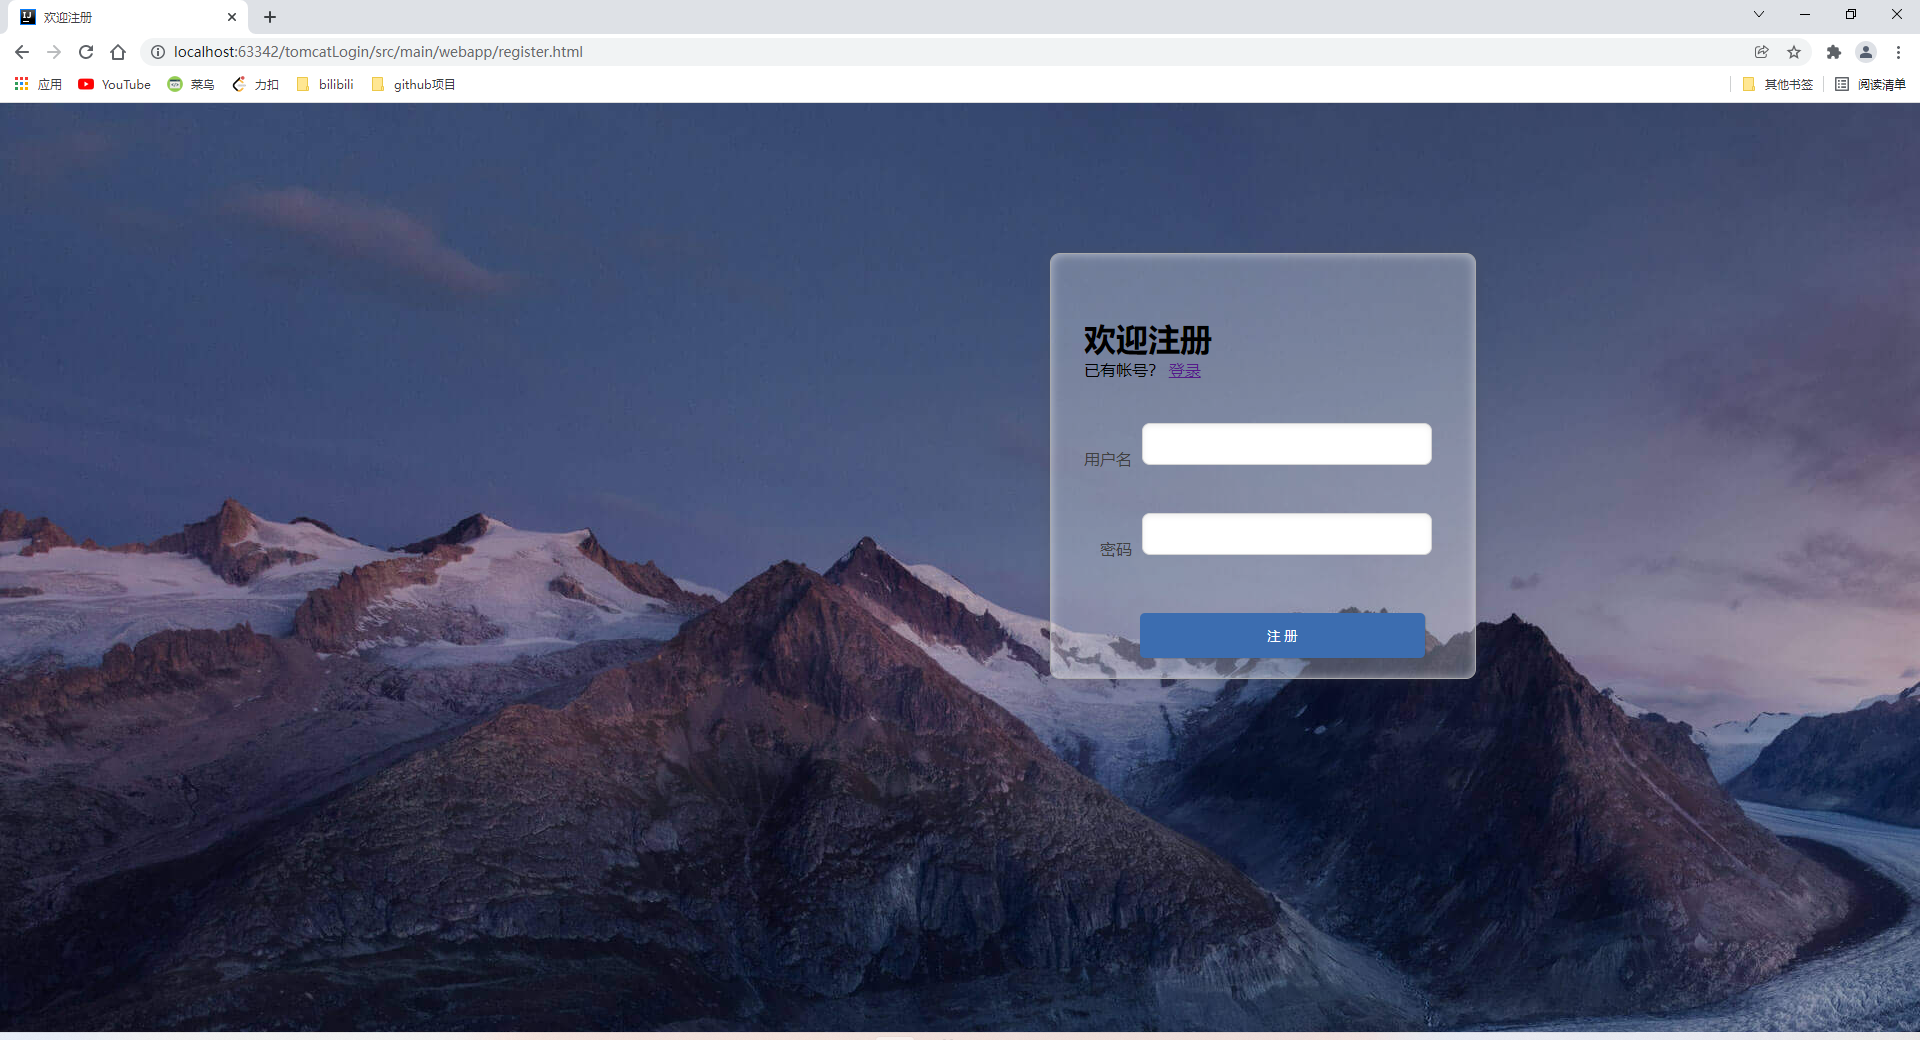

The specific effects are as follows
Let's mainly talk about the realization of functions
The first is the login interface:
The first step is to create a database to store users

We have three attributes: id, username and password
We create the attribute in User:
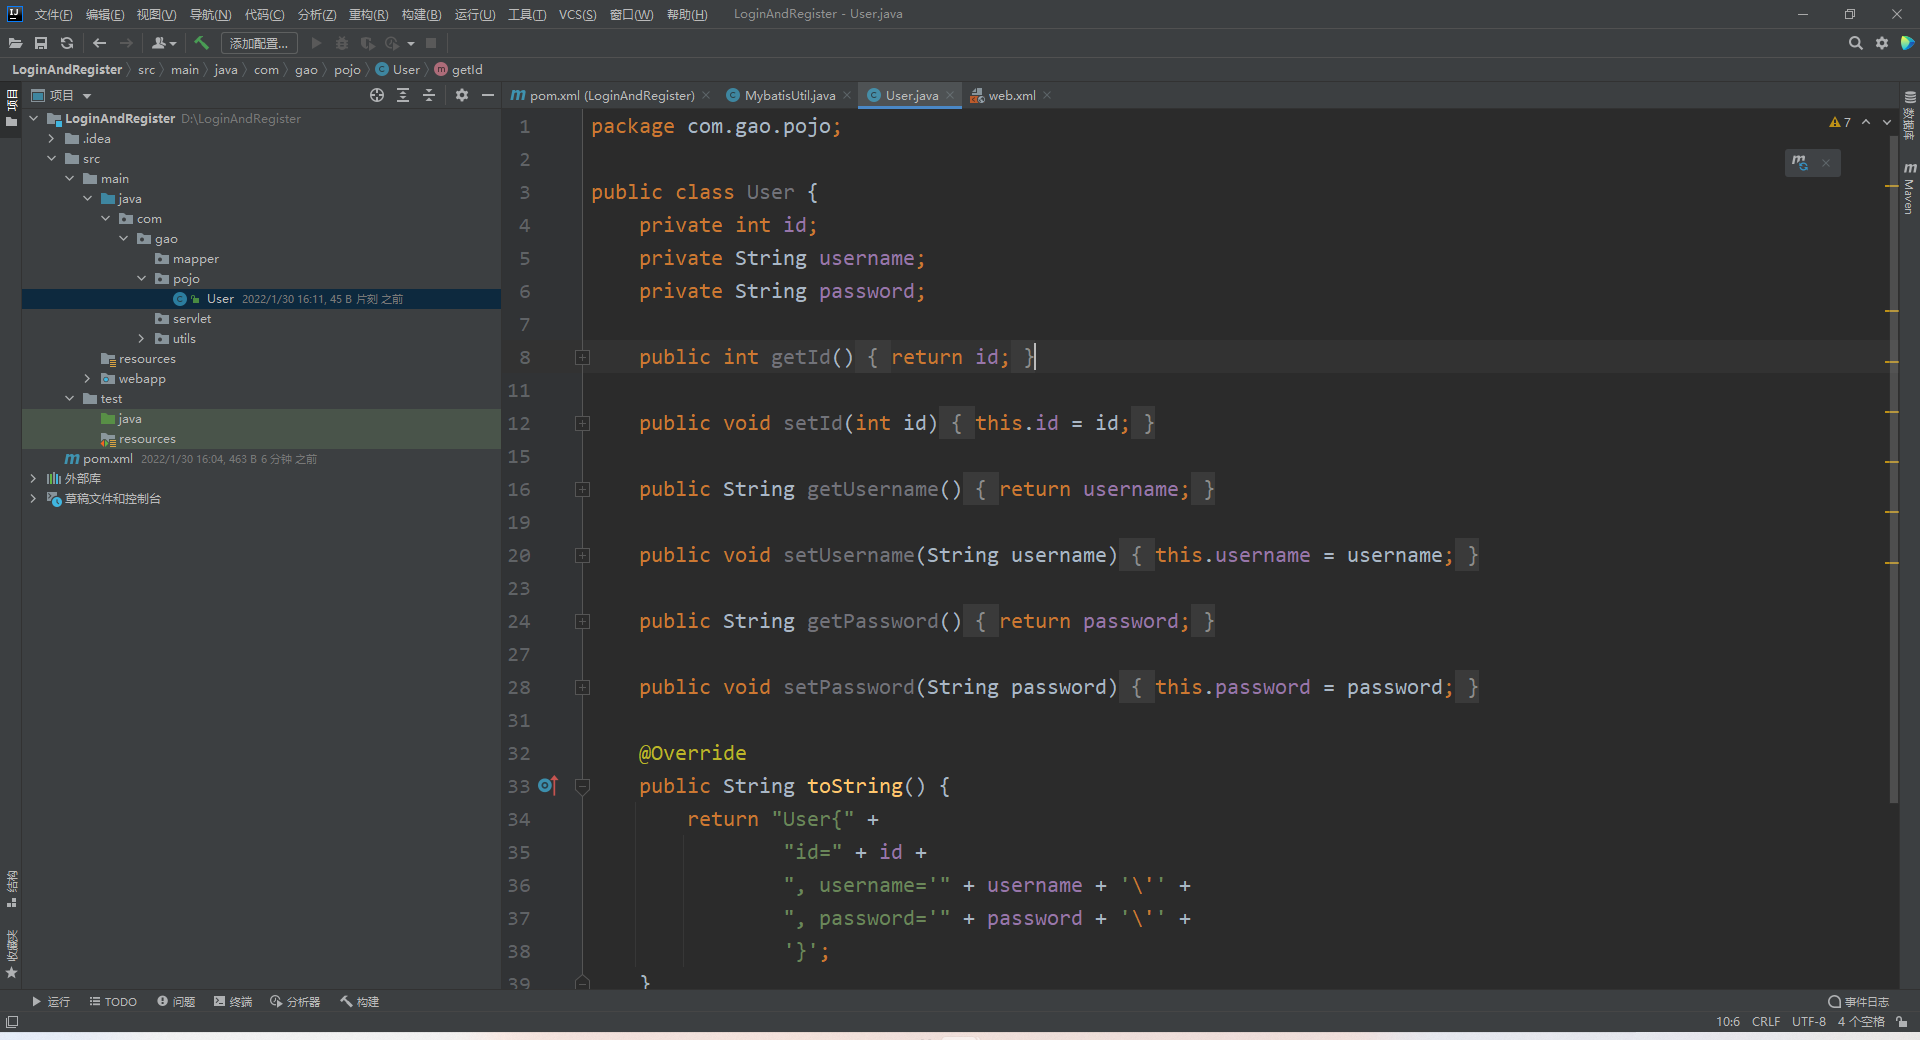
After creation, we need getset and tostring;
package com.gao.polo;

public class User {
    private int id;
    private String username;
    private String password;

    public int getId() {
        return id;
    }

    public void setId(int id) {
        this.id = id;
    }

    public String getUsername() {
        return username;
    }

    public void setUsername(String username) {
        this.username = username;
    }

    public String getPassword() {
        return password;
    }

    public void setPassword(String password) {
        this.password = password;
    }

    @Override
    public String toString() {
        return "User{" +
                "id=" + id +
                ", username='" + username + '\'' +
                ", password='" + password + '\'' +
                '}';
    }
}
After this step, we need to think about how to realize the use of mybatis
First, configure the mybatis file
1, Import the corresponding mybatis coordinates and MySQL connector coordinates into maven's pom:
<dependencies>
    <dependency>
      <groupId>org.mybatis</groupId>
      <artifactId>mybatis</artifactId>
      <version>3.5.2</version>
    </dependency>
    <dependency>
      <groupId>mysql</groupId>
      <artifactId>mysql-connector-java</artifactId>
      <version>5.1.47</version>
    </dependency>
  </dependencies>
Then we need to configure the mybatis settings file:
Under resource, create a mybatis config XML file

Write the following configuration:
<?xml version="1.0" encoding="UTF-8" ?>
<!DOCTYPE configuration
PUBLIC "-//mybatis.org//DTD Config 3.0//EN"
"http://mybatis.org/dtd/mybatis-3-config.dtd">
<configuration>
<environments default="development">
<environment id="development">
<transactionManager type="JDBC"/>
<dataSource type="POOLED">
<property name="driver" value="com.mysql.jdbc.Driver"/>
<property name="url" value="jdbc:mysql://localhost:3306/jd_user?useSSL=false&useServerPrepStmts=true"/>
<property name="username" value="root"/>
<property name="password" value="000511"/>
</dataSource>
</environment>
</environments>
<mappers>
<!--scanning mapper-->
<mapper resource="com\gao\mapper\UserMapper.xml"/>
</mappers>
</configuration>Note:
< Mapper resource = "com \ Gao \ Mapper \ usermapper. xml" / > the resource in the project needs to write the directory of Mapper's xml Mapping file in the project
After that, we can now configure the Marrper file
Basic usermapper XML file:
(note that the namespace needs the corresponding interface coordinates)
<?xml version="1.0" encoding="UTF-8" ?>
<!DOCTYPE mapper
        PUBLIC "-//mybatis.org//DTD Mapper 3.0//EN"
        "http://mybatis.org/dtd/mybatis-3-mapper.dtd">
<mapper namespace="com.gao.mapper.UserMapper">

</mapper>
        <!--UserMapper.xml-->
And UserMapper interfaces:
(build an interface to query users)
(because it is relatively simple, Mapper we wrote this time is implemented with annotations)
public interface UserMapper {
    @Select("select * from jd_user.user_login where username=#{username} and password=#{password}")
    User loginSelect(@Param("username")String username,@Param("password") String password);
}
OK, we have finished the basic preparations for login
Test now
First import Junit into our pom file
<!--junit-->
    <dependency>
      <groupId>junit</groupId>
      <artifactId>junit</artifactId>
      <version>4.12</version>
      <scope>test</scope>
    </dependency>
Create test file
By the way, let's make a sqlsessionfactory factory file in utils first
public class MybatisUtil {
    private static SqlSessionFactory sqlSessionFactory;
    static {
        try {
            String resource = "mybatis-config.xml";
            InputStream inputStream = Resources.getResourceAsStream(resource);
            sqlSessionFactory = new SqlSessionFactoryBuilder().build(inputStream);
        } catch (IOException e) {
            e.printStackTrace();
        }
    }
    public static SqlSession getSqlSession(){
        return sqlSessionFactory.openSession();
    }
}
Then use the factory file to parse the session in test
Use getmaaper to test our mapping file
public class test {

    //Test whether the database connection is successful
    @Test
    public void loginTest ()throws Exception{
        SqlSession sqlSession = MybatisUtil.getSqlSession();
        UserMapper mapper = sqlSession.getMapper(UserMapper.class);
        User user = mapper.loginSelect("740803880", "000511");
        System.out.println("user = " + user);
    }
}
ok, let's see the test results
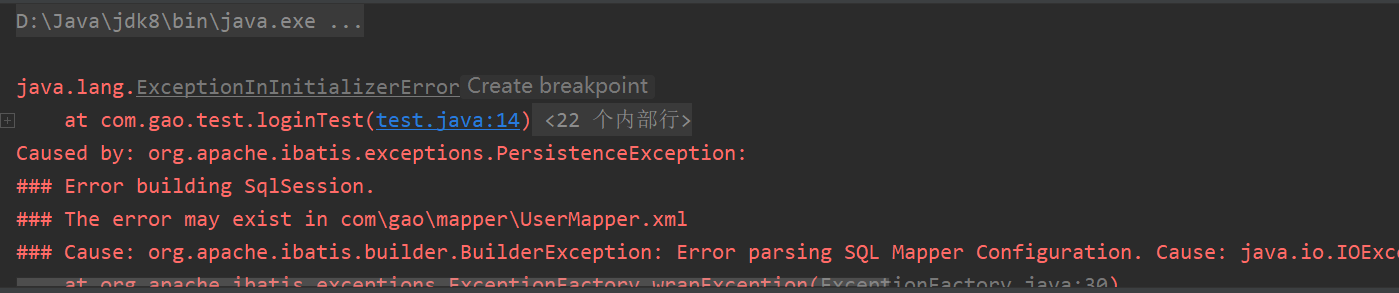 Sure enough, there was a mistake! Let's look for:

Cannot parse our mapper XML file
After careful inquiry, we found that there was no problem. Then look at our target directory
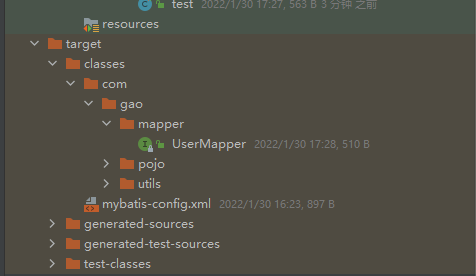
Found that our Mapper didn't xml file
If static resources are placed in src/main/java, they will be ignored by maven during compilation, and there will be no such resources in the target directory. Here, we will use mybatis mapper XML is placed in the dal package to facilitate programming and viewing, so you need to add this directory as a resource directory
<build>
  <!--be careful,If you put static resources in src/main/java in,Then compile time will be maven ignore,stay target These resources will not be available in the directory,here,We will
  mybatis of mapper.xml Put it in dal In the bag,Convenient programming and viewing,Therefore, you need to add this directory as a resource directory.
  -->
  <resources>
    <resource>
      <directory>src/main/java</directory>
      <includes>
        <include>**/*.xml</include>
      </includes>
    </resource>
  </resources>
  </build>
We add this paragraph to maven's configuration file
The test has been successful. Now we have found that the test has been successful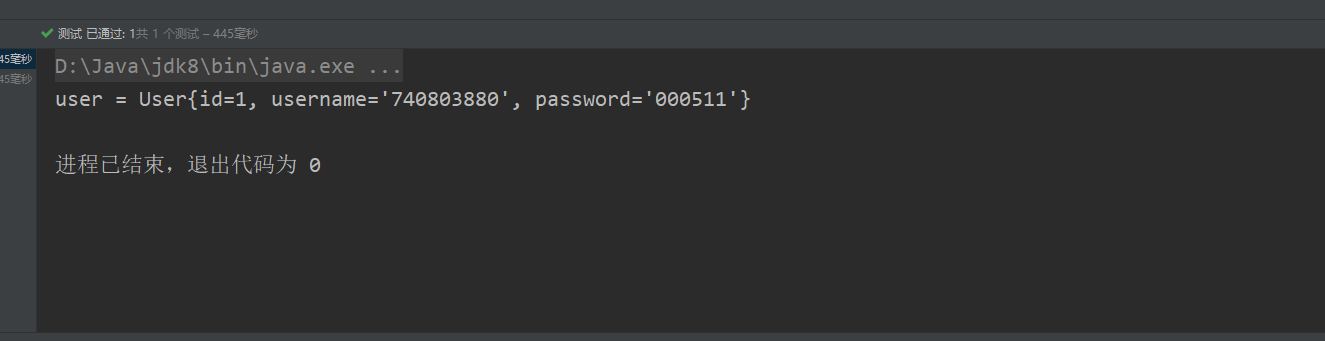
Indicates that the database has been successfully connected
Next, let's configure the web file
First configure maven
Coordinates of importing tomcat plug-in and servlet
The required maven has been configured. The results are as follows
<?xml version="1.0" encoding="UTF-8"?>

<project xmlns="http://maven.apache.org/POM/4.0.0" xmlns:xsi="http://www.w3.org/2001/XMLSchema-instance" xsi:schemaLocation="http://maven.apache.org/POM/4.0.0 http://maven.apache.org/maven-v4_0_0.xsd">

  <modelVersion>4.0.0</modelVersion>
  <packaging>war</packaging>

  <name>LoginAndRegister</name>
  <groupId>com.gao</groupId>
  <artifactId>LoginAndRegister</artifactId>
  <version>1.0-SNAPSHOT</version>
  <dependencies>
    <!--mybatis-->
    <dependency>
      <groupId>org.mybatis</groupId>
      <artifactId>mybatis</artifactId>
      <version>3.5.2</version>
    </dependency>
    <!--mysql-->
    <dependency>
      <groupId>mysql</groupId>
      <artifactId>mysql-connector-java</artifactId>
      <version>5.1.47</version>
    </dependency>
    <!--junit-->
    <dependency>
      <groupId>junit</groupId>
      <artifactId>junit</artifactId>
      <version>4.12</version>
      <scope>test</scope>
    </dependency>
    <!--Import servlet tool kit-->
    <dependency>
      <groupId>javax.servlet</groupId>
      <artifactId>javax.servlet-api</artifactId>
      <version>3.1.0</version>
      <scope>provided</scope>
    </dependency>
  </dependencies>
  <build>
  <!--be careful,If you put static resources in src/main/java in,Then compile time will be maven ignore,stay target These resources will not be available in the directory,here,We will
  mybatis of mapper.xml Put it in dal In the bag,Convenient programming and viewing,Therefore, you need to add this directory as a resource directory.
  -->
  <resources>
    <resource>
      <directory>src/main/java</directory>
      <includes>
        <include>**/*.xml</include>
      </includes>
    </resource>
  </resources>
 <!--Import tomcat Tool class-->
    <plugins>
      <plugin>
        <groupId>org.apache.tomcat.maven</groupId>
        <artifactId>tomcat7-maven-plugin</artifactId>
        <version>2.2</version>
        <configuration>
          <port>80</port>
          <path>/</path>
        </configuration>
      </plugin>
    </plugins>
  </build>


</project>
After importing, we can create Servlet classes in the new
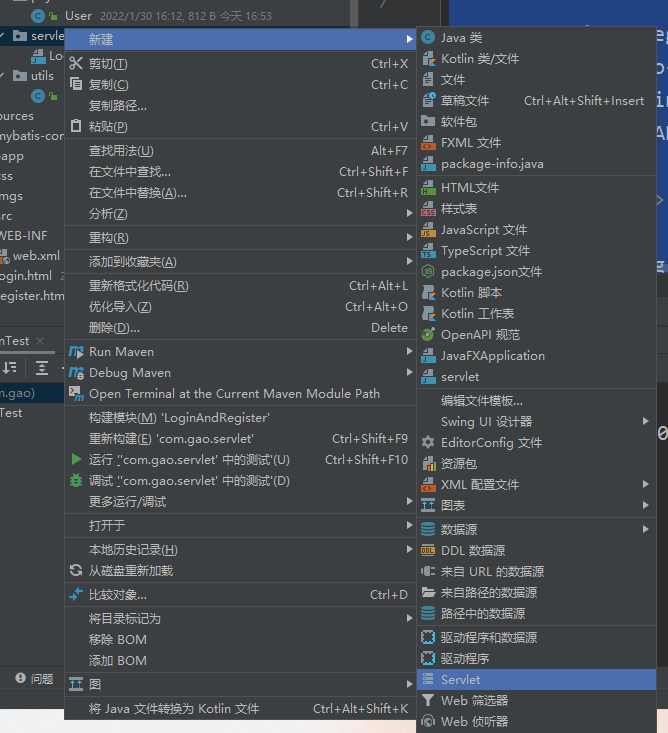
Let's create a LoginServlet
Mark our Servlet with the annotation @ webservlet
Obtain username and password in the request application
@WebServlet("/loginServlet")
public class LoginServlet extends HttpServlet {
    @Override
    protected void doGet(HttpServletRequest request, HttpServletResponse response) throws ServletException, IOException {
        String username = request.getParameter("username");
        String password = request.getParameter("password");
}
}
Let's take a look at the html configuration:
<!DOCTYPE html>
<html lang="en">

<head>
    <meta charset="UTF-8">
    <title>login</title>
    <link href="css/login.css" rel="stylesheet">
</head>

<body>
<div id="loginDiv">
    <form action="/loginServlet" id="form" method="post">
        <h1 id="loginMsg">LOGIN IN</h1>
        <p>account number:<input id="username" name="username" type="text"></p>

        <p>password:<input id="password" name="password" type="password"></p>

        <div id="subDiv">
            <input type="submit" class="button" value="Login" name="login up">
            <a href="register.html"><input type="button" class="button" value="register" name="register"></a>
        </div>
    </form>
</div>

</body>
</html>
Enter the coordinates of our loginservlet after the action at < form action = "/ loginservlet" id = "form" method = "post" > and the mapping is successful
Now let's configure the servlet's code logic
First use the factory to obtain sqlsession
Using sqlSession to obtain and parse our mapper file
Finally, use mapper's login query to find out the user's data form
SqlSession sqlSession = MybatisUtils.getSqlSession();
        UserMapper mapper = sqlSession.getMapper(UserMapper.class);
        User user = mapper.loginSelect(username, password);
So far, we have finished querying the contents of the database from the user password entered by the user
Finally, we use response plus code logic
response.setContentType("text/html;charset=utf-8");
PrintWriter writer = response.getWriter();
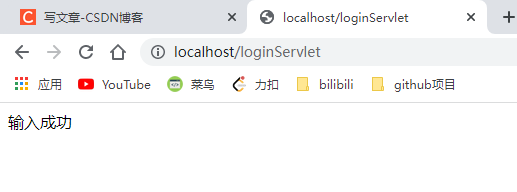
if(user !=null){
writer.write("Input successful");
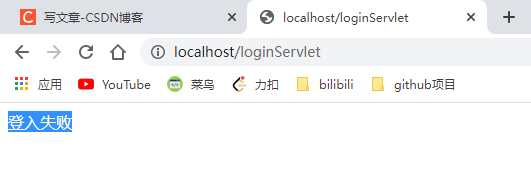
}else{
writer.write("Login failed");
}
It realizes the verification and login of account password
Let's try to verify it
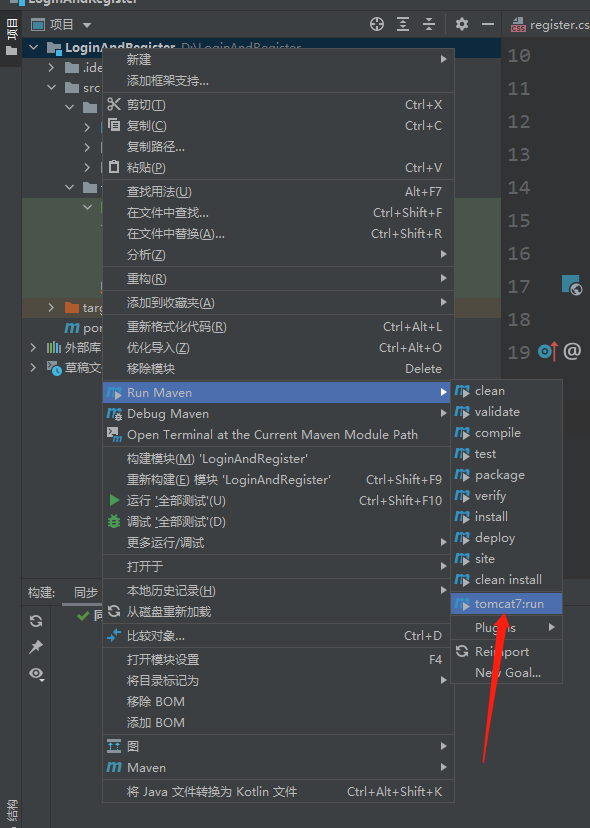
run tomcat
Enter our web address in the browser
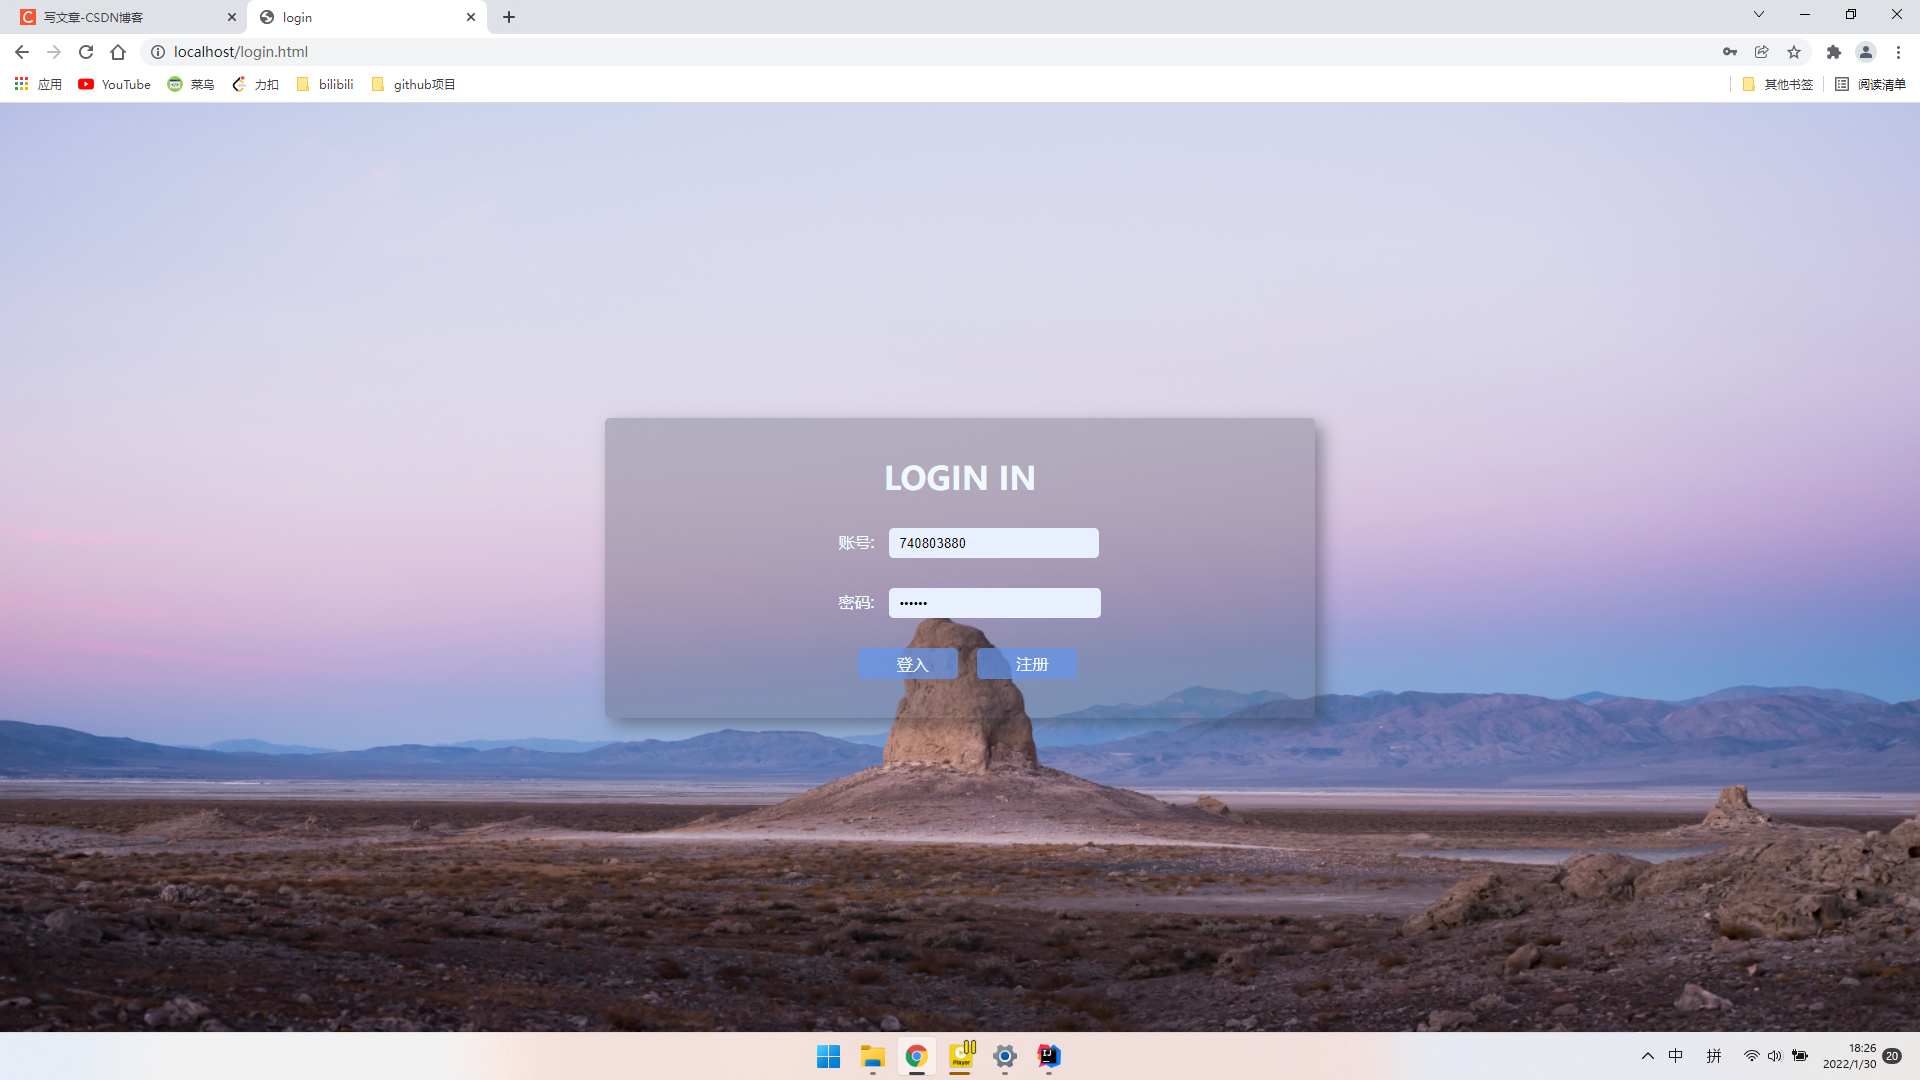 Try logging in
Wrong account password entered
Successfully exported after entering the correct
So far, our login function has been completed
This project is a simple project based on tomcat+servlet+mybatis. Record it to facilitate our study
Encourage each other.