Welcome to my GitHub
Here we classify and summarize all the original works of Xinchen (including supporting source code): https://github.com/zq2599/blog_demos
Overview of this article
- This article is the third part of "camera practice of JavaCV". As the title, let's practice how to save the video content of the camera as an MP4 file
code
-
"One of the camera practice of JavaCV: Basics" The parent class AbstractCameraApplication has been written in the simple grab push project created in the article. This article continues to use the project to create subclasses and implement those abstract methods
-
Before coding, first review the basic structure of the parent class, as shown in the figure below. Bold is each method defined by the parent class, and the red blocks are all abstract methods that need subclasses to implement. Therefore, next, we can implement the three red methods with the goal of local window Preview:

-
Create a new file recordcamerasavemp4 Java, which is a subclass of AbstractCameraApplication. Its code is very simple. Next, it will be described in the order of the above figure
-
Define a member variable to specify the storage path of video files. The file name here uses the current time string. Please adjust the path according to your computer:
	// Please change the complete location of the video file to the available directory of your computer
    private static final String RECORD_FILE_PATH = "E:\\temp\\202111\\28\\camera-"
                                                 + new SimpleDateFormat("yyyyMMddHHmmss").format(new Date())
                                                 + ".mp4";
- The function of saving video frames as mp4 files comes from FrameRecorder, which is an abstract class. This article uses its subclass ffmpeg FrameRecorder, so define the member variables of FrameRecorder type:
	// Frame recorder
    protected FrameRecorder recorder;
- Then there is the initialization operation. You can see the instantiation and parameter settings of FFmpegFrameRecorder:
    @Override
    protected void initOutput() throws Exception {
        // Instantiate FFmpegFrameRecorder
        recorder = new FFmpegFrameRecorder(RECORD_FILE_PATH,        // Location of documents
                                           getCameraImageWidth(),   // Wide resolution, consistent with the video source
                                           getCameraImageHeight(),  // High resolution, consistent with the video source
                                           0);                      // Audio channel, 0 means none

        // file format
        recorder.setFormat("mp4");

        // The frame rate is consistent with the gripper
        recorder.setFrameRate(getFrameRate());

        // Coding format
        recorder.setPixelFormat(AV_PIX_FMT_YUV420P);

        // Speed fbk sel
        recorder.setVideoCodec(avcodec.AV_CODEC_ID_MPEG4);

        // Video quality, 0 means lossless
        recorder.setVideoQuality(0);

        // initialization
        recorder.start();
    }
- Next is the output method. One line is enough:
    @Override
    protected void output(Frame frame) throws Exception {
        // save
        recorder.record(frame);
    }
- Finally, after the video processing cycle is completed, what to do before the program exits, that is, close the frame grabber:
    @Override
    protected void releaseOutputResource() throws Exception {
        recorder.close();
    }
- So far, the function of saving camera video as mp4 file has been developed, and then write the main method. Note that parameter 30 means that the operation of capturing and recording is executed for 30 seconds. Note that this is the duration of program execution, not the duration of video recording:
    public static void main(String[] args) {
        // Record 30 second video
        new RecordCameraSaveMp4().action(30);
    }
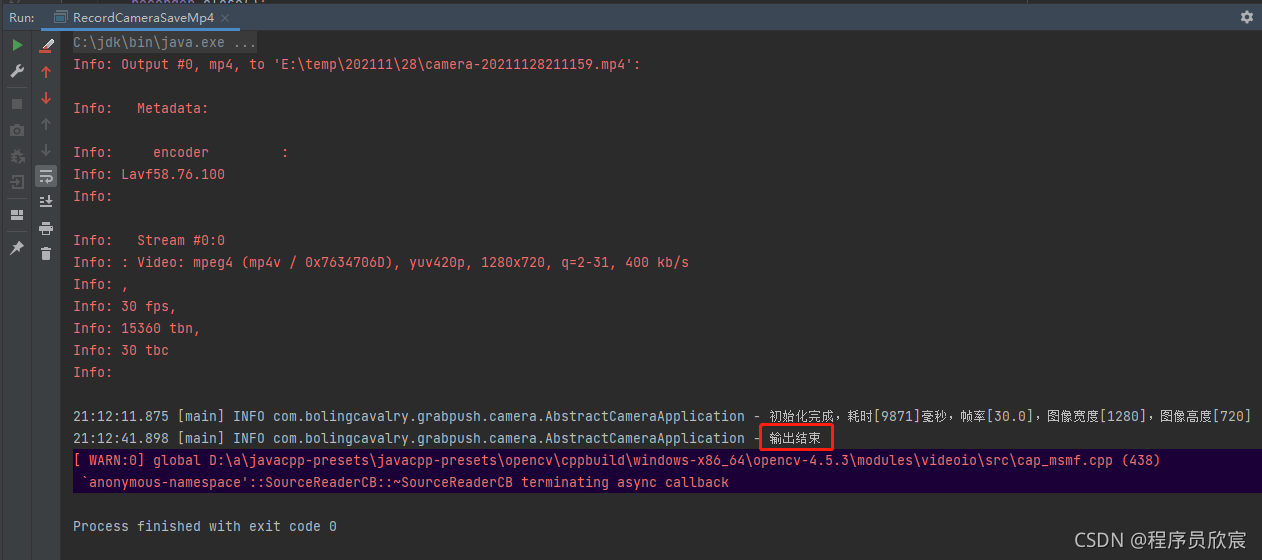
- Run the main method and wait until the console outputs the contents of the red box in the figure below, indicating that the video recording is completed:
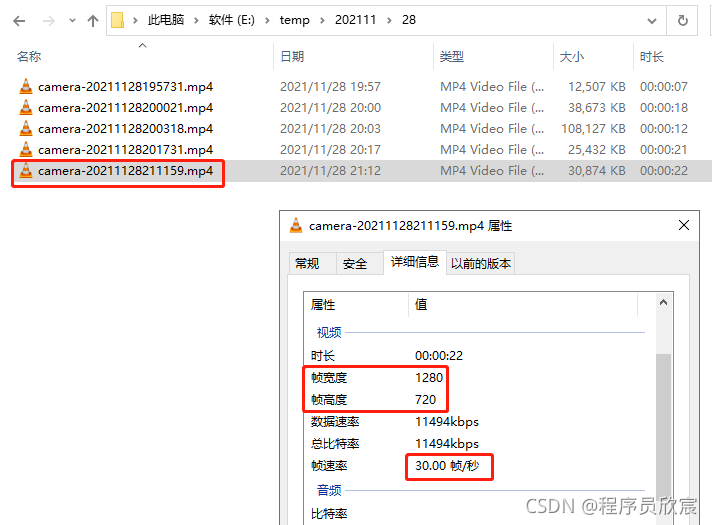
- Open the directory where the mp4 file is located, as shown in the figure below. In the red box is the newly generated file and related information. The visible resolution and frame rate meet the expectations:
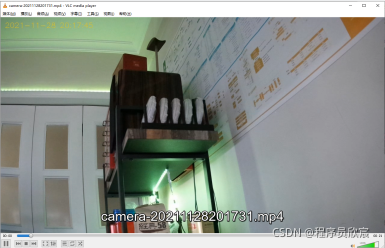
- Open this file with VLC, as shown in the following figure, and the playback is normal:
- So far, we have completed the function of saving video files. Thanks to the power of JavaCV, the whole process is so relaxed and happy. Next, please continue to pay attention to Xinchen's original, "camera practice of JavaCV" series will show more rich applications;
Source download
- The complete source code of "JavaCV camera practice" can be downloaded from GitHub. The address and link information are shown in the table below( https://github.com/zq2599/blog_demos):
| name | link | remarks |
|---|---|---|
| Project Home | https://github.com/zq2599/blog_demos | The project is on the home page of GitHub |
| git warehouse address (https) | https://github.com/zq2599/blog_demos.git | The warehouse address of the source code of the project, https protocol |
| git warehouse address (ssh) | git@github.com:zq2599/blog_demos.git | The warehouse address of the source code of the project, ssh protocol |
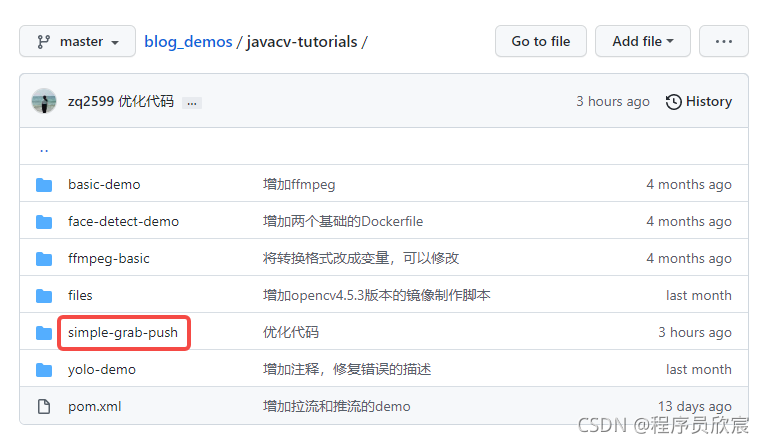
- There are multiple folders in this git project. The source code of this article is in the javacv tutorials folder, as shown in the red box below:
- There are several sub projects in JavaCV tutorials. The code of "camera practice of JavaCV" series is under the simple grab push project: