Create Hello World Project with - javaFx
Open Eclipse and select:
File -> New -> Others..
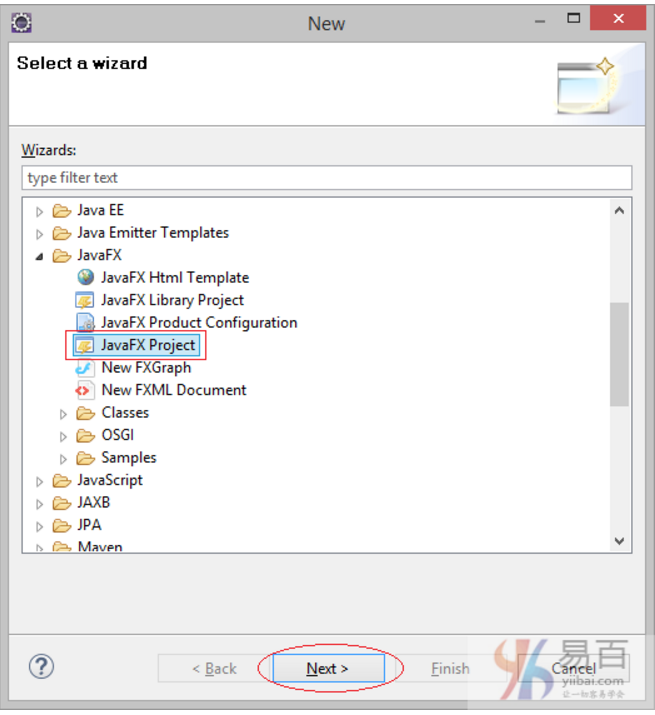
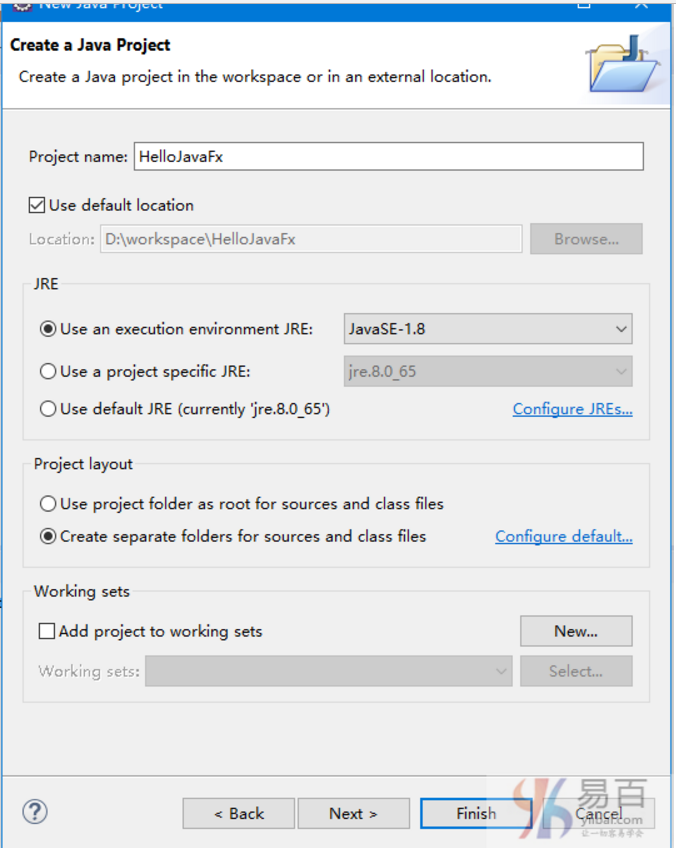
Create a project name: Hello JavaFx, as shown in the following figure-
After the project has been successfully created, it is shown in the following figure-
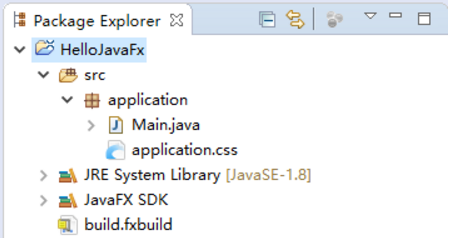
The Hello World sample code is also created, as shown below.-
package application;

import javafx.application.Application;
import javafx.stage.Stage;
import javafx.scene.Scene;
import javafx.scene.layout.BorderPane;


public class Main extends Application {
    @Override
    public void start(Stage primaryStage) {
        try {
            BorderPane root = new BorderPane();
            Scene scene = new Scene(root,400,400);
            scene.getStylesheets().add(getClass().getResource("application.css").toExternalForm());
            primaryStage.setScene(scene);
            primaryStage.show();
        } catch(Exception e) {
            e.printStackTrace();
        }
    }

    public static void main(String[] args) {
        launch(args);
    }
}
First, let's make sure that the Hello World example runs successfully. Right-click Main and select:
Run As -> Java Application

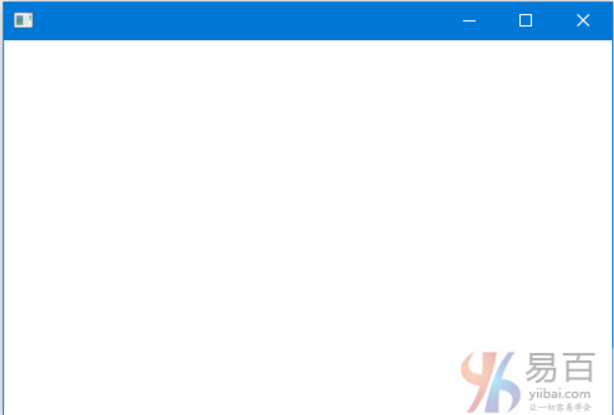
The Hello World application of JavaFX is running and the result is a blank interface, as follows:
An example of using JavaFX Scene Builder
This is a small example of using Scene Builder to design the application interface. The MVC model applied to this example is as follows:

Display it on VIEW
 Users use CONTROLLER
 Operating data (update, modify, delete,...), data on MODEL has been changed.
Display MODEL data on VIEW.
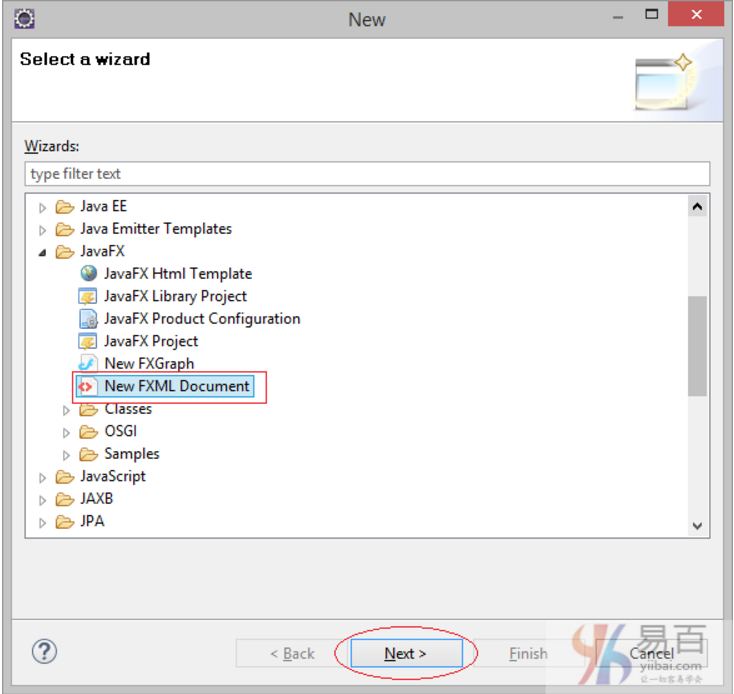
Let's create a new MySecene.xml file.
File -> New -> Other...
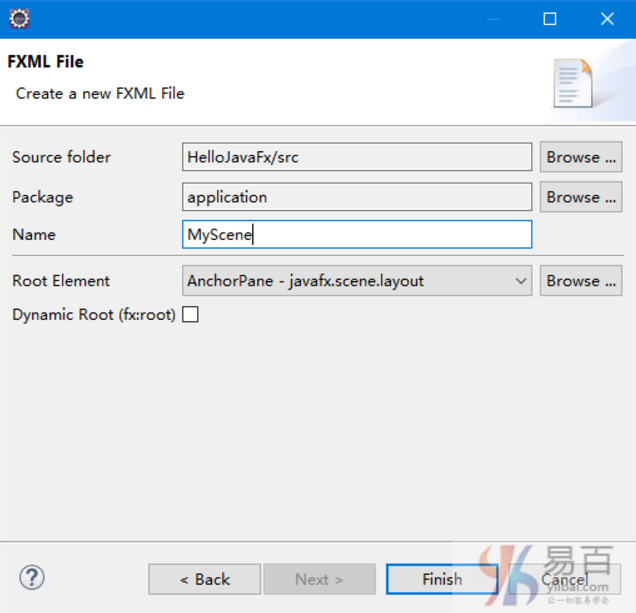
Enter the name of the file-
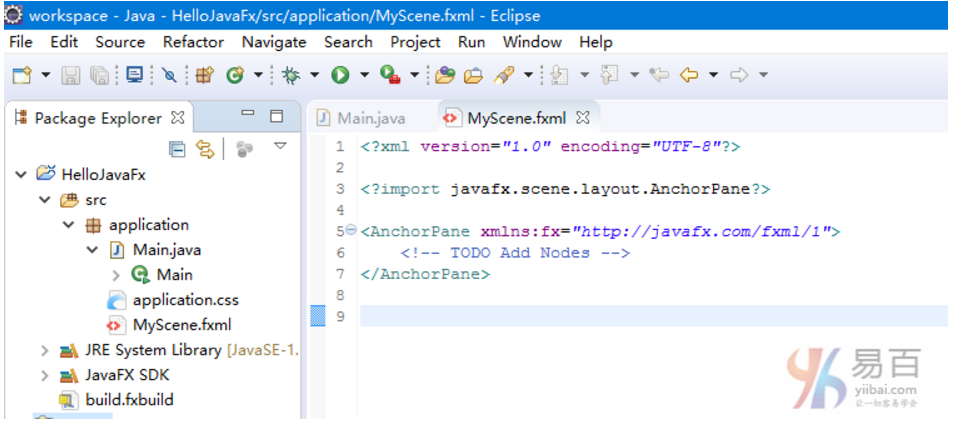
The creation results are shown in the following figure-
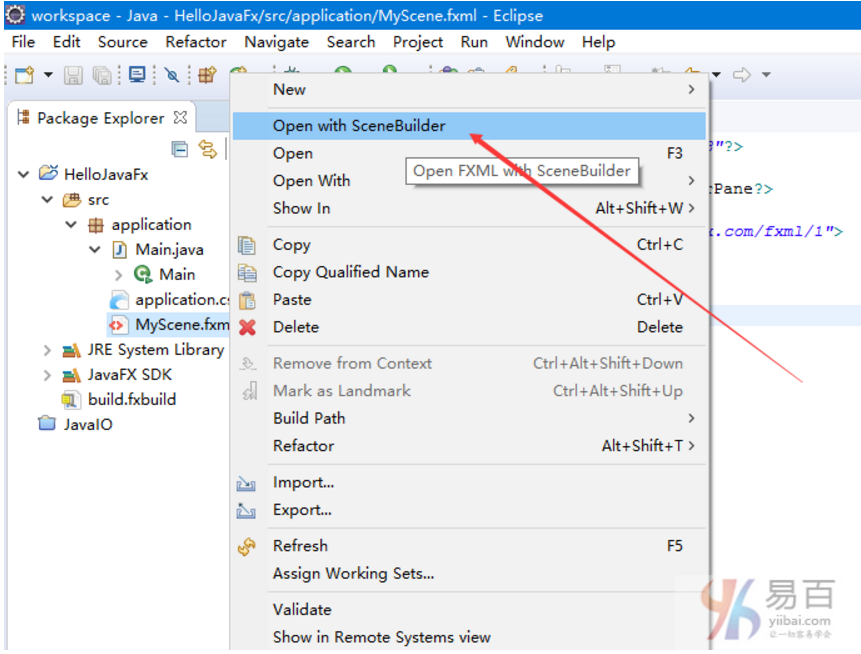
You can use JavaFX Scene Builder to open fxml files.
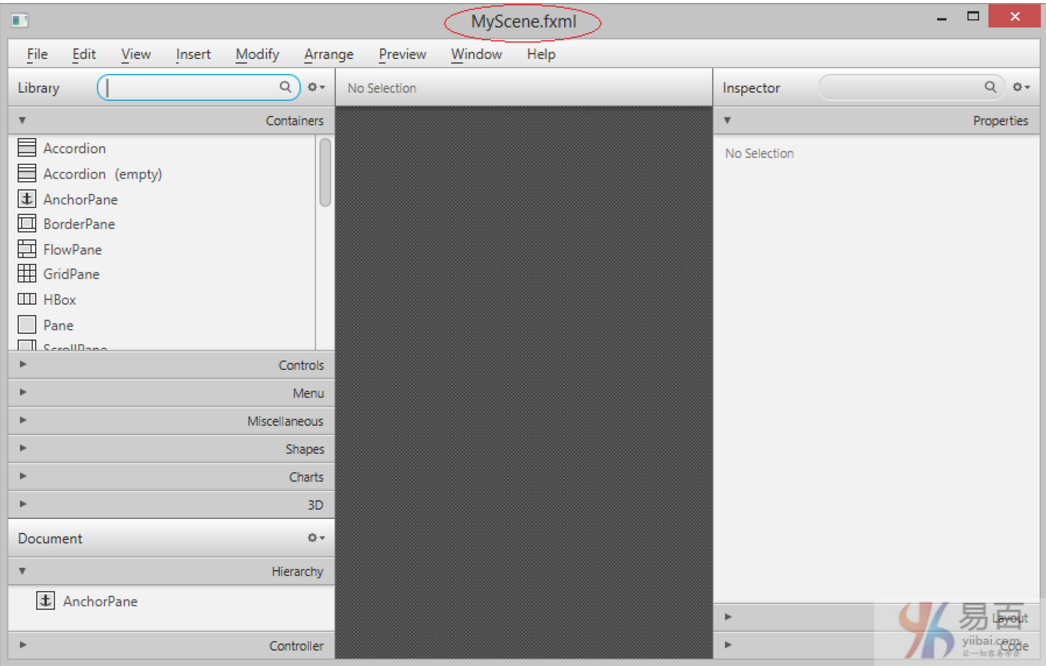
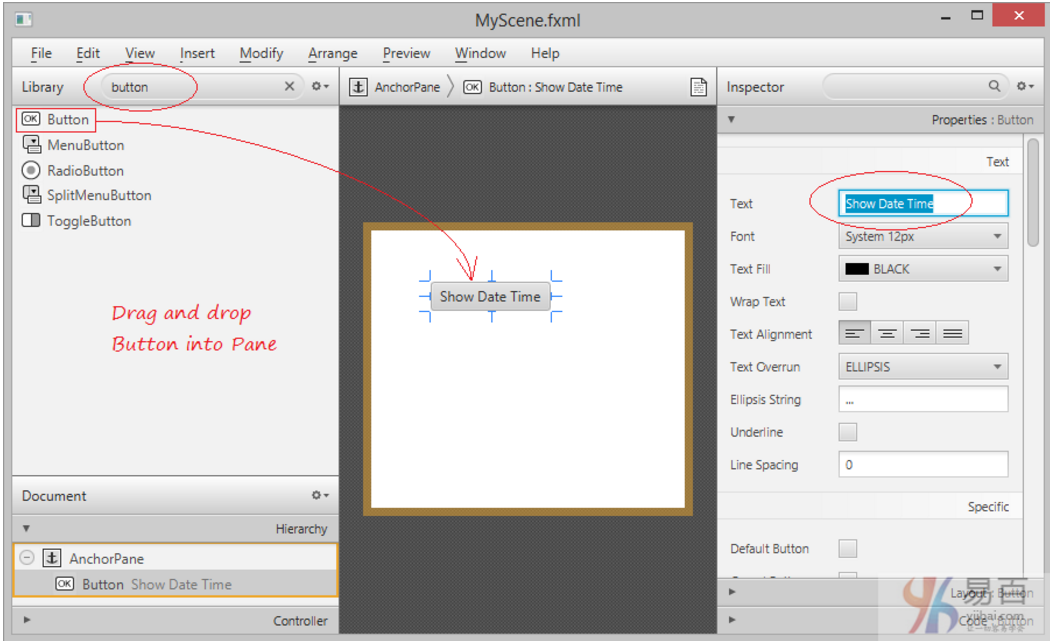
The interface design screen of MyScene.fxml is as follows:
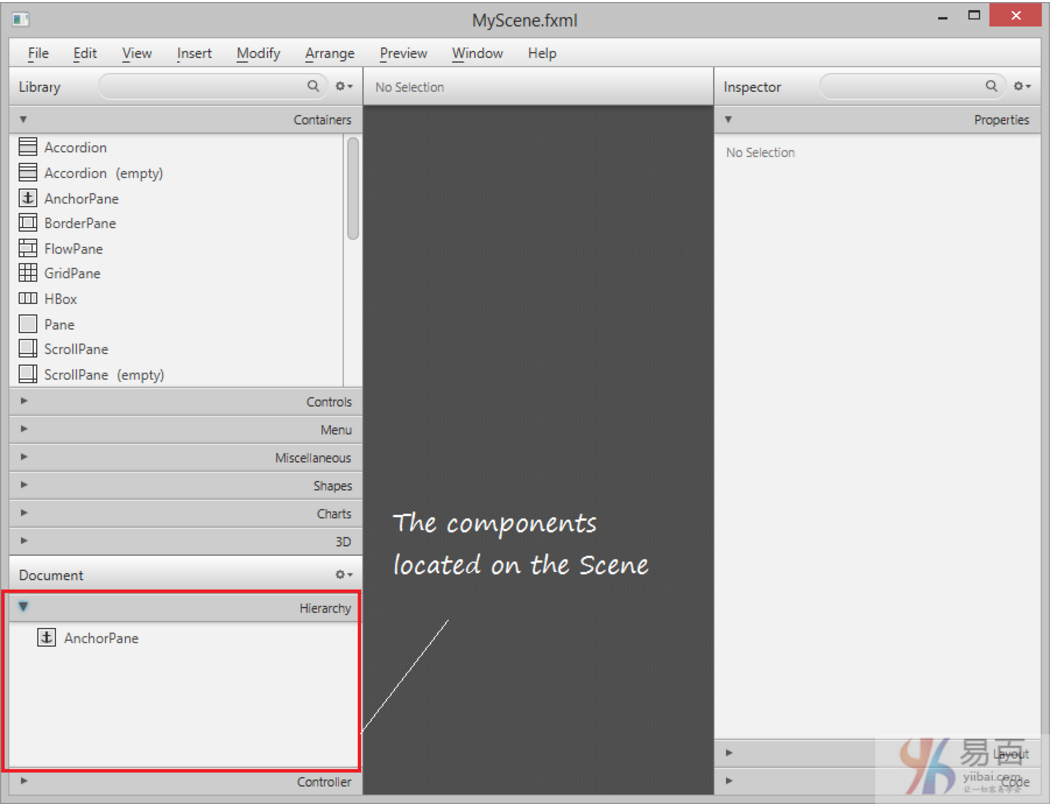
Components on the scene:
Tensile panel-
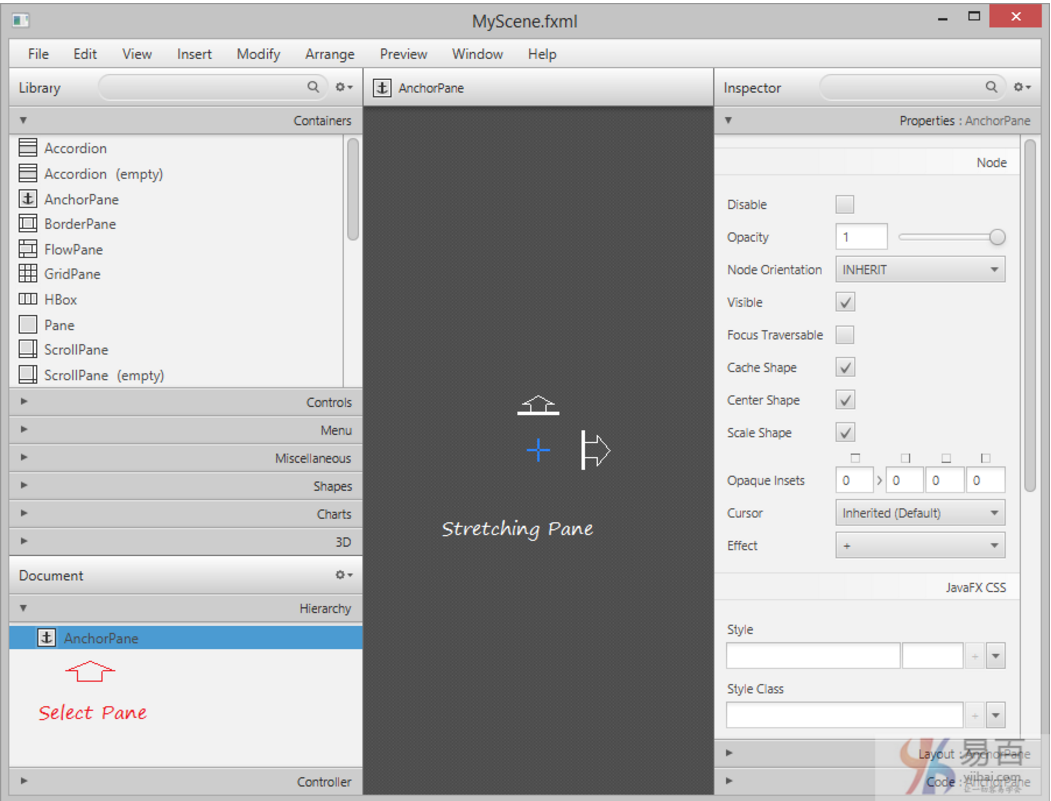
Anchor panel-

Find the button and drag it to AnchorPane:
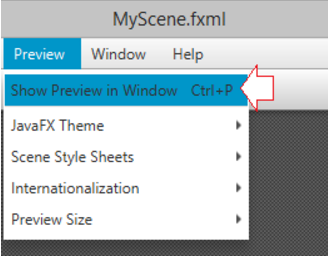
Select the file / save to save the changes. Select "Preview/Display Preview" in the window to preview your design
Close the Scene Builder window and refresh the project on Eclipse. You can see the code generated in the MyScene.fxml file at this point
<?xml version="1.0" encoding="UTF-8"?>

<?import javafx.scene.control.*?>
<?import java.lang.*?>
<?import javafx.scene.layout.*?>
<?import javafx.scene.layout.AnchorPane?>


<AnchorPane prefHeight="309.0" prefWidth="349.0"
    xmlns:fx="http://javafx.com/fxml/1" xmlns="http://javafx.com/javafx/8">
    <children>
        <Button fx:id="myButton" layoutX="60.0" layoutY="73.0"
            mnemonicParsing="false" onDragDetected="#showDateTime" prefHeight="23.0"
            prefWidth="120.0" text="Show Date Time" />
        <TextField fx:id="myTextField" layoutX="60.0" layoutY="155.0" />
    </children>
</AnchorPane>
Add the attribute fx:controller to it, and the Controller will refer to controls located inside AnchorPane, such as myButton and myTextField.

Note: The application.MyController class will be created later.
Controller
package application;

import java.net.URL;
import java.text.DateFormat;
import java.text.SimpleDateFormat;
import java.util.Date;
import java.util.ResourceBundle;

import javafx.event.ActionEvent;
import javafx.fxml.FXML;
import javafx.fxml.Initializable;
import javafx.scene.control.Button;
import javafx.scene.control.TextField;

public class MyController implements Initializable {

   @FXML
   private Button myButton;

   @FXML
   private TextField myTextField;

   @Override
   public void initialize(URL location, ResourceBundle resources) {

       // TODO (don't really need to do anything here).

   }

   // When user click on myButton
   // this method will be called.
   public void showDateTime(ActionEvent event) {
       System.out.println("Button Clicked!");

       Date now= new Date();

       DateFormat df = new SimpleDateFormat("yyyy-dd-MM HH:mm:ss");
       String dateTimeString = df.format(now);
        // Show in VIEW
        myTextField.setText(dateTimeString);

   }

}
The Main.java file is as follows-
package application;
import javafx.application.Application;
import javafx.stage.Stage;
import javafx.scene.Scene;
import javafx.scene.layout.BorderPane;
import javafx.application.Application;
import javafx.fxml.FXMLLoader;
import javafx.scene.Parent;
import javafx.scene.Scene;
import javafx.stage.Stage;
public class Main extends Application {
@Override
public void start(Stage primaryStage) {
try {
// Read file fxml and draw interface.
Parent root = FXMLLoader.load(getClass()
.getResource("/application/MyScene.fxml"));
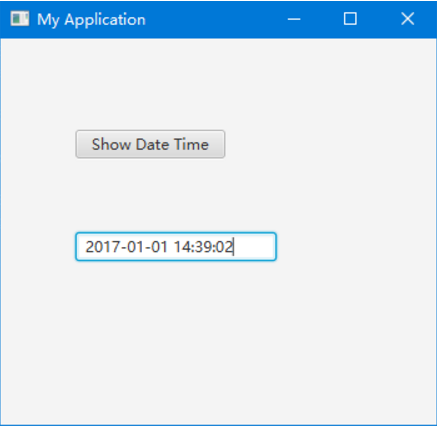
primaryStage.setTitle("My Application");
primaryStage.setScene(new Scene(root));
primaryStage.show();
} catch(Exception e) {
e.printStackTrace();
}
}
public static void main(String[] args) {
launch(args);
}
}Execute the above code and get the following results-