JavaScript element related
Get element
According to tag id
document.getElementById();
According to tag name
document.getElementByTagName();
What is returned is the collection of obtained element objects, which are stored in the form of pseudo array. The objects in pseudo elements can be obtained by traversal, and the obtained element objects are dynamic
You can also get all child elements with specified tag names inside the parent element
The parent element must be a single object, and the parent element itself is not included in the acquisition
html5 new get element
Get by class name
document.getElementByClassName();
According to selector
document.querySelector()
.ClassName
#idName
Method returns the first Element object in the document that matches the specified selector or selector group. null if no match is found.
document.querySelectorAll()
Specifies all element objects for the selector
Get special element body html
document.body()
document.documentElement()
Event basis
Events are behaviors that can be js detected
Trigger – corresponding mechanism
Three elements
Event source: the object on which the event is triggered
Event type: how to trigger
Event handler: completed by function assignment
<body>
    <button id="btn">I'm a button</button>
    <script>
        var btn = document.getElementById('btn');
        btn.onclick =function () {
            alert('Hello cow,It really hit me!');
        }
    </script>
</body>
The process of executing an event
- Get event source
- Registration event and binding event
- Add event handler
Operation element
element.innerText()
The content from the start position to the end position, excluding html tags, removing spaces and line breaks
element.innerHtml()
W3C standard
All contents from the start position to the end position, including html tags, while retaining spaces and line breaks
These two elements are readable and writable
example
If you want to press the button to trigger the replacement of the picture, you should also get the element of the picture
The picture address should be added after it jpg
    <button id="hh">I'm button 1</button>
    <button id="xx">I'm button 2</button>
    <img src="./pic/abcd.jpg" alt="">
    <script>
        var img =document.querySelector('img');
        var hhh = document.getElementById('hh');
        hhh.onclick = function() {
            img.src = './pic/pic2.jpg';
        }
        var xxx = document.getElementById('xx');
        xxx.onclick = function() {
            img.src = './pic/pic1.jpg';
        }
    </script>
    <img src="./pic/morning.png" alt="">
    <div>Happy Everyday</div>
    <script>
        var img = document.querySelector('img');
        var div = document.querySelector('div');
        var date = new Date();
        var h = date.getHours();
        if(h<12) {
            img.src = './pic/morning.png';
            div.innerHTML = 'Good morning, baby';
        }
        else if(h < 18) {
            img.src = './pic/fighting.png';
            div.innerHTML = 'Good afternoon, baby'
        } else {
            img.src = './pic/evening.png';
            div.innerHTML = 'Good evening, baby'
        }
    </script>
<body>
    <button>I am a lovely button(●'◡'●)</button>
    <input type="text" value="What do you want to enter">
    <script>
        var btn = document.querySelector('button');
        var input = document.querySelector('input');
        btn.onclick = function() {
            //input.innerHTML='';  This is an ordinary box, such as the content in the div tag element. The value in the form is modified through value
            input.value='oh dear,I was clicked!';
             btn.disabled = true ;
        }
        btn.onmouseout = function() {
            input.value='Don't go, whining';
        }
    </script>
</body>
btn.disabled = true ; Form disabled
this.disabled = true ;this refers to the caller btn of the form
Style attribute action
We can modify the size, color and style of elements through js
element.style: few styles and simple functions
element.className: write the style into CSS. js just add this style, which will directly overwrite the original class name. If you want to keep it, write both class names, separated by spaces (multi class name selector)
this.className = 'change' ;
- The style in js adopts the hump naming method
- js modified style produces inline style, with high CSS weight
Example: search bar
    <style>
        input {
            color: #999;
        }
    </style>
</head>
<body>
    <input type="text" value="mobile phone" name="" id="">
    <script>
        var text = document.querySelector('input');
        // Get focus event
        text.onfocus = function () {
            if(text.value === 'mobile phone') {
                this.value = ' ';
            }
            //Get focus and darken the text box
            this.style.color = '#333';
        }
        text.onblur = function () {
            if(text.value === ' ') {
                this.value = 'mobile phone';
            }
            this.style.color = '#999';
        }
    </script>
</body>
Example: password box plaintext ciphertext conversion
    <style>
        .box {
            position: relative;
            width: 400px;
            /* border : 1px solid #ccc; */
            margin: 100px;
        }
        .box input {
            width: 370px;
            height: 30px;
            border: 0;
            outline: none;
        }
        .box img {
            position: absolute;
            top: 2px;
            right: 2px;
            width: 24px;
        }
    </style>

</head>
<body>
    <div class="box">
        <label for="">
            <img src="./pic/images1/close.png" alt="" id="eye">
        </label>
        <input type="password" id="pwd">
    </div>
    <script>
        var eye =document.getElementById('eye');
        var pwd =document.getElementById('pwd');
        // Get element with multi id
        let flag=0;
        eye.onclick = function () {
            if(flag == 0) {
                pwd.type ='text';
                eye.src ='./pic/images1/open.png';
                flag=1;
            } else {
                pwd.type ='password';
                eye.src ='./pic/images1/close.png';
                flag=0;
            }
        }
    </script>
</body>
Exclusive thought
If you have the same set of elements, to achieve the same style, you need to use the exclusive idea algorithm of the loop
- Clear styles for all elements
- Style the current element
- Be careful not to reverse the order
Example: button color change
<body>
    <button>I'm the button</button>
    <button>I'm the button</button>
    <button>I'm the button</button>
    <button>I'm the button</button>
    <button>I'm the button</button>
    <script>
        var btn= document.getElementsByTagName('button');
        for(let i=0;i<btn.length;i++) {
            btn[i].onclick = function () {
                for(let j=0;j<btn.length;j++) {
                    btn[j].style.backgroundColor='';
                    // You can't leave space here... Otherwise, it will fail to set the color back to the default
                }
                btn[i].style.backgroundColor='pink';
            }
        }
    </script>
</body>
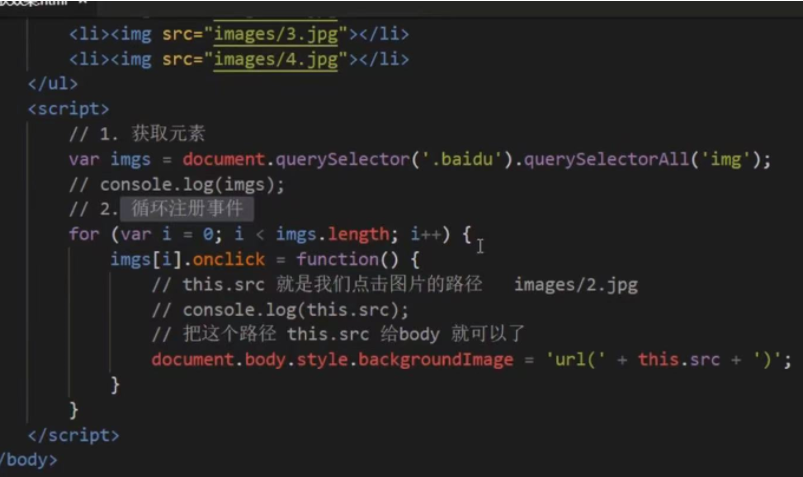
Example: change the background image
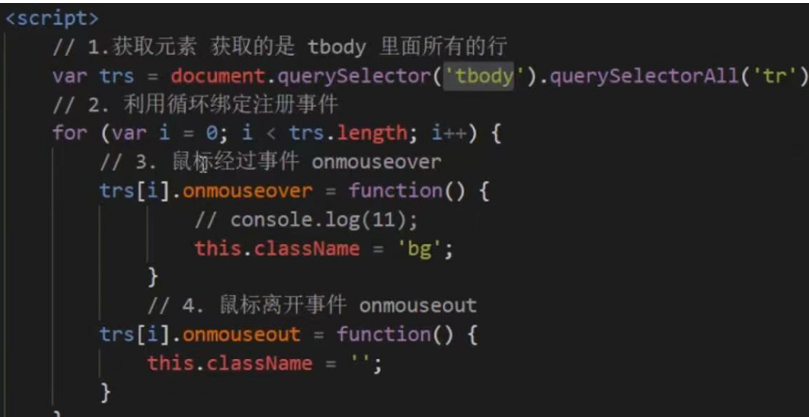
Example: table highlighting
Example: select all and deselect all forms
<body>
    <div class="box">
        <table>
            <thead>
                <tr>
                    <td><input type="checkbox" id="j_cbAll"></td>
                    <th>goods</td>
                    <th>price</td>
                </tr>
            </thead>
            <tbody id="j_tb">
                <tr>
                    <td><input type="checkbox"></td>
                    <td>iphone</td>
                    <td>2000</td>
                </tr>
                <tr>
                    <td><input type="checkbox"></td>
                    <td>ipad</td>
                    <td>3000</td>
                </tr>
                <tr>
                    <td><input type="checkbox"></td>
                    <td>MacBook</td>
                    <td>2500</td>
                </tr>
            </tbody>
        </table>
    </div>

    <script>
        var j_cbAll = document.getElementById('j_cbAll');
        var j_tbs = document.getElementById('j_tb').getElementsByTagName('input');
        j_cbAll.onclick = function() {
            console.log(this.checked) ;//Gets the selected status of the current check box
            for(let i=0;i<j_tbs.length;i++) {
                j_tbs[i].checked = this.checked;
            }
        }

        for(let j=0;j<j_tbs.length;j++) {
            j_tbs[j].onclick = function () {
                let flag=true;
                for(let k=0;k<j_tbs.length;k++) {
                    if(!j_tbs[k].checked) {
                        flag=false;
                        break;
                    }
                }
                j_cbAll.checked=flag;
            }
        }

    </script>
</body>
Custom attribute action
obtain
element. attribute
Get the built-in attribute value – the attribute of the element itself
element.getAttribute('attribute ')
The attribute added by programmers is called data index
set up
element. Attribute = 'value';
element.setAttribute('attribute ',' value ')
When modifying clss, you modify 'Class' instead of' ClassName '
remove
element.removeAttribute('attribute ');
Example: tab bar switching
    <style>
        * {
            margin: 0;
            padding: 0;
        }

        li {
            list-style-type: none;
        }

        .tab {
            width: 978px;
            margin: 100px auto;
        }

        .tab_list {
            height: 39px;
            border: 1px solid #ccc;
            background-color: #f1f1f1;
        }

        .tab_list li {
            float: left;
            height: 39px;
            line-height: 39px;
            padding: 0 20px;
            text-align: center;
            cursor: pointer;
        }

        .tab_list .current {
            background-color: #c81623;
            color: #fff;
        }

        .item_info {
            padding: 20px 0 0 20px;
        }

        .item {
            display: none;
        }
    </style>
</head>
<body>
    <div class="tab">
        <div class="tab_list">
            <ul>
                <li class="current">Product introduction</li>
                <li>Specification and packaging</li>
                <li>After sales guarantee</li>
                <li>Commodity evaluation(50000)</li>
                <li>Mobile community</li>
            </ul>
        </div>
        <div class="tab_con">
            <div class="item" style="display: block;">
            <!-- <div class="item"> -->
                Content of product introduction module
            </div>
            <div class="item">
                Specification and packaging module content
            </div>
            <div class="item">
                Content of after sales guarantee module
            </div>
            <div class="item">
                Commodity evaluation(50000)Module content
            </div>
            <div class="item">
                Mobile community module content
            </div>
        </div>
    </div>
    <script>
        var tab_list = document.querySelector('.tab_list');
        var lis = tab_list.querySelectorAll('li');
        var items = document.querySelectorAll('.item');
        for(let i=0;i<lis.length;i++) {
            lis[i].setAttribute('index',i);
            lis[i].onclick = function() {
                for(let j=0;j<lis.length;j++) {
                    console.log('hi');
                    lis[j].className=' ';
                    //You need a space here to leave it blank or not.., Pay attention to the way Class is written qwq
                }
                this.className='current';

                var index=this.getAttribute('index');
                for(let j=0;j<items.length;j++) {
                    items[j].style.display='none';
                }
                items[index].style.display='block';
            }
        }
    </script>
html5 custom properties
In order to save and use data, some data can be saved to the page rather than to the database
h5 specifies that the custom attribute starts with data - as the attribute name and assigns a value
dataset is a collection that stores all custom attributes starting with data -, and ie11 began to use it
element.dataset.index
element.dataset['index']
If there are multiple linked words in the custom attribute, the hump naming method shall be adopted
Node operation
Parent node
node.parentNode can return the parent node of a node, which is the nearest parent node. If the specified node has no parent node, null will be returned
Child node
node.childNodes (line feed belongs to text node) includes all child nodes, including text (nodetyp3) and element node (nodetyp1)
node.children is a read-only attribute that returns all child element nodes, and other nodes do not return
First and last child elements
node.firstChild: returns child nodes, whether text or element nodes
node.lastChild: returns child nodes, whether text or element nodes
node.firstElementChild: returns the child element node, ie9 which is used above
node.LastElementChild
Actual use:
node.children[0]
node.children[node.children.length-1]
Example: drop down menu
    <style>
        * {
            margin: 0;
            padding: 0;
        }

        li {
            list-style-type: none;
        }

        a {
            text-decoration: none;
            font-size: 14px;
        }

        .nav {
            margin: 100px;
        }

        .nav>li {
            position: relative;
            float: left;
            width: 80px;
            height: 41px;
            text-align: center;
        }

        .nav li a {
            display: block;
            width: 100%;
            height: 100%;
            line-height: 41px;
            color: #333;
        }

        .nav>li>a:hover {
            background-color: #eee;
        }

        .nav ul {
            display: none;
            position: absolute;
            top: 41px;
            left: 0;
            width: 100%;
            border-left: 1px solid #FECC5B;
            border-right: 1px solid #FECC5B;
        }

        .nav ul li {
            border-bottom: 1px solid #FECC5B;
        }

        .nav ul li a:hover {
            background-color: #FFF5DA;
        }
    </style>
</head>
<body>
    <ul class="nav">
        <li>
            <a href="#"> Weibo</a>
            <ul>
                <li>
                    <a href="">private letter</a>
                </li>
                <li>
                    <a href="">comment</a>
                </li>
                <li>
                    <a href="">@I</a>
                </li>
            </ul>
        </li>
    </ul>
    <script>
        var nav = document.querySelector('.nav');
        var lis = nav.children;
        for(let i=0;i<lis.length;i++) {
            lis[i].onmouseover =function () {
                this.children[1].style.display ='block';
            }
            lis[i].onmouseout =function () {
                this.children[1].style.display ='none';
            }
        }
    </script>
Sibling node
node.nextSibling: returns the next sibling node of the current element. If it cannot be found, it returns null, which also contains all nodes
node.previousSibling
node.nextElementSibling
node.previousElementSibling
Compatibility problem: encapsulate a compatibility function by yourself
function getNextElementSibling(element) {
    var el =element;
    while(el=el.nextSibling) {
        if(el.nodeType == 1) {
            return e1;
        }
    }
    return null;
}
Create node
document.createElement(’ '); Create HTML elements specified by tagName. Because these elements did not exist before and were generated dynamically according to our requirements, they also become dynamic element creation nodes
Add node
**node.appendChild(child);** Adds a node to the end of the child node list of the specified parent element
node.insertBefore(child, specifies the element);
Example: comment release
    <textarea name="" id=""></textarea>
    <button>release</button>
    <ul></ul>

    <script>
        var btn = document.querySelector('button');
        var text = document.querySelector('textarea');
        var ul = document.querySelector('ul');

        btn.onclick = function() {
            if(text.value == '') {
                alert('Published content cannot be empty');
                return false;
            } else {
                let li =document.createElement('li');
                li.innerHTML = text.value;
                ul.insertBefore(li,ul.children[0]);
            }

        }
    </script>
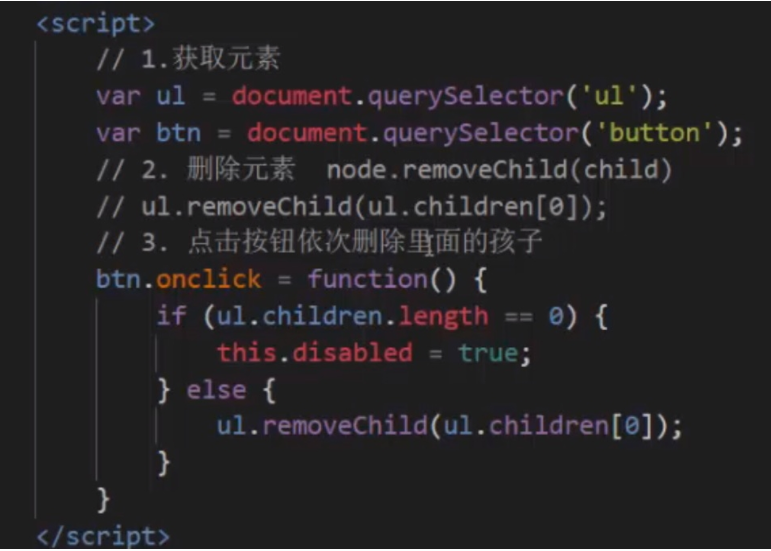
Delete node
node.removeChild(child);
Block link jump
javascript:;
javascript:void(0);
Example: comment deletion
    <script>
        var btn = document.querySelector('button');
        var text = document.querySelector('textarea');
        var ul = document.querySelector('ul');

        btn.onclick = function() {
            if(text.value == '') {
                alert('Published content cannot be empty');
                return false;
            } else {
                let li =document.createElement('li');
                li.innerHTML = text.value + "<a href='javascript:;'>delete</a>";
                ul.insertBefore(li,ul.children[0]);
            }
            var as = document.querySelectorAll('a');
            // This can't be written in it, because each click on the release will have to retrieve the number of buttons; If it is written outside, the program runs once and ends without retrieving the number of buttons
            for(let i=0;i<as.length;i++) {
                as[i].onclick = function() {
                    // The li where a is located is the parent node of A
                    ul.removeChild(this.parentNode);
                }
            }
        }
    </script>
The reason why the delete button can not work normally: because the number of buttons has to be retrieved for each click of publish; If it is written outside, the program runs once and ends without retrieving the number of buttons
Replication node
node.cloneNode();
This method returns a copy of the node that called the method
If the bracket is empty or false inside, it is a shallow copy. Only the node itself is copied, and the child nodes inside are not cloned
If the parameter is true, it is a deep copy
Example: dynamically generating tables
<body>
    <table>
        <thead>
            <tr>
                <th>full name</th>
                <th>subject</th>
                <th>achievement</th>
                <th>operation</th>
            </tr>
        </thead>
        <tbody></tbody>
    </table>

    <script>
        var datas =[{
            name : 'Huang Xiaodi',
            subject : 'java',
            score :100
        },{
            name : 'Huang Xiaoyu',
            subject : 'javascript',
            score :100
        },{
            name : 'Yellow croaker',
            subject : 'C++',
            score :100
        }]
        console.log(datas.length);
        var tbody =document.querySelector('tbody');
        for(let i=0;i<datas.length;i++) {
            // Create row
            var tr =document.createElement('tr');
            tbody.appendChild(tr);
            for(let j in datas[i]) {
                // Create cells in rows
                let td = document.createElement('td');
                // Give the attribute value in the object to td
                td.innerHTML = datas[i][j];
                tr.appendChild(td);
            }
            let td = document.createElement('td');
            td.innerHTML='<a href="javascript:;">delete</a>'
            tr.appendChild(td);
        }

        var as = document.querySelectorAll('a');
        for(let i=0;i<as.length;i++) {
            as[i].onclick = function() {
                //Click a to delete the row of a and the parent node of the linked parent node
                tbody.removeChild(this.parentNode.parentNode);
            }
        }
    </script>
</body>
There are three ways to create elements:
document.write();
document.write(<div>111</div>)
Directly write the content into the content stream of the page. After the document stream is executed, the page will be redrawn
innerHTML
Writing the content to a DOM node will not lead to page redrawing. It is more efficient to create multiple elements (not string splicing, but array splicing), and the structure is slightly complex
document.createElement()
Creating multiple elements is less efficient, but the structure is clear