catalogue
Method 1: hard coding (database configuration is written into the code)
Method 2: write configuration file and separate code and configuration (development recommendation)
Method 1: hard coding (database configuration is written into the code)
Method 2: write configuration file and separate code and configuration (development recommendation)
1.C3P0
Preparation before use:
Download the jar package from the official website
c3p0-v0.9.5.5 - JDBC3 Connection and Statement Pooling - Documentation (mchange.com)
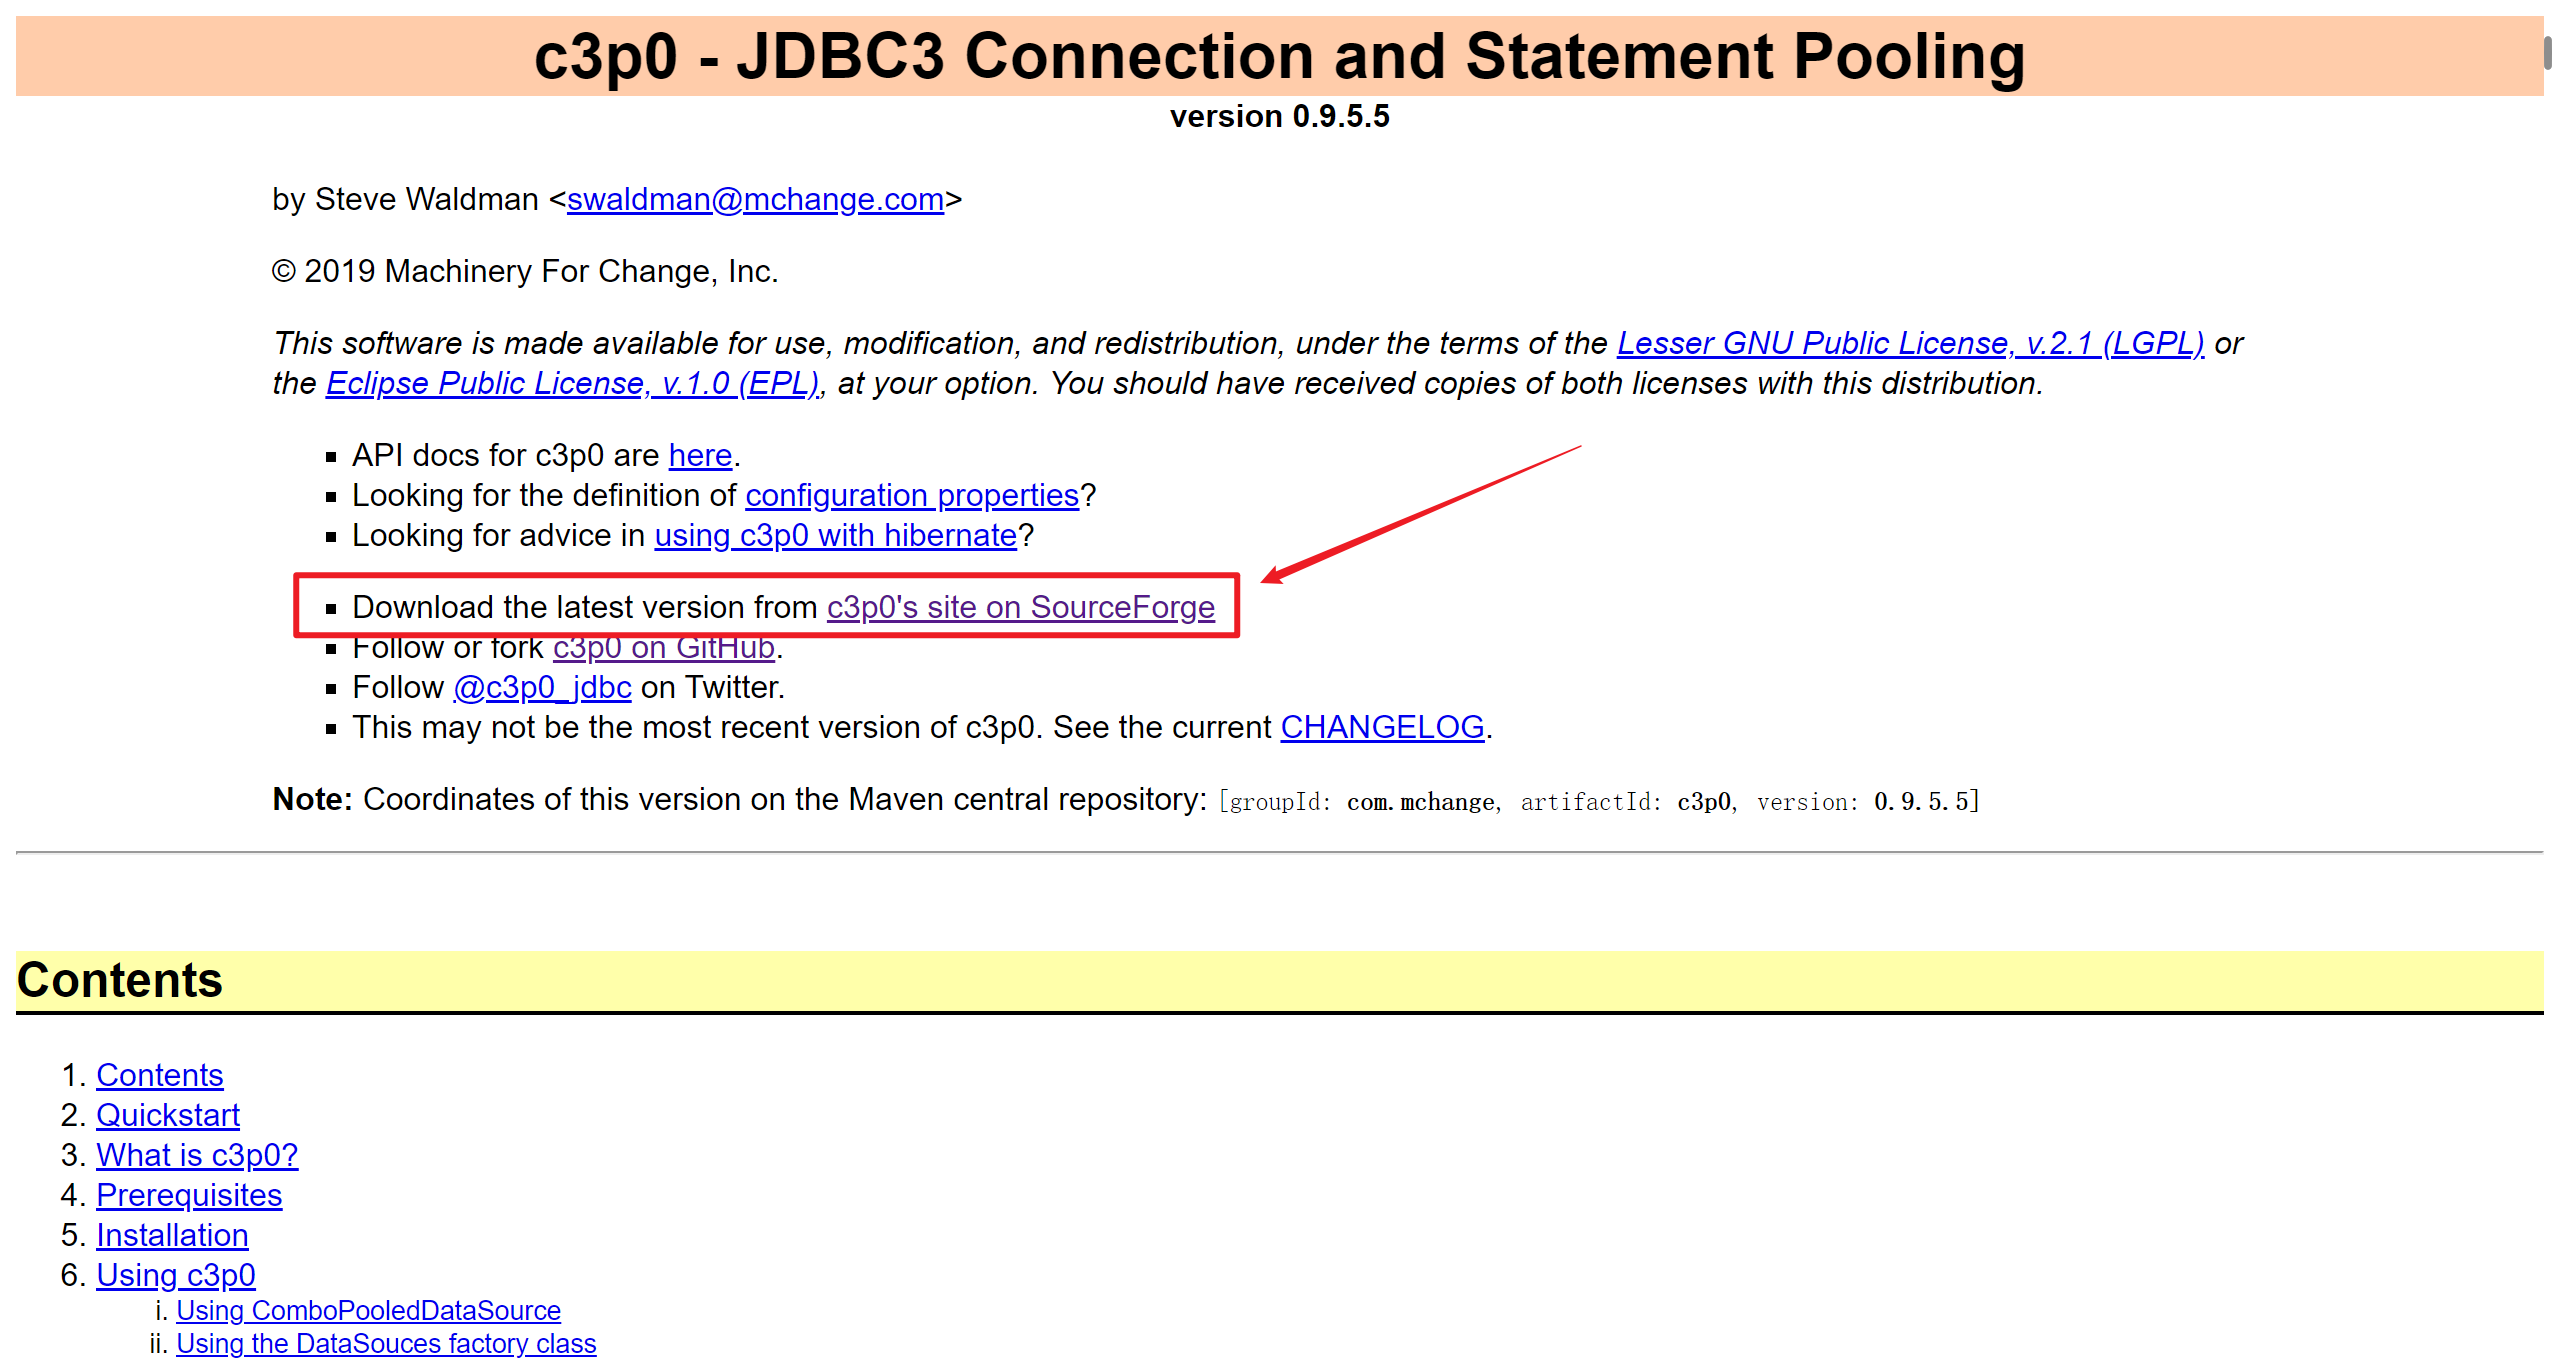
Note that it is bin zip
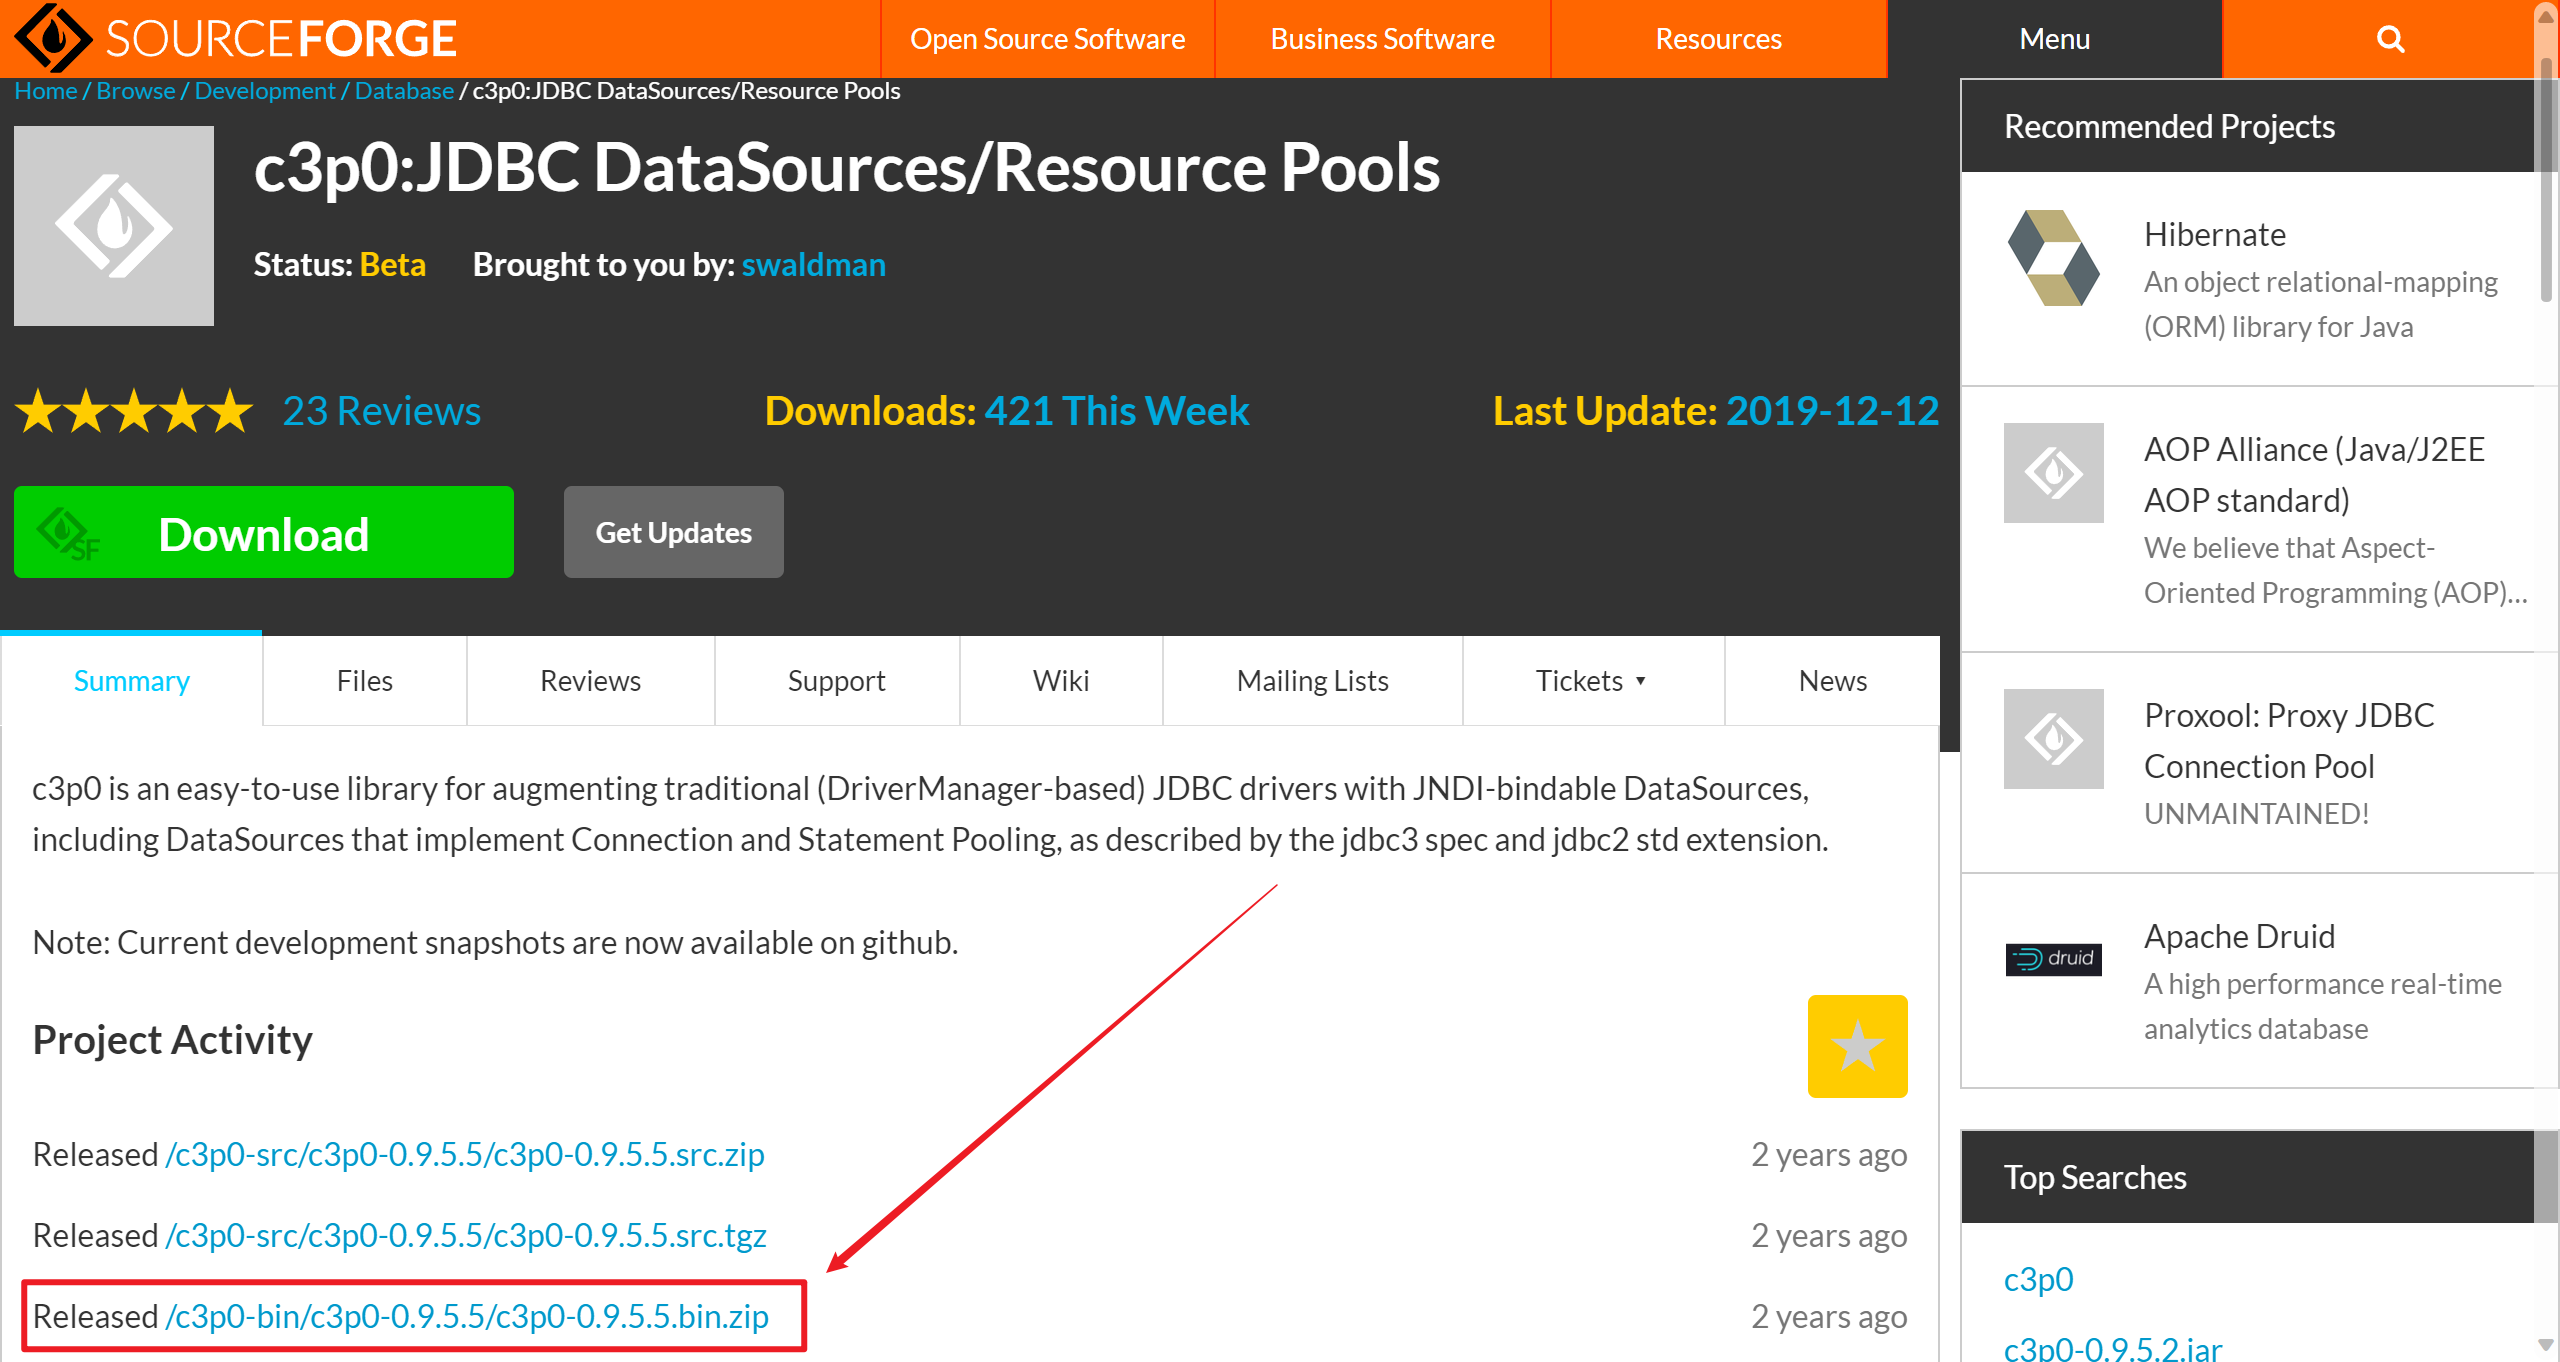
After that, go to this path and copy the two jar packages
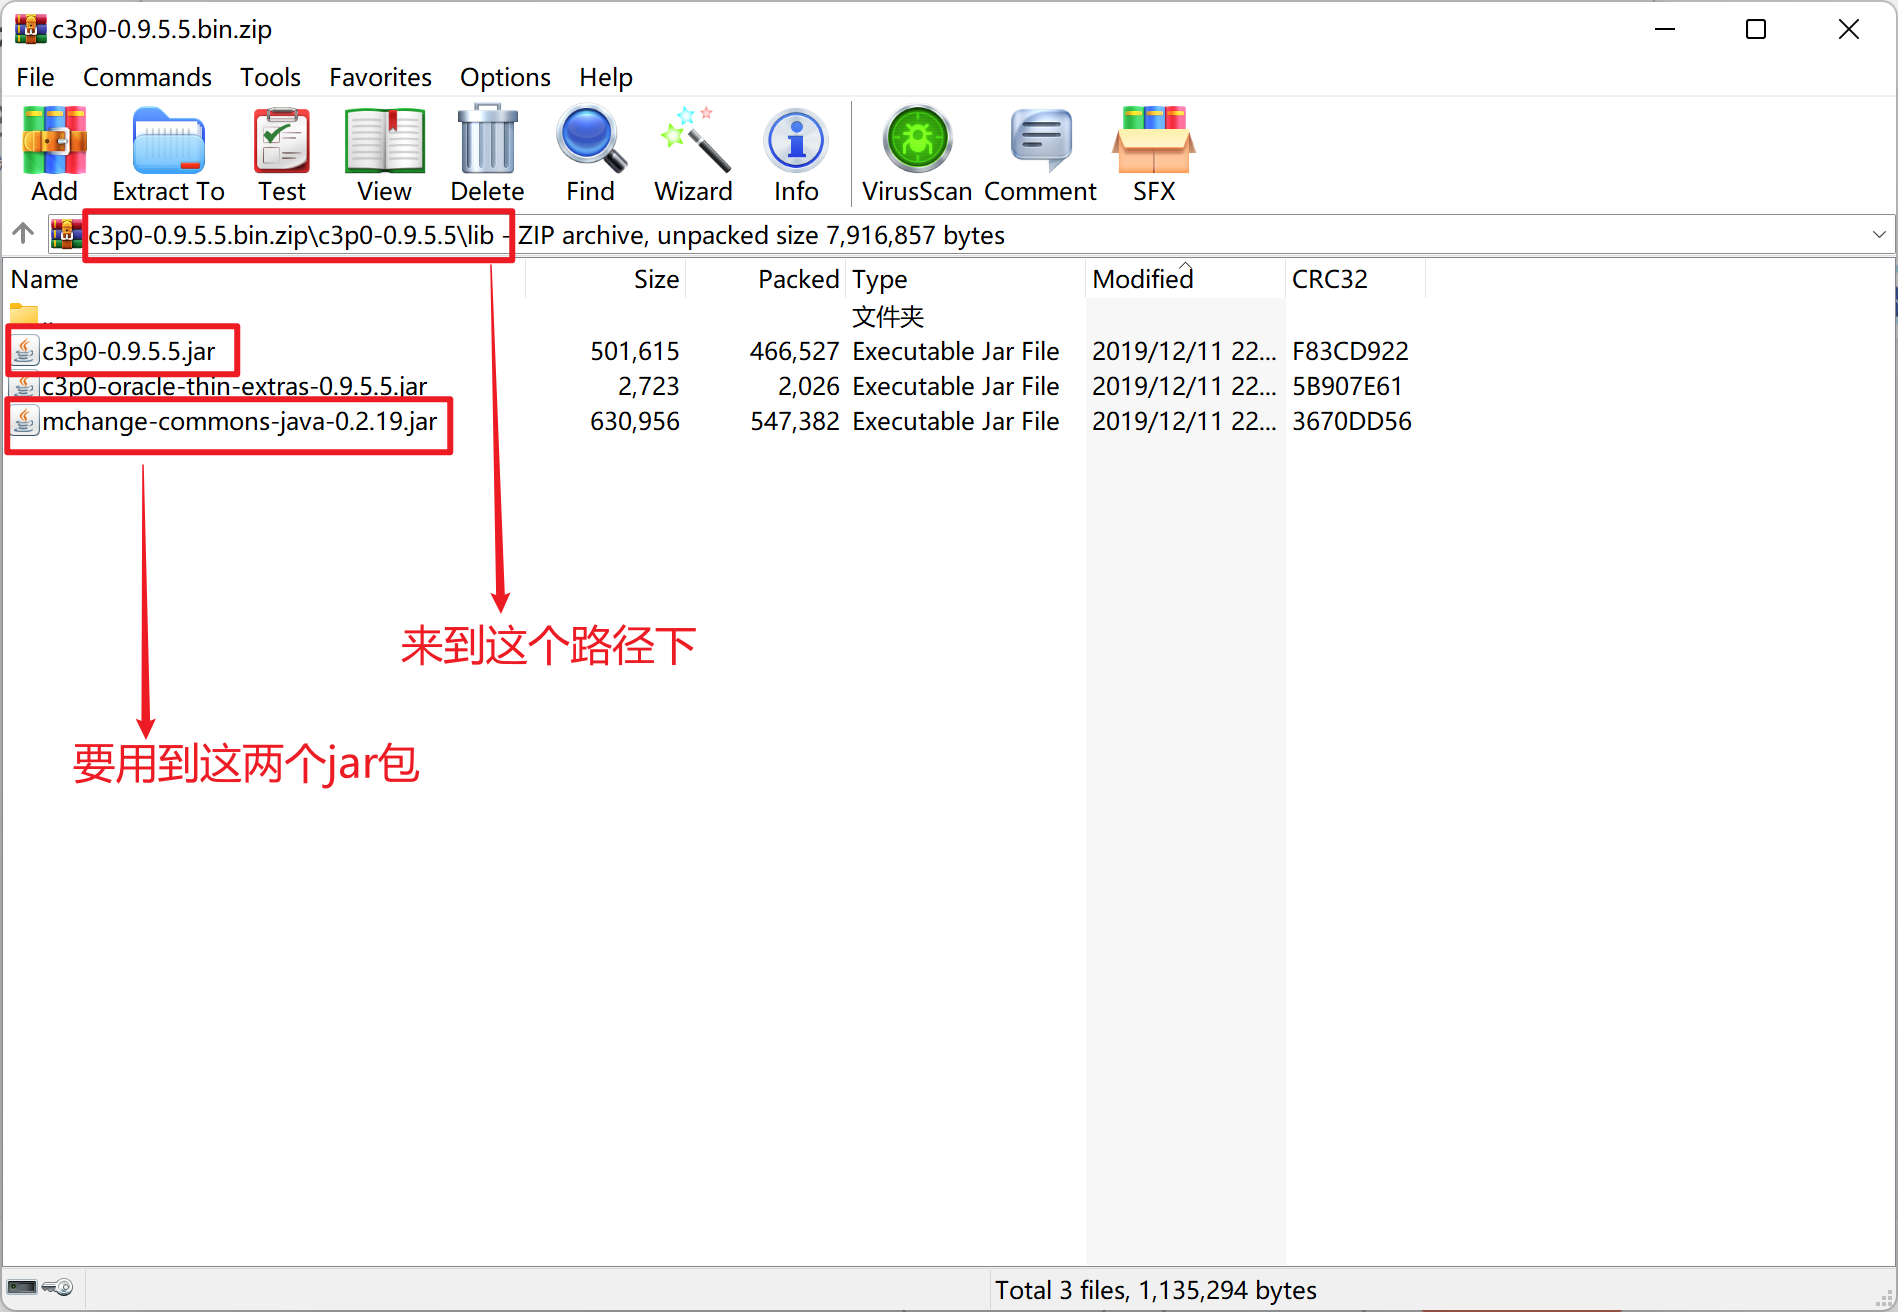
Create a new folder under the project

Copy the jar package here
CTRL select two jar packages and right click
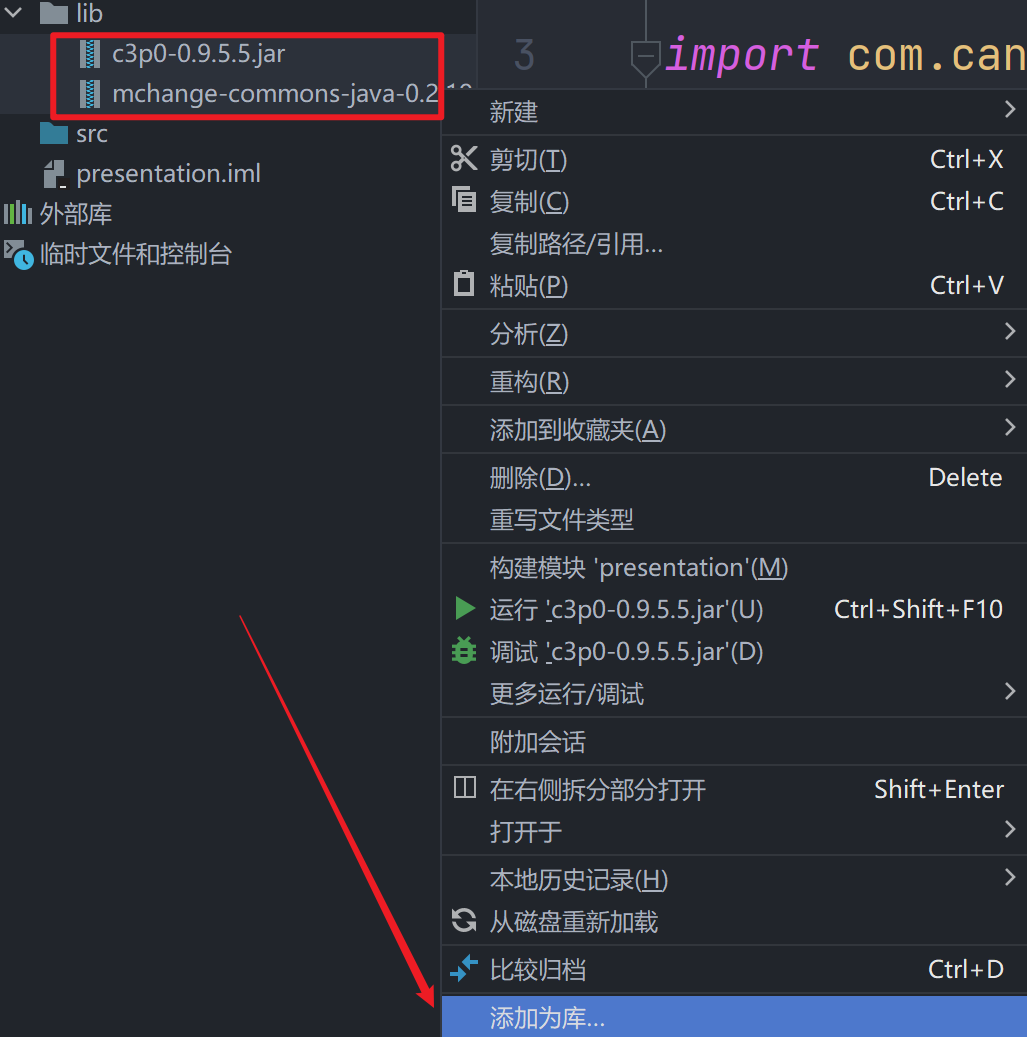
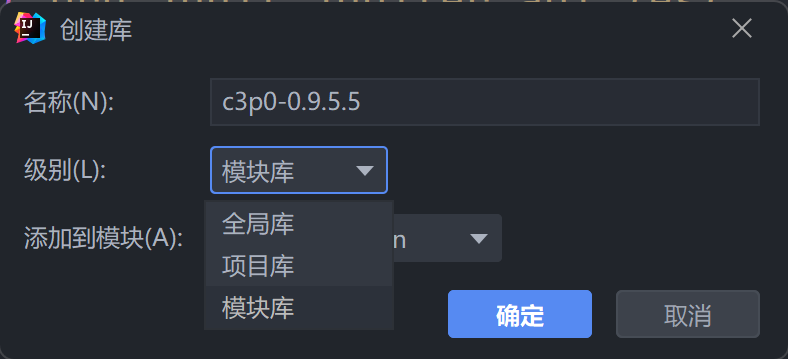
You can choose either project or module. Let's choose the module library and click OK
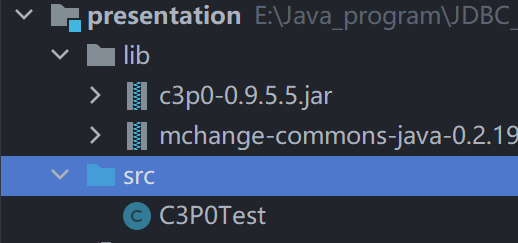
New test class test
Method 1: hard coding (database configuration is written into the code)
This article uses the @ Test unit Test method to Test. If you haven't seen it, you can replace it with the main method
@Test
public void getConnection() throws PropertyVetoException, SQLException {
        //Get c3p0 database connection pool
        ComboPooledDataSource cpds = new ComboPooledDataSource();

        cpds.setDriverClass("com.mysql.cj.jdbc.Driver"); //JDBC driver loading
        cpds.setJdbcUrl("jdbc:mysql://localhost:3306/test");//test corresponds to a table in your database
        cpds.setUser("root");//user name
        cpds.setPassword("admin");//password

        Connection cn = cpds.getConnection();//Get database connection
        System.out.println(cn);

        DataSources.destroy(cpds);//Destroy connection pool
}
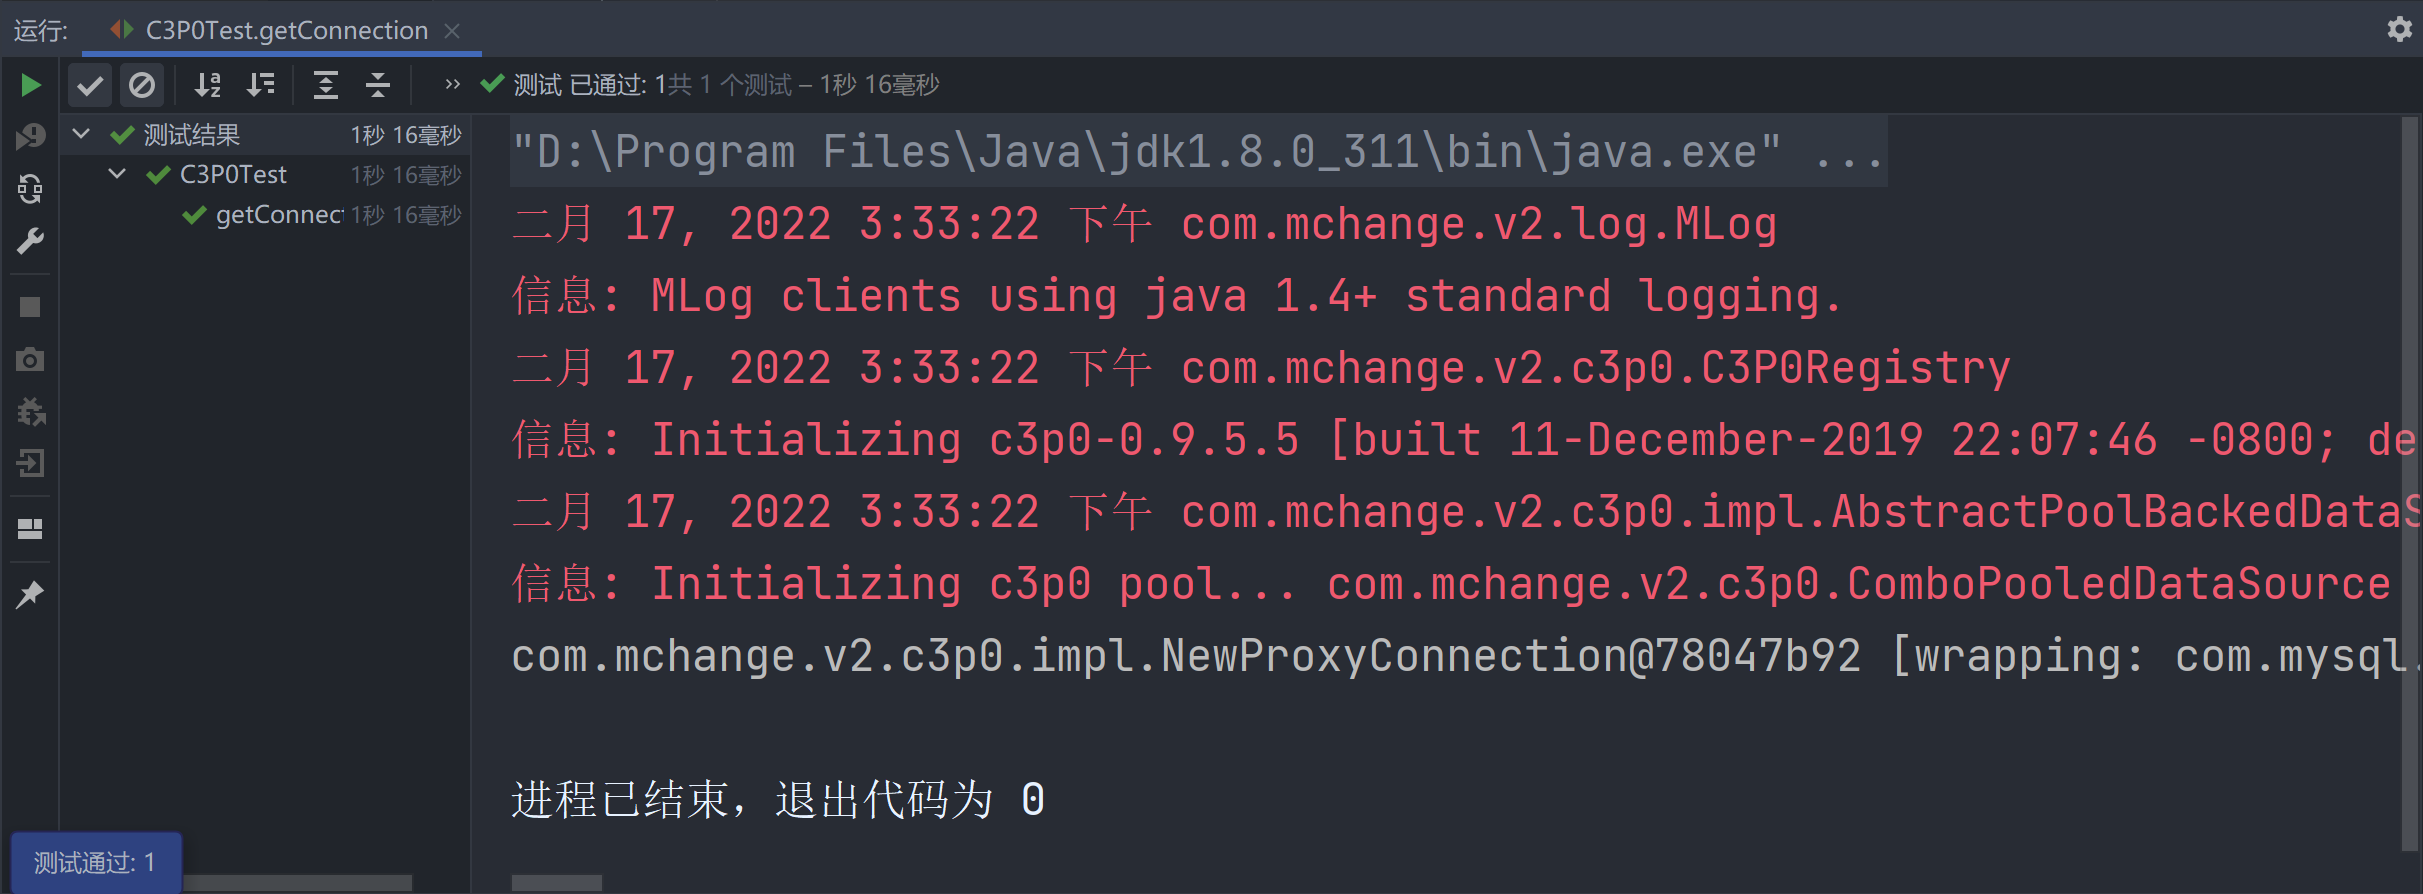
Operation results: (note that red is the log information, not an error)
Method 2: write configuration file and separate code and configuration (development recommendation)
Create a file under src. The file name (specified by the connection pool cannot be changed)
c3p0-config.xml

The contents of the XML file are as follows
<?xml version="1.0" encoding="UTF-8" ?>
<c3p0-config>
    <!-- Provides four basic information for obtaining connections -->
    <named-config name="helloC3P0">
        <property name="driverClass">com.mysql.cj.jdbc.Driver</property>
        <property name="jdbcUrl">jdbc:mysql://localhost:3306/test</property>
        <property name="user">root</property>
        <property name="password">admin</property>
    </named-config>
</c3p0-config>
among
<named-config name="helloC3P0">
name can be customized
Let's write the code again (write the name just customized in the constructor)
    @Test
    public void getConnection2() throws SQLException {
        ComboPooledDataSource cpds = new ComboPooledDataSource("helloC3P0");
        Connection cn = cpds.getConnection();
        System.out.println(cn);
        DataSources.destroy(cpds);
    }
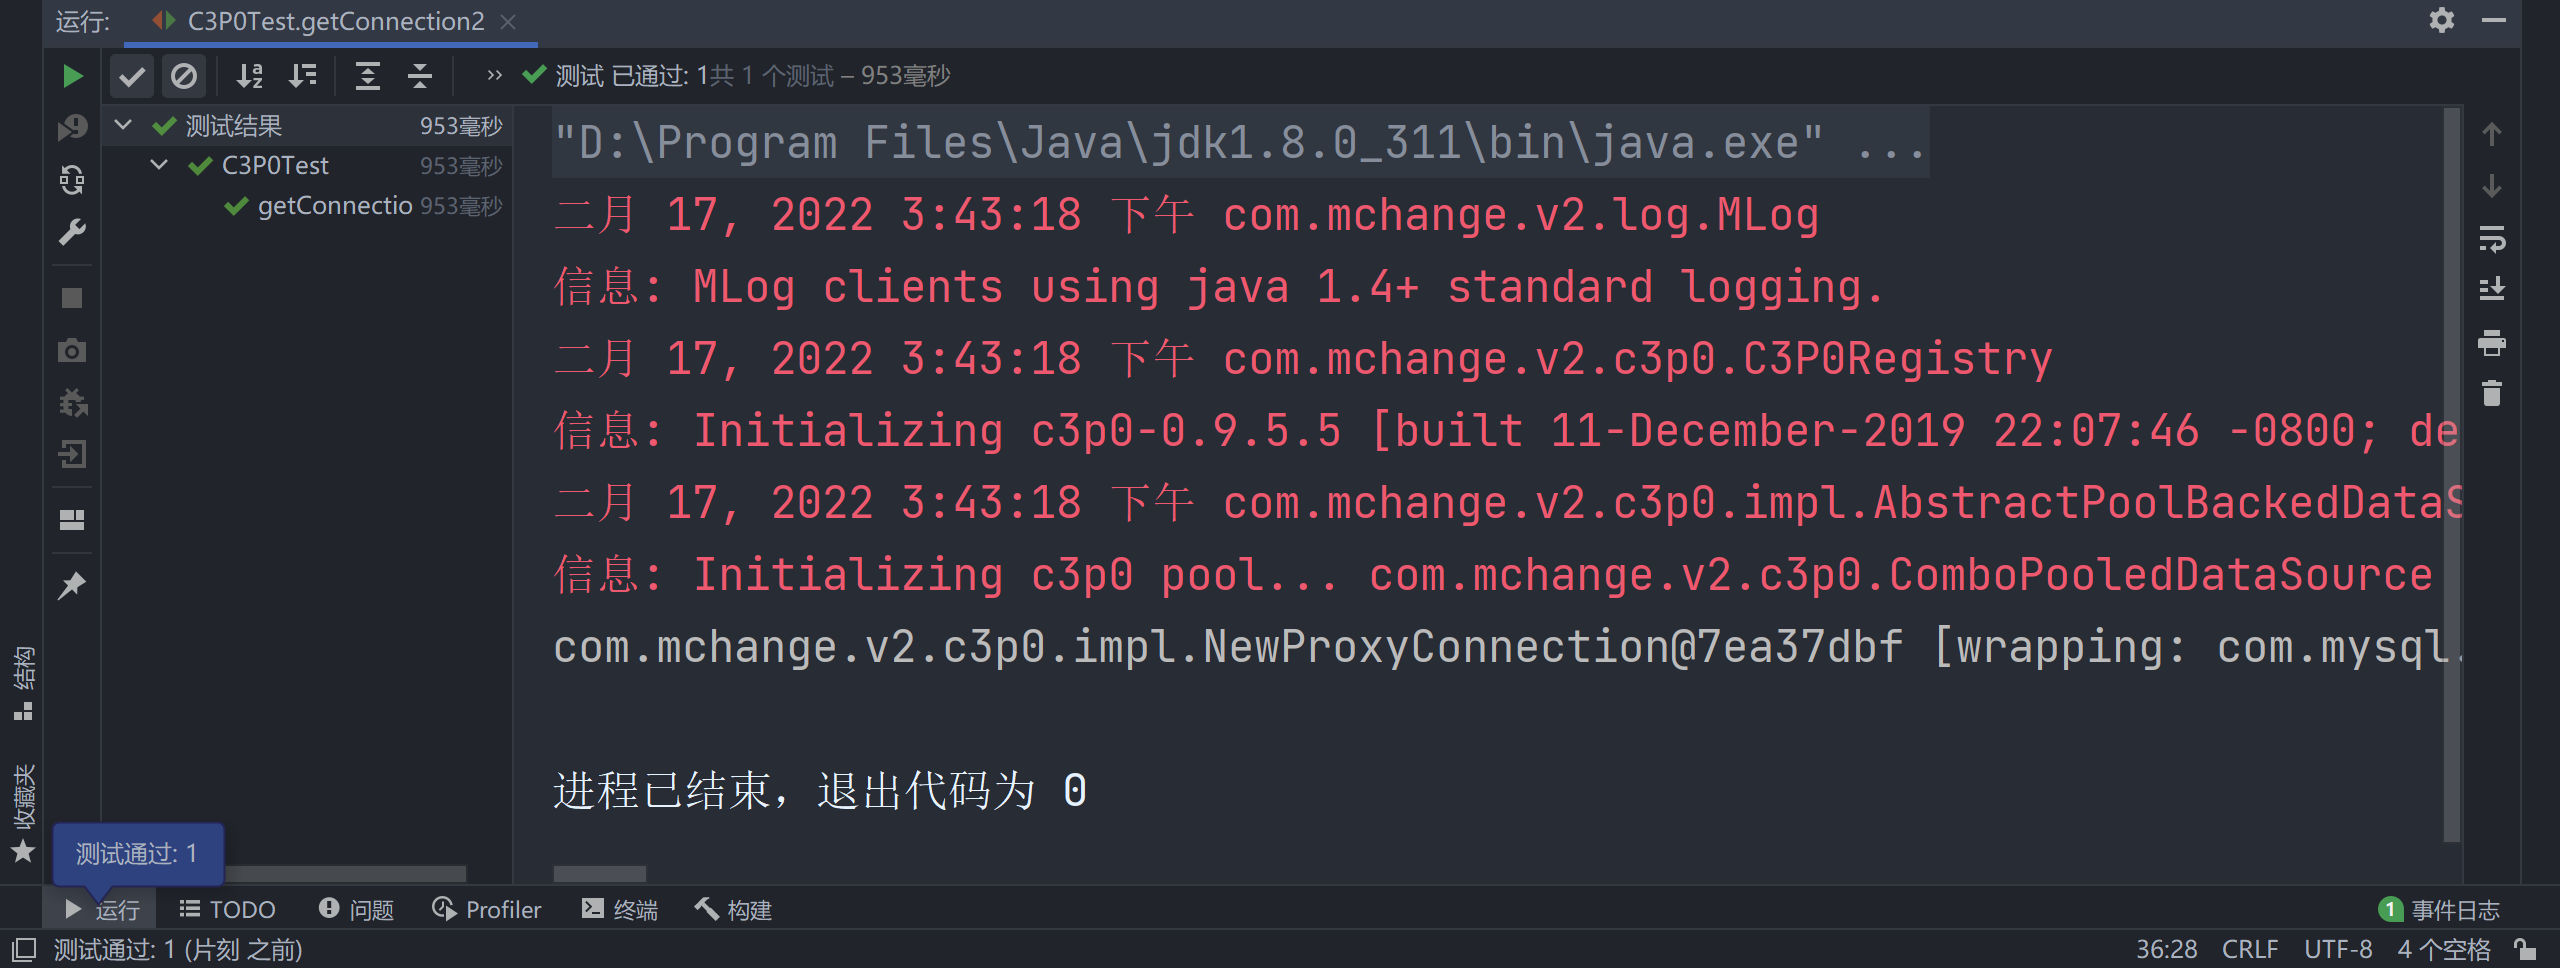
Operation results:
2.DBCP
Preparation before use:
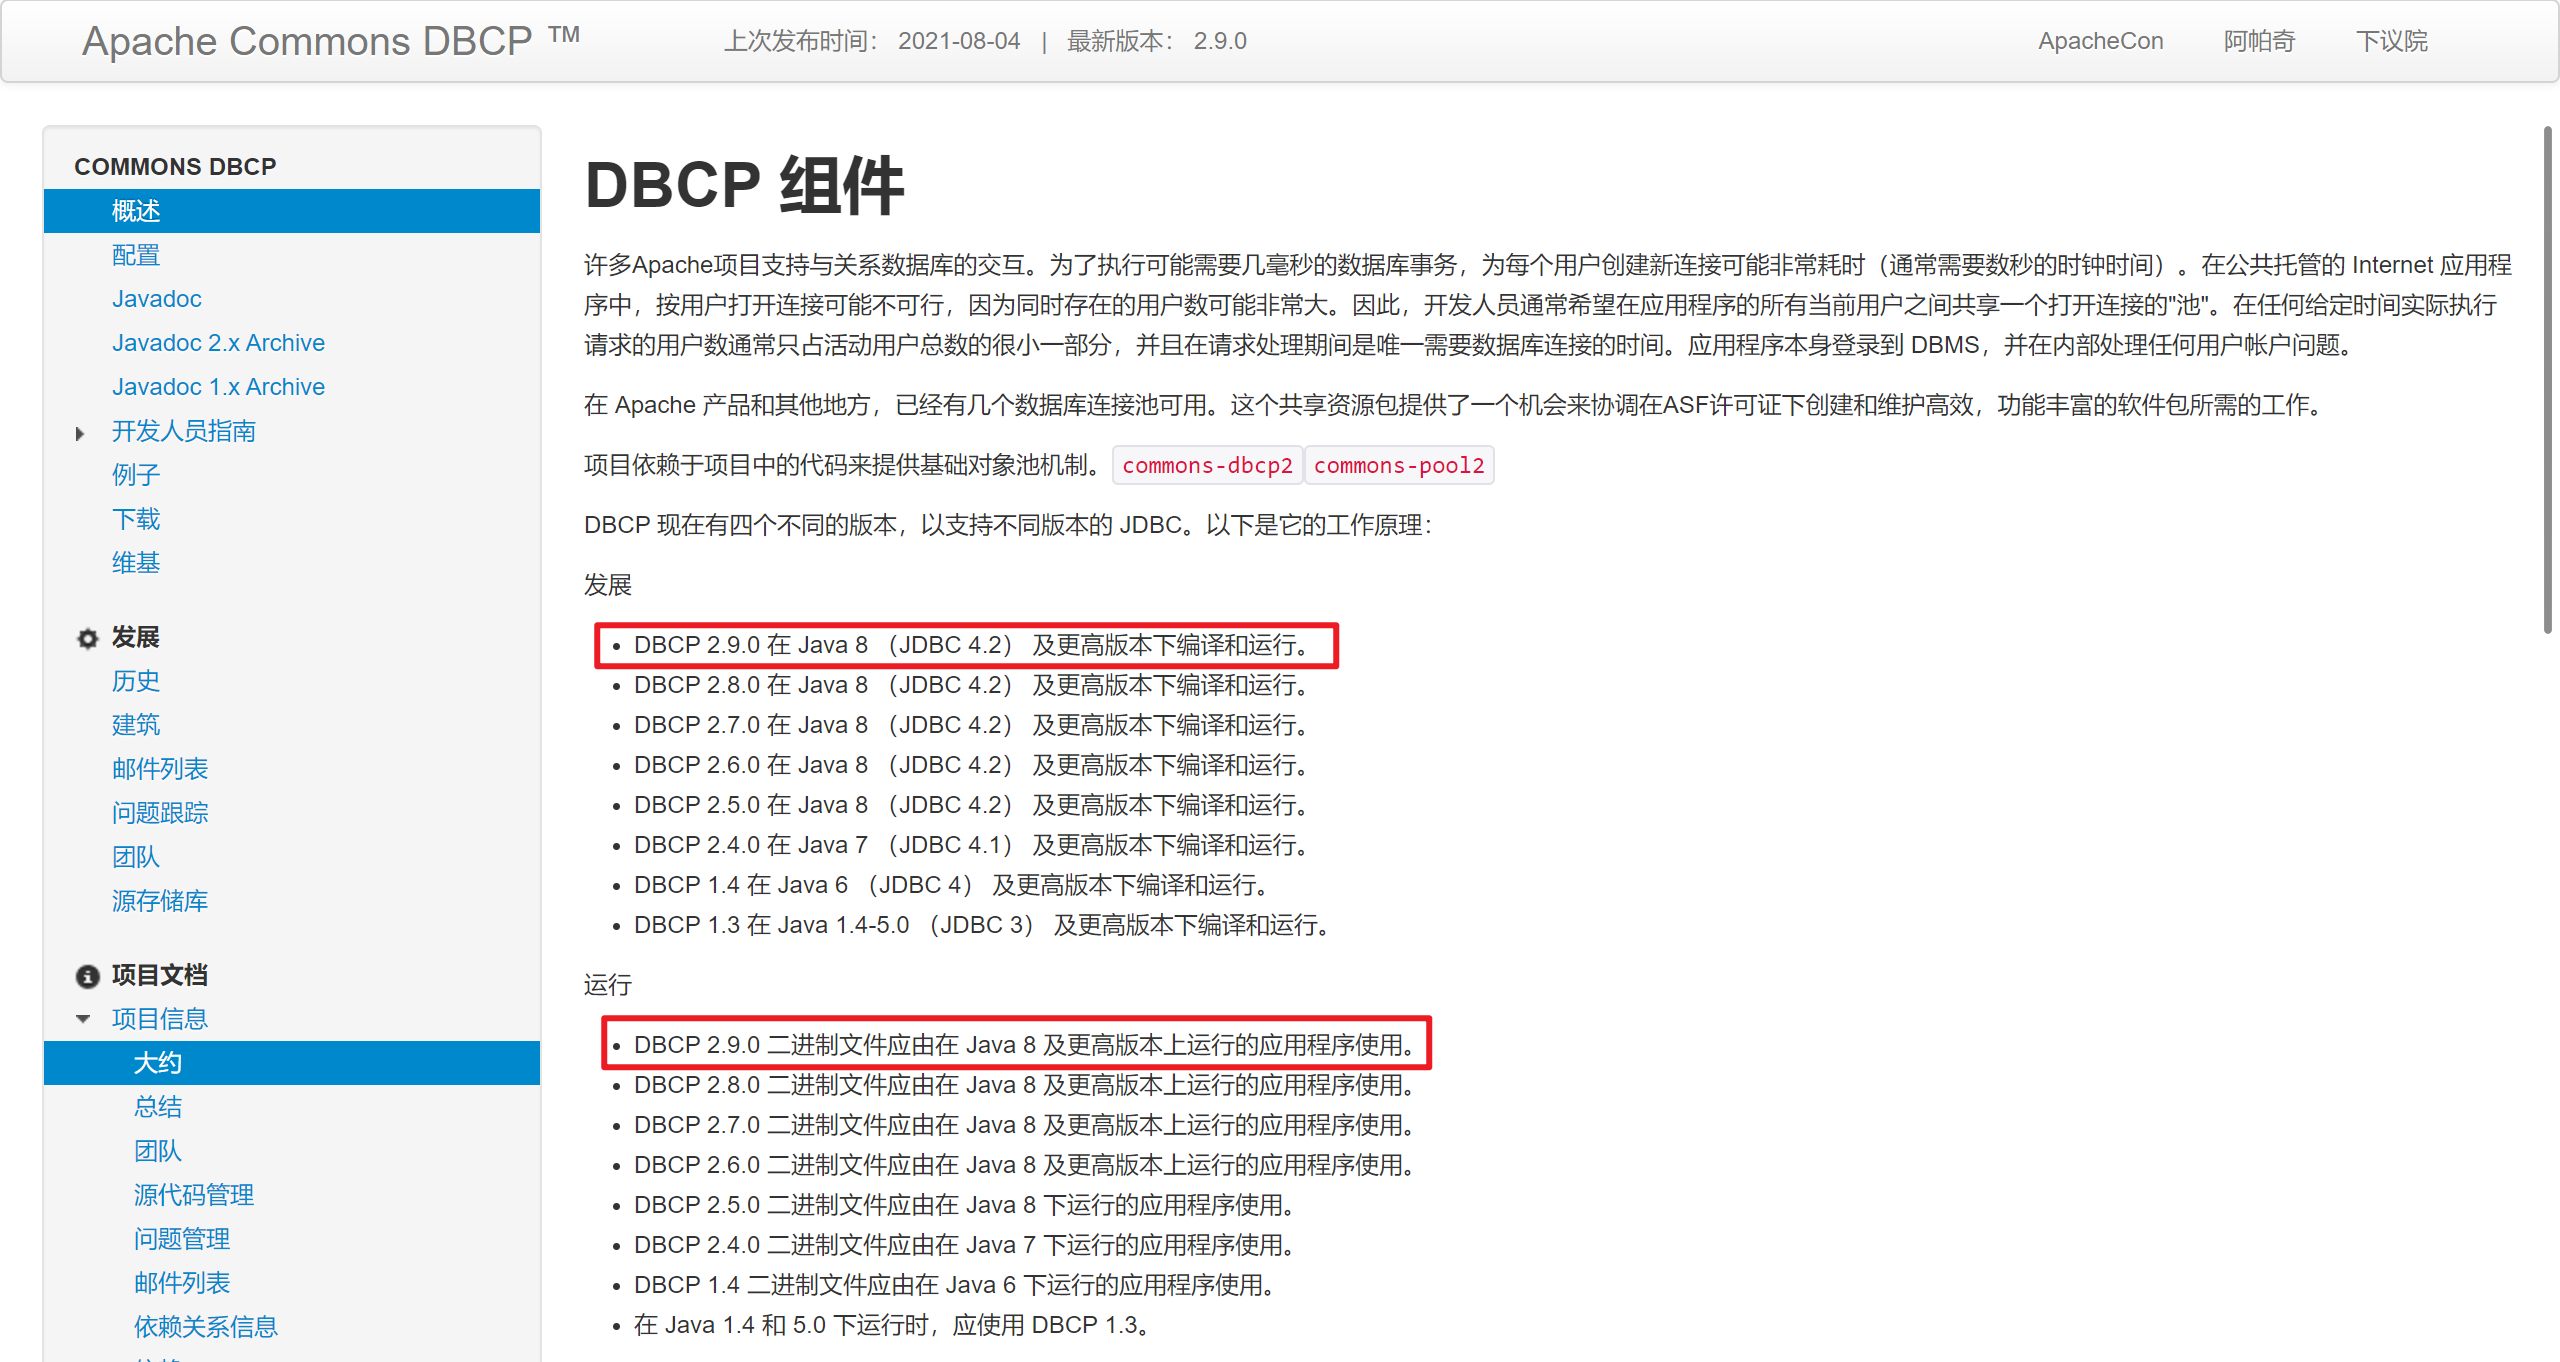
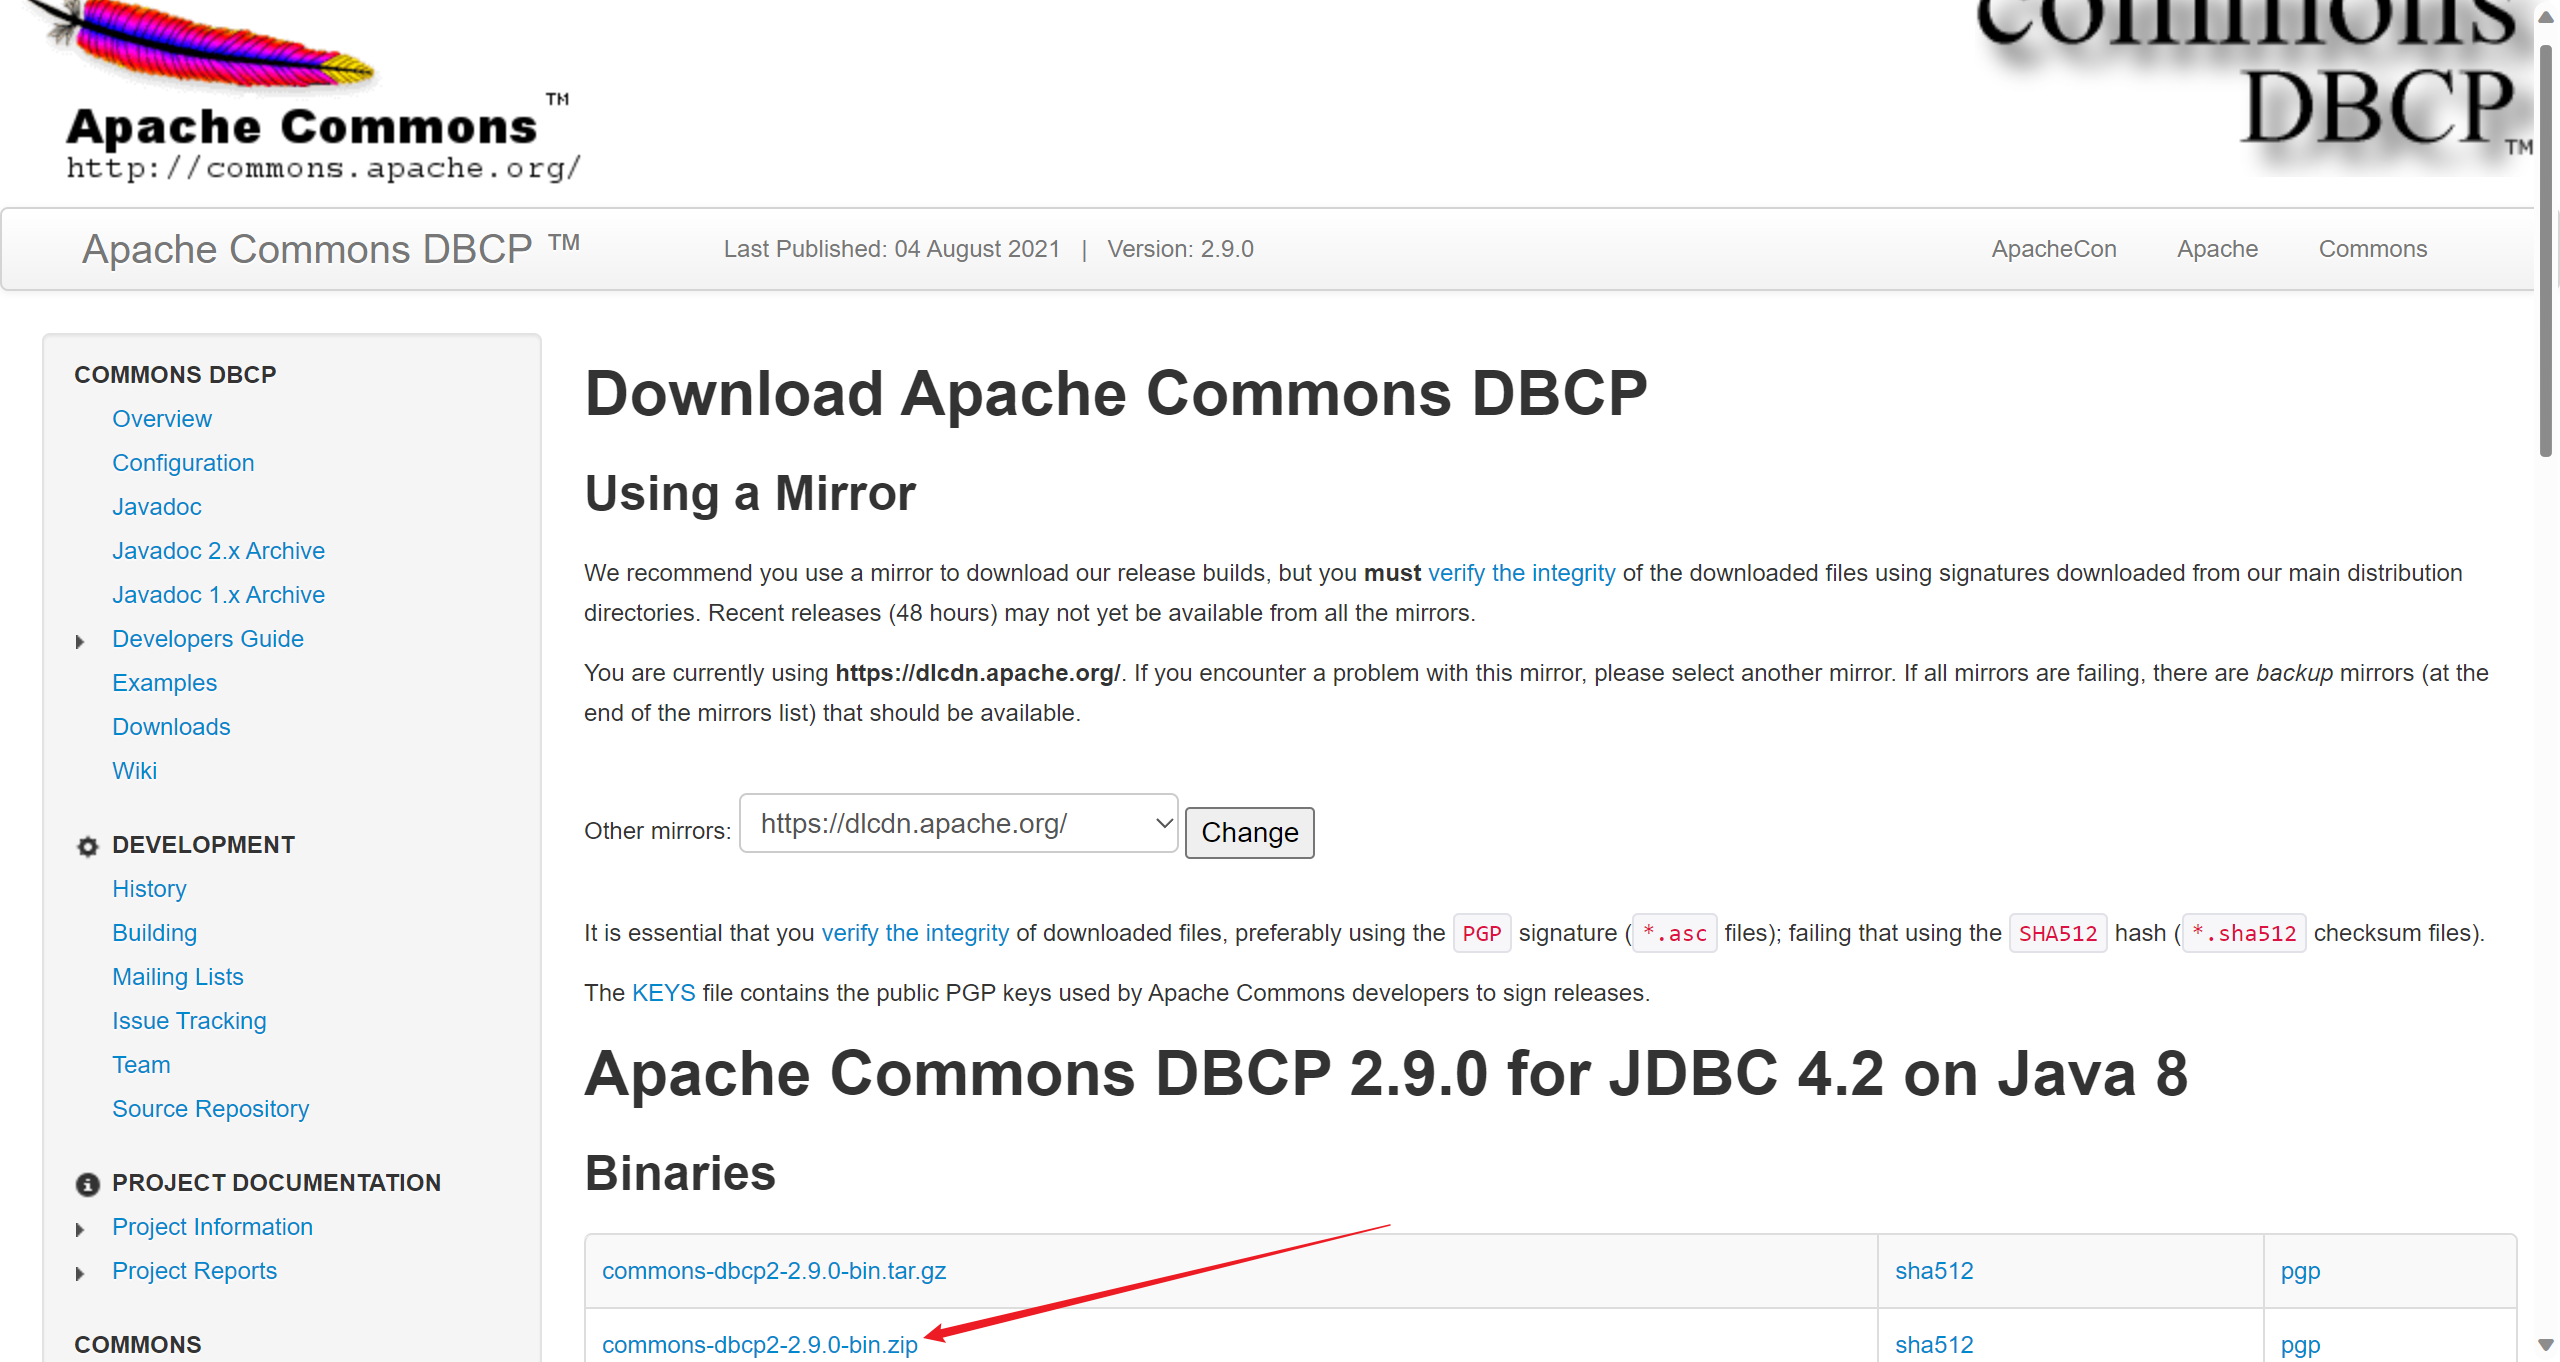
Download jar packages from the official website (3)
1.
Note: Java 8 is the minimum required version
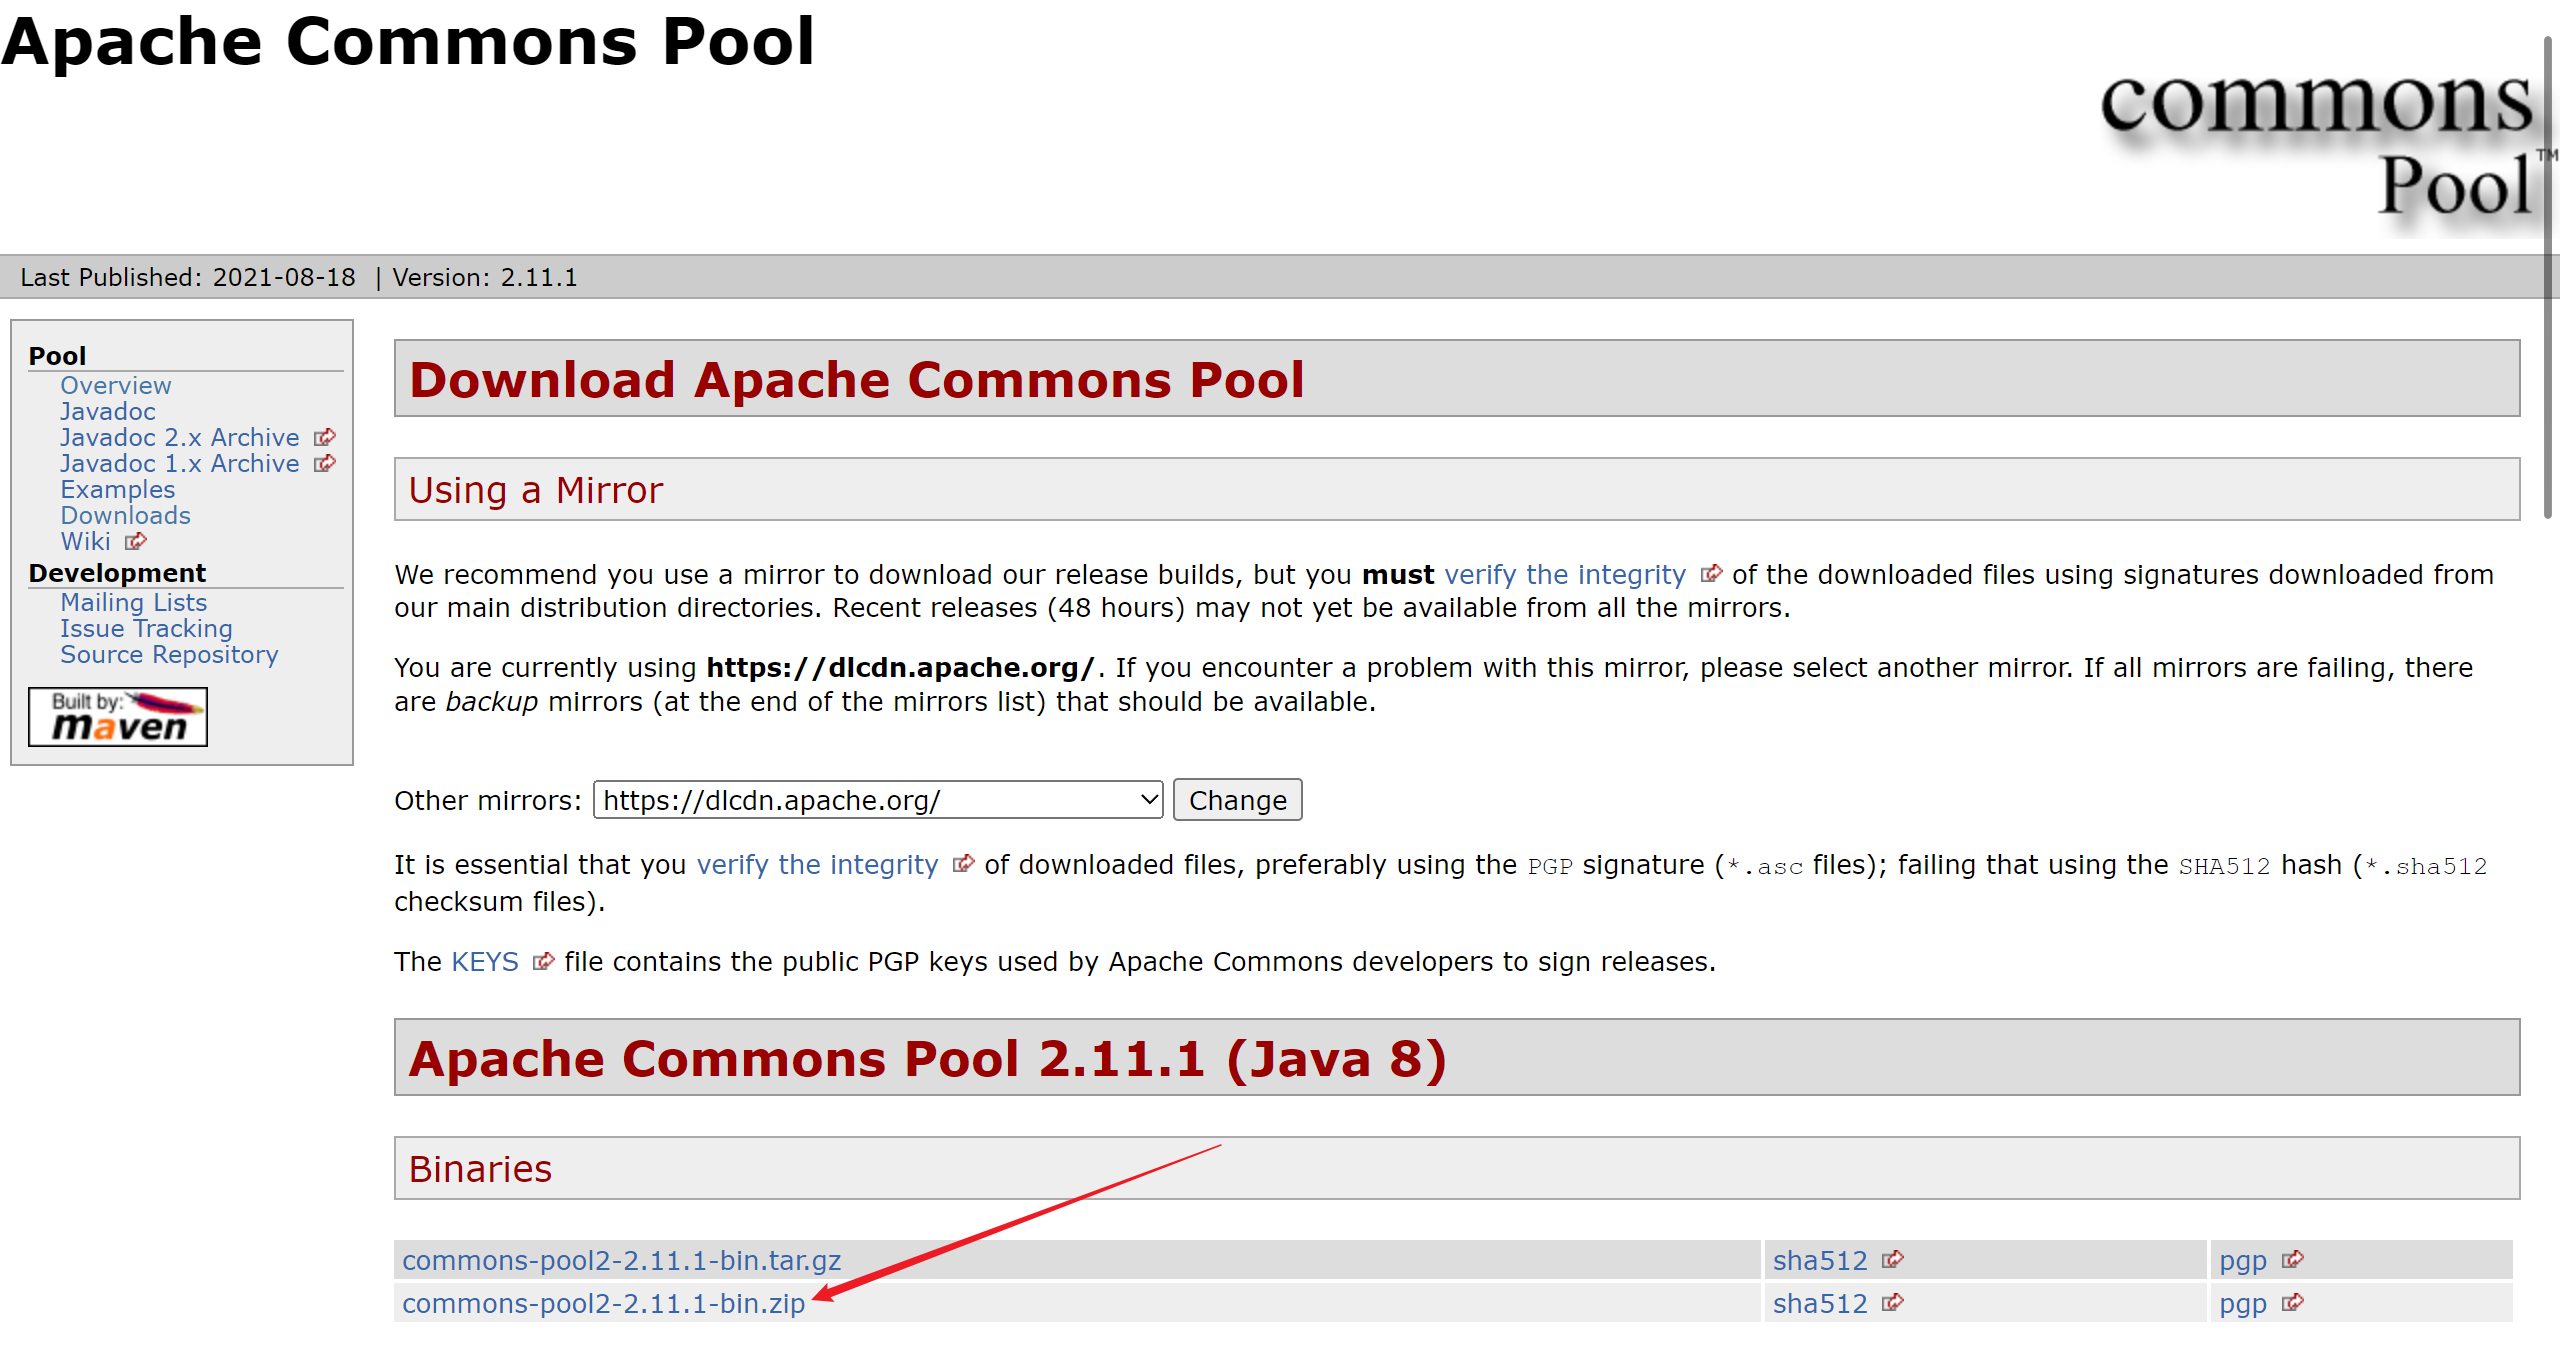
2.
Pool – Download Apache Commons Pool
3.
Apache Commons Logging - Download Apache Commons Logging
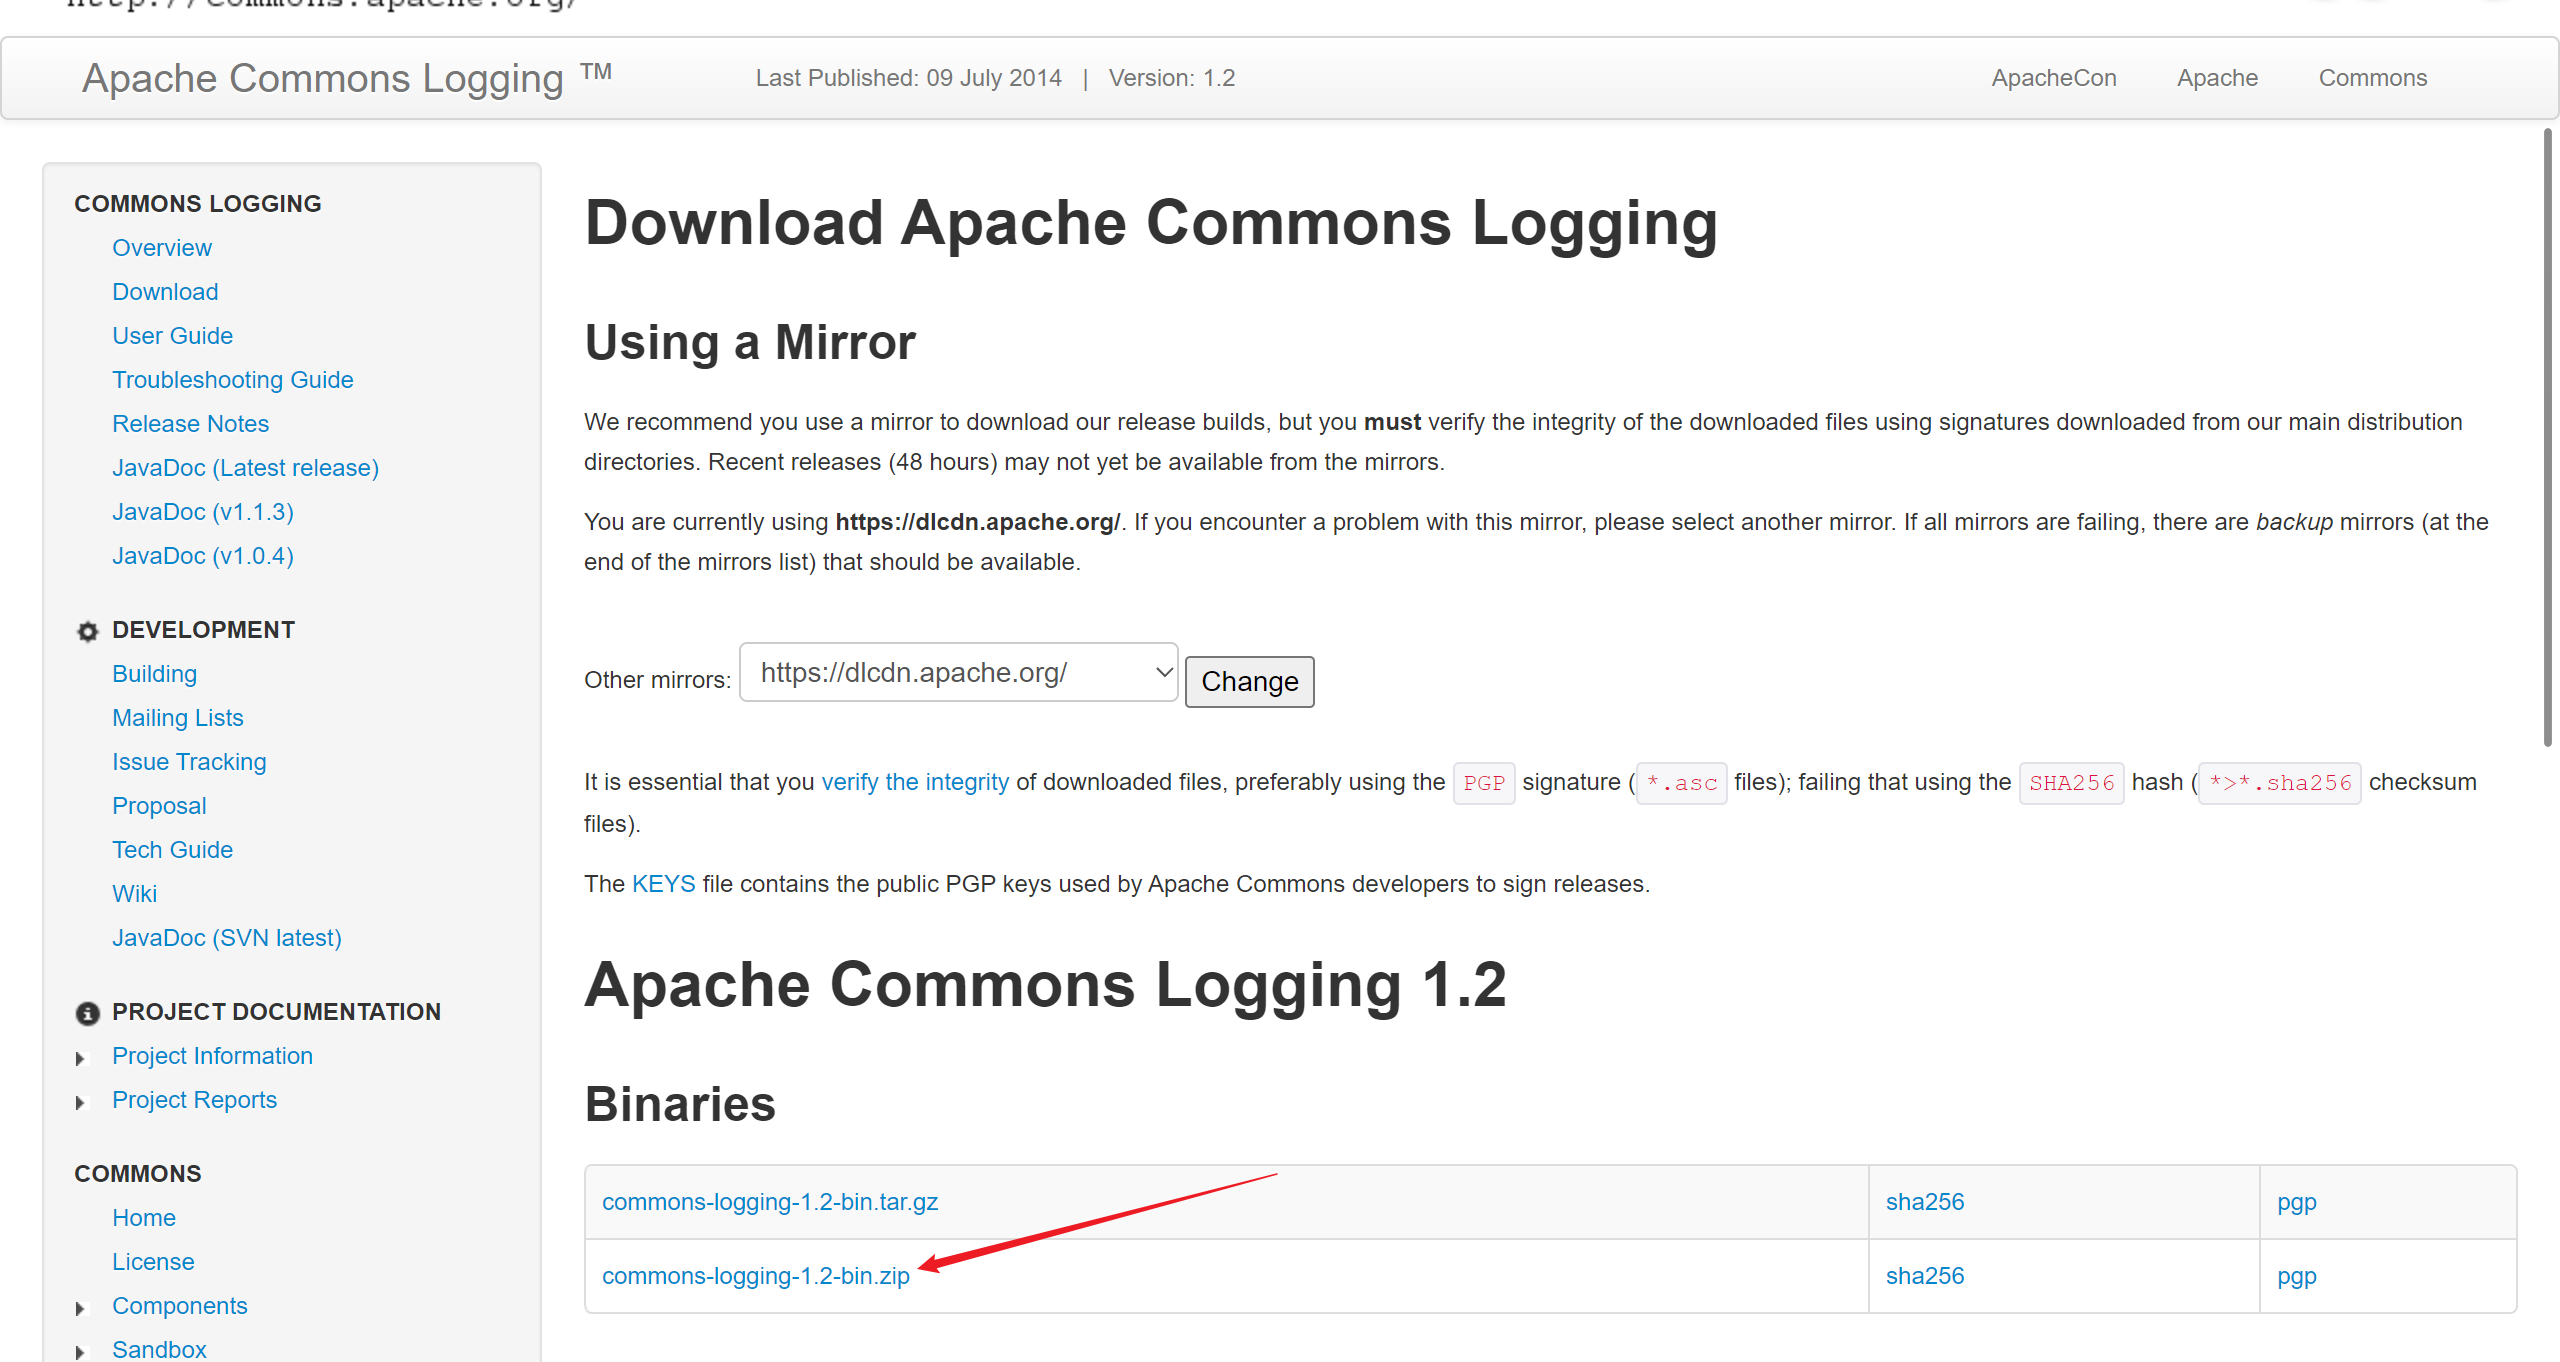
These three bags
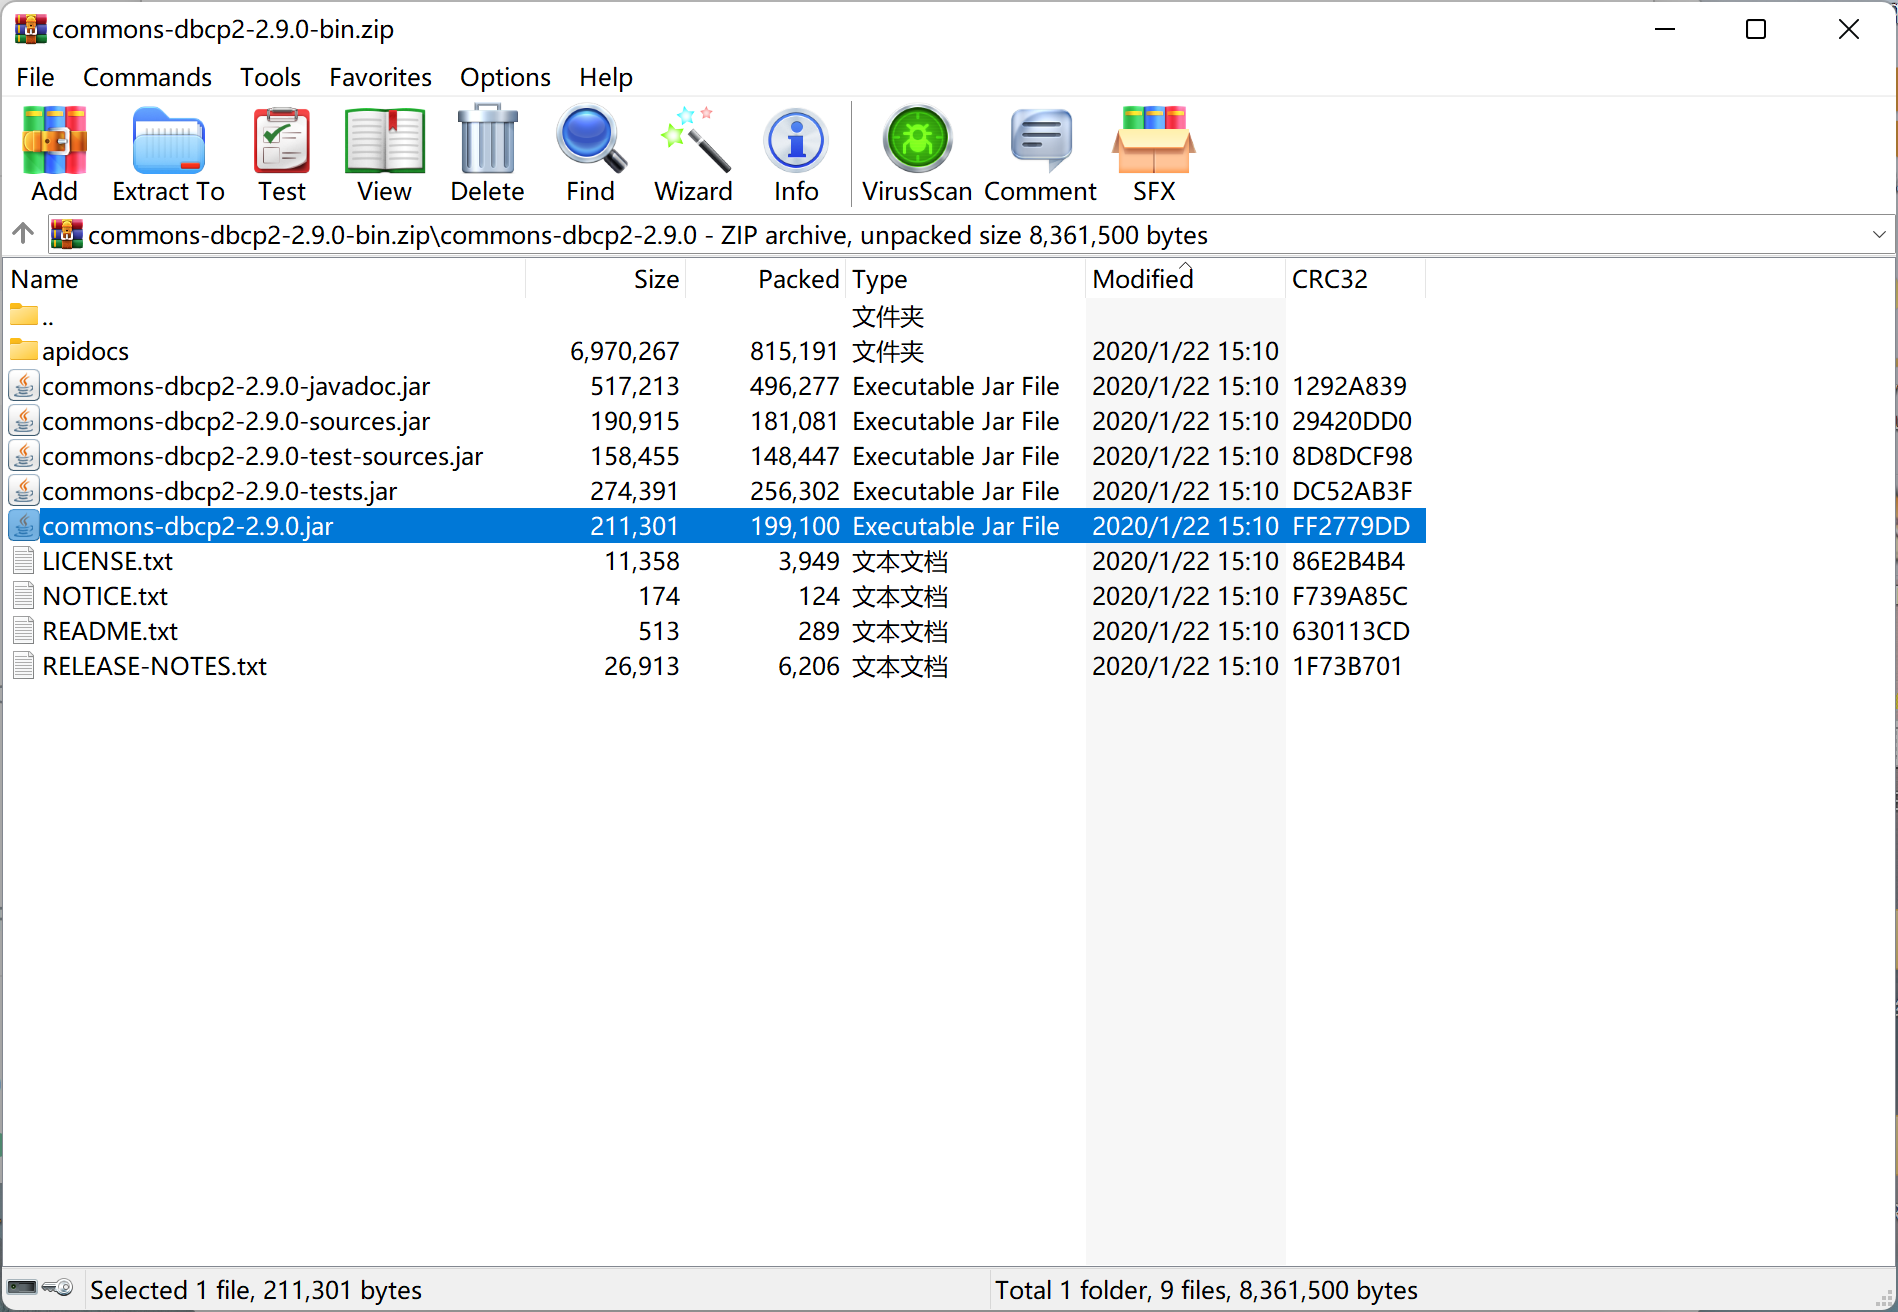
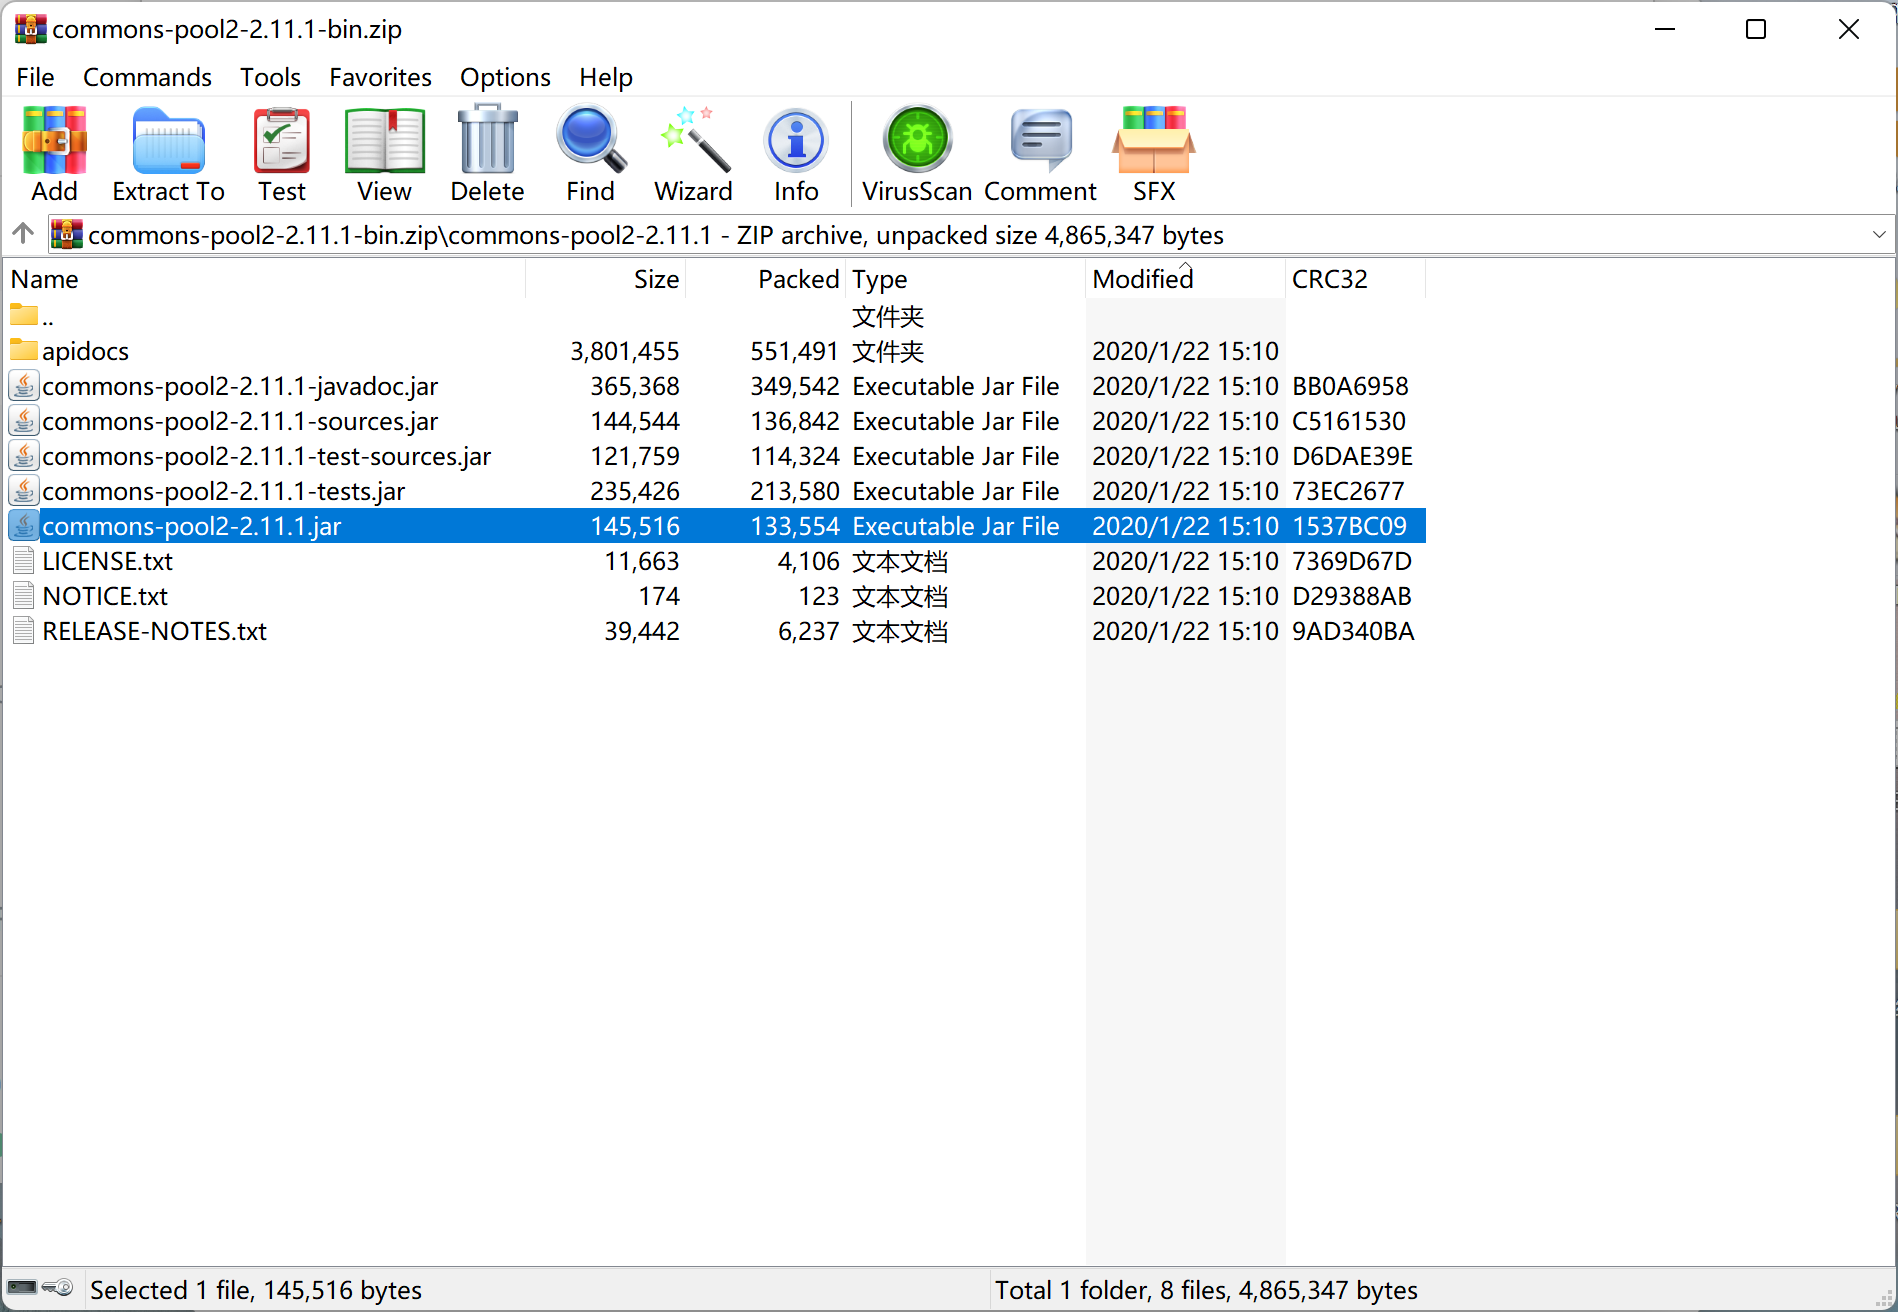
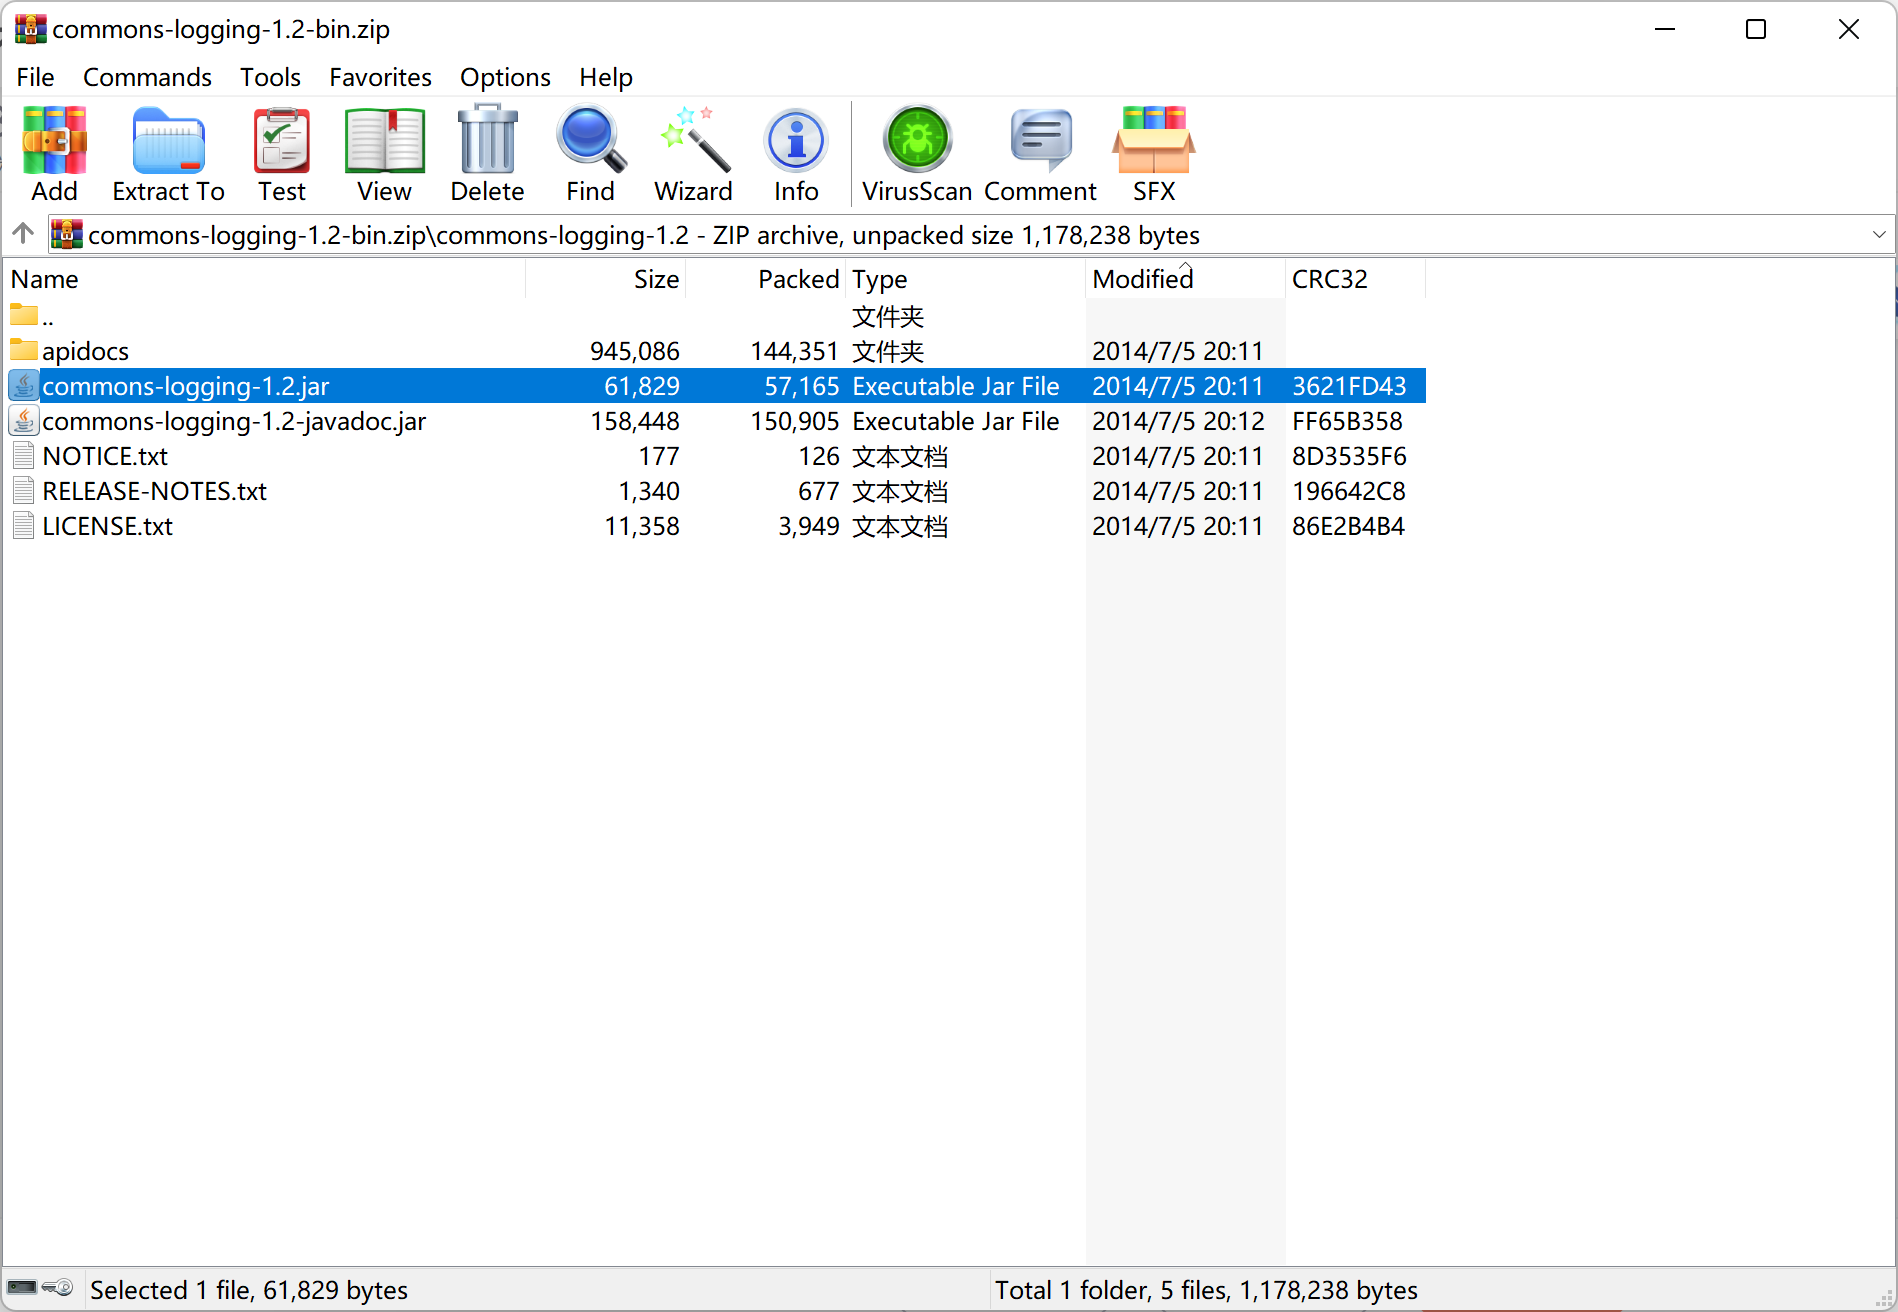
Put the jar package in the lib directory and add it as a library (other steps are the same as above, omitted)

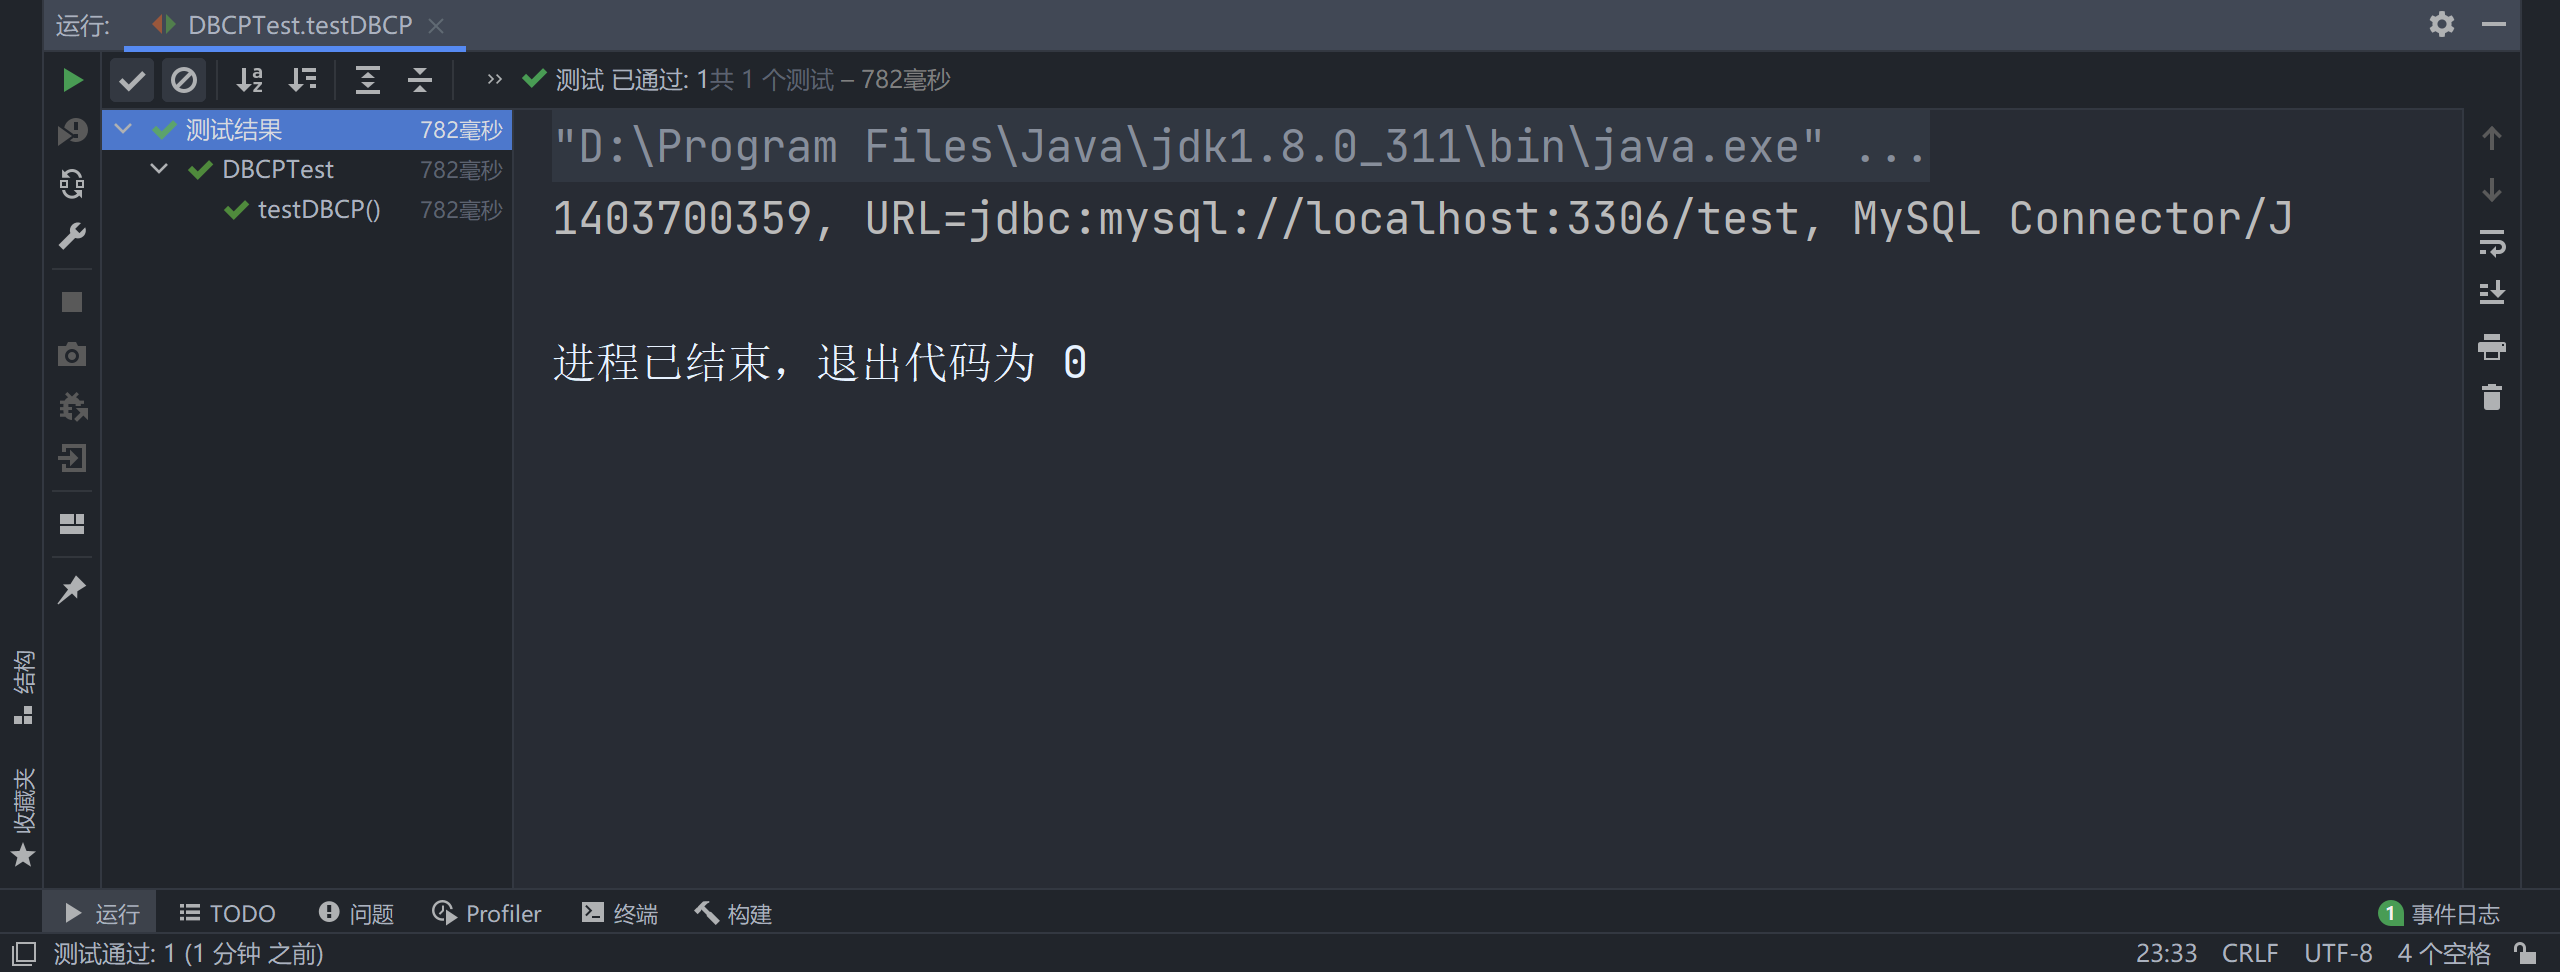
Method 1: hard coding (database configuration is written into the code)
    @Test
    public void testDBCP() throws SQLException {
        BasicDataSource source = new BasicDataSource();
        source.setDriverClassName("com.mysql.cj.jdbc.Driver");
        source.setUrl("jdbc:mysql://localhost:3306/test");
        source.setUsername("root");
        source.setPassword("admin");

        Connection cn = source.getConnection();
        System.out.println(cn);
    }
Method 2: write configuration file and separate code and configuration (development recommendation)
src right click
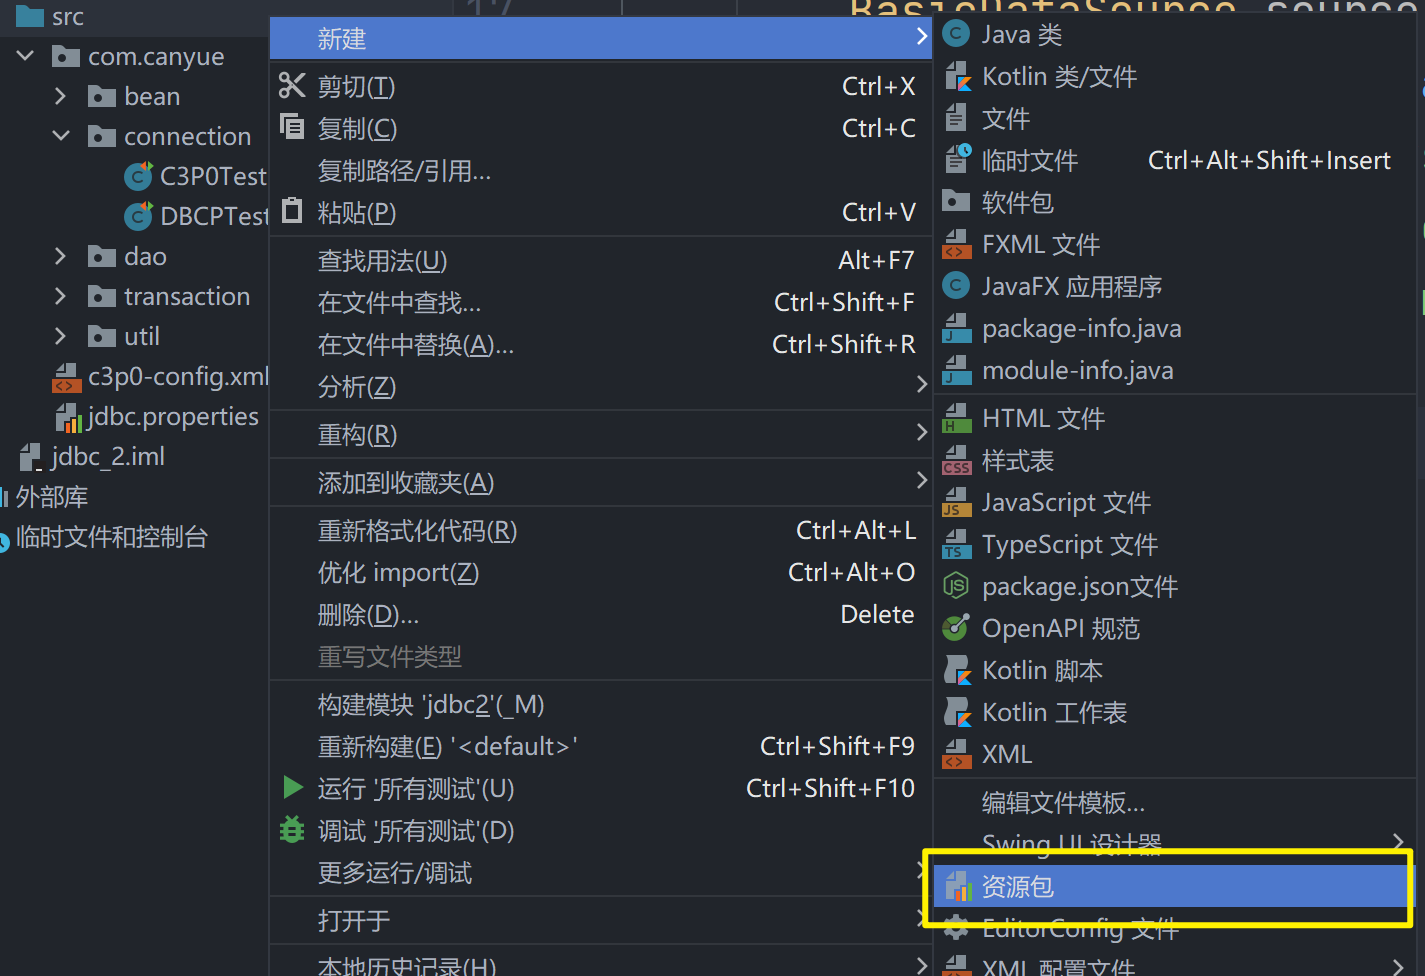
Note the initial lowercase
driverClassName=com.mysql.cj.jdbc.Driver
url=jdbc:mysql:///test
username=root
password=admin
test
@Test
public void test2() throws Exception {
    InputStream is = ClassLoader.getSystemClassLoader().
        getResourceAsStream("dbcp.properties");
    Properties pros = new Properties();
    pros.load(is);
    BasicDataSource source = BasicDataSourceFactory.createDataSource(pros);

    Connection cn = source.getConnection();
    System.out.println(cn);
}
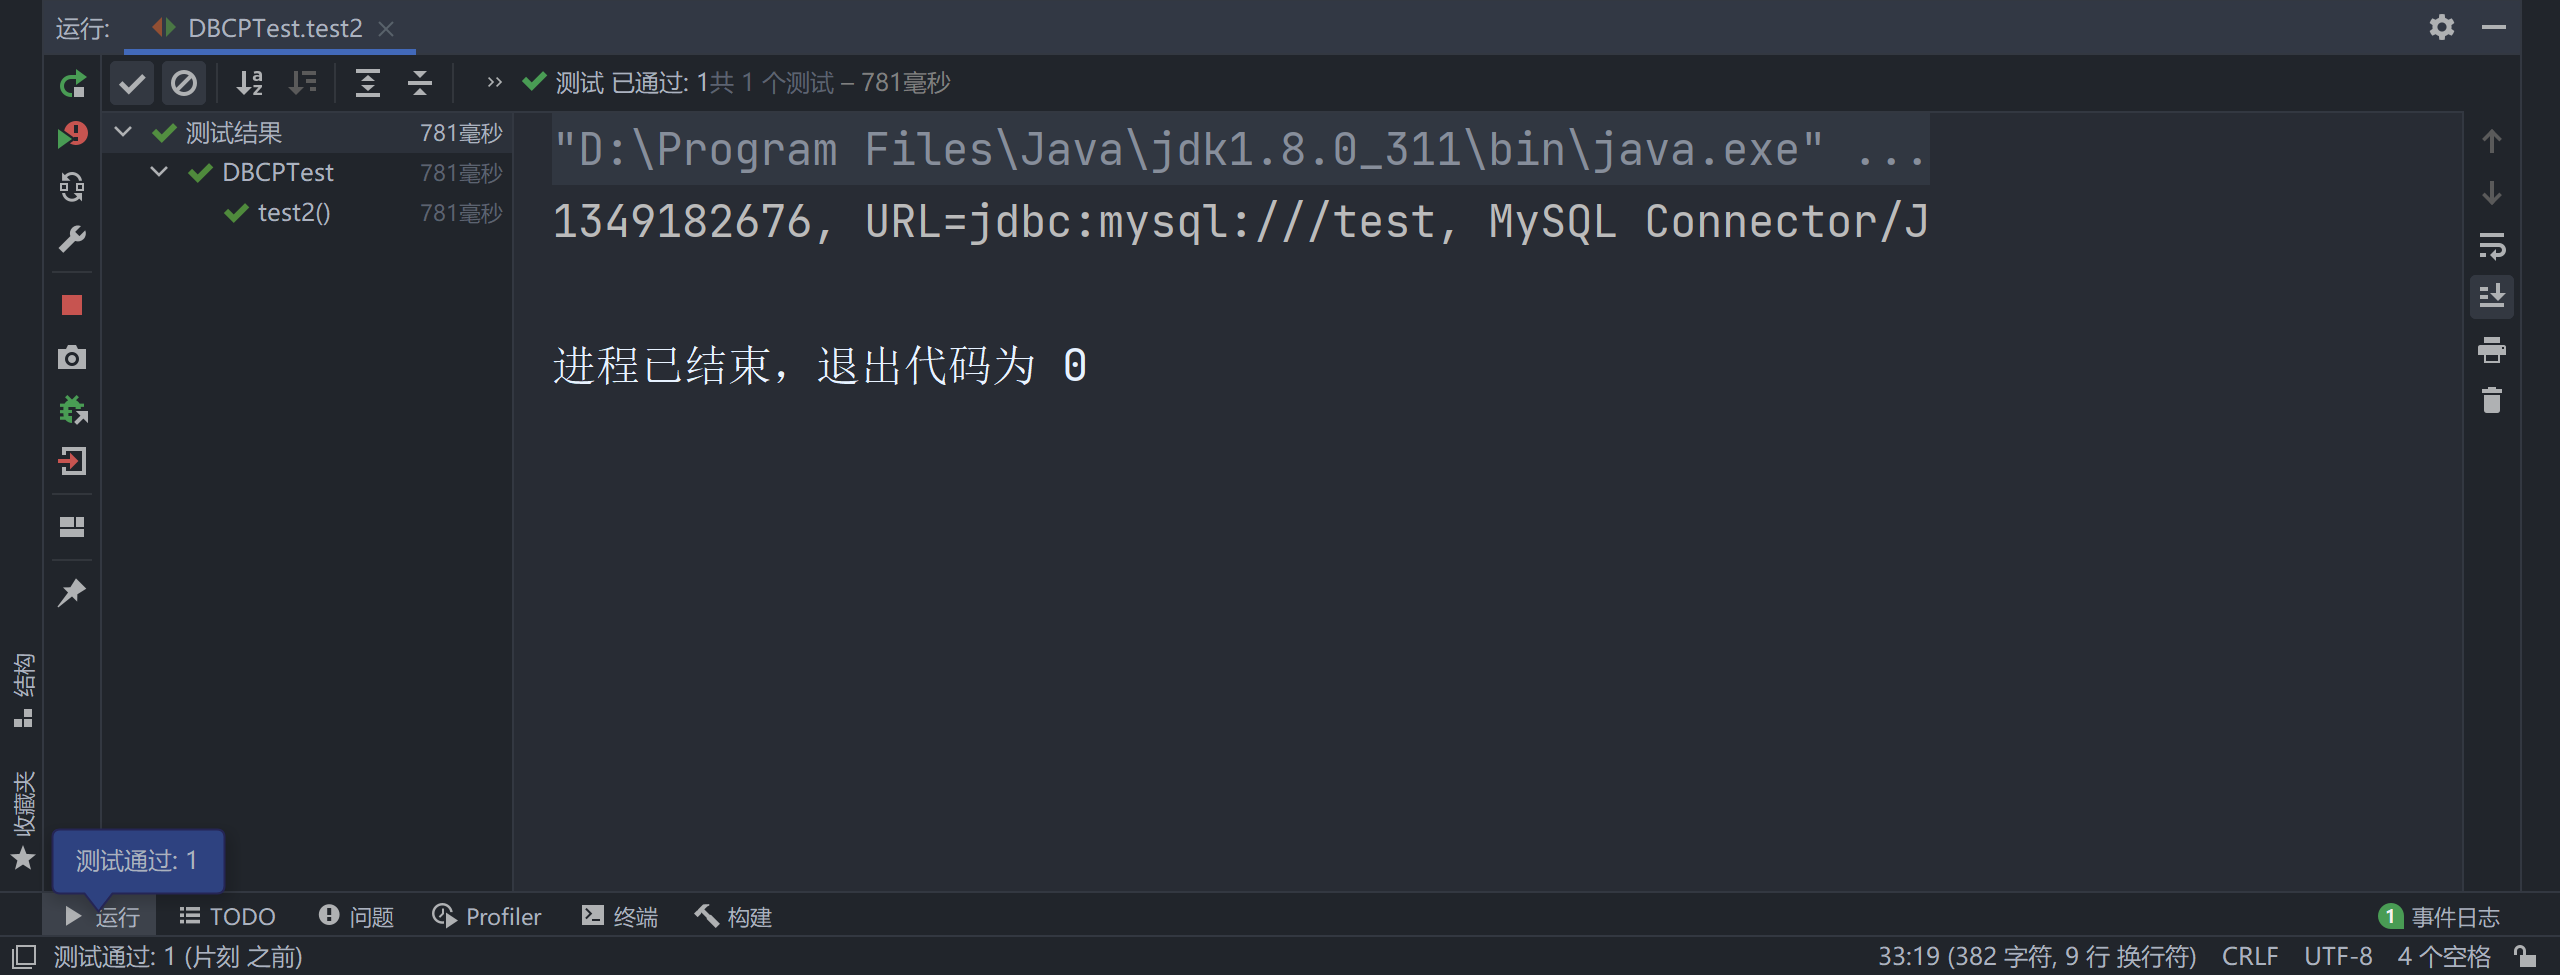
Operation results:
3. Druid (Druid)
We use Ali's database connection pool Druid
Preparation before use:
Download the jar package from the official website
Central Repository: com/alibaba/druid/1.2.8 (maven.org)
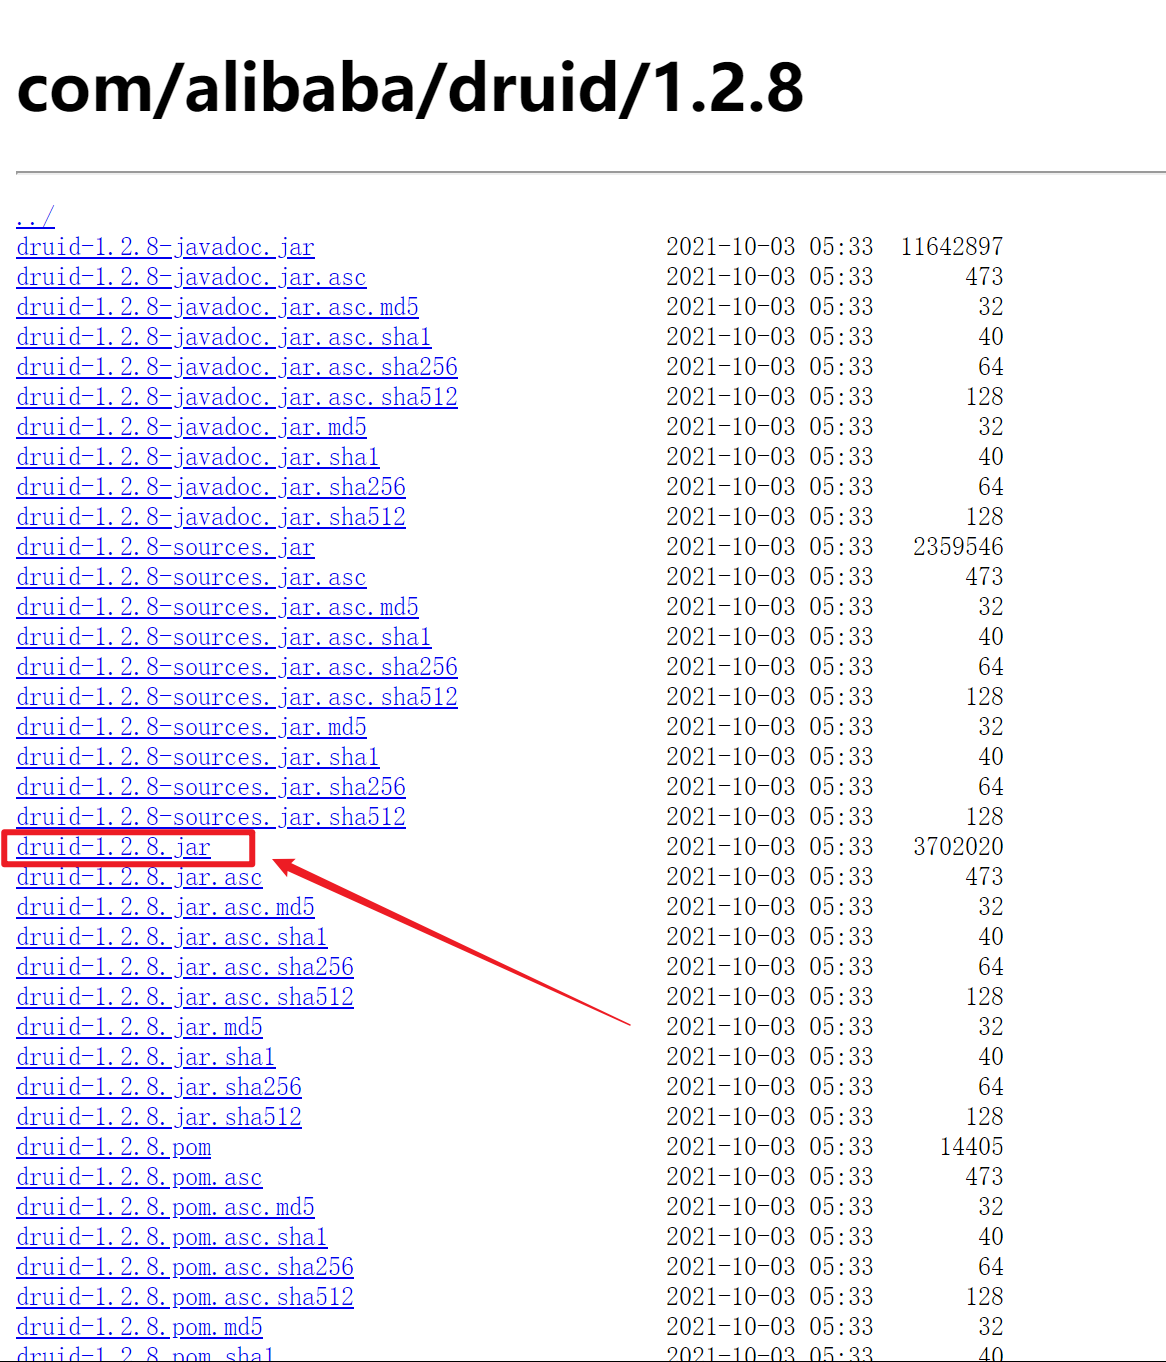
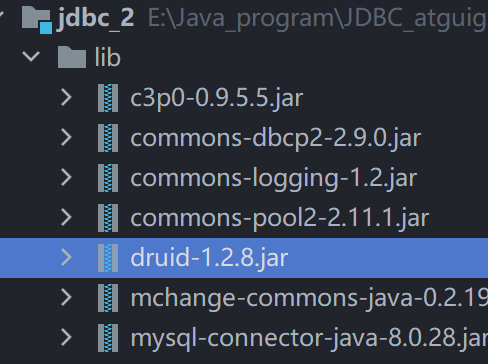
Put the jar package in the lib directory and add it as a library (other steps are the same as above, omitted)
In order not to bother, write the second one directly
Create a druid under src properties
The configuration information is the same as DBCP properties
driverClassName=com.mysql.cj.jdbc.Driver
url=jdbc:mysql:///test
username=root
password=admin
Upper code
    @Test
    public void test() throws Exception {
        InputStream is = ClassLoader.getSystemResourceAsStream("druid.properties");
        Properties pros = new Properties();
        pros.load(is);
        DataSource source = DruidDataSourceFactory.createDataSource(pros);
        Connection cn = source.getConnection();
        System.out.println(cn);
    }