Jenkins continuous integration (CI)
What is CI/CD
CI(Continuous integration), which means continuous integration in Chinese, is a kind of software development time. Continuous integration emphasizes that developers immediately build and (unit) test after submitting new code. According to the test results, we can determine whether the new code and the original code can be correctly integrated. Use network pictures to understand CI.

CD(Continuous Delivery), which means continuous delivery in Chinese, is to deploy the integrated code to a more realistic running environment (similar to production environment) on the basis of continuous integration. For example, after completing the unit test, we can deploy the code to the Staging environment connected to the database for more tests. If there is no problem with the code, you can continue to manually deploy to the production environment. The figure below shows the general working mode of CI/CD.

A complete build system must include:
-
An automatic build process, including automatic compilation, distribution, deployment and testing.
-
A code repository, that is, version control software is needed to ensure the maintainability of the code and serve as the material library for the construction process.
-
A continuous integration server.
The automatic construction and code repository have corresponding software cooperation. The learning cost of developers is not high and complex. In the mutual cooperation of various modules, it may take a lot of time to debug during this period. Once the debugging is completed, the improvement of work efficiency will be doubled.
What is Jenkins?
Jenkins is an open source continuous integration (CI) tool with friendly operation interface. It originated from Hudson (Hudson is commercial). It is mainly used for continuous and automatic construction / test of software projects and monitoring the operation of external tasks. Jenkins is written in Java language and can run in popular servlet containers such as Tomcat or independently. It is usually used in combination with version management tool (SCM) and build tool. Common version control tools include SVN and GIT, and build tools include Maven, Ant and Gradle.
Basic working principle of Jenkins
Jenkins installation configuration
preparation
- You need to prepare a server. You can buy it online. If you study personally, you are still recommended to install a virtual machine and a Linux system
- You need to prepare a remote connection tool to connect to the Linux system
- Docker is installed on the machine
Start installation
- Start docker and download Jenkins image file
docker pull jenkins/jenkins

- Create Jenkins mount directory and authorize permissions (we first create a Jenkins working directory / var/jenkins_mount on the server and give corresponding permissions. Later, we mount the Jenkins container directory on this directory, so that we can easily modify the configuration file in the container. If we don't do this, it will be a little troublesome if we need to modify the container configuration file, because although we You can use the docker exec -it – user root container id /bin/bash command to enter the container directory, but you can't even use the simple vi command)
mkdir -p /var/jenkins_mount
chmod 777 /var/jenkins_mount
-
Create and launch Jenkins container
-d background running image
- p 10240:8080 map the 8080 port of the mirror to the 10240 port of the server.
- p 10241:50000 map the 50000 port of the mirror to the 10241 port of the server
-v /var/jenkins_mount:/var/jenkins_mount /var/jenkins_ The home directory is the working directory of Jenkins container. We mount a directory on the hard disk to this location to facilitate the subsequent update of the image and continue to use the original working directory. Here we set the / var / Jenkins we created above_ Mount directory
- v /etc/localtime:/etc/localtime lets the container use the same time settings as the server.
Myjenkins – alias the container myjenkins
docker run -d -p 10240:8080 -p 10241:50000 -v /var/jenkins_mount:/var/jenkins_home -v /etc/localtime:/etc/localtime --privileged=true --name myjenkins jenkins/jenkins

- Check whether jenkins is started successfully. If the port number appears as shown in the figure below, it means that it is started successfully
docker ps -l

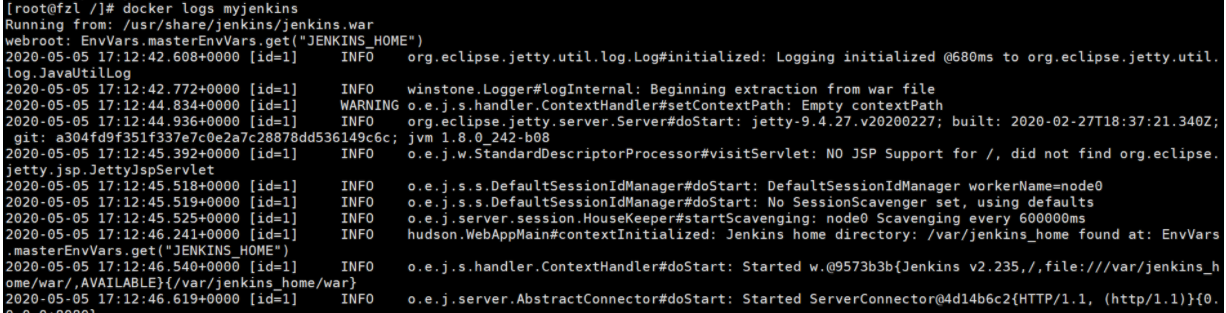
- View Docker container log
docker logs myjenkins]]
- Configure image acceleration and enter cd /var/jenkins_mount / directory.
cd /var/jenkins_mount/

Modify VI Hudson model. UpdateCenter. Content in XML

Modify the url to the official image of Tsinghua University: https://mirrors.tuna.tsinghua.edu.cn/jenkins/updates/update-center.json
After modification

- Visit the Jenkins page and enter your ip plus 10240
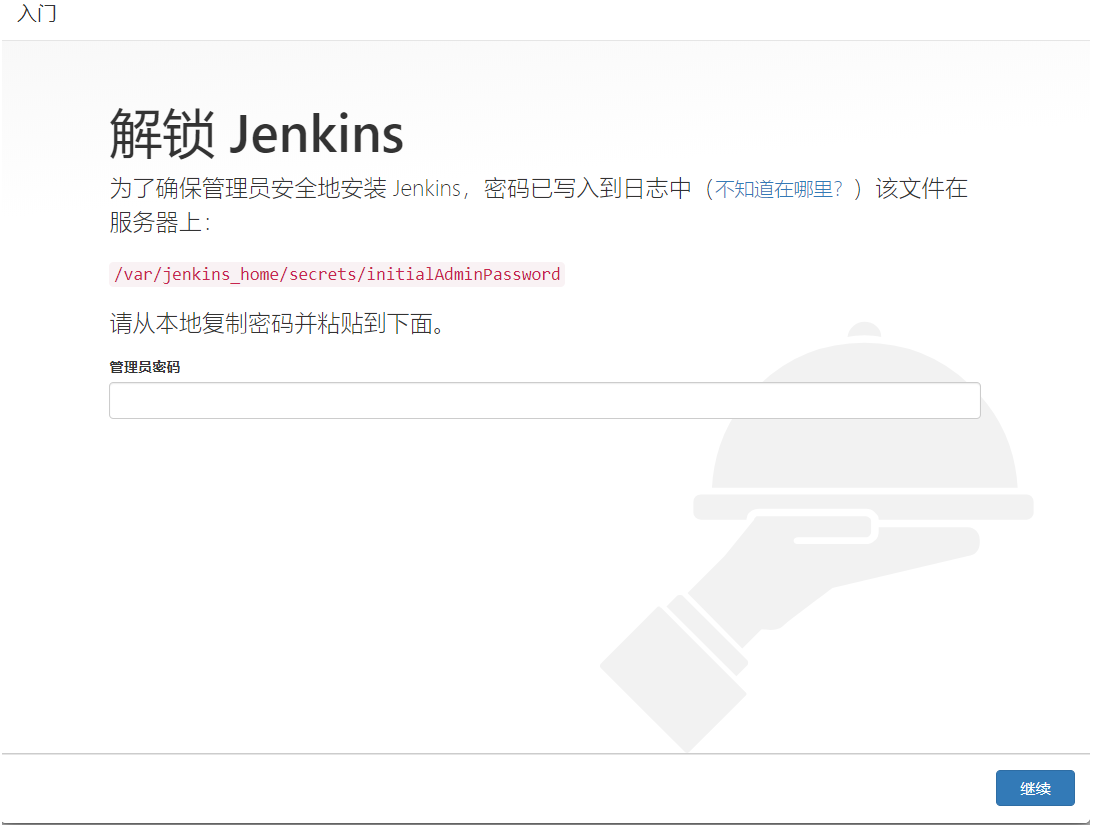
- Administrator password acquisition method, edit the initialAdminPassword file to view, enter the password into the login password and start using it.
vi /var/jenkins_mount/secrets/initialAdminPassword

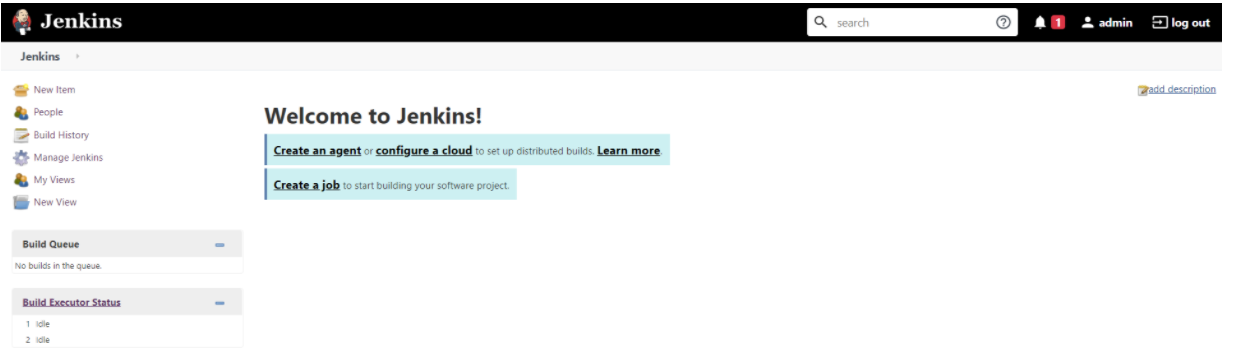
- Here to complete the installation, enjoy the use!
Solve the problem of slow downloading plug-ins
Jenkins needs to install some plug-ins when starting. The download speed is very slow, and there are many errors, which makes people crazy. Here are the solutions:
Found default JSON file
Look in Jenkins' installation directory
find / -name default.json
/var/lib/jenkins/updates/default.json
Replace default Content in JSON
Update jenkins-ci. Replace org / download with mirrors tuna. tsinghua. edu. cn/jenkins,
Put www.google.com COM is replaced by www.baidu.com com,
The specific commands are as follows:
sed -i 's/www.google.com/www.baidu.com/g' default.json
sed -i 's/updates.jenkins-ci.org\/download/mirrors.tuna.tsinghua.edu.cn\/jenkins/g' default.json
Restart Jenkins
According to your specific installation method and startup method, restart Jenkins, and then reinstall the plug-in at the page end. You will see that the speed is very fast!
Asp.Net Core+JenKins example
Create a new one Net Core project
Add Docker support

Add Docker support and choose Linux or Windows platform, depending on which platform you want to publish the program. Adding Docker support will help us create a Dockerfile, which is as follows:
FROM microsoft/dotnet:2.1-aspnetcore-runtime            #The basic image is dotnetcore
MAINTAINER  gwDeveloper                                 #author

LABEL description="this is a test website"              #describe
LABEL version="1.0"                                     #describe

WORKDIR /app                                            #working directory
COPY . .                                                #Copy the files in the current directory to the WORKDIR directory
EXPOSE 5004                                             #Container exposure 5004 port
ENTRYPOINT ["dotnet","JenkinsDemo.dll"]                 #Run the donet command with the parameter jenkinsdemo dll
After the Dockerfile is written, upload the code (GitHub is used in this article)
Jenkins configuration
Our new task is a free style task

New task
Select a new free style task

freedom
Because we want to use WebHook to achieve the effect that the Push operation triggers Jenkins to build automatically, we first configure WebHook
Webhook: when an event occurs, the source website can initiate an HTTP request to the URL configured by webhook. After configuration, users can trigger events at one site and then call the behavior of another site. It can be any operation
Login to Jenkins

System settings
In the Github plug-in configuration, click the "advanced" button

senior
Overwrite Hook URL enter Jenkins address + GitHub webhook/

webhook
Configure Github project warehouse
Click "Add webhook"

new webhook.png
Select "let met select indigenous events" and take Push as an example

push
After GitHub configuration, continue to configure Jenkins,
Configure Git address and select build trigger, and select "Github Hook" trigger

hook
After making some modifications to the local code base and pushing it to Github, check the Jenkins construction effect

build
You can see that the push operation has triggered the build action, but we do not carry out the build operation here, but it shows that the way of webhook is feasible.
The GitHub Hook Log is as follows:

log
Next, build
In Jenkins, you can directly execute script commands to build
You can write down the script to be executed directly in the shell tool, or put the script file on the server and call it through the shell. Here is the script written directly. But in the actual production environment, I think it's better to use git to maintain the script file, so that you don't need to go to the server every time you modify the script. You can also update the script file while push ing.
cd /var/lib/jenkins/workspace/JenkinsDemo/src/                           #cd to the working directory, or the path can be replaced by Jenkins global variable ($WorkSpace)
rm -rf /var/lib/jenkins/workspace/jenkins_publish                        #Delete the existing publish directory
mkdir /var/lib/jenkins/workspace/jenkins_publish                         #new directory
dotnet publish -r centos.7-x64 -c:Release -o /var/lib/jenkins/workspace/jenkins_publish    #dotnet construction
cd /var/lib/jenkins/workspace/jenkins_publish                            #cd to the built project directory
docker login -u dockerhubusername -p password                     #Log in to the dockerhub (this step is because you need to pull the required docker image from the docker library during k8s deployment)
docker build -t dockerdemo .                                             #Docker build build image (docker build -t name.)** There is a "." at the end of the command here If it is not added, the construction will fail * * the Dockerfile in this directory will be used for construction by default
docker push dockerhubusername/dockerdemo:lastest   #docker push image to remote warehouse (docker tag image username/repository:tag)
kubectl apply -f deploy.yaml                                             #Deploy the latest docker image to k8s cluster using yaml configuration file
The next step is the configuration of k8s. Here, we directly call the configuration file that has been placed on the server. The format of k8s configuration file is as follows:
apiVersion: extensions/v1beta1         #Different versions of k8s are different here. For "kind: deployment", apivserver: Extensions / v1beta1 before version 1.6; Between versions 1.6 and 1.9: apps / v1beta1; After version 1.9: apps/v1
kind: Deployment
metadata:
  labels:
    k8s-app: dockerdemo
  name: dockerdemo
  namespace: dockerdemo
spec:
  replicas: 2              #RC managed Pod, number of copies to run
  selector:
    matchLabels:
      k8s-app: dockerdemo
  template:
    metadata:
      labels:
        k8s-app: dockerdemo
    spec:
      containers:
      - name: dockerdemo               #Name of the container
        image: dockerhubusername/dockerdemo:lastest         #The mirror address used by the container
        ports:
        - containerPort: 80                                     #Container open port

---
# ------------------- Service ------------------- #

kind: Service
apiVersion: v1
metadata:
  labels:
    k8s-app: dockerdemo
  name: dockerdemo
  namespace: dockerdemo
spec:
  type: NodePort
  ports:
    - port: 5004            #Access port for other container s in the cluster
      targetPort: 80      #The port exposed by the service. Anyone accessing port 80 will be proxied by the service to port 5004 of the backend pod
      nodePort: 30001     #Node exposed port
  selector:
    k8s-app: dockerdemo
After the above contents are configured, we can push the code again to check the deployment

dockerbuild
You can see the execution of the dockerfile script. The docker image has been built and the image has been built and pushed to the remote server
Original link
What is CI continuous integration
Introduction to CI continuous integration
Jenkins built it NET automatic compilation and publishing local environment
Based on Jenkins Net Core application automatic deployment
k8s+Jenkins+GitLab - Automated Deployment ASP Net core project