1. Installation dependency
1.1 install jdk
# View the installable version of jdk
yum -y list java*
# Select the required version to install
yum install -y java-1.8.0-openjdk-devel.x86_64
# View version information
java -version
# View installation location
which java
1.2 install git
# Install git
yum install git
# View version information
git --version
2. Install jenkins
2.1 online installation (not recommended, too slow to connect to the Internet, waiting for doubt)
cd /etc/yum.repos.d/
wget http://pkg.jenkins.io/redhat/jenkins.repo
rpm --import http://pkg.jenkins.io/redhat/jenkins.io.key
# Install jenkins using yum
yum install -y jenkins
2.2 local installation
2.1.1 download rpm package first
Download address https://pkg.jenkins.io/redhat-stable/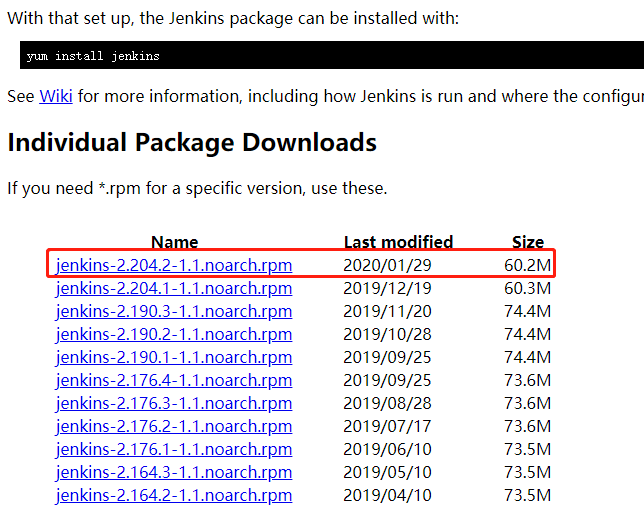
2.1.2 then transfer the downloaded rpm file to any location on linux
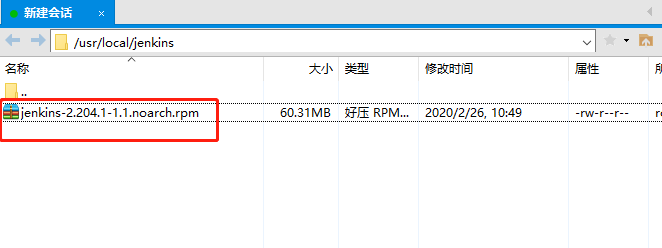
2.1.3 enter the directory and execute the command yum localinstall -y
cd /usr/local/jenkins/
yum localinstall -y jenkins-2.204.1-1.1.noarch.rpm
3. Modify the configuration file
3.1 query the files installed by Jenkins from yum
rpm -ql jenkins
The result is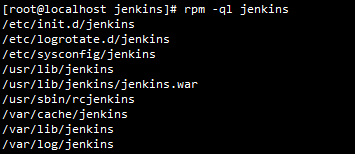
2.2 start editing jenkins configuration file
vim /etc/sysconfig/jenkins
View or modify the following contents of the file
# The working directory of jenins (that is, the directory where the project is pulled) is "/ var/lib/jenkins" by default
# It is recommended to change it to another directory and give jenkins users (jenkins by default) access to read and write
JENKINS_HOME="/var/lib/jenkins"
# Users of jenkins
JENKINS_USER="jenkins"
# The port number of the jenkins project, 8080 by default, is recommended to be modified to prevent conflicts
JENKINS_PORT="8090"
# jvm parameter settings
JENKINS_JAVA_OPTIONS="-Djava.awt.headless=true"
4. Launch jenkins project
4.1 solve firewall problems
- Mode 1 - open the firewall port
# View firewall status
firewall-cmd --state
# If it is not running, it needs to be turned on
systemctl start firewalld.service
# Set firewall to start
systemctl enable firewalld.service

# Open port, i.e. the port configured by jenkins project
firewall-cmd --zone=public --add-port=8090/tcp --permanent
# Reload required after opening
firewall-cmd --reload
#View open ports
firewall-cmd --list-ports
- Mode 2 - turn off the firewall
# View firewall status
firewall-cmd --state
# If it is running, it needs to be closed
systemctl stop firewalld.service
# Disable startup of firewall
systemctl disable firewalld.service
4.2 start up project
# Startup project
systemctl start jenkins
ip + port number access project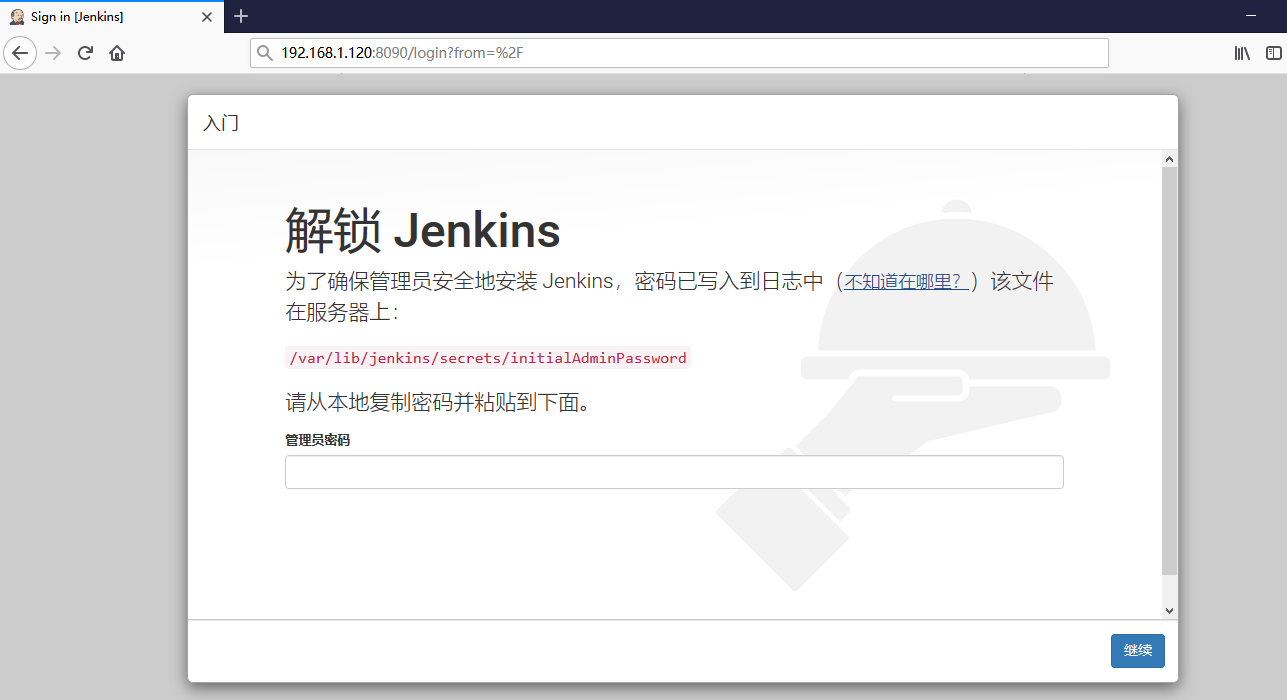
That's how it started
5. jenkins activation and initialization
5.1 unlocking project
Follow the prompts to view the files under the specified path and view the activation key
cat /var/lib/jenkins/secrets/initialAdminPassword

Copy the password to the input box, click continue, and then wait
If the following screen appears, the unlocking is successful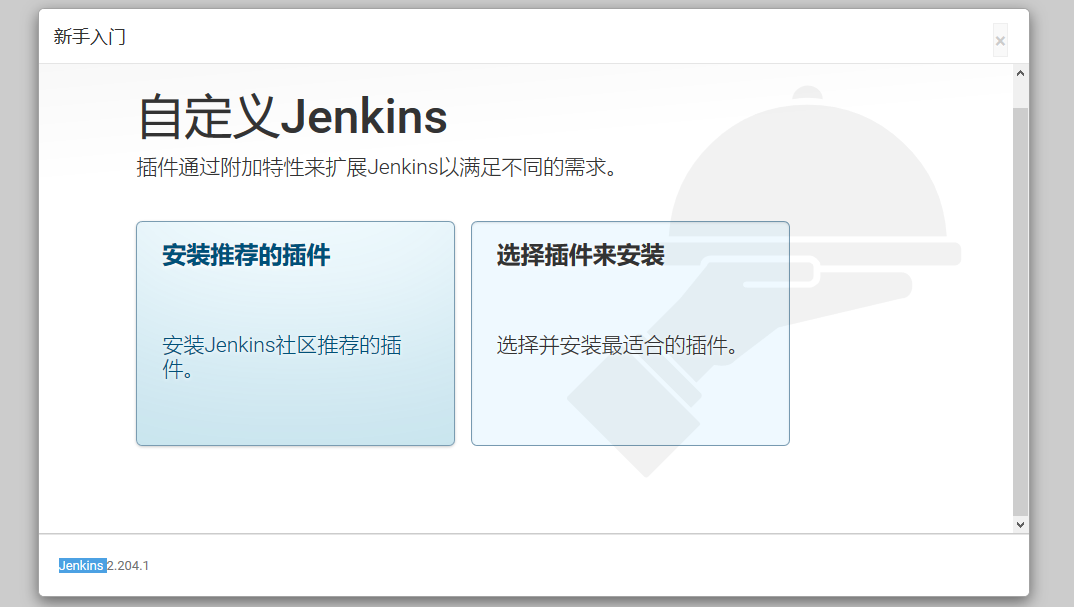
5.2 installing plug-ins
5.2.1 network installation - not recommended (download too slow)
You can directly click to install the recommended plug-in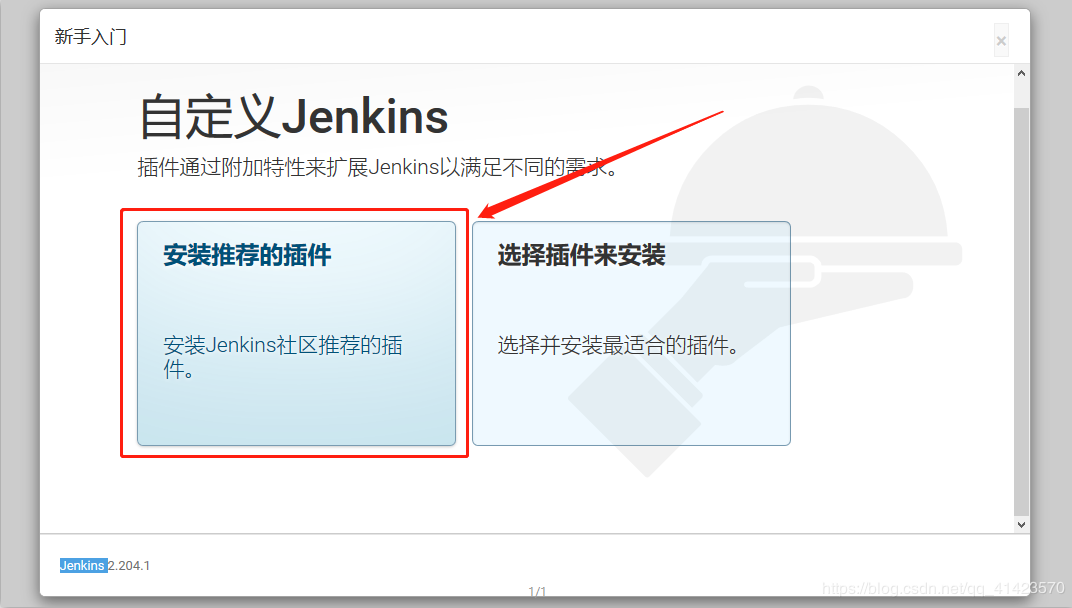
5.2.2 local installation (through plugins package)
Plug in package Baidu cloud disk: Border town solo Extraction code: 74q6
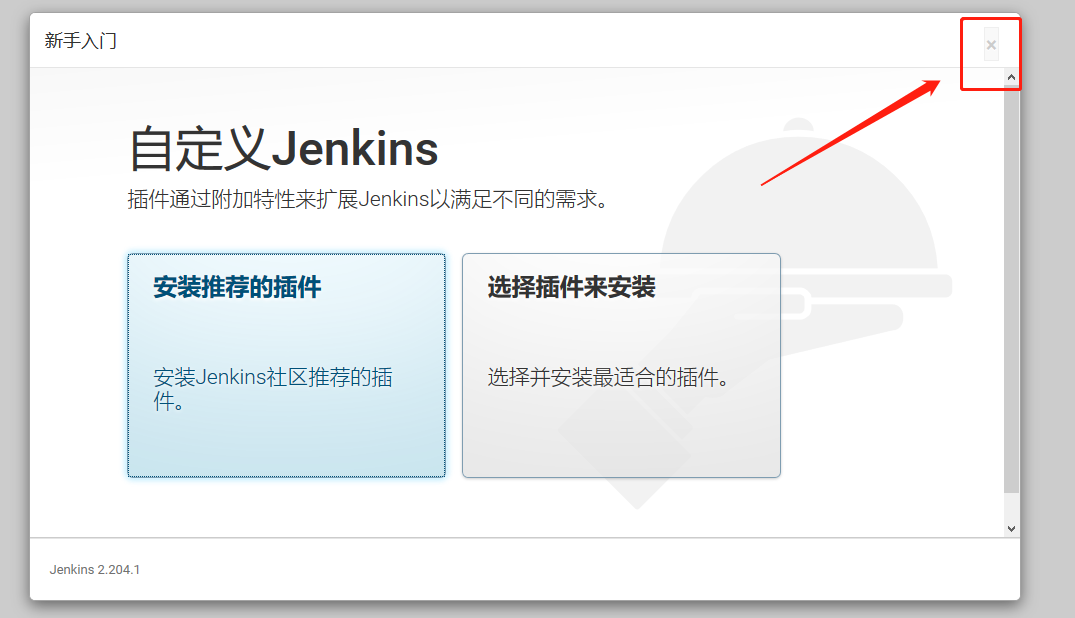
5.2.2.1 click the close button
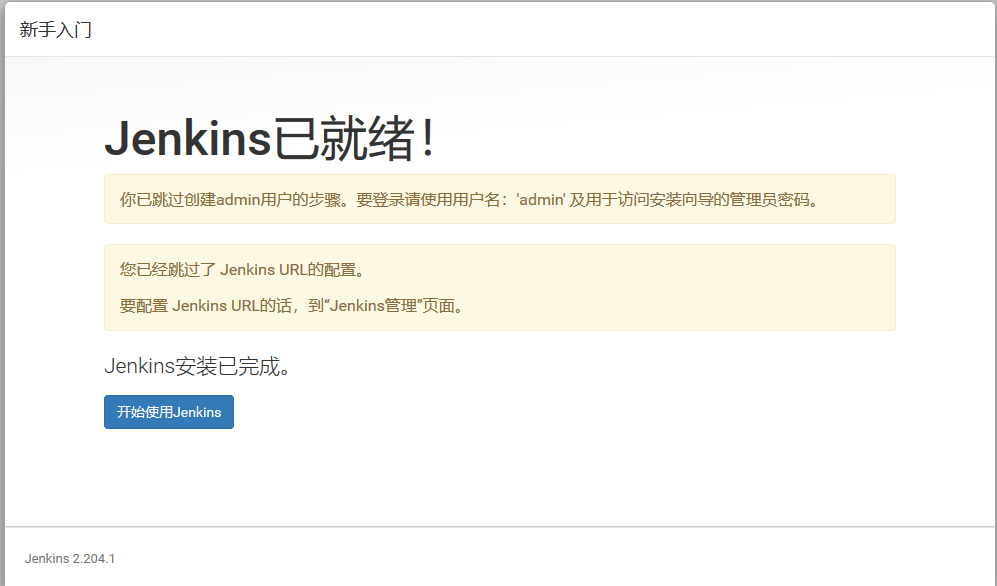
5.2.2.2 Click to start using jenkins and configure the password
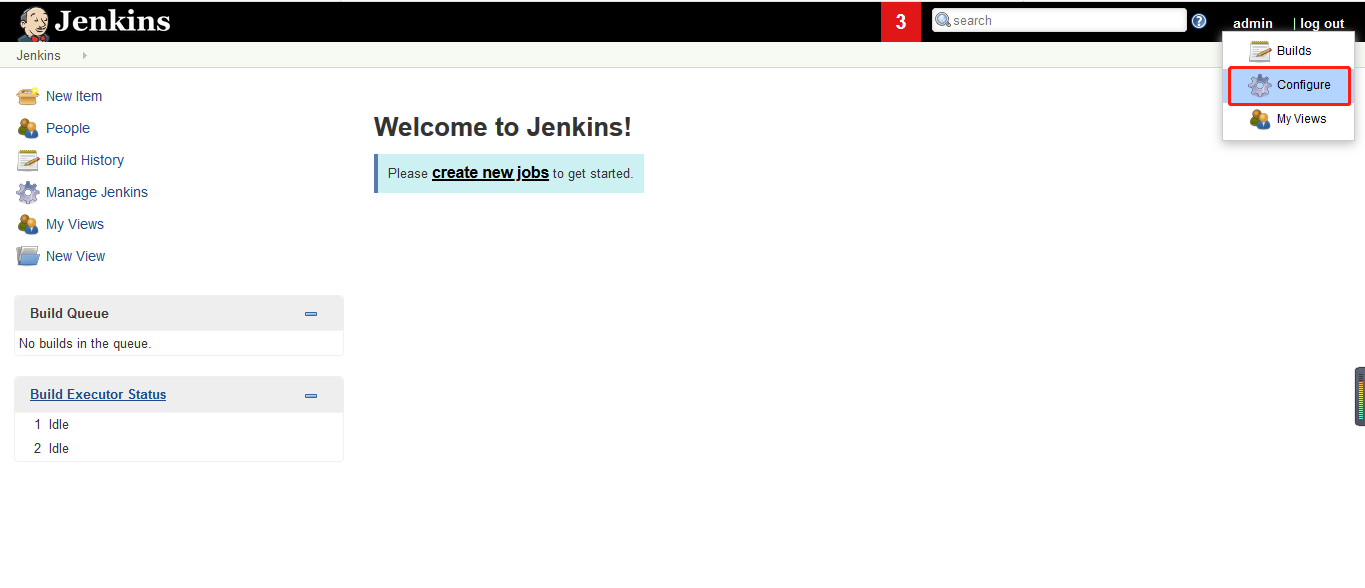
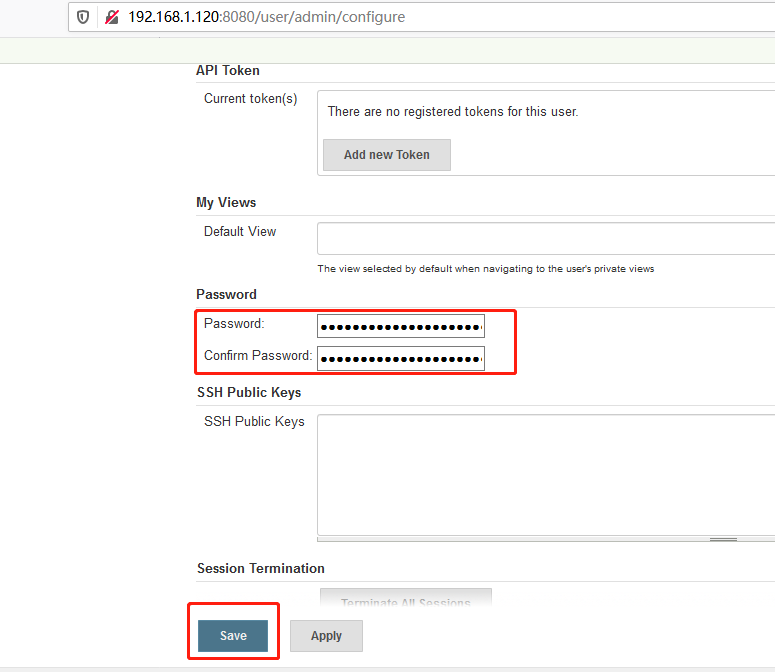
After setting, log in again to see if it is successful.
5.2.2.3 start to install plug-ins
# Close jenkins first
systemctl stop jenkins
Place the downloaded plug-in package in jenkins' home directory (that is, the directory set by jenkins home in the configuration file)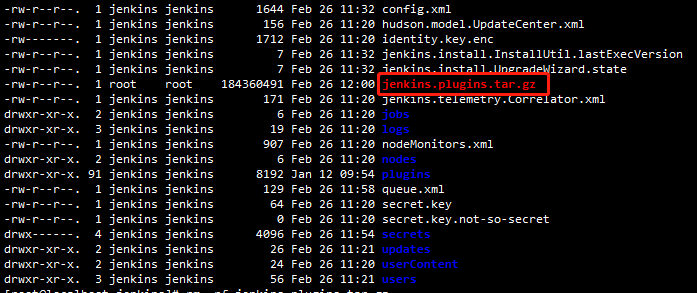 Enter the directory and execute the following command:
# First remove the previous plugins installation package
rm -rf plugins/
# Then extract the copied plug-in package jenkins.plugins.tar.gz
tar -zxvf jenkins.plugins.tar.gz
# Remove the plug-in package jenkins.plugins.tar.gz
rm -rf jenkins.plugins.tar.gz
# Restart jenkins project
systemctl start jenkins
Access the project again and log in,,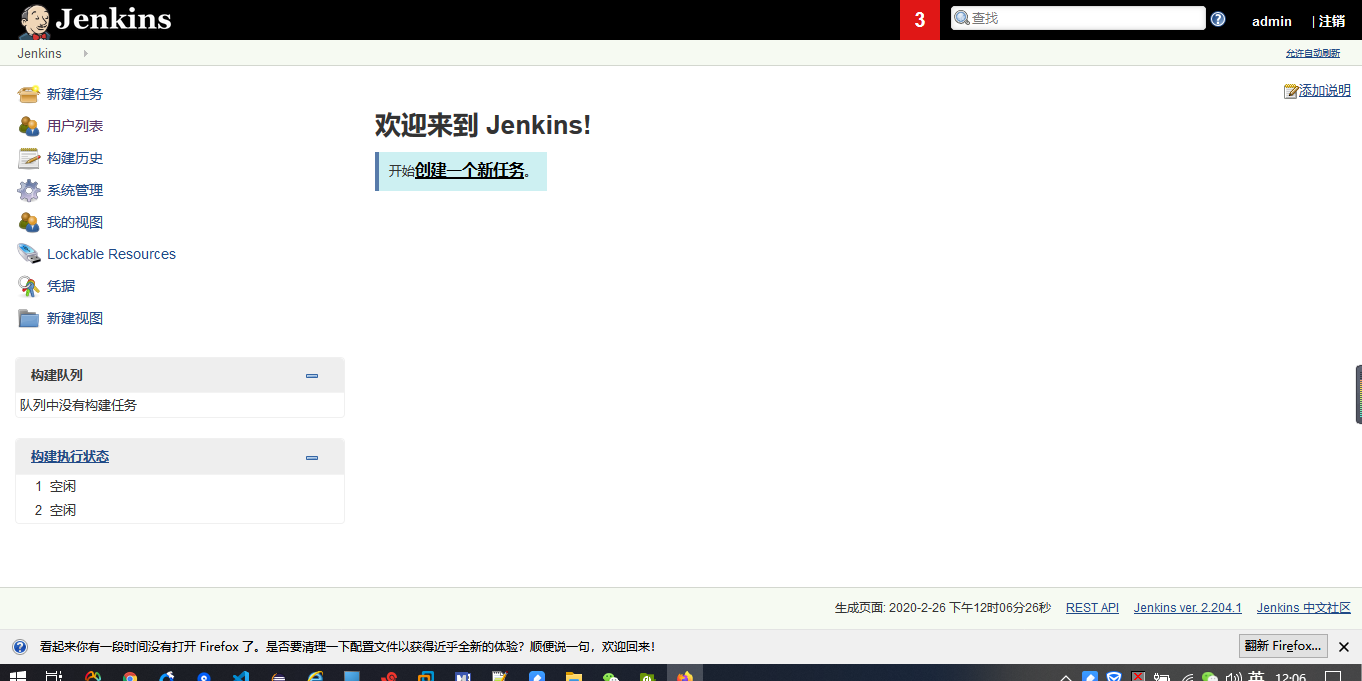
See this situation, even if it is ok!

