1, Jenkins+Docker+SpringCloud continuous integration process description
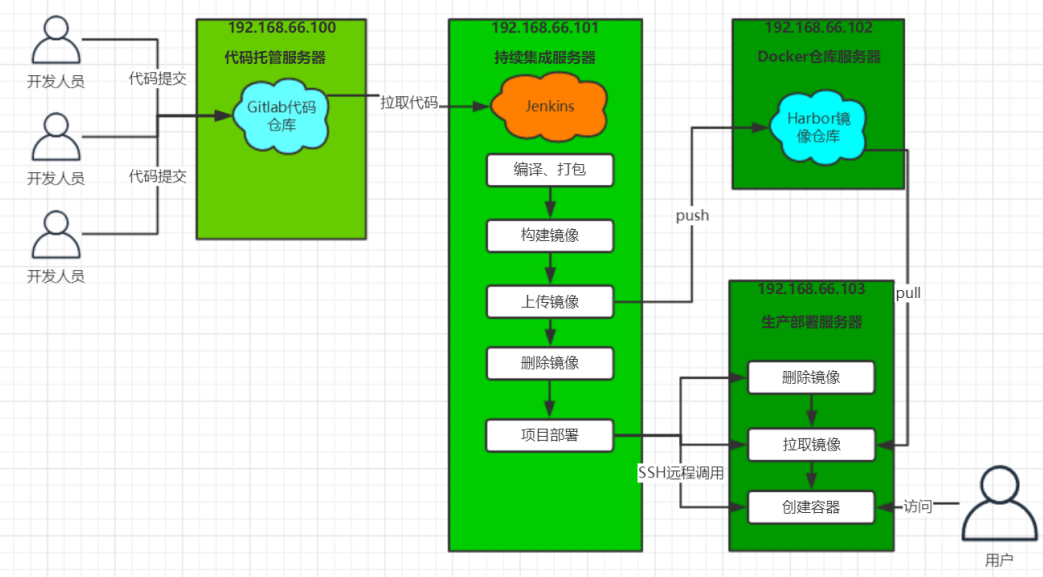
General process description:
- Developers submit their code to the Gitlab code warehouse every day.
- Jenkins pulls the project source code from Gitlab, compiles it and makes it into a jar package, then builds it into a Docker image, and uploads the image to the private warehouse of Harbor.
- Jenkins sends the SSH Remote command to let the production deployment server go to the Harbor private warehouse to pull the image locally, and then create the container.
- Finally, users can access the container.
| Server name | IP address | Installed software |
|---|---|---|
| Code hosting server | 192.168.10.20 | Gitlab |
| Continuous integration server | 192.168.10.30 | Jenkins,Maven,Git,JDK,Sonarqube,Docker20.10.12-ce |
| Docker warehouse server | 192.168.10.40 | JDK,Tomcat,Docker20.10.12-ce,Harbor1.9.2 |
| Production deployment server | 192.168.10.50 | Docker20.10.12-ce |
2, Install Docker
192.168.10.30/40/50 docker needs to be installed.
Uninstall the old version of docker
yum list installed | grep docker	# List all current docker packages
yum -y remove docker*				# Uninstall docker package
rm -rf /var/lib/docker				# Delete all images and containers of docker
Install docker
#!/bin/bash

#Environment configuration
systemctl stop firewalld && systemctl disable firewalld
setenforce 0

#Install dependent packages
yum -y install yum-utils device-mapper-persistemt-data lvm2

#Set alicloud image source
cd /etc/yum.repos.d/
yum-config-manager --add-repo https://mirrors.aliyun.com/docker-ce/linux/centos/docker-ce.repo

#Install docker CE community version (docker EE for enterprise version, charged)
yum -y install docker-ce

#Configure alicloud image acceleration (try to use your own)
#Address https://help.aliyun.com/document_detail/60750.html
#Later, you need to configure to point to the harbor warehouse
sudo mkdir -p /etc/docker
sudo tee /etc/docker/daemon.json <<-'EOF'
{
  "registry-mirrors": ["https://4iv7219l.mirror.aliyuncs.com"]
}
EOF
sudo systemctl daemon-reload

#network optimization
cat >> /etc/sysctl.conf <<EOF
net.ipv4.ip_forward=1
EOF

sysctl -p
systemctl restart network
systemctl enable docker && systemctl restart docker
3, Install Harbor warehouse
On 192.168.10.40 server
1. Deploy docker compose service
#wget http://101.34.22.188/docker-compose/docker-compose -P /usr/local/bin
[root@c7-3 ~]#curl -L https://github.com/docker/compose/releases/download/1.21.1/docker-compose-`uname -s`-`uname -m` -o /usr/local/bin/docker-compose
[root@c7-3 ~]#chmod +x /usr/local/bin/docker-compose
[root@c7-3 ~]#docker-compose -v
docker-compose version 1.21.1, build 5a3f1a3
2. Deploy Harbor
2.1 download or upload Harbor installer
#wget http://101.34.22.188/harbor/harbor-offline-installer-v1.9.2.tgz -P /opt
#wget http://harbor.orientsoft.cn/harbor-1.2.2/harbor-offline-installer-v1.9.2.tgz

[root@c7-3 ~]#cd /opt
[root@c7-3 /opt]#rz -E
#Import the harbor installation package harbor-offline-installer-v1 9.2. tgz
[root@c7-3 /opt]#tar zxvf harbor-offline-installer-v1.9.2.tgz -C /usr/local/
2.2 modify the configuration file of harbor installation
[root@c7-3 /opt]#vim /usr/local/harbor/harbor.yml
#Line 5, modify the IP address or domain name set as the Harbor server
hostname : 192.168.10.40
#Line 10, modified to 85
  port: 85
#Line 27, specify the initial password of the administrator. The default user name / password is admin/Harbor12345
harbor_admin_password : Harbor12345
2.3 installing Harbor
[root@c7-3harbor]#/usr/local/harbor/prepare
......
[root@c7-3harbor]#/usr/local/harbor/install.sh
......
[Step 3]: starting Harbor ...
Creating network "harbor_harbor" with the default driver
Creating harbor-log ... done
Creating harbor-db     ... done
Creating registry      ... done
Creating harbor-portal ... done
Creating redis         ... done
Creating registryctl   ... done
Creating harbor-core   ... done
Creating harbor-jobservice ... done
Creating nginx             ... done

✔ ----Harbor has been installed and started successfully.----

Now you should be able to visit the admin portal at http://192.168.10.40.
For more details, please visit https://github.com/goharbor/harbor .
2.4 start Harbor
docker-compose up -d	#start-up
docker-compose stop		#stop it
docker-compose restart	#Restart
#--------------------------------------#
[root@c7-3harbor]#docker-compose up -d
harbor-log is up-to-date
harbor-db is up-to-date
registry is up-to-date
registryctl is up-to-date
harbor-portal is up-to-date
redis is up-to-date
harbor-core is up-to-date
harbor-jobservice is up-to-date
nginx is up-to-date
2.5 visit Harbor
http://192.168.10.40:85
Default account password: admin/Harbor12345
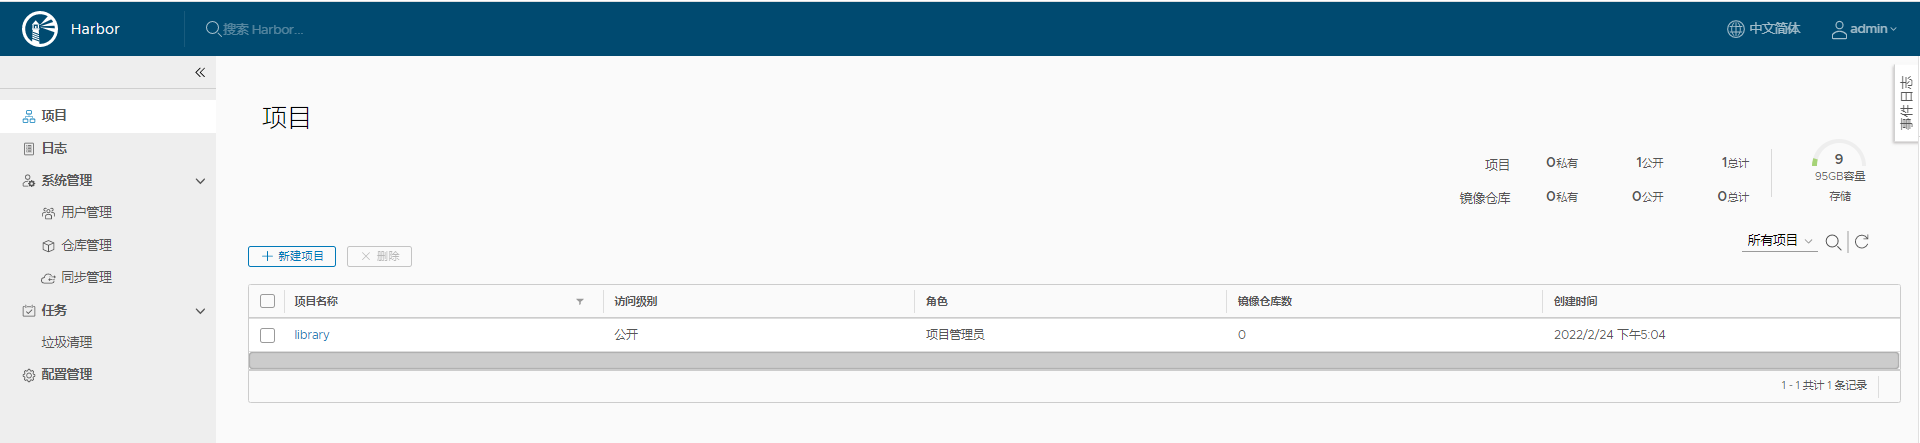
Harbor's projects are divided into public and private:
- Public project: all users can access it. It usually stores public images. By default, there is a library public project.
- Private project: only authorized users can access it. It usually stores the image of the project itself.
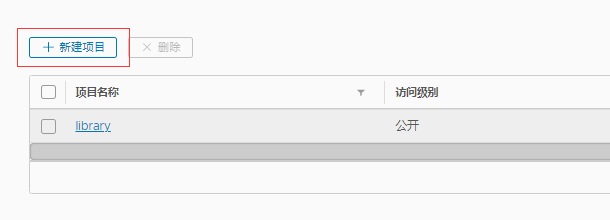
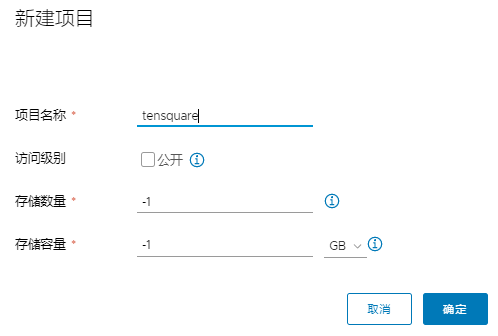
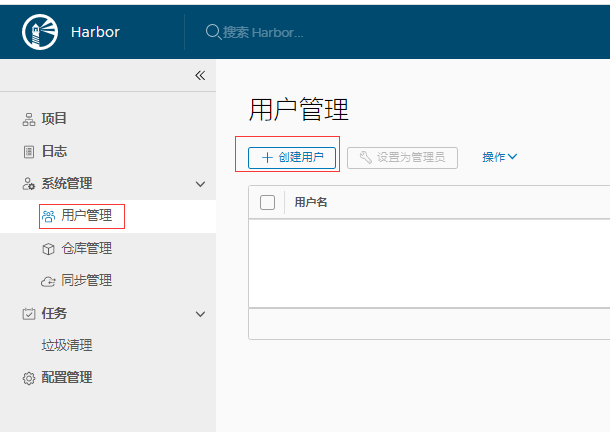
4, Create users and projects in Harbor
1. Create project
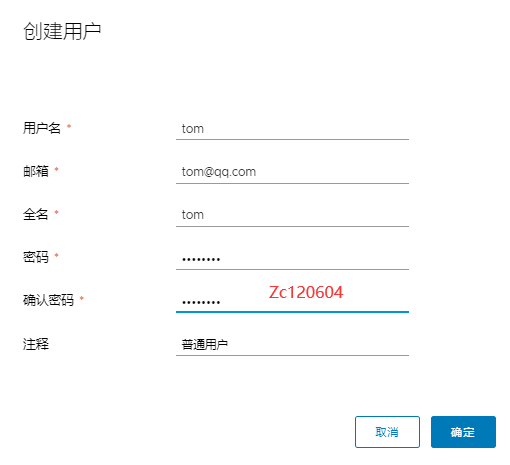
2. Create user
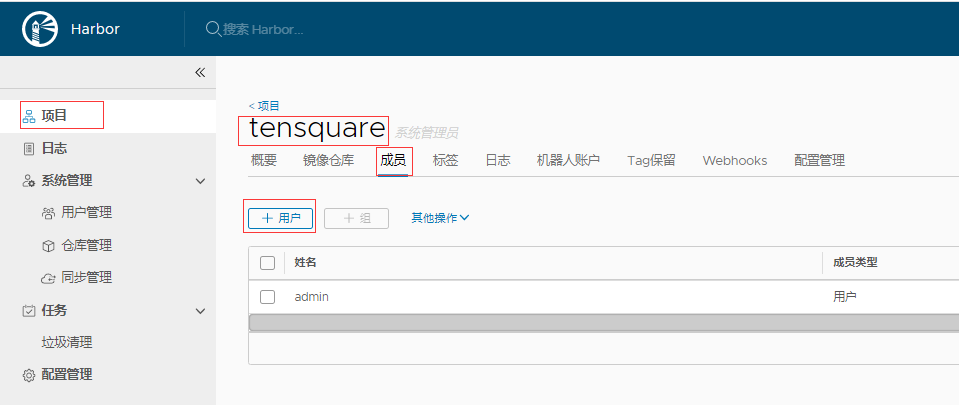
3. Assign users to private projects
Enter tensquare project - > member
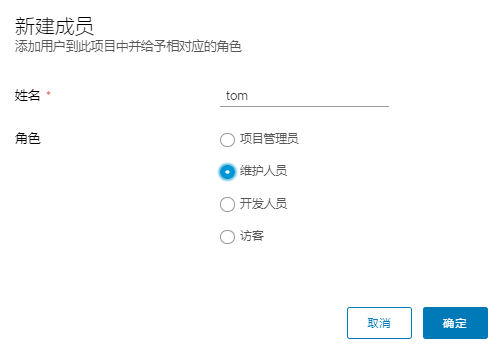

| role | Permission description |
|---|---|
| visitor | Have read-only permission for the specified item |
| Developer | Have read and write permission for the specified item |
| maintenance staff | Create Webhooks if you have read and write permissions for the specified project |
| Project Manager | In addition to read and write permissions, it also has user management / image scanning and other management permissions |
5, Using Docker "le" to create micro service image
Make an image of Eureka registry
Upload jar package to Jenkins server
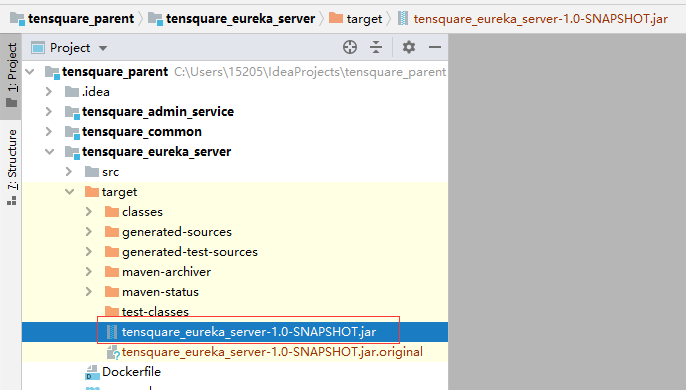
Write Docker "le"
FROM openjdk:8-jdk-alpine
ARG JAR_FILE
COPY ${JAR_FILE} app.jar
EXPOSE 10086
ENTRYPOINT ["java","-jar","/app.jar"]
Build image
docker build --build-arg JAR_FILE=tensquare_eureka_server-1.0-SNAPSHOT.jar -t eureka:v1 .
Check whether the image is created successfully
docker images
Create container
docker run -itd --name=eureka -p 10086:10086 eureka:v1
#It takes time to start
Access container
http://192.168.10.30:10086
6, Upload image to Harbor warehouse
Specify the harbor Address (trust list) in the docker service of jenkins server
[root@c7-2 ~]#vim /etc/docker/daemon.json

{
  "registry-mirrors": ["https://4iv7219l.mirror.aliyuncs.com"],
  "insecure-registries": ["192.168.10.40:85"]
}

[root@c7-2 ~]#systemctl restart docker
Label the image
docker tag eureka:v1 192.168.10.40:85/tensquare/eureka:v1
Log in to Harbor
docker login -u admin -p Harbor12345 192.168.10.40:85
Push image
docker push 192.168.10.40:85/tensquare/eureka:v1
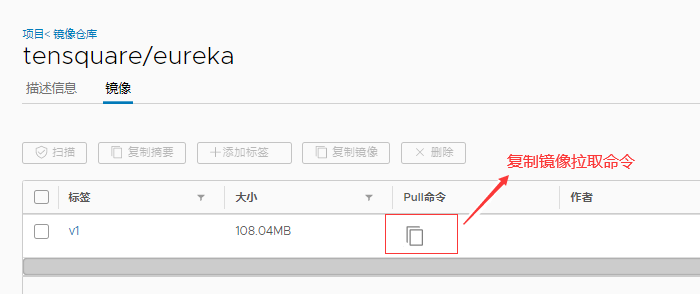
7, Download images from Harbor
Download the image on the 192.168.10.50 server
Modify daemon json
[root@c7-4 ~]#vim /etc/docker/daemon.json

{
  "registry-mirrors": ["https://4iv7219l.mirror.aliyuncs.com"],
  "insecure-registries": ["192.168.10.40:85"]
}

[root@c7-4 ~]#systemctl restart docker
Log in to harbor
docker login -u admin -p Harbor12345 192.168.10.40:85
Download Image
[root@c7-4 ~]#docker pull 192.168.10.40:85/tensquare/eureka:v1
......
[root@c7-4 ~]#docker images
REPOSITORY                          TAG       IMAGE ID       CREATED          SIZE
192.168.10.40:85/tensquare/eureka   v1        433162998bef   27 minutes ago   150MB