1, Demand background
In the daily pressure test process, when the request logic is complex, the sample sampler in Jmeter is not flexible enough, or the performance will be low. At this time, you can write your own java code to realize your own request.
2, Preparatory work
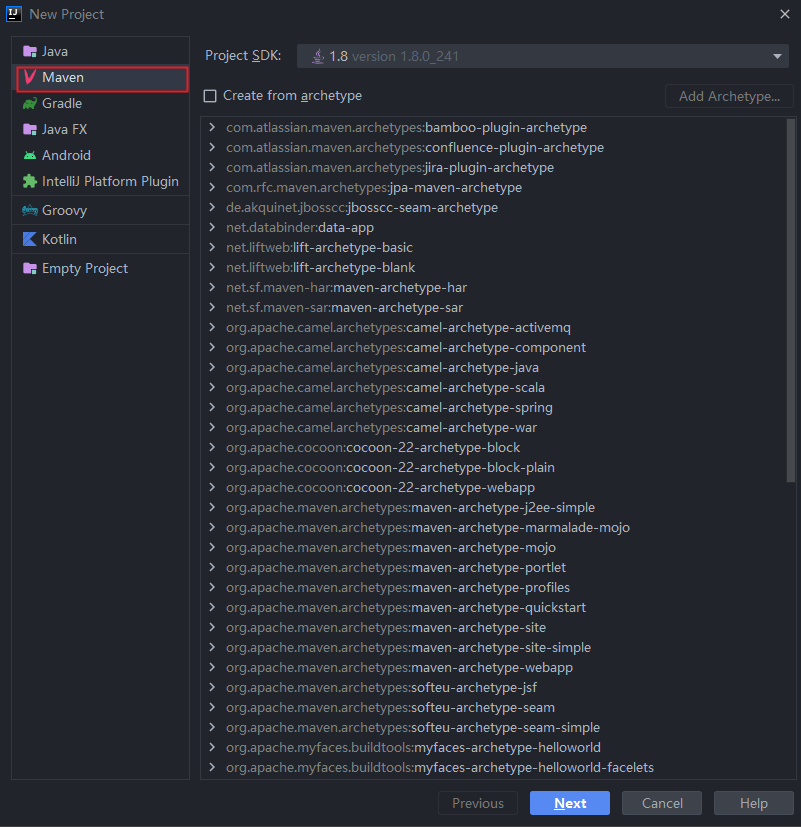
1. Create Maven project
2. Introduce Jmeter related Jar package
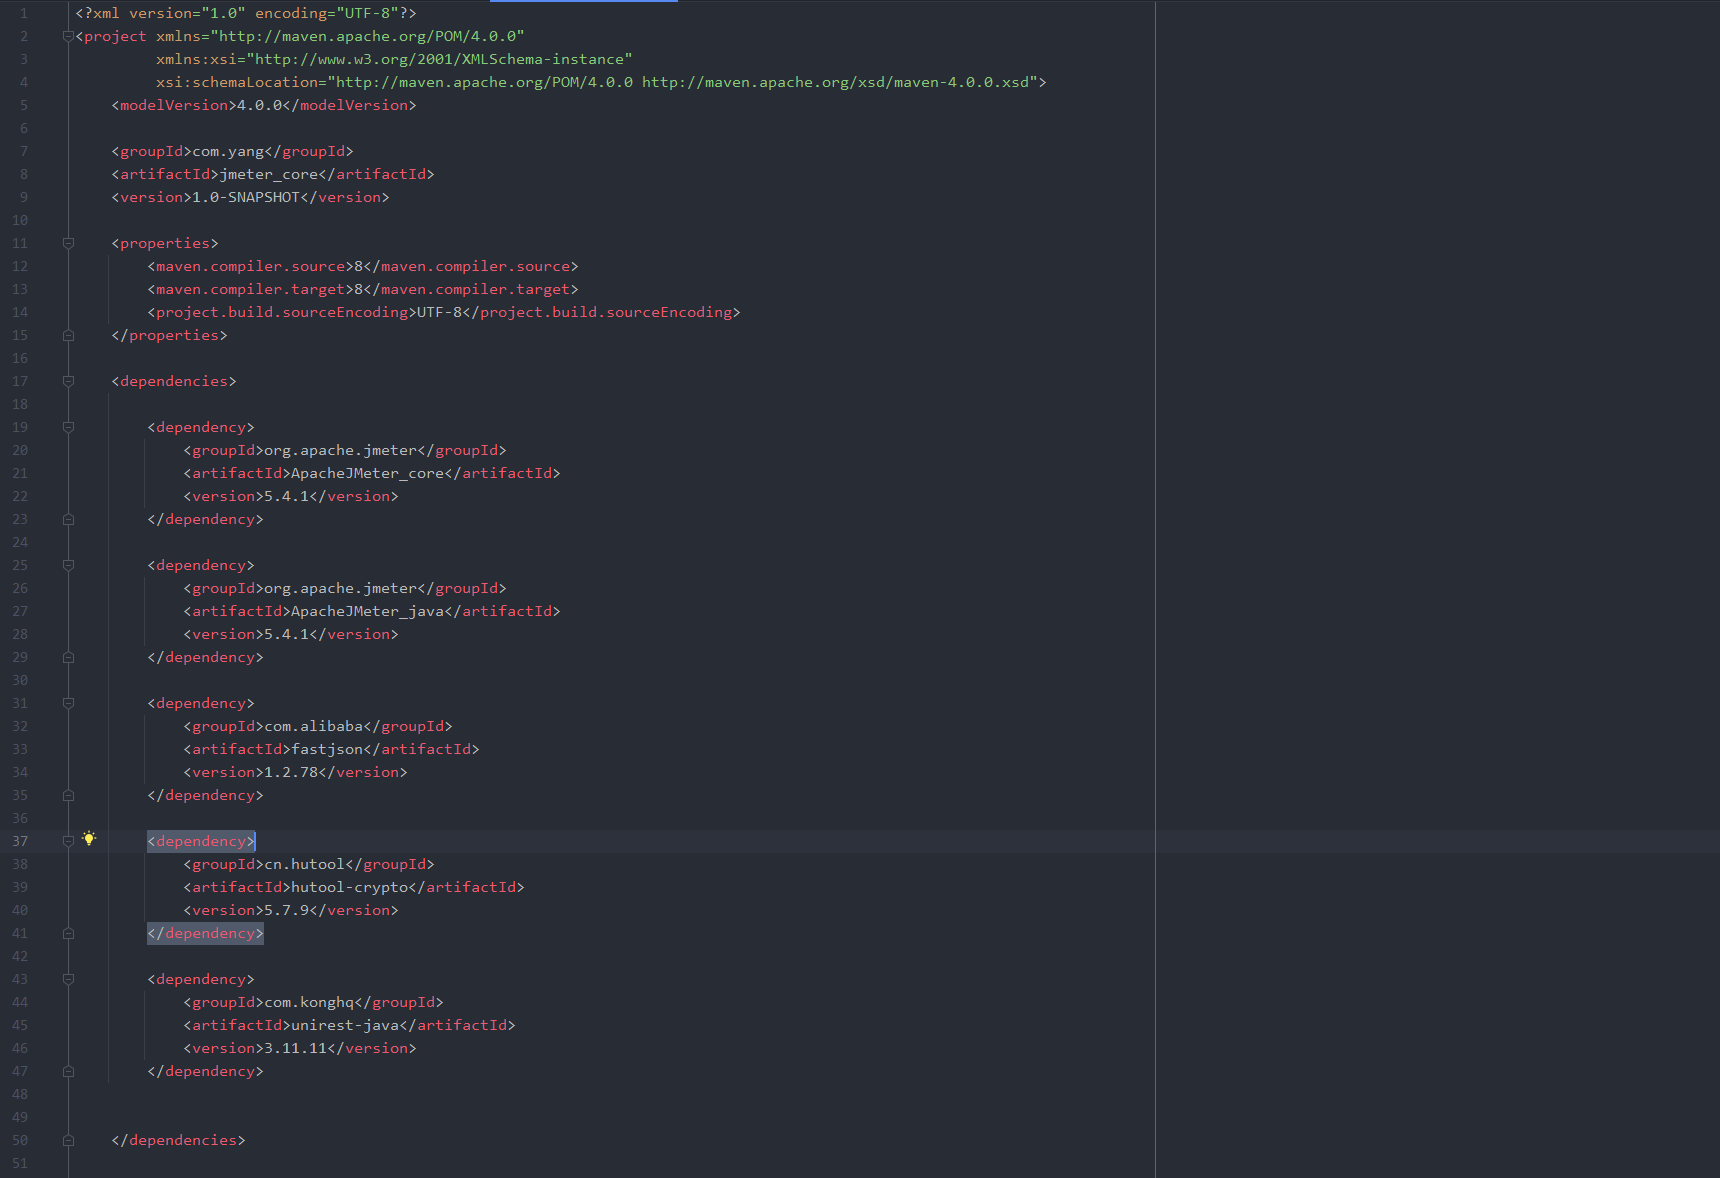
Where Apache JMeter_ Core and Apache JMeter_ Java2 jars are the core development packages for custom JMeter requests. The versions of the two jar packages need to be consistent with your local JMeter version to prevent problems due to inconsistent versions. Unirest Java is mainly used to send get and post requests
Relevant jar s can go https://mvnrepository.com/ Query reference
3. Configuring maven packaging plug-ins
<build>

        <plugins>

            <plugin>
                <groupId>org.apache.maven.plugins</groupId>

                <artifactId>maven-compiler-plugin</artifactId>

                <version>3.8.1</version>

                <configuration>

                    <source>1.8</source>

                    <target>1.8</target>

                </configuration>

            </plugin>


            <plugin>
                <groupId>org.apache.maven.plugins</groupId>

                <artifactId>maven-assembly-plugin</artifactId>
                <version>3.3.0</version>

                <configuration>

                    <descriptorRefs>

                        <descriptorRef>jar-with-dependencies</descriptorRef>

                    </descriptorRefs>

                </configuration>

                <executions>

                    <execution>

                        <id>make-assembly</id>

                        <phase>package</phase>

                        <goals>

                            <goal>single</goal>

                        </goals>

                    </execution>

                </executions>

            </plugin>

        </plugins>

    </build>
3, Start
1. Create a Java test class
Create a new class. The class name is arbitrary. Just follow the Java Naming specification. This class inherits the AbstractJavaSamplerClient class. AbstractJavaSamplerClient exists in ApacheJMeter_java.jar in this JAR package, you can call it by reference.
The four common methods are as follows:
setupTest(): initialization method, used to initialize each thread during performance test;
getDefaultParameters(): mainly used to set the parameters passed in;
runTest(): the thread running body during performance test; This method is a method that must be implemented when the test class inherits the AbstractJavaSamplerClient class
teardownTest(): test end method, which is used to end each thread in the performance test.
2. Demo instance
package com.apache.jmeter.functions;

import kong.unirest.HttpResponse;
import kong.unirest.JsonNode;
import kong.unirest.Unirest;
import org.apache.jmeter.config.Arguments;
import org.apache.jmeter.protocol.java.sampler.AbstractJavaSamplerClient;
import org.apache.jmeter.protocol.java.sampler.JavaSamplerContext;
import org.apache.jmeter.samplers.SampleResult;

import java.io.Serializable;
import java.util.HashMap;

/**
 * Created by YangWeiMin on 2021/12/6
 */
public class PageQuery extends AbstractJavaSamplerClient implements Serializable {

    // This part mainly sets some static variables, which can be interface request parameters or other variables
    private static final String env = "xxxxx";
    private static final String creatorUserCode = "xxxxxx";
    private static final Integer offset = xxxxx;
    private static final String releaseTimeFrom = "xxxxxxx";
    private static final String releaseTimeTo = "xxxxxx";
    private static final Integer size = xxxxxx;
    private static final String dynamicInfoCode = null;
    private static final String url = env + "/api/dynamic-info/released/page-query";
    private static final String token = null;


    // This part of the code is mainly set Unirest Connection pool configuration
    static {
        Unirest.config().concurrency(1000, 100);
    }


    // This part of the code is mainly used to set the parameter display. The parameters set here can be displayed in the jmeter Show in
    @Override
    public Arguments getDefaultParameters() {
        Arguments arguments = new Arguments();
        arguments.addArgument("env", env);
        arguments.addArgument("creatorUserCode", creatorUserCode);
        arguments.addArgument("offset", String.valueOf(offset));
        arguments.addArgument("releaseTimeFrom", releaseTimeFrom);
        arguments.addArgument("releaseTimeTo", releaseTimeTo);
        arguments.addArgument("size", String.valueOf(size));
        arguments.addArgument("dynamicInfoCode", dynamicInfoCode);
        arguments.addArgument("token", token);
        return arguments;
    }

    /**
     * Execute the test, and the logic of the test is written here
     *
     * @param context Request parameters
     * @return Request result
     */
    @Override
    public SampleResult runTest(JavaSamplerContext context) {
        SampleResult sampleResult = new SampleResult();
        sampleResult.sampleStart();  // Turn on timing
        HashMap<String, Object> data = new HashMap<>();
        HashMap<String, String> headers = new HashMap<>();
        try {
            data.put("creatorUserCode", context.getParameter("creatorUserCode")); // context.getParameter The function is to obtain jmeter Parameters filled in
            data.put("dynamicInfoCode", context.getParameter("dynamicInfoCode"));
            data.put("offset", context.getParameter("offset"));
            data.put("releaseTimeFrom", context.getParameter("releaseTimeFrom"));
            data.put("releaseTimeTo", context.getParameter("releaseTimeTo"));
            data.put("size", size);
            headers.put("Content-Type", "application/json");
            headers.put("Authorization", context.getParameter("token"));
            HttpResponse<JsonNode> response = Unirest.post(url)
                    .headers(headers)
                    .body(data)
                    .asJson();
            if (response.getStatus() != 200) {
                sampleResult.setSuccessful(false);
            }
            sampleResult.setResponseData(response.getBody().toPrettyString(), "utf-8");
            sampleResult.setResponseCodeOK();
            System.out.println("Response data==> " + response.getBody().toPrettyString());
            sampleResult.setSuccessful(true);

        } catch (Exception e) {
            System.out.println("Request failed:" + e.getMessage());
            sampleResult.setSuccessful(false);
        } finally {
            sampleResult.sampleEnd();  // End timing
        }
        return sampleResult;

    }
}
4, Jmeter run
1. Compile package
After the relevant code is written, the Maven tool provided with Idea tool is used for packaging
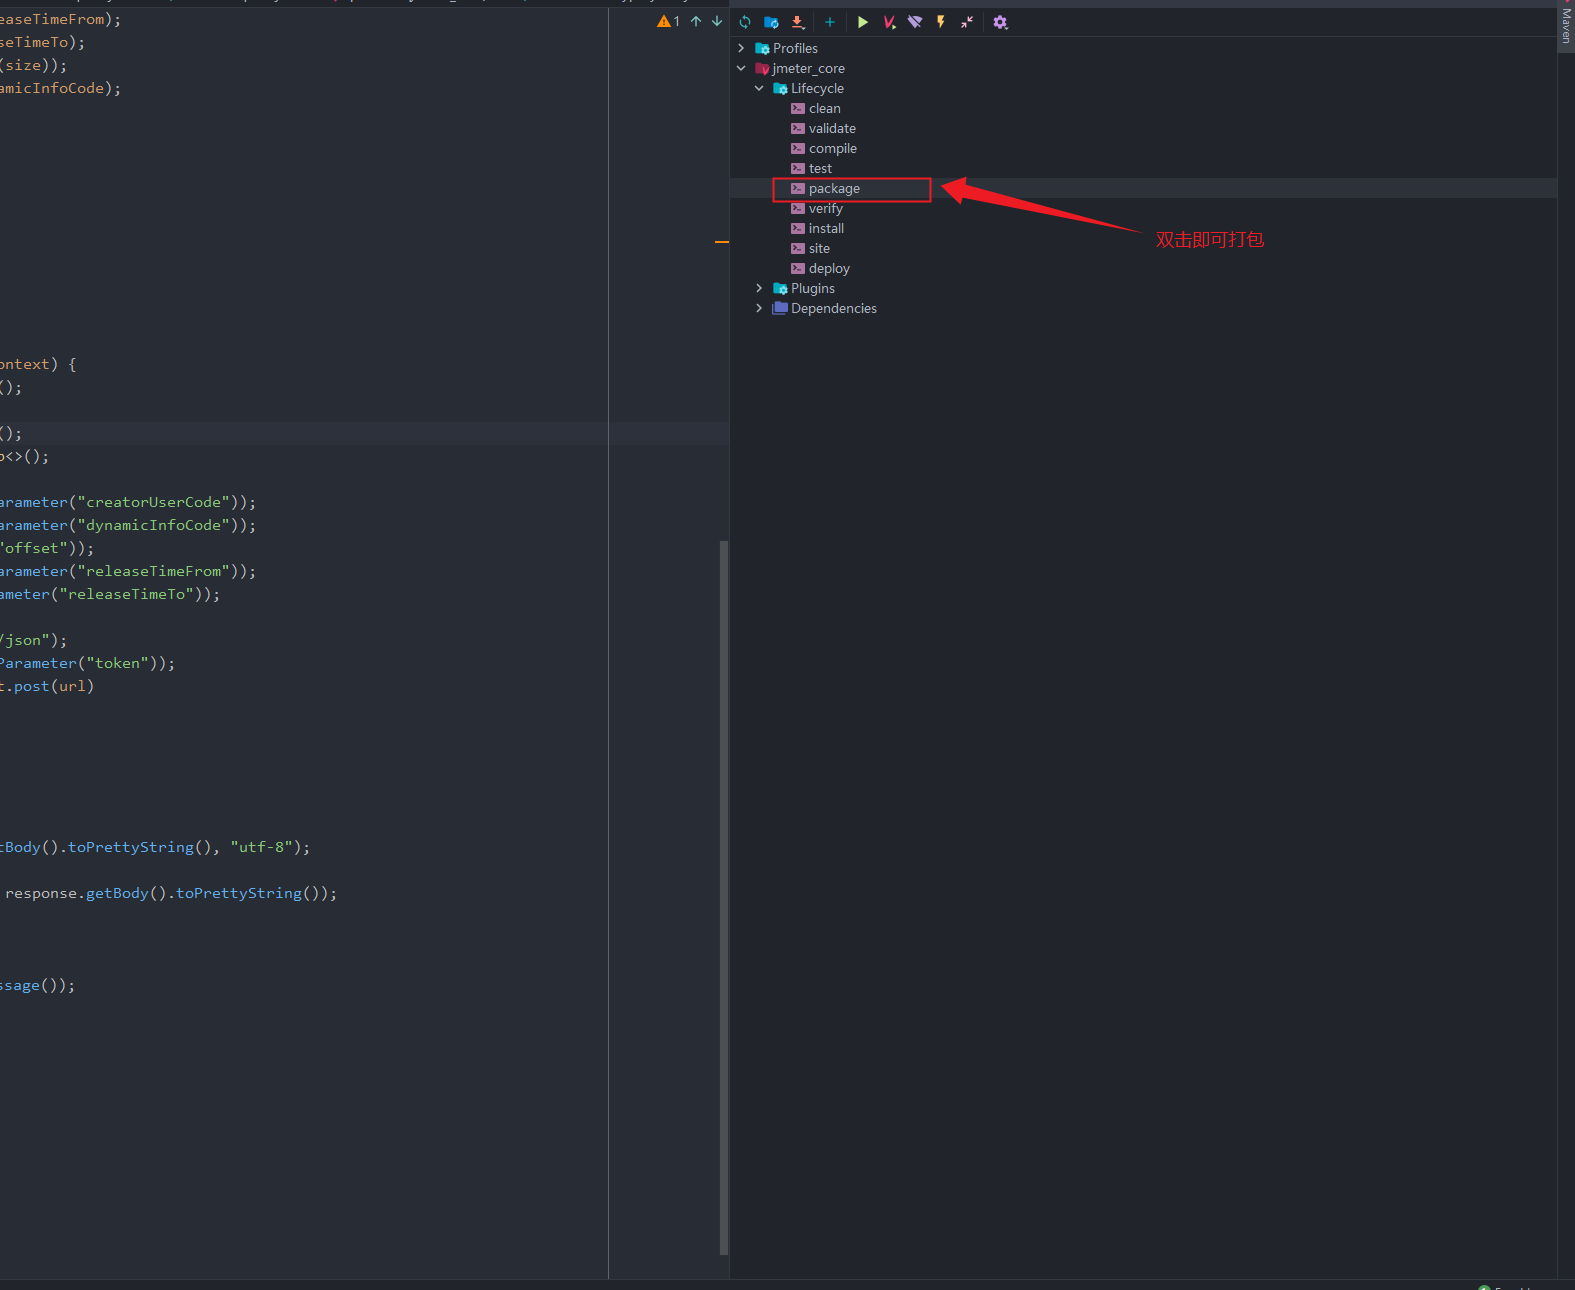
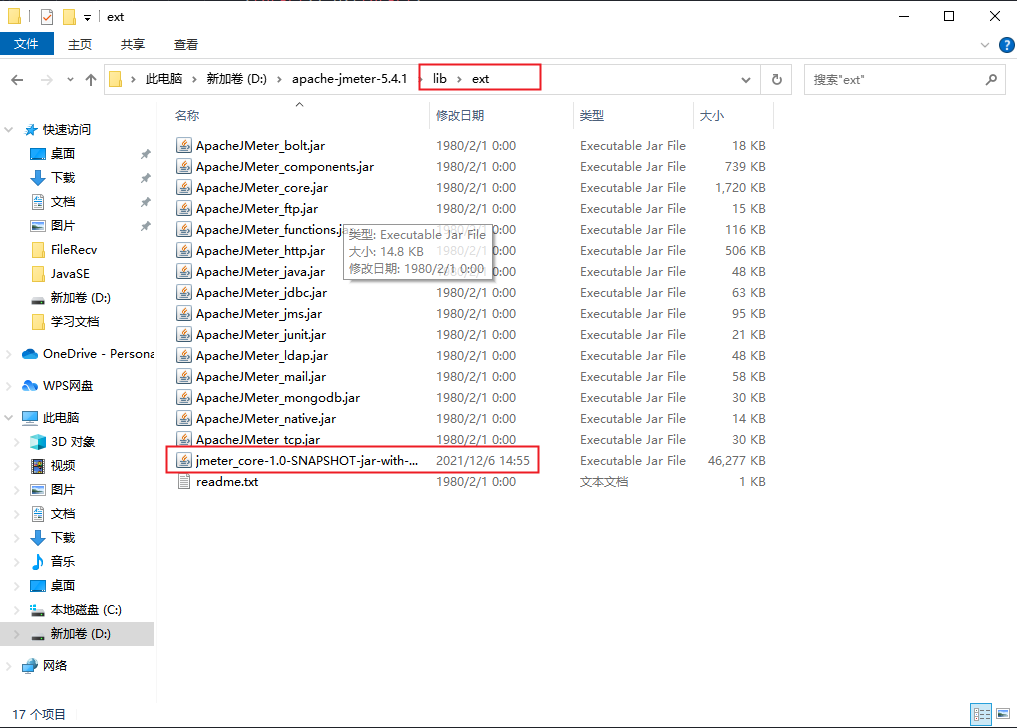
After successful packaging, put the jar package in the target directory of the relevant jar and put it in the lib/ext directory of the jmeter installation directory
2. How to use Jmeter
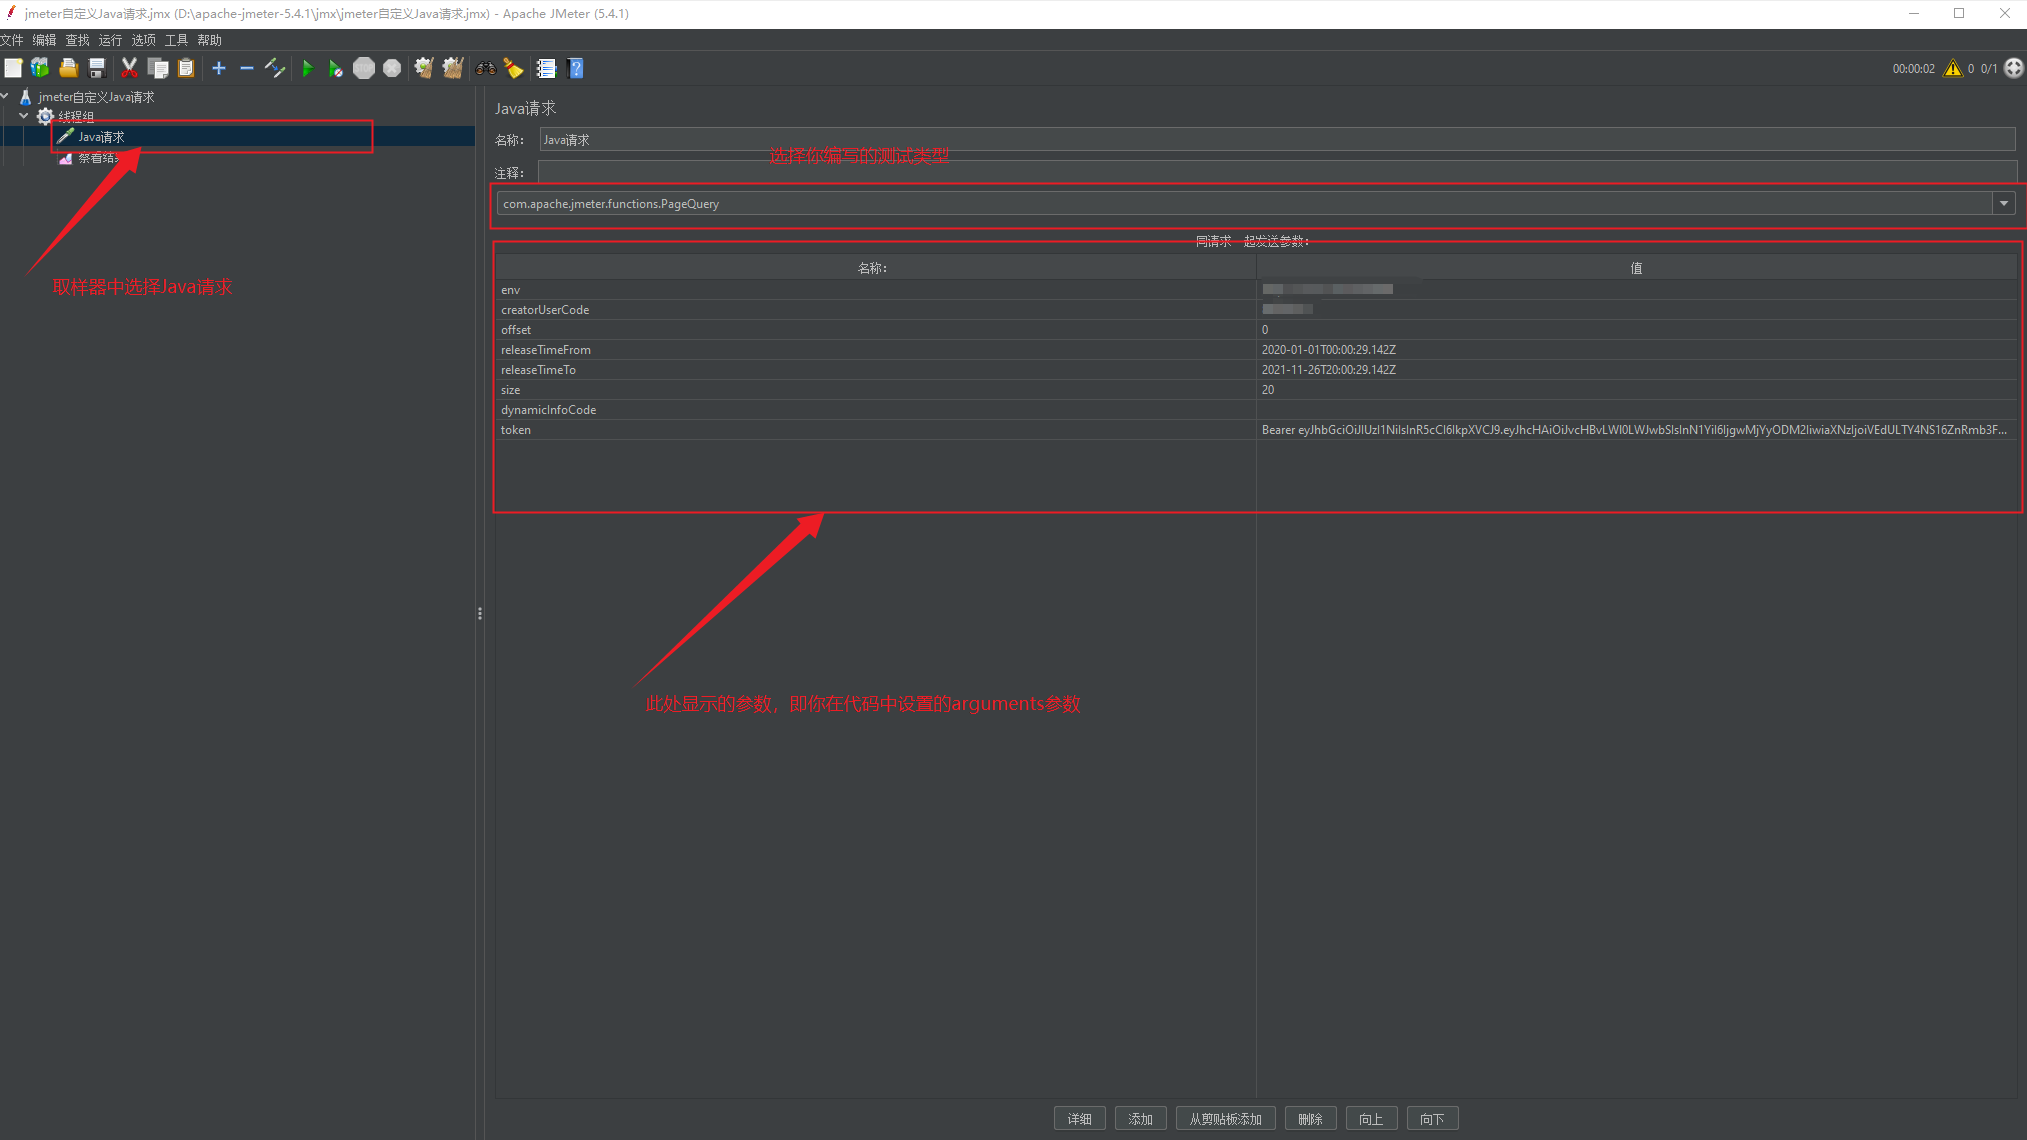
At this time, according to the normal Jmeter use process, click the run button to carry out pressure measurement normally
5, Summary
Jmeter is developed in java language, so we can develop code in java and use it directly. I hope you can learn knowledge.