1, Introduction to Kubernetes
1.kubernetes
- Kubernetes, abbreviated as K8s, is an abbreviation of 8 characters instead of "ubernet". It is an open source application for managing container applications on multiple hosts in the cloud platform. Kubernetes aims to make the deployment of container applications simple and efficient. Kubernetes provides a mechanism for application deployment, planning, updating and maintenance.
- It supports automated deployment, large-scale scalability and application container management. When an application is deployed in a production environment, multiple instances of the application are usually deployed to load balance application requests.
- In Kubernetes, we can create multiple containers, run an application instance in each container, and then manage, discover and access this group of application instances through the built-in load balancing strategy. These details do not require the operation and maintenance personnel to carry out complex manual configuration and processing.
- characteristic
-
Portable: Support public cloud, private cloud, hybrid cloud and multi cloud( multi-cloud)
-
Extensible: Modular, plug-in, mountable and combined
-
automation: Automatic deployment, automatic restart, automatic replication, automatic scaling/extend
-
2. Selection of deployment mode
- The traditional application deployment method is to install applications through plug-ins or scripts. The disadvantage of this is that the operation, configuration, management and all life cycles of the application will be bound with the current operating system. This is not conducive to the upgrade, update / rollback of the application. Of course, some functions can also be realized by creating a virtual machine, but the virtual machine is very heavy and is not conducive to portability.
- The new method is implemented by deploying containers. Each container is isolated from each other. Each container has its own file system. Processes between containers will not affect each other and can distinguish computing resources. Compared with the virtual machine, the container can be deployed quickly. Because the container is decoupled from the underlying facilities and machine file system, it can migrate between different clouds and different versions of operating systems.
3. Container deployment advantages
- Containers occupy less resources and are deployed quickly. Each application can be packaged into a container image. The one-to-one relationship between each application and the container also gives the container greater advantages. Using containers, you can create container images for applications in the build or release stage, because each application does not need to be combined with other application stacks and does not depend on the infrastructure of the production environment, This enables a consistent environment from R & D to testing and production. Similarly, containers are lighter and more "transparent" than virtual machines, which is easier to monitor and manage.
2, Device environment for Kubernetes cluster deployment
| host | ip | service | effect |
|---|---|---|---|
| server1 | 172.25.15.1 | docker, haobor warehouse | Build network warehouse |
| server2 | 172.25.15.2 | docker,kubelet kubeadm kubectl | Cluster node |
| server3 | 172.25.15.3 | docker,kubelet kubeadm kubectl | Cluster node |
| server4 | 172.25.15.4 | docker,kubelet kubeadm kubectl | Cluster master |
3, Kubernetes cluster deployment steps
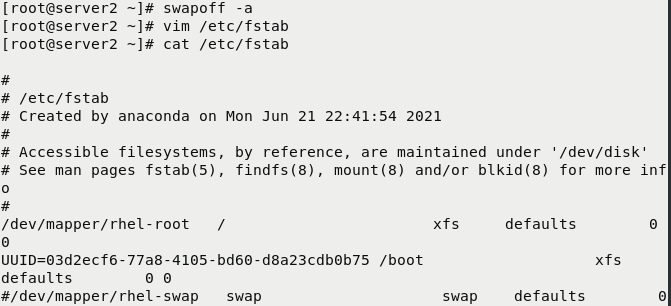
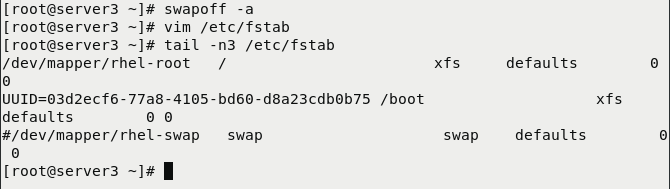
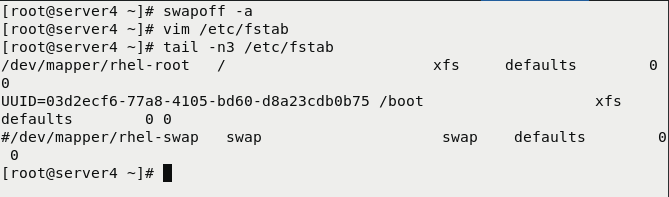
1. Close the switch partition
[root@server2 ~]# swapoff -a
[root@server2 ~]# vim /etc/fstab
[root@server2 ~]# cat /etc/fstab

[root@server3 ~]# swapoff -a
[root@server3 ~]# vim /etc/fstab
[root@server3 ~]# tail -n3 /etc/fstab

[root@server4 ~]# swapoff -a
[root@server4 ~]# vim /etc/fstab
[root@server4 ~]# tail -n3 /etc/fstab
2.systemd
Turn off the selinux and iptables firewalls on the node
Deploy docker engine on all nodes
## server2 3 4 same deployment
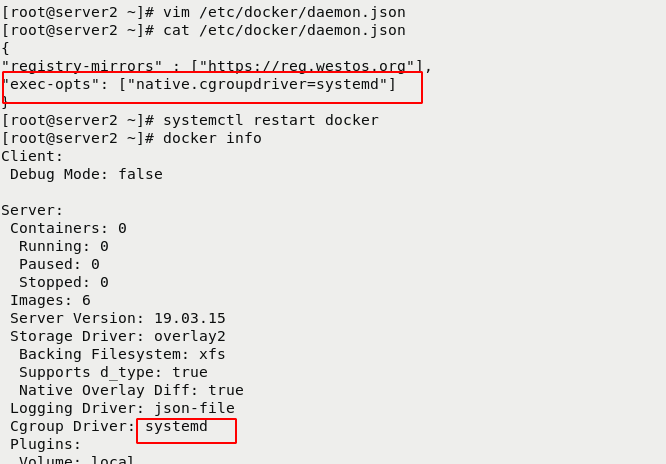
[root@server2 ~]# vim /etc/docker/daemon.json
[root@server2 ~]# cat /etc/docker/daemon.json
{
"registry-mirrors" : ["https://reg.westos.org"],
"exec-opts": ["native.cgroupdriver=systemd"]
}
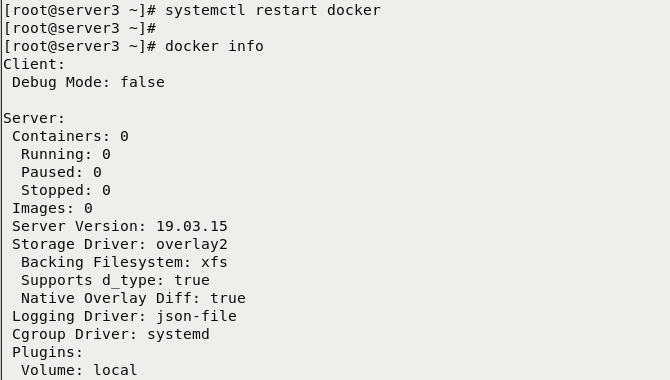
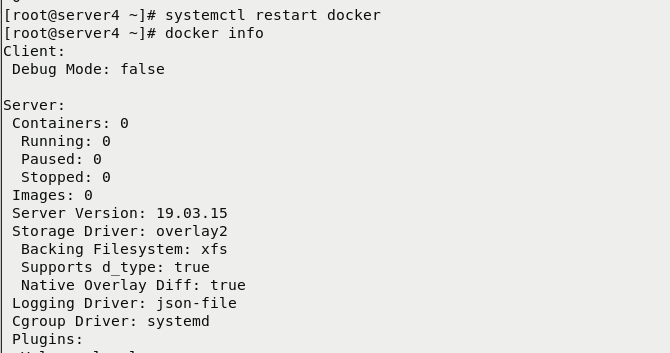
[root@server2 ~]# systemctl restart docker
[root@server2 ~]# docker info
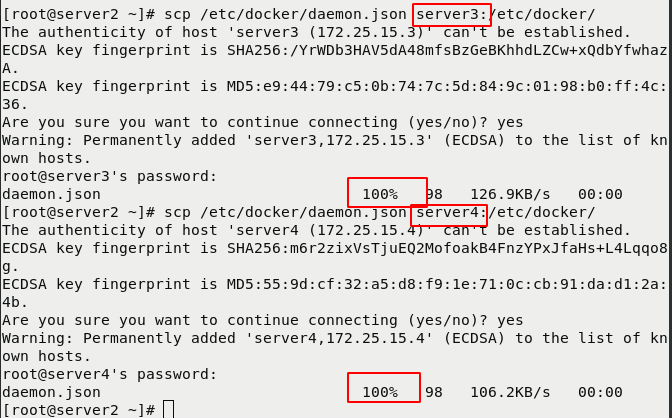
[root@server2 ~]# scp /etc/docker/daemon.json server3:/etc/docker/
[root@server2 ~]# scp /etc/docker/daemon.json server4:/etc/docker/
[root@server2 ~]# cd /etc/sysctl.d/
[root@server2 sysctl.d]# ls
99-sysctl.conf docker.conf
[root@server2 sysctl.d]# cat docker.conf
net.bridge.bridge-nf-call-iptables = 1
net.bridge.bridge-nf-call-ip6tables = 1
[root@server2 sysctl.d]# scp docker.conf server3/4 :/etc/system #Ensure that docker status is normal
3. Installation and deployment k8s warehouse
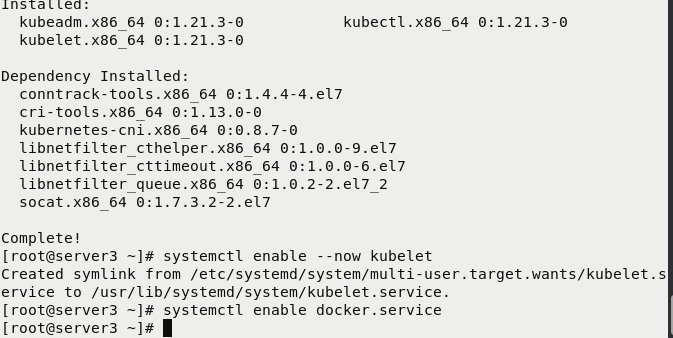
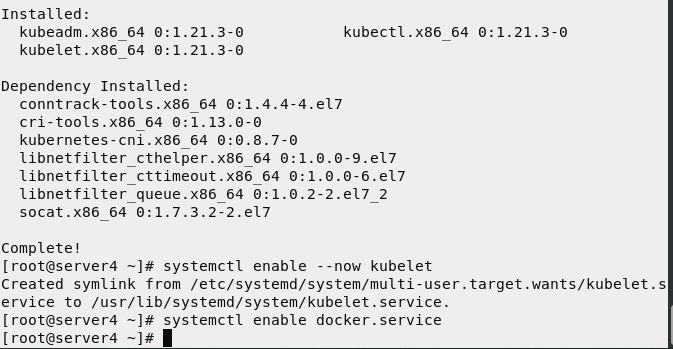
## Same operation server2 3 4
[root@server2 yum.repos.d]# ls
redhat.repo  westos.repo
[root@server2 yum.repos.d]# vim westos.repo
[root@server2 yum.repos.d]# vim k8s.repo
[root@server2 yum.repos.d]# cat k8s.repo
[kubernetes]
name=Kubernetes
baseurl=https://mirrors.aliyun.com/kubernetes/yum/repos/kubernetes-el7-x86_64/
enabled=1
gpgcheck=0
[root@server2 yum.repos.d]# yum repolist


## Pass the warehouse configuration file to server3 and server4
[root@server2 yum.repos.d]# scp k8s.repo server3:/etc/yum.repos.d/
k8s.repo                                100%  129   157.7KB/s   00:00
[root@server2 yum.repos.d]# scp k8s.repo server4:/etc/yum.repos.d/
k8s.repo                                100%  129   147.7KB/s   00:00
## Install kubelet kubedm kubectl
[root@server2 yum.repos.d]# yum install -y kubelet kubeadm kubectl
[root@server2 yum.repos.d]# systemctl enable --now kubelet
Created symlink from /etc/systemd/system/multi-user.target.wants/kubelet.service to /usr/lib/systemd/system/kubelet.service.

[root@server2 yum.repos.d]# systemctl enable docker.service

[root@server3 ~]# yum install -y kubelet kubeadm kubectl
[root@server3 ~]# systemctl enable --now kubelet
Created symlink from /etc/systemd/system/multi-user.target.wants/kubelet.service to /usr/lib/systemd/system/kubelet.service.
[root@server3 ~]# systemctl enable docker.service

[root@server4 ~]# yum install -y kubelet kubeadm kubectl
[root@server4 ~]# systemctl enable --now kubelet
Created symlink from /etc/systemd/system/multi-user.target.wants/kubelet.service to /usr/lib/systemd/system/kubelet.service.
[root@server4 ~]# systemctl enable docker.service


Install kubelet kubedm kubectl for server3 and server4
4. Pull the image and upload it to the network warehouse
View default configuration information
[root@server2 yum.repos.d]# kubeadm config print init-defaults
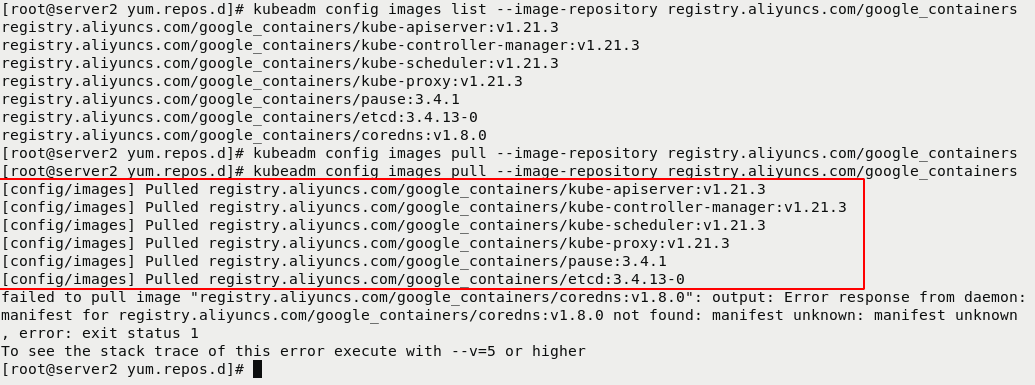
Modify mirror warehouse,List the required mirrors
[root@server2 yum.repos.d]# kubeadm config images list --image-repository registry.aliyuncs.com/google_containers
Pull image
[root@server2 yum.repos.d]# kubeadm config images pull --image-repository registry.aliyuncs.com/google_containers
[root@server2 yum.repos.d]# docker images | grep registry.aliyuncs.com
## Transfer the image to haobor warehouse
## server2
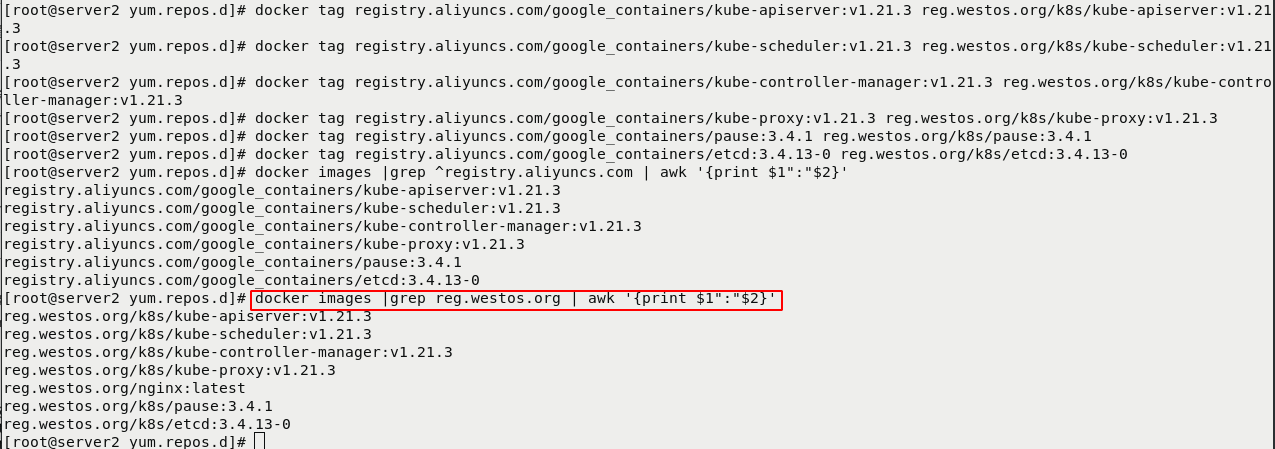
[root@server2 yum.repos.d]# docker images |grep ^registry.aliyuncs.com | awk '{print $1":"$2}'
## Label
[root@server2 yum.repos.d]# docker tag registry.aliyuncs.com/google_containers/kube-apiserver:v1.21.3 reg.westos.org/k8s/kube-apiserver:v1.21.3
[root@server2 yum.repos.d]# docker tag registry.aliyuncs.com/google_containers/kube-scheduler:v1.21.3 reg.westos.org/k8s/kube-scheduler:v1.21.3
[root@server2 yum.repos.d]# docker tag registry.aliyuncs.com/google_containers/kube-controller-manager:v1.21.3 reg.westos.org/k8s/kube-controller-manager:v1.21.3
[root@server2 yum.repos.d]# docker tag registry.aliyuncs.com/google_containers/kube-proxy:v1.21.3 reg.westos.org/k8s/kube-proxy:v1.21.3
[root@server2 yum.repos.d]# docker tag registry.aliyuncs.com/google_containers/pause:3.4.1 reg.westos.org/k8s/pause:3.4.1
[root@server2 yum.repos.d]# docker tag registry.aliyuncs.com/google_containers/etcd:3.4.13-0 reg.westos.org/k8s/etcd:3.4.13-0
## Import
[root@server2 yum.repos.d]# docker images |grep reg.westos.org | awk '{print $1":"$2}'
[root@server2 yum.repos.d]# docker push reg.westos.org/k8s/kube-apiserver:v1.21.3
[root@server2 yum.repos.d]# docker push reg.westos.org/k8s/kube-controller-manager:v1.21.3
[root@server2 yum.repos.d]# docker push reg.westos.org/k8s/kube-scheduler:v1.21.3
[root@server2 yum.repos.d]# docker push reg.westos.org/k8s/kube-proxy:v1.21.3
[root@server2 yum.repos.d]# docker push reg.westos.org/k8s/pause:3.4.1
[root@server2 yum.repos.d]# docker push reg.westos.org/k8s/etcd:3.4.13-0
Creating k8s warehouse catalogs for drawings
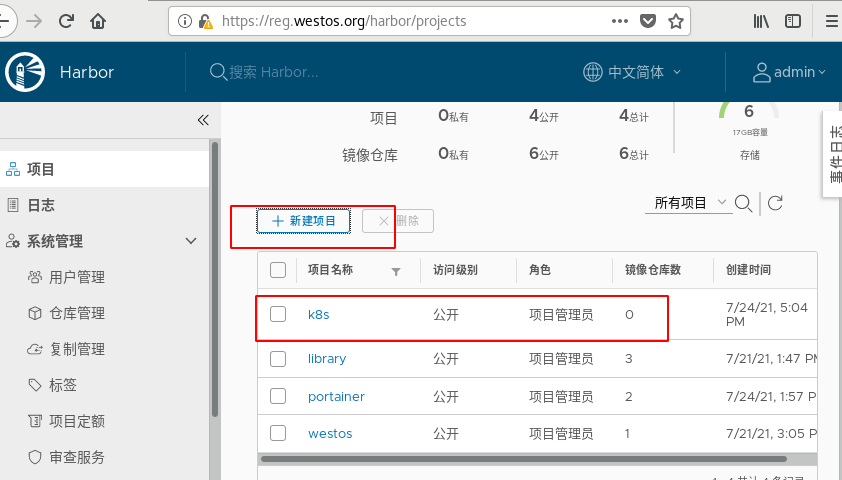
server2 upload
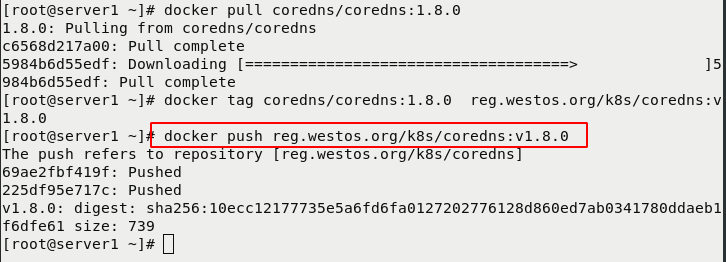
server1 uploads coredns/coredns:1.8.0 to the warehouse
[root@server1 ~]# docker pull coredns/coredns:1.8.0
1.8.0: Pulling from coredns/coredns
c6568d217a00: Pull complete
5984b6d55edf: Downloading [====================================>              ]5984b6d55edf: Pull complete
[root@server1 ~]# docker tag coredns/coredns:1.8.0  reg.westos.org/k8s/coredns:v1.8.0
[root@server1 ~]# docker push reg.westos.org/k8s/coredns:v1.8.0
The push refers to repository [reg.westos.org/k8s/coredns]
69ae2fbf419f: Pushed
225df95e717c: Pushed
v1.8.0: digest: sha256:10ecc12177735e5a6fd6fa0127202776128d860ed7ab0341780ddaeb1f6dfe61 size: 739
[root@server1 ~]#
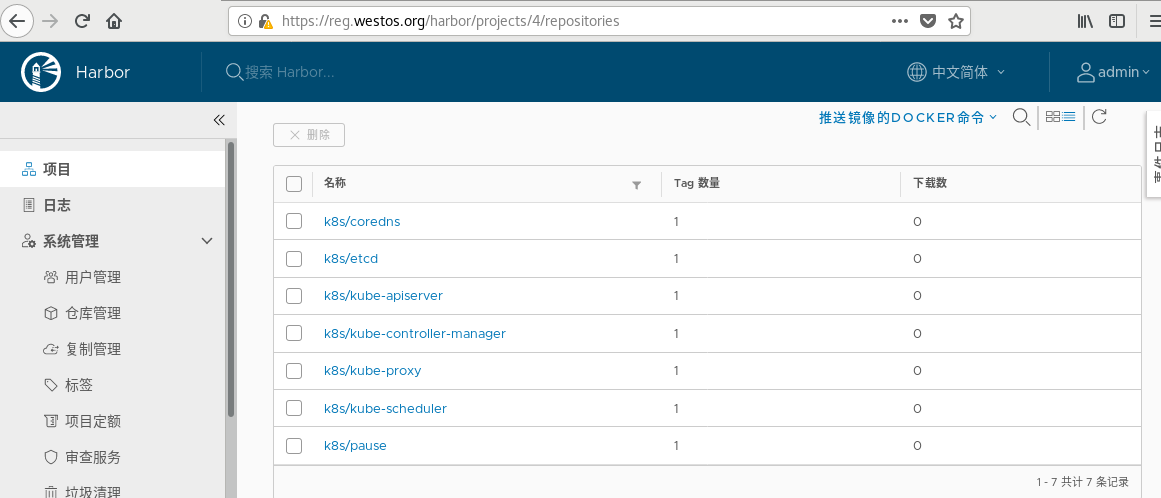
Warehouse view
5. Initialize the cluster
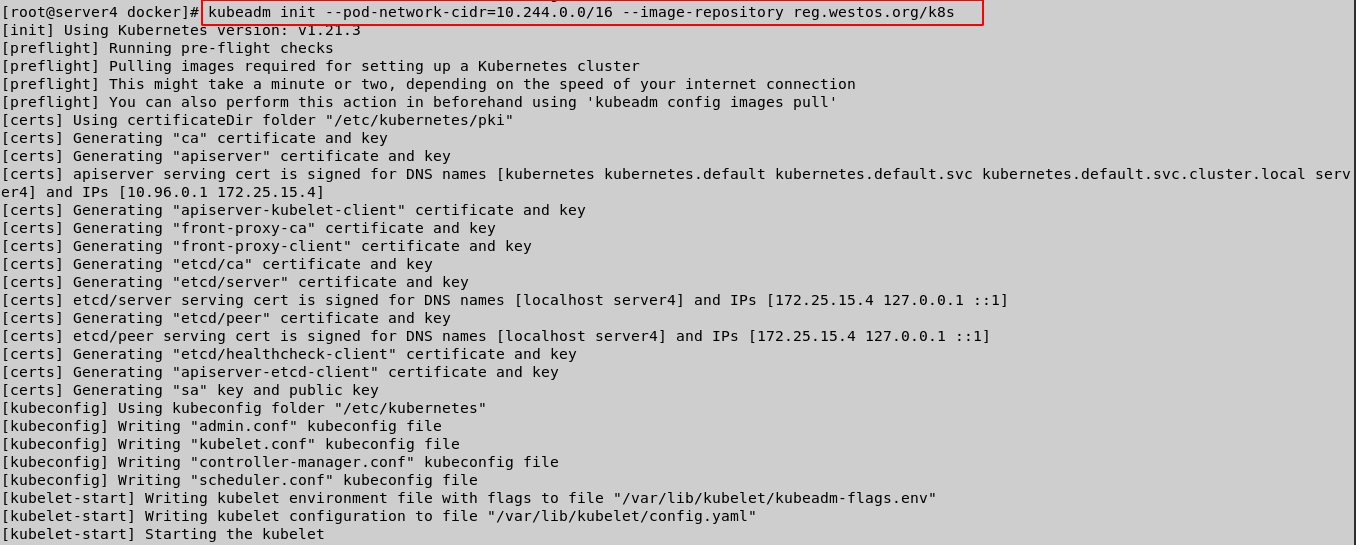
server4 do
[root@server4 yum.repos.d]# kubeadm init --pod-network-cidr=10.244.0.0/16 --image-repository reg.westos.org/k8s
#--Pod network CIDR = 10.244.0.0/16 must be added when using the flannel network component
[root@server4 docker]# export KUBECONFIG=/etc/kubernetes/admin.conf
[root@server4 docker]# cd
[root@server4 ~]# vim .bash_profile

6. Install flanne network components
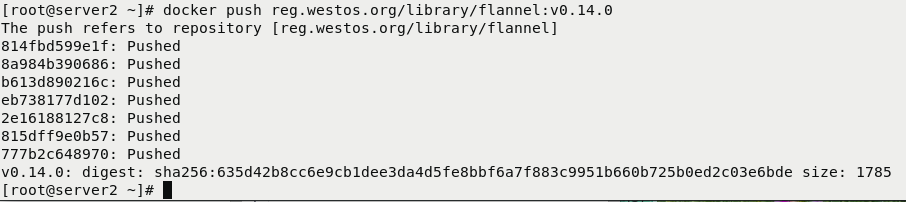
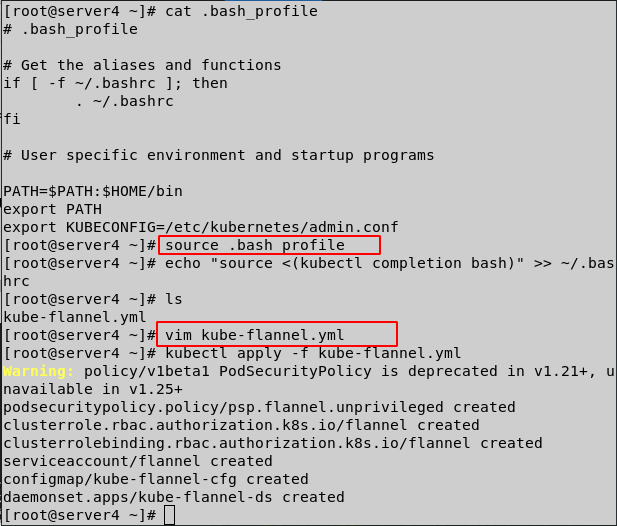
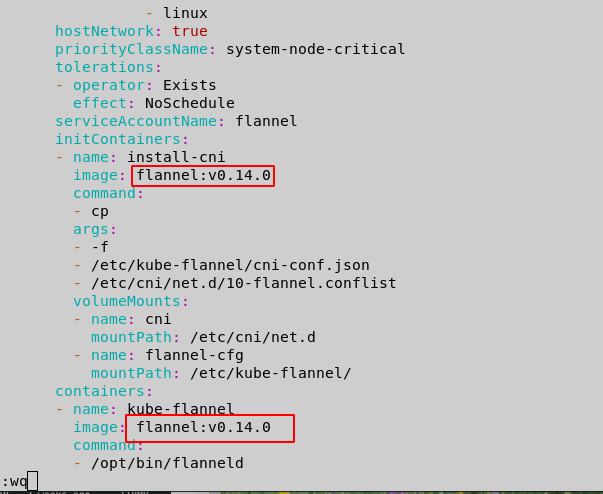
[root@server2 ~]# docker tag flannel:v0.14.0 reg.westos.org/library/flannel:v0.14.0
[root@server2 ~]# docker push reg.westos.org/library/flannel:v0.14.0
[root@server4 ~]# cat .bash_profile
# .bash_profile

# Get the aliases and functions
if [ -f ~/.bashrc ]; then
	. ~/.bashrc
fi

# User specific environment and startup programs

PATH=$PATH:$HOME/bin
export PATH
export KUBECONFIG=/etc/kubernetes/admin.conf		#add to
[root@server4 ~]# source .bash_profile
[root@server4 ~]# echo "source <(kubectl completion bash)" >> ~/.bashrc		#Configure kubectl command replenishment function
[root@server4 ~]# ls
kube-flannel.yml
[root@server4 ~]# vim kube-flannel.yml
[root@server4 ~]# kubectl apply -f kube-flannel.yml
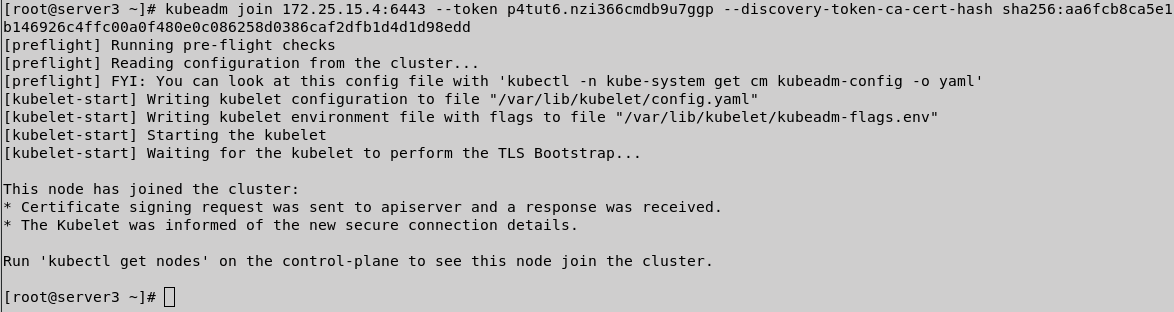
7. join each node
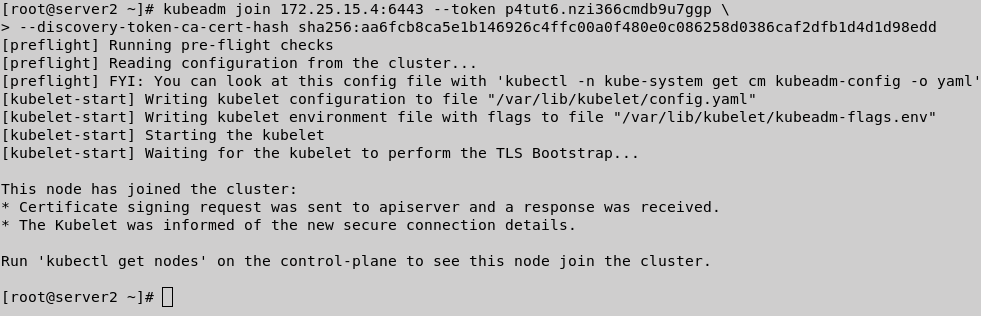
[root@server3 ~]# kubeadm join 172.25.15.4:6443 --token p4tut6.nzi366cmdb9u7ggp --discovery-token-ca-cert-hash sha256:aa6fcb8ca5e1b146926c4ffc00a0f480e0c086258d0386caf2dfb1d4d1d98edd
[root@server2 ~]# kubeadm join 172.25.15.4:6443 --token p4tut6.nzi366cmdb9u7ggp \
> --discovery-token-ca-cert-hash sha256:aa6fcb8ca5e1b146926c4ffc00a0f480e0c086258d0386caf2dfb1d4d1d98edd
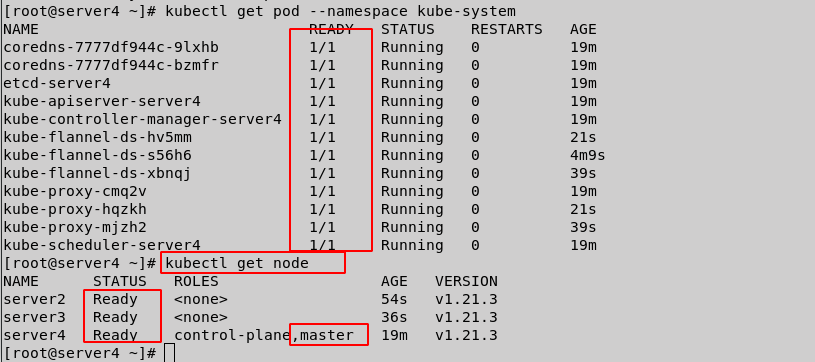
8. View clusters
[root@server4 ~]# kubectl get pod --namespace kube-system
[root@server4 ~]# kubectl get node