Layui file upload
- Layui official website: https://www.layui.com/
- layui plug-in download
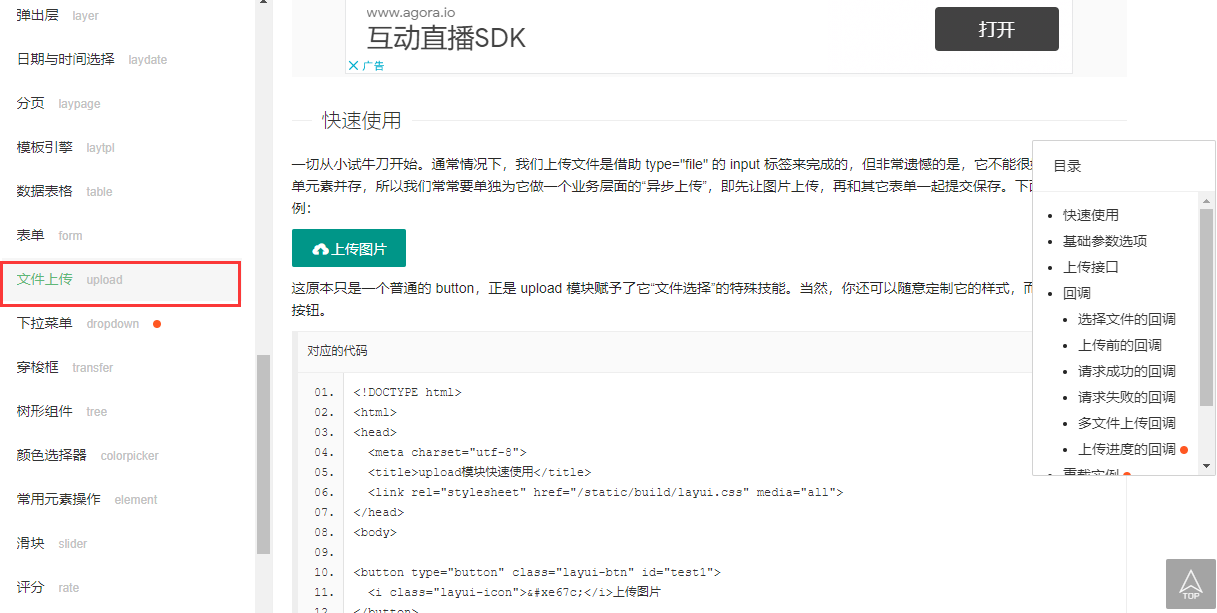
- Official documents (about file upload)
quick get start
front end
1. index page, introduce css style and js script
<!DOCTYPE html>
<html lang="en" xmlns:th="http://www.thymeleaf.org">
<head>
<meta charset="UTF-8">
<title>index</title>
<link rel="stylesheet" th:href="@{/layui/css/layui.css}"/>
</head>
<script th:src="@{/layui/layui.js}"></script>
<script th:src="@{/js/jquery.min.js}"></script>
<body>
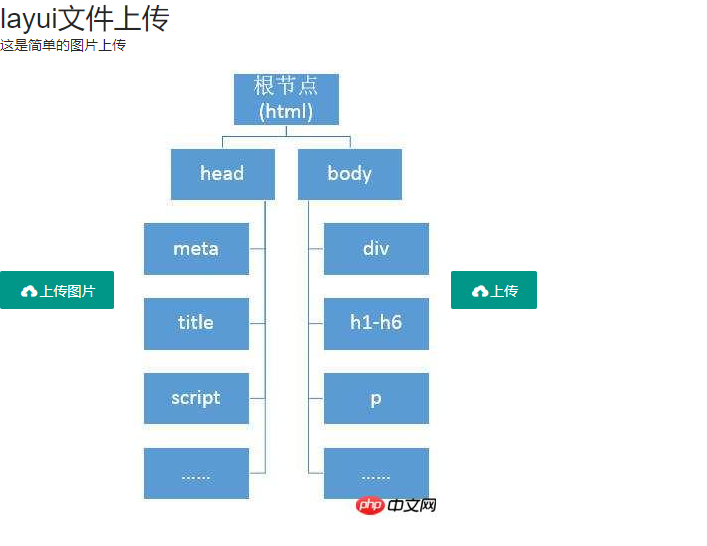
<h1>layui File upload</h1>
</body>
</html>
2. File upload button
<!-- Upload pictures -->
<p>This is a simple picture upload</p>
<button type="button" class="layui-btn" id="imageUpload">
<i class="layui-icon"></ i> Upload pictures
</button>
- Page display

3. script code
// Import upload tool: Upload
layui.use('upload', function () {
    var upload = layui.upload;  // Call tool
    // Execution instance
    var uploadInst = upload.render({
        elem: "#imageUpload "/ / point to the container selector and bind with the id
    });
})
Core methods and basic parameters
elme
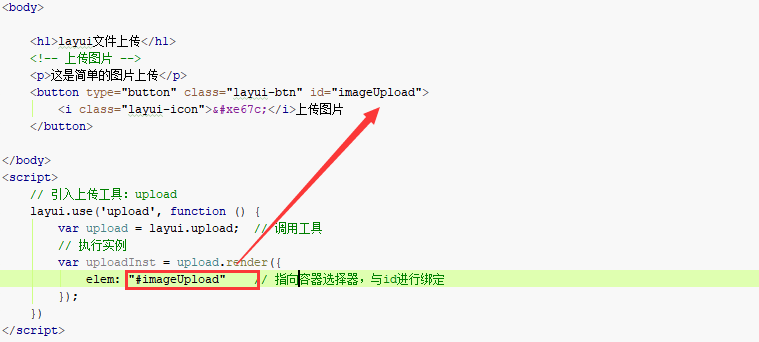
Point to the container selector and bind to the container in the html page. For example, elem: "#imageUpload" can also be a DOM object. It is recommended to use id or class to bind directly.
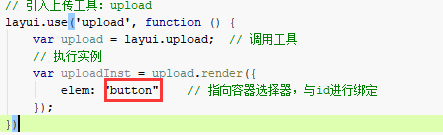
DOM object
DOM, full name "Document Object Model", is a standard defined by W3C organization. In front-end development, we often need to add an element or delete an element somewhere on the page. This operation of adding and deleting elements is realized through DOM.
To put it bluntly, DOM is an interface. We can operate various elements in the page through dom.
As shown in the previous button:

At the same time, our script can also be written as:
url
An interface for file upload. The interface call will be explained in detail later.
// Execution instance
var uploadInst = upload.render({
    elem: "#imageUpload ", / / point to the container selector and bind with the id
    url: "" // The file upload interface needs to interact with your backend
});
data
Request additional parameters for the backend interface. For example: data: {id: "1"}.
data:{  // Parameters for file upload
    id: "1"
}
You can also call the dynamic writing method of JQery; For example: data: {id: $("#id").val()}.
accept
Specify the file type that can be verified when uploading. The optional values are: images, file, video and audio.
The default is images.
accept: "images"
acceptMime
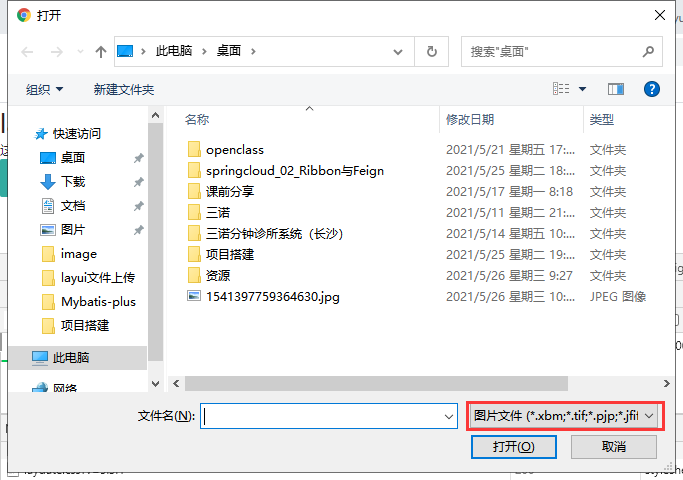
Specifies the file types filtered out when the file selection box is opened. The values are a comma separated list of MIME types. For example:
acceptMime: 'image / *' (only picture files are displayed)
acceptMime: 'image/jpg, image/png' (only jpg and png files are displayed)
Note: this parameter is added from layui 2.2.6
acceptMime: "image/*"
exts
File suffix allowed to upload. It is generally set in combination with the accept parameter class. Assuming that accept is of file type, you can set ext: 'zip|rar|7z', which means that only files in compressed format are allowed to be uploaded. If accept is not set, the limit is the file format of the picture.
exts: "png|jpg"
auto
Whether to automatically upload after selecting files. If false is set, the bindAction parameter needs to be set to point to another button to submit the upload.
The default value is true. Files are uploaded automatically after selection.
auto: false
bindAction
Point to a button to trigger upload. It is generally used with auto: false. The value is a selector or DOM object, such as bindAction: '#btn'
- html modification
<!-- Upload pictures -->
<p>This is a simple picture upload</p>
<button type="button" class="layui-btn" id="imageUpload">
<i class="layui-icon"></ i> Upload pictures
</button>
<button type="button" class="layui-btn" id="upload">
<i class="layui-icon"></ i> Upload
</button>
- script code
bindAction: "#upload"
- result

field
Set the field name of the file field. The default is: file.

field: "imageFile"
- result

size
Set the maximum allowable upload size of the file, in KB. The default is 0, which is unrestricted.
size: 1024*5 // File upload size cannot exceed 5M
multiple
Whether to allow multiple file uploads. Set true to enable. The default value is false and is not enabled.

Note: after opening and uploading several files, it will be submitted several times.
multiple: true
number
Set the number of files that can be uploaded at the same time, which generally appears with the multiple parameter. The default is 0, that is, unlimited
number: 2
drag
Whether to accept dragged file upload. Set false to disable it. On by default.
drag: true
headers
Request header for interface
headers: {
    token: "imageUplocd"
}
- effect

Callback Arguments
choose
Callback function after selecting file. Generally used as a preview of the picture.
choose: function(obj){  // Callback function after file selection

}
The return value is the obj ect parameter, which includes four functions.
obj.pushFile()
Append each selected file to the file pair column.
var pushFile = obj.pushFile();
console.log(pushFile);
- Result display

- upload

The selected file will be placed in obj In the pushfile() function, even if a single file is uploaded, it will be automatically added, and it will traverse and upload one by one. It is not recommended. Multiple file uploads are required. Please use the multiple parameter.
obj.preview(function (idnex, file, result) {})
Pre read local files. If multiple files are uploaded, it will be traversed.
- idnex: get file index
- File: get file object
- result: returns the base64 encoding of the file, such as an image
<img src="" id="image">
$("#image").attr("src", result);
In this way, we can display the uploaded pictures in the front end
iew(function (idnex, file, result) {})
Pre read local files. If multiple files are uploaded, it will be traversed.
- idnex: get file index
- File: get file object
- result: returns the base64 encoding of the file, such as an image
<img src="" id="image">
$("#image").attr("src", result);
In this way, we can display the uploaded pictures in the front end