Linux installation jdk and Tomcat
1. Install jdk
1. View the JDK package that comes with the system
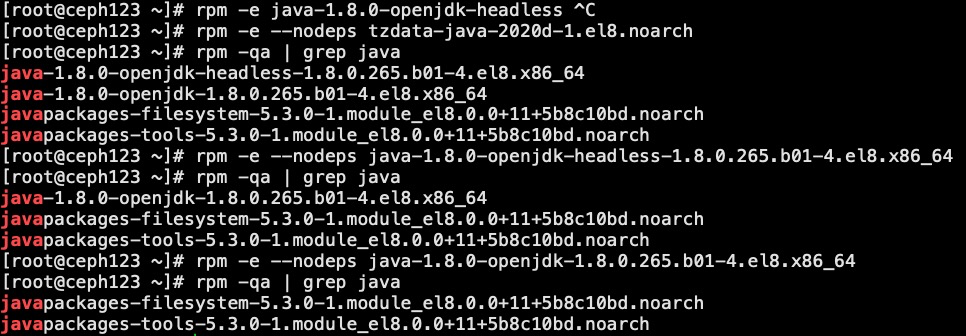
Command: rpm-qa | grep Java
Delete the three packages pointed at by the arrow

- Delete native JDK
Command: rpm-e --nodeps +package name
Screenshot shows that it has been deleted
3. Install jdk
Create a folder to load the jdk package in the terminal, enter: mkdir-p/usr/java

4. Go to orcal to download your own version of the installation package
Address: http://www.oracle.com/technetwork/java/javase/downloads/index.html
Copy Link to Thunder Download or wget directly in linux
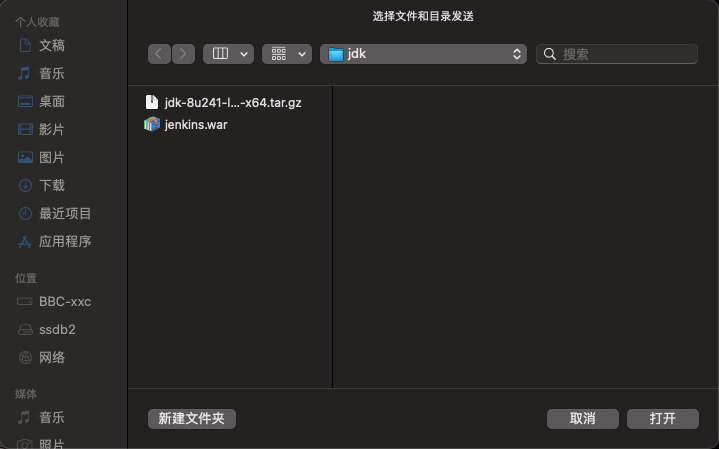
I download it here using Thunder and pass it to the server via rz
cd //usr/local/src
Pass the package in/usr/local/src

5. Decompression package
Command: tar-zxvf jdk-8u241-linux-x64. Tar. Gz-C/usr/java##Unzip the specified directory
It is recommended that all downloaded packages be placed in / usr/local/src, and the unpacked packages create their own directories to install
6. Configuring environment variables
Command: vim/etc/profile
Enter text editing, navigate to the end of the file with the key "shift+g", click'i'to enter editing,
Write the following data on the last line:
export JAVA_HOME=/usr/java/jdk1.8.0_241
export PATH=.:$JAVA_HOME/bin:$PATH
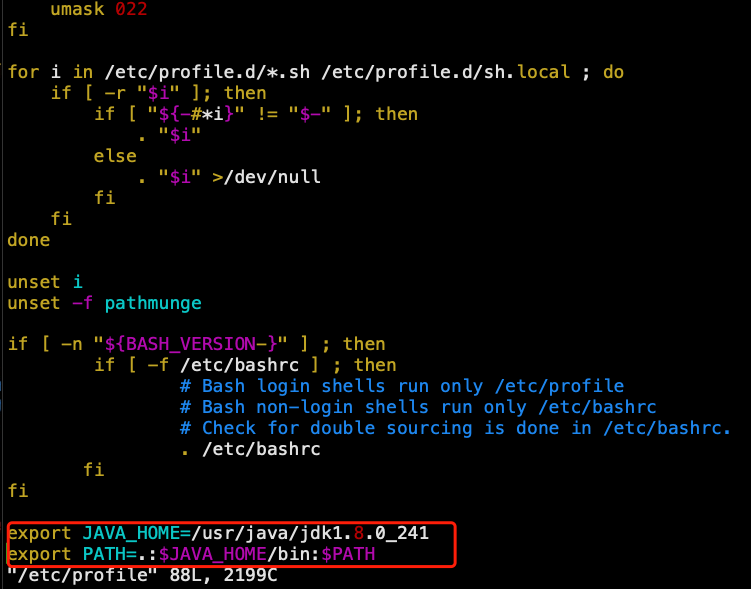
With Command': wq!' Save Exit
7. Let environmental variables take effect
Execute command: source/etc/profile
8. Then execute the following command to verify that the installation was successful:
java -version
You can now see that your environment variables have been set successfully. Displays the version of JDK

Install jdk on Linux and you're done!
Start:
When deploying a project, the package typed by the project is in the jar package format and needs to be published to the server to start up
- scp command to upload jar package
If you want to copy local files to another ssh terminal, you can use the following command;
scp + package name + remote host name + absolute path to store
as scp shopfront-0.0.1-SNAPSHOT.jar root@192.168.8.235:/usr/java
Enter password, return
If you do the opposite, copy the files of the remote host to the current system, operating under the command;
scp root@192.168.8.235:/usr/java/shopfront-0.0.1-SNAPSHOT.jar /data/app
2. General startup jar package: java-jar [xxx.jar]
But start like this, when your terminal window is closed, the service will automatically shut down and the service will stop running, so we need to start in the background to make sure the service does not hang up in the background.
Solution:
3. Exit terminal without stopping service
Format: nohup java -jar xxx.jar  >> log.out 2>&1 &
Example:`nohup java -jar shopfront-0.0.1-SNAPSHOT.jar   >> log.out 2>&1 &`
The service starts in the background and the log is appended to the log.out file
Ps-ef | grep Java View your process status
nohup command
nohup is short for no hang up, meaning no hang up
Common with & commands
Output Redirection
2>&1(2) Standard error output (>) redirected to (&1) Standard output
2>&1 Standard error output redirected to standard output
&Identify process as background process
4. Write a script to suspend the service and suspend it again, as follows:
#!/bin/sh
#source /etc/profile
jarname='shopfront-0.0.1-SNAPSHOT.jar'

spid=`ps aux | grep $jarname | grep -v grep | awk '{print $2}'`
mypath="/data/app"
if [ ! -e $spid   ];then

echo "shopfront Service Exists"
echo "========================"
echo `date` >$mypath/1.txt

else

echo "shopfront Service is already suspended.Restarting.Please wait a moment"
nohup java -jar $mypath/$jarname --spring.profiles.active=test -server -Xms512m -Xmx1024m > run.log 2>&1 &

sleep 3
ps aux | grep $jarname --color
fi
2. Install Tomcat
1. To install tomcat, you must first configure the jdk environment. jdk is already configured and will not flip forward
2. Delete tomcat
Check whether linux has Tomcat installed by rpm-qa | grep Tomcat
3. Create a directory for tomcat
mkdir -p /usr/tomcat
4. Download Tomcat
Get into: https://tomcat.apache.org/download-80.cgi Select corresponding package
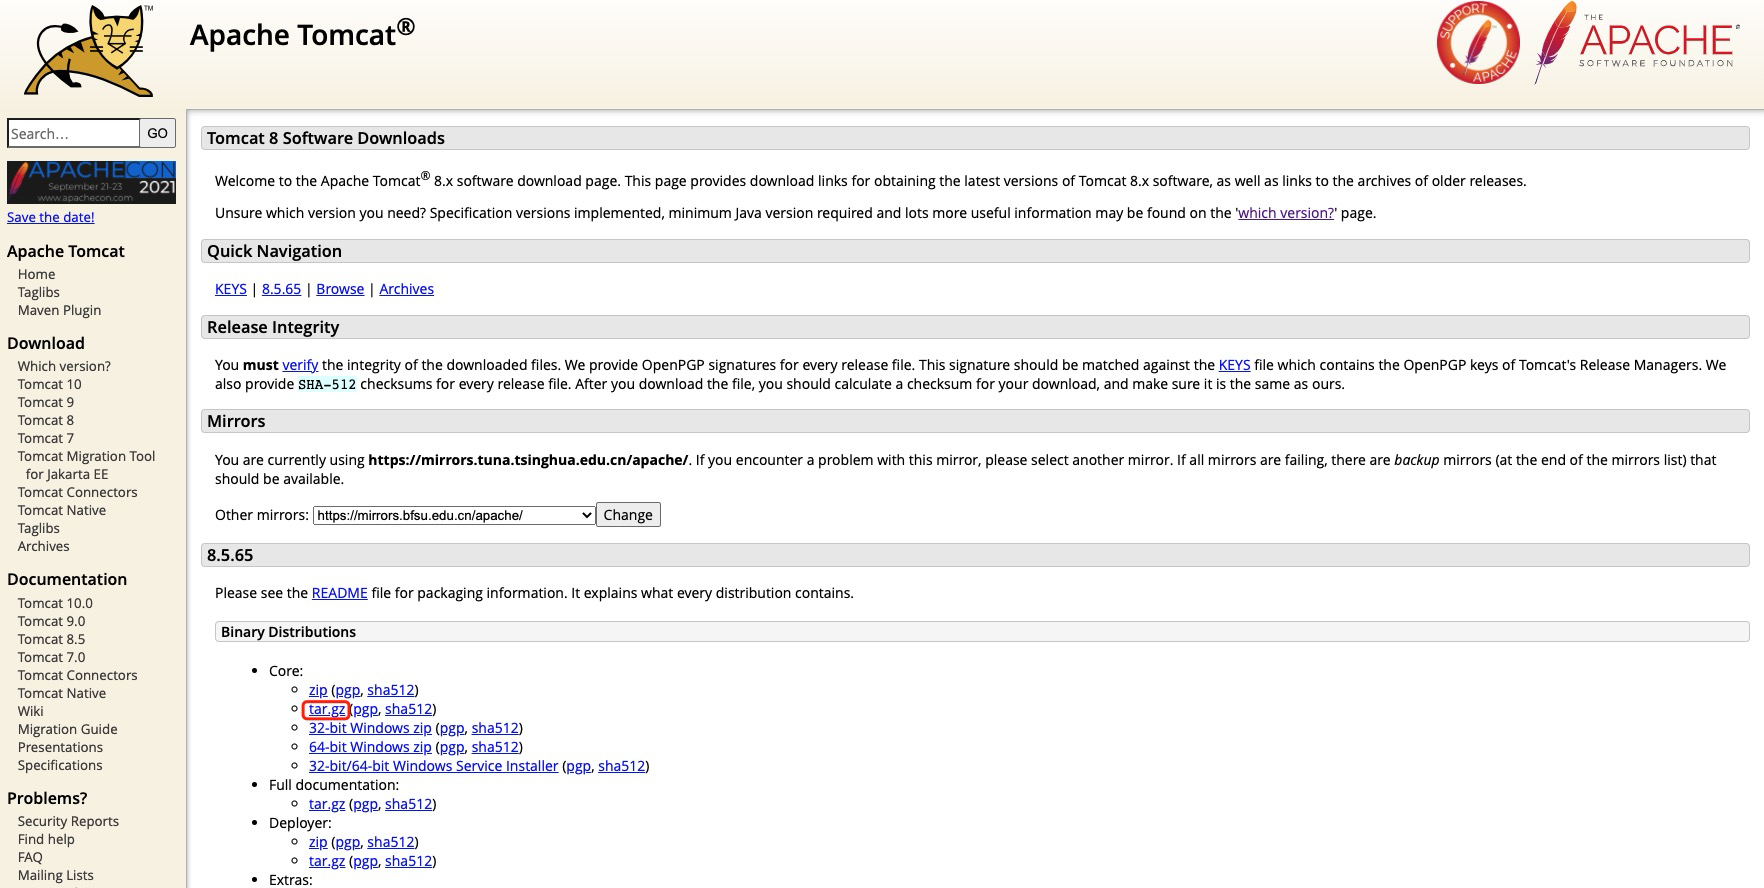
4. Copy link to Thunder download, execute rz command to upload to server

5. Decompression
tar -zxvf apache-tomcat-8.5.65.tar.gz

6. Verify installation results
Run/usr/local/apache-tomcat-8.5.65/bin/startup.sh will start Tomcat and access it in the browser http://localhost:8080 Yes, you can see the following interface, indicating that the access was successful.

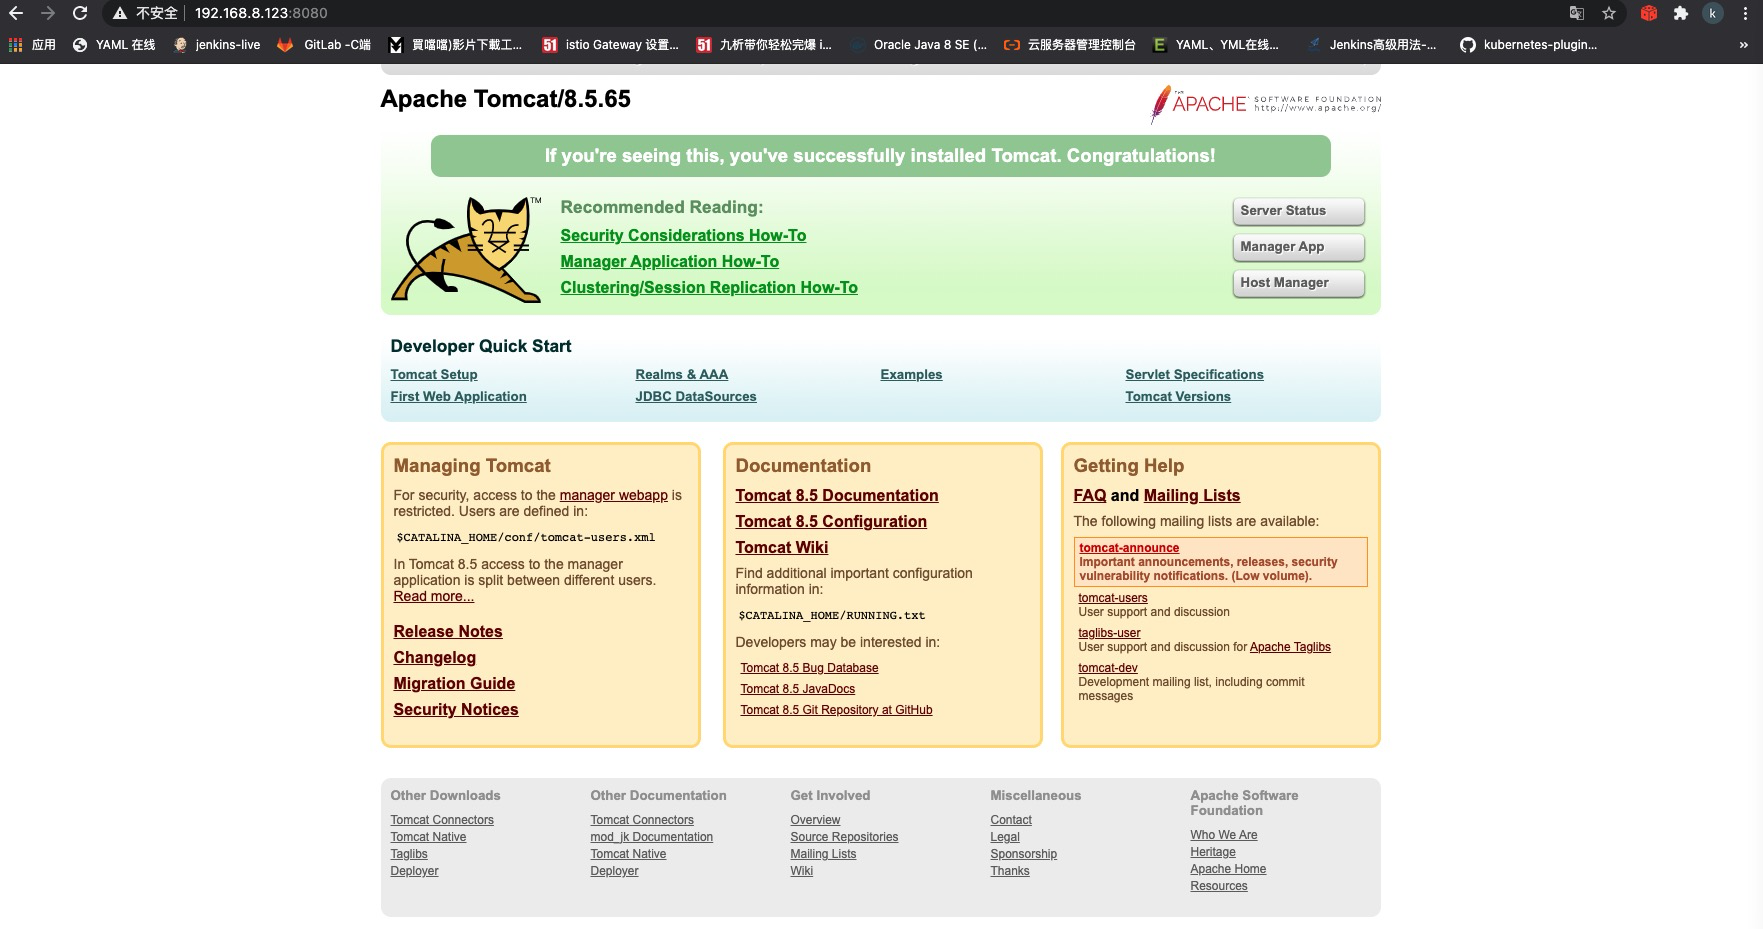
Check whether tomcat started properly with ps-ef | grep Java
[root@ceph123 ~]# ps -ef | grep java

root        5109       1 99 06:34 pts/0    00:00:05 /usr/java/jdk1.8.0_241/bin/java -Djava.util.logging.config.file=/usr/local/apache-tomcat-8.5.65/conf/logging.properties -Djava.util.logging.manager=org.apache.juli.ClassLoaderLogManager -Djdk.tls.ephemeralDHKeySize=2048 -Djava.protocol.handler.pkgs=org.apache.catalina.webresources -Dorg.apache.catalina.security.SecurityListener.UMASK=0027 -Dignore.endorsed.dirs= -classpath /usr/local/apache-tomcat-8.5.65/bin/bootstrap.jar:/usr/local/apache-tomcat-8.5.65/bin/tomcat-juli.jar -Dcatalina.base=/usr/local/apache-tomcat-8.5.65 -Dcatalina.home=/usr/local/apache-tomcat-8.5.65 -Djava.io.tmpdir=/usr/local/apache-tomcat-8.5.65/temp org.apache.catalina.startup.Bootstrap start
root        5123    5066  0 06:35 pts/0    00:00:00 grep --color=auto java