Linux Installation (virtual machine environment) and basic configuration
1, Background
This article describes how to install VMware virtual machine, if you install Linux system on the virtual machine, and the basic configuration after Linux Installation
VMware and Linux image files need to be prepared
2, Download and install VMware
Download address
1 https://my.vmware.com/en/web/vmware/info/slug/desktop_end_user_computing/vmware_workstation_pro/14_0?wd=&eqid=a321fcd7000107af000000035af54ee7
Installation tutorial
1 https://jingyan.baidu.com/article/9f7e7ec09da5906f281554d6.html
3, Installing Linux on VMware
The following tutorials are from: Linux commune (www.linuxidc.com)
1. Open VMware 12 - create a new virtual machine:
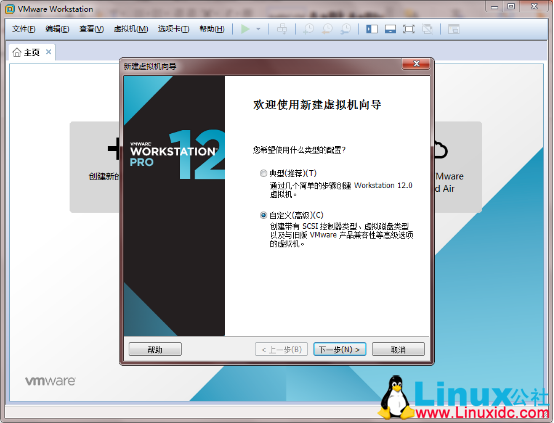
2. Then select customize - next:
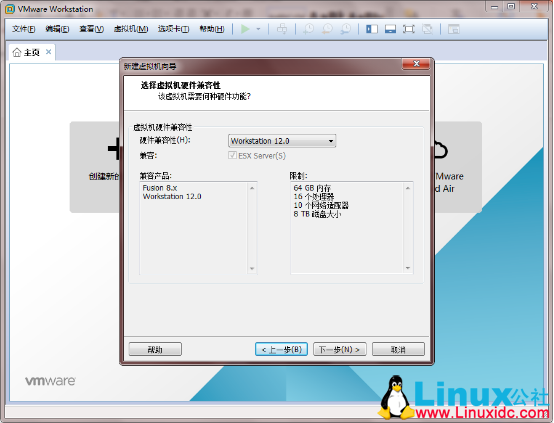
3. Continue to the next step:
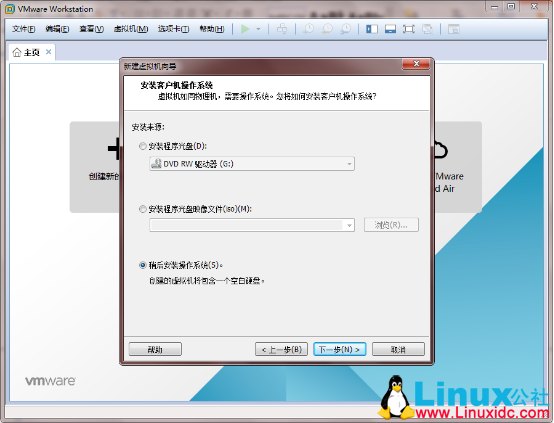
4. Select "install operating system later" -- next
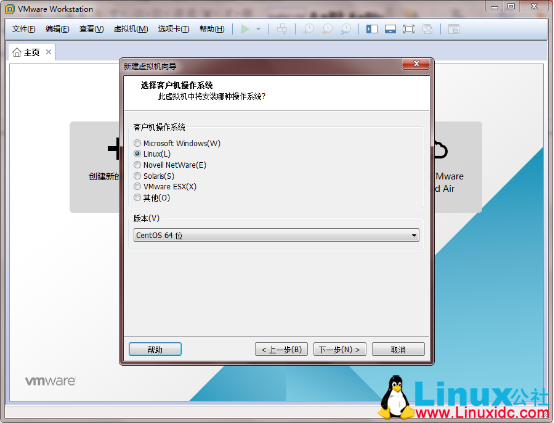
5. Select "Linux" for "client operating system" and "CentOS 64 bit" for "version" -- next:
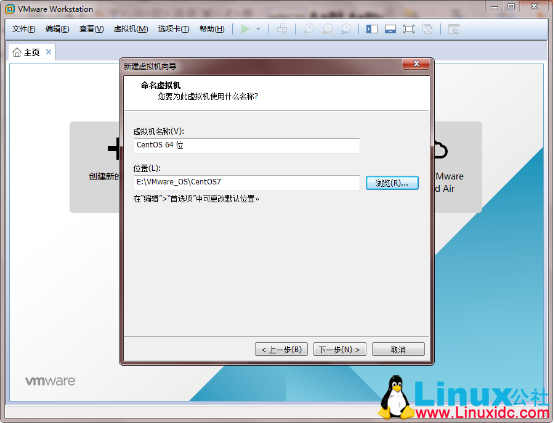
6. Modify "virtual machine name" and "location", or use the default name and path. Then "next"
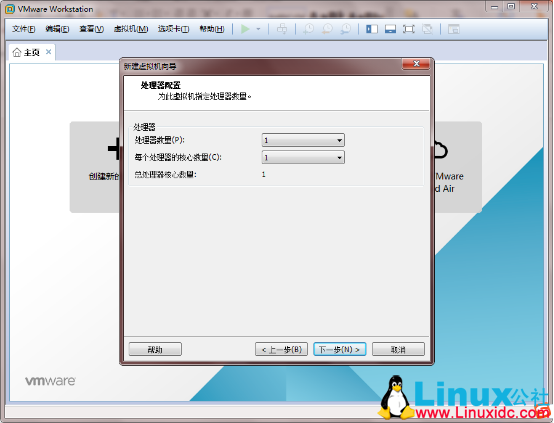
7. The default processor configuration is OK:
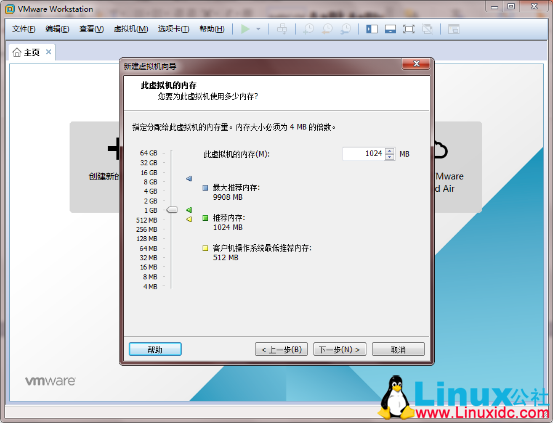
8. The memory can be customized. You can set it larger by yourself. Less than the default memory size is not recommended.
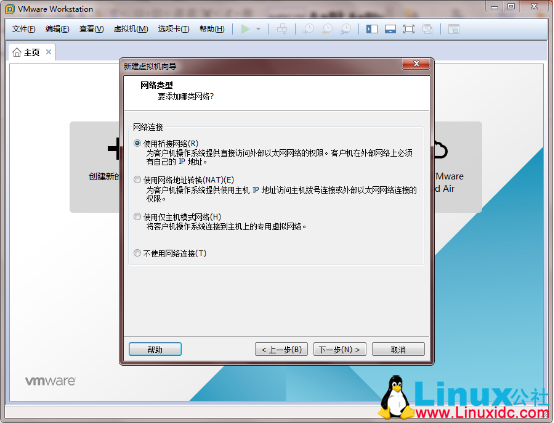
9. Select "use bridge network" for "network type":
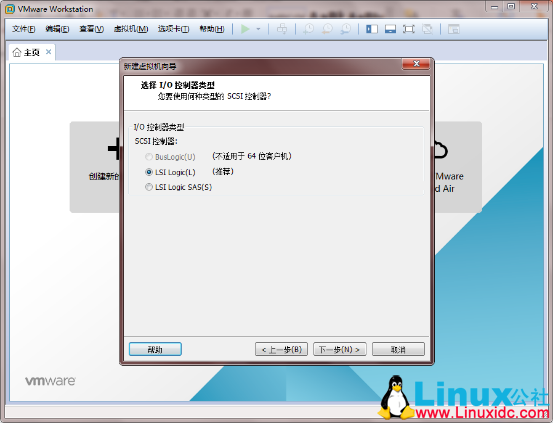
10. For "I/O controller type", select the recommended "LSI Logic" and then "next"
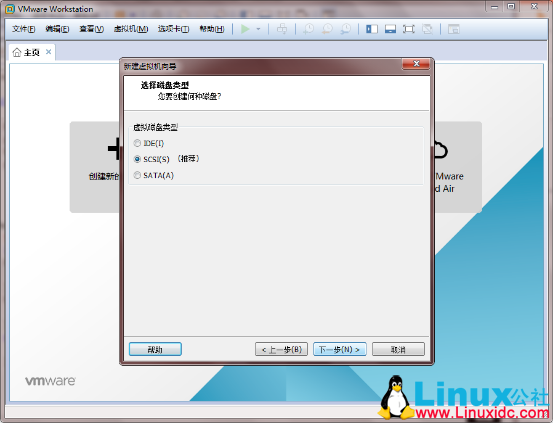
11. For "virtual disk type", select the recommended "SCSI" and then "next"
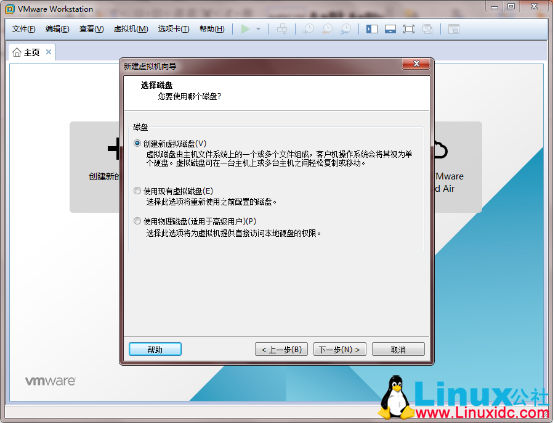
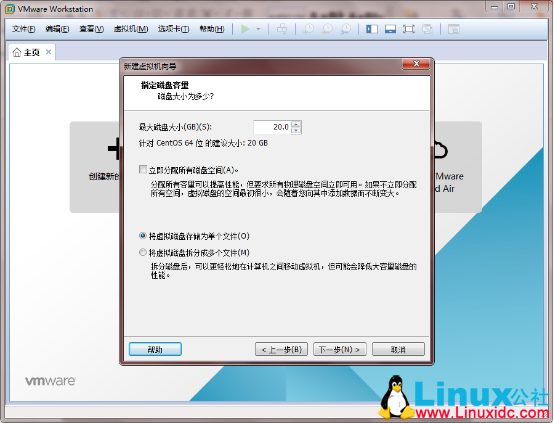
12. Select create new virtual disk from disk
13. Select the recommended size for "specify disk capacity", and you can set it to be larger. Then select store virtual disk as a single file
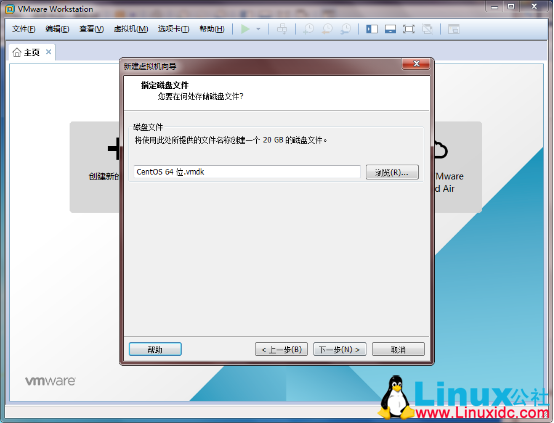
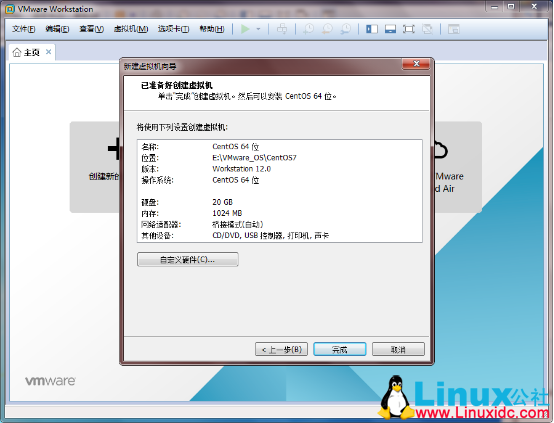
14. Click "finish"
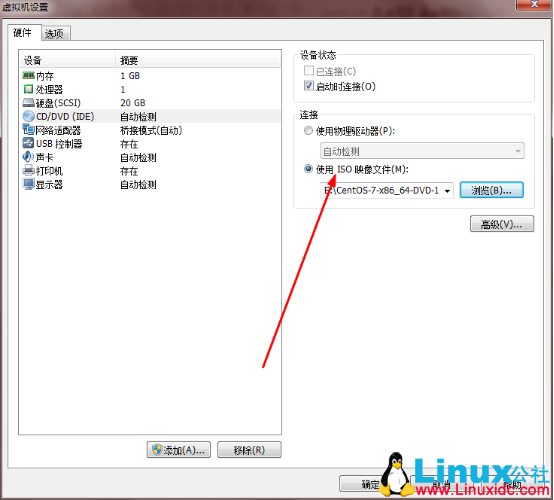
15. Click "CD/DVD (IDE)":
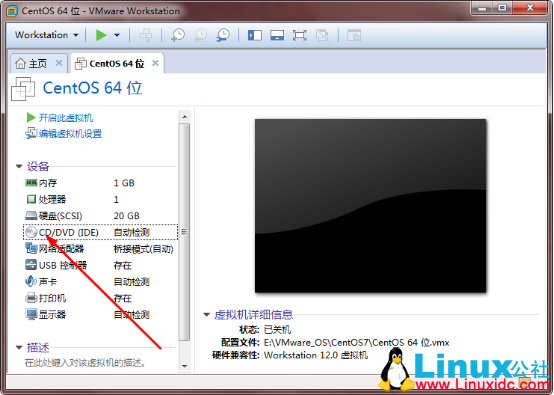
16. Select "use ISO image file" and click "Browse" to find the location of your installation disk:
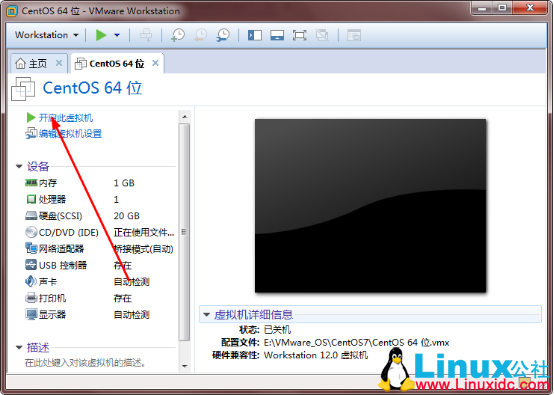
17. Click "start this virtual machine":
4, Linux basic configuration
1. Network settings
A. Modify the configuration file of the IP address of the corresponding network card
1 2 3 4 5 6 7 8 # vi /etc/sysconfig/network-scripts/ifcfg-eth0 IPV6INIT=no #Turn off IPV6 support, which is generally not used at present ONBOOT=yes #Activate this device when the system starts BOOTPROTO=static #The way the network card obtains the ip address is static, dhcp or bootp IPADDR=192.168.1.129 #Statically specify the IP and specify the IP address corresponding to the network card (you can set it yourself and connect remotely without overlapping with other local IP), as shown in Figure 1 above NETMASK=255.255.255.0 #Subnet mask #NETWORK=192.168.1.1 #You can set the gateway in the following 2 -- as shown in Figure 2 above
B. Set gateway
1 2 3 4 5 # vi /etc/sysconfig/network NETWORKING=yes #Indicates whether the system uses the network HOSTNAME=CentOsMini #Set the host name of this computer GATEWAY=192.168.1.1 #Set the IP address of the gateway connected to this computer. This is the most important. Check your computer
C. Set DNS
1 2 3 4 5 6 7 8 9 # vi /etc/resolv.conf nameserver 8.8.8.8 nameserver 114.114.114.114 # service network restart restart the network service and network card # ifconfig can view network settings #ping 192.168.1.1 check whether the gateway is connected #ping www.baidu.com to check whether the domain name resolution is normal
If you are prompted that the ip has been used, go back to A, reset the ip address and restart.
After the network is set up, we use Xshell to log in to CentOs remotely, which is convenient for operation. In fact, most of them log in remotely in peacetime development.
xshell login:
host (the ip address you set, here is): 192.168.1.129
Account No.: root
Password (root password set during installation): 123456
2. Install a simple graphics management configuration kit
There is a simple image setting interface in linux command line mode. CentOS Mini is not installed. Next, install these simple graphic management interfaces (distinguished from Xwindow, do not confuse them).
centos can't run setup? Then install setuptool, which can save a lot of system management time.
1 2 3 4 5 6 7 8 9 10 11 12 13 #Installing setuptool yum install setuptool #You can find that the setup is incomplete, and then install another one for system service management yum install ntsysv #Install another firewall, as well as the supporting firewall settings and network settings in setup yum install iptables #Install the supporting firewall settings in setup yum install system-config-securitylevel-tui #Install the supporting network settings in setup yum install system-config-network-tui You can install it all at once yum -y install setuptool ntsysv iptables system-config-securitylevel-tui system-config-network-tui system-config-firewall-tui system-config-keyboard system-config-network Above is a line of command
After installation, enter the setup command to pop up the setting interface. Here, for demonstration, only setuptool is installed. If you install other packages, you will have corresponding options.
3. Development environment
1 2 3 4 5 6 7 yum install vim //Powerful Vi editor, similar to Vi's text editor, but many new features have been added on the basis of Vi yum install wget //The tool for automatically downloading files from the network supports downloading through the three most common TCP/IP protocols: HTTP, HTTPS and FTP yum install gcc //A set of compilers supporting multiple programming languages developed by GNU Project yum install cpp yum install gcc-c++ yum install make //makefile yum install gdb //Debugging tools