When compiling the Rust project on raspberry pie, I was stuck in update Crites, of course, because of some force majeure So try installing v2ray on raspberry pie The following is the tossing process, and finally success
Two methods are provided here. The first method is relatively simple but unsuccessful (there should be a problem with the steps and there is no time to toss around. If you know how to operate, please point out how to operate. If you succeed, you can make up later. After all, this method is simple and green, so leave a pit here first)
Mode 1: Green installation
1. Download v2ray core:,
website:https://github.com/v2fly/v2ray-core/releases/tag/v4.40.1
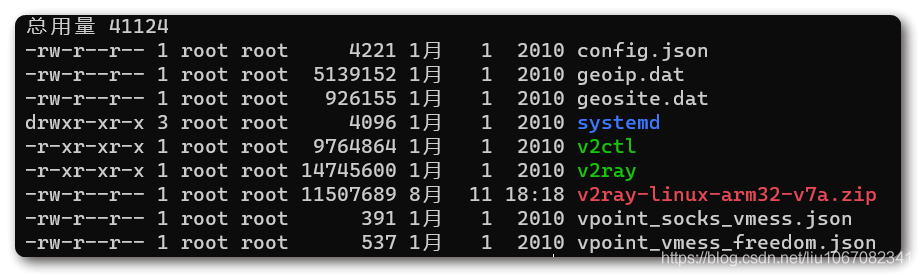
Download the version of the corresponding cpu platform. This is raspberry pie. This is what I downloaded

After downloading, put it in any directory of Linux and unzip it
2. Configuration file
Before running, you need to configure config. In the directory JSON file, I copied it directly here
mogul Lin Shenshi Jianlu Explanation of configuration
{
  "log": {
    "loglevel": "warning"
  },
  "inbounds": [
    {
      "tag": "proxy",
      "port": 1090, // Listening port
      "listen": "127.0.0.1",
      "protocol": "socks", // The entry protocol is SOCKS 5
      "sniffing": {
        "enabled": true,
        "destOverride": [
          "http",
          "tls"
        ]
      },
      "settings": {
        "auth": "noauth", //In the authentication setting of socks, noauth means no authentication. Because socks are usually used on the client, authentication is not allowed here
        "udp": true
      },
      "streamSettings": null
    }
  ],
  "outbounds": [
    {
      "tag": "proxy",
      "protocol": "vmess", // Export agreement
      "settings": {
        "vnext": [
          {
            "address": "server.com", // Server address, please modify it to your own server IP or domain name
            "port": 10010, // Server port
            "users": [
              {
                "id": "b831381d-6324-4d53-ad4f-8cda48b30811",  // The user ID must be the same as the server-side configuration
                "alterId": 32 // The value here should also be the same as the server
              }
            ]
          }
        ]
      }
    }
  ]
}
Modify the protocol in the above configuration and the address, port, id and alterId under vnext. This is the content that must be modified. Refer to the notes for its meaning. Other contents may not be changed. If you know the configuration, you can modify the rest by yourself
If you are also using v2ray on windows, you can directly add config. In the root directory of the software Just copy JSON to linux
3. Operation
implement
./v2ray
result:
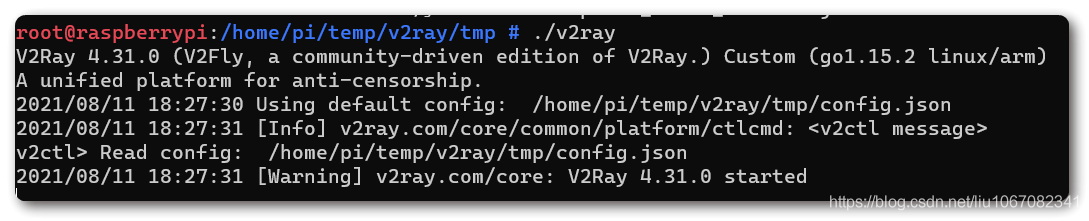
It shows that the execution is successful, but it is actually unusable And the current session will be blocked here
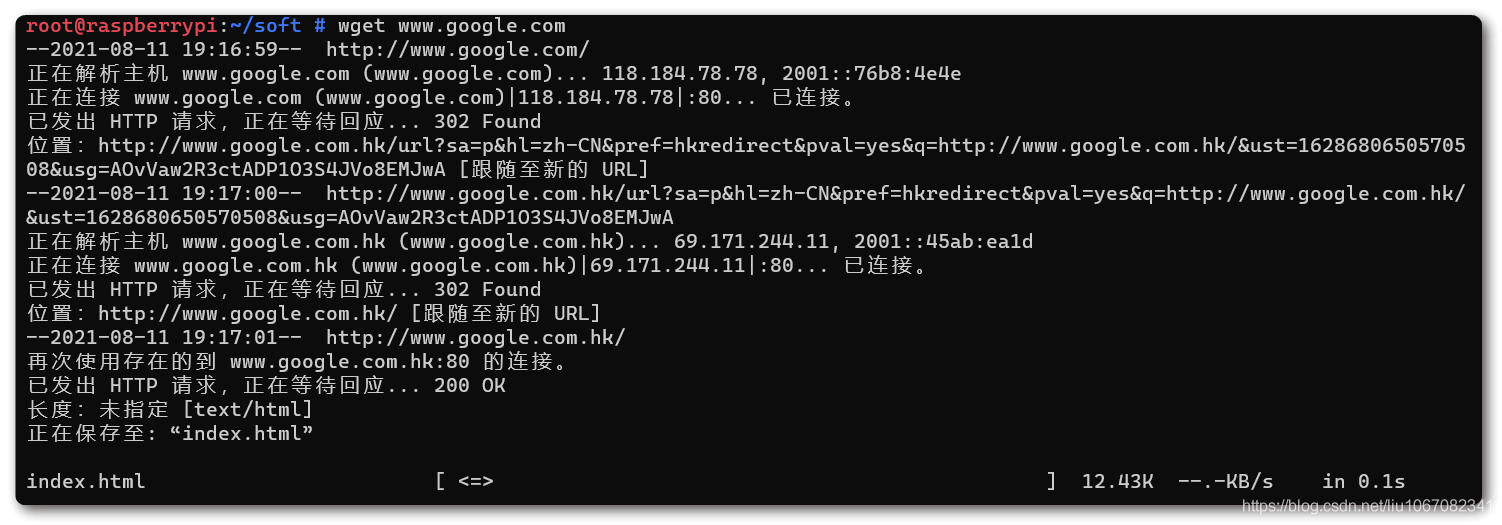
Start another session and execute wget www.google.com Still not. Www. 68mn

There are still some places where the operation is not correct. There are not many online materials. I can't find a detailed introduction to the operation
The second method is successful
Mode 2: Script Installation
1. Download the installation script
URL:https://raw.githubusercontent.com/v2fly/fhs-install-v2ray/master/install-release.sh
You can wget or download it on windows, transfer it to any location
2. Perform installation
There are two methods, one is online installation and the other is offline installation
First, give execution permission
sudo chmod +x install-release.sh
1. Online installation
Just execute the script directly
sudo bash install-release.sh
Then it will be installed automatically. Because you need to download something from github, whether you can install it and how fast it is depends on the network
If the network does not work, you can take offline installation
2. Offline installation
In the same way, after downloading the corresponding version of the compressed package, do not decompress it when copying to linux, and then execute
sudo bash install-release.sh --local v2ray-linux-arm32-v7a.zip
Tips:

Press any key to install locally
After installation, v2ray core is installed
3. Configure links
In theory, config. Should be manually configured here JSON (the same way), but here I found that a project called v2rayA can be controlled through the web. V2ray core can not only visualize, but also subscribe to operations
See for details
Here's my operation on raspberry pie
1. Add public key
wget -qO - https://apt.v2raya.mzz.pub/key/public-key.asc | sudo apt-key add -
2. Add V2RayA software source
echo "deb https://apt.v2raya.mzz.pub/ v2raya main" | sudo tee /etc/apt/sources.list.d/v2raya.list
sudo apt update
3. Install V2RayA
sudo apt install v2raya
4. Start v2rayA's service
sudo service v2raya start
Here, v2raya has been installed and started, and can be controlled through web access. The default port is 2017
4. Use
1. Open the browser and enter < raspberry pie IP >: 2017
You will be prompted to register. After registering an account and password, you can enter the management page
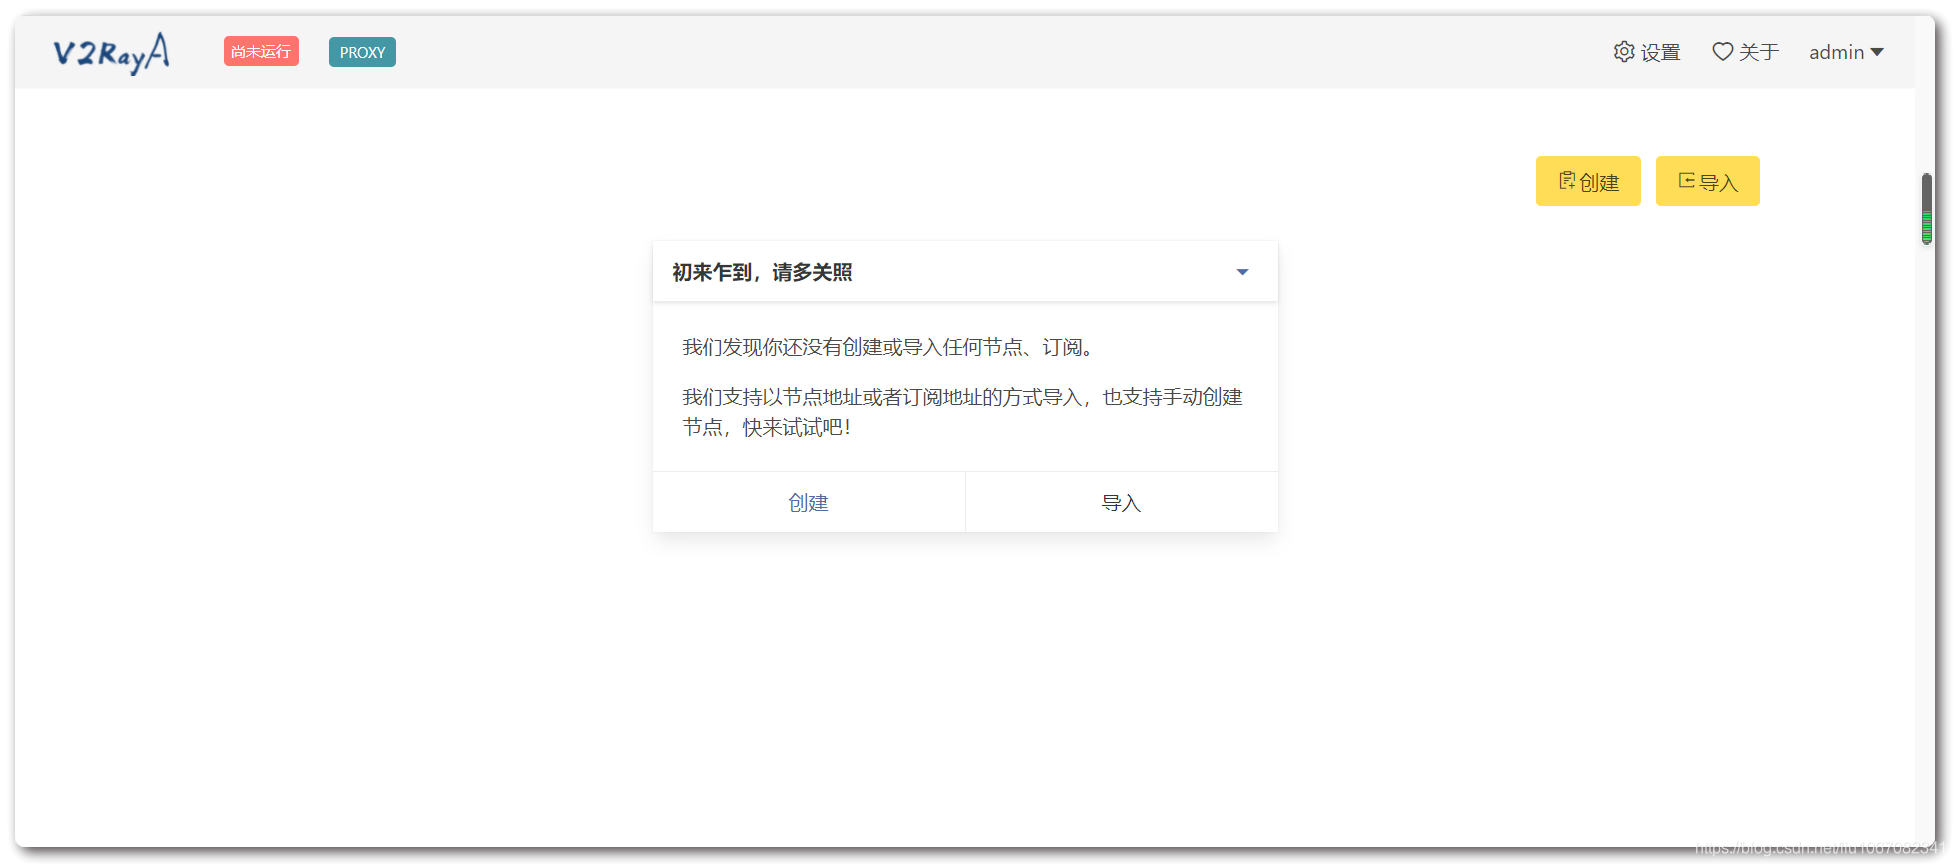
At this time, the prompt indicates that no server has been configured, and the prompt in the upper left corner indicates that it has not been started
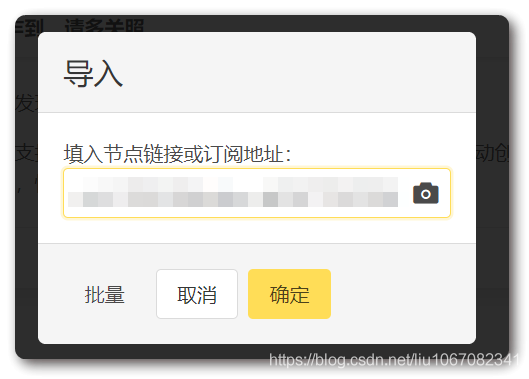
2. Import configuration
Click Import configuration and enter the subscription address
3. Click Connect to connect
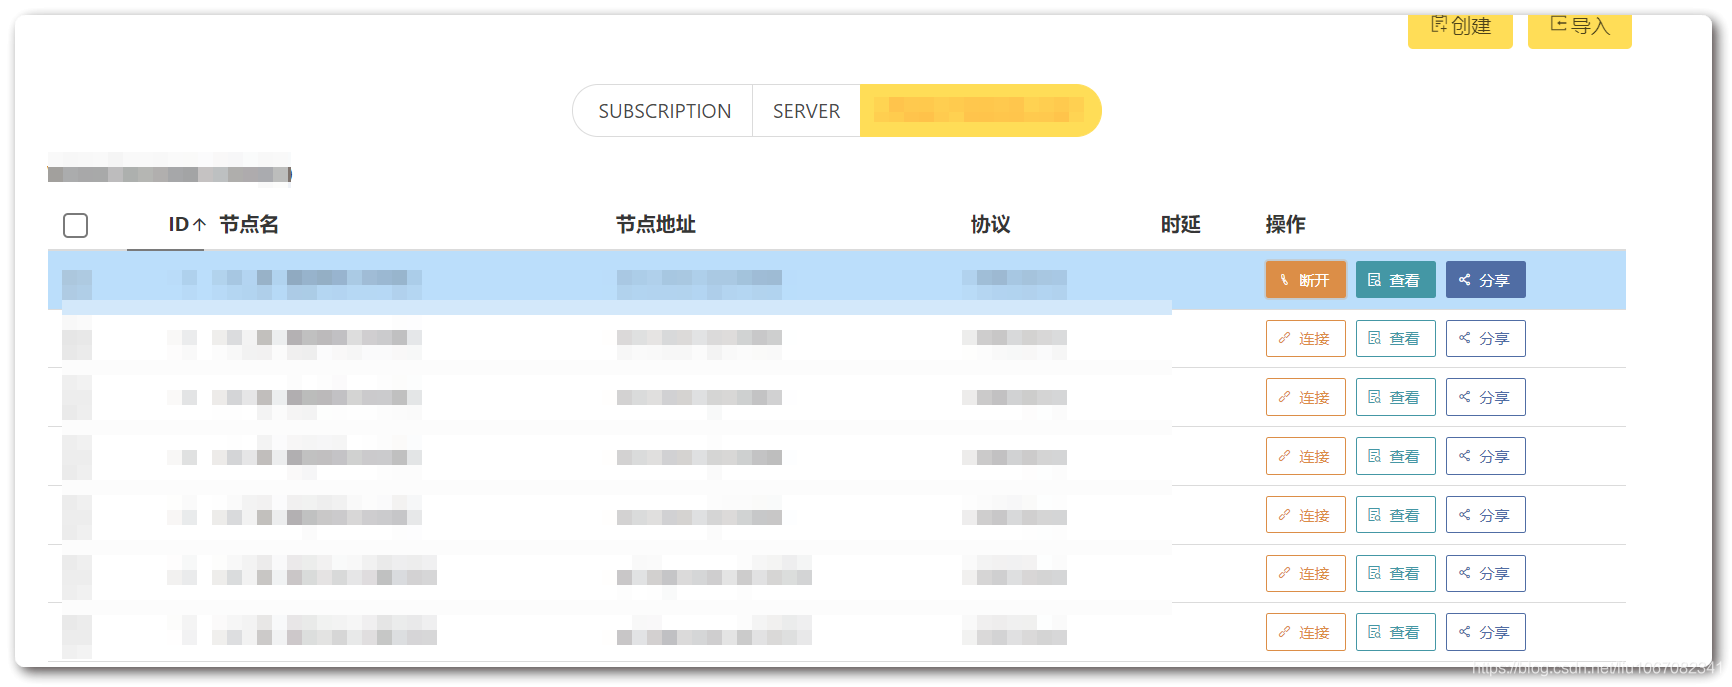
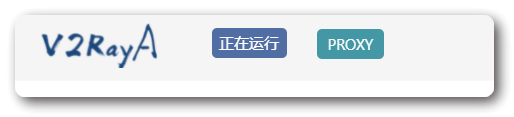
At this time, the prompt in the upper left corner indicates that the link has been linked. Click this button to disconnect the link
Click the settings in the upper right corner to configure some settings, which will not be discussed here
4. Test