1, Installing virtual machines
1. This experiment is to package the master disk of RedHat 7.6 in the host of RedHat 8.2 and install multiple virtual machines
2. We need to prepare two images, one is rhel-server-7.6-x86_64-dvd.iso, one is rhel-8.2-x86_64-dvd.iso
3. Download location of image
We can visit red hat's official website to download the required images: Log In | Red Hat IDP https://access.redhat.com/downloads/content/479/ver=/rhel---8/8.2/x86_64/product-software
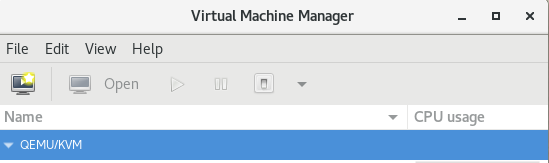
4. Enter virt manager in superuser
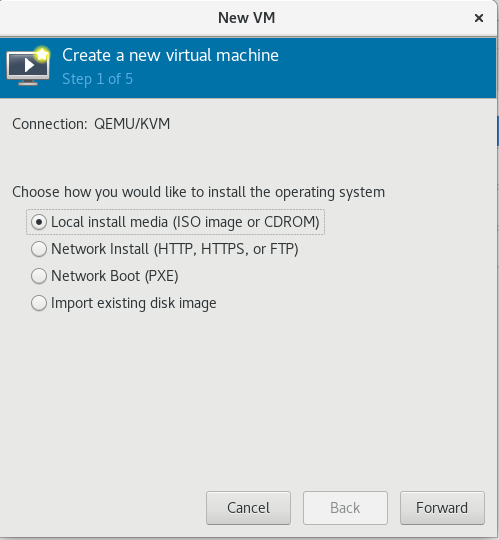
1) Click the little sun in the upper left corner to start creating the virtual machine
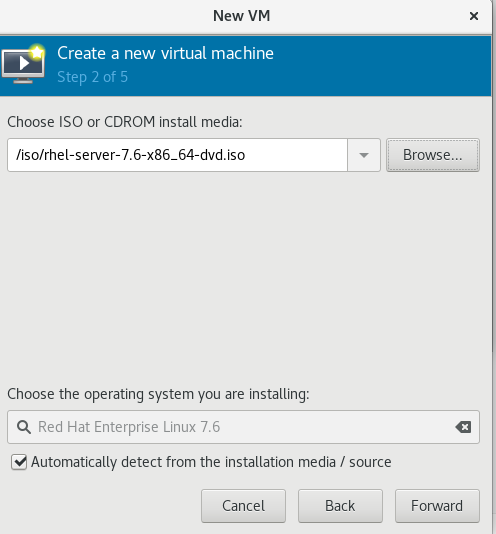
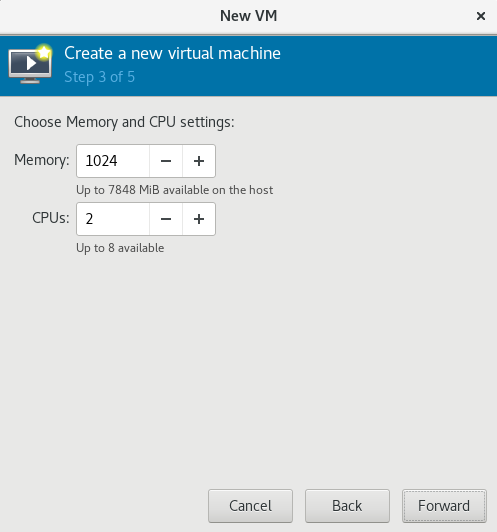
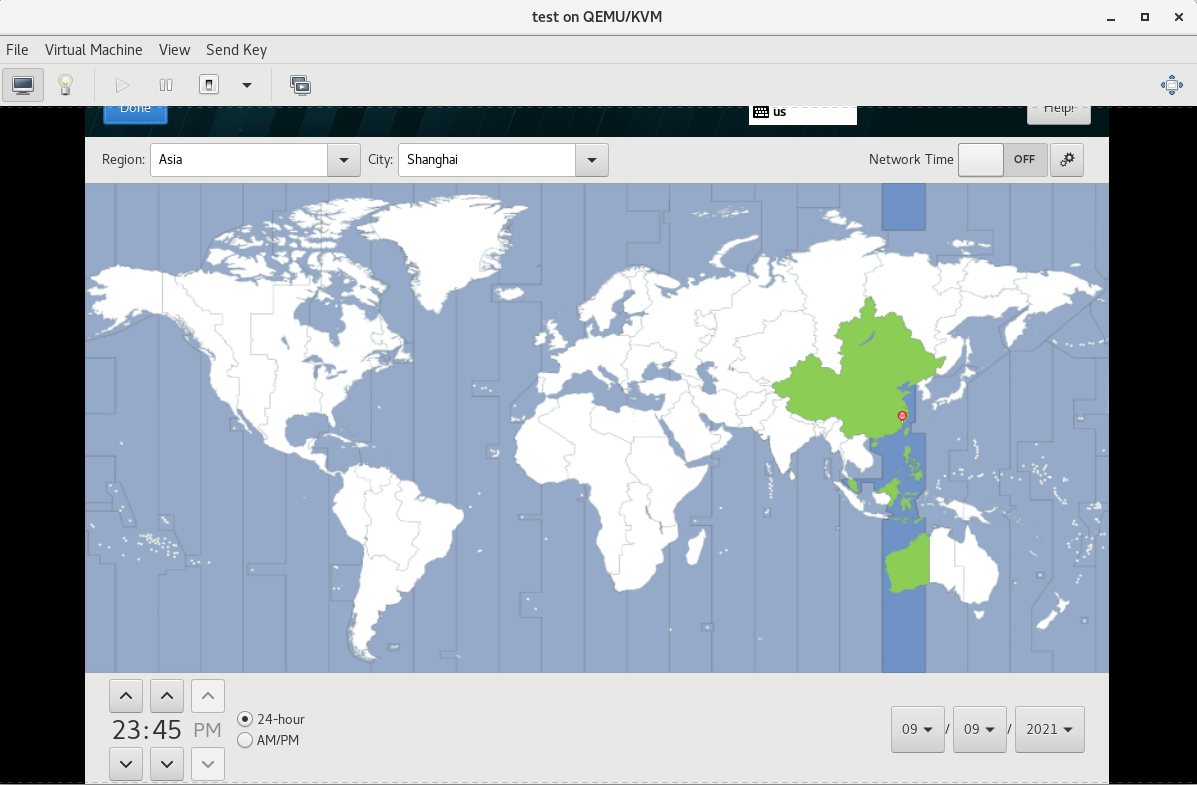
2) Install the virtual machine in the order shown
Others choose the memory size and number of cores of the virtual machine according to the performance of their own computer
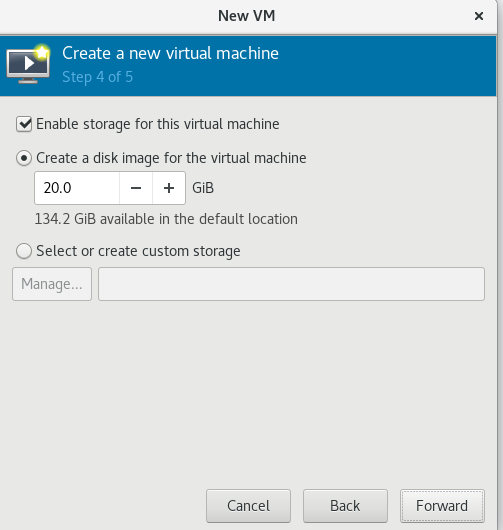

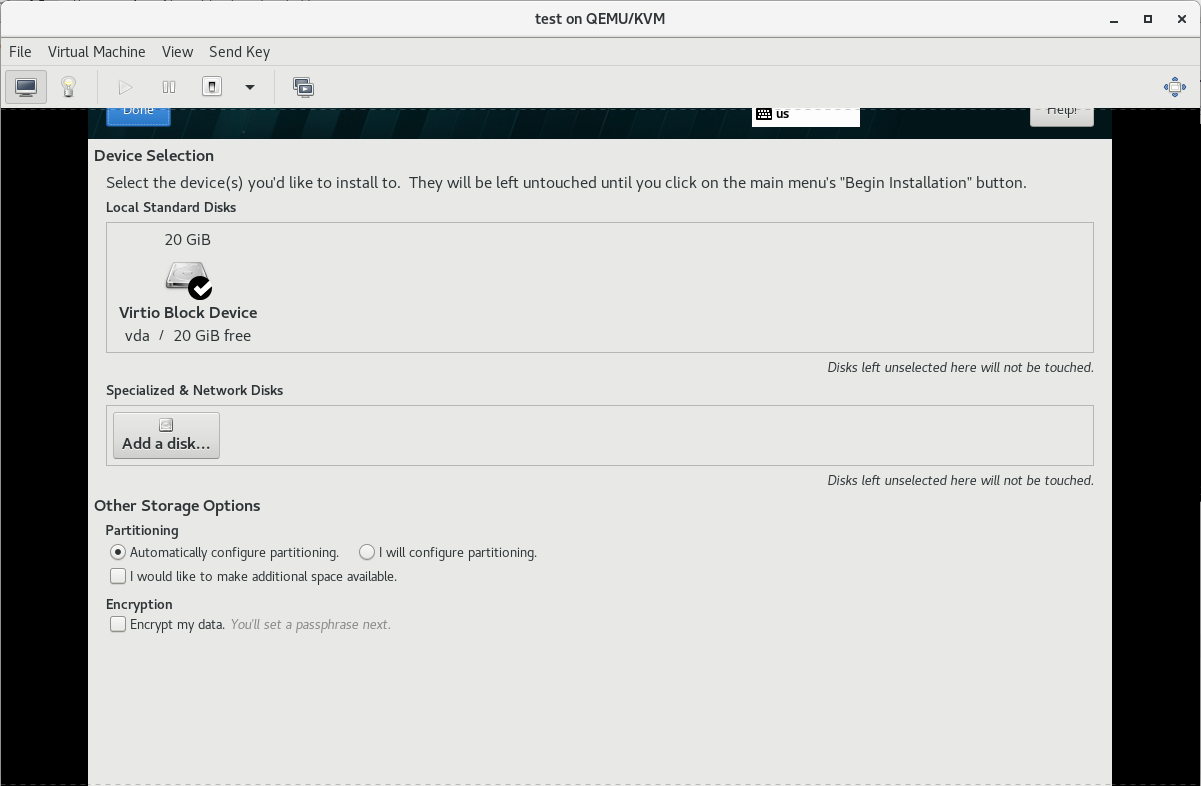
 Select auto partition for disk partition
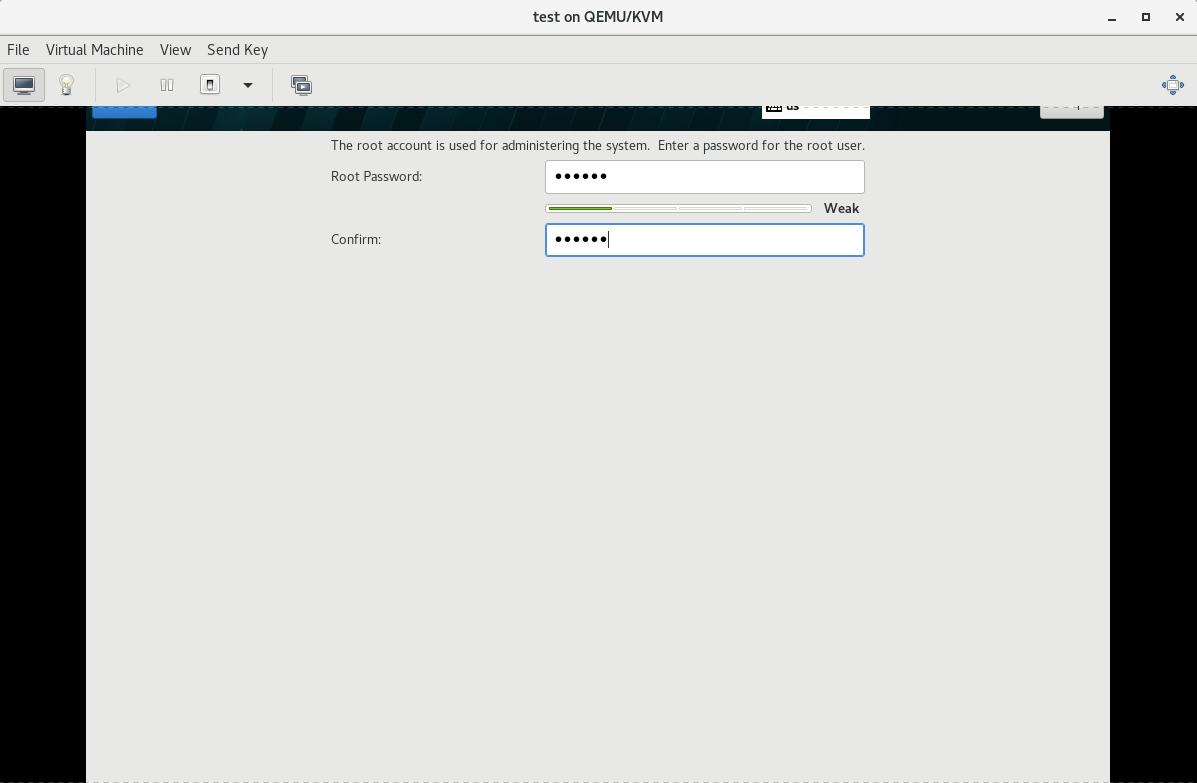
 Give superuser password
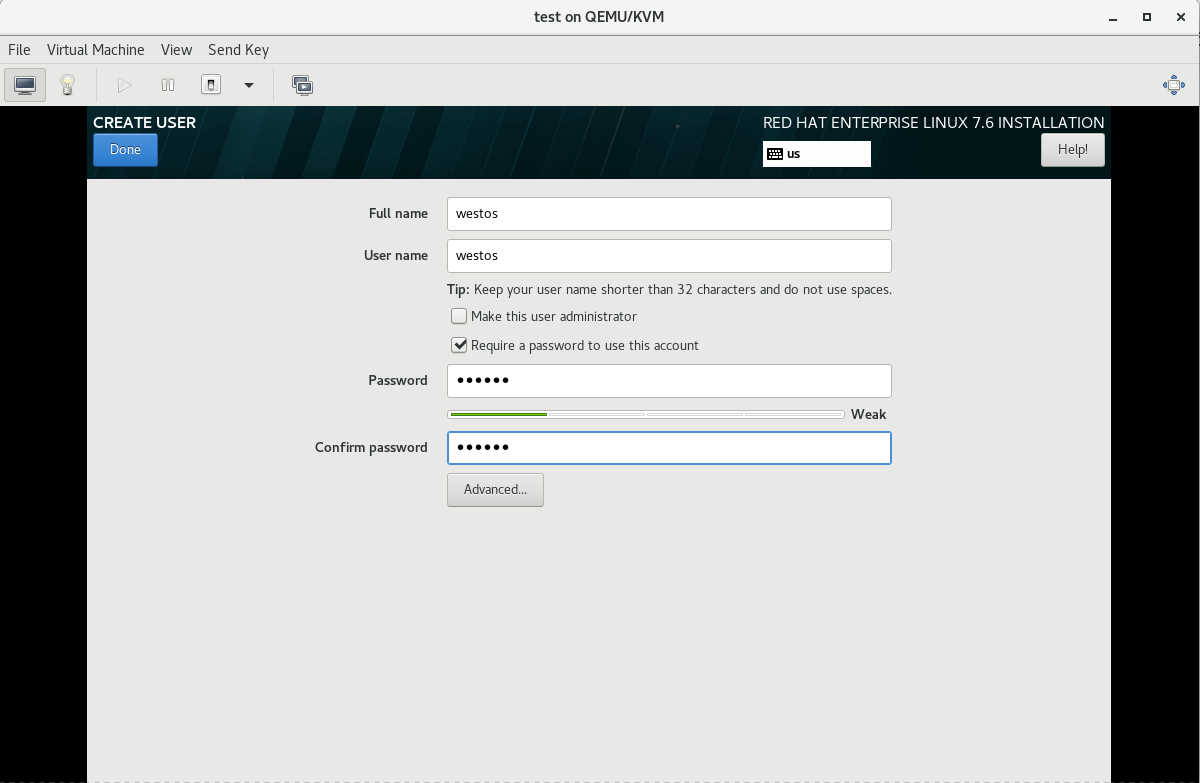
Create a normal user
After the installation, just click reboot
2, Virtual machine master configuration
1) Set IP
vi /etc/sysconfig/network-scripts/ifcfg-eth0
TYPE=Ethernet
BOOTPROTO=none
DEVICE=eth0
ONBOOT=yes
IPADDR=172.25.50.1
PREFIX=24
GATEWAY=172.25.50.250
DNS1=114.114.114.114
Then restart the network
nmcli connection reload
nmcli connection up System\ eth0
2) Close firewall and relinux
systemctl disable --now firewalld
vi /etc/sysconfig/selinux
 Replace line 7 with SELINUX=disabled
Enter reboot to restart the virtual machine to make selinux settings take effect
3) Build software warehouse
Real machine: image hanging on 7.6
mount /iso/rhel-server-7.6-x86_64-dvd.iso /var/www/html/rhel7.6/
Photo editing machine software warehouse
vim /etc/yum.repos.d/dvd.repo
[dvd]
name=rhel7.6
baseurl=file:///var/www/html/rhel7.6
gpgcheck=0
Write virtual machine software warehouse
vi /etc/yum.repos.d/dvd.repo
[dvd]
name=rhel7.6
baseurl=http://172.25.50.250/rhel7.6
gpgcheck=0
Test in real machine
Access in firefox browser 172.25.254.50/rhel7.6/
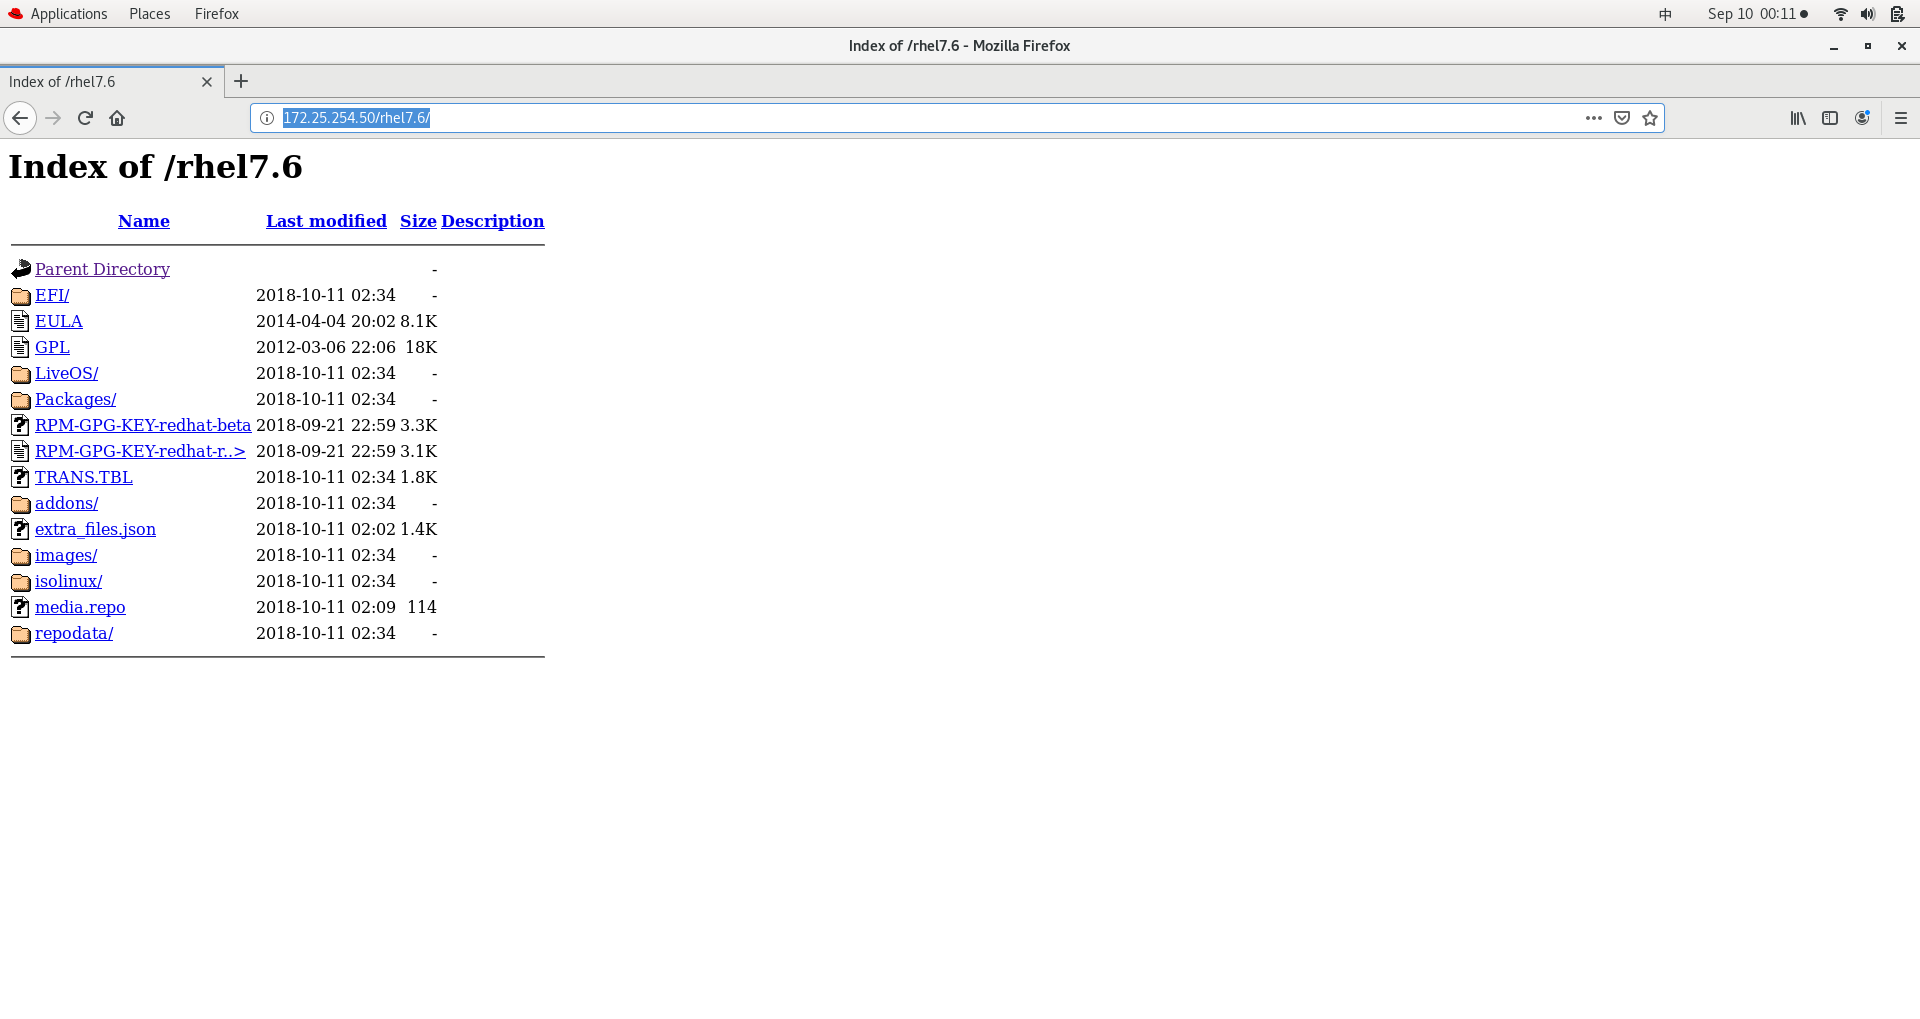
As shown in the figure, it is successful. If the content is not displayed, it indicates failure
Check whether the real apache service is normal
systemctl status httpd            see httpd Is the service enabled
###If not
systemctl enable --now httpd      start-up httpd And set it to startup
###If httpd is not downloaded
yum install -y httpd              download httpd
systemctl enable --now httpd      start-up httpd And set it to startup
4) Configure the address resolution file in the virtual machine
 vim /etc/hosts
127.0.0.1   localhost localhost.localdomain localhost4 localhost4.localdomain4
::1         localhost localhost.localdomain localhost6 localhost6.localdomain6
172.25.50.250 foundation50.ilt.example.com
172.25.50.1 server1
172.25.50.2 server2
172.25.50.3 server3
172.25.50.4 server4
172.25.50.5 server5
Install the required software in the virtual machine
yum install -y vim lftp bash-* net-tools
Finally, shut down the virtual machine directly and enter poweroff
3, Encapsulate virtual machine
1) View virtual machine size
du -sh /var/lib/libvirt/images/small.qcow2
21G    /var/lib/libvirt/images/small.qcow2
2) Install the clean-up compression tool, clean up disk files, and compress the virtual machine small.qcow2 to small-new.qcow2
yum install libguests-tools.noarch libguestfs-tools-c.x86_64 -y		##Clean up compressed software
virt-sysprep -d base					##Clean up the disk files (note that. qcow2 suffix cannot be added here, only write the domain name)
which virt-sparsify						##The command to compress the original virtual machine. Find this command
rpm -qf /usr/bin/virt-sparsify			##Not installed
virt-sparsify --compress base.qcow2 base-new.qcow2					##Compress the original virtual machine to base-new.qcow2
du -sh base-new.qcow2					##Determine the size, usually only a few hundred megabytes
Looking at the size of the virtual machine again, you will find that
du -sh /var/lib/libvirt/images/small.qcow2
635M	/var/lib/libvirt/images/small.qcow2
Next, create a virtual machine snapshot
Steps:
Set the host name, IP address and check the network connection
qemu-img create -f qcow2 -b base-new.qcow2 server1    ##Create Snapshot
qemu-img create -f qcow2 -b base-new.qcow2 server2
qemu-img create -f qcow2 -b base-new.qcow2 server3
Open virtual machine to view ip display
ip addr show eth0
inet 172.25.50.1/24
###If not, the ip needs to be changed
View host name
hostname
server1
 Here and in front
/etc/hosts The host name and of the edit in ip Corresponding
Repeat the operation to obtain multiple virtual machines
Package complete