brief introduction
_When developing with Ubuntu, we often need the function of remote connection control. Among the common methods, ssh Remote Login control is the most common one.
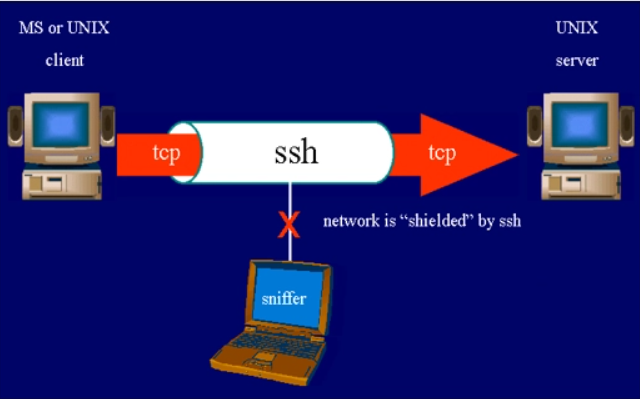
_ssh is the abbreviation for Secure Shell, the Security Shell Protocol, which was developed by the Network Working Group Network Group of the IETF. It is simple to use and reliable to provide security for remote login sessions and other network services. The use of SSH protocol can effectively prevent information leakage during remote management. It was initially used on UNIX systems and has rapidly expanded to other platforms.
_This article describes how to use ssh for terminal control, code development, video streaming, and so on.
Configure ssh Terminal Connection
_Since it is a remote connection, it means that we need two computers. The one that controls is called the client and the one that is controlled is called the server.
_Clients usually have openssh-client installed by default and do not need to be configured.
Server:
1. Install ssh server
# Terminal typing
sudo apt-get install openssh-server
2. Check if SSH was installed successfully
# Terminal typing
ps -e |grep ssh
_If the installation is successful, the following interface will be displayed:

3. Start ssh service
# Terminal typing
service ssh start
4. Open Remote Connection Service
_If the remote connection service is not turned on, we will see the following error message:
Permission denied, please try again(publickey,password)
Solution:
# Open sshd_config configuration file
vim /etc/ssh/sshd_config
_Modify PermitRootLogin to yes after that.
5.ssh Connection
_Complete the above steps, we can start ssh terminal remote connection, but only if we know the IP address of the server and the client and server are in the same local area network (no network is possible)
_Terminal typing on the server side
# View IP Address
ifconfig
Then execute on the client
# ssh Remote Connection
ssh User name@ip address
Remote-SSH remote development
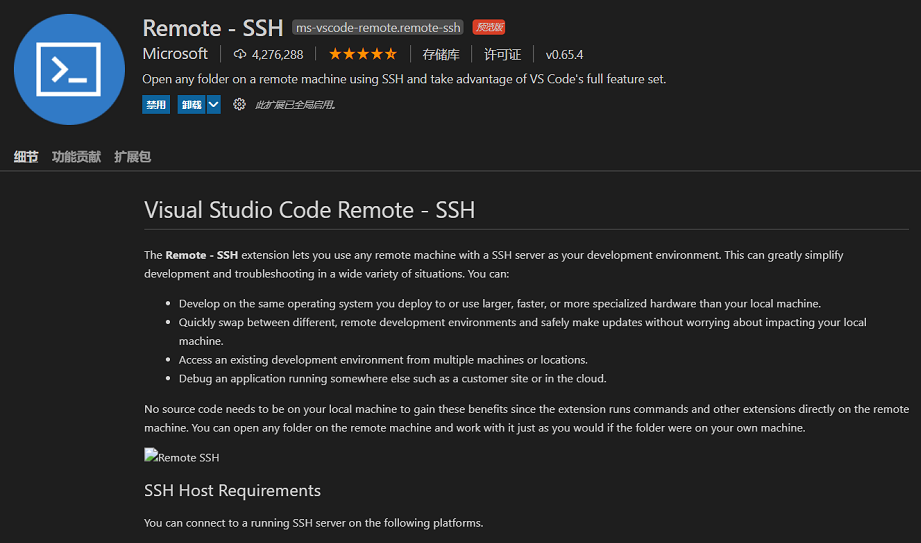
_Remote-SSH is a very useful plug-in on VS Code, which is based on ssh to enable remote login on the client side and code development on VS Code.
1. Install Remote-SSH plug-in
2. Configuration config file
_For easy connection, we can connect at. Create a config file in the ssh directory
cd .ssh/
touch config
_Open the config file and type the following
Host Server side name (you can name it yourself)
HostName Server IP address
User Service-side user name
_After writing the config file, the name of the ssh server can be used directly for remote login.
3. vscode remote connection
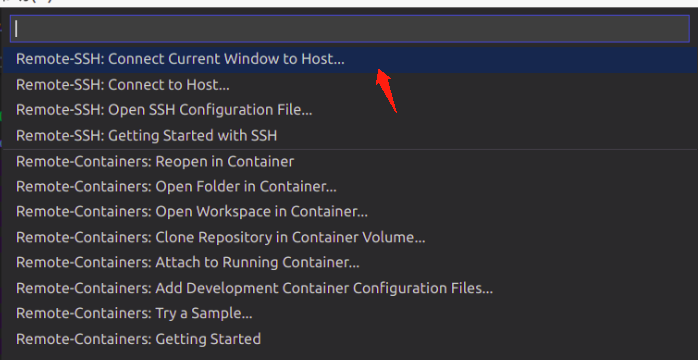
_Click on the green key in the lower left corner of vscode and select the option Connect Current Window to Host in the image below
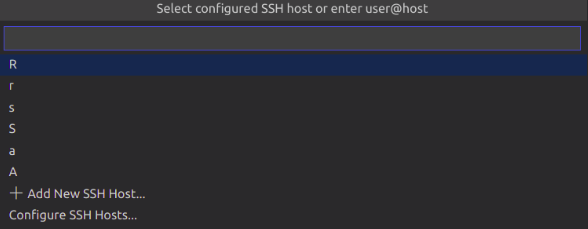
_Then select Configure SSH Hosts...
_After selecting the config file you just configured, click on the server name you named to connect remotely

_Once connected, you can open the project on the service side for remote code development and even Debug!
Remote video streaming using GStreamer
_In the process of remote development, we often need to observe the graphical interface to know the effect of operation, but the graphical transmission is not supported under ssh terminal control. For example, when using opencv we need imshow to see the effect of image processing, at this time we can use GStreamer as IO to implement remote imshow
1. Server side configuration
# Install GStreamer related plug-ins
sudo apt-get install gstreamer1.0-tools \
  gstreamer1.0-plugins-base \
  gstreamer1.0-plugins-good \
  gstreamer1.0-plugins-bad \
  gstreamer1.0-plugins-ugly
# Install GStreamer development kit
sudo apt install libgstreamer1.0-dev libgstreamer-plugins-base1.0-dev
2. Recompile OpenCv
_Note that cmake adds **-D WITH_at compile time GStreamer=ON**, see if all GStreamers are Yes.
3. Transfer video streams
receiving end
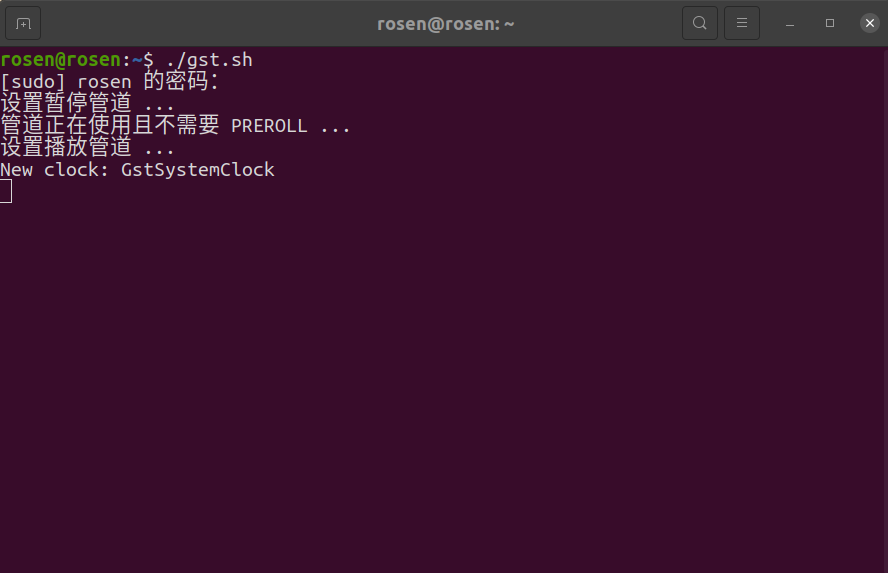
# Receive video streams
sudo gst-launch-1.0 udpsrc port=5000 ! application/x-rtp,media=video,payload=26,clock-rate=90000,encoding-name=JPEG,framerate=30/1 ! rtpjpegdepay ! jpegdec ! videoconvert ! autovideosink
_After successful opening, the terminal interface is as follows:
Sender
// First, instantiate VideoWriter for video streaming
VideoWriter out("appsrc block=false ! queue leaky=downstream ! videoconvert ! video/x-raw,format=YUY2 ! jpegenc ! rtpjpegpay ! udpsink host=receiving end IP port=5000",CAP_GSTREAMER,0,frame rate,
Picture size,true);
_After instantiation, use out << frame; Conduct video streaming.
Follow-up
_If you like, you can pay attention to my small circle of public number technology development, especially those who are interested in deep learning and computer vision. I will send the related source code and more information on it, hoping to help you to get started!