1, What is a locust?
A test tool supporting distributed architecture, which can easily write test scripts and complete the concurrent performance test of the website.
Official website( Locust - A modern load testing framework ), which has a detailed introduction.
2, Deploy
(1) Environment requirements: Python 3.6 or above, support Win, Mac and Linux
(2) Installation steps (Win environment):
1. Download the latest version of Pyhton from the official website and complete the installation.
2. Use pip3 install locust Installation. If there is no such command at the command line prompt, check the python environment variable settings. Add Python / and Python/Scripts / to the Path variable, or directly open a command line window under Python's scripts / directory.
C:\> pip3 install locustpip3 install locust
3. Enter at the command line locust -V checks the version. The version indicates that the installation is successful.
C:\>locust -V
locust 2.2.1
If the parameter is entered incorrectly, you will be prompted that the locustfile cannot be found and is already installed.
C:\>locust
Could not find any locustfile! Ensure file ends in '.py' and see --help for available options.
3, Testing
(1) Test script writing
locust's test script, taking the official HelloWorld as an example. Can refer to Writing a locustfile — Locust 2.2.1 documentation.
import time
from locust import HttpUser, task, between

from locust import events
from locust.runners import MasterRunner, WorkerRunner

class QuickstartUser(HttpUser):
    wait_time = between(1, 5)

    @task
    def hello_world(self):
        self.client.get("/hello")
        self.client.get("/world")

    @task(3)
    def view_items(self):
        for item_id in range(10):
            self.client.get(f"/item?id={item_id}", name="/item")
            time.sleep(1)

    def on_start(self):
        self.client.post("/login", json={"username":"foo", "password":"bar"})
The QuickstartUser class defines the access behavior of the web site.
@ task: defines the access operation of the website. The weight proportion can be set in the following ().
For example, 80% of websites are accessed by GET and 20% by POST, which can be written as @ task(80) and @ task(20) respectively.
self.client.get(""): HTTP request mode. It supports GET, POST, PUT, etc. When writing the path of the web page in (""), it should be noted that if "/" is added here, do not add "/" at the end of writing HOST, otherwise it will lead to directory errors and affect the test results.
Distributed testing:
from locust import events
from locust.runners import MasterRunner, WorkerRunner
The above two lines need to be added during distributed testing.
(2) Run test script
1. Single machine operation
locust -f specifies the test script.
C:\> locust -f .\helloworld.py
[2021-09-07 09:47:16,734] DESKTOP-9R9O2EC/INFO/locust.main: Starting web interface at http://0.0.0.0:8089 (accepting connections from all network interfaces)
[2021-09-07 09:47:16,851] DESKTOP-9R9O2EC/INFO/locust.main: Starting Locust 2.2.1
The above field indicates that locust has been running normally. Enter it in the browser http://localhost:8089 Open the UI interface.
I don't know why. Only localhost can be opened, but not the specific ip address or 127.0.0.1.
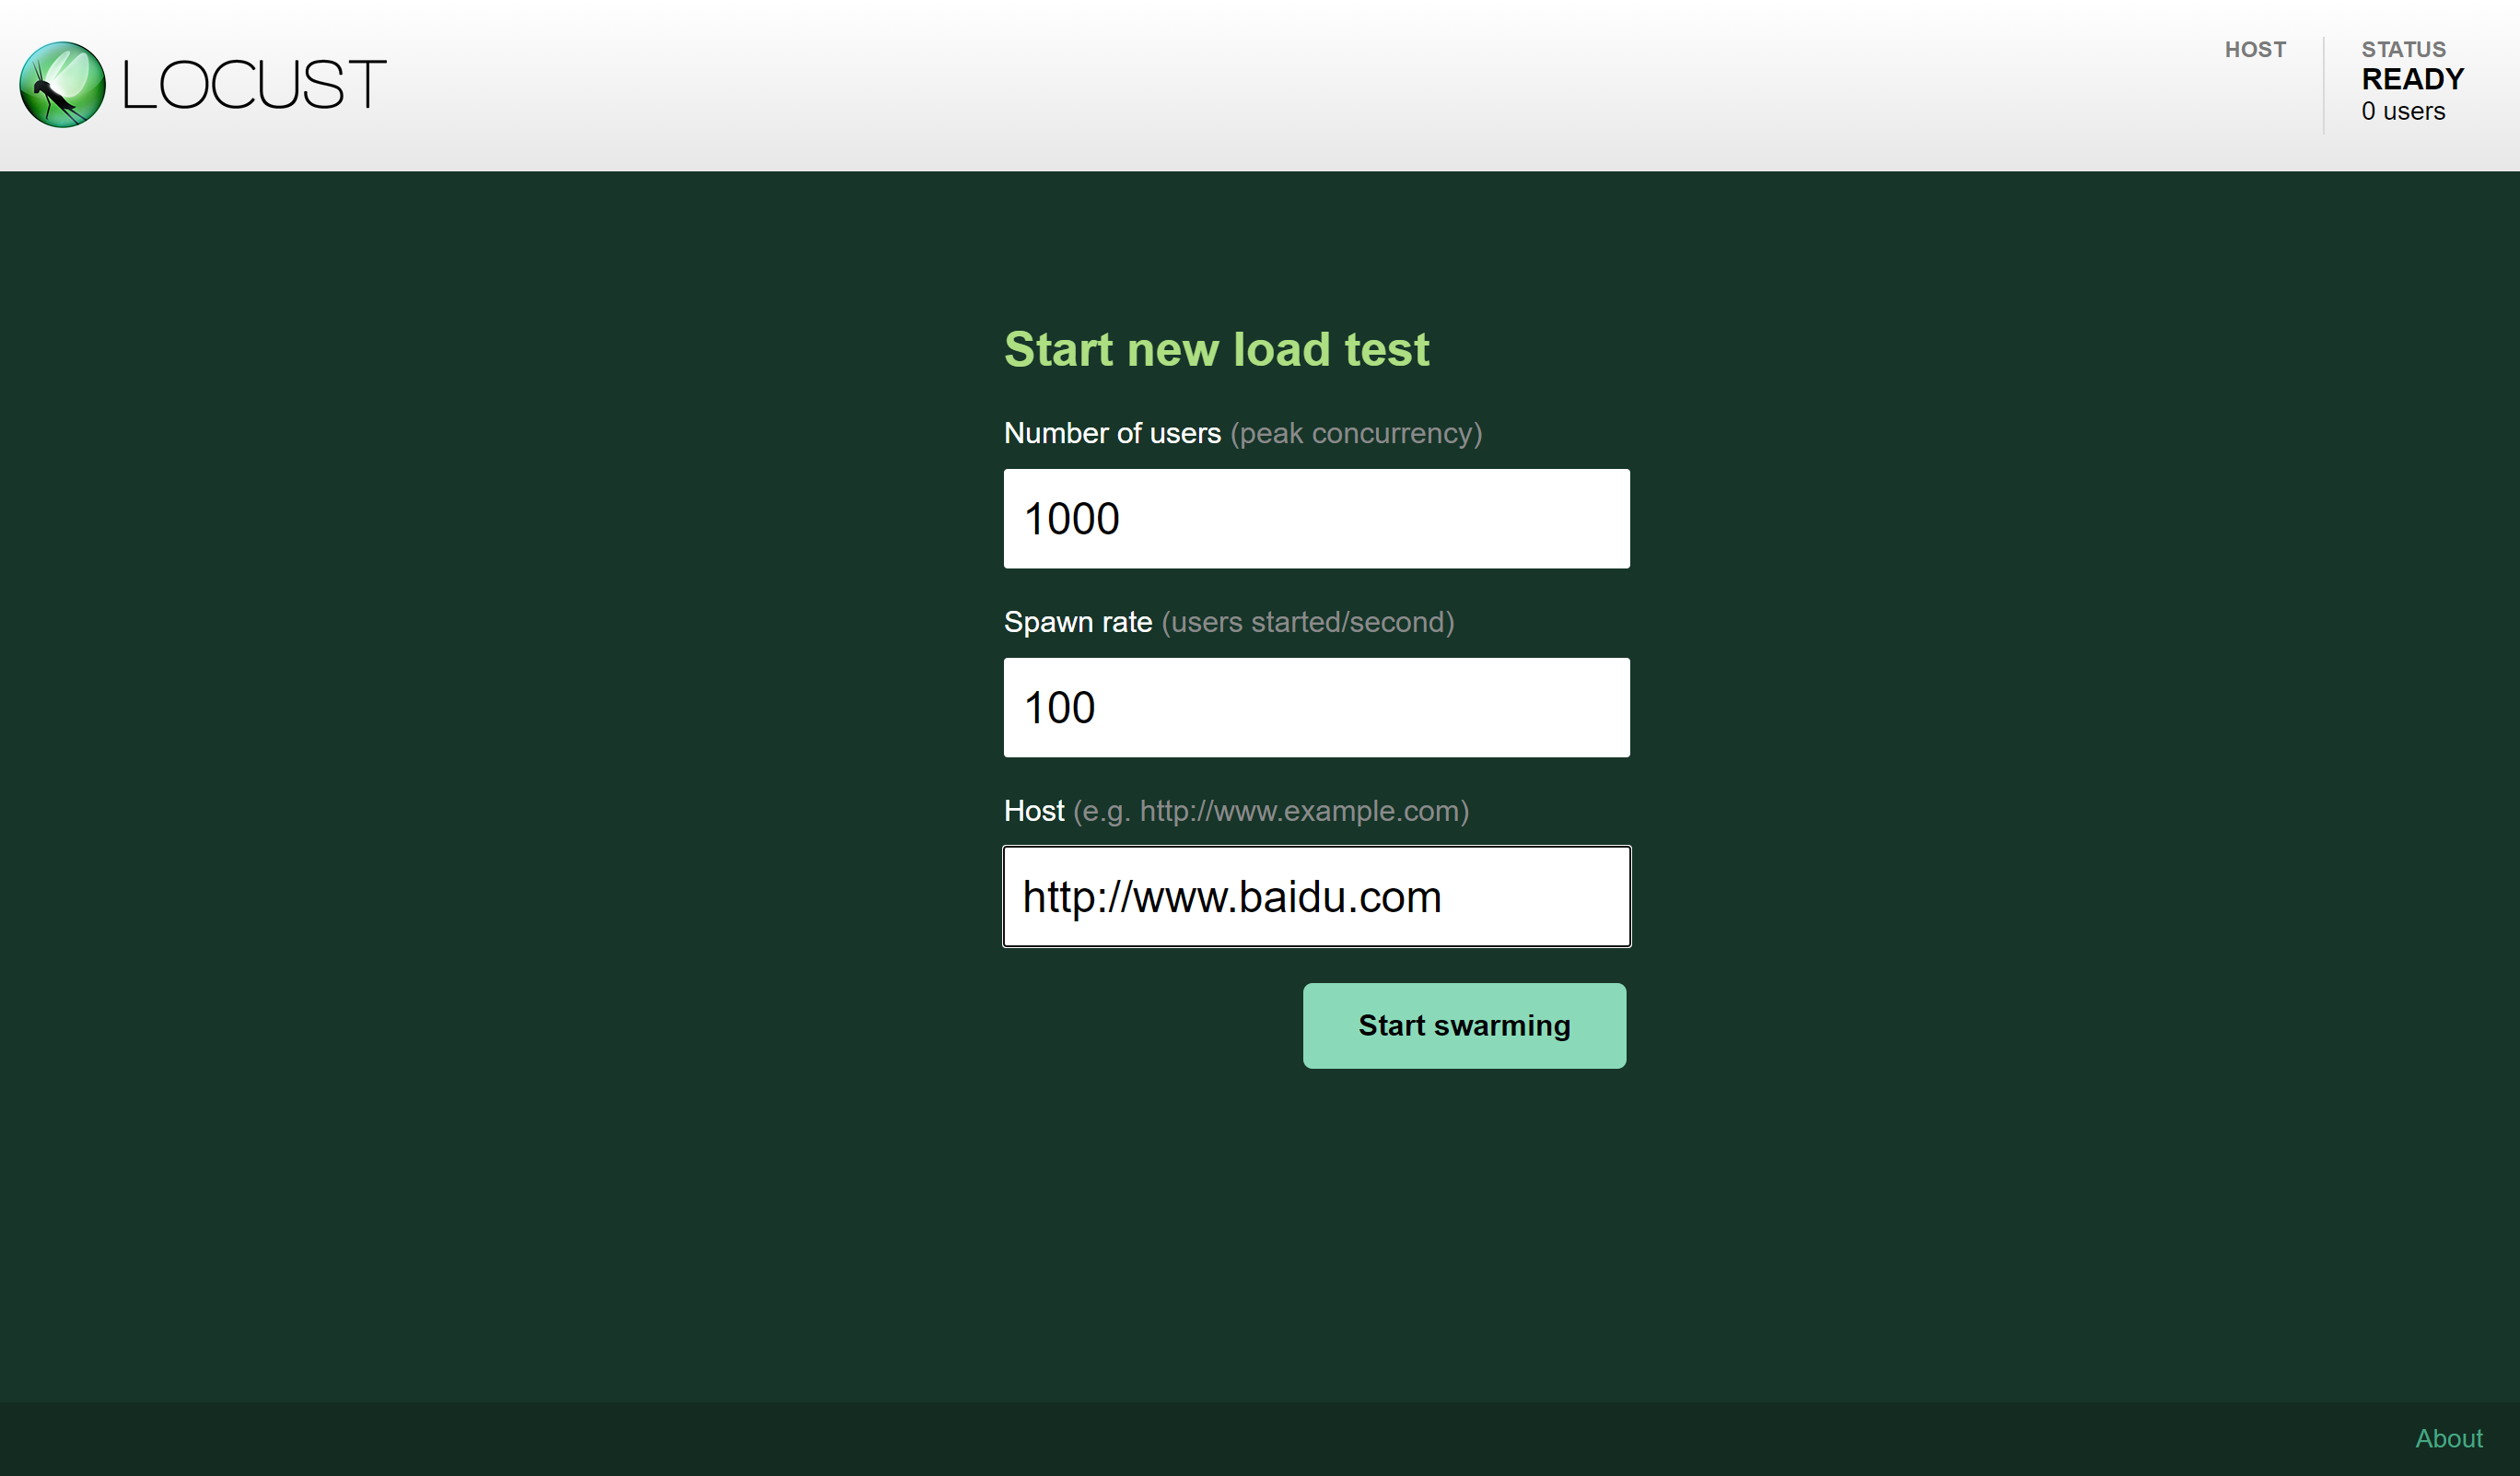
Specify the maximum number of users of 1000, the number of users increases by 100 per second, and the test domain name should be with protocol. Note whether there is a backslash "/" at the end. Click start to start the pressure test according to the test script.

The test results can also display RPS, provide data diagrams, and test reports everywhere.
2. Distributed testing
It is divided into master and worker roles. Distributed testing can be performed on multiple workers, and the results are summarized on the master. Note that the test scripts need to be consistent.
master role:
C:\> locust -f .\helloworld.py --master
worker role:
C:\> locust -f .\helloworld.py --worker --master-host=x.x.x.x
x.x.x.x is the ip address of the master. The default port is 5557. You can specify other ports through -- master port = XX.