The login interface is available for every project, and it is also a small start of a project. How to design the page and the corresponding logic.
1. Interface design
Everyone has different ideas and aesthetics about the interface. This time, we mainly focus on the implementation of login logic. The languages required for interface design include HTML, CSS and JavaScript.
1.1 storage location of interface design code
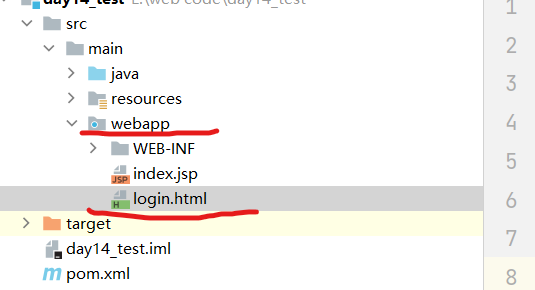
1.2 basic code of login interface
The most basic login interface is the user name and password. I have my own ideas for the front-end interface design, but an important place is how to bind this login interface with the back-end.
This time only introduces how to bind with the back-end, and the design of login interface. You can play it freely
Let's look at the login interface code
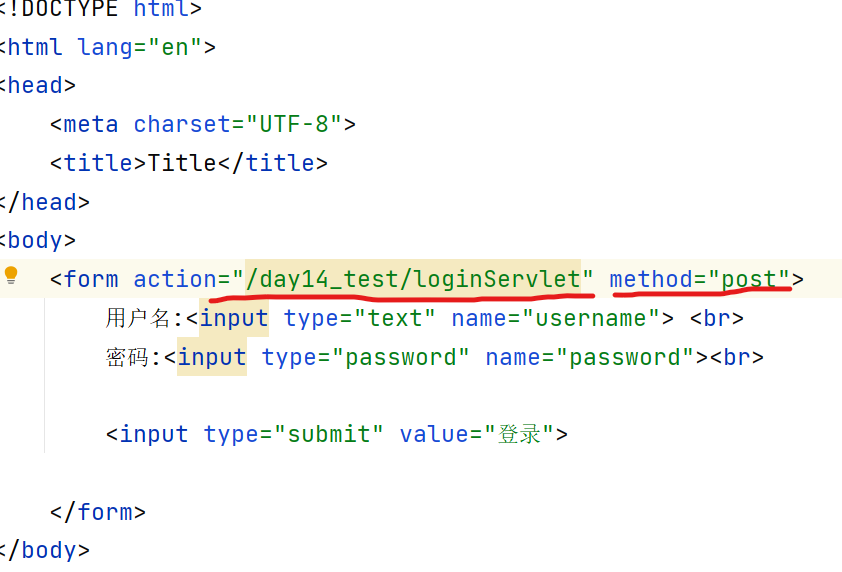
/day14_test (project virtual directory) / loginservlet (backend servlet name)
1.2.1 let's first look at how to set the virtual directory
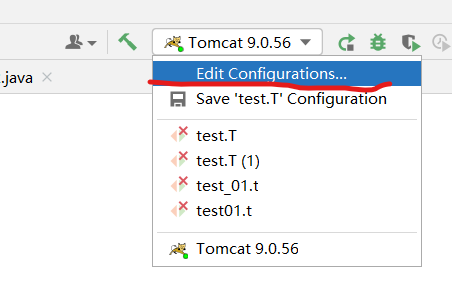
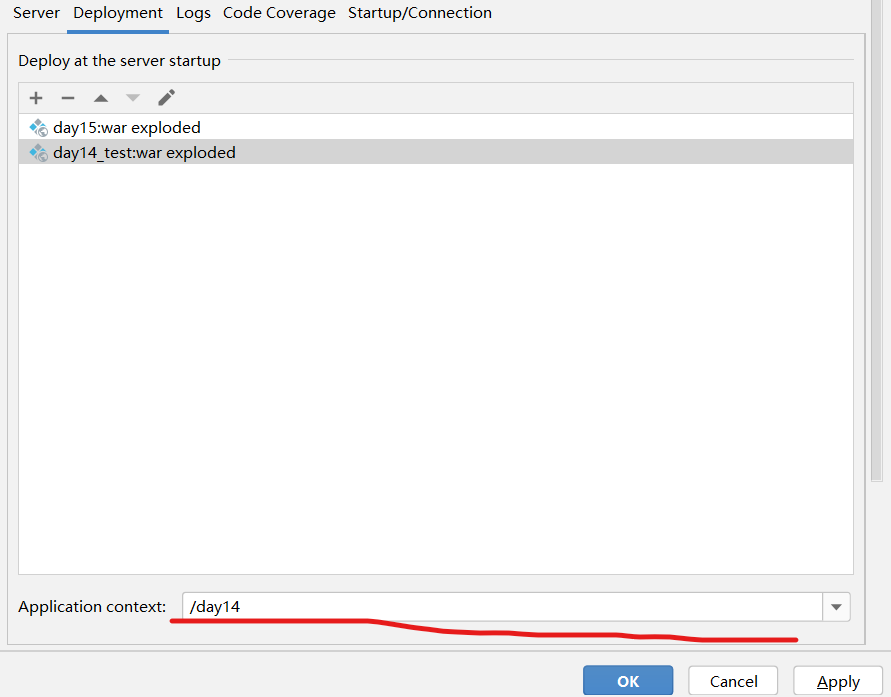
The virtual directory here can be changed freely
1.2.2 create loginServlet

After establishing loginServlet, let's see how to implement the specific code
2. Implementation of back-end code
2.1 implementation of user class
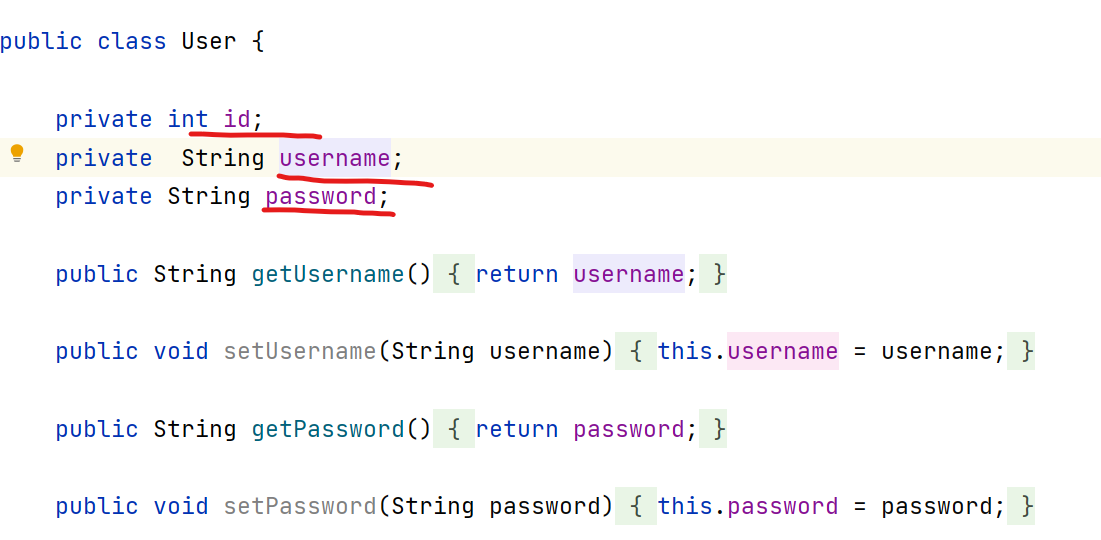
The user class encapsulates the user table you created in the mqsql database. You can freely expand other attributes (such as phone, email...)
In the previous article, we have learned how to establish mysql connection pool and its configuration. This time, let's take a look at the code implementation in login servlet.
package cn.itcast.web.servlet;

import cn.itcast.dao.UserDao;
import cn.itcast.domain.User;
import org.apache.commons.beanutils.BeanUtils;

import javax.servlet.*;
import javax.servlet.http.*;
import javax.servlet.annotation.*;
import java.io.IOException;
import java.lang.reflect.InvocationTargetException;
import java.util.Map;

@WebServlet(name = "loginServlet", value = "/loginServlet")
public class loginServlet extends HttpServlet {
    @Override
    protected void doGet(HttpServletRequest request, HttpServletResponse response) throws ServletException, IOException {
        //1. Set code
        request.setCharacterEncoding("utf-8");


        //2. Get all parameters
        Map<String, String[]> map = request.getParameterMap();

        //3. Package to user
        User loginUser=new User();
        try {
            BeanUtils.populate(loginUser,map);
        } catch (IllegalAccessException e) {
            e.printStackTrace();
        } catch (InvocationTargetException e) {
            e.printStackTrace();
        }


        //4. Call Userdao

        UserDao dao=new UserDao();
        User user = dao.login(loginUser);

        //5. Judge whether the login is successful
        if(user==null)
        {
            //fail
            request.getRequestDispatcher("/failServlet").forward(request,response);
        }
        else
        {
            //success
            request.setAttribute("user",user);
            request.getRequestDispatcher("/successServlet").forward(request,response);
        }
    }

    @Override
    protected void doPost(HttpServletRequest request, HttpServletResponse response) throws ServletException, IOException {
        this.doGet(request,response);
    }
}
request.getParameterMap(): you can get all the parameters of your login interface (user name, password, phone...)
BeanUtils. Populate (login User, map): encapsulate all parameters into your designed User
BeanUtils: jar package required
Link: https://pan.baidu.com/s/1cxRQEYzu1GlZ2uHXVdzTlg?pwd=qwrr
Extraction code: qwrr
You can use it after importing it
Concrete implementation of UserDao class
public class UserDao {

    //Declare JDBC template
    public JdbcTemplate template=new JdbcTemplate(JDBCutils.getDataSource());


    public User login(User loginUser)
    {
        try {
            String sql="select * from user where username = ? and password = ?";

            User user = template.queryForObject(sql, new BeanPropertyRowMapper<User>(User.class),
                    loginUser.getUsername()
                    , loginUser.getPassword());


            return user;
        } catch (DataAccessException e) {
            e.printStackTrace();
            return null;
        }
    }
}
Well, that's it. Thank you for your support