We are working on the implementation of Google cartographer algorithm these days. Two days ago, we realized the implementation of indoor mapping of Google cartographer. However, the map is based on the museum data provided by Google. We just download the data package and reproduce it, not the map in our own laboratory or around. We can see the map created by clicking the open link in the previous blog, Without the assistance of odometer and other sensors, the effect is completed only by relying on laser rangefinder and algorithm, which is even better than the 2D map combined with other multi-sensor. Such an excellent open source, we certainly hope to be used in our own robots or sensors, rather than just doing simulation. Therefore, take the lidar X4 of EAI in the laboratory for laboratory mapping. Online tutorials are based on rplidar implementation, but no X4 related tutorials are found. So I realized its construction plan through exploration. For your reference only, please correct any mistakes.
The previous blog of the blogger has written about the lidar X4 of EAI, so I won't repeat it here. Go straight to the subject: system requirements: ubuntu16 04 (kinetic) hardware requirements: EAI lidar X4 and data cable connected to computer, one laptop.
Run the launch file, open rviz and view the X4 scanning results.
roslaunch ydlidar lidar_view.launch
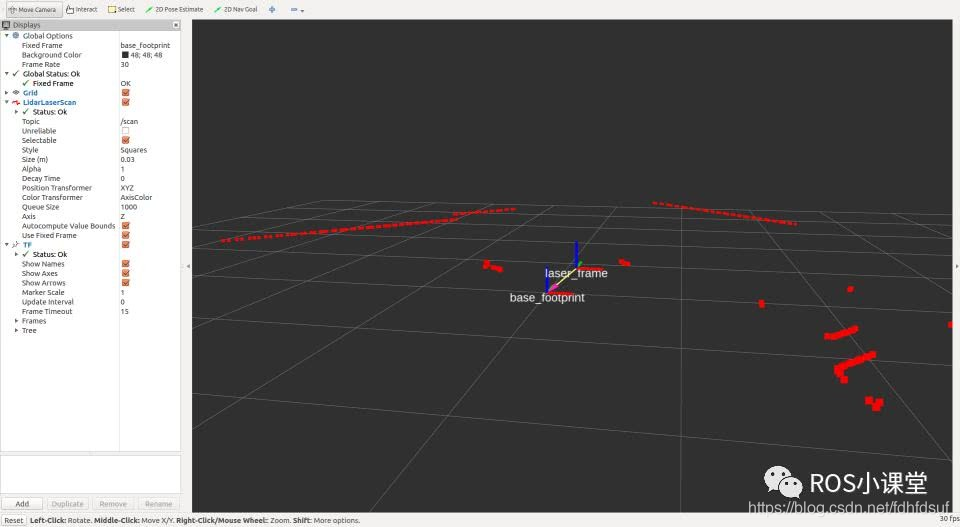
As shown in the above figure, the laser radar debugging is successful. At this time, the red line shows obstacles, not a map.
2. See the previous blog of the blogger for the steps of installing the three folders (cartographer, cartographer_ros, Ceres Solver) in Google cartographer.
3. Cartographer_ To modify the codes and parameters in the ROS folder, first modify ~ / slam_ ws/src/cartographer_ros/cartographer_ Demo in ROS / launch directory_ revo_ lds. Launch file, modified as follows
<!--
  Copyright 2016 The Cartographer Authors
  Licensed under the Apache License, Version 2.0 (the "License");
  you may not use this file except in compliance with the License.
  You may obtain a copy of the License at
       http://www.apache.org/licenses/LICENSE-2.0
  Unless required by applicable law or agreed to in writing, software
  distributed under the License is distributed on an "AS IS" BASIS,
  WITHOUT WARRANTIES OR CONDITIONS OF ANY KIND, either express or implied.
  See the License for the specific language governing permissions and
  limitations under the License.
-->

<launch>
  <param name="/use_sim_time" value="true" />

  <node name="cartographer_node" pkg="cartographer_ros"
      type="cartographer_node" args="
          -configuration_directory $(find cartographer_ros)/configuration_files
          -configuration_basename revo_lds.lua"
      output="screen">
    <remap from="scan" to="scan" />
  </node>

  <node name="rviz" pkg="rviz" type="rviz" required="true"
      args="-d $(find cartographer_ros)/configuration_files/demo_2d.rviz" />

</launch>
In fact, what needs to be modified is that we only use lidar to build maps, and do not use the robot body.
4. Next, for ~ / Slam_ ws/src/cartographer_ ros/cartographer_ ros/configuration_ Revo in files directory_ lds. Lua file, the modified file is as follows
-- Copyright 2016 The Cartographer Authors
--
-- Licensed under the Apache License, Version 2.0 (the "License");
-- you may not use this file except in compliance with the License.
-- You may obtain a copy of the License at
--
--      http://www.apache.org/licenses/LICENSE-2.0
--
-- Unless required by applicable law or agreed to in writing, software
-- distributed under the License is distributed on an "AS IS" BASIS,
-- WITHOUT WARRANTIES OR CONDITIONS OF ANY KIND, either express or implied.
-- See the License for the specific language governing permissions and
-- limitations under the License.

include "map_builder.lua"

options = {
  map_builder = MAP_BUILDER,
  sensor_bridge={
  horizontal_laser_min_range = 0.3,
  horizontal_laser_max_range = 8.,
  horizontal_laser_missing_echo_ray_length = 1.2,
  constant_odometry_translational_variance = 0.,
  constant_odometry_rotational_variance = 0.,
},
  map_frame = "map",
  tracking_frame = "laser_frame",
  published_frame = "laser_frame",
  odom_frame = "odom",
  provide_odom_frame = true,
  use_odometry_data = false,
  use_laser_scan = true,
  use_constant_odometry_variance = false,
  constant_odometry_translational_variance = 0.,
  constant_odometry_rotational_variance = 0.,
  use_horizontal_laser = true,
  use_horizontal_multi_echo_laser = false,
  horizontal_laser_min_range = 0.3,
  horizontal_laser_max_range = 8.,
  horizontal_laser_missing_echo_ray_length = 1.,
  num_lasers_3d = 0,
  lookup_transform_timeout_sec = 0.2,
  submap_publish_period_sec = 0.3,
  pose_publish_period_sec = 5e-3,
}

MAP_BUILDER.use_trajectory_builder_2d = true
TRAJECTORY_BUILDER_2D.use_imu_data = false
TRAJECTORY_BUILDER_2D.use_online_correlative_scan_matching = true
SPARSE_POSE_GRAPH.optimization_problem.huber_scale = 1e2

return options
Among them, the key is the setting of the first few frame s. The following modification methods are used for more online reprints
map_frame = "map",
tracking_frame = "laser",
published_frame = "laser",
odom_frame = "odom",
The reason for this setting should be that only one laser is used instead of a robot, so the "laser" also needs to check the laser in tf_ Replace the name in the tree with the actual name, otherwise you will not see the map in rviz because there is a problem with tf. The previous problem has always been the problem of tf tree, so the map can not be created. Check the name of lidar in tf tree as shown below
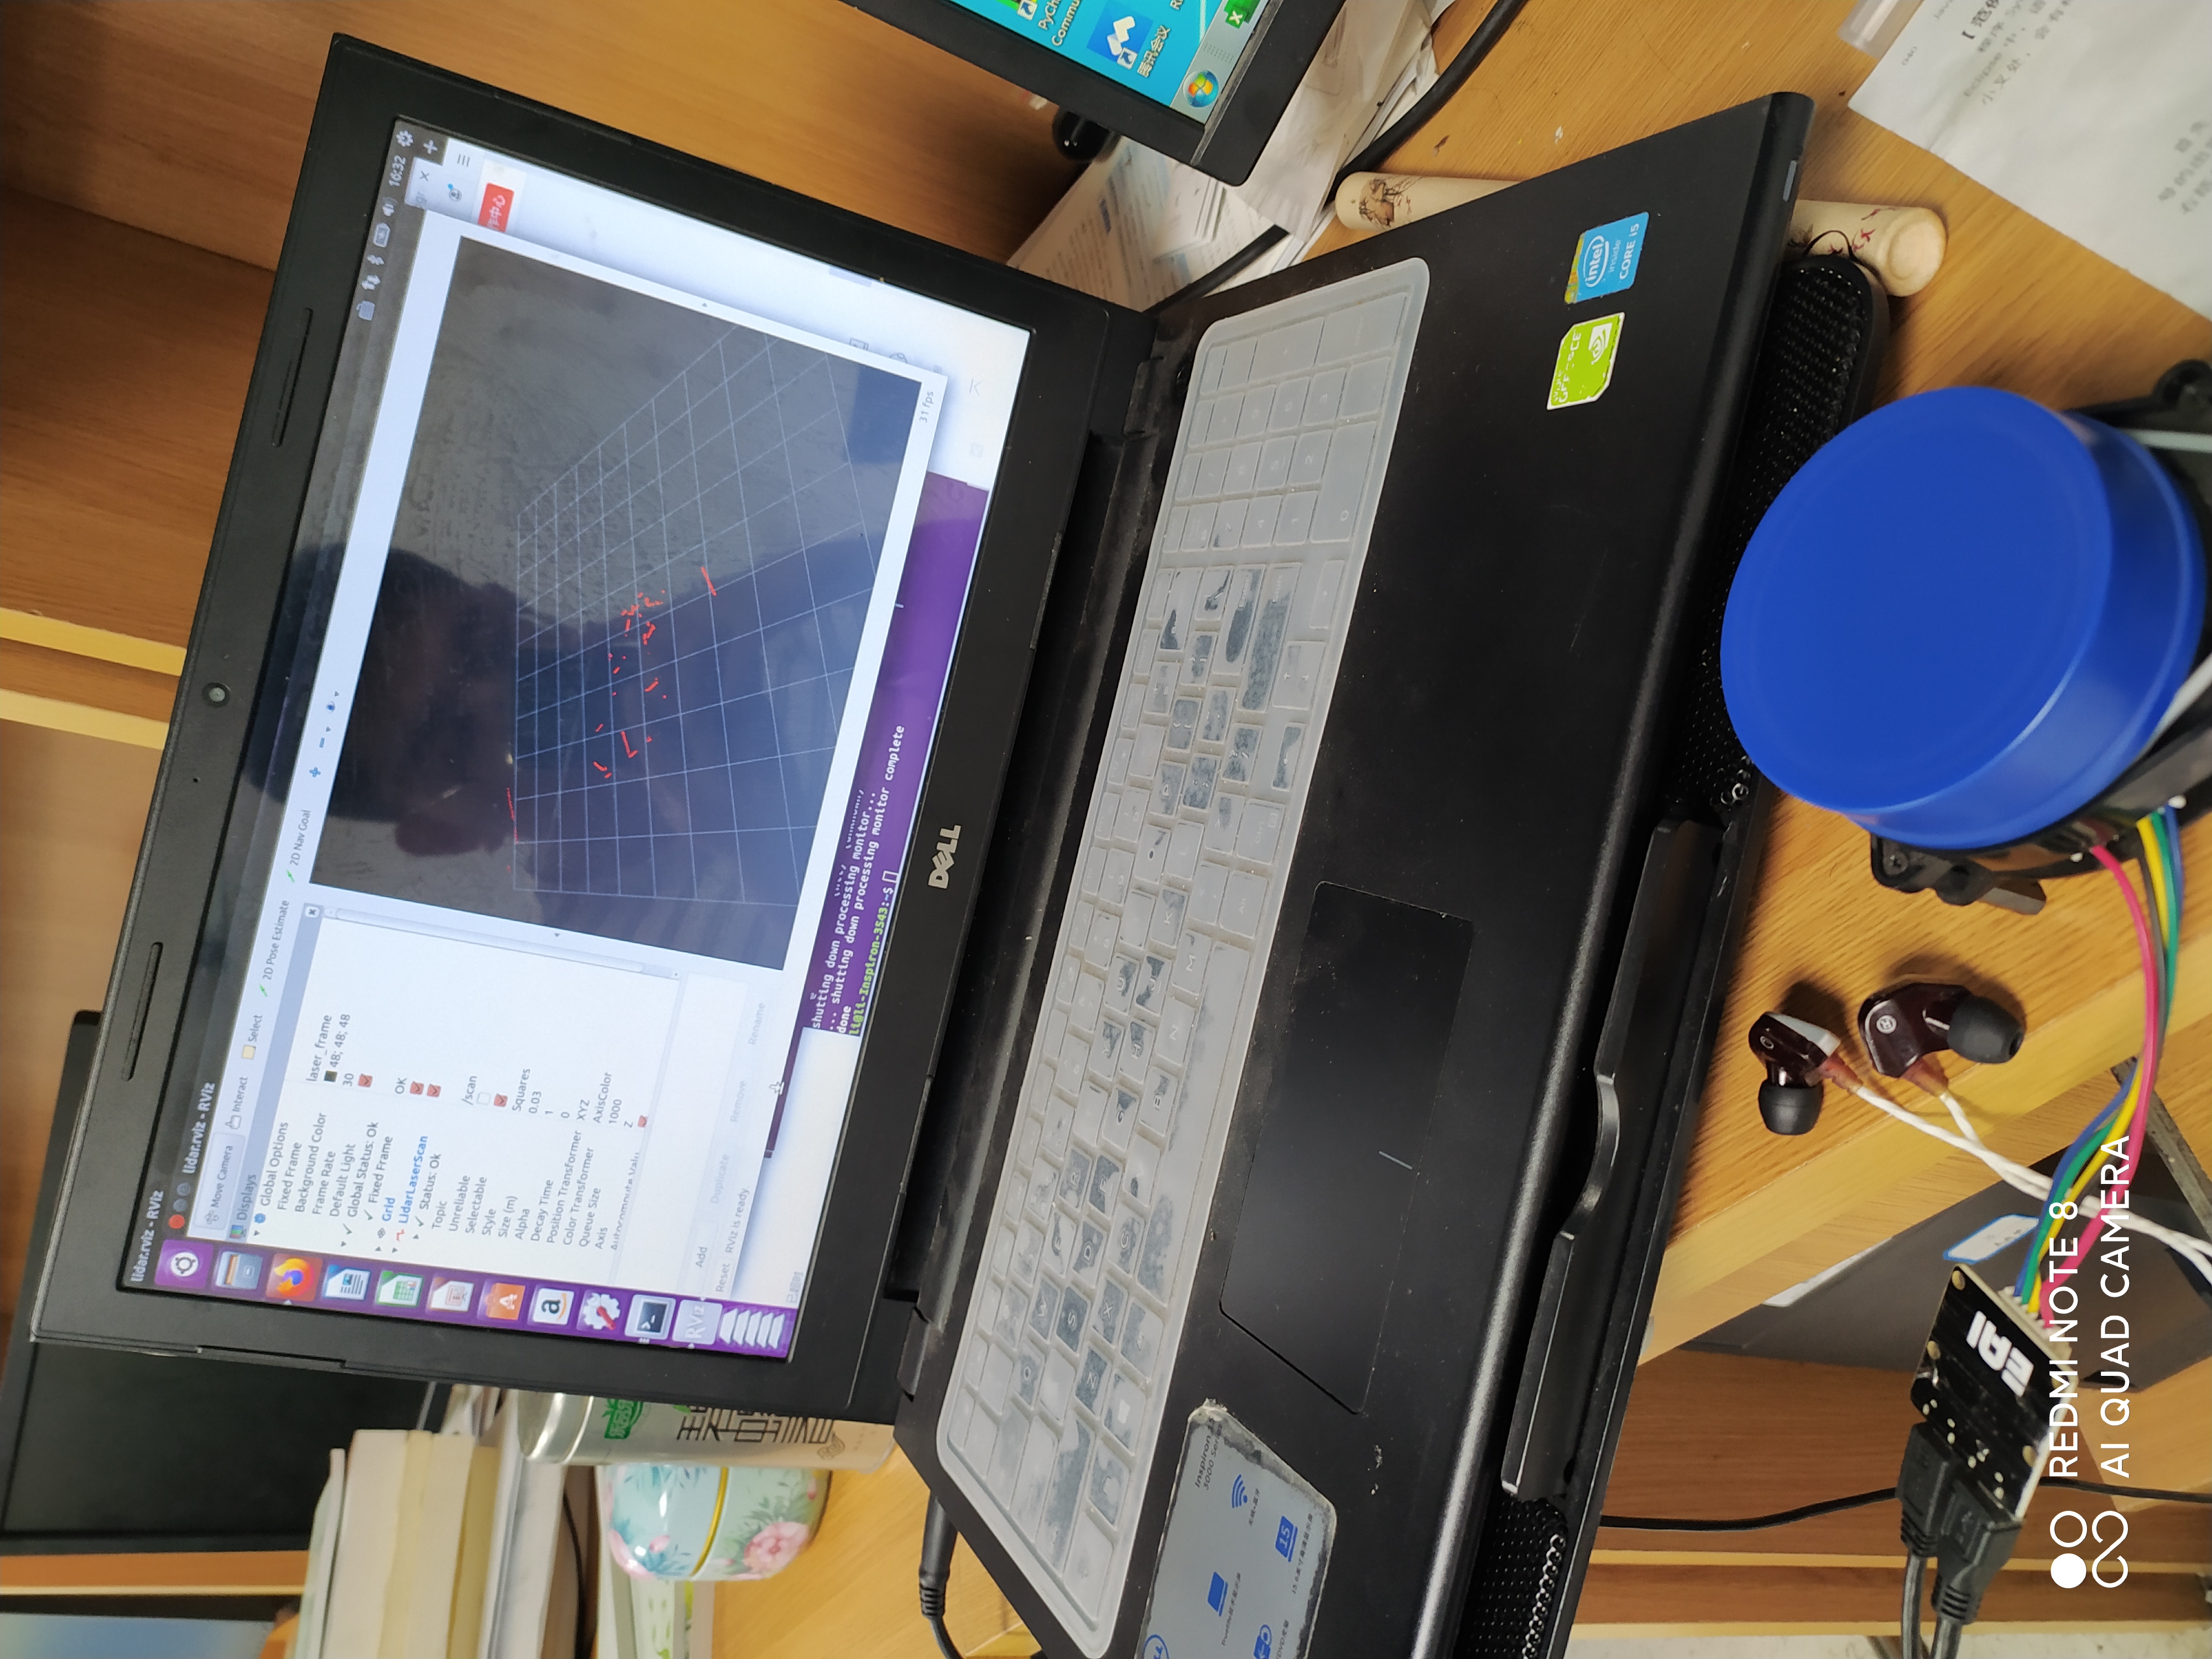
You can know that the tf tree name of lidar is laser_frame, so tracking_frame and published_ The parameter after frame is changed to laser_frame.
5. Operate lidar
roslaunch ydlidar lidar.launch
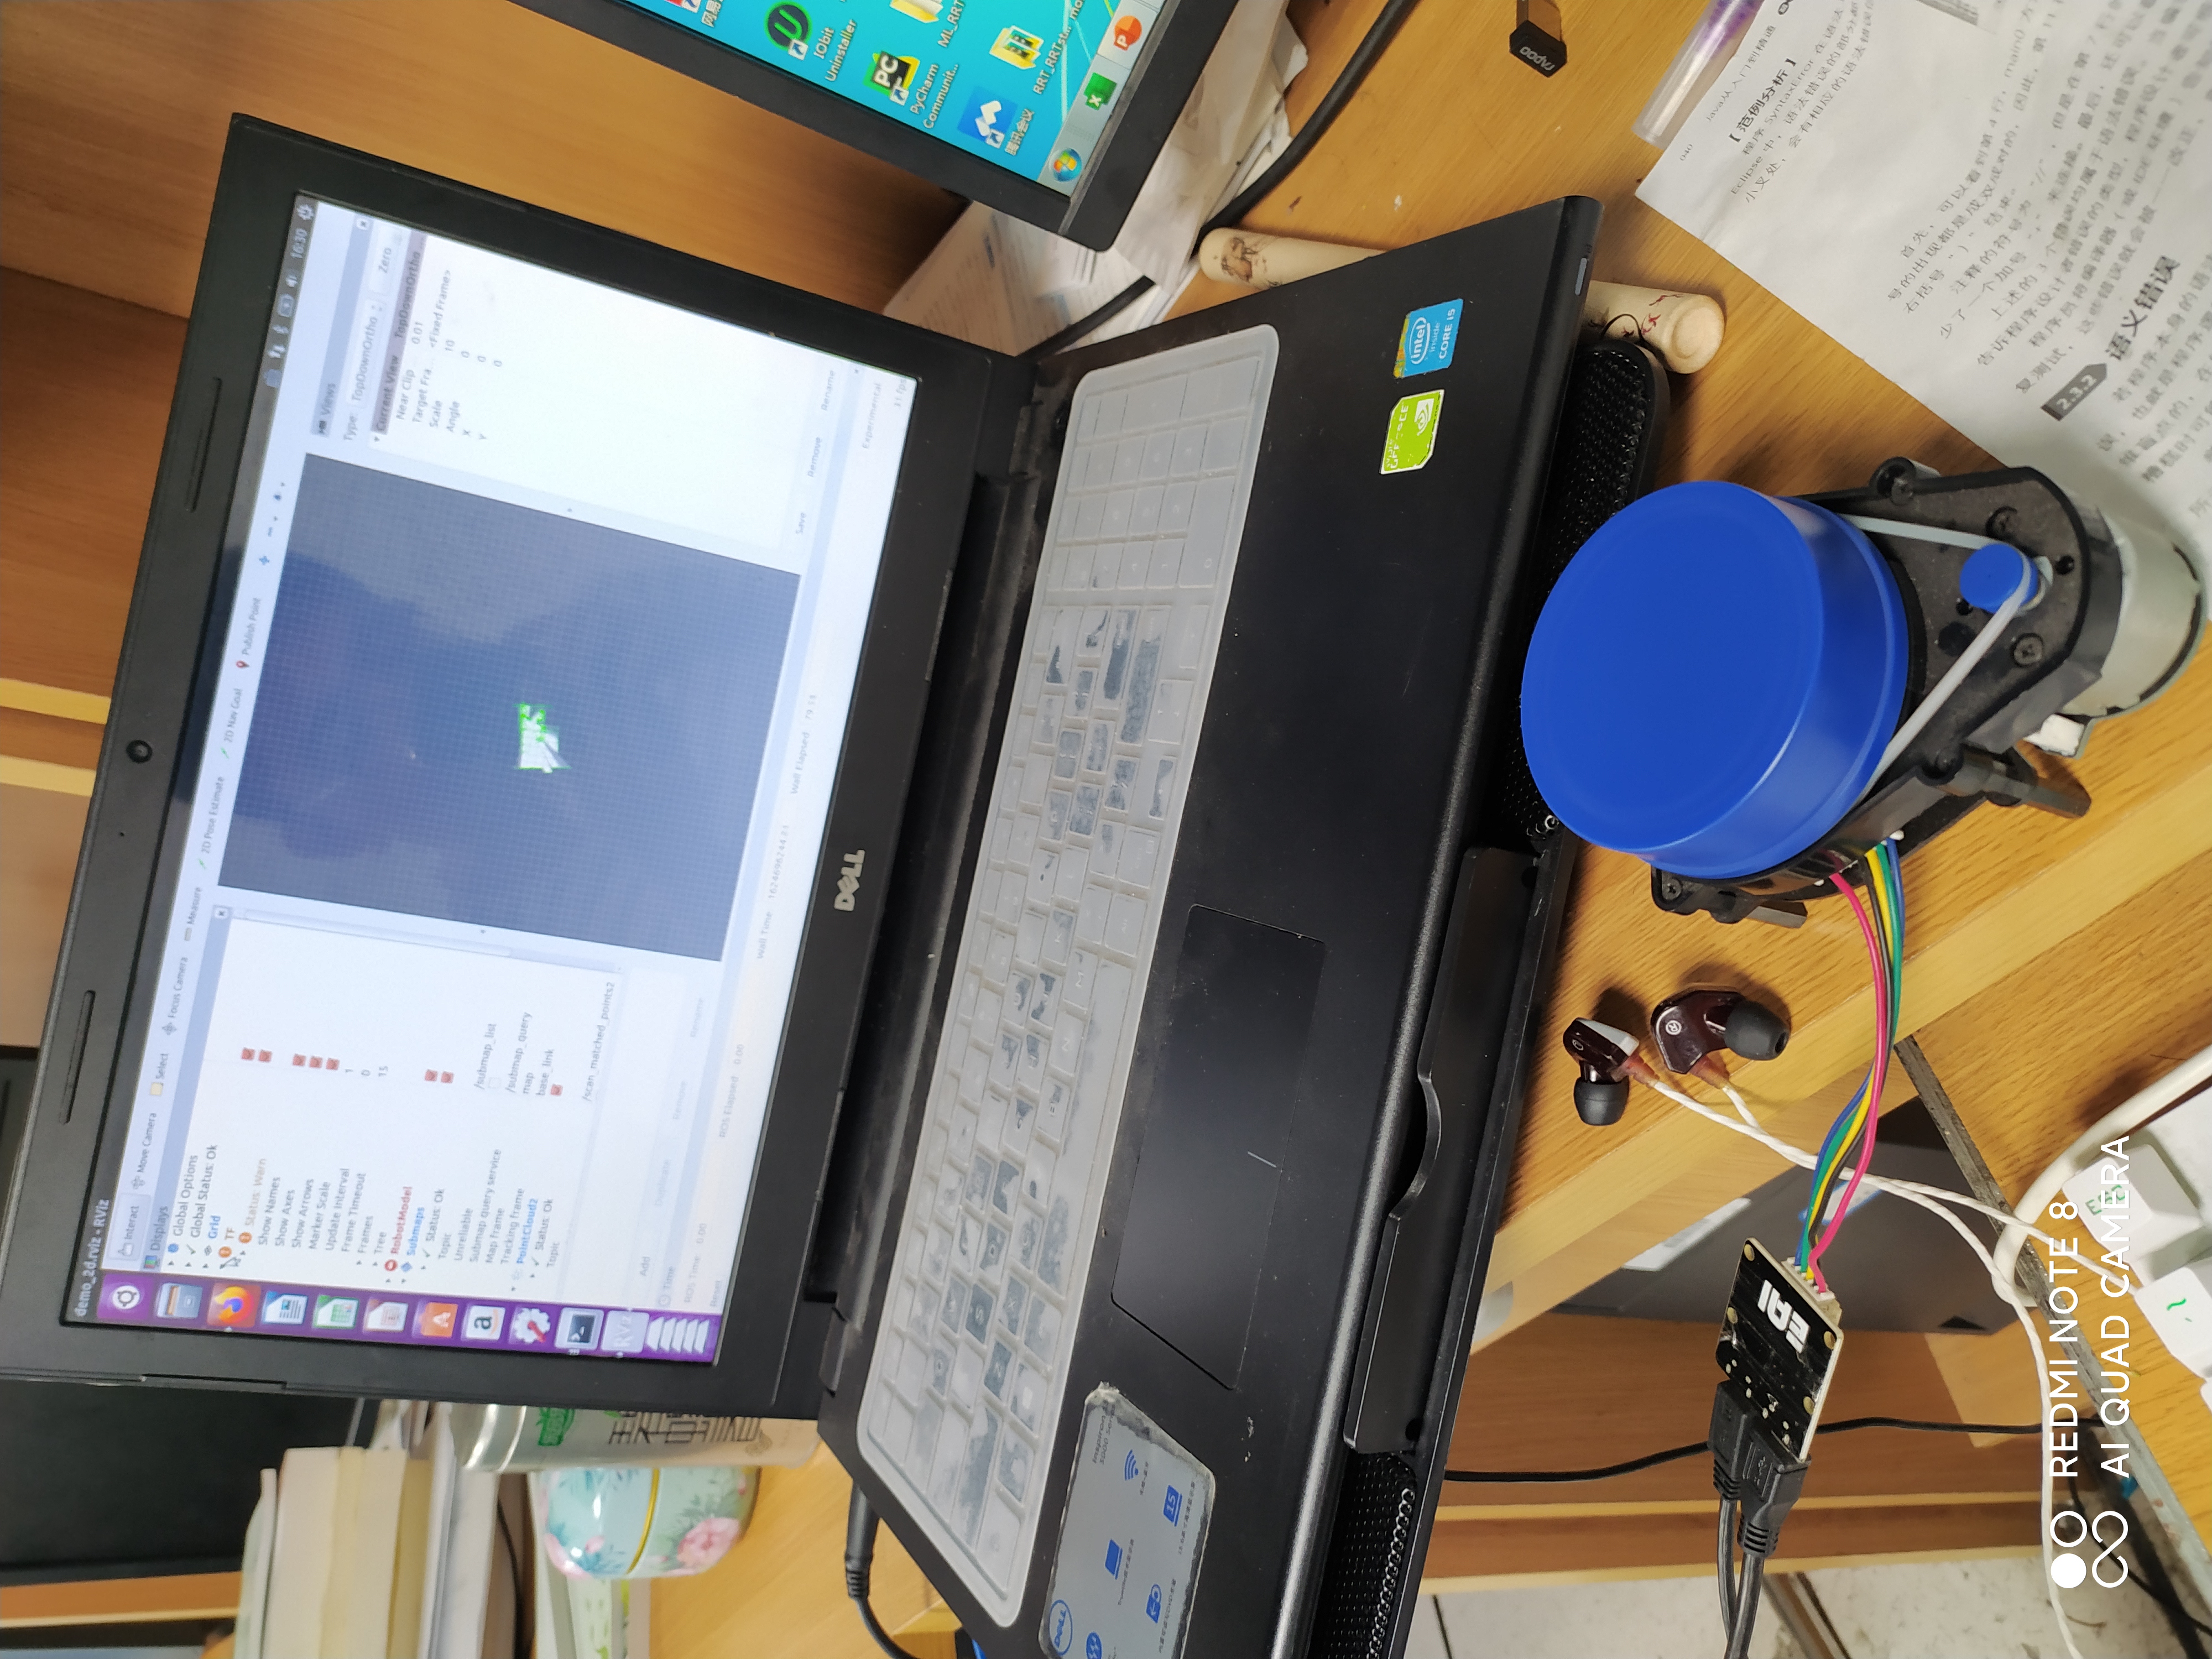
6. Run the mapping command in cartographer
roslaunch cartographer_ros demo_revo_lds.launch
The results are shown below.