Integrate:
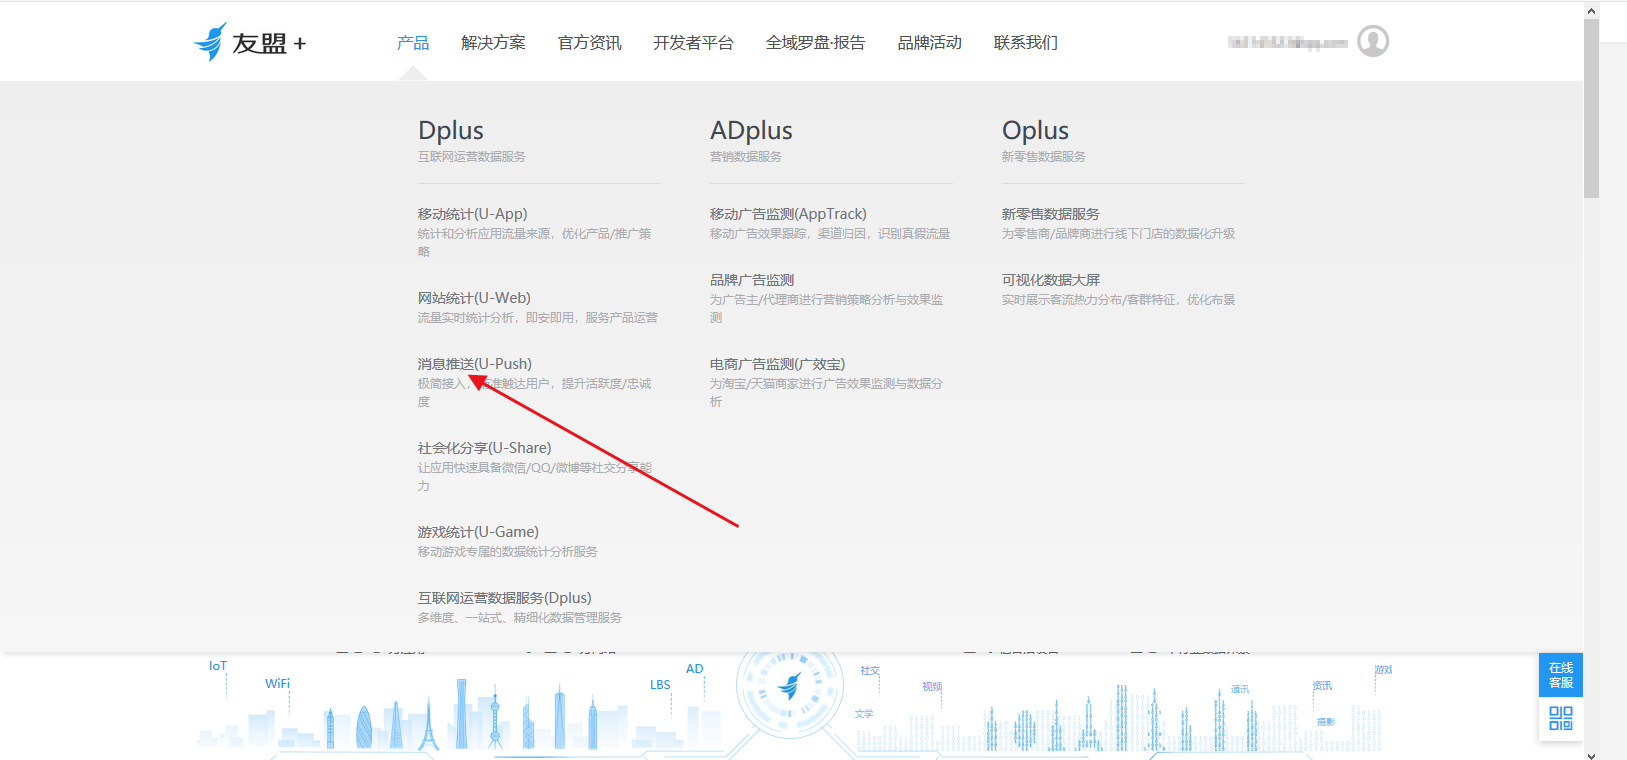
1: first, go to his official website to register an account of the alliance.
Transfer gate: Official website of the Alliance
Then use it now to create a new app: the name of the app you created is the same as the name on your project.
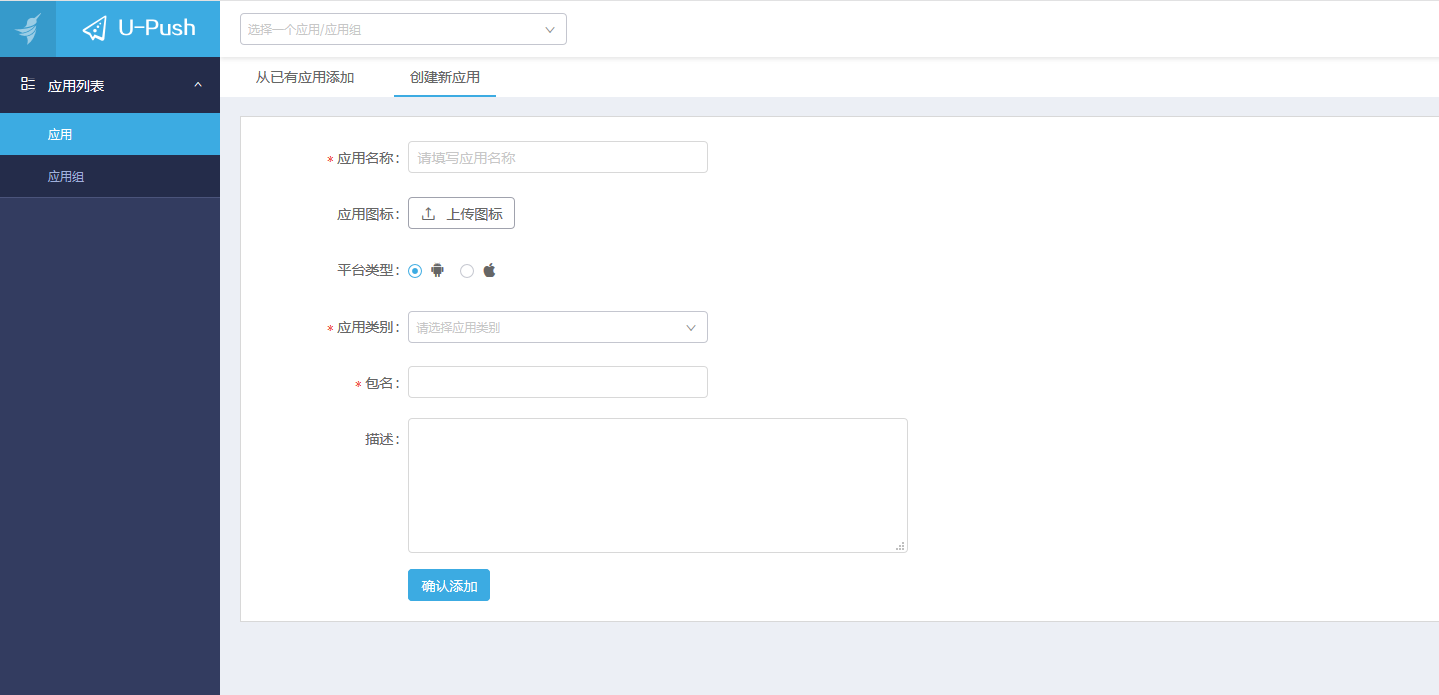
Be sure to write the package name correctly. The package name is the package="com.xxx.xxxx" in the first line of Android manifest.xml
2. Manually integrate SDK and related files:
Add dependency in your build.gradle:
 //The PushSDK must rely on the basic component library, so corresponding dependencies need to be added
    implementation 'com.umeng.sdk:common:1.5.3'
    //The PushSDK must rely on the uddid library, so you need to add corresponding dependencies
    implementation 'com.umeng.sdk:utdid:1.1.5.3'
    //PushSDK
    implementation 'com.umeng.sdk:push:4.2.0'
Then add it to your Android manifest.xml
 <meta-data
            android:name="UMENG_APPKEY"
            android:value="appkey" />
        <!-- Channel ID Used for identification App As a dimension of grouping users when pushing messages.-->
        <meta-data
            android:name="UMENG_CHANNEL"
            android:value="Package name" />
Then we create an Application
public class BaseApplication extends Application {

    @Override
    public void onCreate() {
        super.onCreate();
        Log.i("token", "11111");
        UMConfigure.init(this, "5b90e5e9f29d982634000285", "Umeng", UMConfigure.DEVICE_TYPE_PHONE, "15d9d427ff1ea729a7a9dc8abaca9060");
        PushAgent mPushAgent = PushAgent.getInstance(this);
        //Register the push service and call back the interface every time the register method is called
        mPushAgent.register(new IUmengRegisterCallback() {
            @Override
            public void onSuccess(String deviceToken) {
                Log.i("token", "22222");
                //device token will be returned after registration
                Log.i("token", deviceToken+"");
            }
            @Override
            public void onFailure(String s, String s1) {
                Log.i("tokens", s+","+s1+"");
            }
        });
    }
}
Remember to go to the list file to register
 <application
        android:name=".BaseApplication"
Then go to the main activity to open:
PushAgent.getInstance(this).onAppStart();
3. Add your device and start pushing
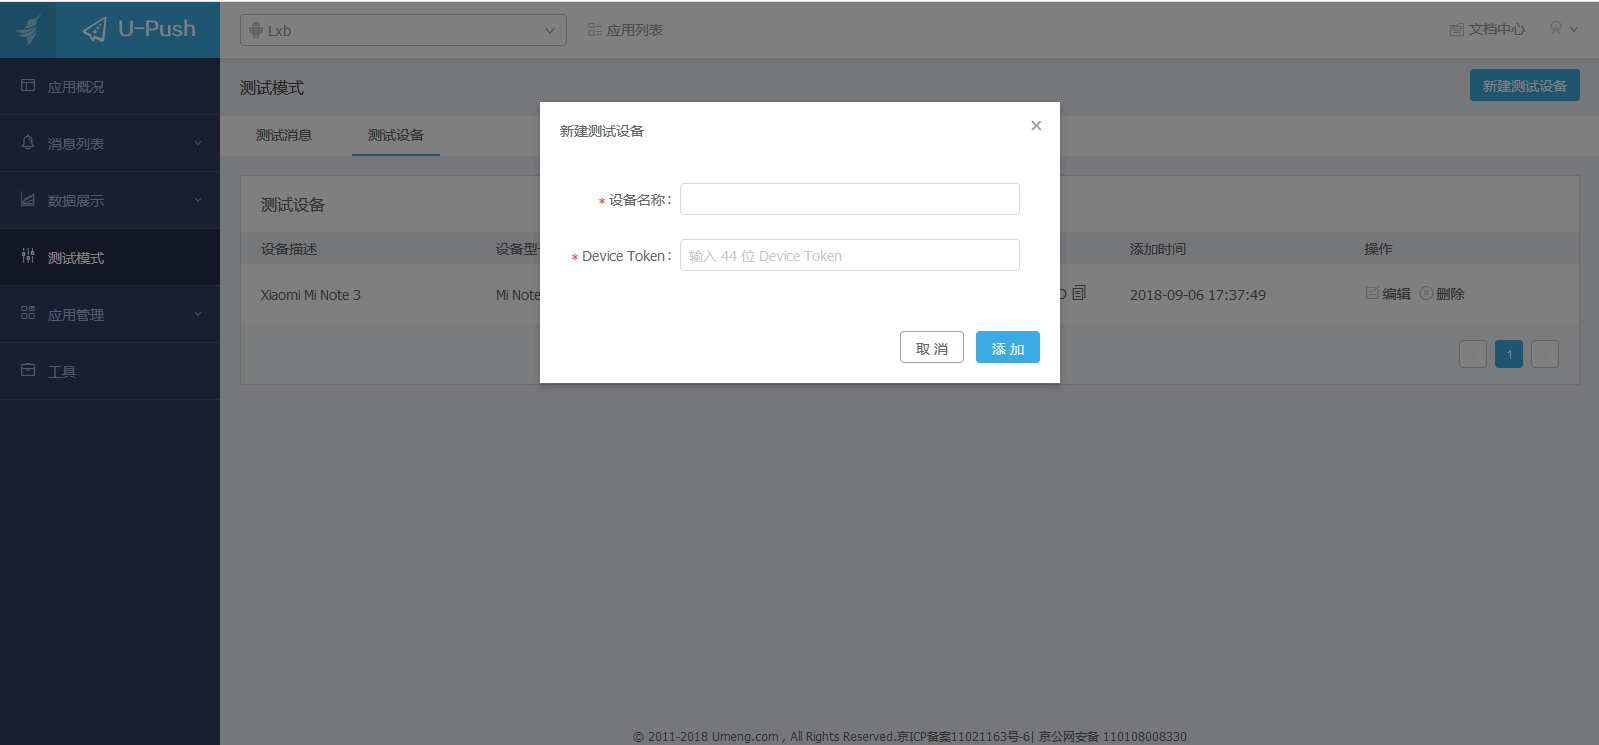
The device name is the name of your real phone. The value below goes to the deviceToken we generated in the Application
4. push:
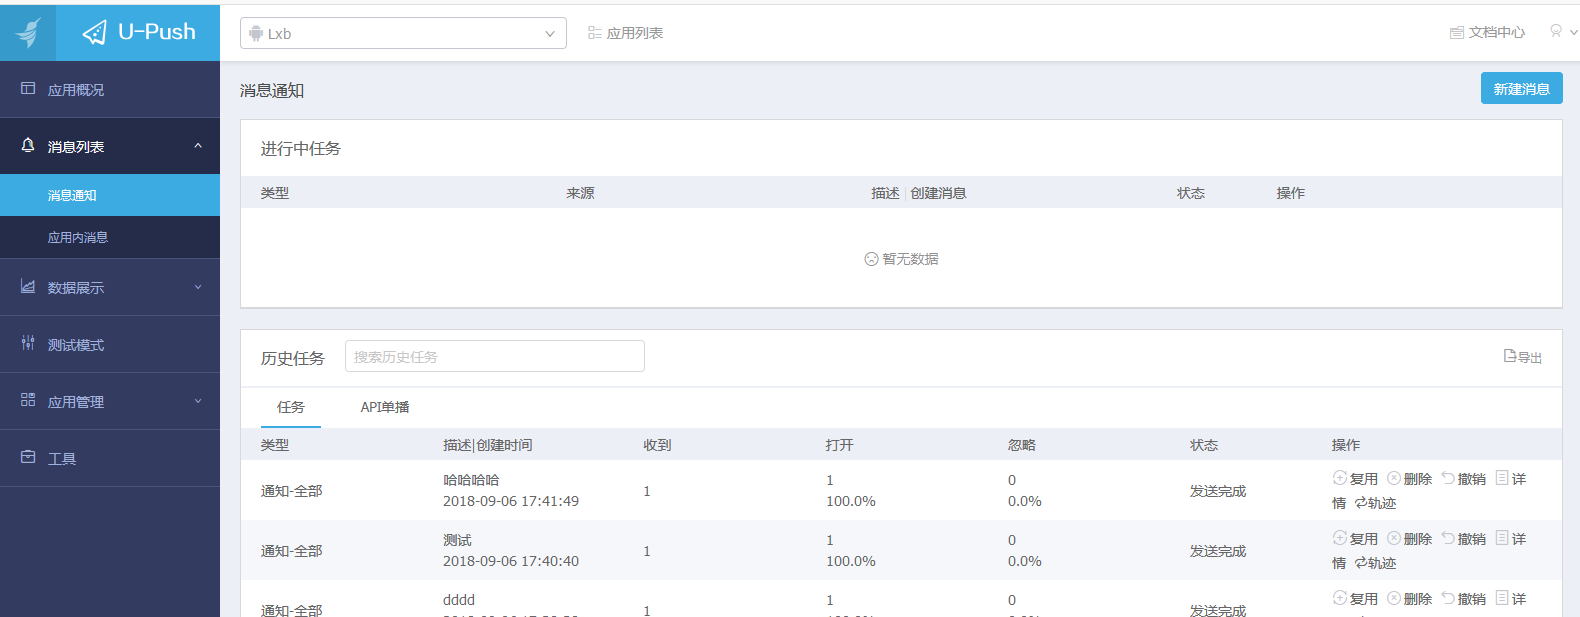
Click new message to push! Personal feeling is easier than Aurora push!