At present, the framework combination of springboot + mybatis plus is more and more widely used in enterprises. Recently, I encountered a requirement to integrate multiple data sources.
First, let's explain what is multi data source. Multi data source means that I need to connect two or more databases in a project (project). Usually, one of our projects is connected to one database, but it does not rule out that in some special cases, multiple databases need to be connected. It must be noted here that the definition of data sources is distinguished by libraries. As long as the libraries are different, they represent different data sources, whether they are on the same machine or not. The introduction of multiple data sources will generally be accompanied by distributed transactions, which will not be discussed here.
I implemented the use of multiple data sources a long time ago, but at that time, because the frameworks were not so mature, it was still a little troublesome to implement. However, during the research this time, it was found that mybatis plus has encapsulated the relevant operations, which can be easily implemented in just a few steps. It's not too cool.
First give the reference address: https://mp.baomidou.com/guide/dynamic-datasource.html#%E6%96%87%E6%A1%A3-documentation
It's very simple. In fact, it's easy to implement according to the steps. Here's the next step.
First, introduce dependencies:
<dependency>
      <groupId>com.baomidou</groupId>
      <artifactId>dynamic-datasource-spring-boot-starter</artifactId>
      <version>3.5.0</version>
</dependency>
Here is 3.5.0, the latest version of the current period.
The next step is to configure the data source: configure it directly in the configuration file
server:
port: 9999
spring:
datasource:
dynamic:
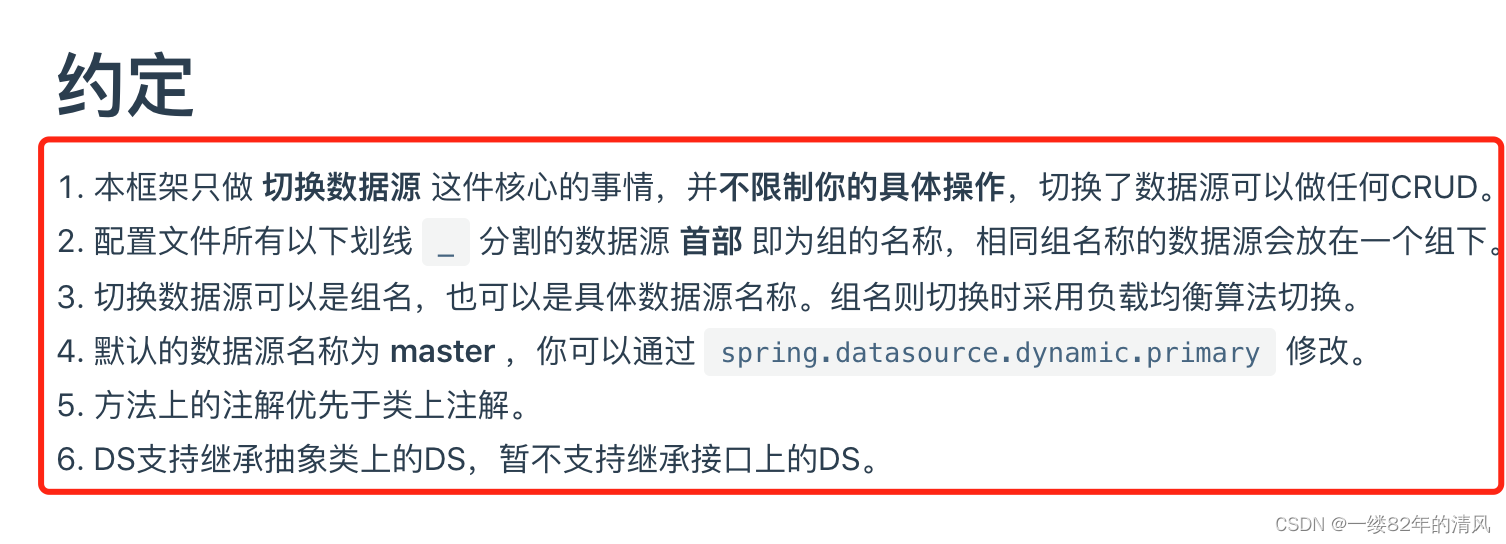
primary: master #Set the default data source or data source group. The default value is master
strict: false #Strictly match the data source. The default is false. true. Throw an exception if it does not match the specified data source. False uses the default data source
datasource:
master:
url: jdbc:mysql://localhost:3306/ds0?serverTimezone=UTC&useSSL=false&useUnicode=true&characterEncoding=UTF-8
username: root
password: root
driver-class-name: com.mysql.jdbc.Driver # 3.2.0 SPI support can be omitted
slave_1:
url: jdbc:mysql://localhost:3306/ds1?serverTimezone=UTC&useSSL=false&useUnicode=true&characterEncoding=UTF-8
username: root
password: root
driver-class-name: com.mysql.jdbc.DriverThere are two configurations, one is master and the other is slave_1. If you need to configure others, then configure them below. For example, add a slave_2. Note that if slave is added_ 2. According to the prefix, the slave_1 and slave_ Divide into groups. When specifying, you can specify according to the group name. The official are as follows:;
Next, configure the corresponding data sources on different service s.
@Service
@DS("master")
public class UserServiceImpl extends ServiceImpl<UserMapper, User> implements UserService {

}
@Service
@DS("slave")
public class AddressServiceImpl extends ServiceImpl<AddressMapper, Address> implements AddressService {
}This should be clear. For my two tables, the User table corresponds to the master data source and the address table corresponds to the slave data source. The group name is directly used here.
Finally, we can test it.
/**
* @className: MultiDatasourceController
* @description:
* @author: sh.Liu
* @date: 2021-12-03 15:20
*/
@RestController
@RequestMapping("/")
public class MultiDatasourceController {
private final UserService userService;
private final AddressService addressService;
public MultiDatasourceController(UserService userService, AddressService addressService) {
this.userService = userService;
this.addressService = addressService;
}
@RequestMapping("test")
public String test() {
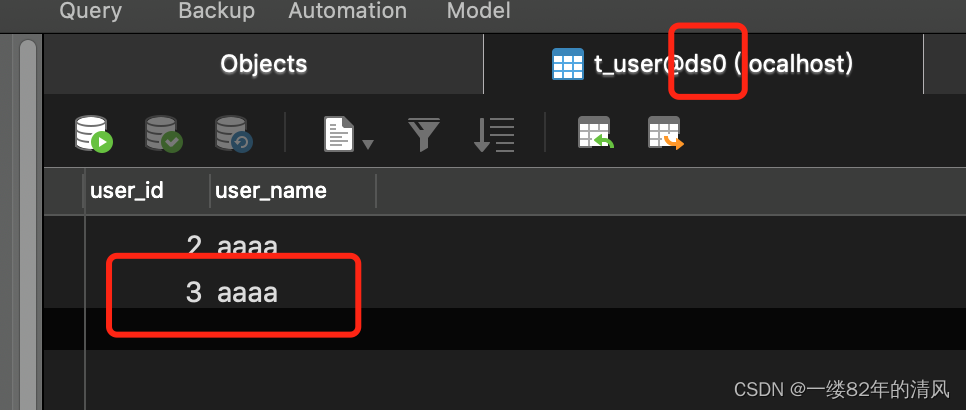
User user= new User();
user.setUserId(3L);
user.setUserName("aaaa");
userService.save(user);
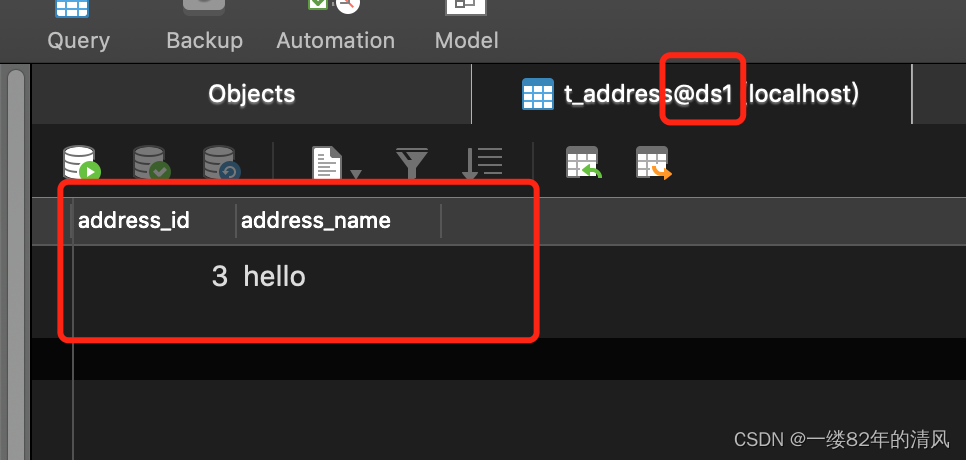
Address address = new Address();
address.setAddressId(3L);
address.setAddressName("hello");
addressService.save(address);
return "success";
}
}Simply write a controller, a user and an address, just as we normally use mybatis plus. The result is that the user is saved to the data source ds0 Library of the master and the address is saved to the slave data source ds1.
Well, this is the content of this time. How about it? It's very simple.