1, MHA overview
1.1 what is MHA
-
MHA (MasterHigh Availability) is a set of excellent software for failover and master-slave replication in MySQL high availability environment.
-
The emergence of MHA is to solve the problem of MySQL single point.
-
During MySQL failover, MHA can automatically complete the failover operation within 0-30 seconds.
-
MHA can ensure the consistency of data to the greatest extent in the process of failover, so as to achieve high availability in the real sense.
1.2 composition of MHA
1) MHA Node
The MHA Node runs on each MySQL server.
2) MHA Manager (management node)
-
MHA Manager can be deployed on an independent machine to manage multiple master slave clusters; It can also be deployed on a slave node.
-
The MHA Manager will periodically probe the master node in the cluster. When the master fails, it can automatically promote the slave of the latest data to the new master, and then point all other slave to the new master again. The entire failover process is completely transparent to the application.
1.3 characteristics of MHA
-
In the process of automatic failover, MHA tries to save binary logs from the down main server to ensure no data loss to the greatest extent;
-
Using semi synchronous replication can greatly reduce the risk of data loss. If only one slave has received the latest binary log, MHA can apply the latest binary log to all other slave servers, so it can ensure the data consistency of all nodes;
-
At present, MHA supports a master - slave architecture, with at least three services, i.e. one master and two slaves
2, MHA construction preparation
1.1 experimental ideas
1.MHA architecture ① database installation ② one master and two slave ③ MHA construction
2. Fault simulation # ① the main library fails ② the alternative main library becomes the main library ③ the original fault main library recovers and rejoins to MHA to become the slave library
1.2 experimental preparation
| Node server | system | host name | IP address | Installation services and tools |
| MHA manager node server | CentOS7.4(64 bit) | manager | 192.168.80.129 | Install MHA node and manager components |
| Master node server | CentOS7.4(64 bit) | mysql1 | 192.168.80.130 | Install mysql5 7 and MHA node components |
| Slave 1 node server | CentOS7.4(64 bit) | mysql2 | 192.168.80.131 | Install mysql5 7 and MHA node components |
| Slave2 node server | CentOS7.4(64 bit) | mysql3 | 192.168.80.200 | Install mysql5 7 and MHA node components |
3, Steps of MHA construction
3.1 configuring master-slave replication
1. Initialize the environment
#Initialize the environment on four servers
systemctl stop firewalld
systemctl disable firewalld
setenforce 0
2. Modify the host names of Master, Slave1 and Slave2 nodes
#On Master
hostnamectl set-hostname Mysql1
su

#In Slave1
hostnamectl set-hostname Mysql2
su

#In Slave2
hostnamectl set-hostname Mysql3
su
3. Add domain name resolution in Master, Slave1 and Slave2
vim /etc/hosts
192.168.80.130 Mysql1
192.168.80.131 Mysql2
192.168.80.200 Mysql3
4. Configure master-slave synchronization
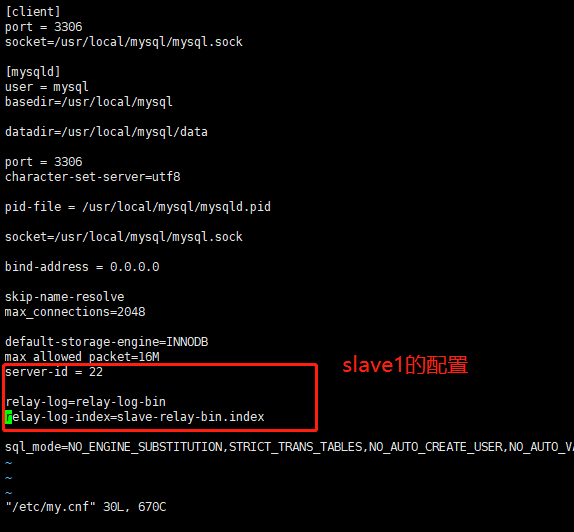
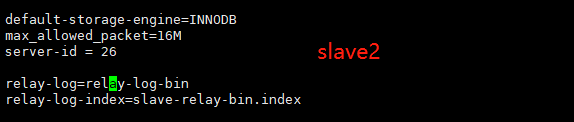
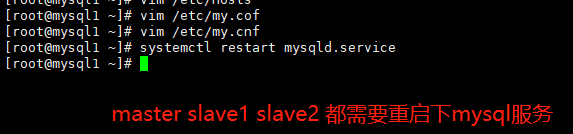
#Modify the Mysql main configuration file of Master, Slave1 and Slave2 nodes / etc / my cnf
##Master node##
vim /etc/my.cnf
[mysqld]
server-id = 1
log_bin = master-bin
log-slave-updates = true

systemctl restart mysqld

##Slave1 node##
vim /etc/my.cnf
server-id = 2 						#The server IDs of three servers cannot be the same
log_bin = master-bin
relay-log = relay-log-bin
relay-log-index = slave-relay-bin.index

systemctl restart mysqld

###Slave2 node##
vim /etc/my.cnf
server-id = 3
log_bin = master-bin
relay-log = relay-log-bin
relay-log-index = slave-relay-bin.index

systemctl restart mysqld

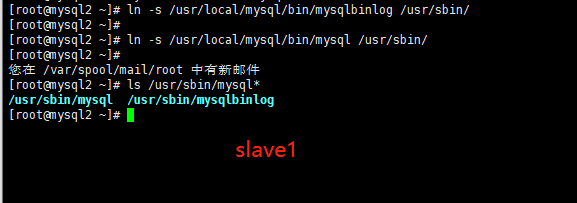
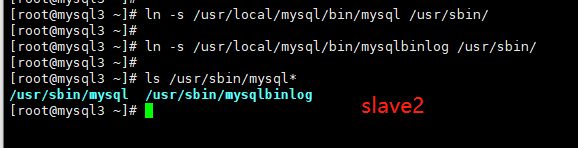
5. Create two soft links on master, Slave1 and Slave2 nodes
ln -s /usr/local/mysql/bin/mysql /usr/sbin/
ln -s /usr/local/mysql/bin/mysqlbinlog /usr/sbin/
ls /usr/sbin/mysql*

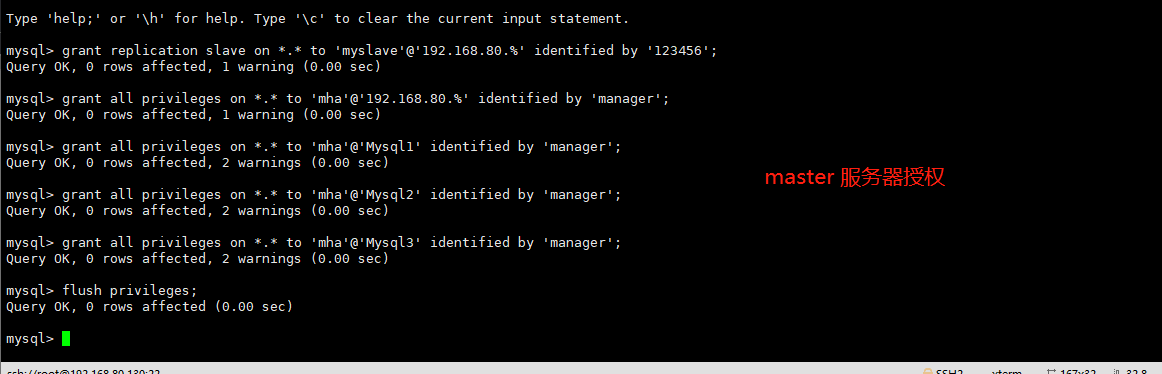
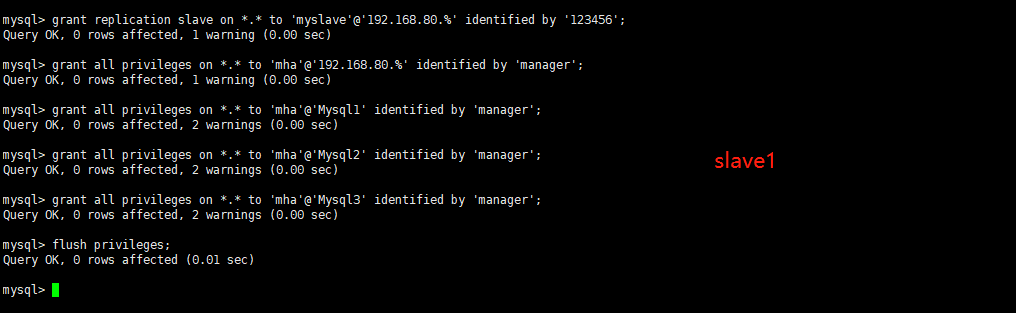
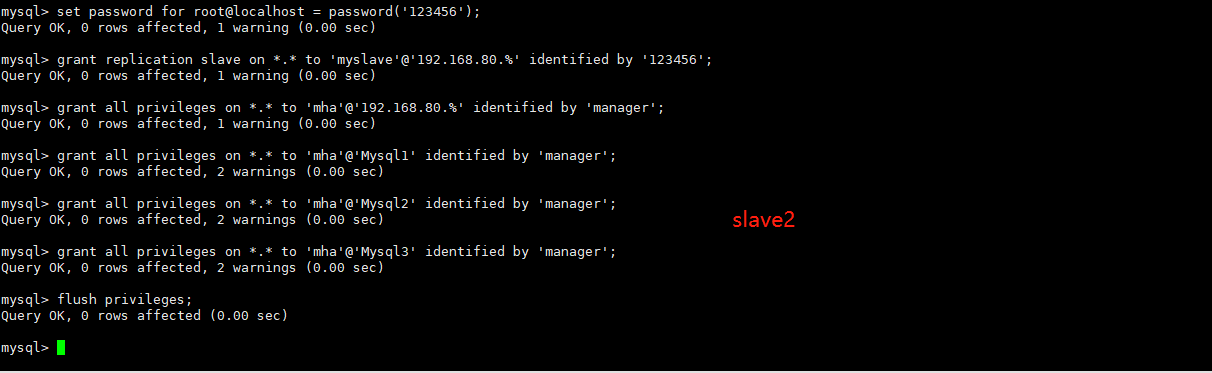
6. Login database master-slave configuration authorization
###Master,Slave1,Slave2 All nodes are authorized###
grant replication slave on *.* to 'myslave'@'192.168.80.%' identified by '123456';
#Authorized master-slave user
grant all privileges on *.* to 'mha'@'192.168.80.%' identified by 'manager';
grant all privileges on *.* to 'mha'@'Mysql1' identified by 'manager';
grant all privileges on *.* to 'mha'@'Mysql2' identified by 'manager';
grant all privileges on *.* to 'mha'@'Mysql3' identified by 'manager';

#Refresh Library
flush privileges;
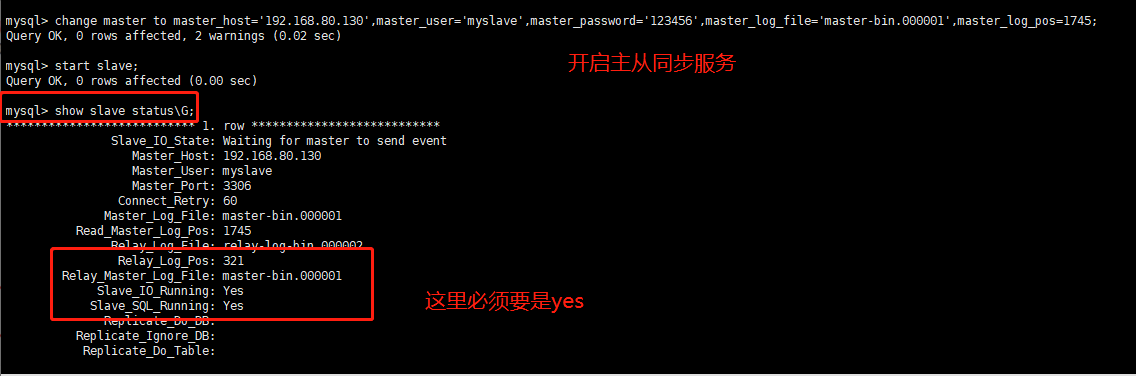
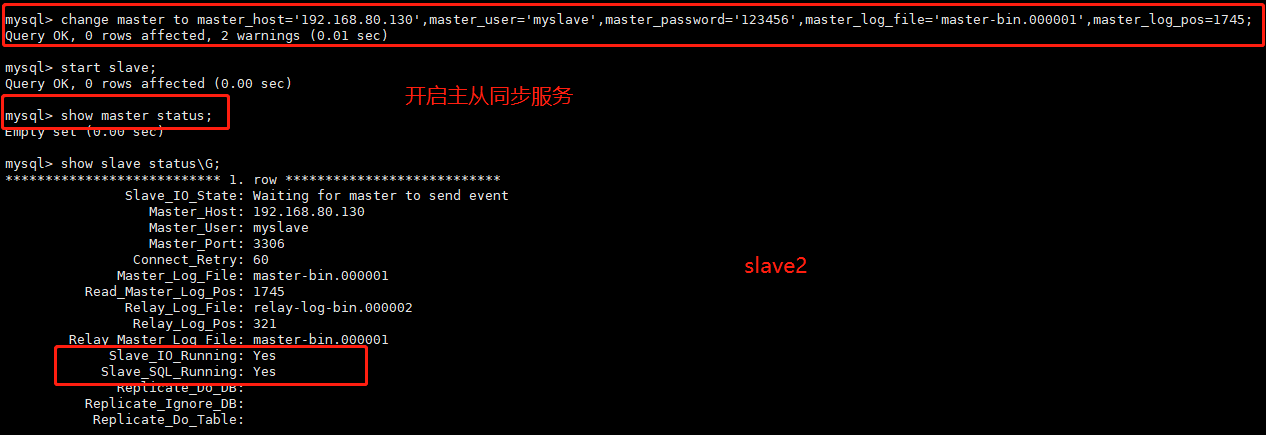
7. The master node views the binary files and synchronization points, and performs synchronization operations at Slave1 and Slave2 nodes
###stay master upper###
show master status;

###stay slave1,slave2 The node performs synchronization operations##
change master to master_host='192.168.80.130',master_user='myslave',master_password='123456',master_log_file='master-bin.000001',master_log_pos=1745;
start slave;
show slave status\G;
###On the master ###

###On slave1###
8. Set the read-only mode of two slave nodes
set global read_only=1;


9. Verify master-slave synchronization
##In the Lord master Create libraries, tables, and insert data on##
create database test1;
use test1;
insert into info values('Alline');
select * from test1.info;

##stay slave1,slave2 Upper verification##
select * from test1.info;