In the last article, we have learned how to build a MinIO object storage service. In this article, we will learn how to integrate MinIO in practical Java projects.
Don't say much, start today's study.
Project integration
1. Introduce dependency
<dependency>
    <groupId>io.minio</groupId>
    <artifactId>minio</artifactId>
    <version>8.2.2</version>
</dependency>

<dependency>
    <groupId>org.springframework.boot</groupId>
    <artifactId>spring-boot-starter-web</artifactId>
</dependency>
2. Configuration file
# Tomcat
server:
  port: 9300
# Minio configuration
minio:
  url: http://localhost:9000
  accessKey: minioadmin
  secretKey: minioadmin
  bucketName: test
The parameters under minio are minio service address, user name, password and bucket name
Note: it is better to configure the allowed upload file size. The default upload file size of Spring Boot is 1M
spring:
  # Configuration file upload size limit
  servlet:
    multipart:
      max-file-size: 100MB
      max-request-size: 100MB
3. Configuration class
/**
 * Minio configuration information
 *
 * @author ruoyi
 */
@Configuration
@ConfigurationProperties(prefix = "minio")
public class MinioConfig
{
    /**
     * Service address
     */
    private String url;

    /**
     * user name
     */
    private String accessKey;

    /**
     * password
     */
    private String secretKey;

    /**
     * Bucket name
     */
    private String bucketName;

    // Omit get and set methods

    @Bean
    public MinioClient getMinioClient()
    {
        return MinioClient.builder().endpoint(url).credentials(accessKey, secretKey).build();
    }
}
The configuration class is used to read the minio configuration in the yml file and initialize the MinioClient to the Spring container.
4. File upload
- The first is the service layer
public interface ISysFileService
{
    /**
     * File upload interface
     *
     * @param file Uploaded files
     * @return Access address
     * @throws Exception
     */
    public String uploadFile(MultipartFile file) throws Exception;
}


@Service
public class MinioSysFileServiceImpl implements ISysFileService
{
    @Autowired
    private MinioConfig minioConfig;

    @Autowired
    private MinioClient client;

    /**
     * Local file upload interface
     * @param file Uploaded files
     * @return Access address
     * @throws Exception
     */
    @Override
    public String uploadFile(MultipartFile file) throws Exception
    {
        String fileName = file.getOriginalFilename();
        PutObjectArgs args = PutObjectArgs.builder()
                .bucket(minioConfig.getBucketName())
                .object(fileName)
                .stream(file.getInputStream(), file.getSize(), -1)
                .contentType(file.getContentType())
                .build();
        client.putObject(args);
        return minioConfig.getUrl() + "/" + minioConfig.getBucketName() + "/" + fileName;
    }
}
- Then there is the controller layer
/**
 * File request processing
 */
@RestController
public class SysFileController
{
    @Autowired
    private ISysFileService sysFileService;

    /**
     * File upload request
     */
    @PostMapping("upload")
    public Map<String, Object> upload(MultipartFile file)
    {
        Map<String, Object> map = new HashMap<>();
        try
        {
            // Upload and return access address
            String url = sysFileService.uploadFile(file);
            map.put("status", "success");
            map.put("data", url);
            return map;
        }
        catch (Exception e)
        {
            log.error("Failed to upload file", e);
            map.put("status", "error");
            map.put("msg", e.getMessage());
            return map;
        }
    }
}
The integration of Spring Boot project is also very simple. Let's test a wave.
Start test
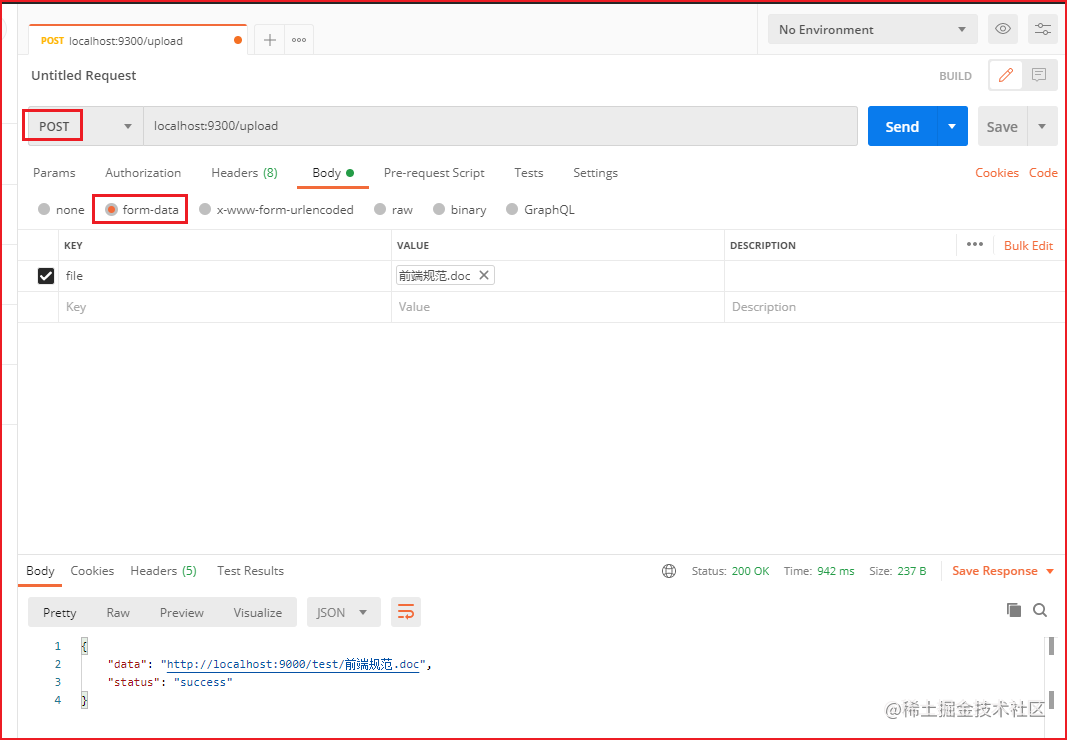
Open postman and send the file upload request in form data format. Success is returned
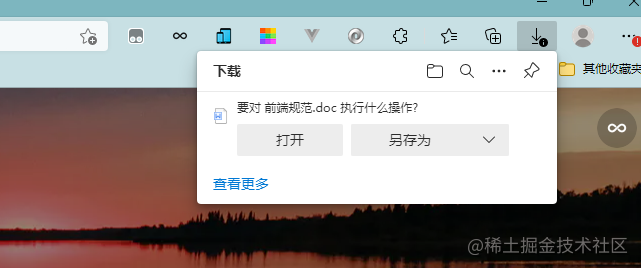
The url of the returned file accessed by the browser
Then go to our MinIO console and have a look
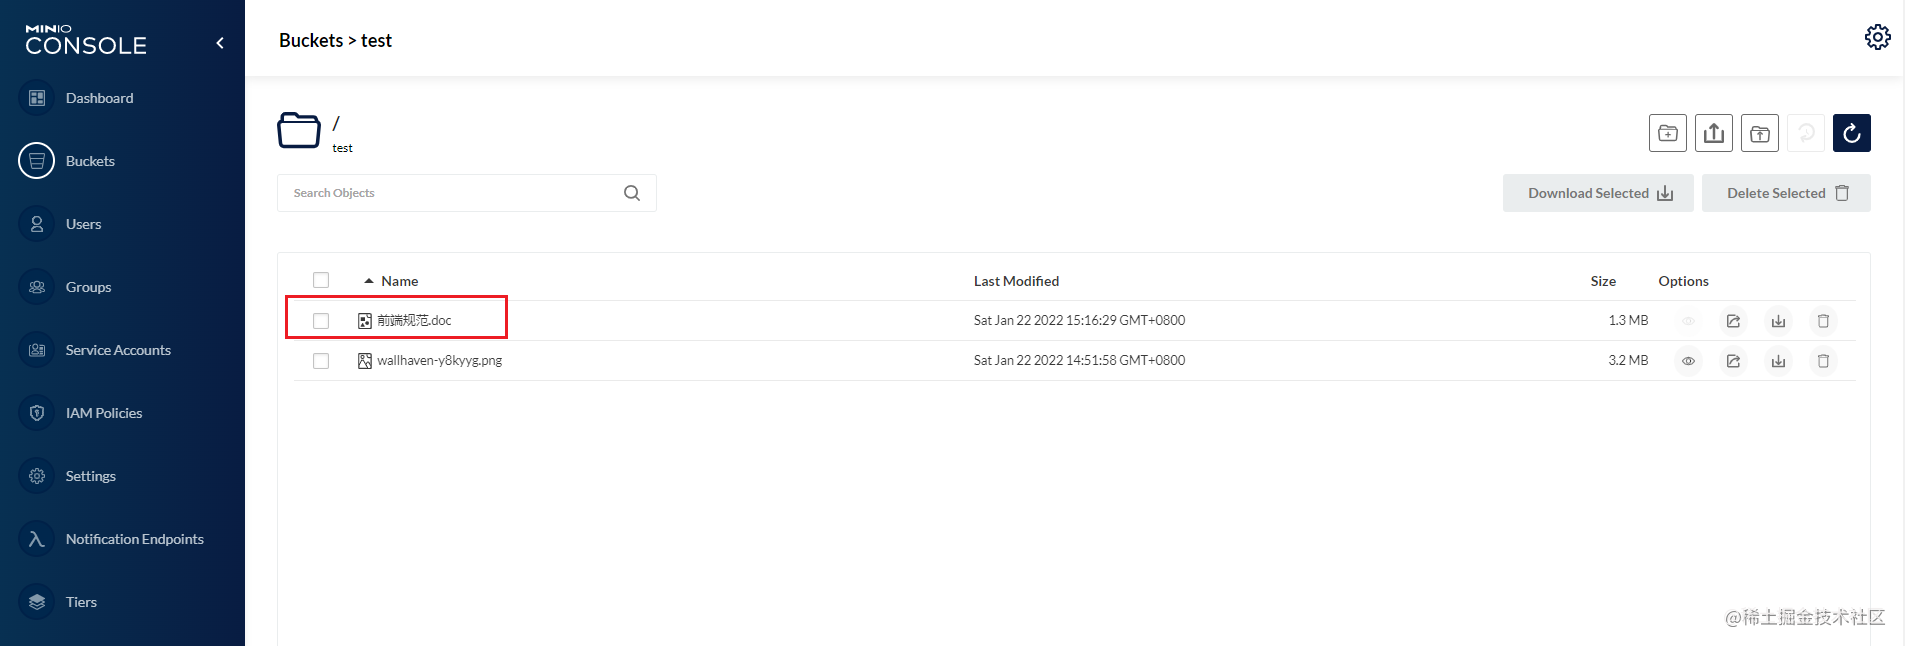
The test was successful.
supplement
Bucket naming requirements
The naming of storage buckets shall comply with one or more of the following rules
- Bucket names are between 3 and 63 characters long and can contain only lowercase letters, numbers, periods, and dashes.
- Each label in the bucket name must begin with a lowercase letter or number.
- Bucket names cannot contain underscores, end with dashes, contain consecutive periods, or use dashes next to periods.
- Bucket name cannot be in IP address format (198.51.100.24).
- Buckets are used as publicly accessible URL s, so the bucket name you select must be globally unique. If the name you choose is already used by some other account to create buckets, you must use a different name.