preface
Canal is an important middleware to realize mysql data backup, remote disaster recovery, remote data synchronization and so on. It is widely used in the actual business scenario. Based on a remote data synchronization scenario in the project where Xiaobian is located, this paper demonstrates the process of using canal to realize mysql data synchronization through a case

Synchronization principle
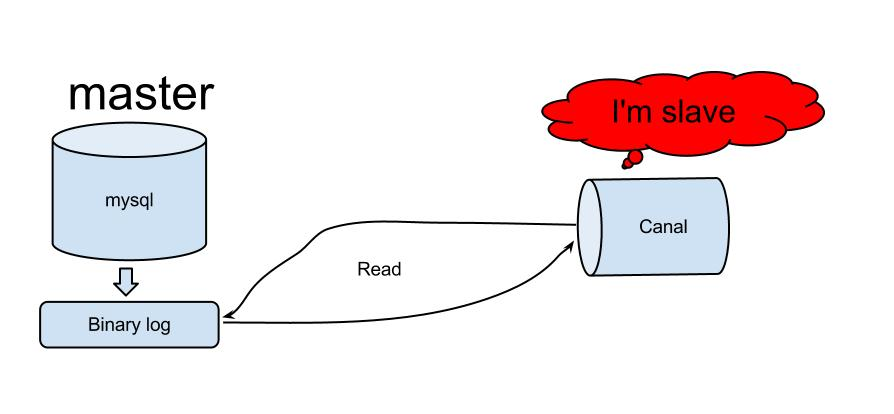
As shown in the figure above, it is a simple schematic diagram of the principle of canal synchronizing mysql data, which is summarized as follows:
- canal simulates the interactive protocol of mysql slave, disguises itself as mysql slave, and sends dump protocol to mysql master.
- mysql master receives the dump request and starts pushing binary log to canal (slave)
- canal parses binary log object (originally byte stream)
If the students who have personally configured the mysql read-write separation architecture have a good understanding of the principle of data replication of canal, in short, it is a slave node disguised as a master, which monitors and parses the metadata of binlog log to the data table of the target database
Environmental preparation
- A mysql service with binlog log enabled. The IP address is IP1
- Another machine with mysql server installed and started, IP address: IP2
- Canal installation package, including: canal adapter-1.1.4. tar. gz , canal.deployer-1.1.4.tar.gz
Download address of canal installation package: https://github.com/alibaba/canal/releases

Implementation steps
To realize the requirements of this article, it is mainly based on the configuration of the two downloaded installation packages. In fact, students who know canal are not unfamiliar with its implementation principle, that is, the services of two springboot. For developers, they only need to make various configurations according to the synchronous implementation provided by the official wiki
In the previous article Spring boot integration canal In the first article, we preliminarily demonstrated the server-side configuration process of Canadian, that is, the configuration of deployer. In this article, we need to configure both deployer and adapter at the same time
deployer configuration
1. Unzip canal deployer-1.1.4. tar. GZ to the specified directory
tar -zxvf canal.deployer-1.1.4.tar.gz -C Target file directory
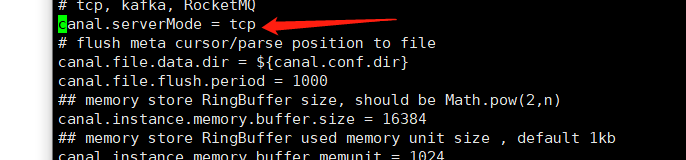
2. Enter the conf directory and modify canal properties
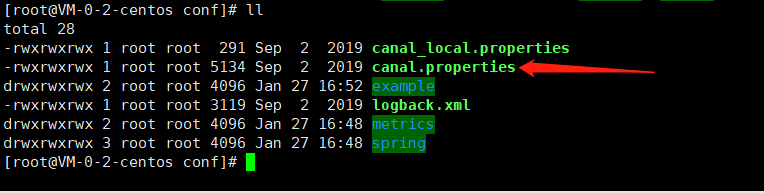
If msyql is synchronized to mysql, the configuration file does not need to be modified and remains the default. The points to note are as follows:
3. Enter the example directory and modify instance properties

The main modifications are as follows:
canal.instance.master.address=IP:3306 #mysql source address
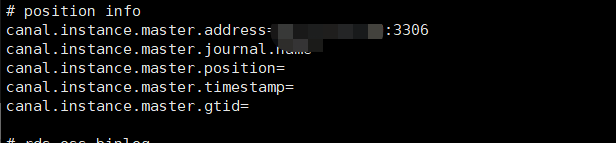
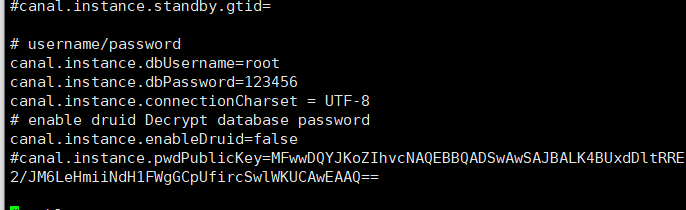
The mysql source address authorizes canal to obtain the account name and password of the data
canal.instance.dbUsername=root
canal.instance.dbPassword=123456
4. Start the deployer service
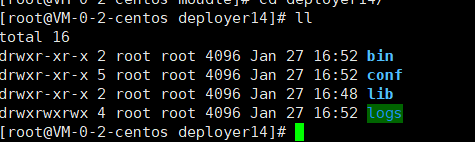
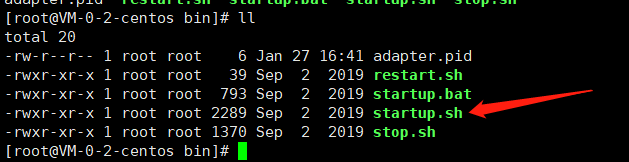
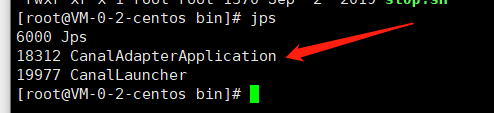
Enter the bin directory, directly use the following script to start, and check the process after startup


adapter Configuration
1. Unzip canal adapter-1.1.4. tar. GZ to the specified directory
tar -zxvf canal.adapter-1.1.4.tar.gz Specify directory
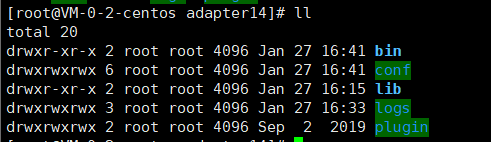
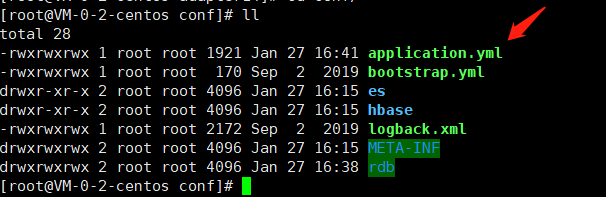
2. Enter the conf directory and first modify the application YML file
The main modifications are as follows:,
server:
  port: 8081
spring:
  jackson:
    date-format: yyyy-MM-dd HH:mm:ss
    time-zone: GMT+8
    default-property-inclusion: non_null

canal.conf:
  mode: tcp # kafka rocketMQ
  canalServerHost: Canal of deployer Service location IP address:11111
#  zookeeperHosts: slave1:2181
#  mqServers: 127.0.0.1:9092 #or rocketmq
#  flatMessage: true
  batchSize: 500
  syncBatchSize: 1000
  retries: 0
  timeout:
  accessKey:
  secretKey:
   srcDataSources:
     defaultDS:
       url: jdbc:mysql://mysql source database IP:3306/shop001?useUnicode=true
       username: root
       password: root
  canalAdapters:
  - instance: example # canal instance Name or mq topic name
    groups:
    - groupId: g1
      outerAdapters:
      - name: logger
      - name: rdb
        key: mysql1
        properties:
          jdbc.driverClassName: com.mysql.jdbc.Driver
          jdbc.url: jdbc:mysql://Target synchronization IP:3306/shop001?useUnicode=true
          jdbc.username: root
          jdbc.password: root
3. Enter the rdb directory and modify mytest first_ user. YML file

The contents of the core modified documents are posted below, and the points needing attention include:
- groupId: g1, which is consistent with the configuration in step 2 above
- outerAdapterKey: mysql1, which is consistent with the configuration in step 2
- mapAll: true. If the field structure of the source table and the target table are completely consistent, you can directly open this configuration, and the following targetColumns can be commented out
dataSourceKey: defaultDS
destination: example
groupId: g1
outerAdapterKey: mysql1
concurrent: true
dbMapping:
  database: shop001    #mysql source database name
  table: user_info	   #Table name under mysql source database
  targetTable: shop001.tar_user		#Synchronize to target database - data table name
  targetPk:
    id: id
  mapAll: true		#If the field structure of the source table and the target table are completely consistent, you can directly open this configuration, and the following targetColumns can be commented out
  #targetColumns:
  #  id:
  #  name:
  #  role_id:
  #  c_time:
  #  test1:
  #etlCondition: "where c_time>={}"
  #commitBatch: 3000 # Size of batch submission
4. Start the adapter service
Enter the bin directory, use the following startup script to start, and then check the service process
Before the test, we created user under the mysql database installed on IP1 and IP2 respectively_ Info table and tar_user table. The current requirement is that the data should be from IP1: user_info => IP2: tar_user table synchronization,
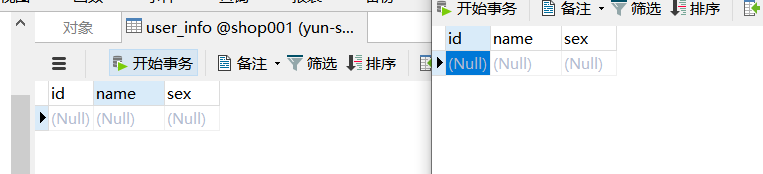
The current status is that the two tables under the two databases are empty. Execute the following data to insert sql and give it to user_ Insert a piece of data into info table
INSERT INTO `shop001`.`user_info` (`id`, `name`, `sex`) VALUES ('1', 'xiaoma', 'male');
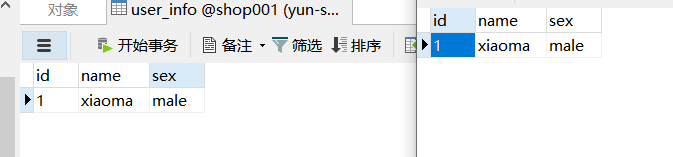
As you can see, the data is almost inserted into tar in quasi real time_ In the user table, of course, when you delete, modify and other operations, you will also synchronize the past
Based on the above operations, we have completed a process of mysql data synchronization using canal. The official provides many synchronization schemes, such as data synchronization from mysql to mysql, es, redis, etc. interested students can continue to study in depth!