preface
I've been working on NER recently. Due to the lack of annotation data, you know 😭😭
Label Studio can be used not only to label text NER tasks, but also to label text classification, image classification and other AI tasks.
Official website—— https://labelstud.io/
Explore other annotation tasks by yourself. I'll only talk about NER task here.
1, Installation and startup
install
pip install -U label-studio
start-up
# Open the command line and execute:

label-studio
2, Basic use
If nothing unexpected happens, a login page will pop up after starting Label Studio in the command line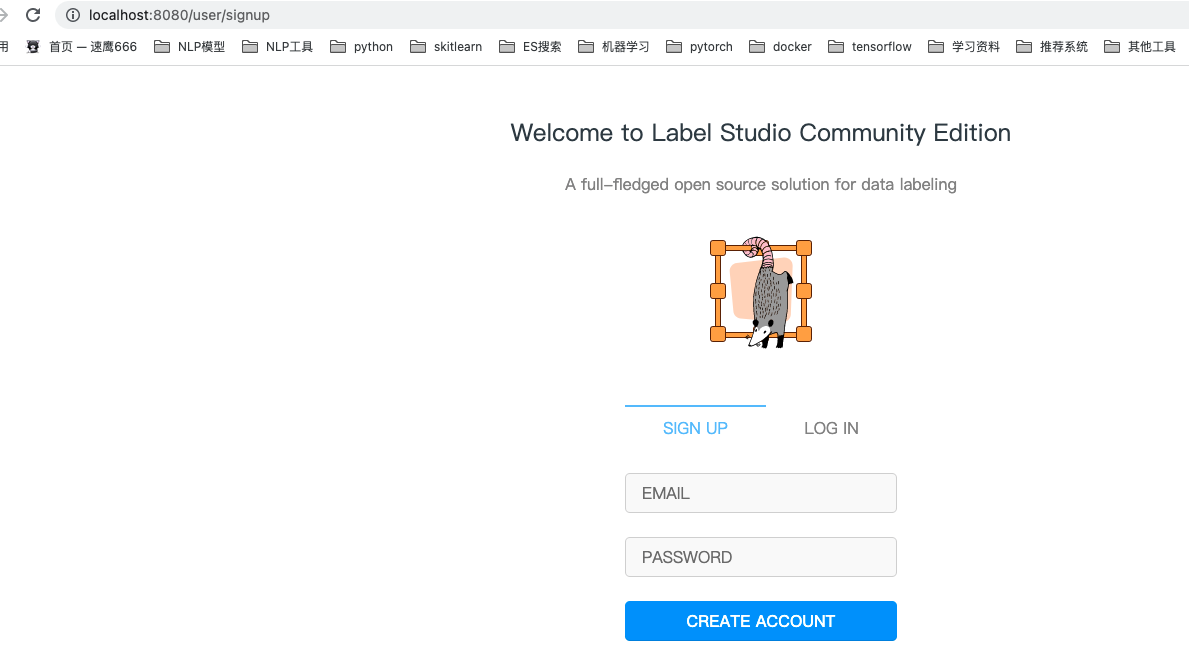
As shown above
You need to create an account for the first time. Just register
After registering, log in and jump to the following page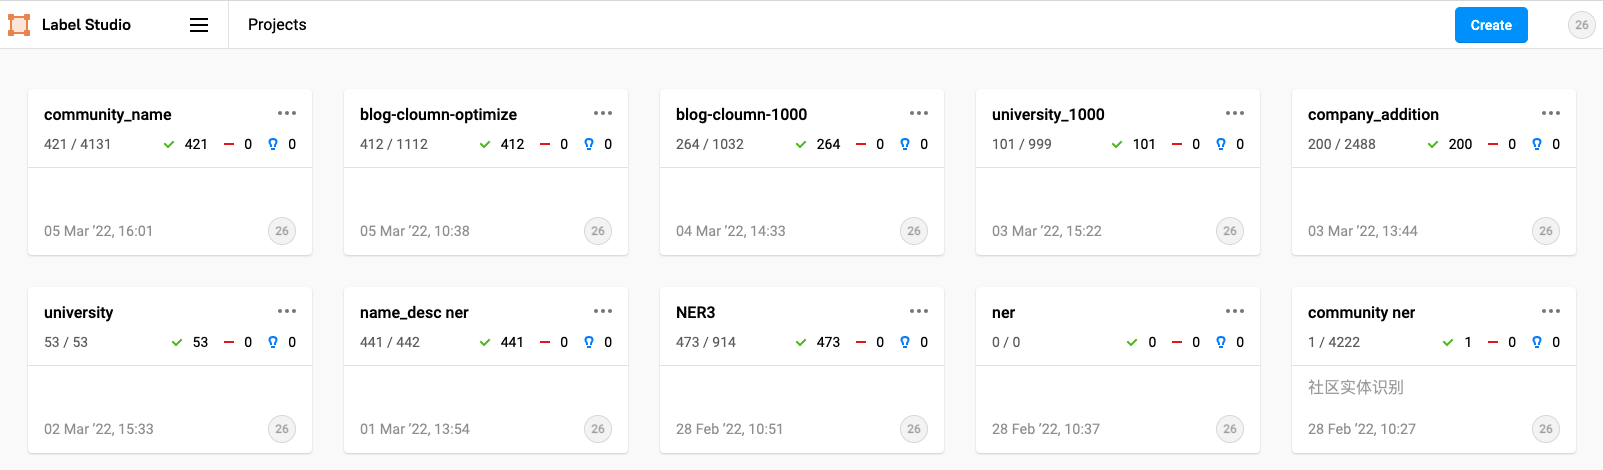
The first time I log in, this page should be blank. These are my own projects. You don't have to worry
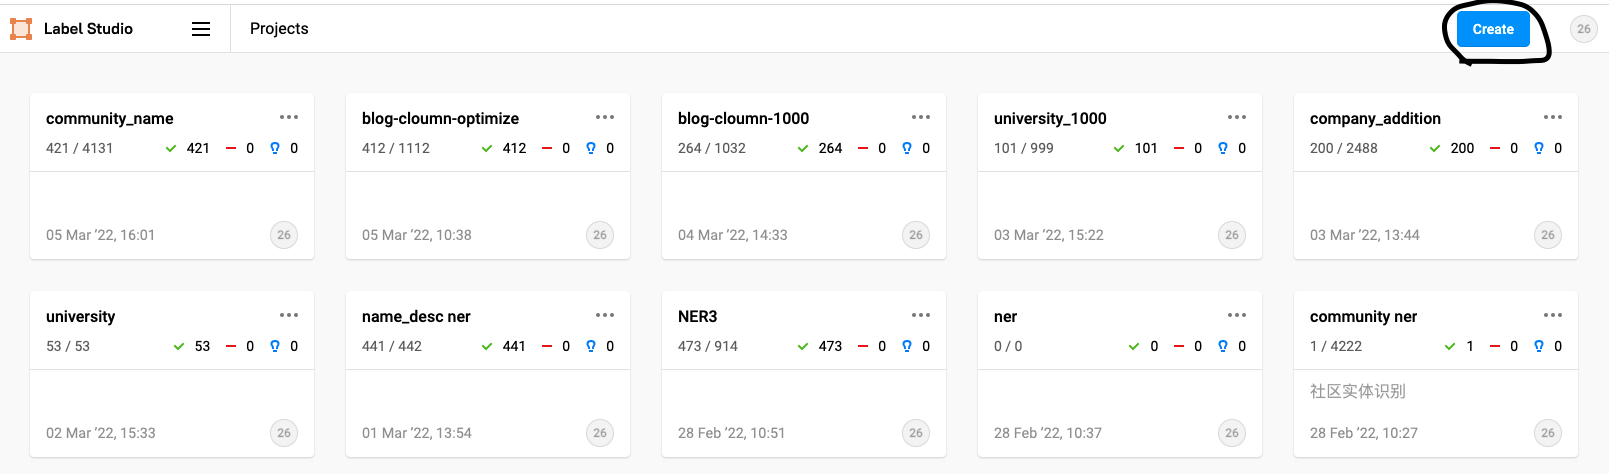
Now let's start creating our own project:
1. Click the create button in the upper right corner
Click the item name and the following page will pop up
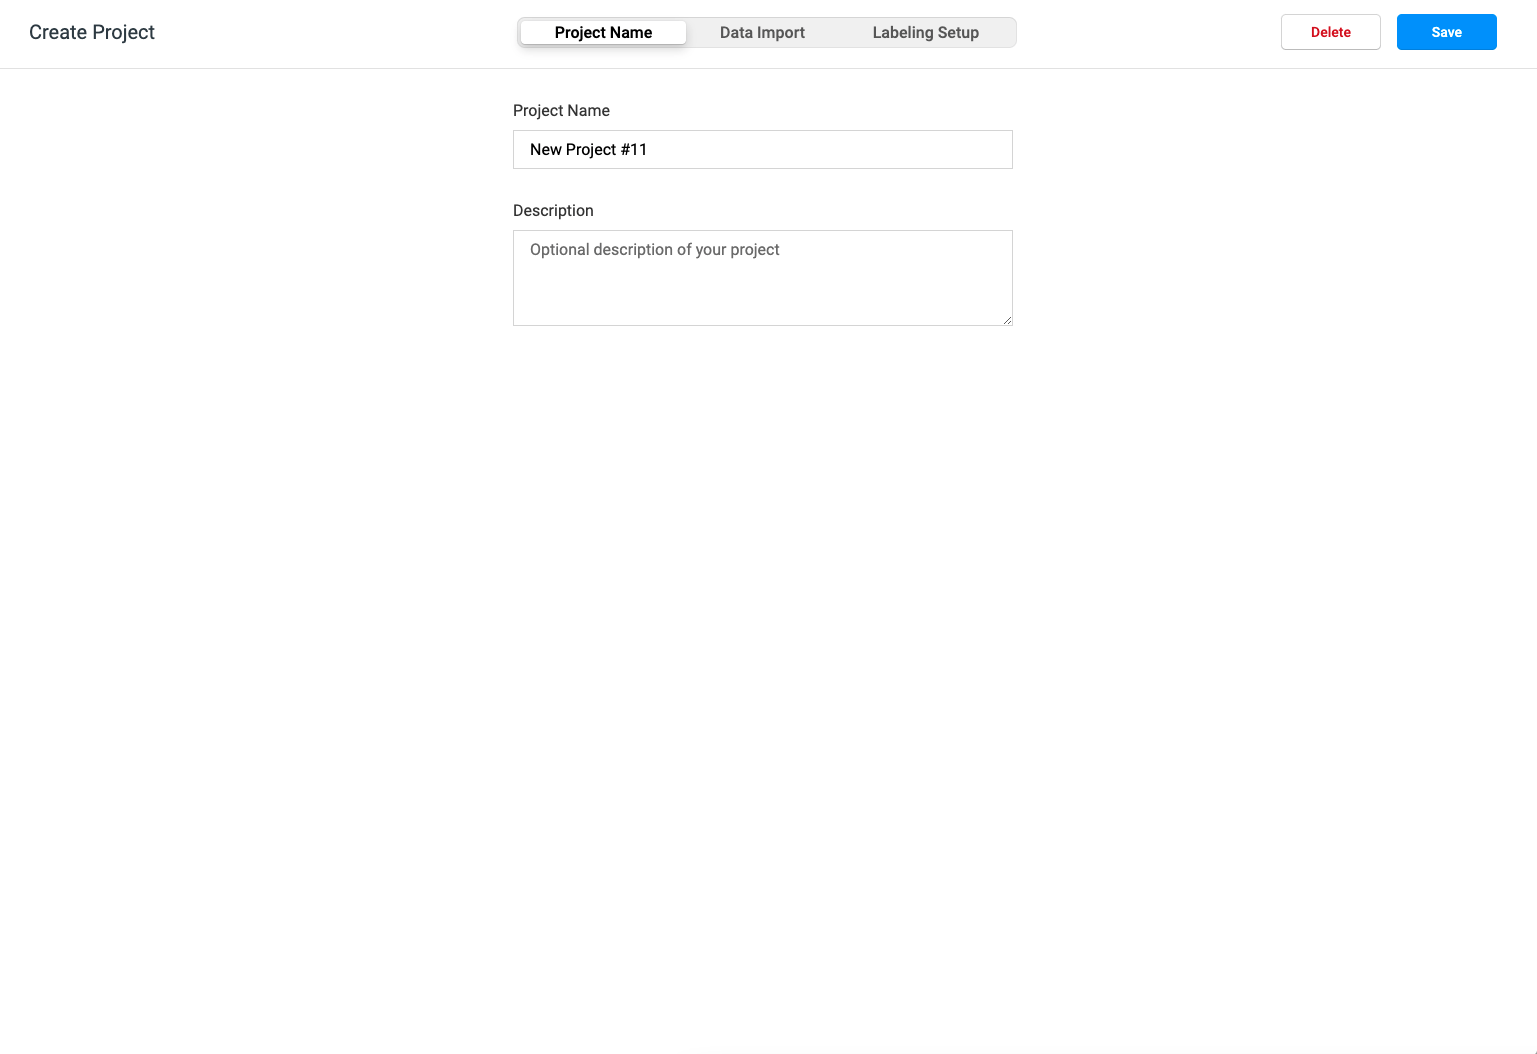
2. After setting the project name and description, click Data Import next to it to enter the Data Import page
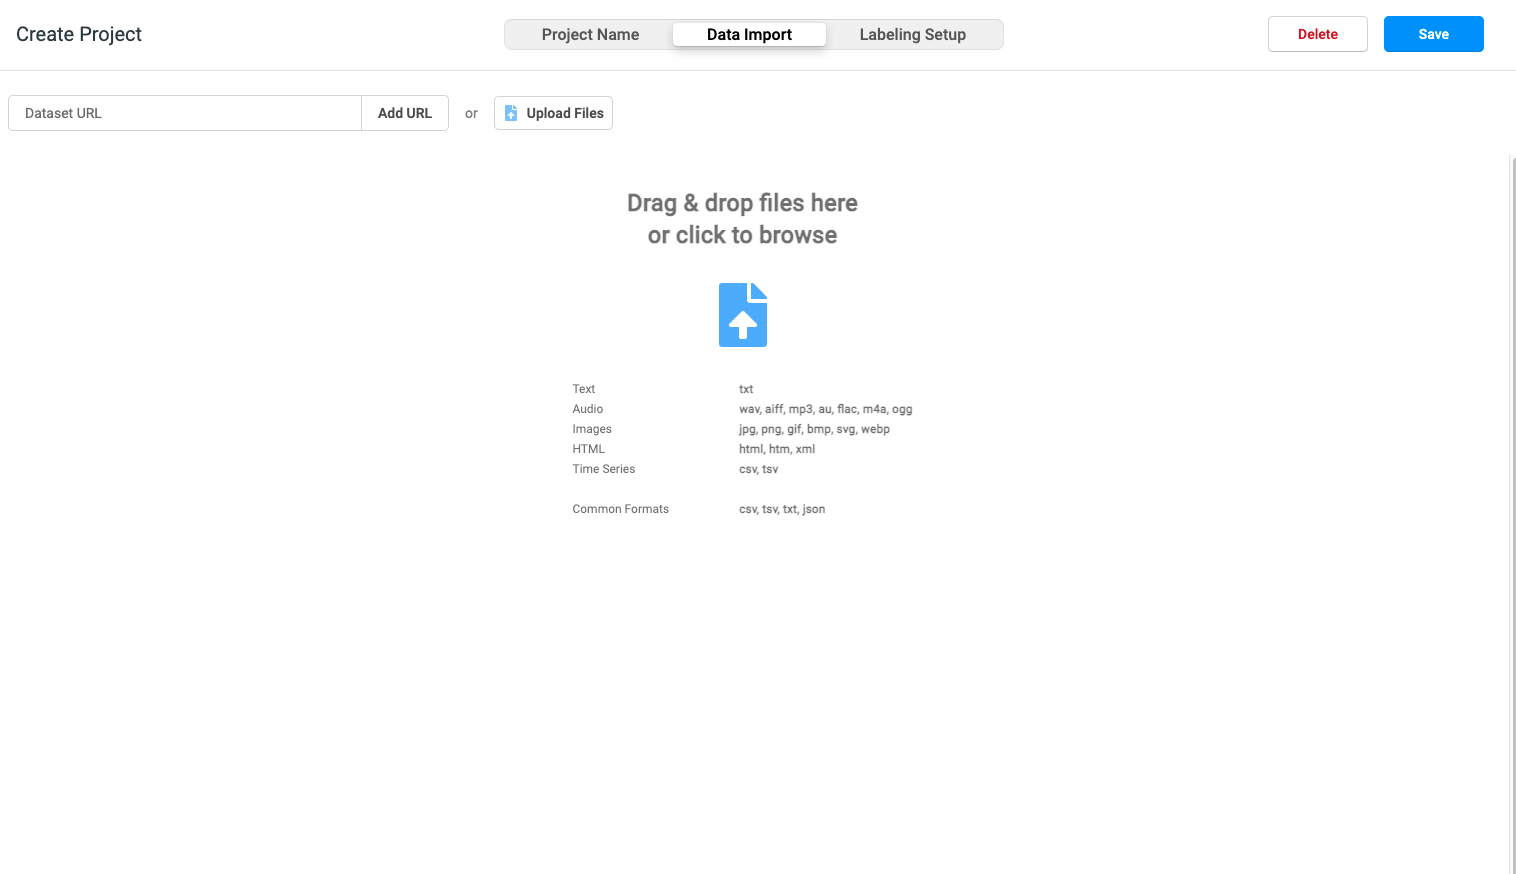
3. Click the Upload Files button to select a file to be marked locally
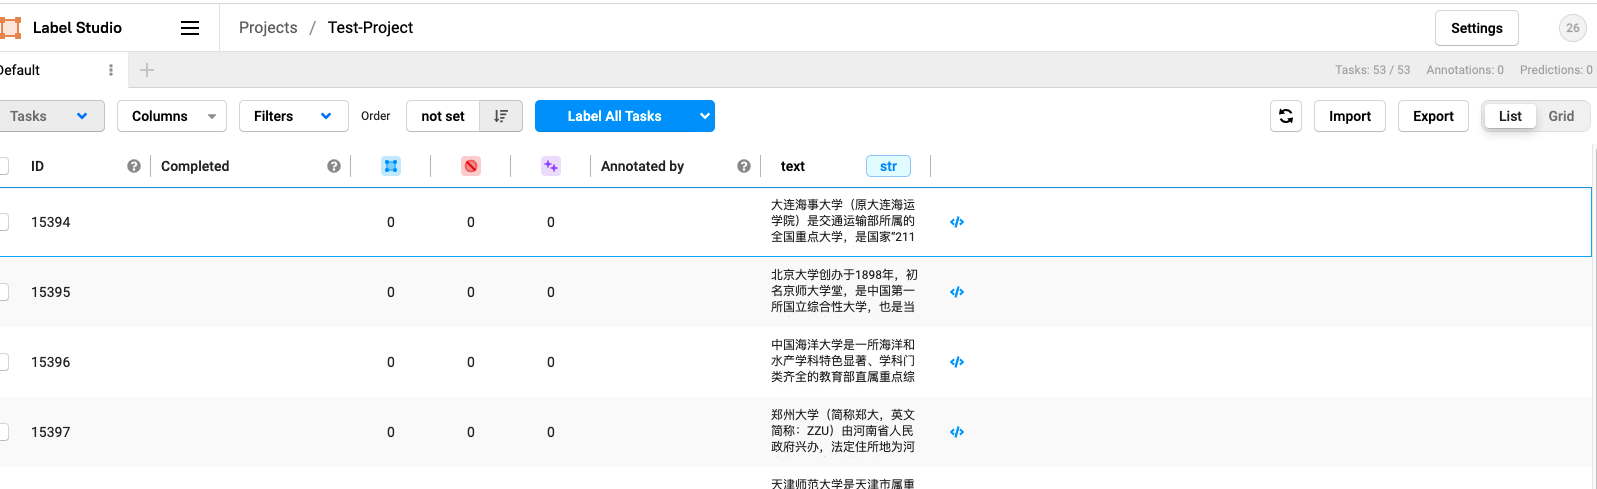
My file format is line by line txt text, as shown in the figure:
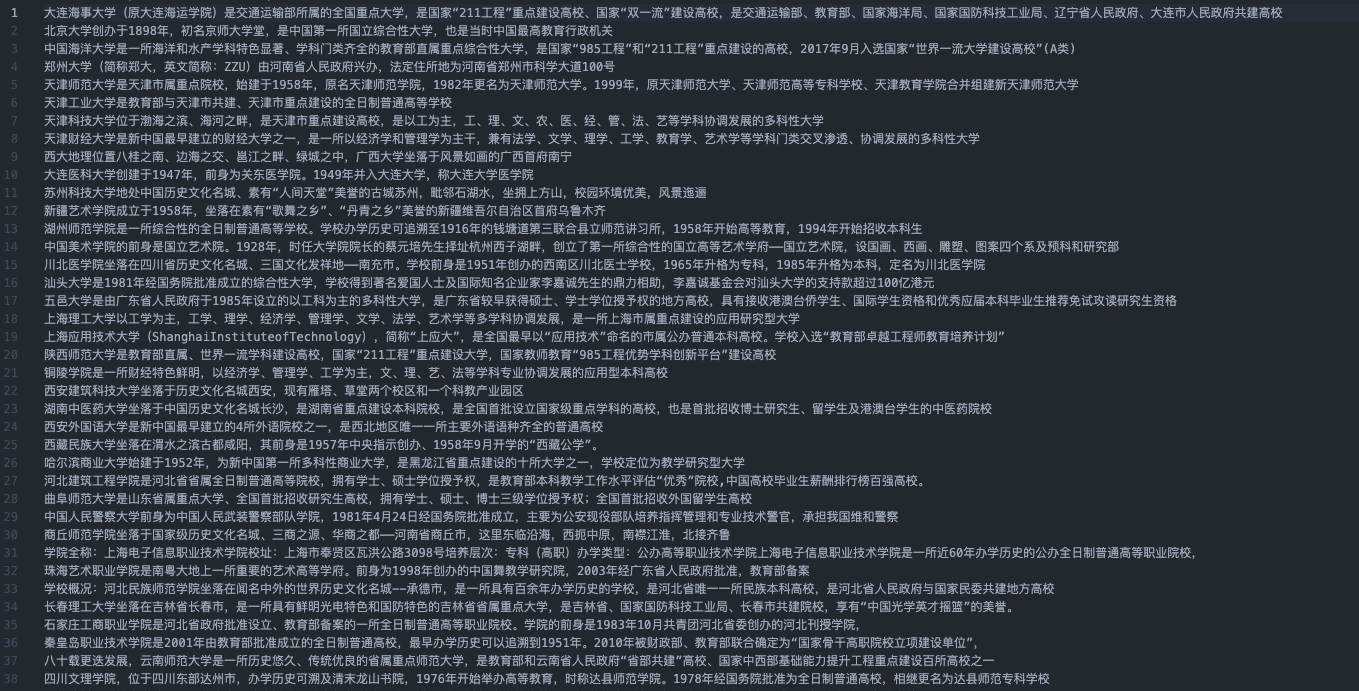
A row represents a piece of data. The file format can also be CSV. It is reasonable to say that as long as it is a line of data, interested students can explore it by themselves.
4. After selecting the file to be marked, click OK, and the following interface will pop up:
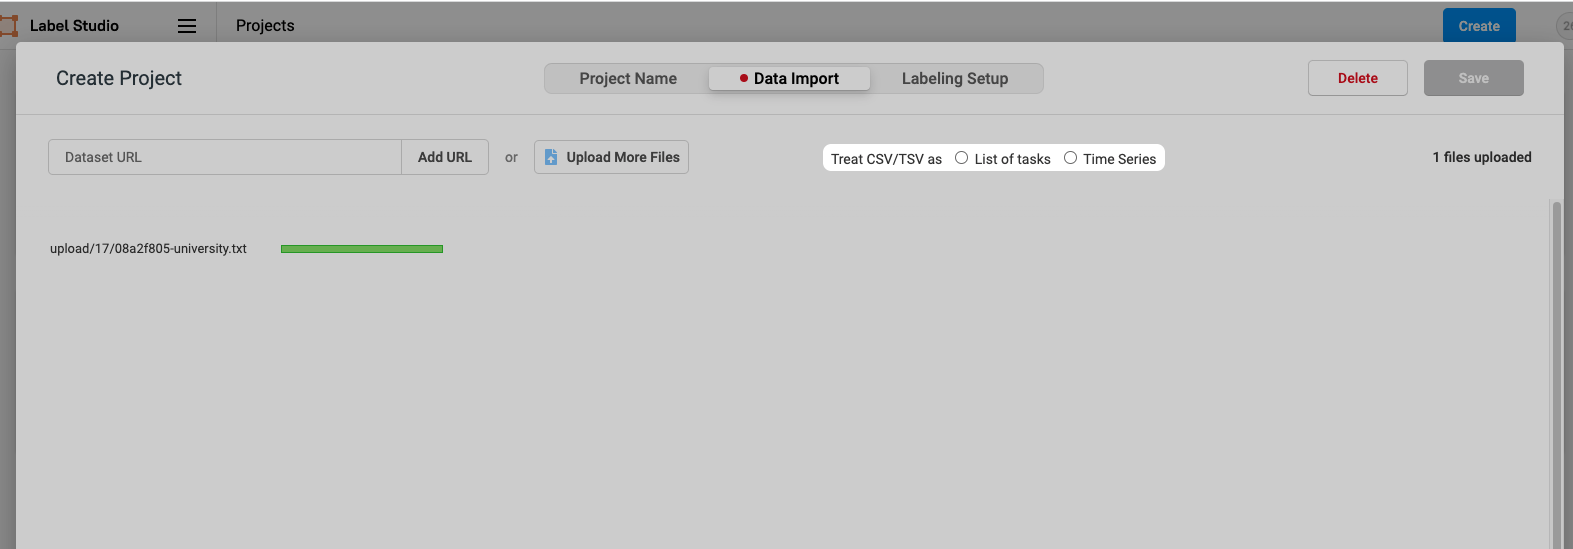
5. Here, you need to choose whether it is List of tasks or Time Series. Here, I choose List of tasks
6. After selection, click Labeling Setup next to it. The page is as follows:
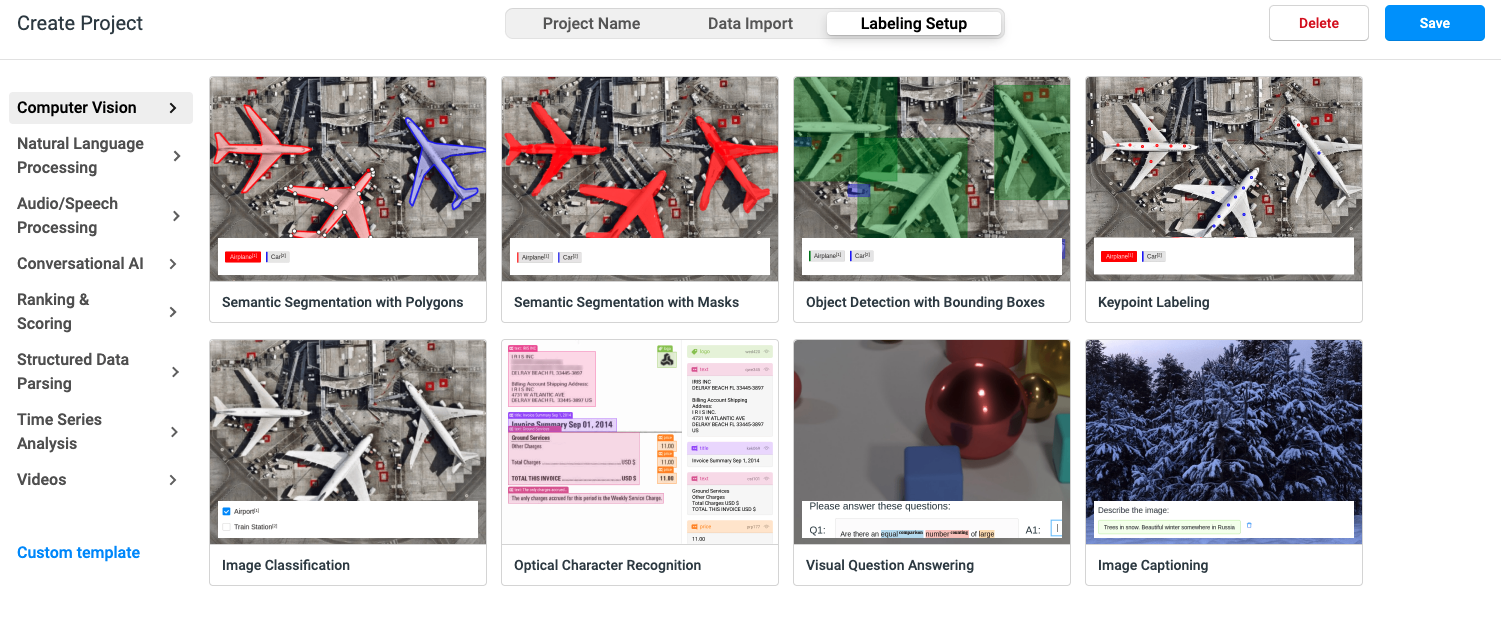
7. Find Natural Language Processing and select Named Entity Recognition
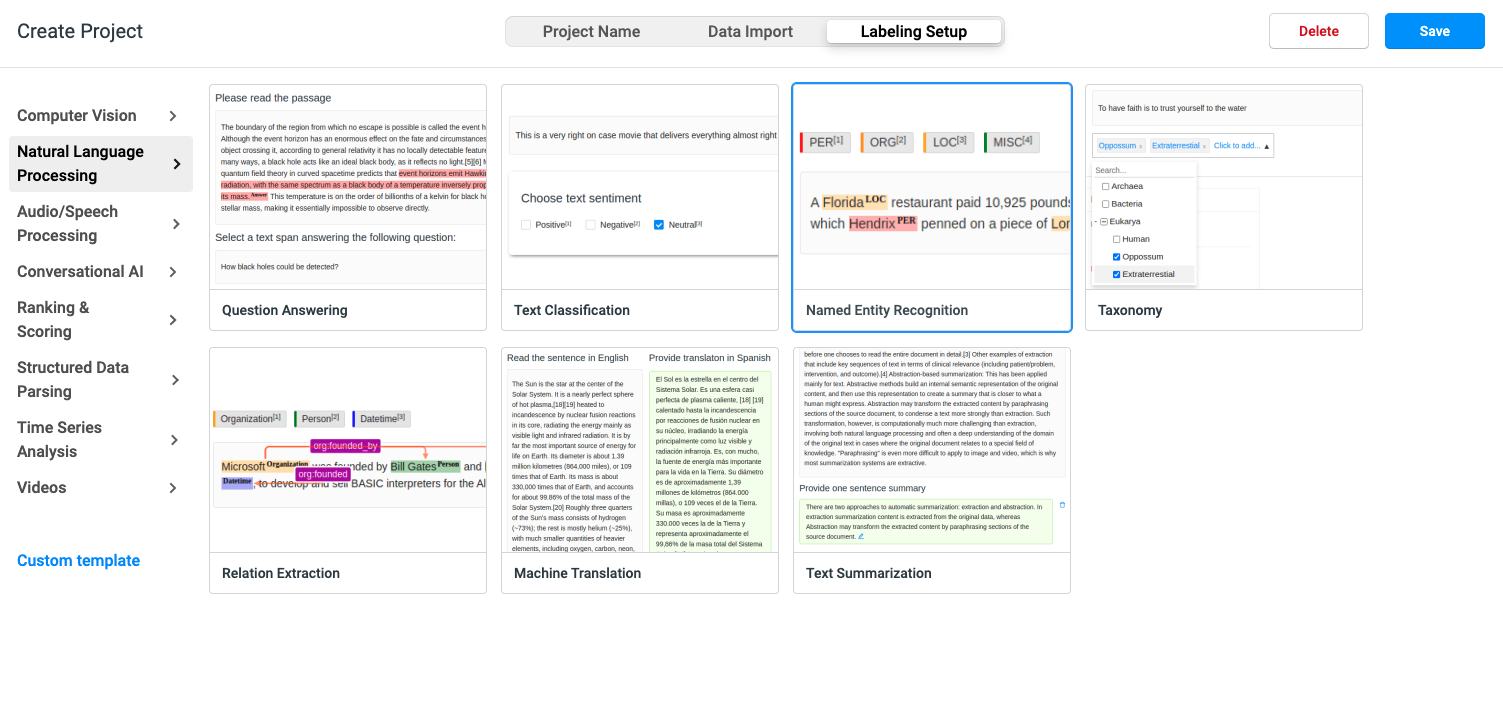
8. After selection, the following page will pop up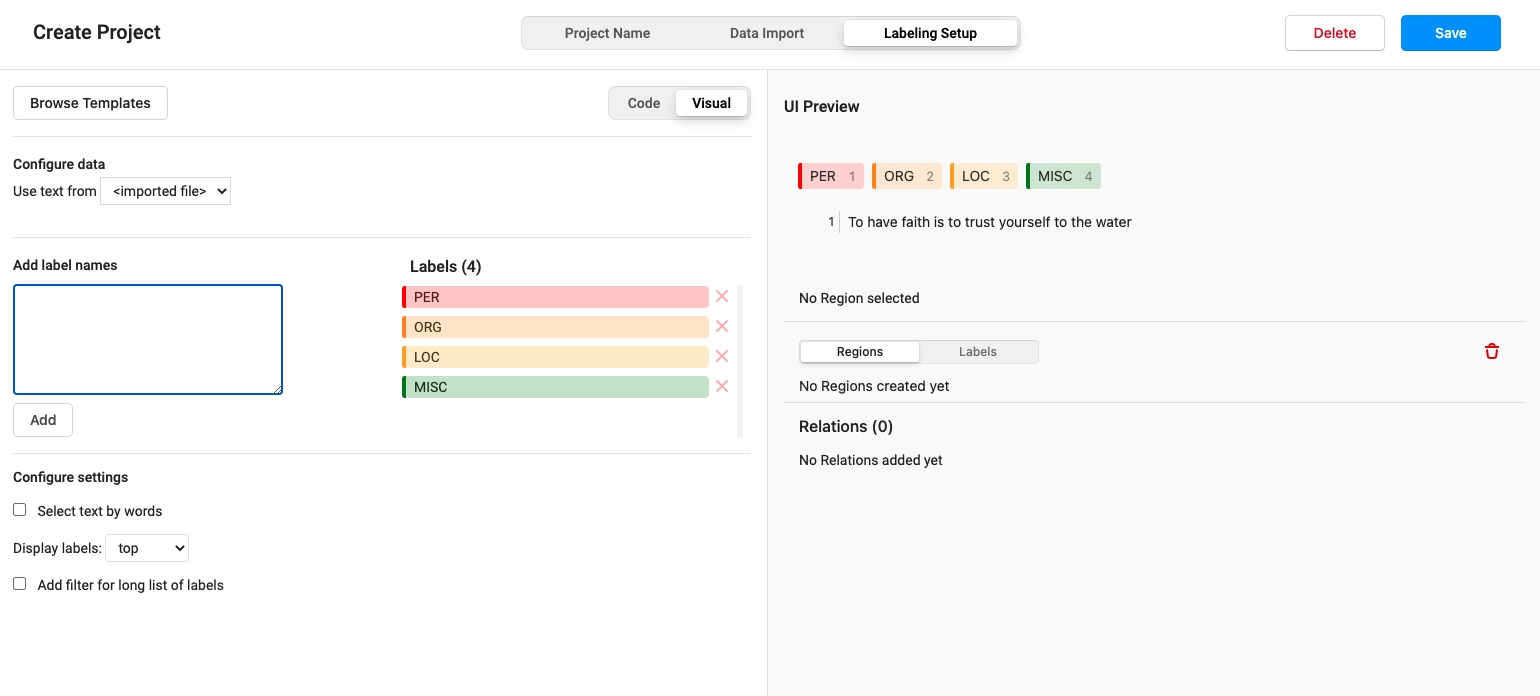
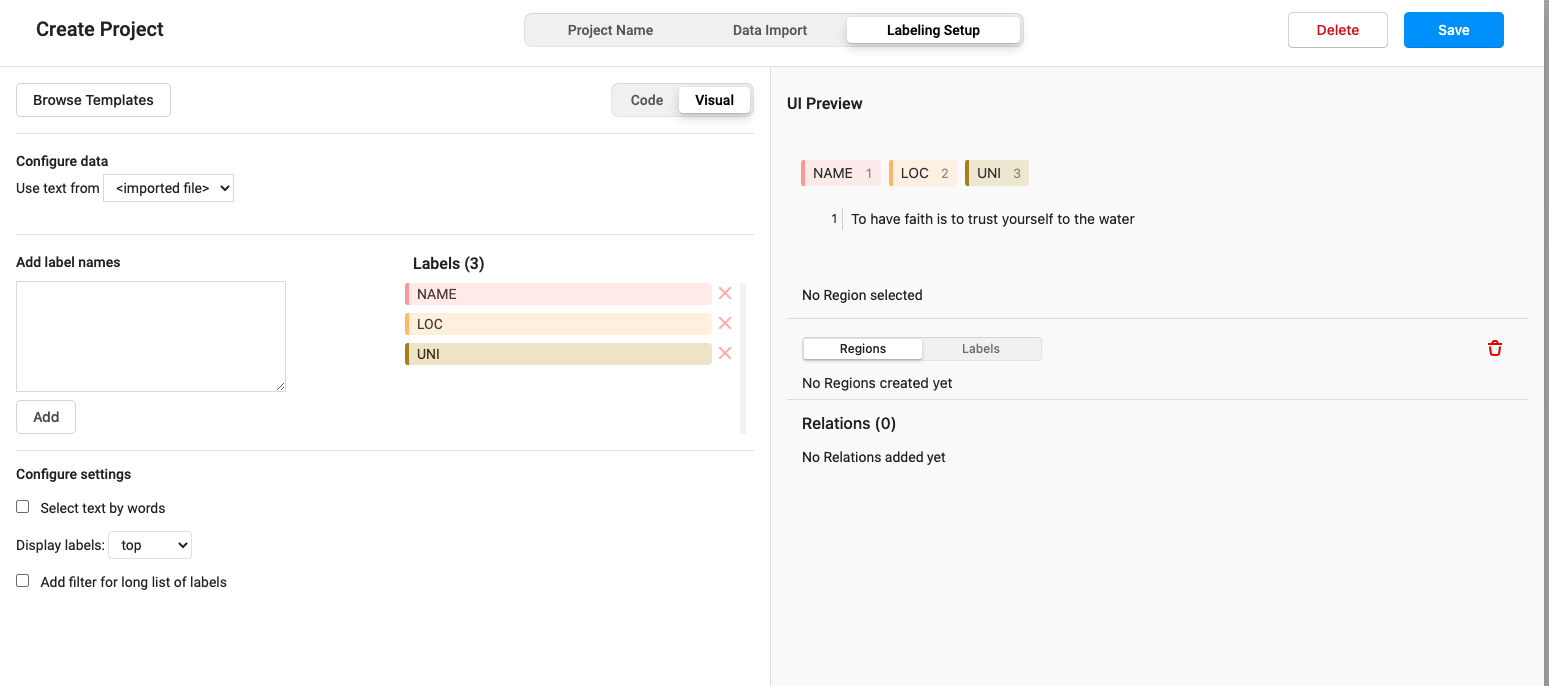
9. The default four tags are PER ORG LOC MISC. Delete these four tags and replace them with our own tags
Enter your own label name from the next box, and then click Add to add your own custom label
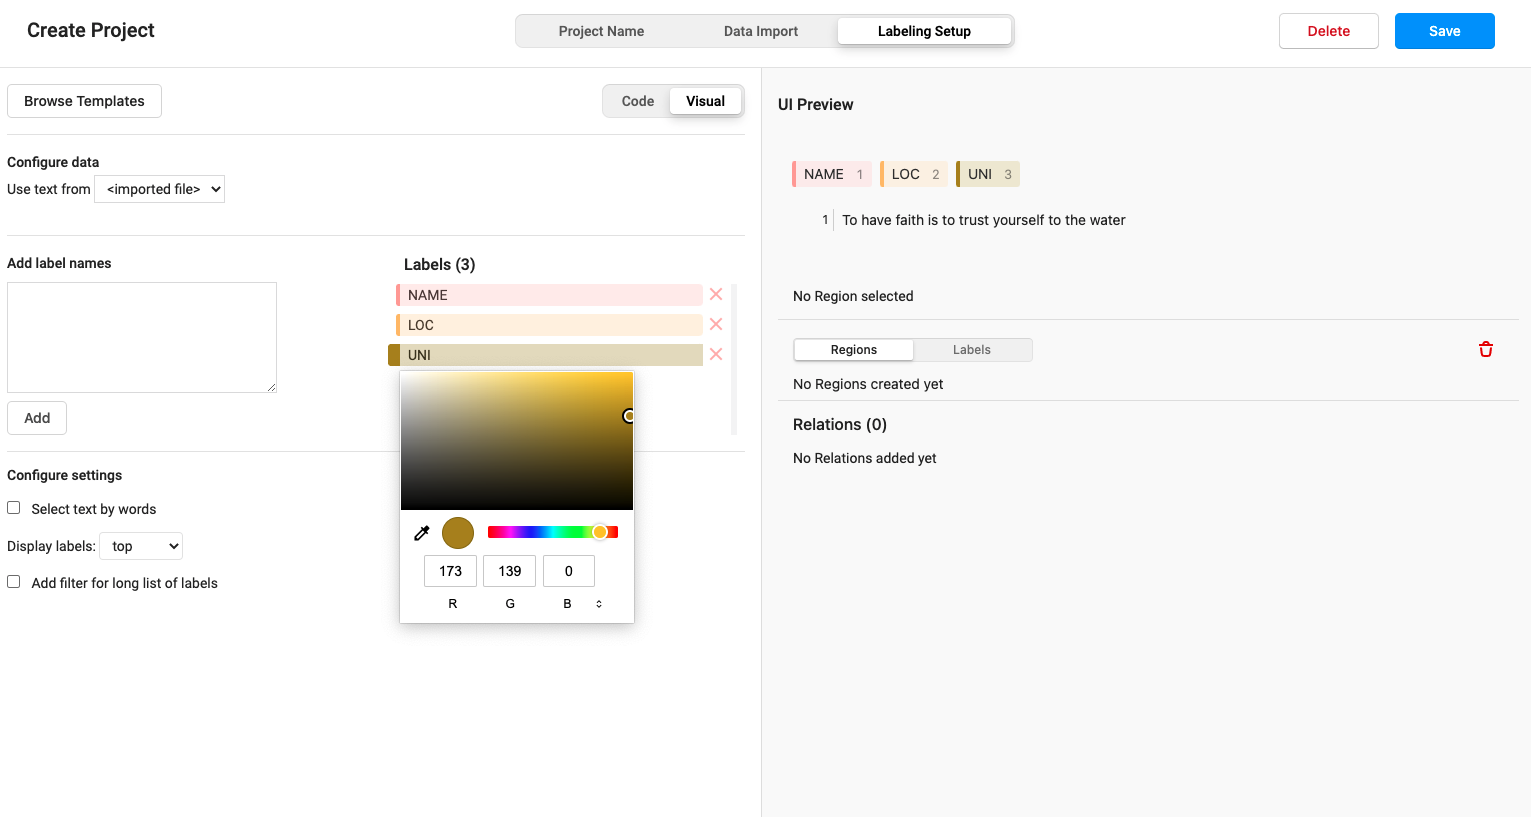
Click the label we added, and you can customize the color
10. So far, we have selected all the configurations, which seems very troublesome. Because I said it in detail, I'm afraid some students can't understand it. Click the Save button in the upper right corner to start labeling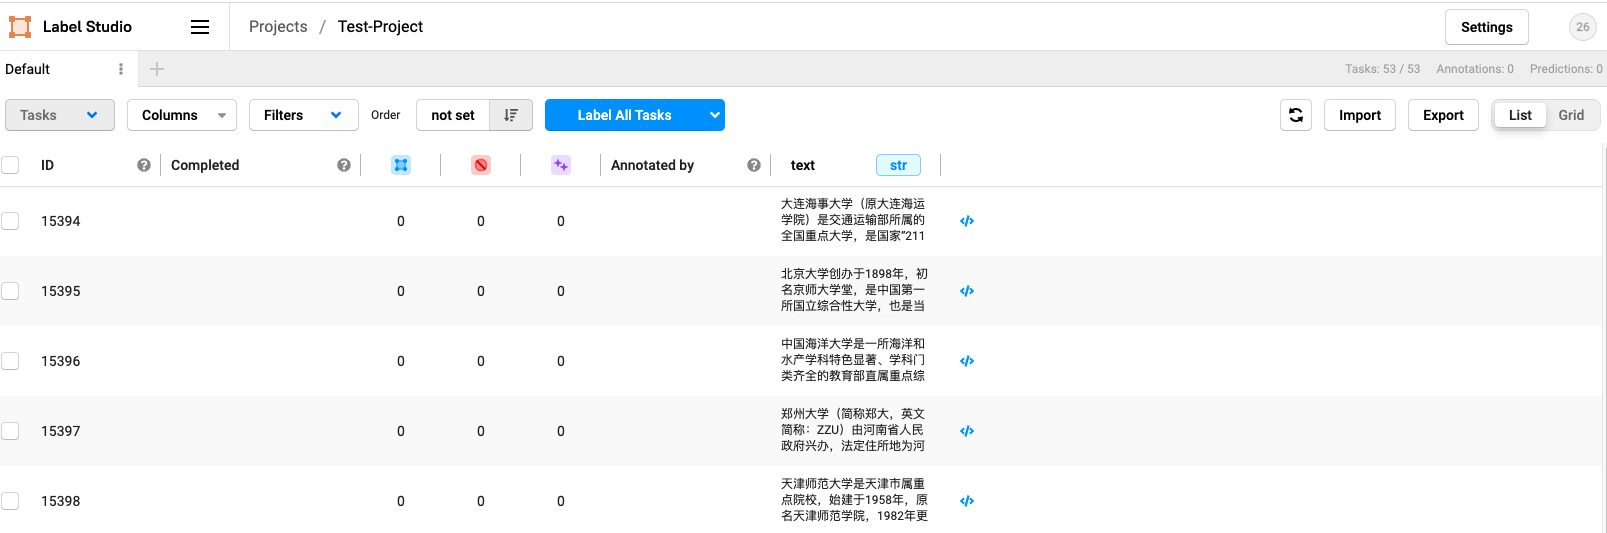
11. Click the Label All Tasks button to start the happy (painful) and fast (painful) journey
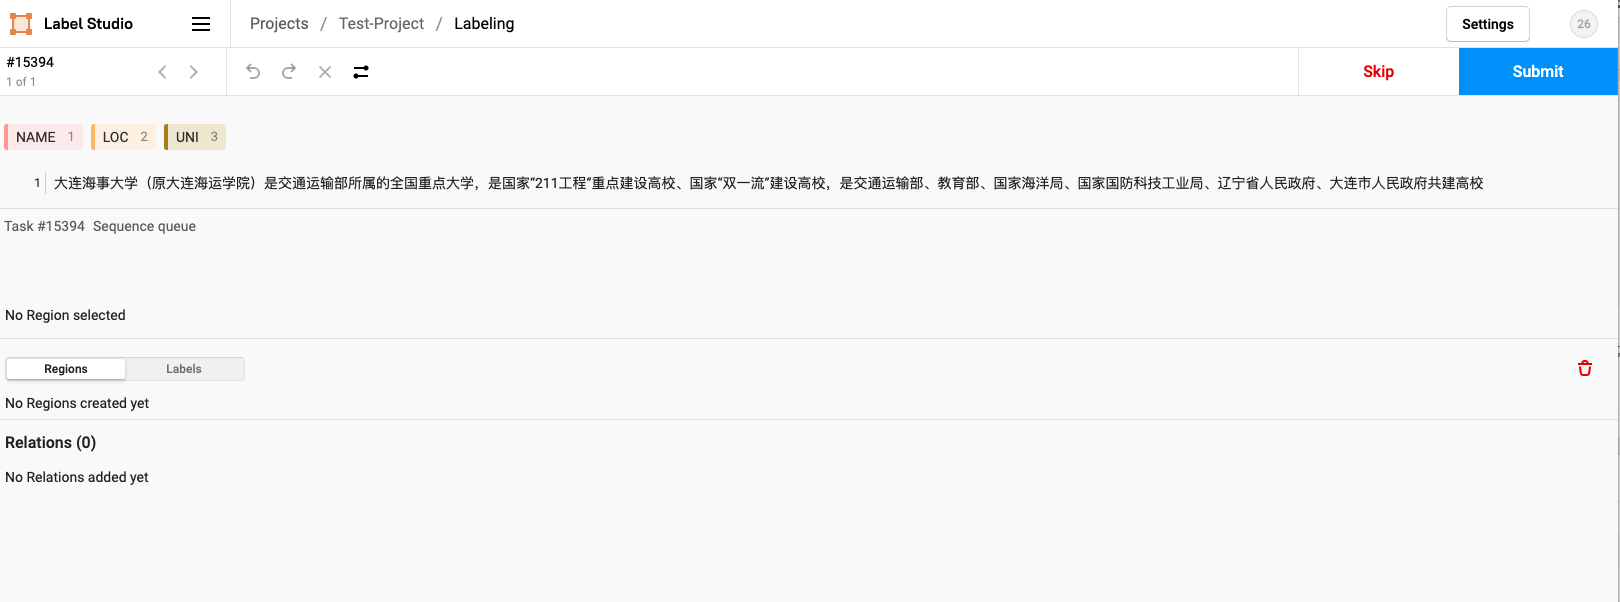
12. Click the entity name, and then select the correct entity from the text to be marked with the mouse, as shown in the figure:
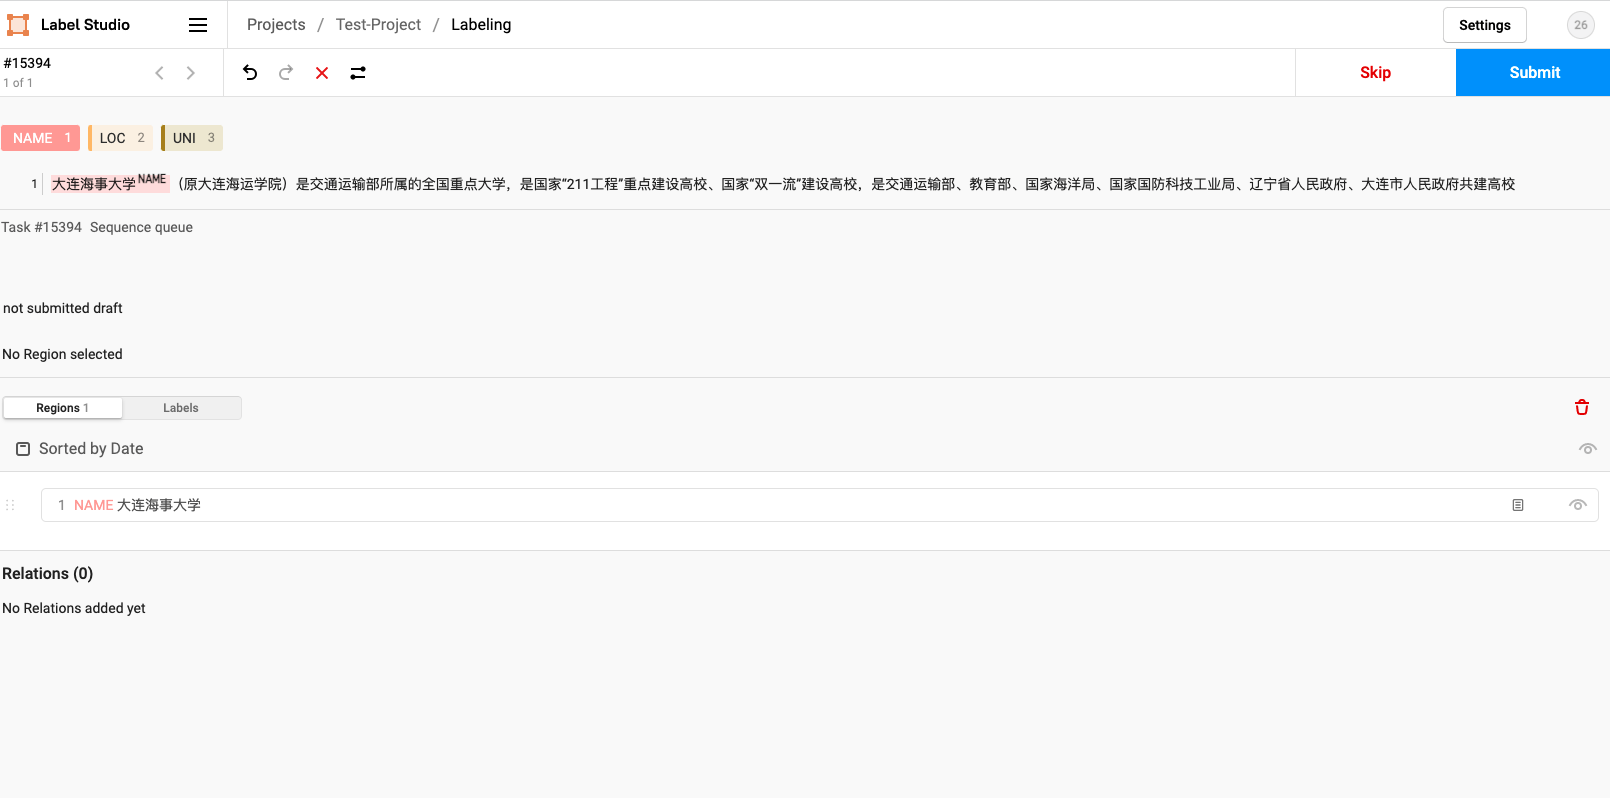
Note: after marking, you must click Submit to Submit the marked data, otherwise you will work in vain all day
Set it so that the label can be displayed in the upper right corner of the entity
13. After labeling, click Export in the upper right corner to Export the labeled data
14. Here we choose CSV. You can export it in other formats if you want
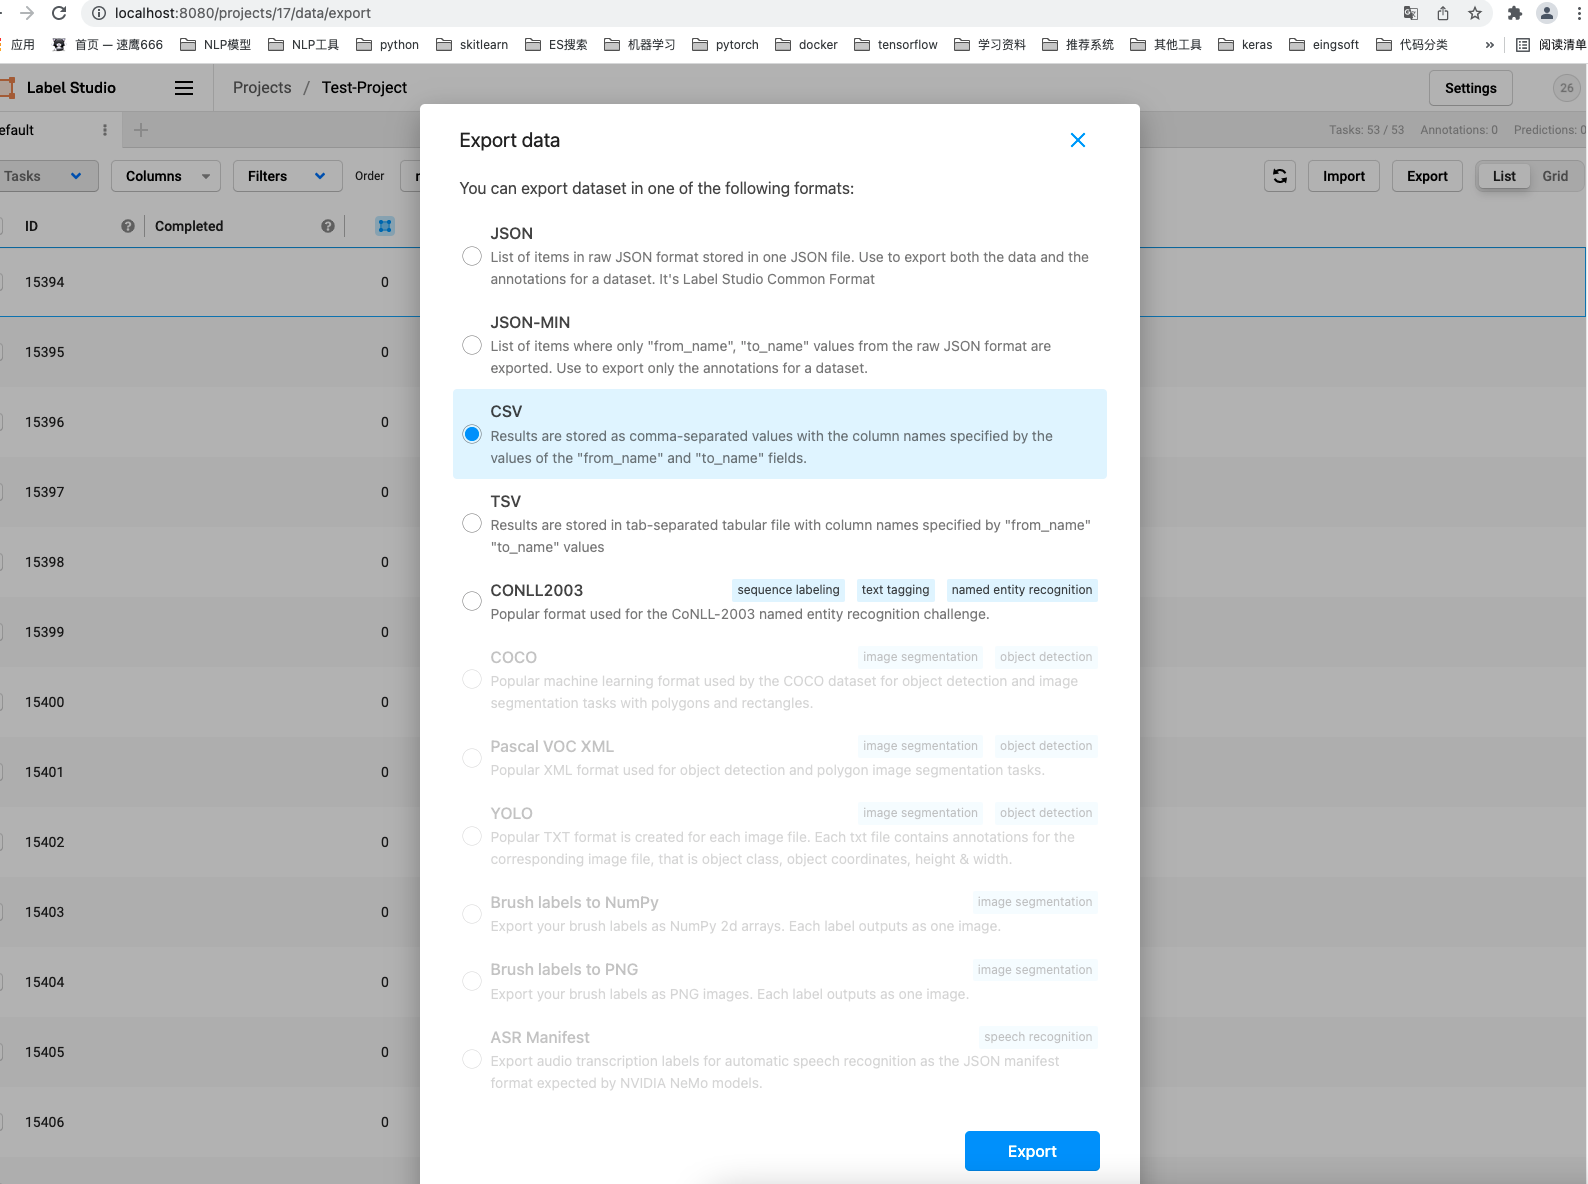
Click the blue Export button below to export the marked data
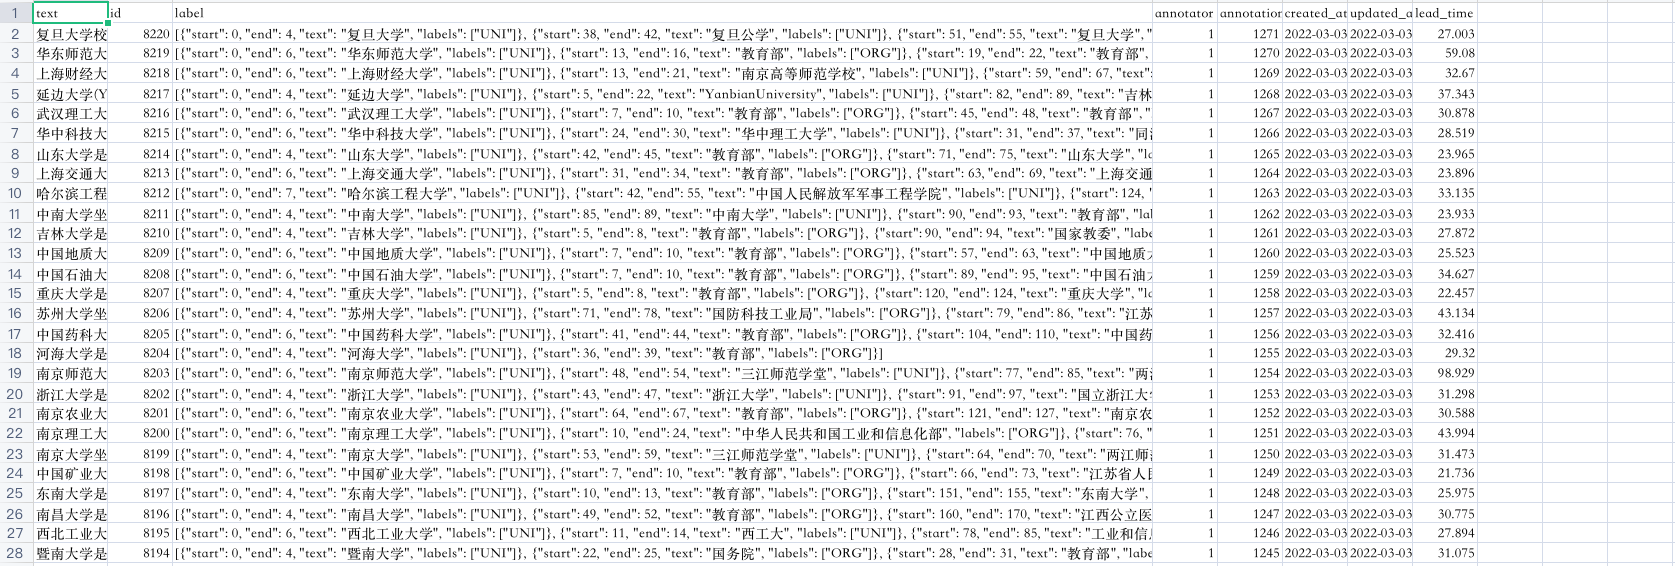
15. Data format of exported csv
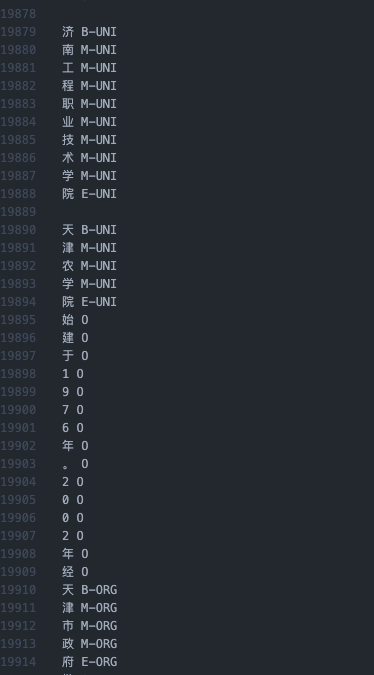
16. Through the following code, we convert it to the following data format:
Conversion code:
def gen_train_data(file_path, save_path):
    """
    file_path: adopt Label Studio Exported csv file
    save_path: Saved path
    """
    data = pd.read_csv(file_path)
    for idx, item in data.iterrows():
        text = item['text']
        if pd.isna(text):
            text = ''
        text_list = list(text)
        label_list = []
        labels = item['label']
        label_list = ['O' for i in range(len(text_list))]
        if pd.isna(labels):
            pass
        else:
            labels = json.loads(labels)
            for label_item in labels:
                start = label_item['start']
                end = label_item['end']
                label = label_item['labels'][0]
                label_list[start] = f'B-{label}'
                label_list[start+1:end-1] = [f'M-{label}' for i in range(end-start-2)]
                label_list[end - 1] = f'E-{label}'
        assert len(label_list) == len(text_list)
        with open(save_path, 'a') as f:
            for idx_, line in enumerate(text_list):
                if text_list[idx_] == '\t' or text_list[idx_] == ' ':
                    text_list[idx_] = ','
                line = text_list[idx_] + ' ' + label_list[idx_] + '\n'
                f.write(line)
            f.write('\n')
Just pass it on directly
summary
1. I would like to call it NER mark artifact
2. It should be possible for multiple people to collaborate. If a classmate can handle the collaborative annotation of multiple people, he can write a blog tutorial and put the blog link in the comment area
3. For BiLSTM + CRF NER tasks, please refer to: https://blog.csdn.net/qq_44193969/article/details/116008734 -The article is a little scrawly. The code can run through. I will edit it again later when I am free. Interested students will make do with it. Ha ha