🌲 preface 🌲
Download and install first Vagrant and VirtualBox , you don't need to know what it is. After installing the software, open cmd or the terminal and execute the following commands to install the operating system. It's so simple!
🙉 The main system installation methods are listed below 🙉 :
🌞 Install windows 10 system 🌞
vagrant init galppoc/windows10
vagrant up
Installing the macOS system
vagrant init jhcook/macos-sierra
vagrant up
🧡 Installing Linux/Unix systems 🧡
① centos:
vagrant init generic/centos7
vagrant up
② Ubuntu:
vagrant init generic/ubuntu2010
vagrant up
③ redhat:
vagrant init generic/rhel7
vagrant up
④ fedora:
vagrant init generic/fedora32
vagrant up
⑤ oracle linux:
vagrant init generic/oracle7
vagrant up
Don't you understand? It doesn't matter, just enter it directly!!!
❤️ The above only lists the common mainstream operating systems, not just these. Vagrant supports the installation of all operating systems, as long as they can be installed!
☀️ Want to get started? Want to unlock 🔓 More ways to play? Look down, take you to play Vagrant!!! ☀️

🌻 Introduction to Vagrant 🌻
Vagrant - a command line utility for managing virtual machines, developed in Ruby language. In other words, you can save all the operations of creating an operating system using a virtual machine, such as creating a virtual machine, mounting an image file, and clicking install step by step; Using vagrant, you don't need to do any of these. It's a simple 2-line command to quickly create your personal system.

❤️ How to get started: Vagrant installation ❤️
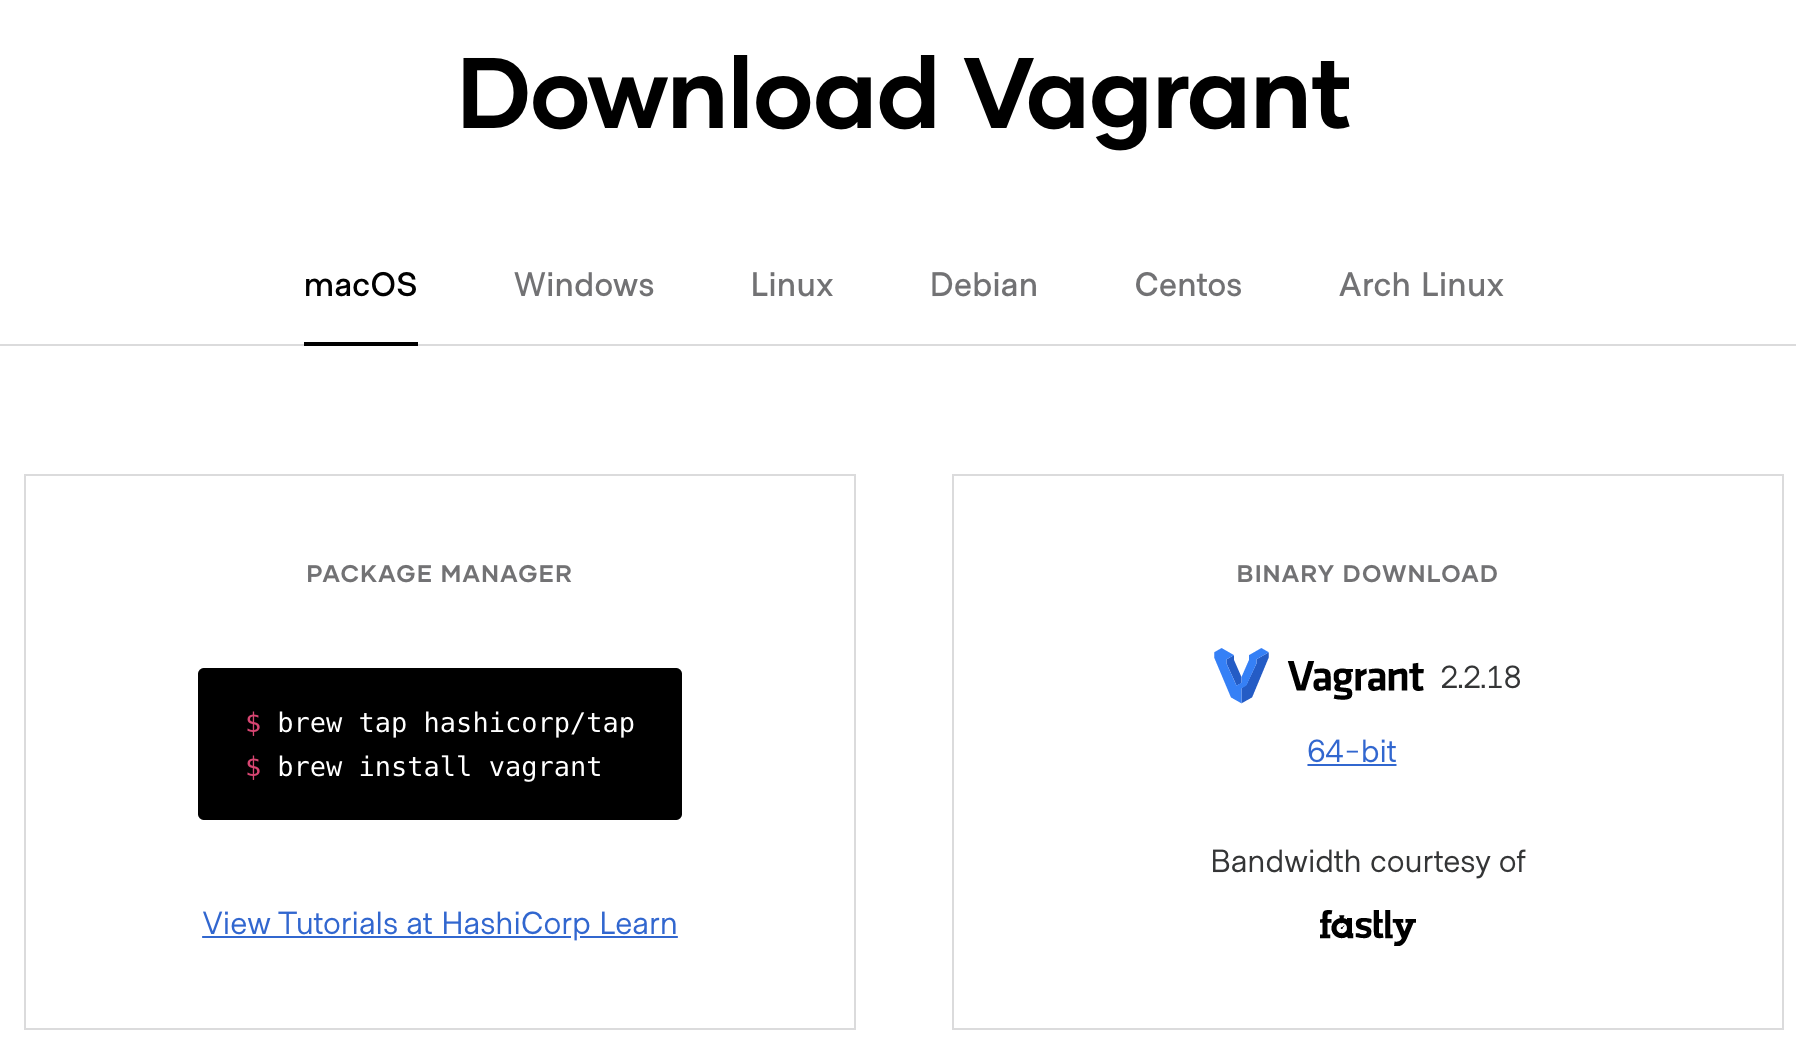
😄 Vagrant's installation is Very easy ~. Download the installation package directly on the official website 👇🏻:
Official website download address: https://www.vagrantup.com/downloads
After installation, it is convenient to use and enable automatic completion of the command line:
vagrant autocomplete install --bash --zsh
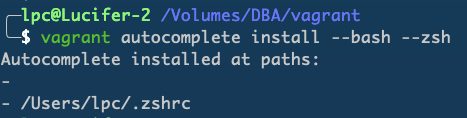
o( ̄ ▽  ̄) d, after installation, restart the terminal, try to enter some commands vagr, and then directly press Tab to bring out the complete command automatically.
⚡ ⅸ preliminary playing method: Vagrant common commands ⚡ ️
one ️⃣ Vagrant basic command
View Vagrant help
vagrant --help

☺️ Obviously, this command is to help us understand what commands Vagrant has, what functions and how to use them.
View Vagrant version
vagrant --version
View the current Vagrant version.
View all currently installed systems of Vagrant
vagrant global-status
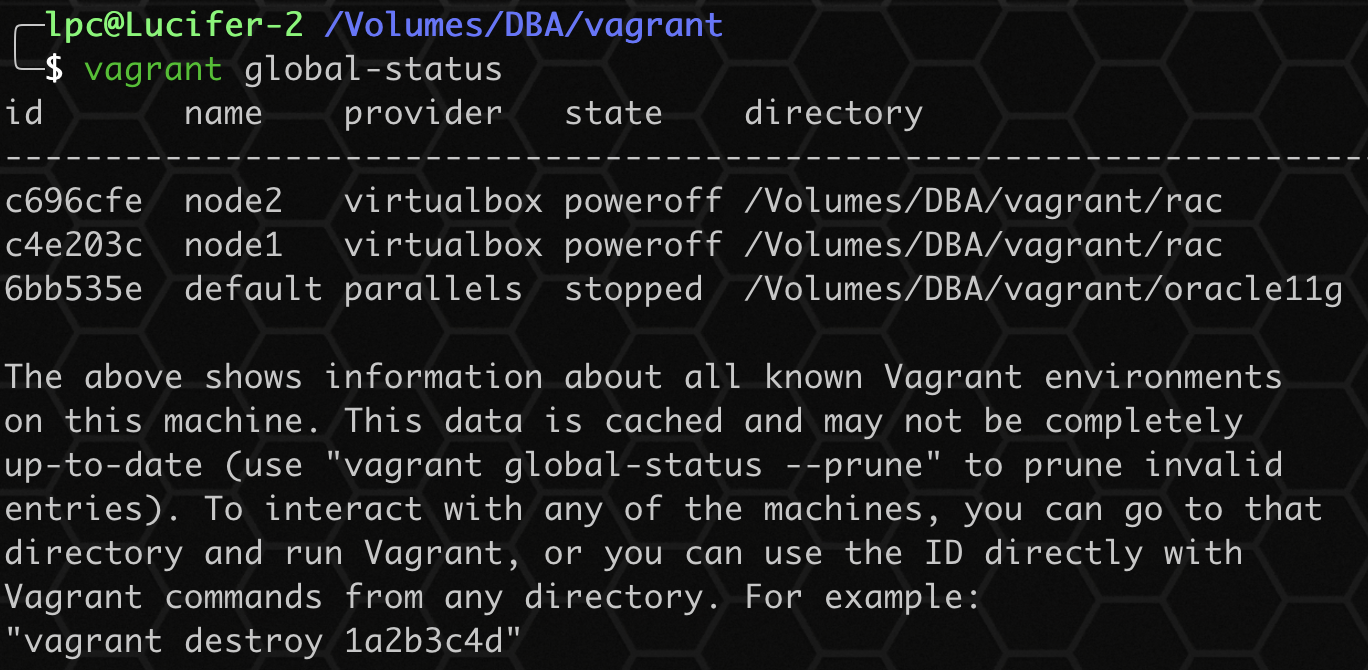
With this command, you can view the details of the virtual machine system installed in the current system, which is very convenient.
two ️⃣ Vagrant Box management
This section mainly introduces the basic management commands of Vagrant Box:
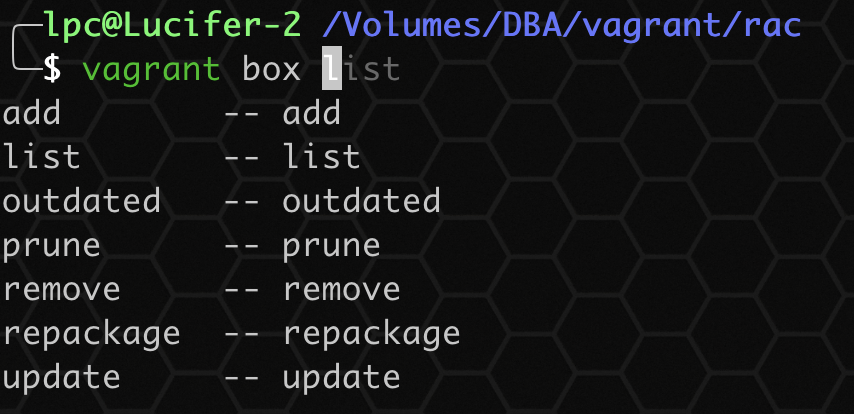
View all added box es
vagrant box list

This command can list all added box es.
Add a new box
vagrant box add /Volumes/Lucifer/vagrant/centos79-oracle11g-vb/centos7.9 --name=centos7

Download the box to the local, specify the local box to add, and the name is centos7.
Remove added box
vagrant box remove centos7

This example removes the box named centos7.
three ️⃣ Vagrant virtual machine system command
Initialize virtual machine system
vagrant init luciferliu/oracle11g
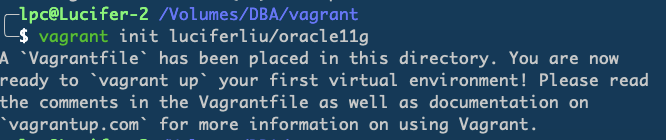
After initializing the virtual machine system, a Vagrant file will be automatically generated, which can be customized and edited to play with Vagrant key.
Verify Vagrantfile file
vagrant validate

After you edit a Vagrantfile, you are not sure whether it is written correctly. You can use this command to verify whether it is correct.
Start the virtual machine system
vagrant up --provider=virtualbox
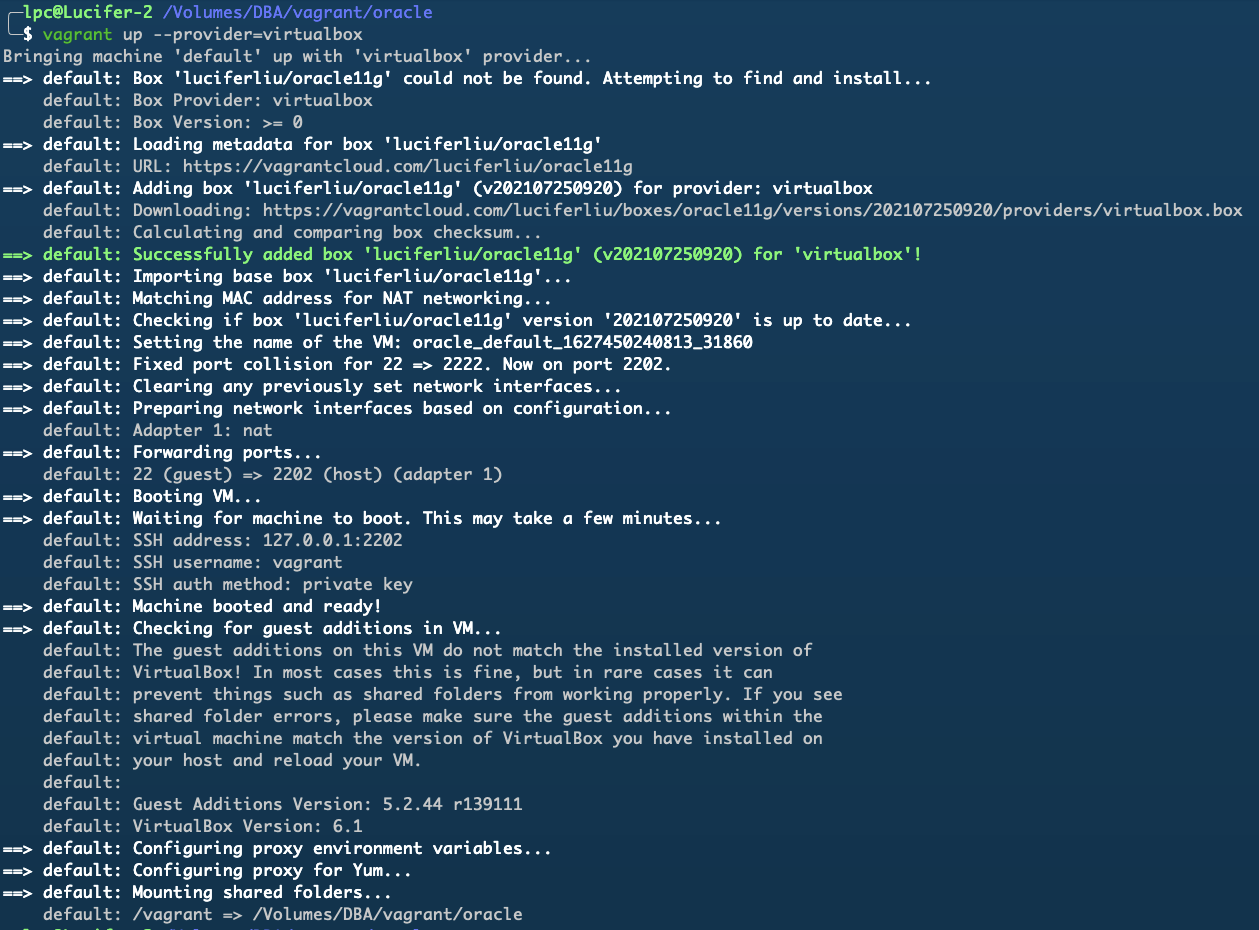
Start the virtual machine system with the default virtual machine virtualbox. The process shows that if no box has been added locally, vagrant up will automatically download and add it after startup.
Connecting virtual machine systems
vagrant ssh
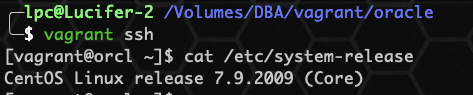
With this command, you can quickly connect to the system without conventional SSH. The default user is vagrant and the password is vagrant.
Viewing virtual machine system status
vagrant status
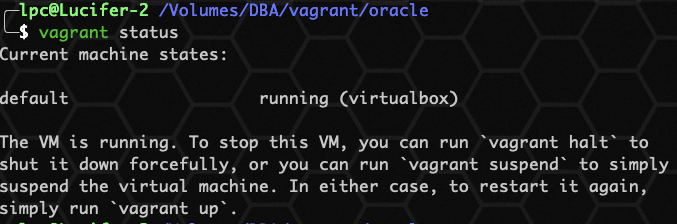
Obviously, check the running status of the current virtual machine system.
Overloaded virtual machine system
vagrant reload
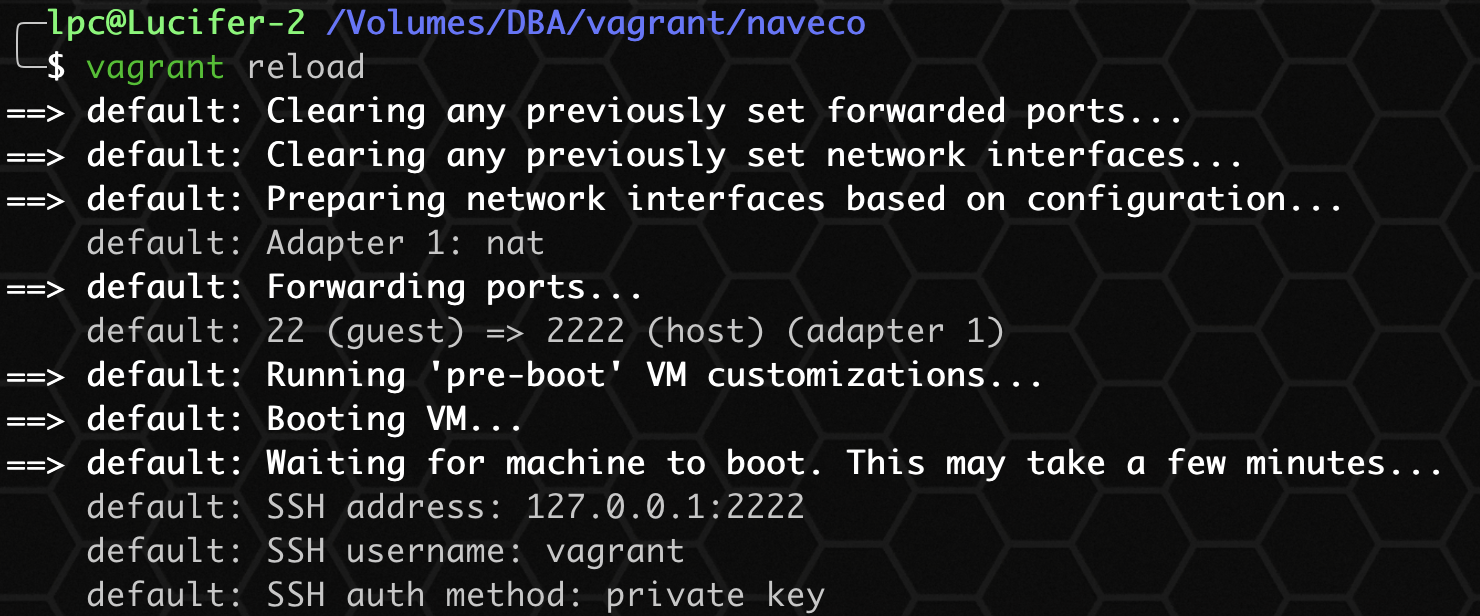
As the name suggests, reloading your virtual machine system needs to take effect after you modify the Vagrantfile. It can take effect by executing this command without shutting down the virtual machine system.
Shut down the virtual machine system
vagrant halt

After the shutdown command is executed, the virtual machine system will shut down immediately.
Packaging virtual machine system
vagrant package

Why package the system? Very simple, you can back it up after packaging, share it with your friends, and use it to synchronize the one click deployment development environment.
Delete virtual machine system
vagrant destory

The delete command will delete your virtual machine system, including all files, which will disappear without trace. Use it with caution ⚠️.
four ️⃣ Vagrant plug-in management
This section mainly introduces the management commands of Vagrant plug-in:

View installed plug-ins
vagrant plugin list
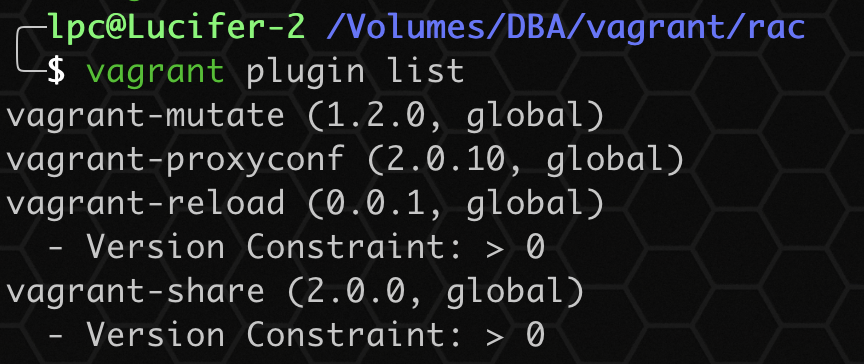
Displays all the Vagrant plug-ins you installed.
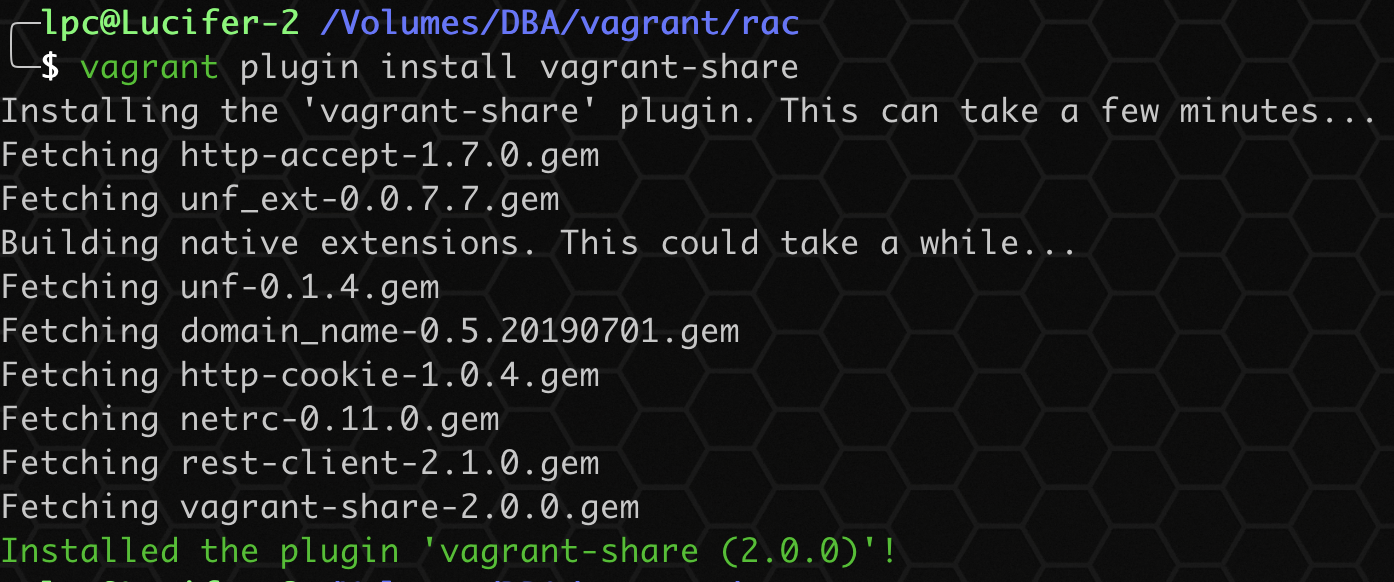
Install plug-ins
vagrant plugin install vagrant-share
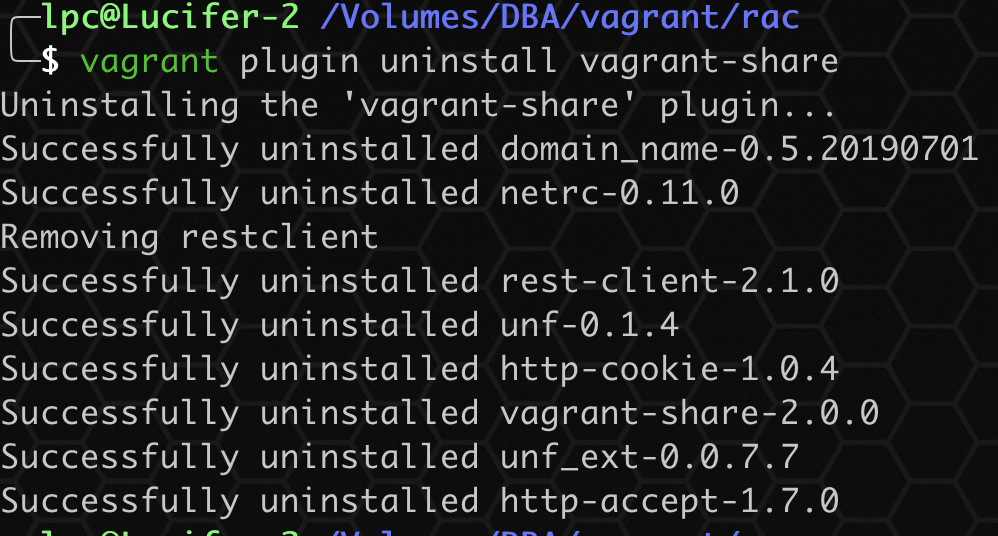
Uninstall plug-in
vagrant plugin uninstall vagrant-share
Repair plug-in
vagrant plugin repair

When there is a problem with the plug-in, you can use the repair command to repair it.
Update plug-in
vagrant plugin update

Since it is a plug-in, of course, it needs to be updated frequently. Use the update command to update your plug-in.
🌀 Advanced Gameplay: Vagrant plug-in 🌀
Since plug-ins are mentioned above, we recommend common plug-ins. The newly installed vagrant is equivalent to an unarmed soldier. If you want to have strong combat effectiveness, you need to be fully armed with plug-ins. Vagrant has many powerful functions out of the box to let your environment start and run.
❤️ Let's share the Plugin website: https://vagrant-lists.github.io/#plugins ❤️
👌🏻 Here are some plug-ins I have installed:
- vagrant-parallels (2.2.3, global)
Support plug-ins for parallel desktop virtual machines - vagrant-proxyconf (2.0.10, global)
Used to set up the virtual machine agent - vagrant-share (2.0.0, global)
You can share your virtual machine environment with friends through plug-ins - vagrant-mutate (1.2.0, global)
Use plug-ins to convert your box, such as from virtual box to kvm
☀️ Installation method:
vagrant plugin install vagrant-parallels
vagrant plugin install vagrant-proxyconf
vagrant plugin install vagrant-reload
vagrant plugin install vagrant-share
vagrant plugin install vagrant-mutate
vagrant plugin list
❤️ By the way, let's share a solution to the slow installation of Vgrant plug-in: ❤️
gem sources --add https://gems.ruby-china.com/ --remove https://rubygems.org/
gem sources -l
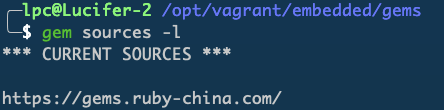
Yes, it is to replace the source of RubyGems and ensure that there is only one source. If it fails, replace it, 😌 It's better to slow down than not to use it.
☁️ Advanced Gameplay: Vagrant supporting tools ☁️
① ngrok
② packer
① ngrok:
What is ngrok? Don't ask (` へ´) ノ, ask and tell you: it is used for intranet mapping 😄.
Next, I'll teach you how to use ngrok to share your virtual machine environment with People all over the world!!!
Step 1: install ngrok, download the installation package from the official website, unzip it as an executable file, and directly double-click o( ̄▽  ̄) d.
Official website download address: https://dashboard.ngrok.com/get-started/setup
Step 2: you need to register an ngrok user and obtain the authorization code to authorize the local machine.
ngrok authtoken Your authorization code

Step 3: test whether ngrok is available
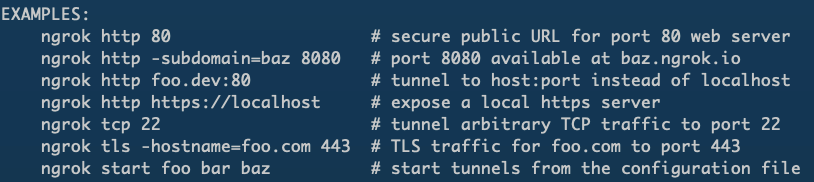
ngrok http 80
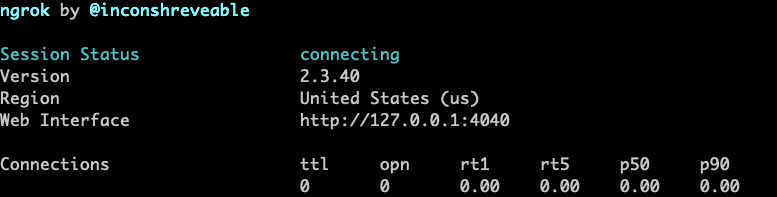
Open your browser to access http://127.0.0.1:4040 , if it can be opened, explain 👌🏻 Well, congratulations 🎉 !
Step 4: use the vagrant share plug-in to share your virtual machine:
There is a small premise here: you need to configure ngrok in the environment variable, otherwise vagrant cannot get the change command:
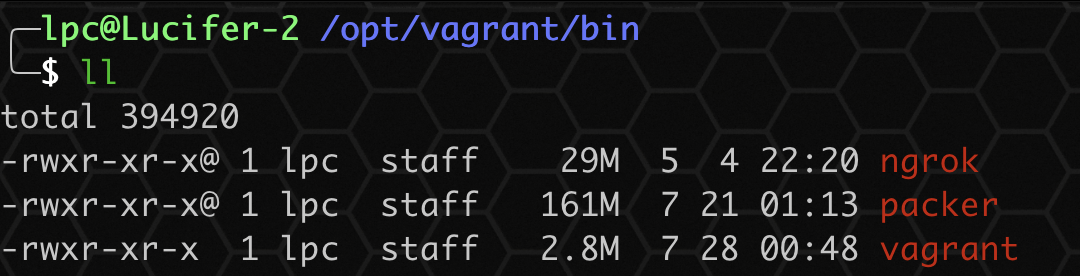
export VG_HOME='/opt/vagrant'
export PATH=$PATH:$VG_HOME/bin
Note: I put the extracted ngrok executable tool into the / opt/vagrant/bin directory. Refer to the above configuration.
- Share your host Using ssh:
Enable sharing on the server:
Note: during the process, you need to enter the password twice to provide it to the client for login.
vagrant share --ssh

If the server displays the above figure after execution, it indicates that the sharing has been successful and the client can access it.
Client connection:
Simulate other friends to connect to my virtual machine environment:
vagrant connect --ssh orange_amigo:george_botanic@forward
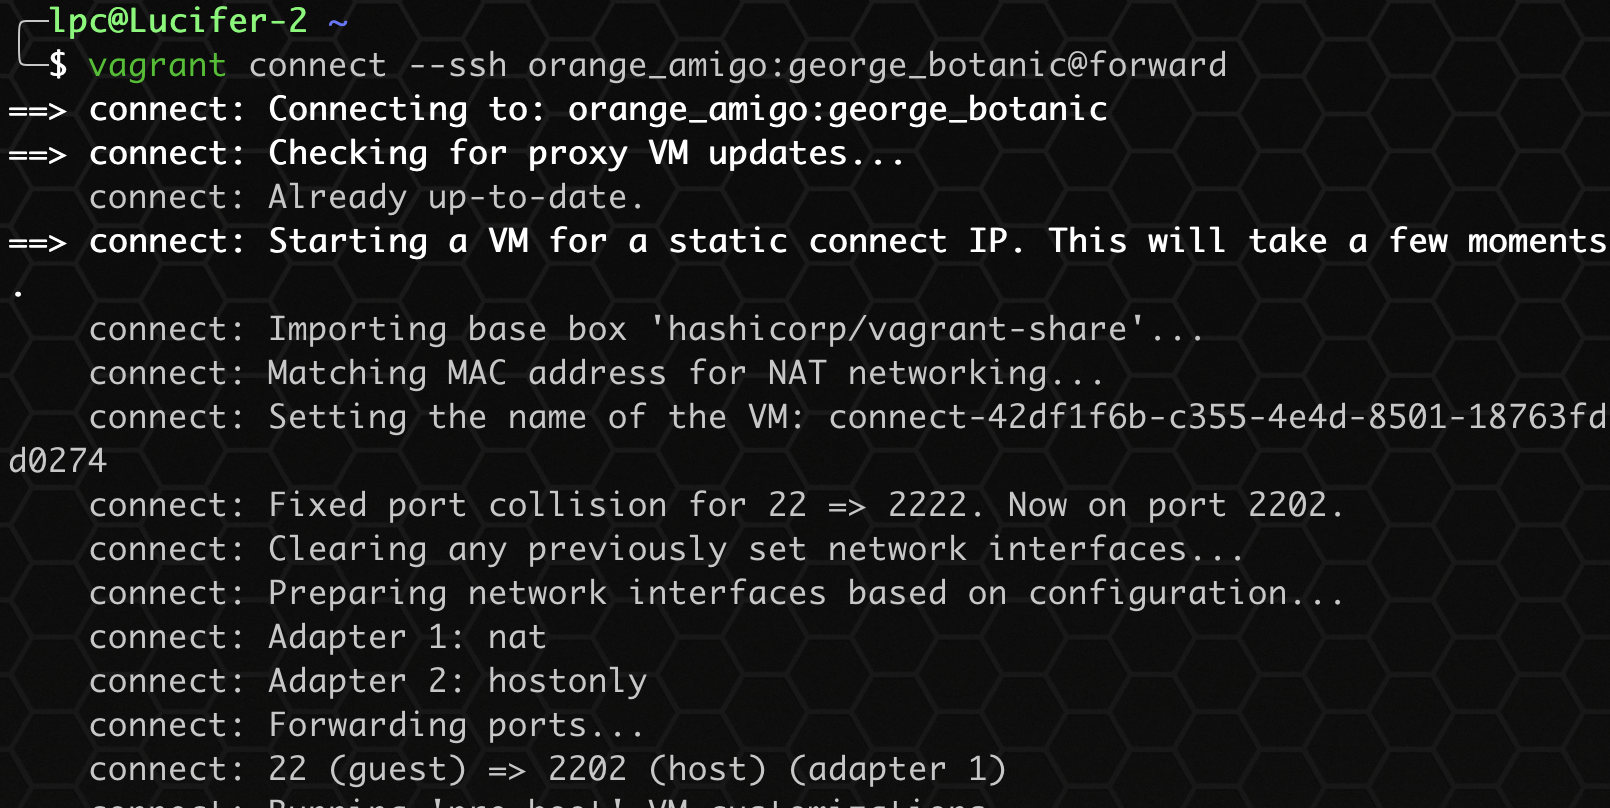
After entering the password here, I have connected to the virtual machine environment. This is one of the nodes of an Oracle RAC environment:
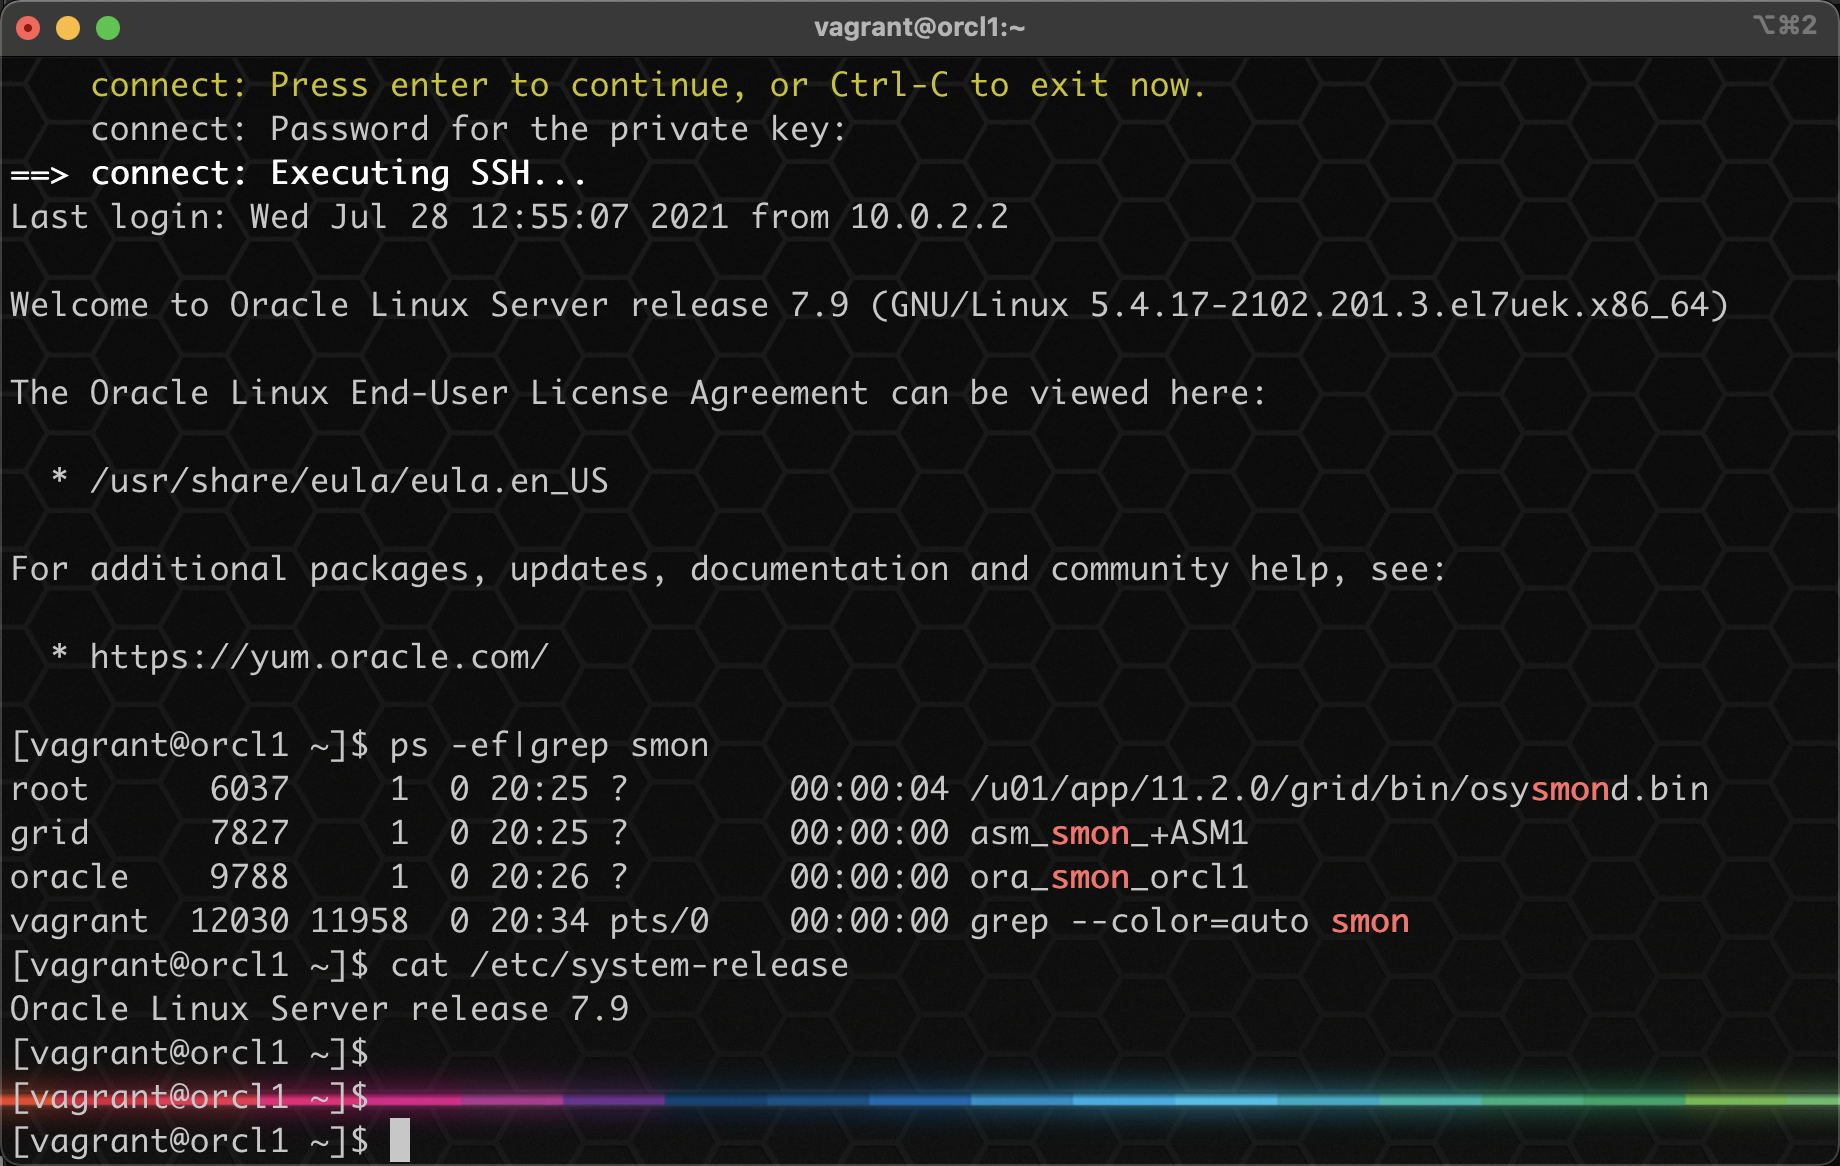
Orange here_ amigo:george_ botanic@forward It is generated automatically. It is recommended to fill in according to the actual situation.
② packer:
What is a packer? Don't ask (` へ´) ノ, ask and tell you: it is used to customize your exclusive Box 😄.
Next, I'll teach you how to use packer to create a customized virtual machine environment for you!!!
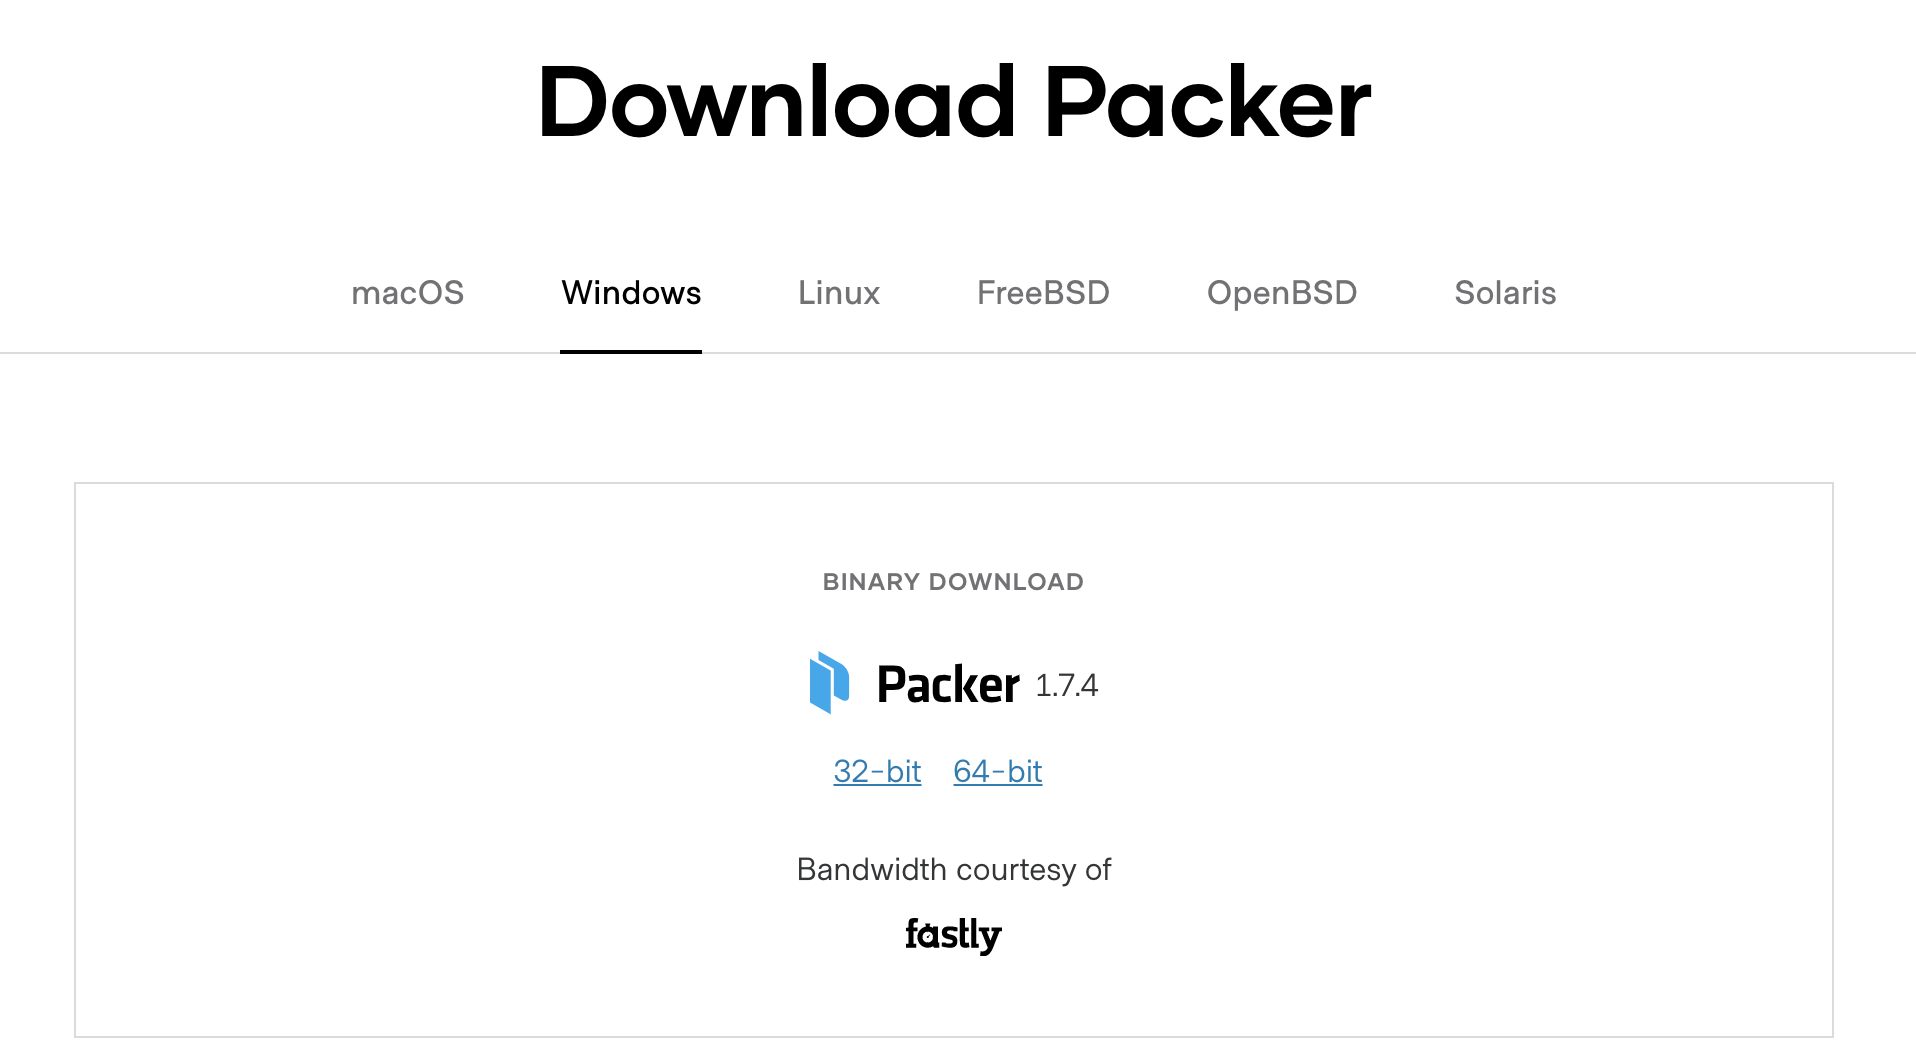
Step 1: install the packer, download the installation package from the official website, unzip it as an executable file, and directly double-click o( ̄▽  ̄) d.
Official website download address: https://www.packer.io/downloads
There is a small premise here: you need to configure packer in the environment variable, otherwise vagrant cannot get the change command:
export VG_HOME='/opt/vagrant'
export PATH=$PATH:$VG_HOME/bin
Note: I put the decompressed packer executable tool into the / opt/vagrant/bin directory. Refer to the above configuration.
Step 2: download a centos or windows image, that is, the installation package. Take centos as an example:
Download address: https://mirrors.163.com/centos/7.9.2009/isos/x86_64/CentOS-7-x86_64-Minimal-2009.iso

Here, I have successfully downloaded it. I need to check the sum:
shasum -a 256 /Users/lpc/Downloads/CentOS-7-x86_64-Minimal-2009.iso

By the way, record the check code: 07b94e6b1a0b0260b94c83d6bb76b26bf7a310dc78d7a9c7432809fb9bc6194a
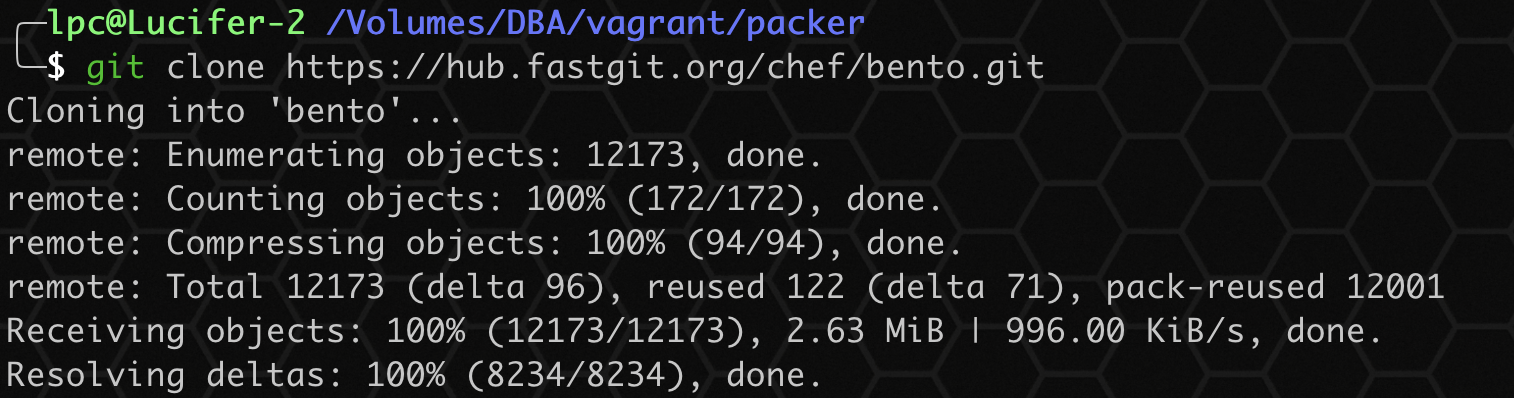
Step 3: here, we use the template written by the predecessor bento for packaging. First, through the git clone project:
Github address: https://github.com/chef/bento
git clone https://hub.fastgit.org/chef/bento.git
Step 4: open the git project and customize the packer json file:

According to bento's centos-7.9-x86_64.json, we customize a new JSON file:
{
  "builders": [
    {
      "boot_command": [
        "<up><wait><tab> text ks=http://{{ .HTTPIP }}:{{ .HTTPPort }}/{{user `ks_path`}}<enter><wait>"
      ],
      "boot_wait": "5s",
      "cpus": "{{ user `cpus` }}",
      "disk_size": "{{user `disk_size`}}",
      "guest_additions_path": "VBoxGuestAdditions_{{.Version}}.iso",
      "guest_additions_url": "{{ user `guest_additions_url` }}",
      "guest_os_type": "RedHat_64",
      "hard_drive_interface": "sata",
      "headless": "{{ user `headless` }}",
      "http_directory": "{{user `http_directory`}}",
      "iso_checksum": "{{user `iso_checksum`}}",
      "iso_url": "{{user `mirror`}}/{{user `mirror_directory`}}/{{user `iso_name`}}",
      "memory": "{{ user `memory` }}",
      "output_directory": "{{ user `build_directory` }}/packer-{{user `template`}}-virtualbox",
      "shutdown_command": "echo 'vagrant' | sudo -S /sbin/halt -h -p",
      "ssh_password": "vagrant",
      "ssh_port": 22,
      "ssh_timeout": "10000s",
      "ssh_username": "vagrant",
      "type": "virtualbox-iso",
      "virtualbox_version_file": ".vbox_version",
      "vm_name": "{{ user `template` }}"
    },
    {
      "boot_command": [
        "<up><wait><tab> text ks=http://{{ .HTTPIP }}:{{ .HTTPPort }}/{{user `ks_path`}}<enter><wait>"
      ],
      "boot_wait": "5s",
      "cpus": "{{ user `cpus` }}",
      "disk_size": "{{user `disk_size`}}",
      "guest_os_type": "centos",
      "http_directory": "{{user `http_directory`}}",
      "iso_checksum": "{{user `iso_checksum`}}",
      "iso_url": "{{user `mirror`}}/{{user `mirror_directory`}}/{{user `iso_name`}}",
      "memory": "{{ user `memory` }}",
      "output_directory": "{{ user `build_directory` }}/packer-{{user `template`}}-parallels",
      "parallels_tools_flavor": "lin",
      "prlctl_version_file": ".prlctl_version",
      "shutdown_command": "echo 'vagrant' | sudo -S /sbin/halt -h -p",
      "ssh_password": "vagrant",
      "ssh_port": 22,
      "ssh_timeout": "10000s",
      "ssh_username": "vagrant",
      "type": "parallels-iso",
      "vm_name": "{{ user `template` }}"
    }
  ],
  "post-processors": [
    {
      "output": "{{ user `build_directory` }}/{{user `box_basename`}}.{{.Provider}}.box",
      "type": "vagrant"
    }
  ],
  "provisioners": [
    {
      "environment_vars": [
        "HOME_DIR=/home/vagrant",
        "http_proxy={{user `http_proxy`}}",
        "https_proxy={{user `https_proxy`}}",
        "no_proxy={{user `no_proxy`}}"
      ],
      "execute_command": "echo 'vagrant' | {{.Vars}} sudo -S -E sh -eux '{{.Path}}'",
      "expect_disconnect": true,
      "scripts": [
        "{{template_dir}}/scripts/update.sh",
        "{{template_dir}}/../_common/motd.sh",
        "{{template_dir}}/../_common/sshd.sh",
        "{{template_dir}}/scripts/networking.sh",
        "{{template_dir}}/../_common/vagrant.sh",
        "{{template_dir}}/../_common/virtualbox.sh",
        "{{template_dir}}/../_common/vmware.sh",
        "{{template_dir}}/../_common/parallels.sh",
        "{{template_dir}}/scripts/cleanup.sh",
        "{{template_dir}}/../_common/minimize.sh"
      ],
      "type": "shell"
    }
  ],
  "variables": {
    "box_basename": "centos-7.9",
    "build_directory": "../../builds",
    "build_timestamp": "{{isotime \"20060102150405\"}}",
    "cpus": "2",
    "disk_size": "65536",
    "git_revision": "__unknown_git_revision__",
    "guest_additions_url": "",
    "headless": "",
    "http_directory": "{{template_dir}}/http",
    "http_proxy": "{{env `http_proxy`}}",
    "https_proxy": "{{env `https_proxy`}}",
    "iso_checksum": "07b94e6b1a0b0260b94c83d6bb76b26bf7a310dc78d7a9c7432809fb9bc6194a",
    "iso_name": "CentOS-7-x86_64-Minimal-2009.iso",
    "ks_path": "7/ks.cfg",
    "memory": "1024",
    "mirror": "",
    "mirror_directory": "Users/lpc/Downloads",
    "name": "centos-7.9",
    "no_proxy": "{{env `no_proxy`}}",
    "template": "centos-7.9-x86_64",
    "version": "TIMESTAMP"
  }
}
The revised content is as above, and the reader can fill in it according to the actual environment.

It should be noted that the reader's main modifications are:
1. Storage location of iso:

2. iso checksum result and iso Name:

Modify the above two parts.
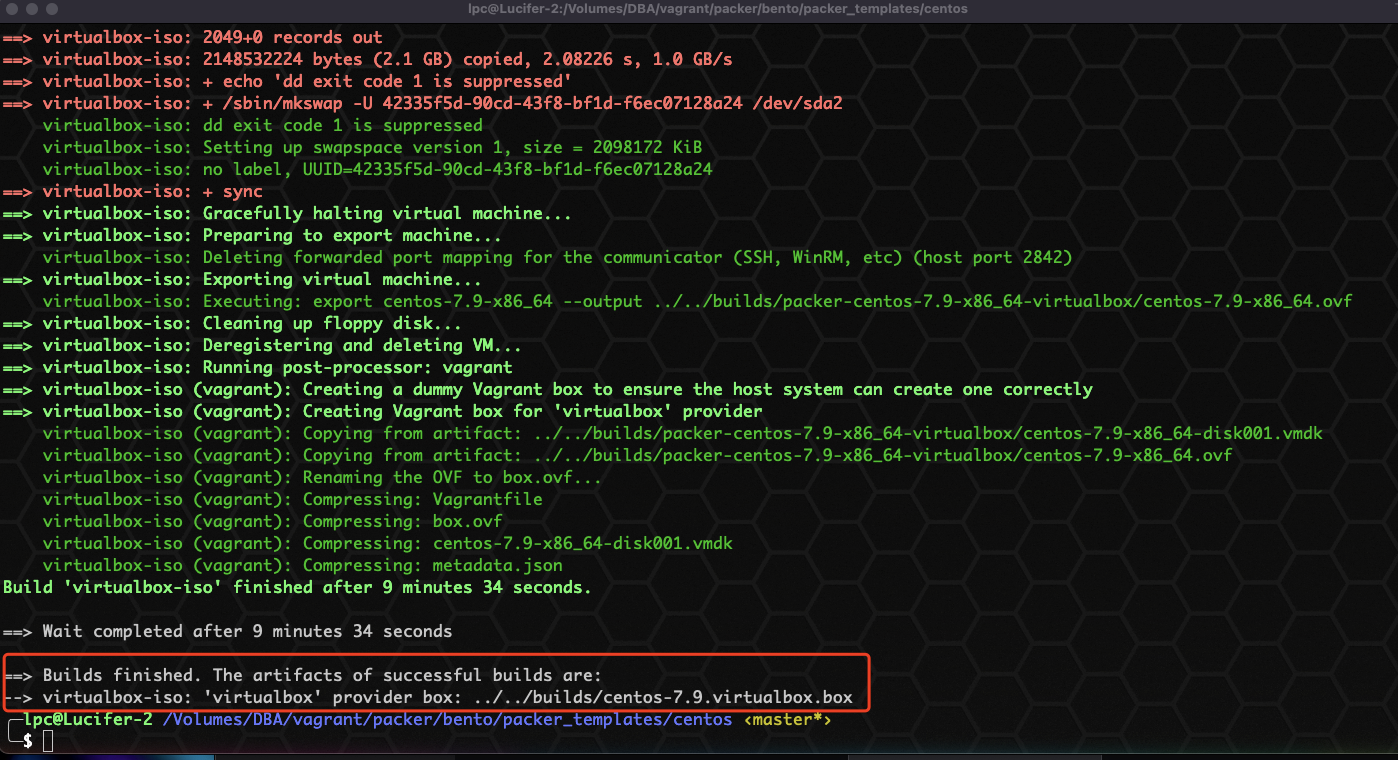
Step 4: start packer for packaging:
cd /Volumes/DBA/vagrant/packer/packer_templates/centos
packer build -only=virtualbox-iso centos-7.9-x86_64.json
Here, - only = virtualbox ISO means that only the box files of virtualbox are created.
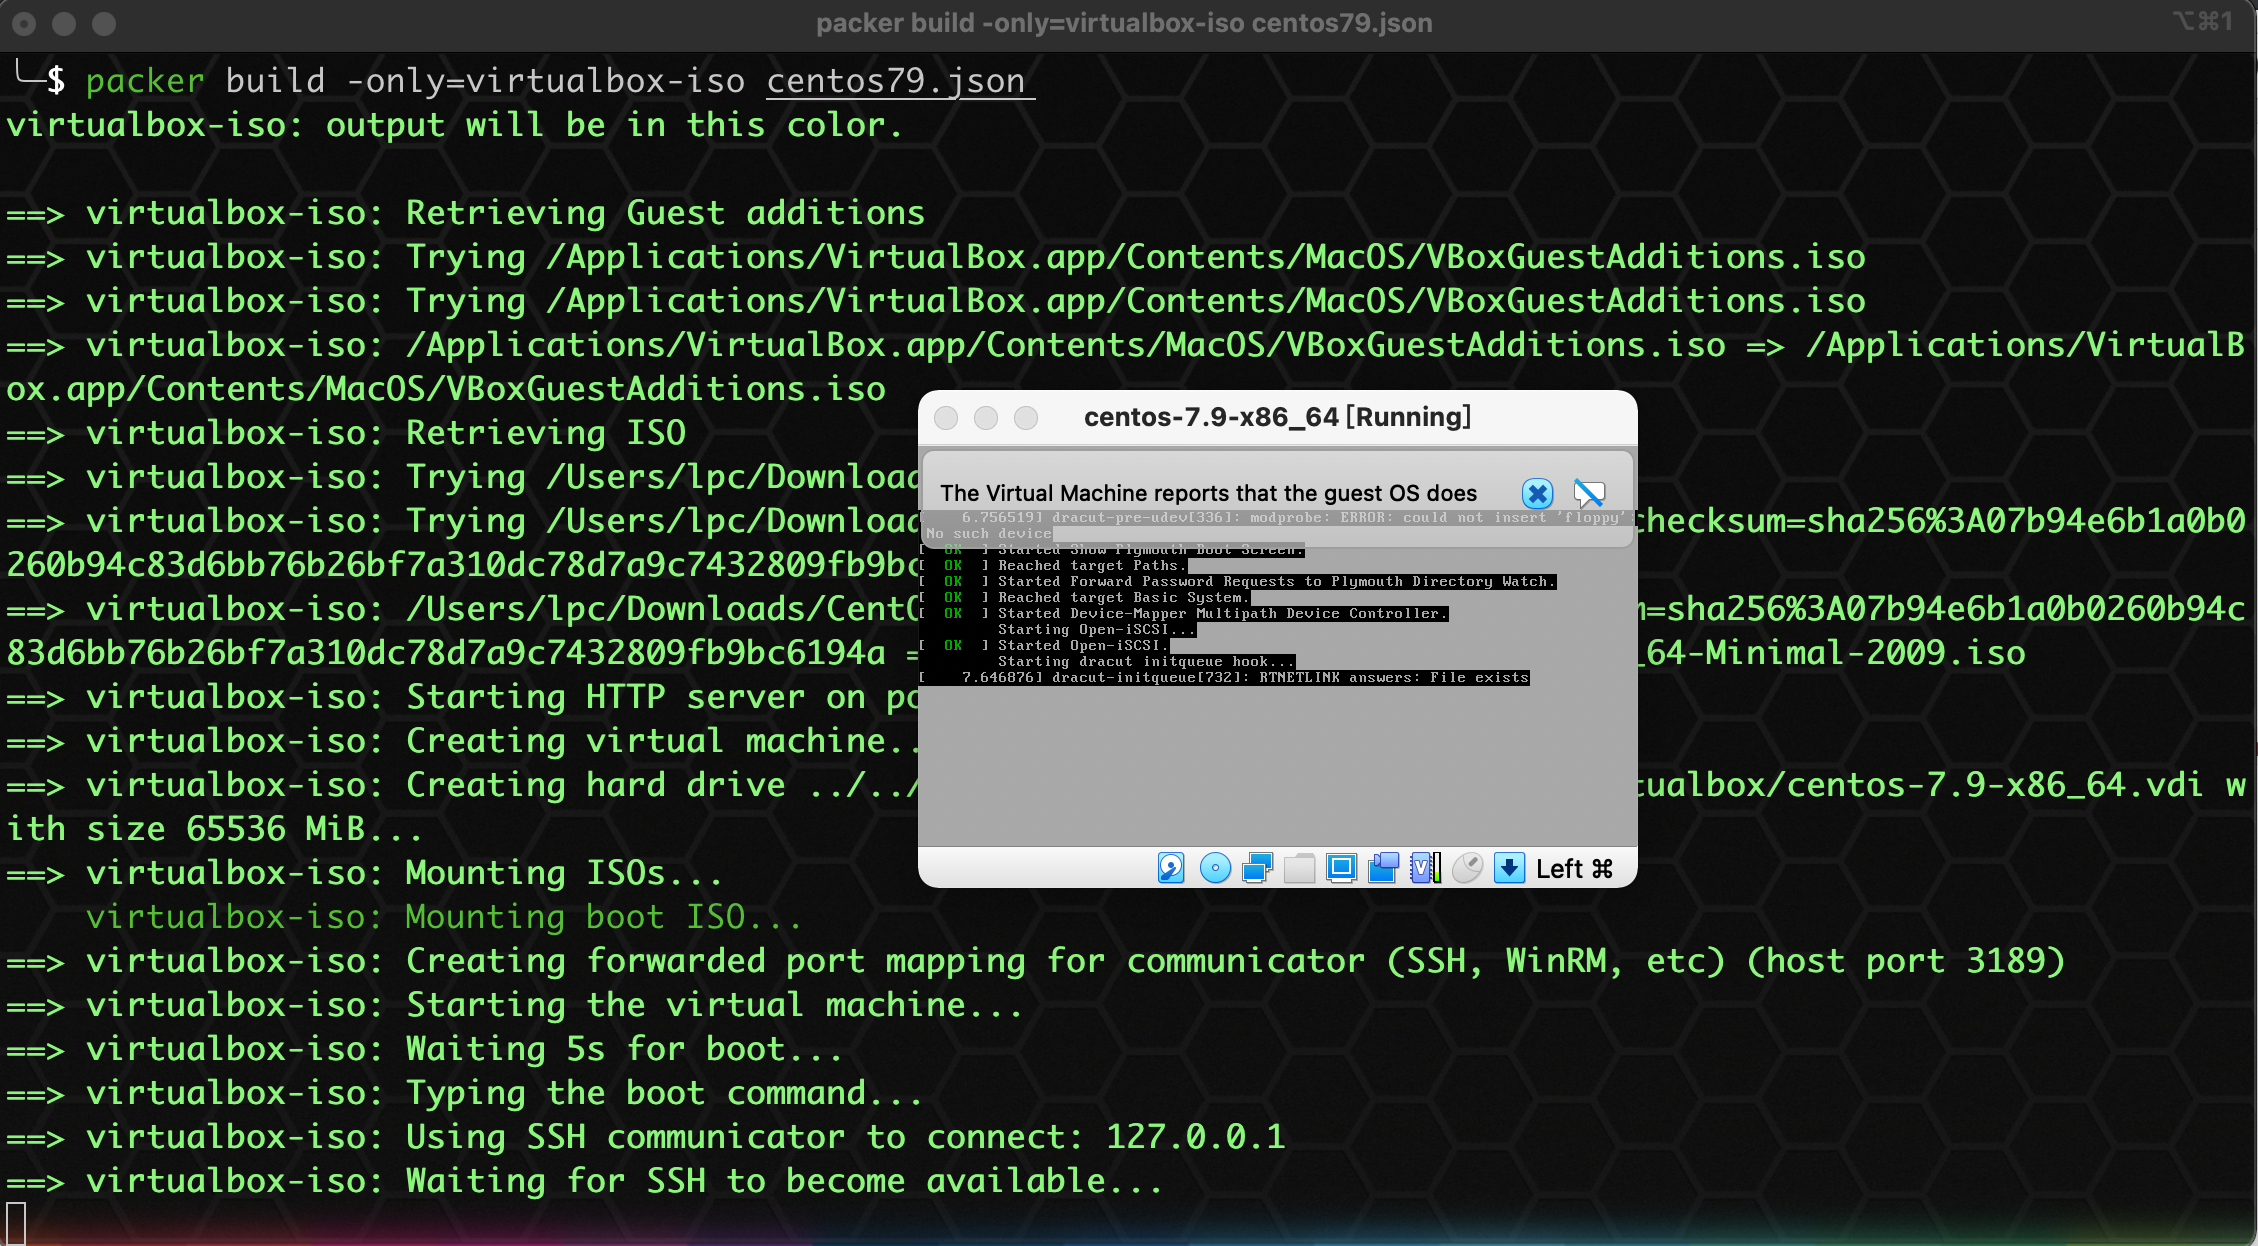
In the process of implementation, we don't need to do anything. We just need to be a beautiful man quietly and wait to finish it. 😄
🎥 Small theater:
Idleness is also idleness. After studying the script of the great God, I found a script very interesting. Take it out and share it:

⭐ This is the script. What does it do ❓
To put it simply: when we install a virtual machine system and want to package, some excess space or garbage in the system will occupy space, resulting in too large packaged boxes. Using this script will clean up these garbage and excess space, making the packaged boxes very small, which is basically the same size as the initial image. ❤️ It can be said to be a gadget of grey Chang Nice!!! Love, love, collect a wave.
To get back to business, after a period of waiting, our packer ran out:
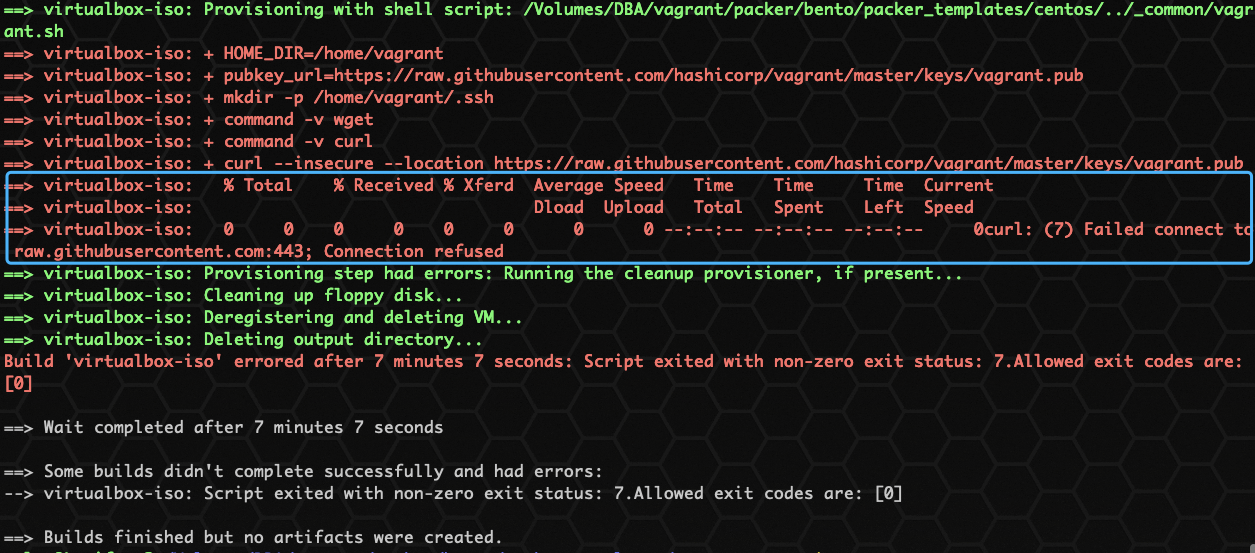
😰 The report is wrong. It says that the visit to GitHub failed. ASI, the script written by the foreign god, is uncomfortable for the domestic GitHub. Find a way to solve it:
Add the following contents to the networking.sh script:
# modify by luciferliu for github raw.githubusercontent.com:443; Connection refused
echo '185.199.108.133 raw.githubusercontent.com' >>/etc/hosts;
echo '185.199.109.133 raw.githubusercontent.com' >>/etc/hosts;
echo '185.199.110.133 raw.githubusercontent.com' >>/etc/hosts;
echo '185.199.111.133 raw.githubusercontent.com' >>/etc/hosts;

ping raw.githubusercontent.com
Test if you can:
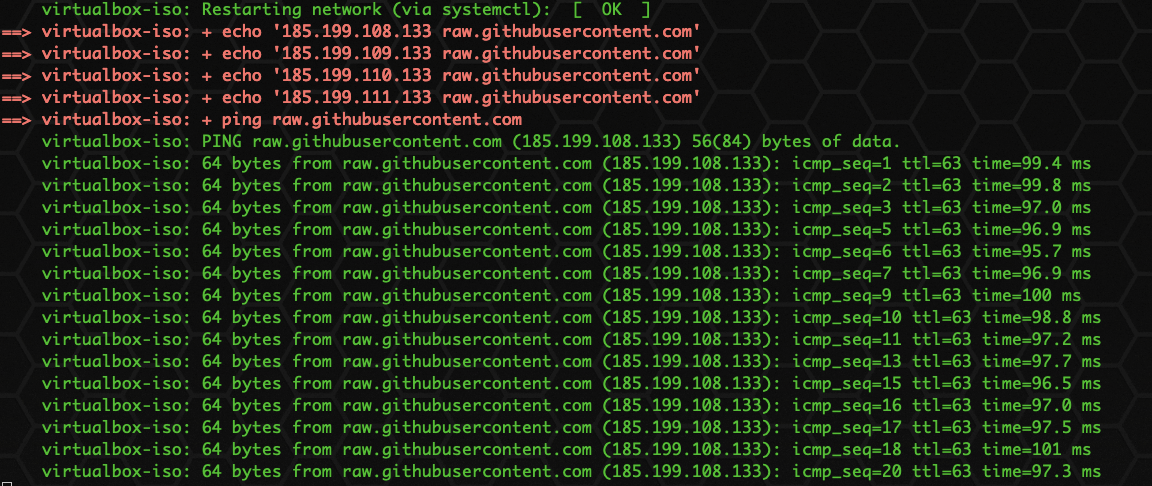
👌🏻, No trouble, old fellow, ha ha, forget that linux ping will not stop automatically, unlimited ping. 😓 Let's do it again. If I can do it again, I'll choose the code! 😄 , Amend to read:
ping raw.githubusercontent.com -c 10
We only ping 10 times, just a minute!

Once again, it's no more than three. Give it to me!!!
🎉 The emperor has lived up to his heart and became Nice! 👌🏻

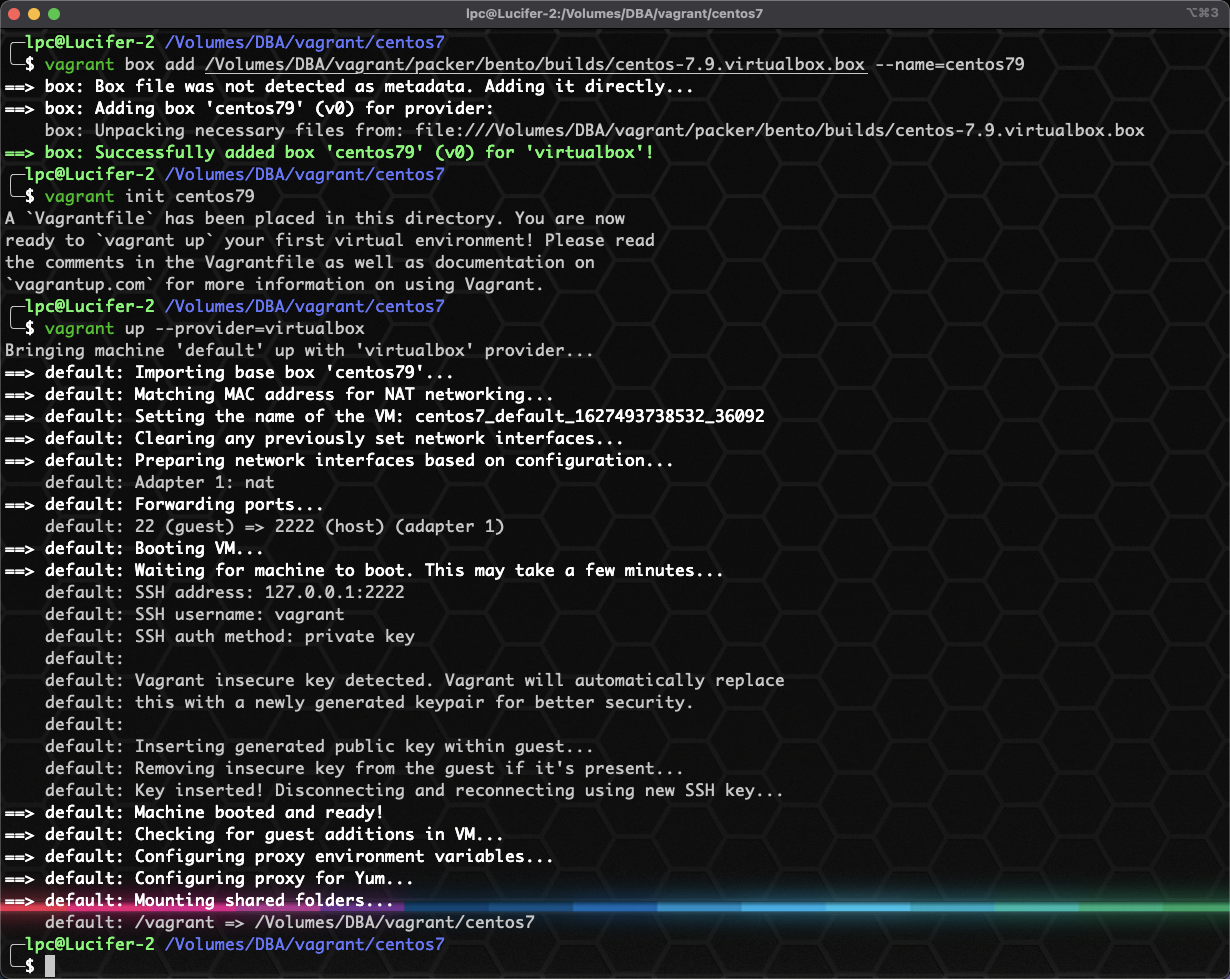
After packing, the box is only more than 300 M. let's test whether it can be used:
vagrant box add /Volumes/DBA/vagrant/packer/bento/builds/centos-7.9.virtualbox.box --name=centos79
vagrant init centos79
vagrant up --provider=virtualbox
Connection usage:
vagrant ssh
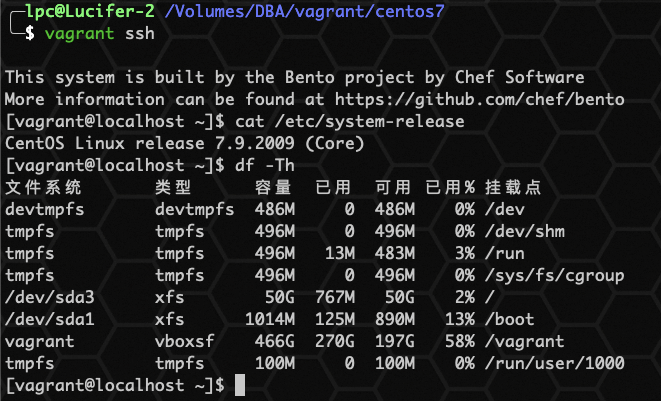
There's nothing wrong with using it. It's very good and powerful. Here's the packer. 😄
I only talked about two high-level playing methods. One is the combination of gnrok and vagrant share plug-ins, and the other is the packer box. I'm also slowly studying and playing. If you are interested, you can pay attention to the bloggers. 😄
💦 Supernatural play: Vagrant uninstall 💦
Ha ha, it is said that the end point of all transactions is to return to the origin, which is unloading! 😄, In order to blog for you, I have uninstalled and installed many times before and after, which is quite experience.
Deleting the vagrant program will remove the vagrant binaries and all dependencies from your machine. After uninstalling the program, you can still reinstall using standard methods. Uninstalling vagrant does not delete user data. The following sections of this section provide more detailed instructions on how to remove the directory from the system.
one ️⃣ Windows system
Use the add / Remove Programs section of the control panel to uninstall, so I don't need to teach you, ε= (´ ο`*))) No, geek uninstaller, let's go.
two ️⃣ Linux system
rm -rf /opt/vagrant
rm -f /usr/bin/vagrant
rm -rf ~/.vagrant.d
three ️⃣ macOS system
sudo rm -rf /opt/vagrant /usr/local/bin/vagrant
sudo pkgutil --forget com.vagrant.vagrant
rm -rf ~/.vagrant.d
On all platforms, this directory is located at the root of your home directory and named vagrant.d. just delete the ~ /. vagrant.d directory to delete user data. On Windows, this directory is located at C:\Users\YourUsername.vagrant.d, where YourUsername is the user name of the local user.
⏰ Write at the end
I've just got in touch with Vagrant. If there are big guys who play well, you can add my friends, share your experience and give advice. I feel that Vagrant's playability is still very high. You can start if you are interested. 😄
☀️ Finally, let's share Vagrant's installation of Oracle database system:
👇🏻 The contact information of bloggers can be found by searching below Official account acquisition 👇🏻