preface
This article will introduce the basic installation and configuration of Nginx, and give the installation and configuration methods under different platforms (Windows, Linux, MacOS). Finally, the Nginx version file used in this article can be seen in the online disk link at the end of the text or downloaded through the official website link.
Windows
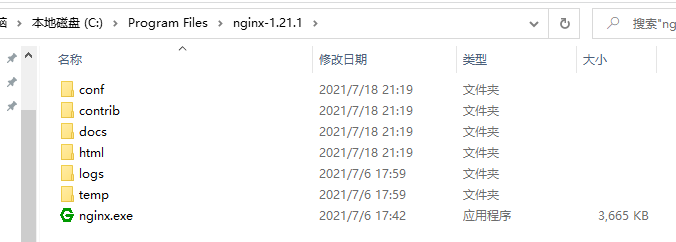
On windows, I install nginx-1.21.1 and use the compressed package installation method (see the resource link at the end of the text for the compressed package). First, decompress the compressed package to the specified folder (you can choose another location here. Generally, the system disk is not recommended, and there may be permission problems. Due to the virtual machine environment test I use, I'm free):
Then you can click nginx Exe runs. After double clicking, you can see a flashing black window, and then we can access the test through the browser on the machine. Before that, first look at the ip address:

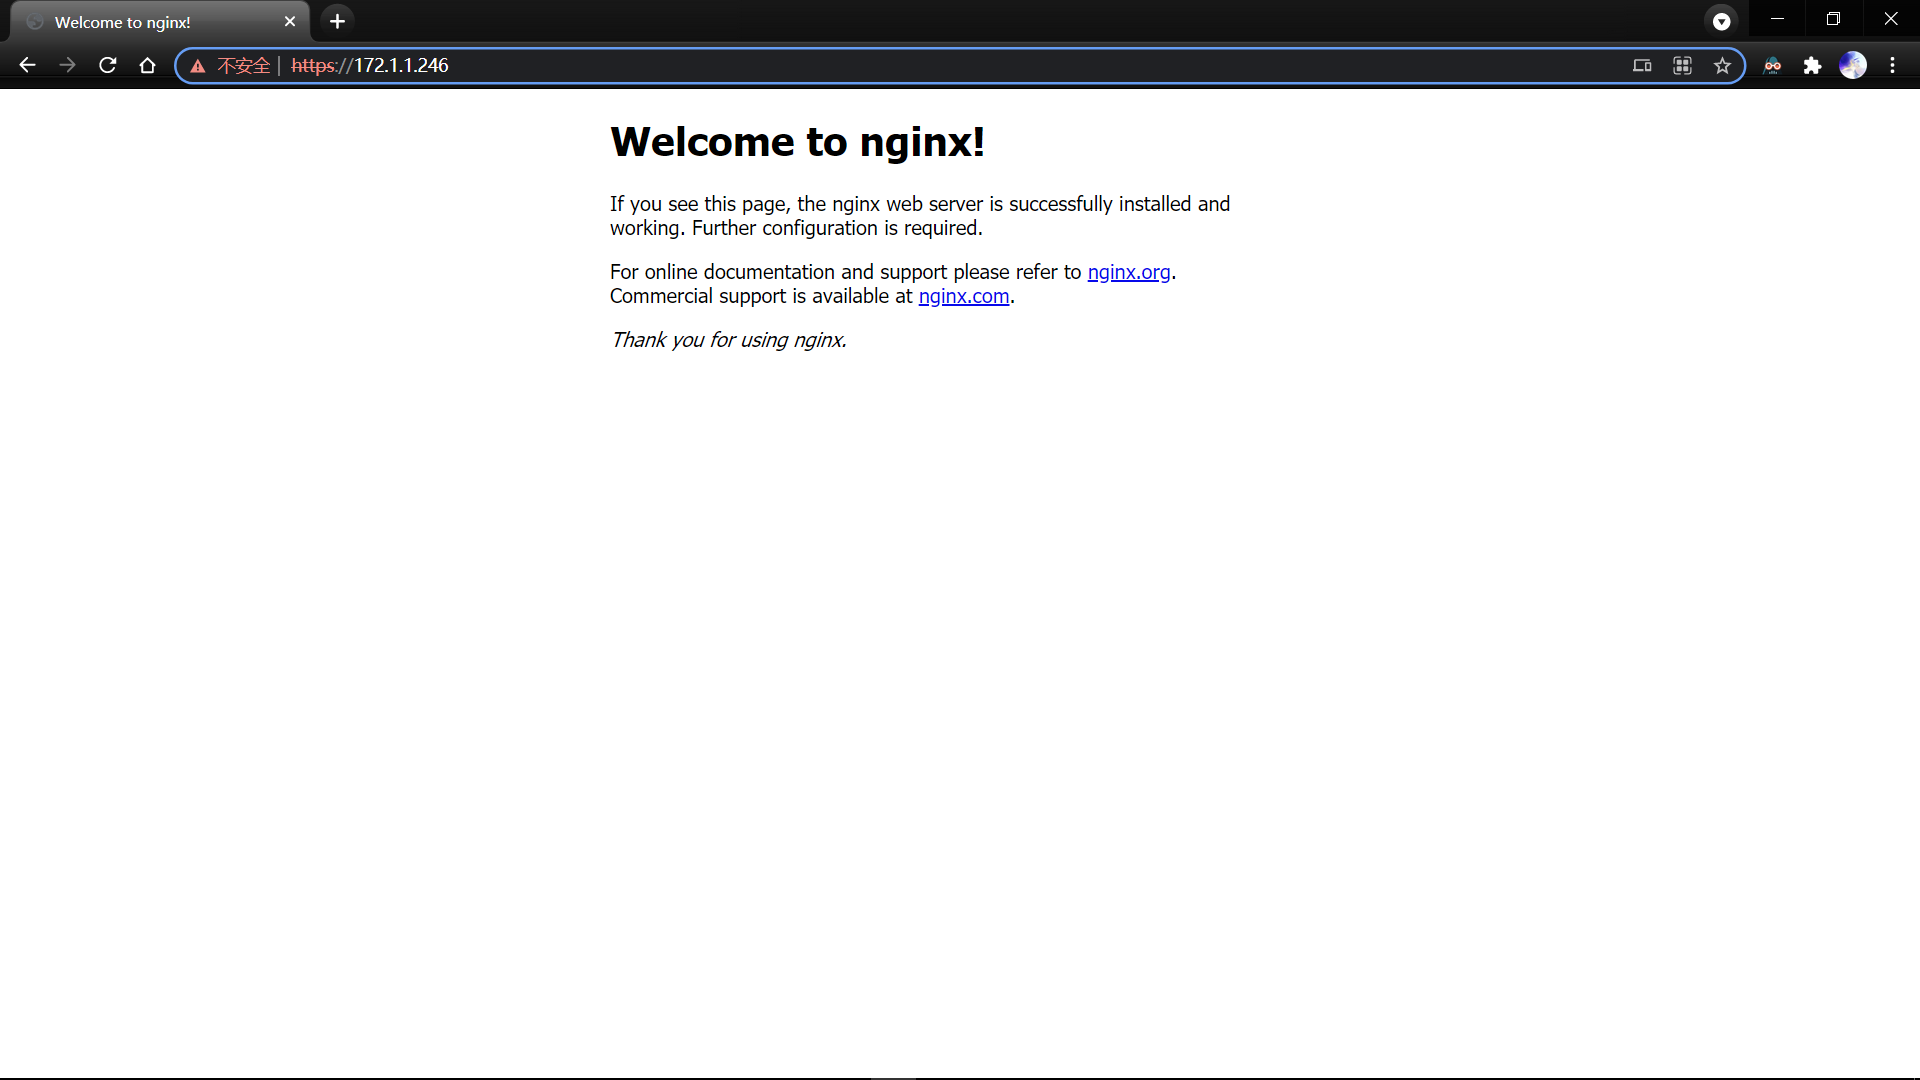
Then access the test in the browser (the default startup port of Nginx is 80):

If you want to close, you can select close in the task manager, or execute nginx. Exe in the installation directory Exe - s stop command.

Linux
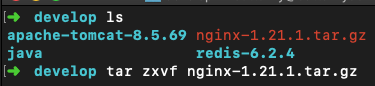
On Linux, I installed nginx-1.21.1 in the compressed package installation mode (see the resource link at the end of the article for the compressed package). First, unzip the compressed package to the specified folder:

Then enter the directory and execute bash configure:

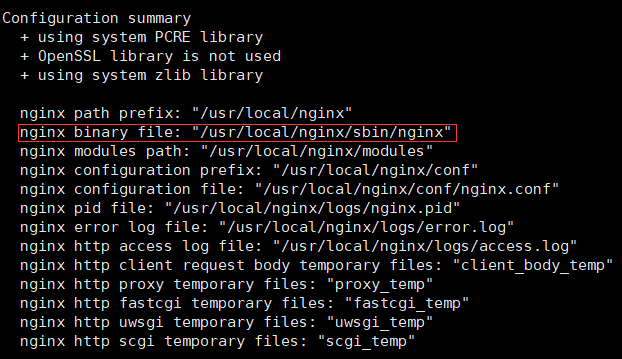
After a moment, you can see the following output information at the end (nginx binary file here is the location of the execution file):
Then execute make & & make install on the command line, and wait a moment, then you can run nginx:

/usr/local/nginx/sbin/nginx
Then open port 80 by executing the following command:
systemctl start firewalld
firewall-cmd --zone=public --add-port=80/tcp --permanent
firewall-cmd --reload
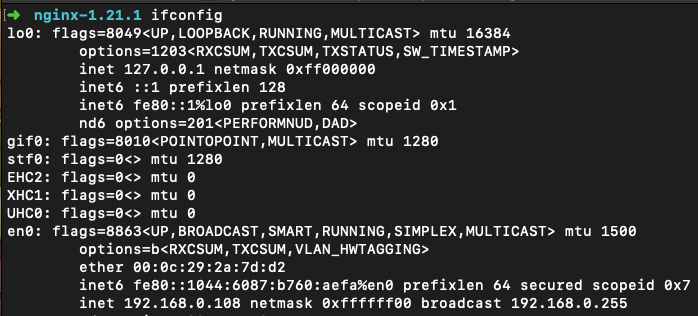
Then view the native ip:

Then the machine tests in the browser:

MacOS
The same nginx-1.21.1 is installed under Mac OS and linux. The overall steps are similar. First, unzip:
Then enter the directory and execute bash configure:

However, if you directly execute make in this way, you will have permission problems. You need to make some modifications through vim configure:
# Create a directory instead of / usr/local/nginx
mkdir bin
# View current path
pwd
vim configure
Then modify the location shown in the figure to the location of the bin directory just created:

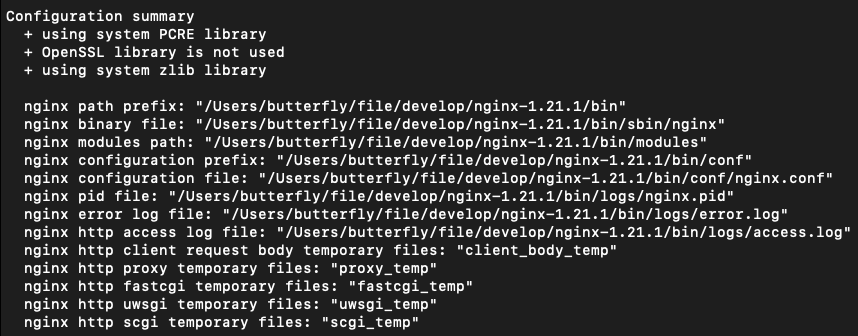
When you execute bash configure, you can see the following output information at the end (nginx binary file here is the location of the execution file):
Then execute make & & make install on the command line, and wait a moment, then you can run nginx:

/Users/butterfly/file/develop/nginx-1.21.1/bin/sbin/nginx
Then view the native ip:
Then the machine tests in the browser:

port configuration
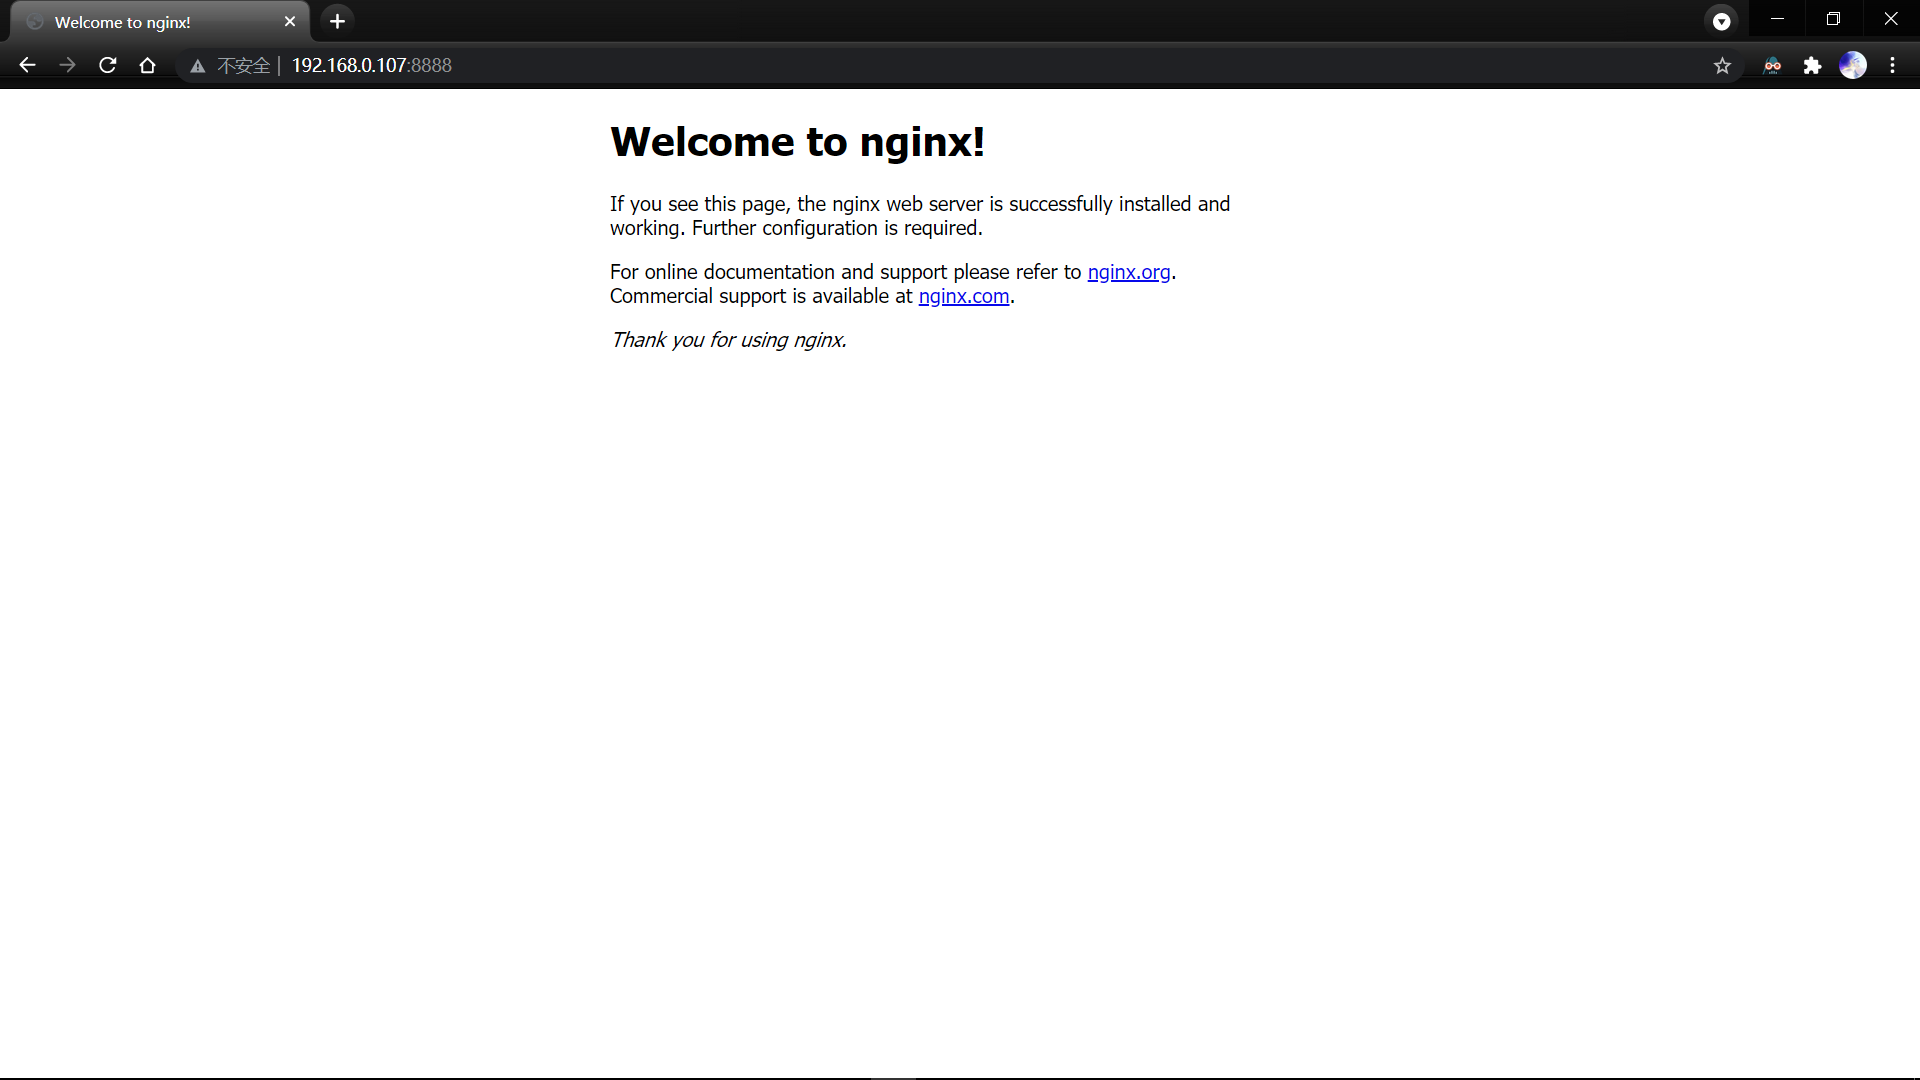
The default running port of Nginx is 80. If you want to modify it, just use VIM / usr / local / Nginx / conf / Nginx Conf command to modify the listen port in the server:
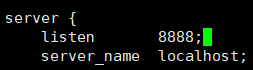
Then open the 8888 port by executing the following command:
systemctl start firewalld
firewall-cmd --zone=public --add-port=8888/tcp --permanent
firewall-cmd --reload
Then execute / usr/local/nginx/sbin/nginx -s reload to restart the service and test it in the local browser:
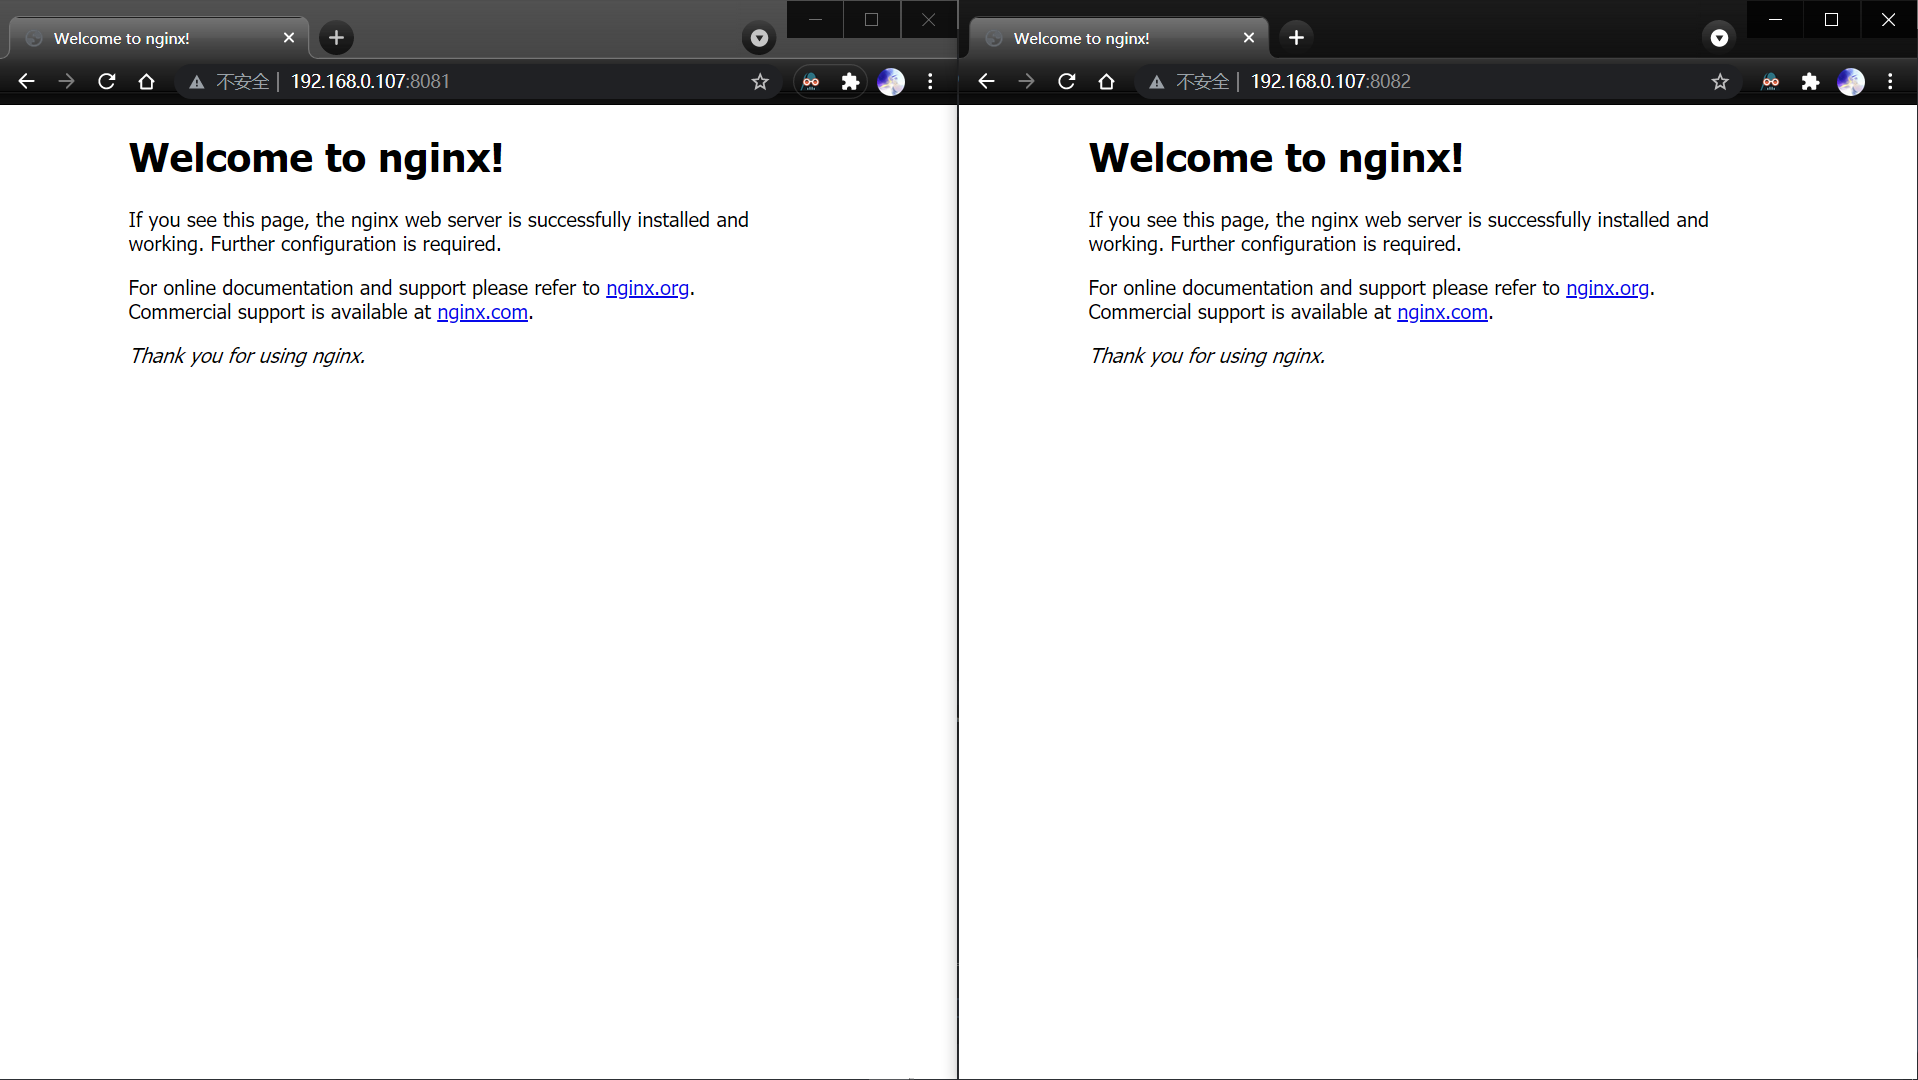
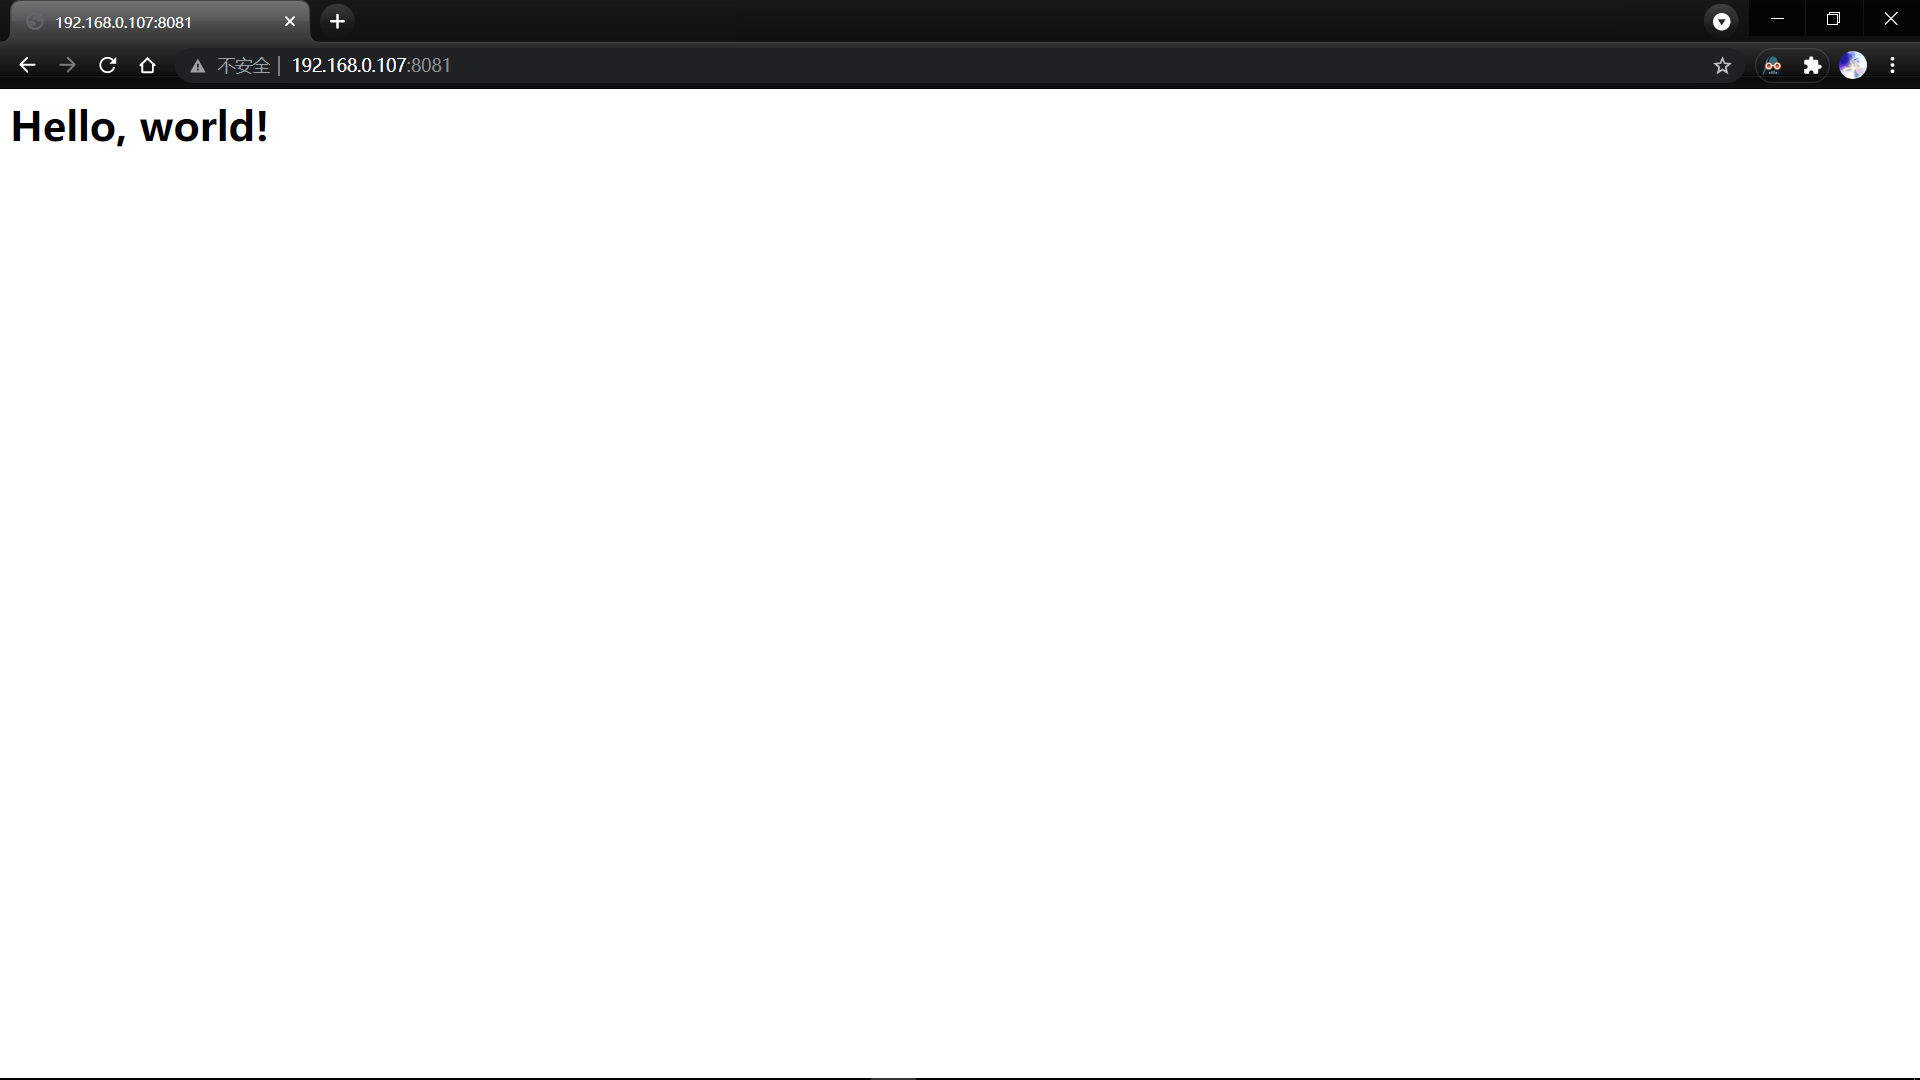
If you want to open multiple ports at the same time, you can directly add a server configuration. For example, the following configuration opens ports 8081 and 8082:
server {
	listen       8081;
	server_name  localhost;
    location / {
    	root   html;
        index  index.html index.htm;
    }
}

server {
	listen       8082;
    server_name  localhost;
    location / {
    	root   html;
        index  index.html index.htm;
    }
}
Then execute / usr/local/nginx/sbin/nginx -s reload to reload the configuration. At the same time, the firewall opens ports 8081 and 8082, and then test locally:
By default, nginx accesses the content under nginx/html /, so if you need a front-end, you can choose to put it in the html directory. If you want to choose the storage location of files, you can also configure the root attribute:
server {
	listen       8081;
    server_name  localhost;
    location / {
    	root   /home/butterfly/demo;
        index  index.html index.htm;
    }
}
Here, the root path is configured to be / home/butterfly/demo, and the index The contents of the HTML file are as follows:

Then execute / usr/local/nginx/sbin/nginx -s reload to reload the configuration, and then test locally:
In addition, if you want to configure the item prefix, you only need to add a location configuration similar to the following:
server {
        listen       8081;
        server_name  localhost;

        location / {
            root    /home/butterfly/demo;
            index index.html index.htm;
        }

        location ^~ /demo {
            alias   /home/butterfly/demo;
            try_files $uri $uri/ /demo/index.html;
        }
        # The equivalent configuration is as follows
        # location ^~ /demo {
        #     root   /home/butterfly;
        #     try_files $uri $uri/ /demo/index.html;
        # }
    }
The result of root processing is: root path + location path
The result of alias processing is to replace the location path with the alias path
Then directly display the effect, and add / demo when accessing:

Reverse proxy
Since we are talking about Nginx configuration, we must show the reverse proxy. First, write a simple test interface using springboot:
@RestController
class HelloController {

    @GetMapping("/hello")
    fun hello() = "Hello, world!"

}
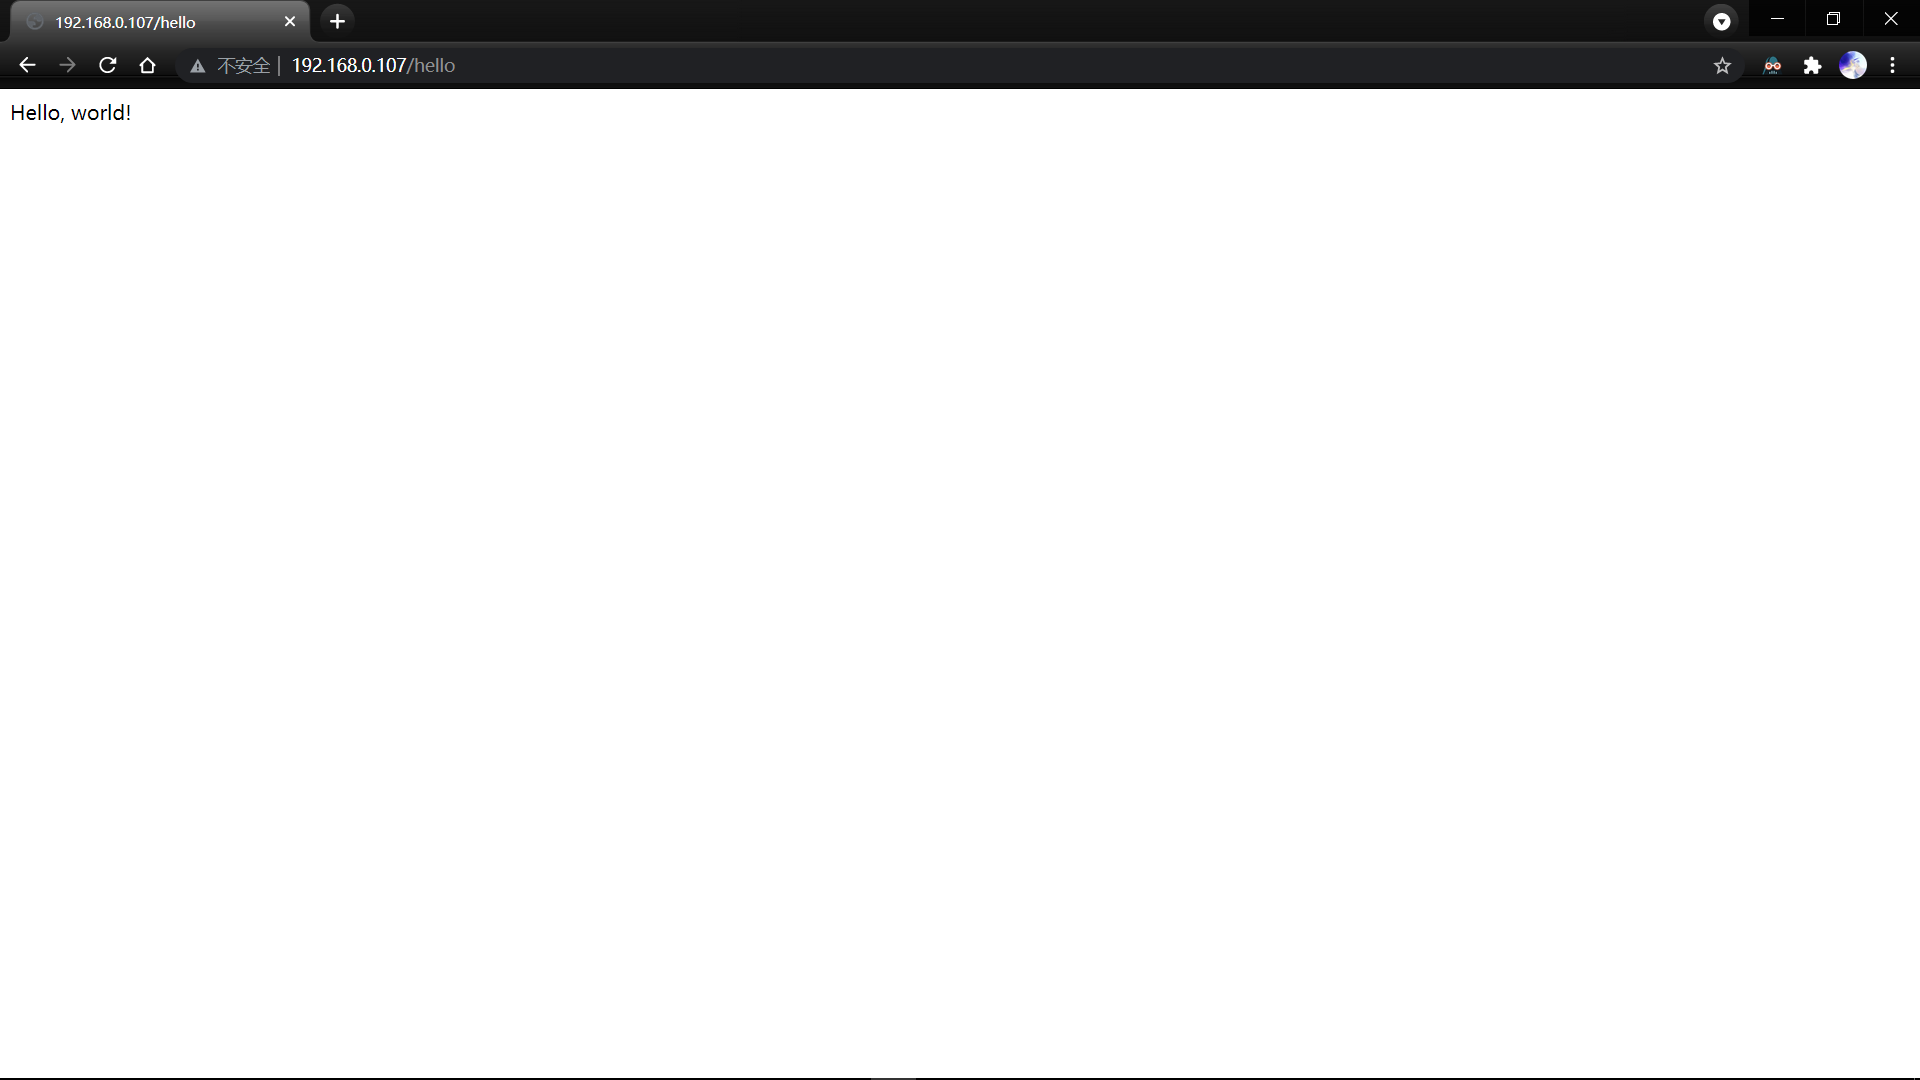
Then upload the jar package to linux and run it (Port 8080 by default) and test:
# Background operation
nohup java -jar hello-0.0.1-SNAPSHOT.jar &
# Test interface
curl http://localhost:8080/hello

Then configure the agent:
server {
    # Listen to port 80
	listen       80;
    server_name  localhost;
    location / {
        # Forward to port 8080
		proxy_pass http://localhost:8080;
	}
}
Then remember to open port 80 on the firewall and test locally:
Configure HTTPS
Before configuring the https service, execute / usr/local/nginx/sbin/nginx -V to check whether there are configure arguments: – with HTTP in the output_ ssl_ Module. If not, install the SSL module:

Then download the openssl installation package:
https://www.openssl.org/source/openssl-1.1.1d.tar.gz
Then execute the following command to create a new temporary directory to store openssl source code package and temporary Nginx:
mkdir tmp
cp nginx-1.21.1.tar.gz tmp/
cd tmp/
ls
The following output is obtained:

Then extract the two files:
tar -zxvf nginx-1.21.1.tar.gz
tar -zxvf openssl-1.1.1d.tar.gz
Then compile nginx:
# The -- with openssl value here depends on the path where you store openssl
./configure --with-http_ssl_module --with-openssl=/home/butterfly/tmp/openssl-1.1.1d
# Do not add make install, otherwise the compiled nginx will be overwritten
make
# Stopped nginx
/usr/local/nginx/sbin/nginx -s stop
# Overwrite original file
cp ./objs/nginx /usr/local/nginx/sbin/
# Review the installation status again
/usr/local/nginx/sbin/nginx -V
Then you can find that the ssl module has been successfully installed:

For steps to generate ssl self signed certificates using java's own jdk, see this article: nginx configuring self signed ssl certificates.
Then they are stored in the tmp Directory:

Then modify the configuration of nginx:
# Except that the configuration location of the certificate and key needs to be modified, the other configurations are the existing configurations of nginx itself. You only need to remove the comments
server {
	listen       443 ssl;
    server_name  localhost;

    # Modify the location of your certificate file and key
    ssl_certificate      /home/butterfly/tmp/nginx.cer;
    ssl_certificate_key  /home/butterfly/tmp/nginx.key.unsecure;

    ssl_session_cache    shared:SSL:1m;
    ssl_session_timeout  5m;

    ssl_ciphers  HIGH:!aNULL:!MD5;
    ssl_prefer_server_ciphers  on;

    location / {
		root   html;
		index  index.html index.htm;
	}
}
Then execute / usr/local/nginx/sbin/nginx -s reload to re run nginx. After the firewall opens port 443, test in the local browser:
Resource link
Link: https://pan.baidu.com/s/17PmvmZrUPtXTg-h18i4rlQ
Extraction code: asku
windows official website link: http://nginx.org/download/nginx-1.21.1.zip
Linux & Mac official website link: http://nginx.org/download/nginx-1.21.1.tar.gz